The Conversation (0)
Sign Up
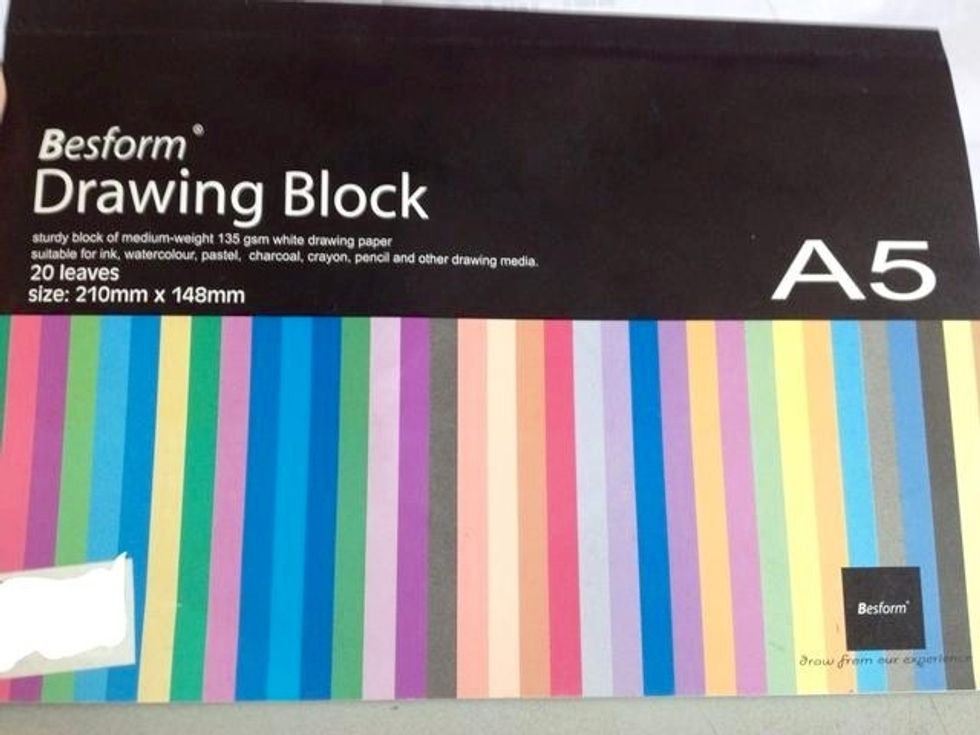
I used A5 drawing block, it makes good card stock.
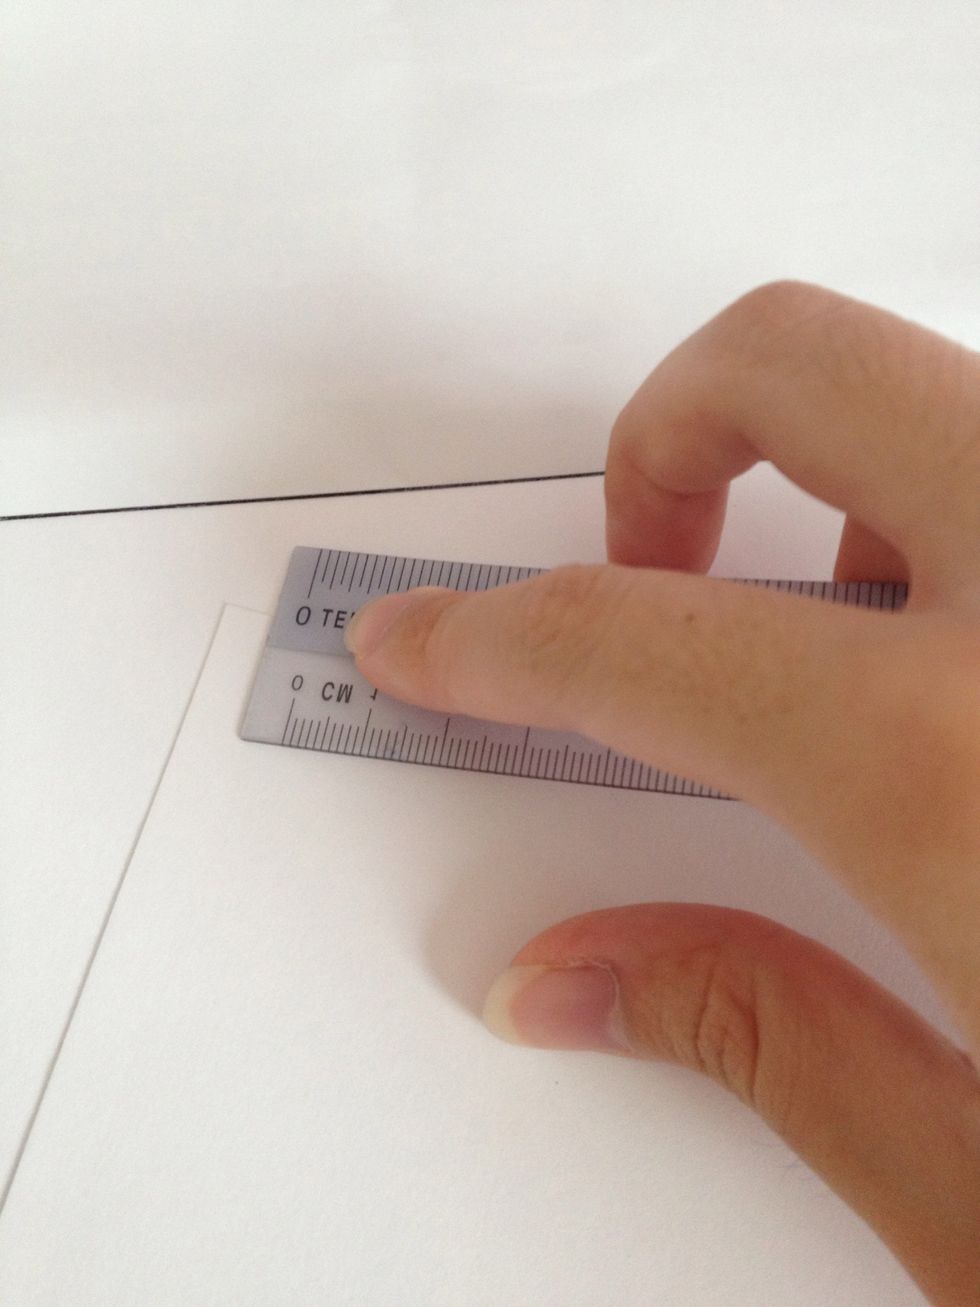
Tear out a piece of drawing block, and fold into half. Rub the creases down with a ruler. Fold over to the other side and repeat to get neater creases.
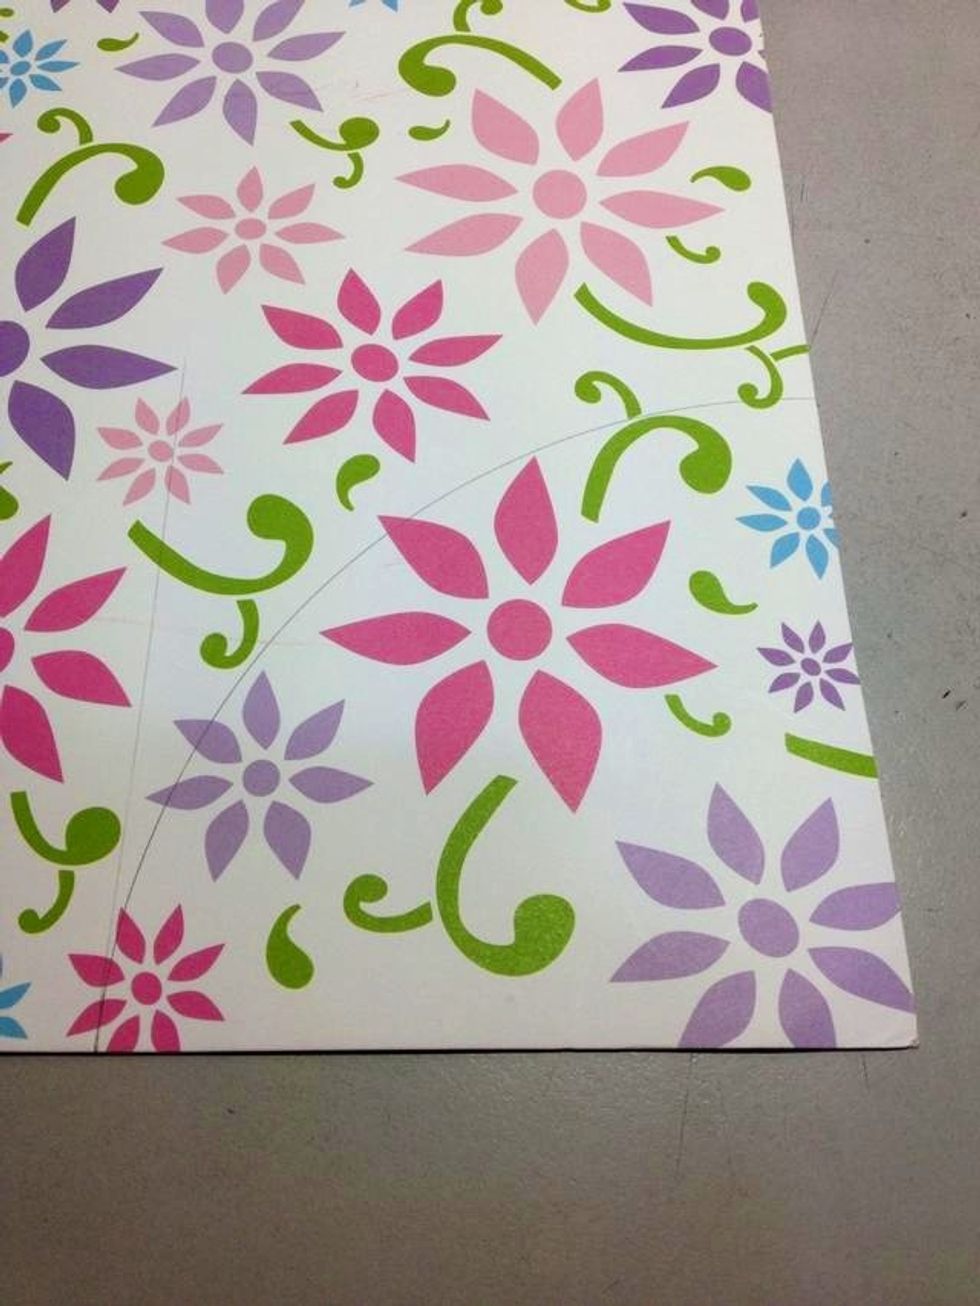
Using a compass, I drew a quarter circle on the patterned paper with the radius as half of the length of the A5 paper, for a portrait card. The next picture will give you a better idea.
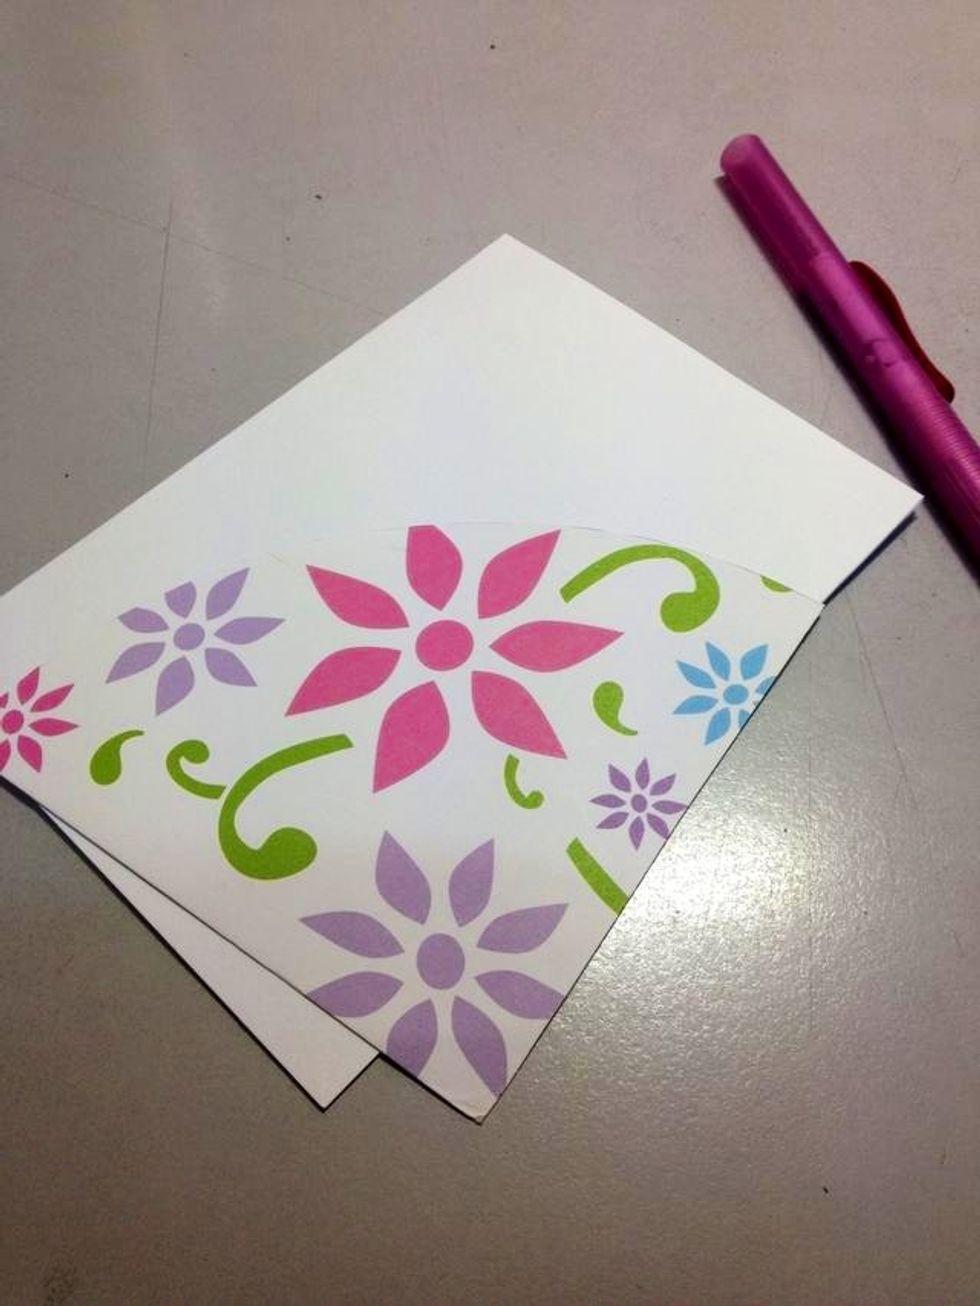
The A5 paper has been folded into half, and the quarter circle fits the paper nicely. Cut out the quarter circle.

Chipboards!

I decided to paint the letters with nail polish because they would look a bit plain otherwise.

Line up the letters along the arch as such, and glue down. Add any embellishments as you wish. This is another card which I made using the same steps. More card guides available on my profile!