The Conversation (0)
Sign Up
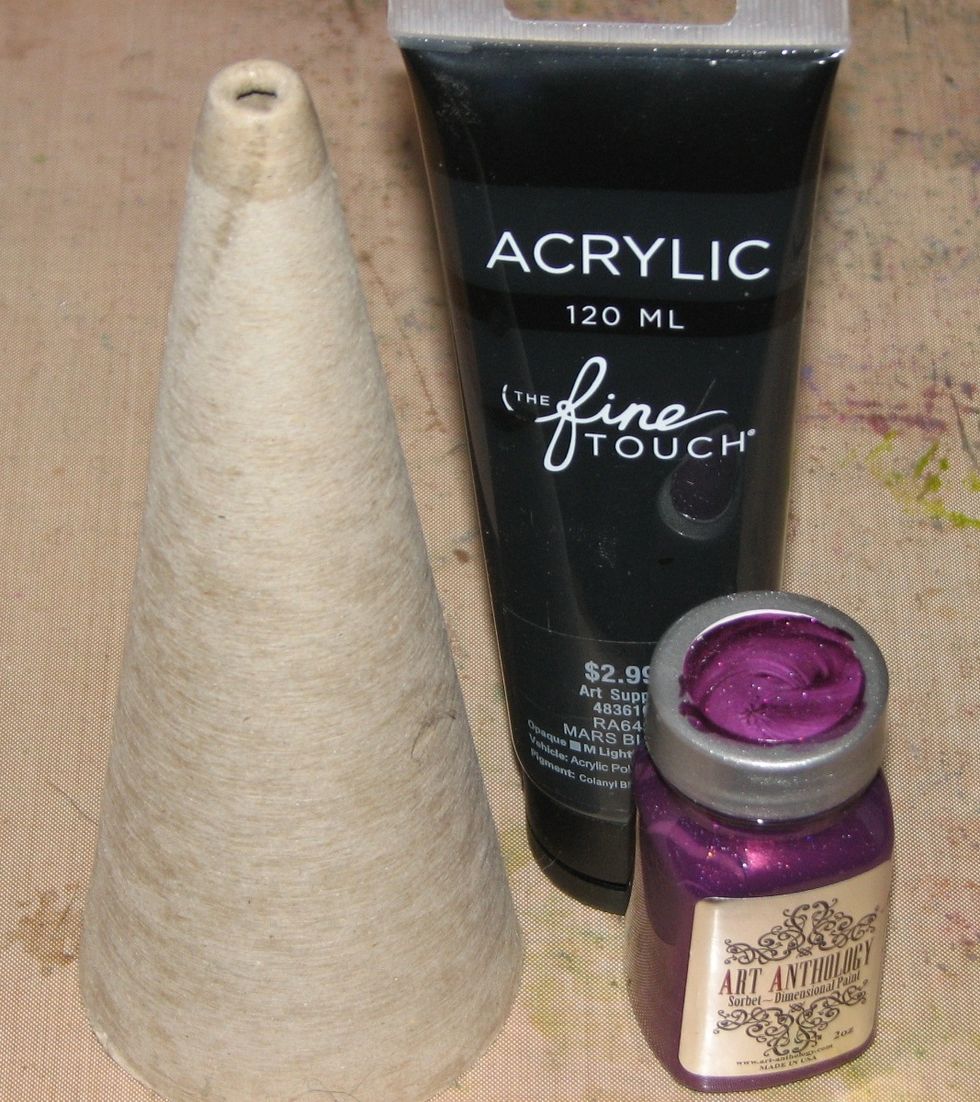
Start off by painting the cone with a coat of black acrylic paint. This is just insurance in case you miss a spot or two in later steps.
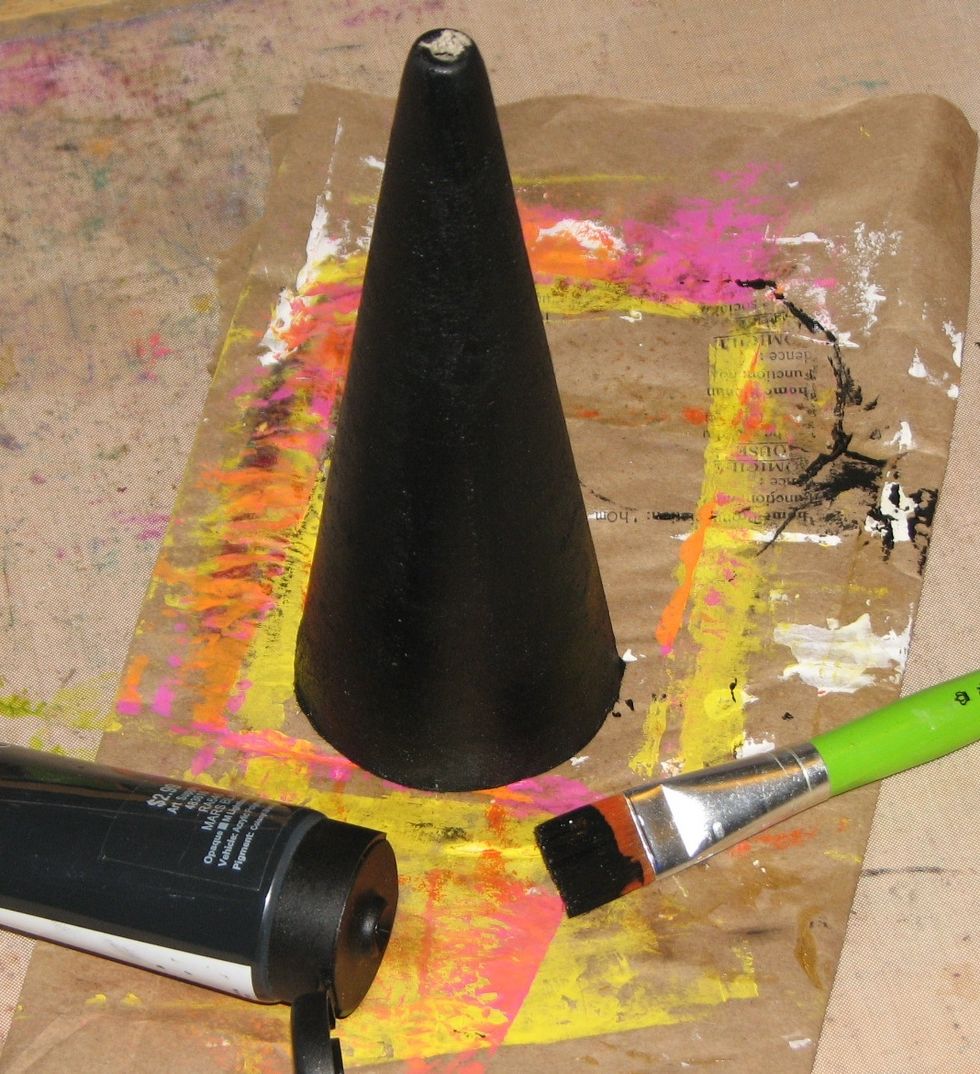
I found the knitting cone absorbed lots of paint so you may need to add a second layer or simply spot check it.

Cut out a circle from the chipboard/corrugated cardboard. Paint both the top and bottom of the circle with black paint.
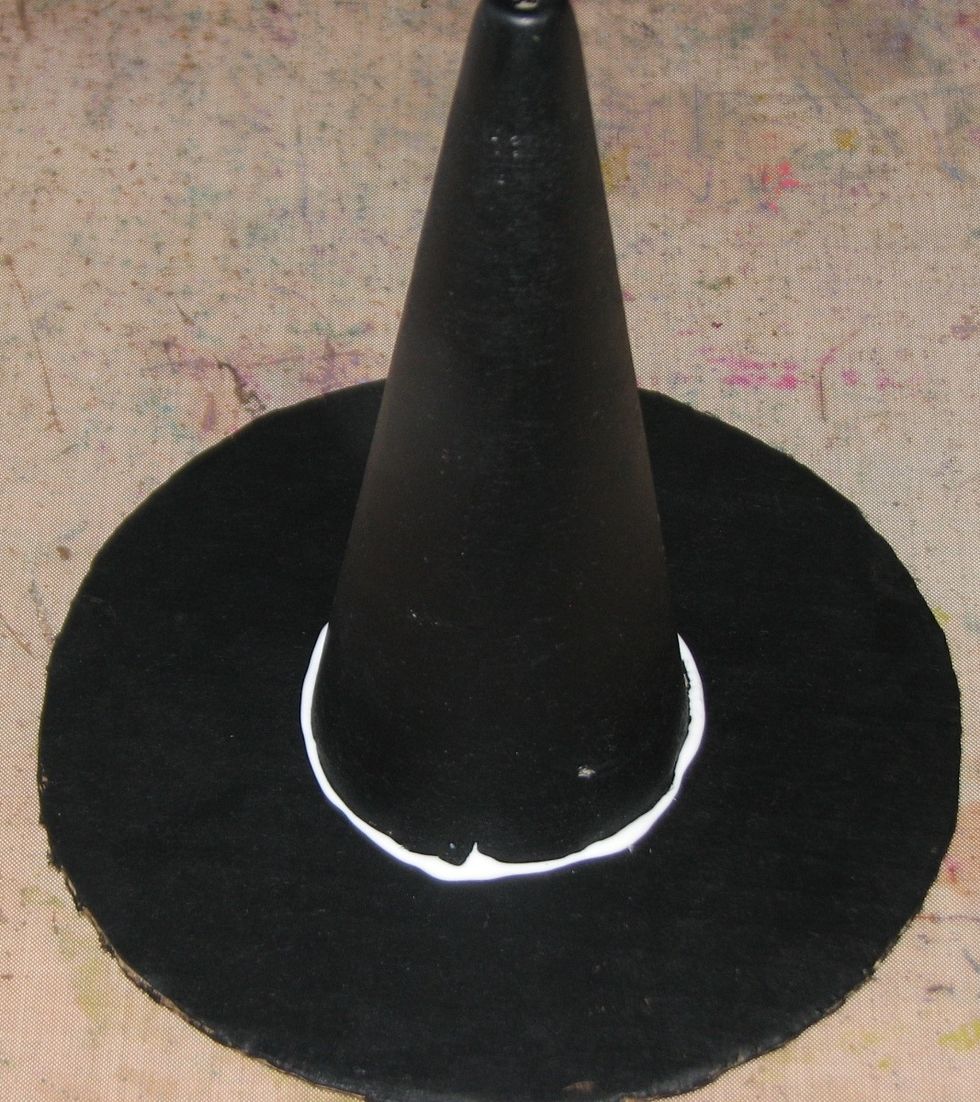
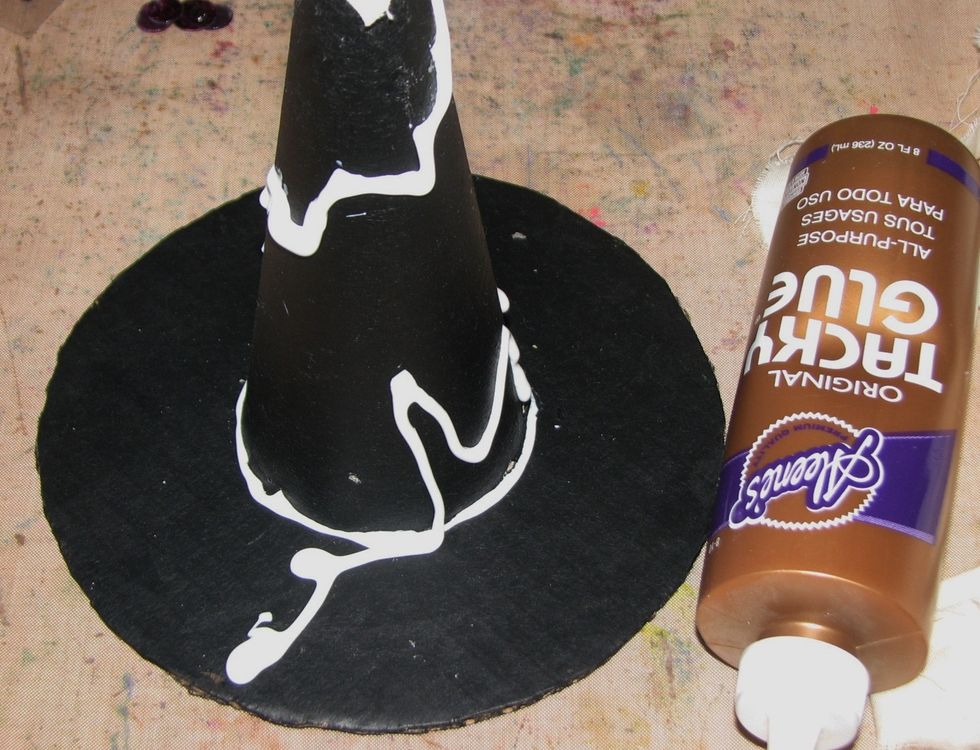
Glue the cone to the center of the circle using your favorite liquid glue. I used Aleene's Tacky Glue. If you're in a hurry you could use a hot glue gun.
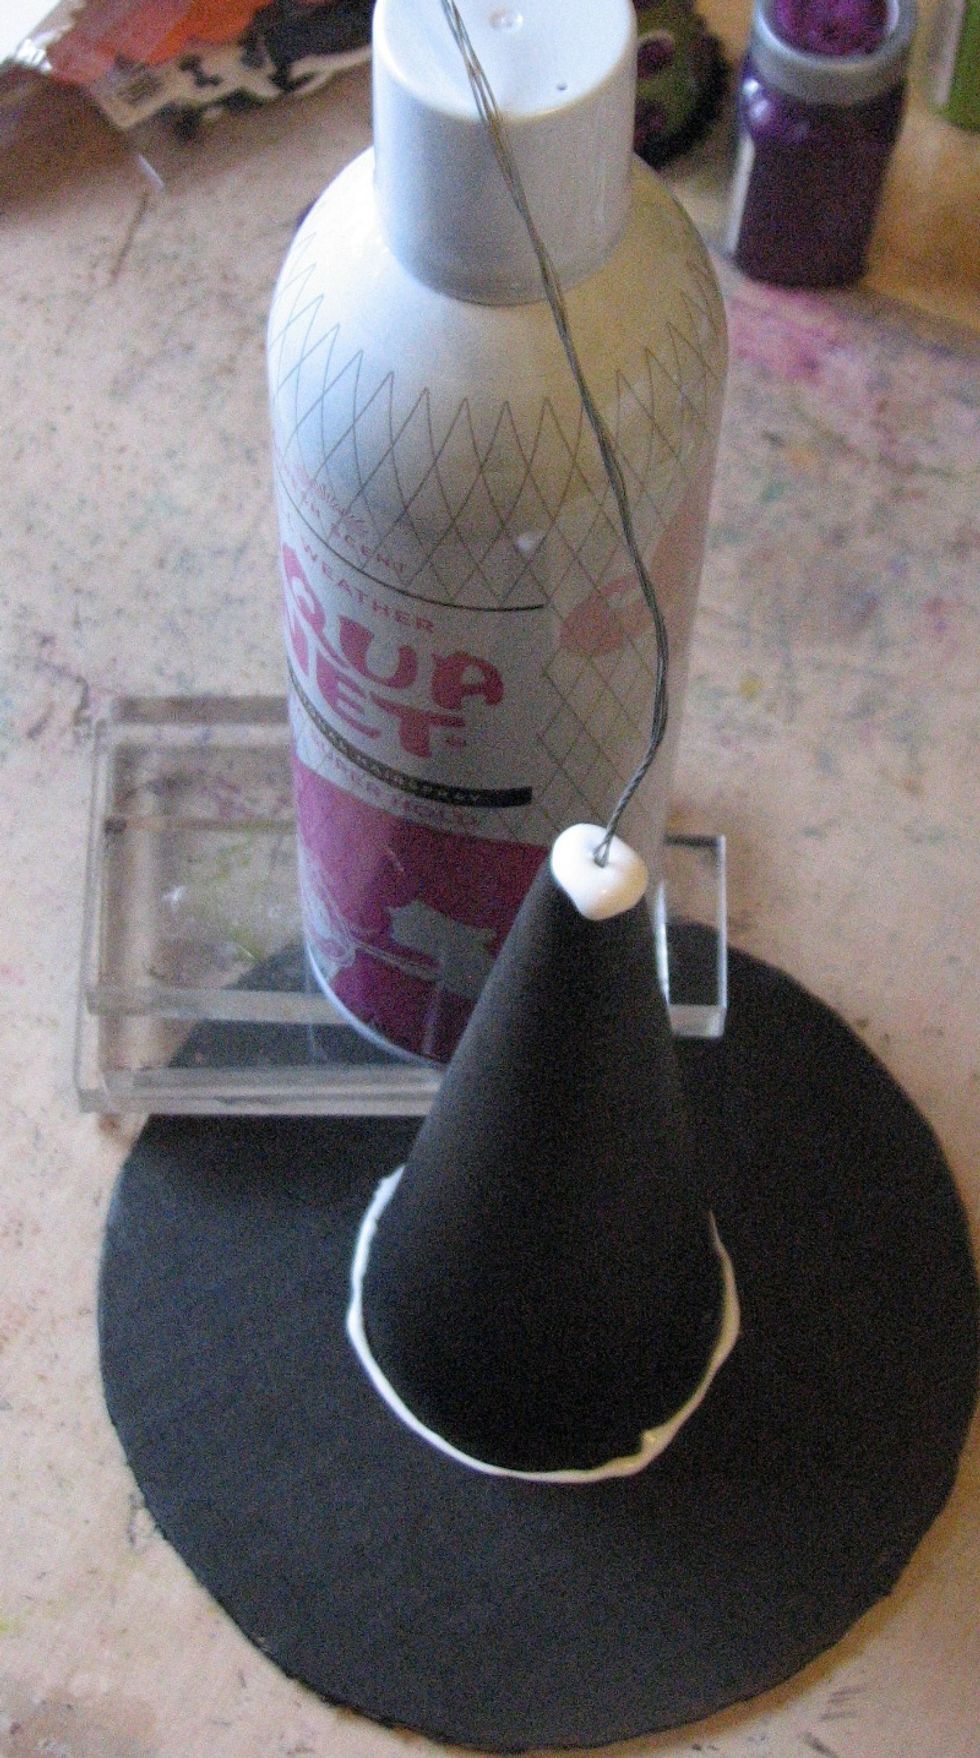
Cut a length of wire about 2 1/2 times the size you want your curly-q to be. Fold the wire over so it is doubled. Stick it into the hole of the knitting cone, add lots of glue and let dry.
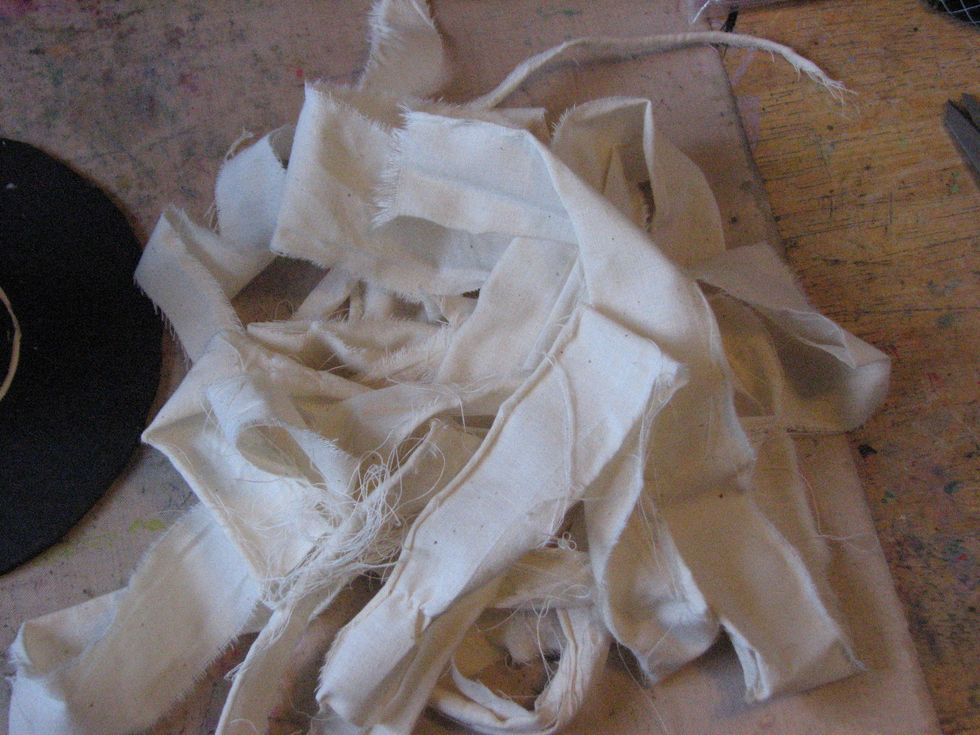
Tear the muslin in 1" - 2" wide strips. Leave the edges frayed for a tattered look.
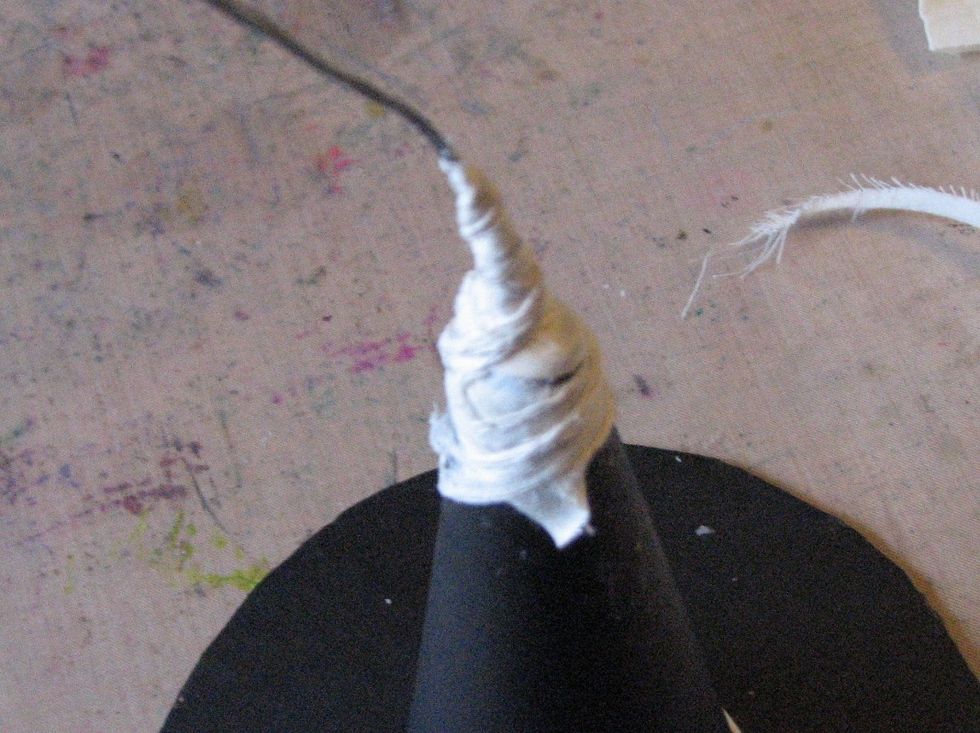
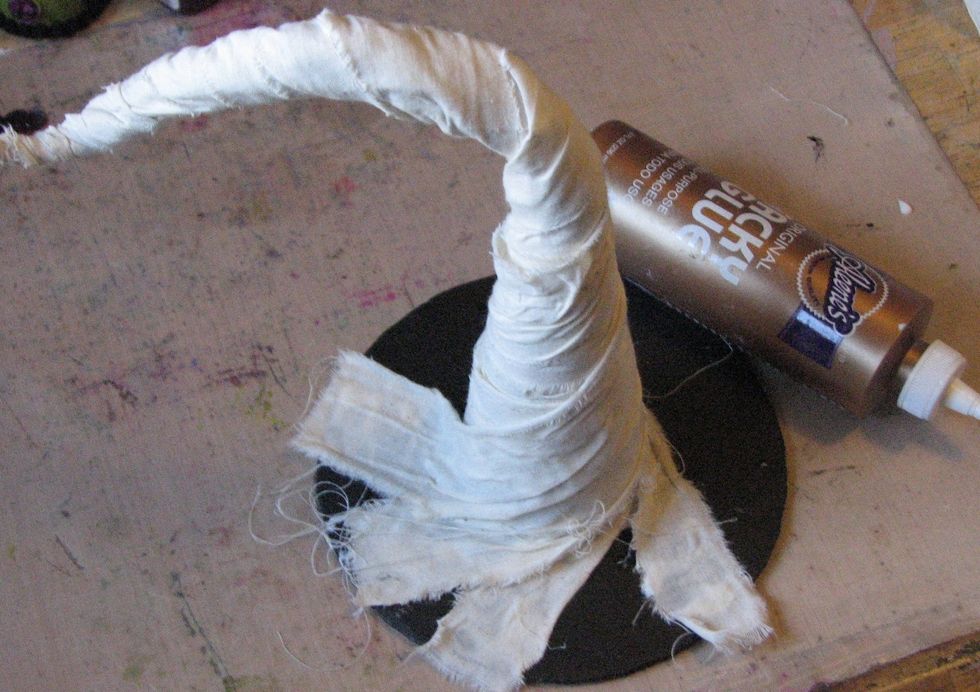
Squirt a good amount of glue where the wire and cone meet. Wrap a strip of the muslin around this joint several times to secure and stabilize the wire.
Drizzle glue around the hat in a spiral design and wrap the strips of muslin around the body of the hat.
When you reach the wire, wrap tissue paper around the wire and bend it into the desired shape. Continue wrapping the muslin around the wrapped wire to the very tip.
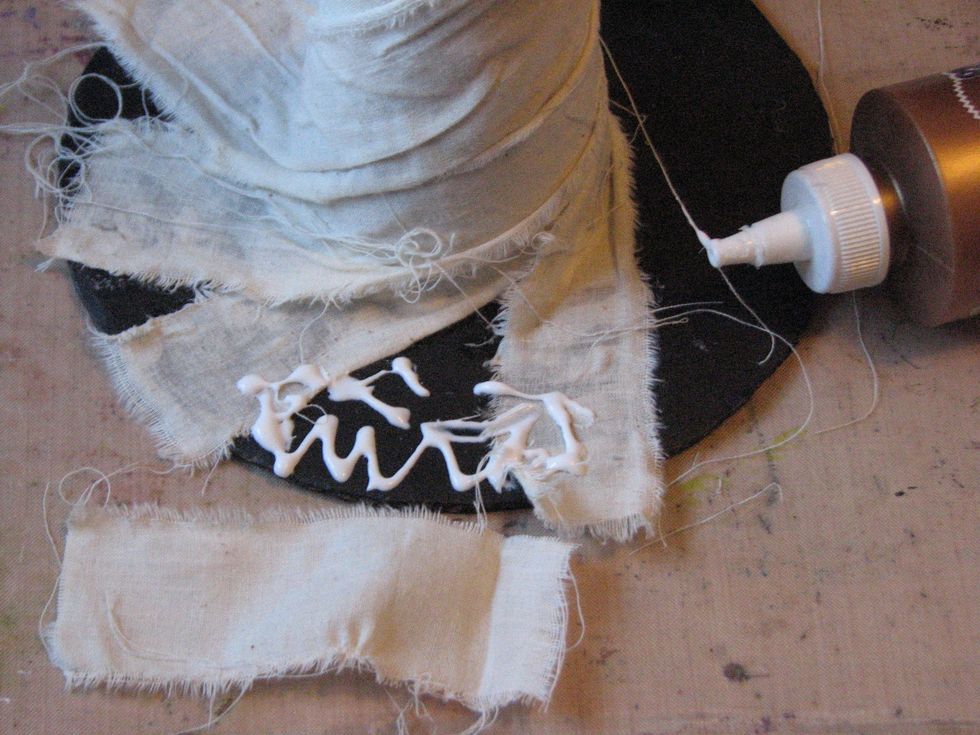
When the body of the hat and curly-q has been covered you may have sections along the brim that haven't been covered. Tear smaller strips of muslin and cover those exposed areas.
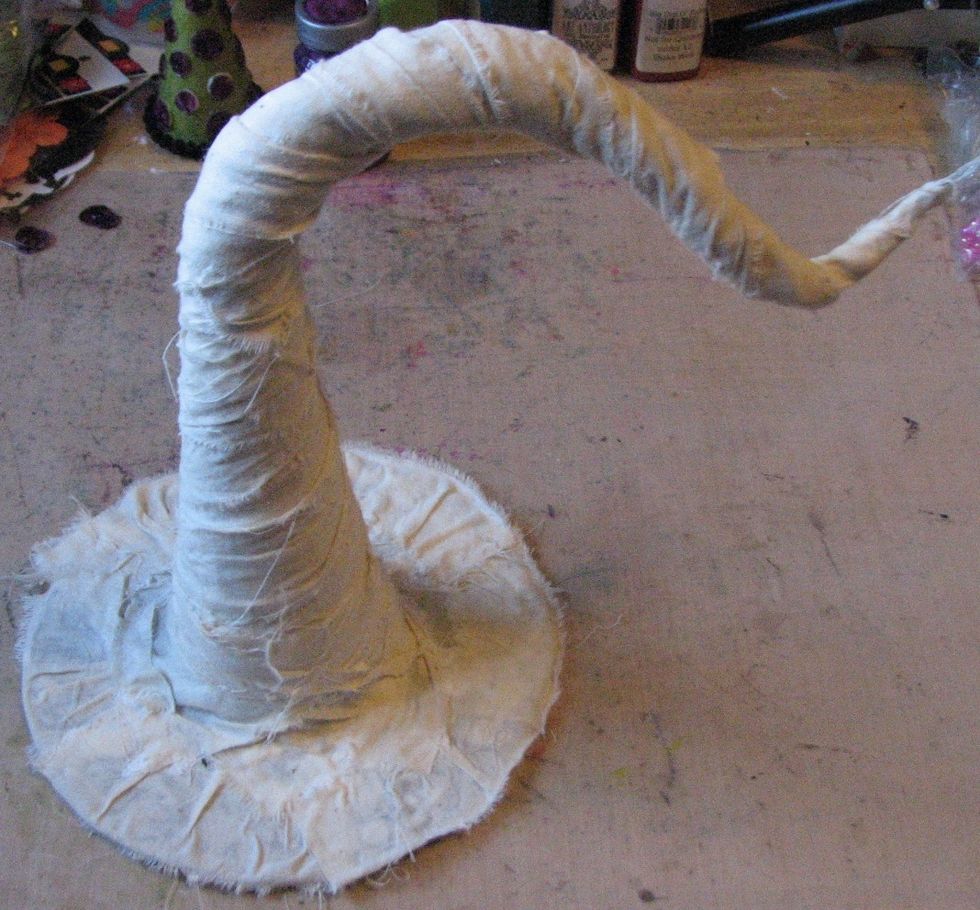
Here is what the hat looks like at this point. You will need to let the hat dry over night.
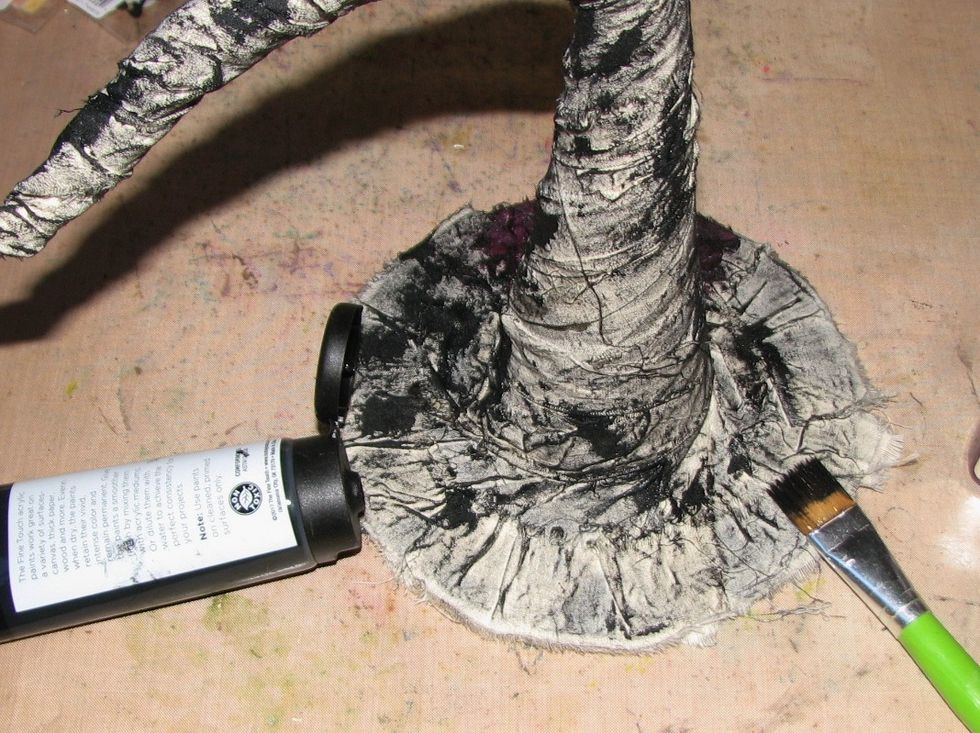
Dry brush a layer of black paint over the hat.
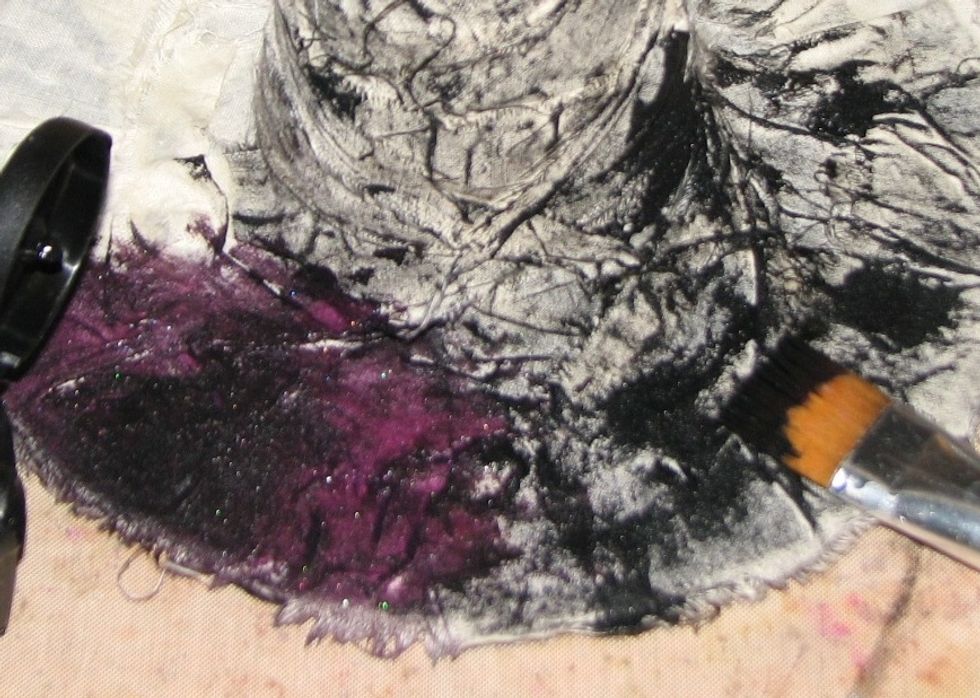
Then go back over and add the Art Anthology Sorbet (sparklie) Imperial (purple) paint.
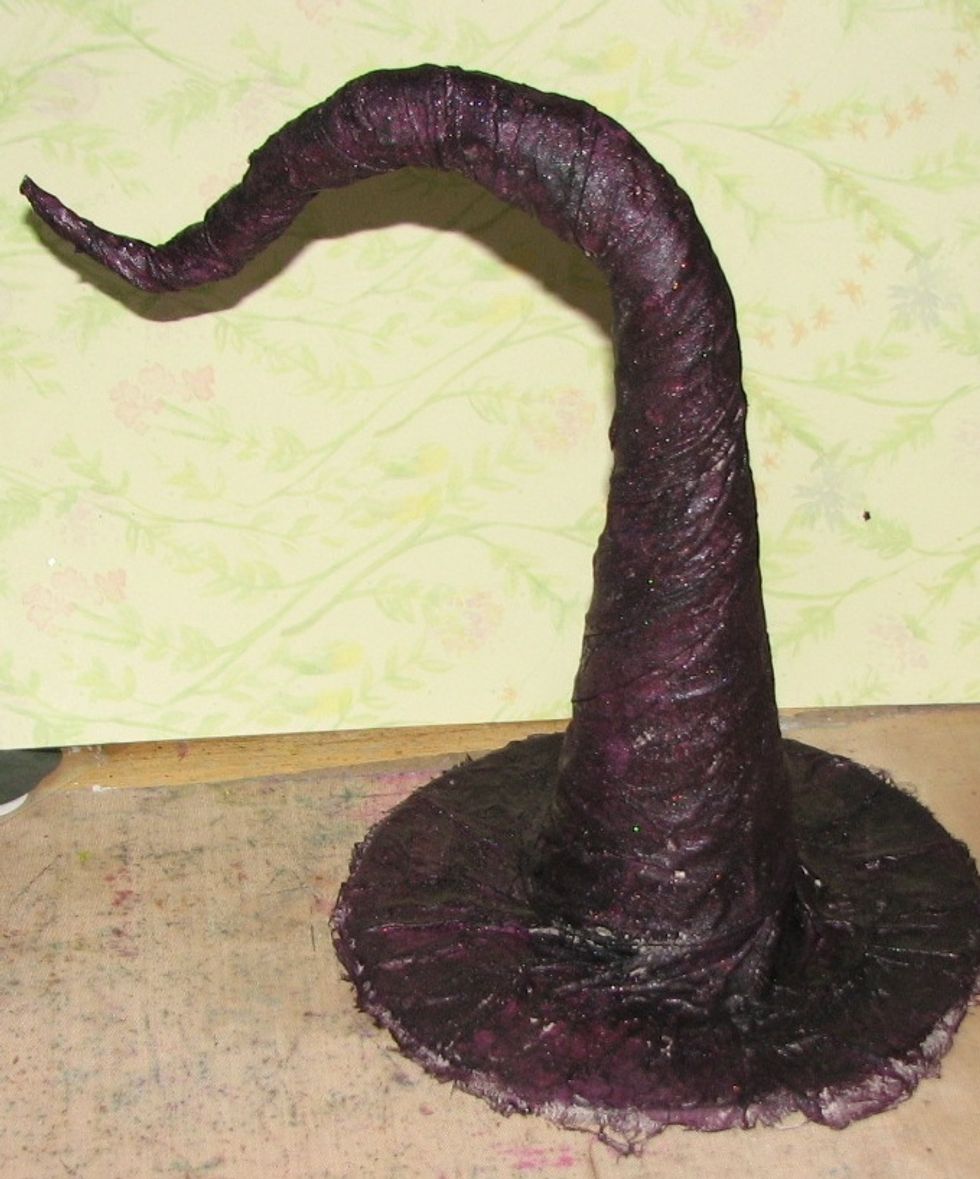
Once you've completely covered the hat in paint you'll need to let it dry completely prior to embellishing it.
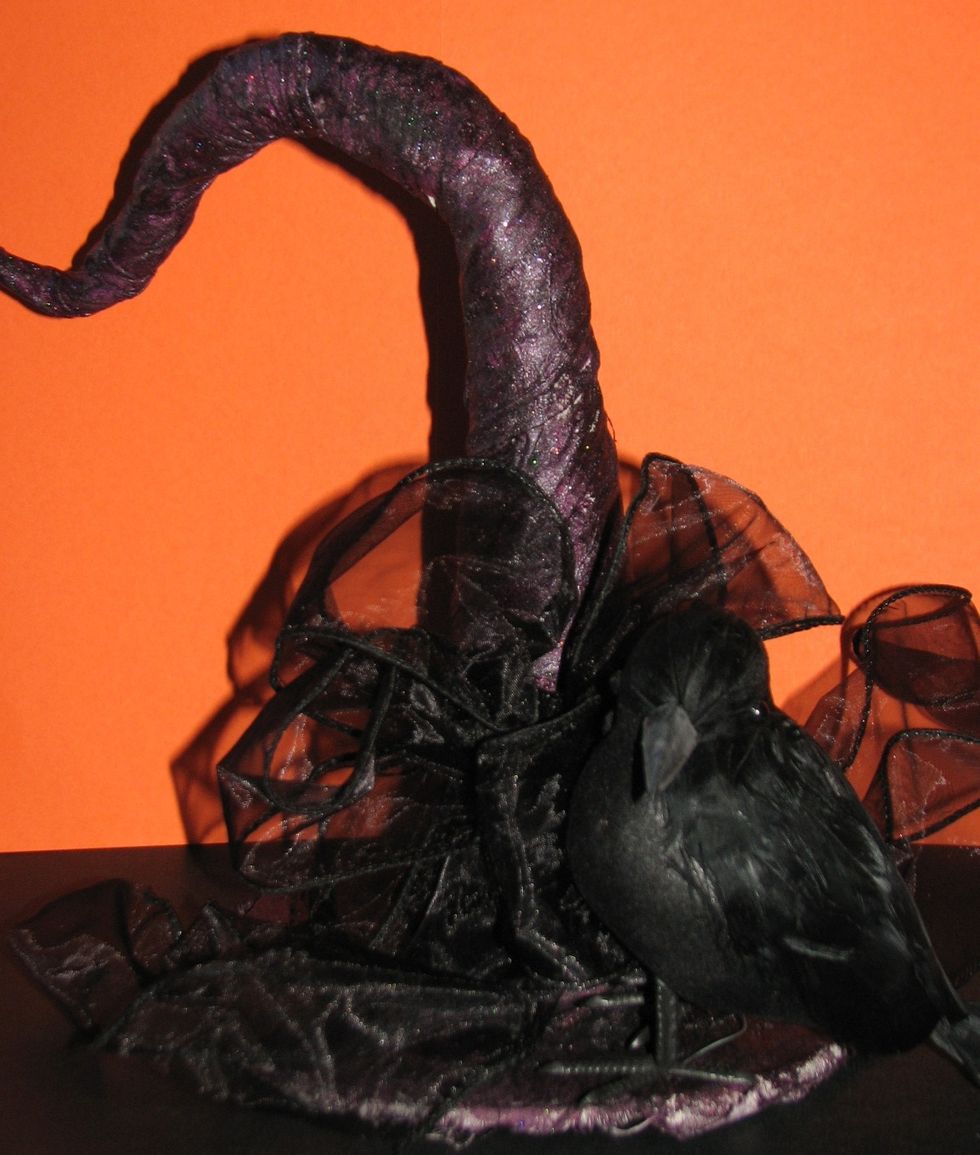
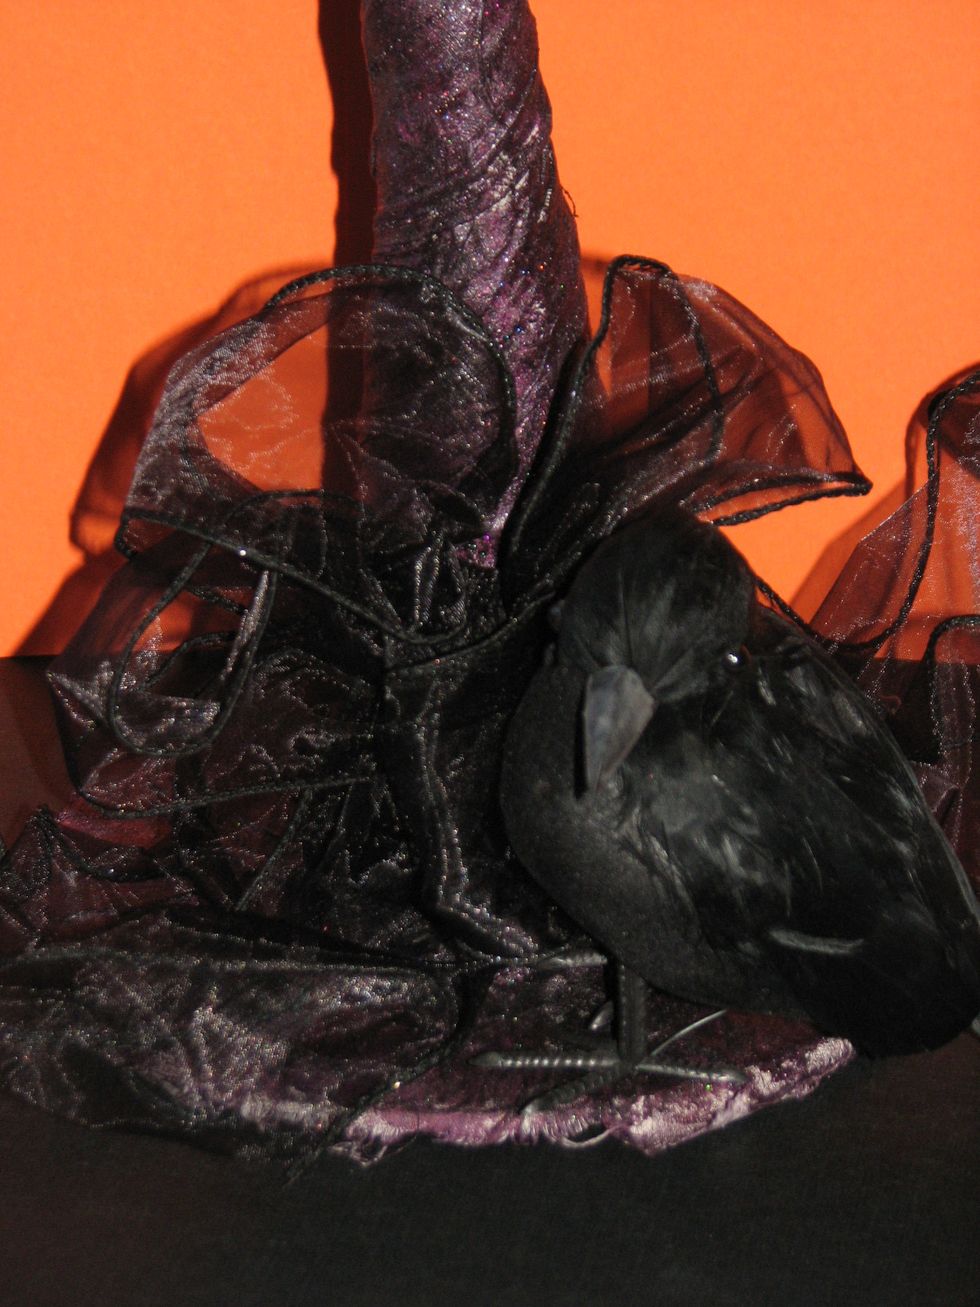
Embellish the hat to fit your decor/theme. Here I simply added 2" wired black ribbon and a raven for a simple Halloween look.
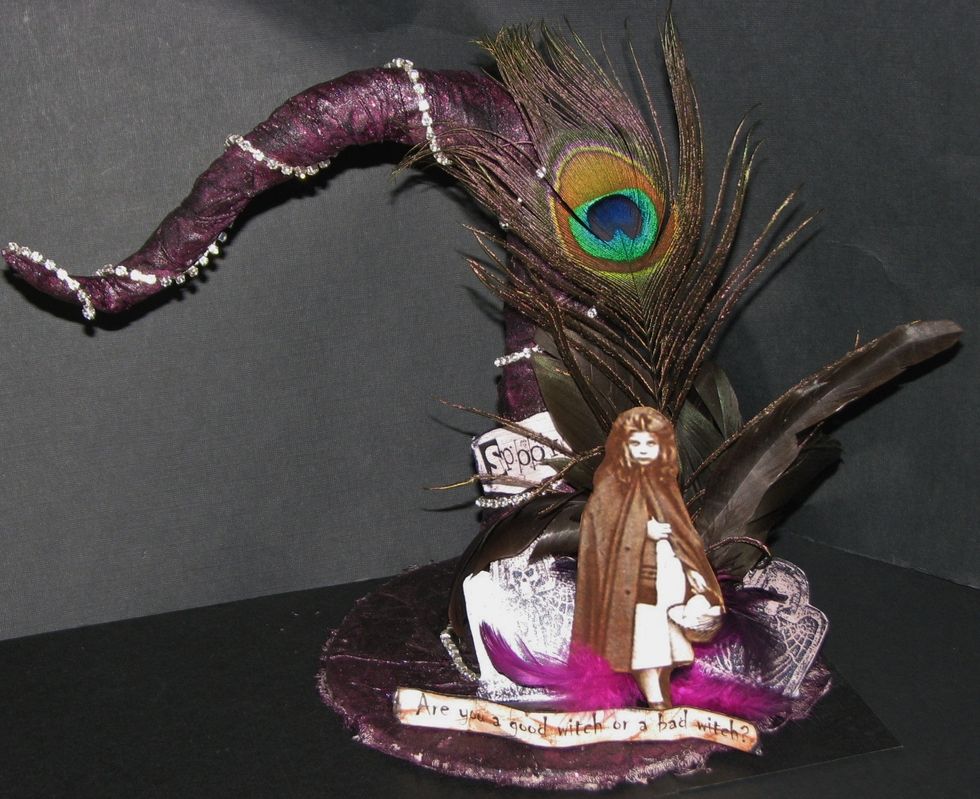
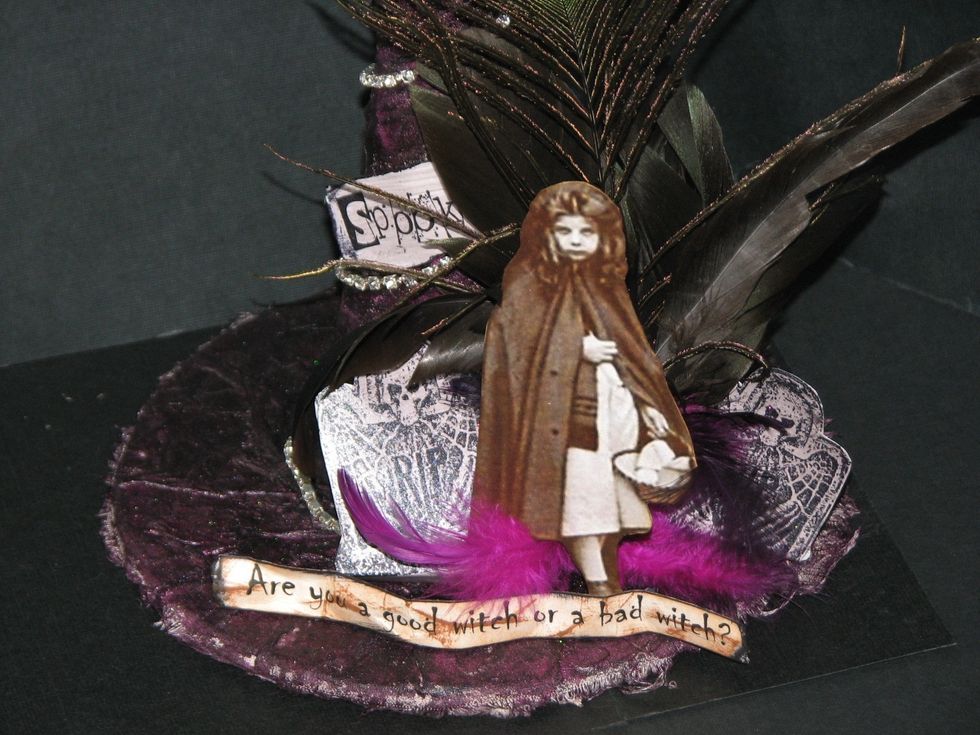
This is for the witch who likes her bling. (Collage image - Altered Pages; Rubber Stamps - Sin City Stamps)
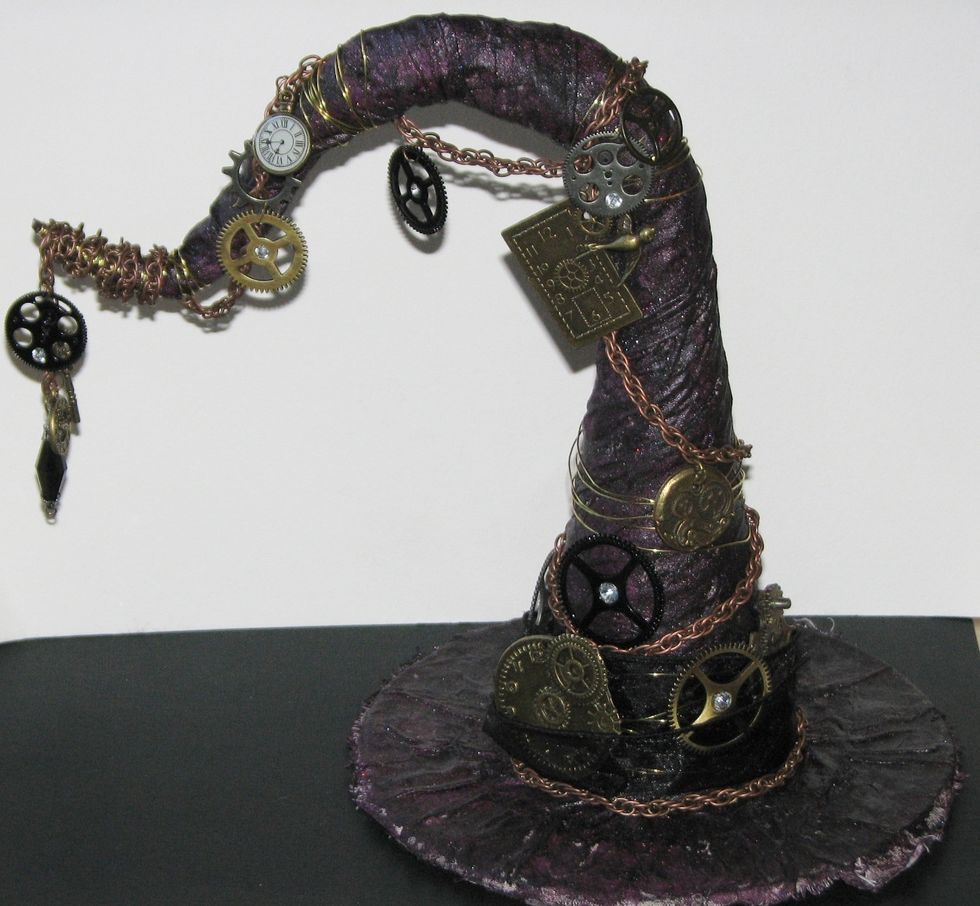
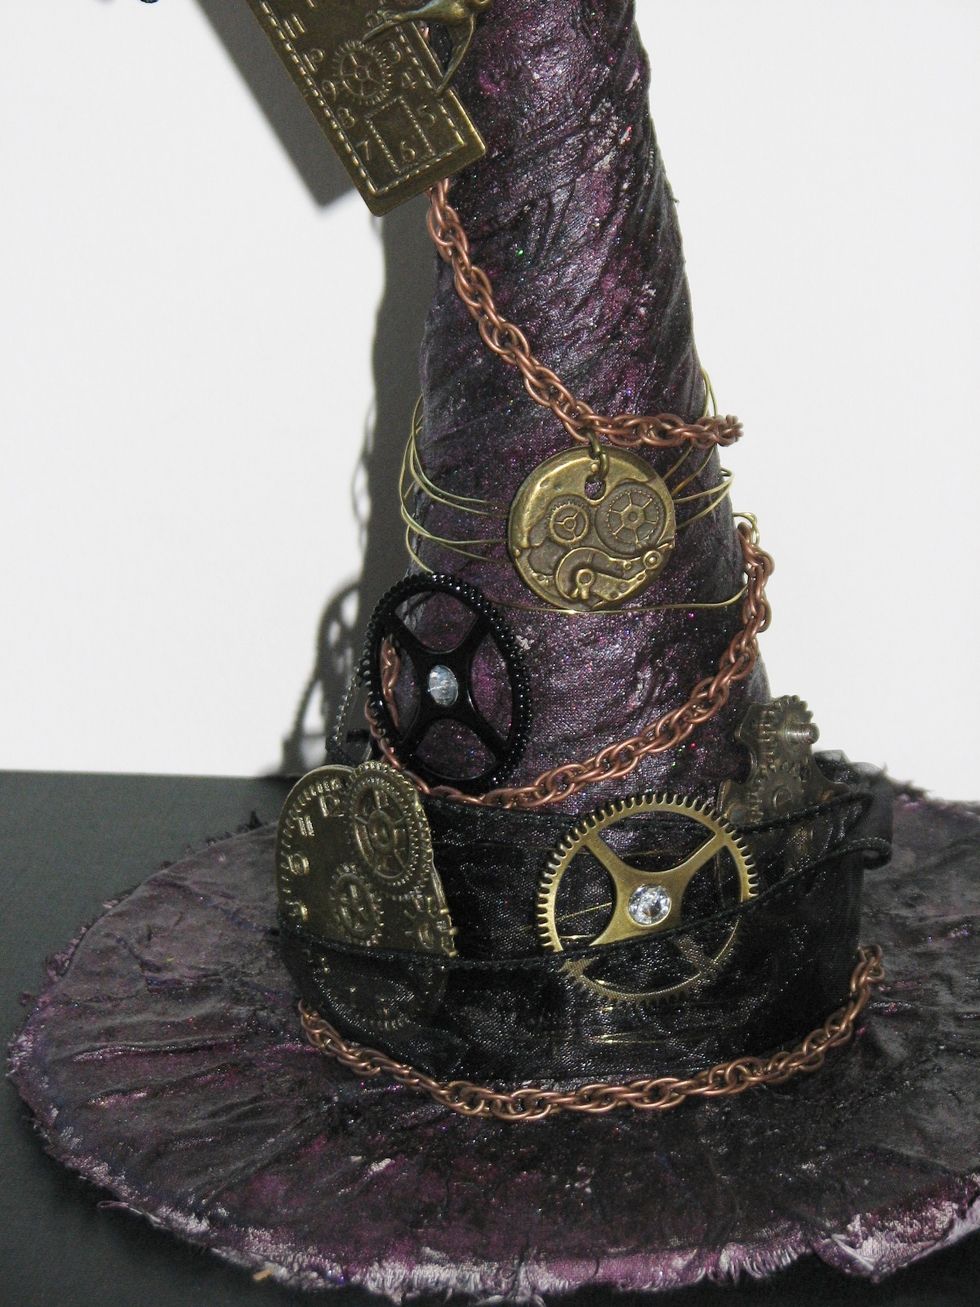
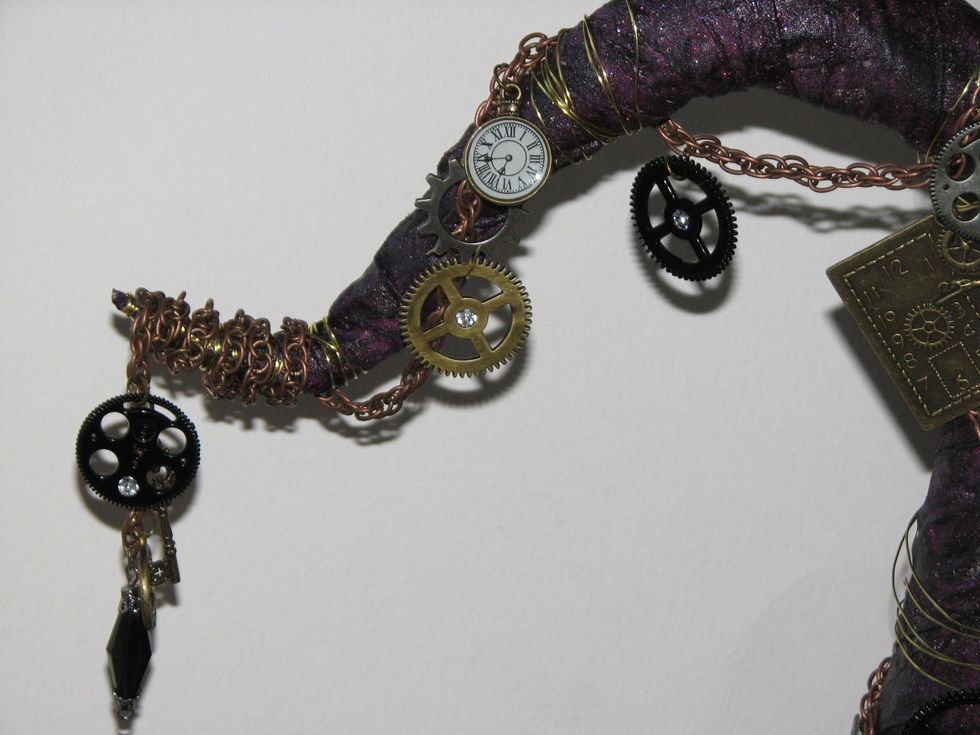
And finally a Steamy Steampunk inspired hat....complete with gears, chains and a bit of bling.