The Conversation (0)
Sign Up
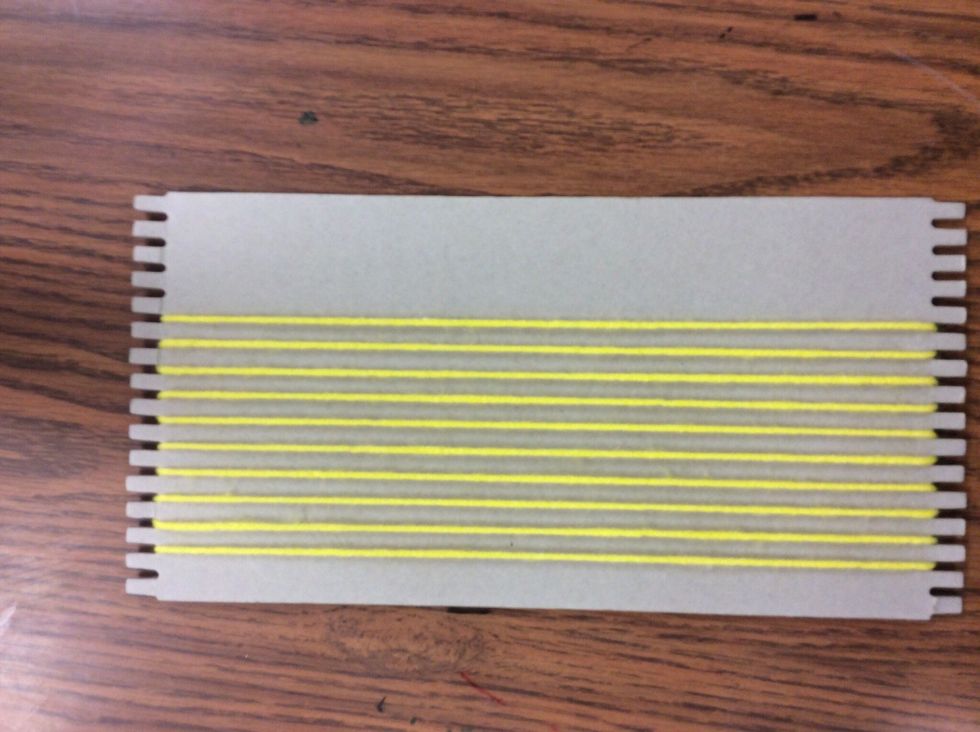
Wrap the yarn on the front of the loom 10 times. This is called the warp.
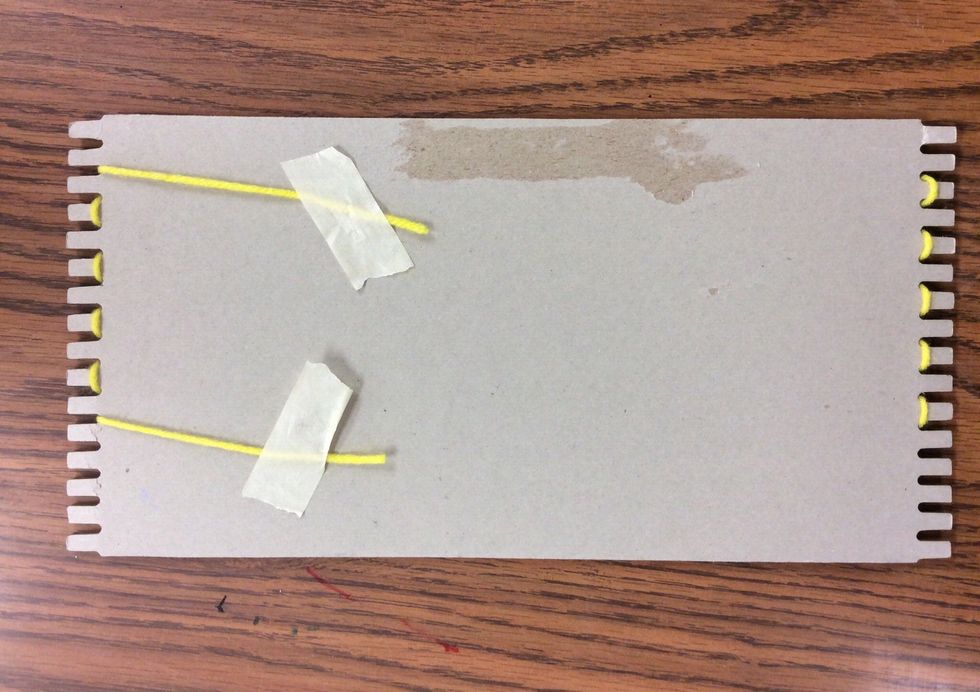
Tape the wrap down on the back of the loom.
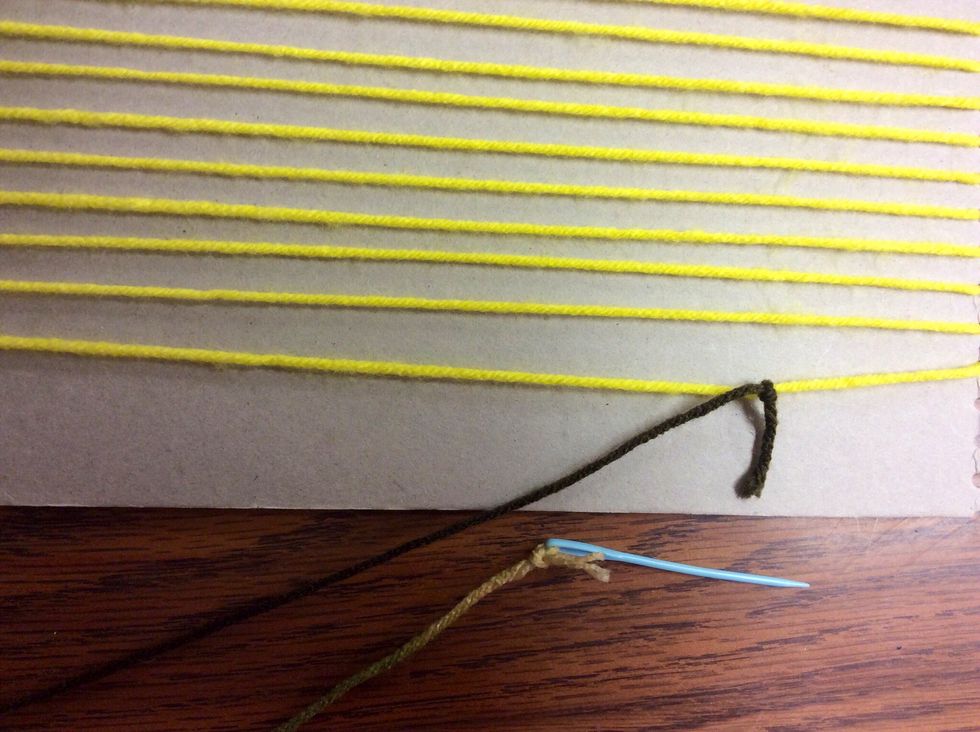
Tie an arm length of yarn to the needle then the other end to the wrap. This is called the weft. You will be weaving with this.

We are doing a basic weave pattern of over and under. This is how it looks in the beginning.

My weave is now tighter and is looking nice.
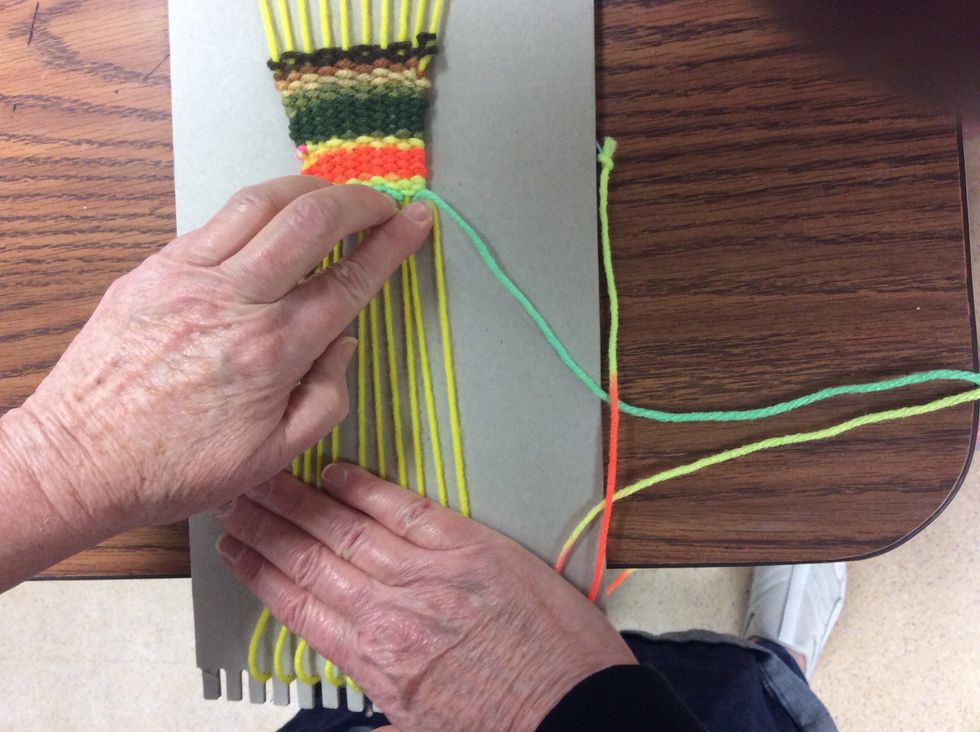
This is how I got my weave tight. I held the bottom wrap on the loom as I pushed up on the weft with my fingers. This takes time and patience, but you will get the hang of it.😃
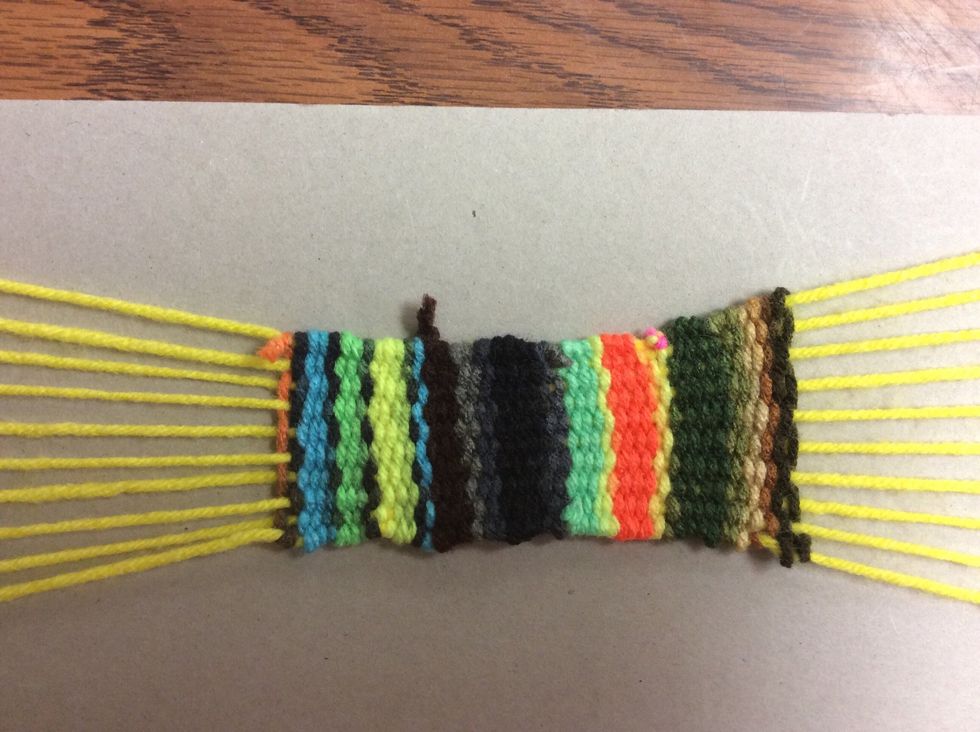
Here is my final weaving. It is time for the next step!
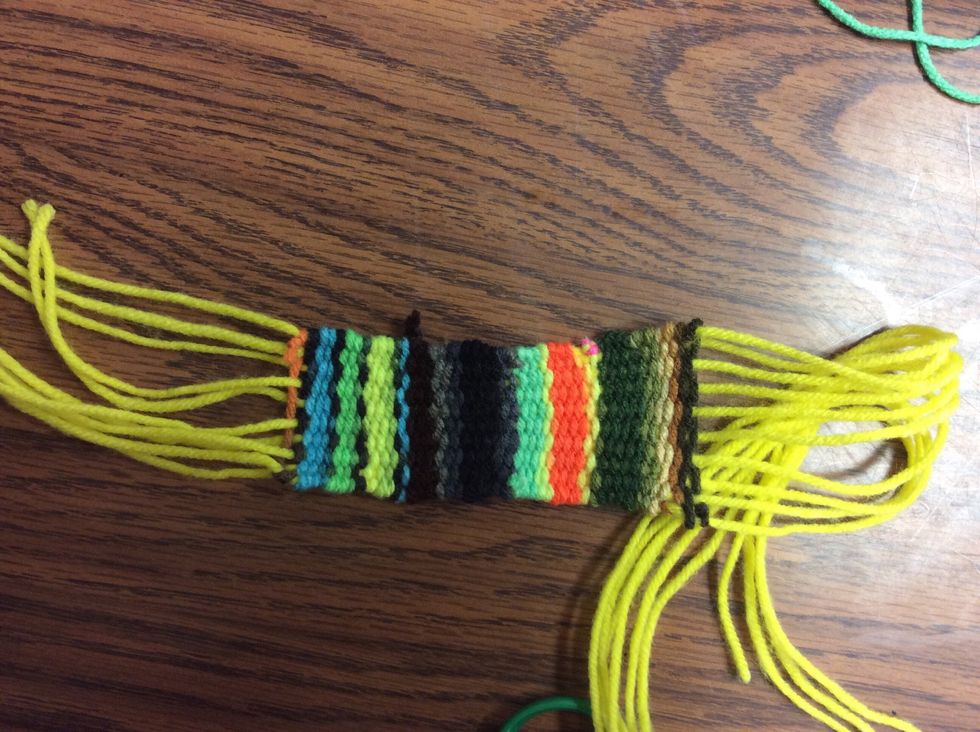
I took my weave off the loom. I cut the loops, so I could braid.
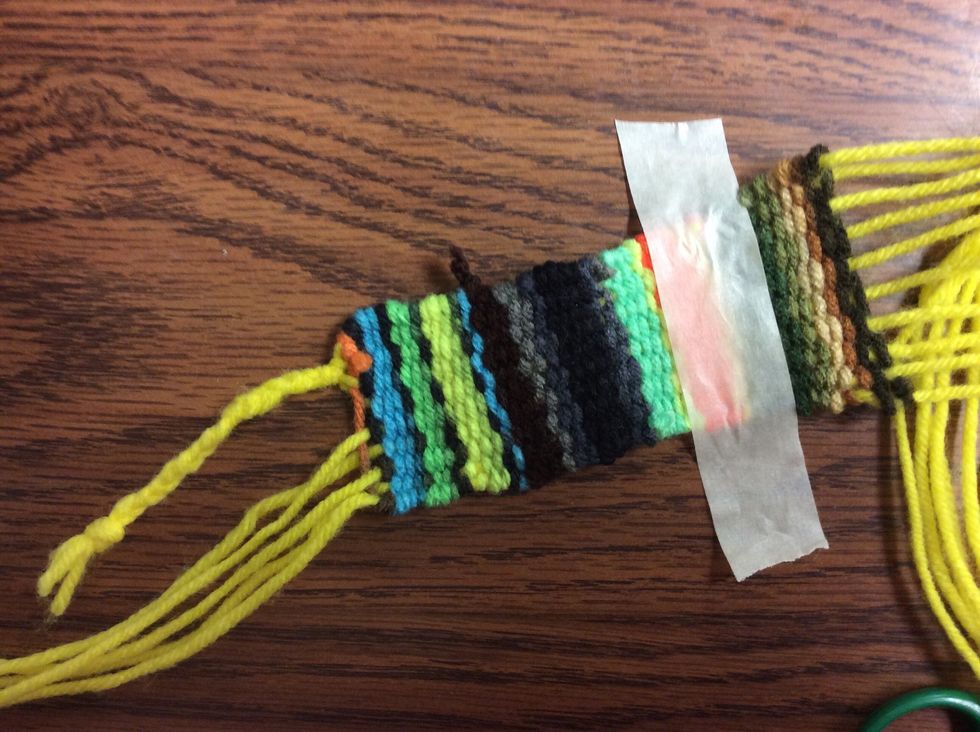
I taped my piece down, so it did not move while I braided the legs.
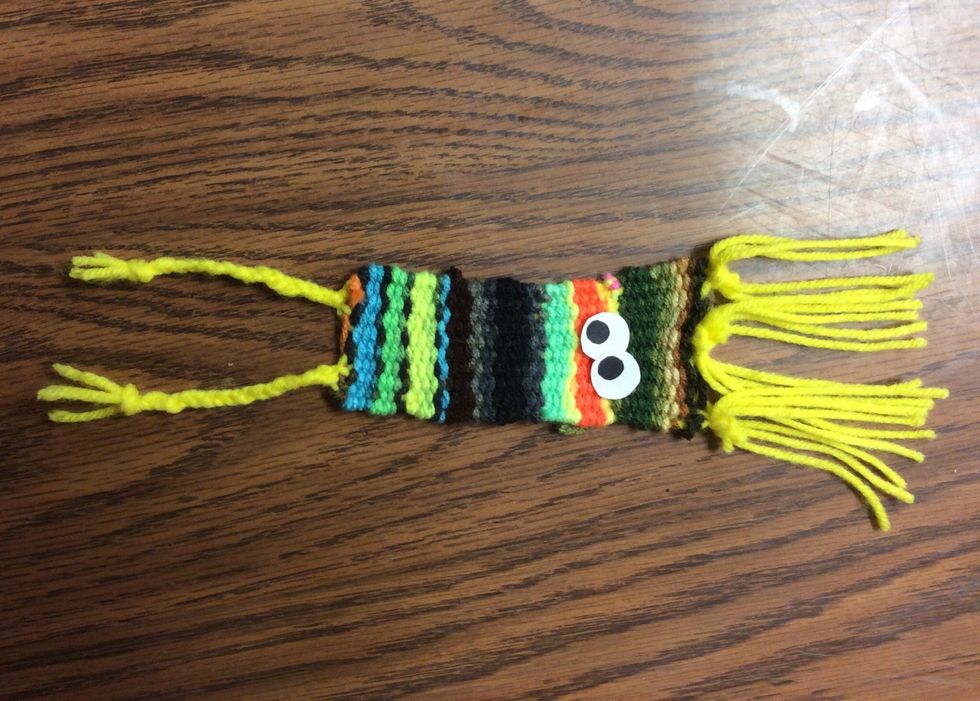
I like my hair just open, and here are my fun eyes. This can be the end, or if you finish early...
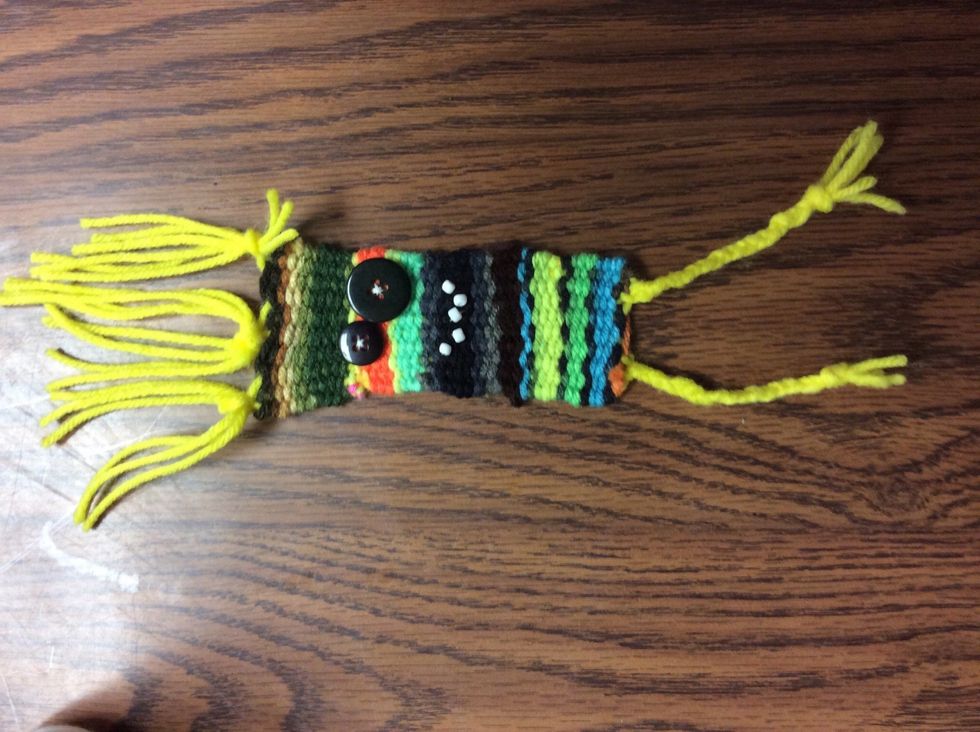
There are extra materials to sew on button eyes and bead teeth.