The Conversation (0)
Sign Up
Things to know before you start- * Some of the embellishments are made out of vellum. Use a very thin layer of bonding memories glue to adhere these to pages to prevent showing through.
Cut off all zip strips before cutting any paper. You will be using some of them to embellish. A zip strip is the top piece of the paper with the design on it.
I use bonding memories glue for gluing down the edges. It will not wrinkle your pages. Be sure to put the glue on the edges of your paper especially around the punched holes.

All of my pages are outlined with a thin link and a little doodling- bow like doodles. I do this to make design pop. Freehand it using your CTMH journaling pen.
The mats are cut out of left over paper from the paper you use to cover the album. That is why I recommend cutting and covering the chipboard first so you can use your scraps for embellishing!
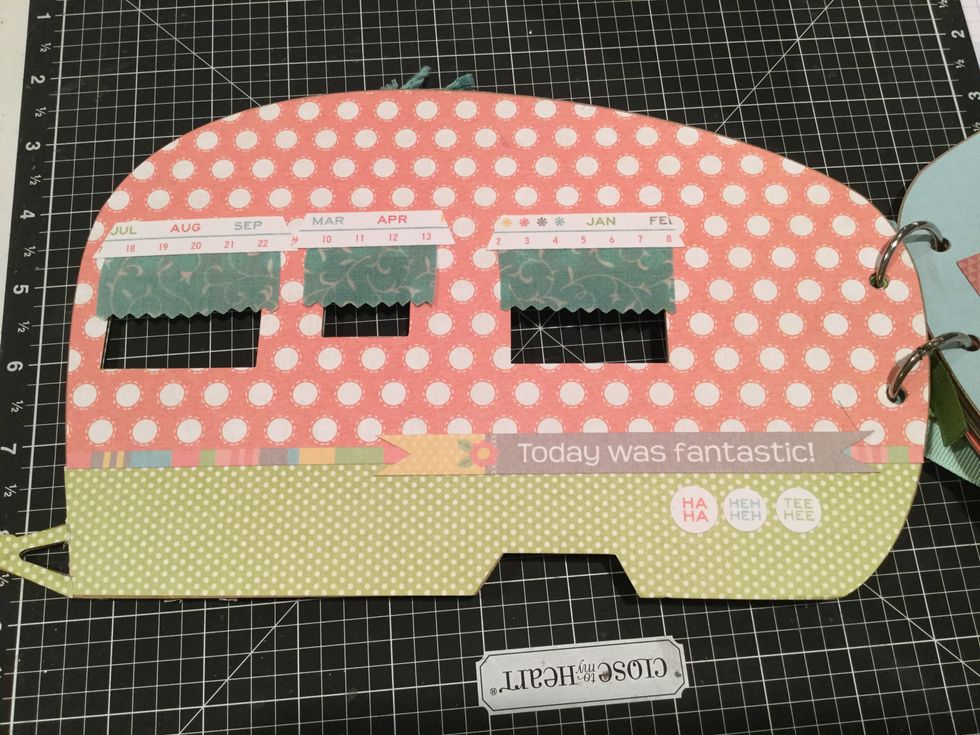
The first step is to cover all your cardboard pages first. Trace design on back of your paper. Make sure you pay attention and do not glue the wrong pattern to the wrong side of album.
Trace the camper shape on the back of the grey plaid paper. Set aside. Trace the back so that the orange polka dot is on back page. Once cut out, slice both sheets about 2 " from bottom.
Glue the grey and blue to the front cover. Glue the orange and green piece to the back of the camper.
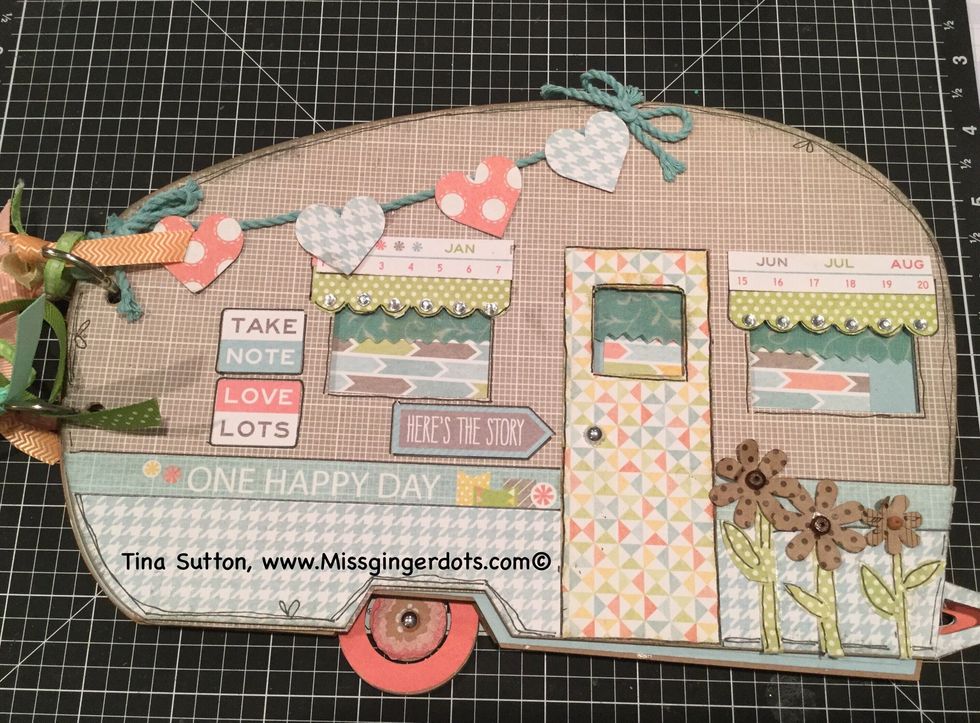
Decorate the front as shown First glue down the One Happy Day Zip strip across the grey and blue plaid. We will decorate the rest of the cover later.
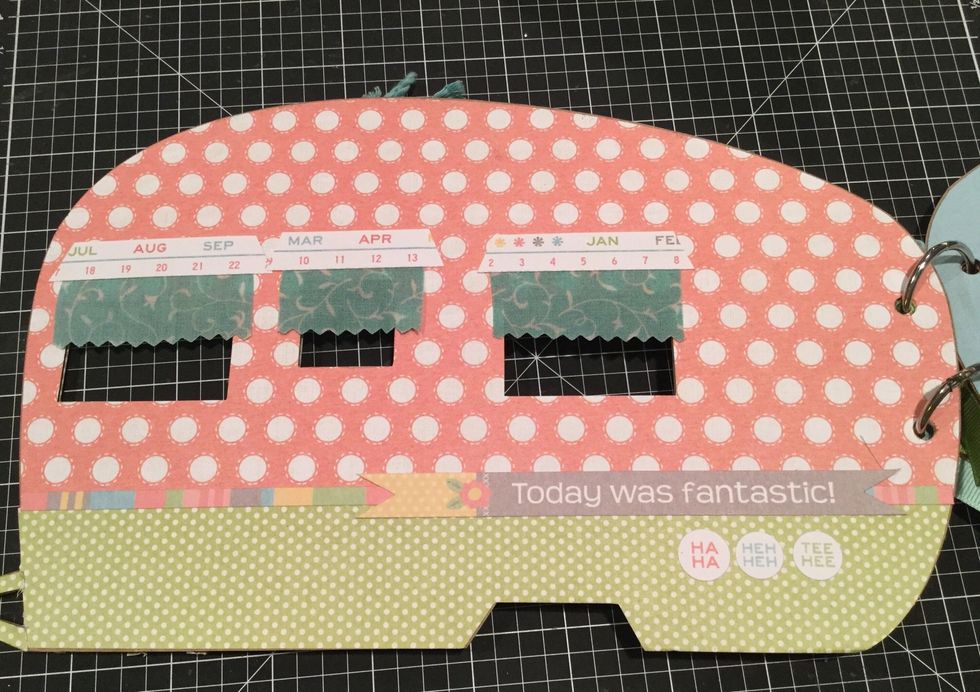
Let's go ahead and decorate the back cover. To separate the orange and green, you will use the color block sticker from your sticker sheet. Also use the Today was Fantastic sticker.
Cut your curtains to the desired size. They are glued on the back with bonding memories glue. I glued them at the top of the window. Let them dry for at least a half hour.

The valances are made from a zip strip. Glue the zip strip to the top of the valances after they dry. I angled the zip strip edge. You can use regular bonding memories glue to attach zip strips.
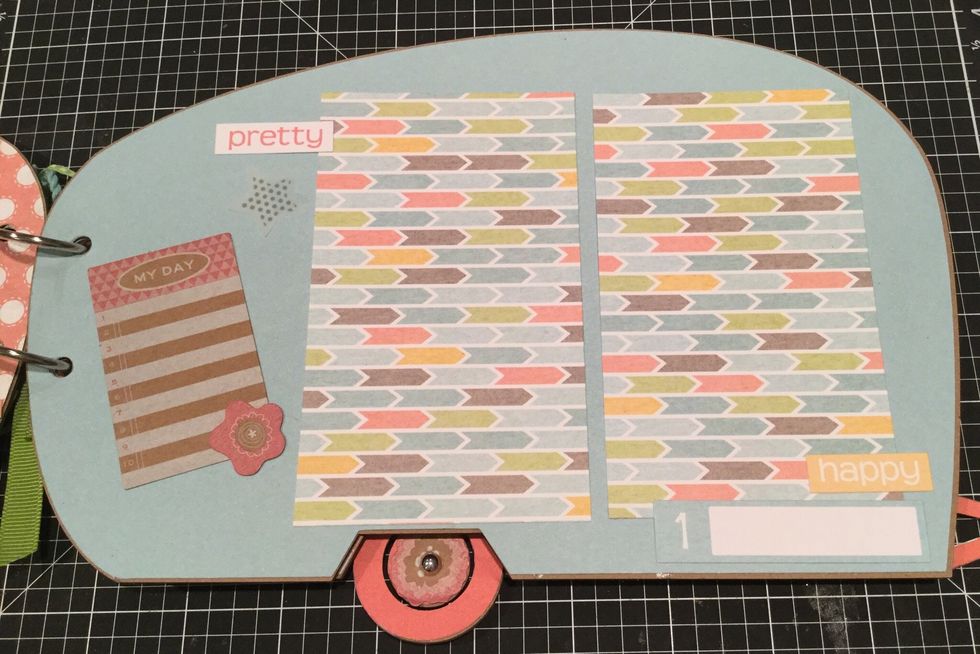
Decorate as shown. The Mats are cut from left over paper (cut these after you glue down all the camper shapes pages to chip board pages. The sizes of the mats are 3 x 5".
Cover with light blue card stock. Mat size is 4 X 4. Embellish as shown.
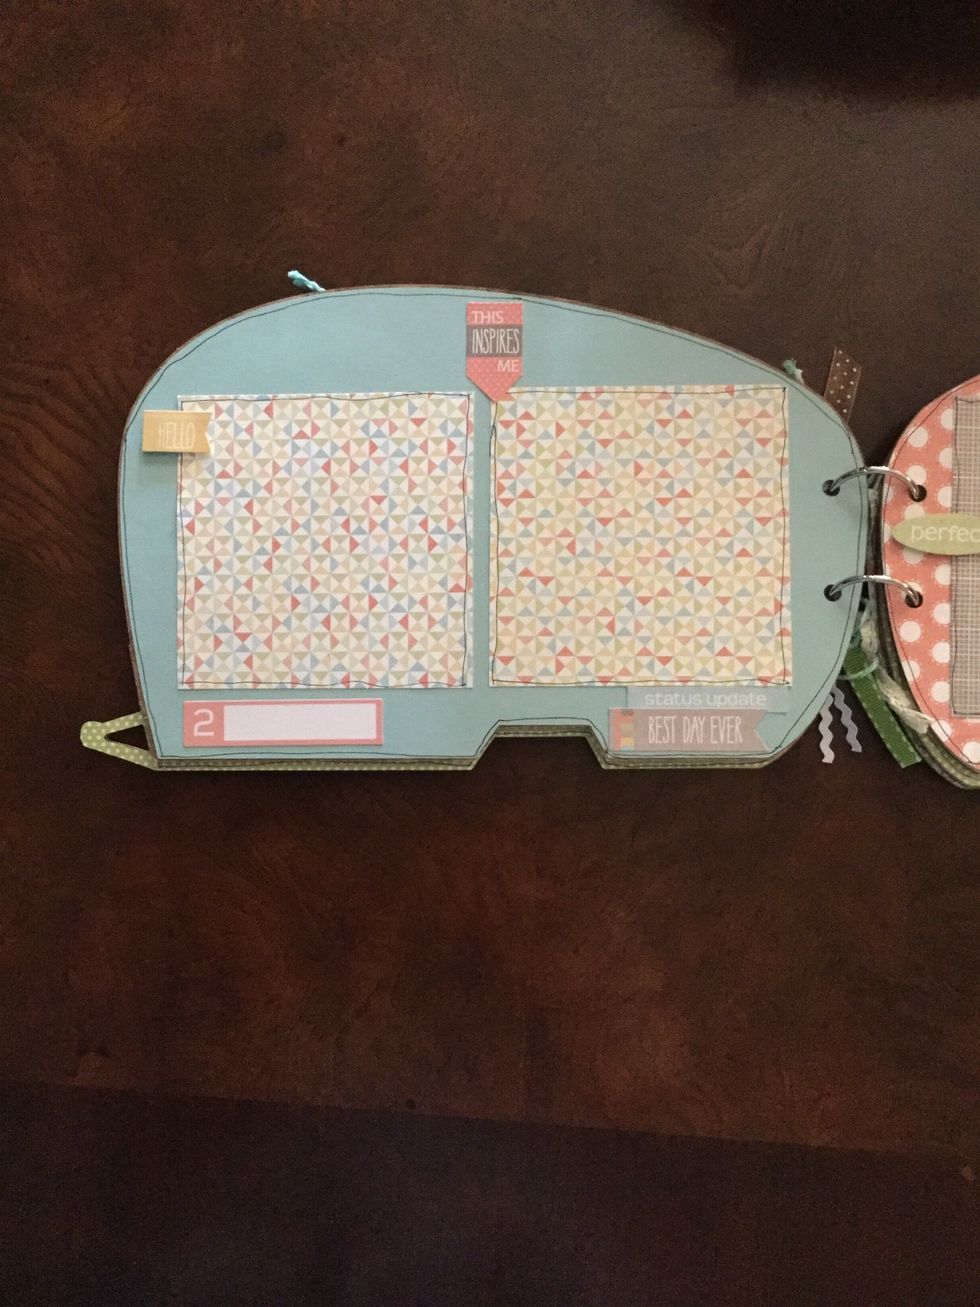
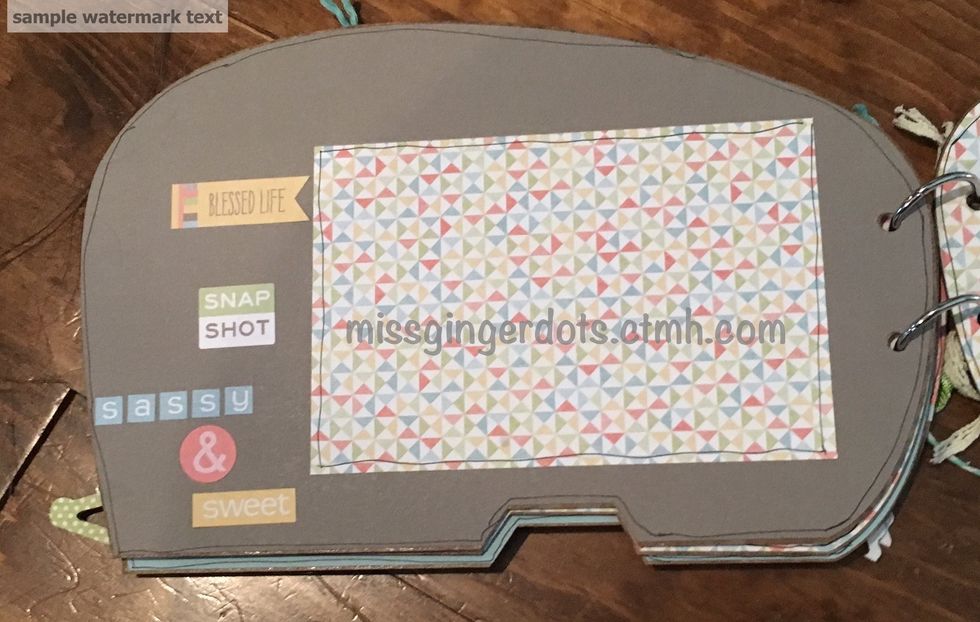
Decorate as shown The mat sizes are 4 x 4".
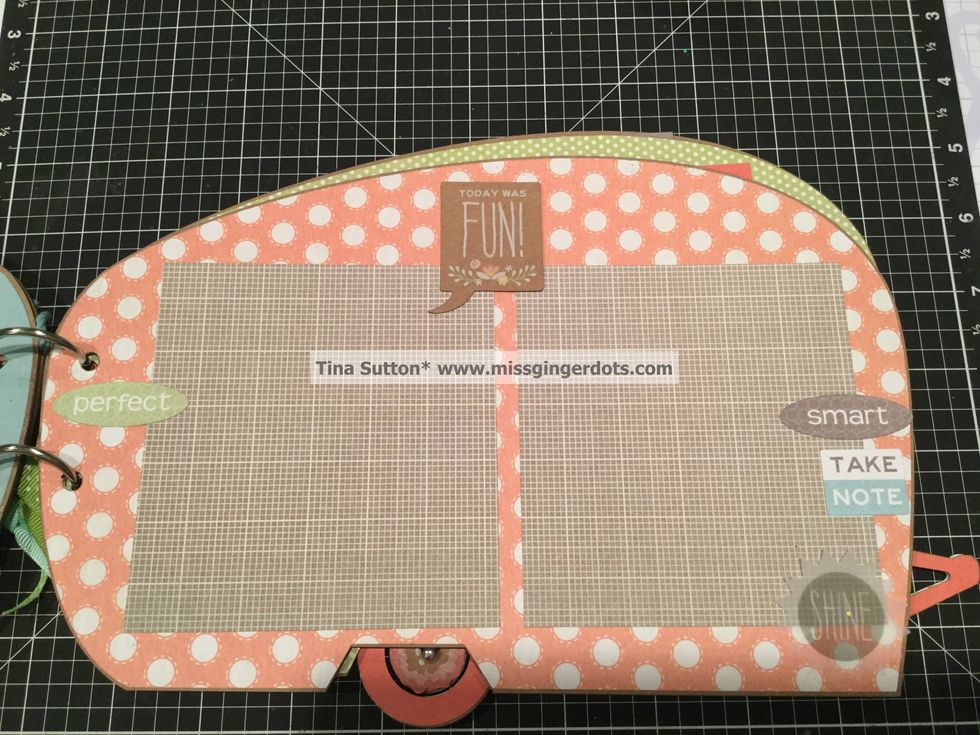
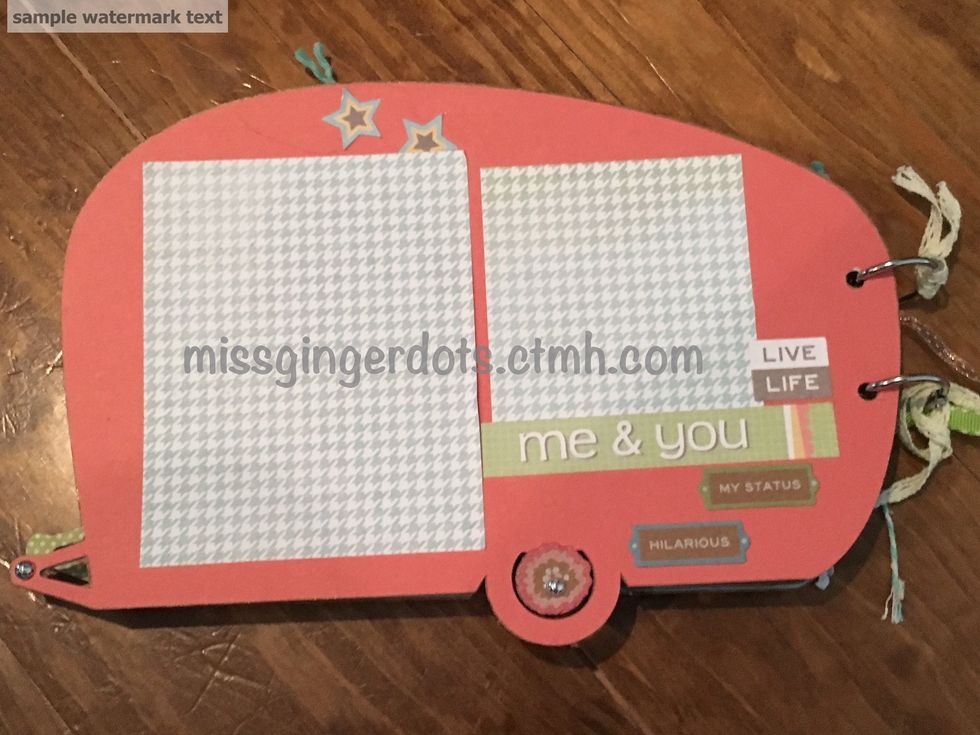
Decorate as shown. Mat size is 4x 6".

The door is cut from left over paper. The size is- 1 1/2 x 4" Attach the blue twine for banner with a thin strip of Liquid Glass. When dry attach hearts in your accessory pack. Pop with 3D tape.
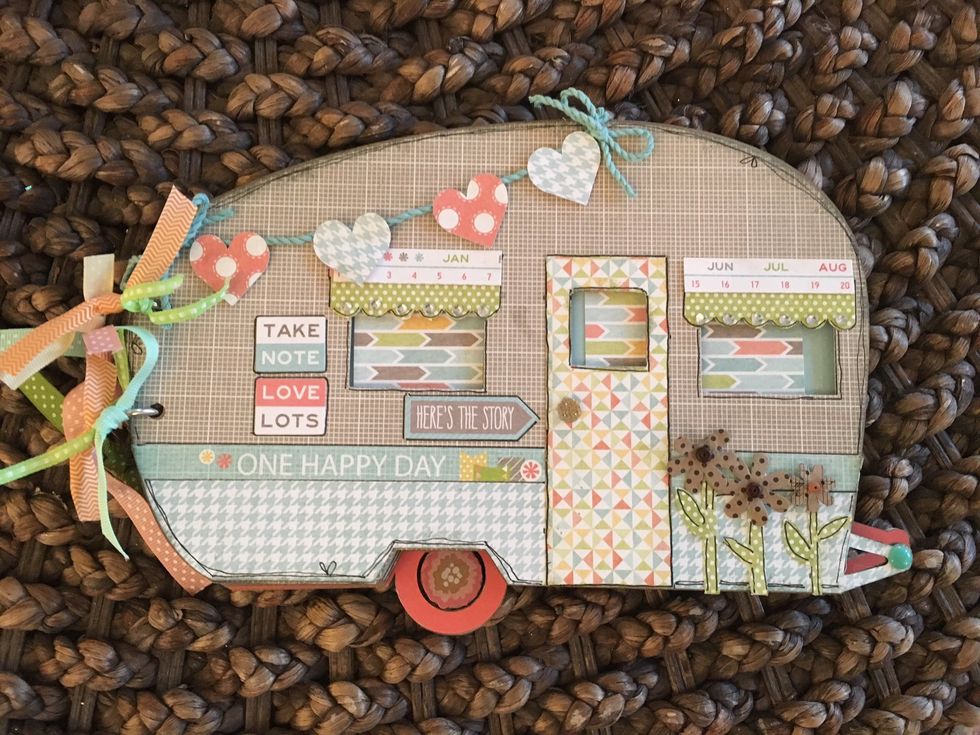
The valances are made with a border punch and green polka dot paper. The valance borders are pieces of zip strip. Add sparkles. The flowers stems are free handed. Attach 3 flowers and add leaves.
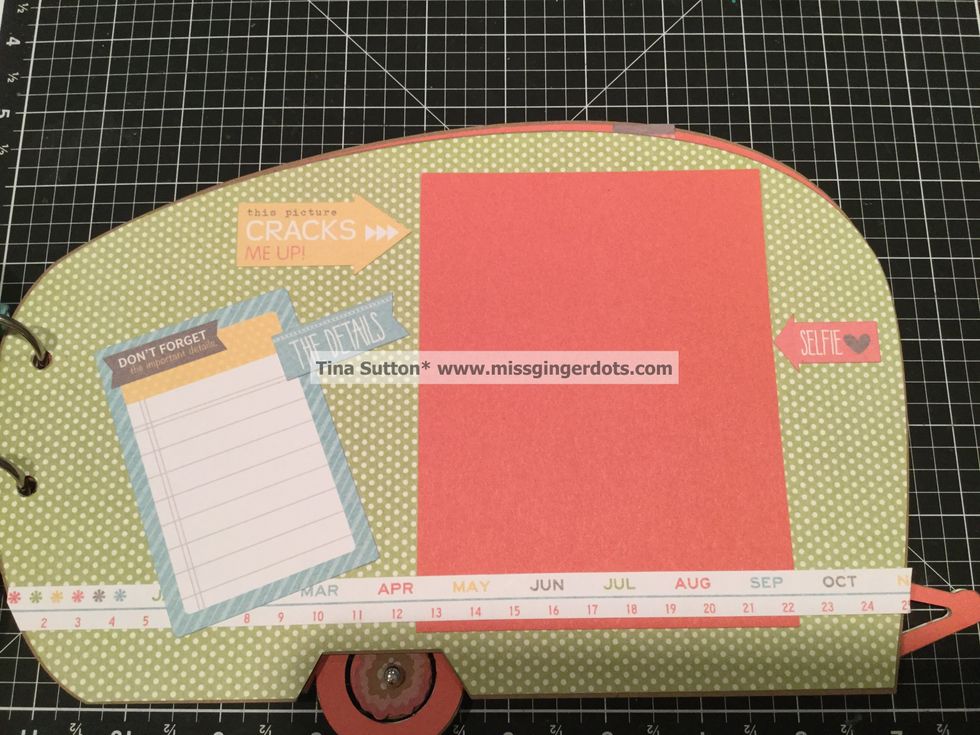
Decorate as Shown! The mat size is 4 x 5 1/2" The border with the months at the bottom is a zip strip. It is glued across and on top of the photo mat.
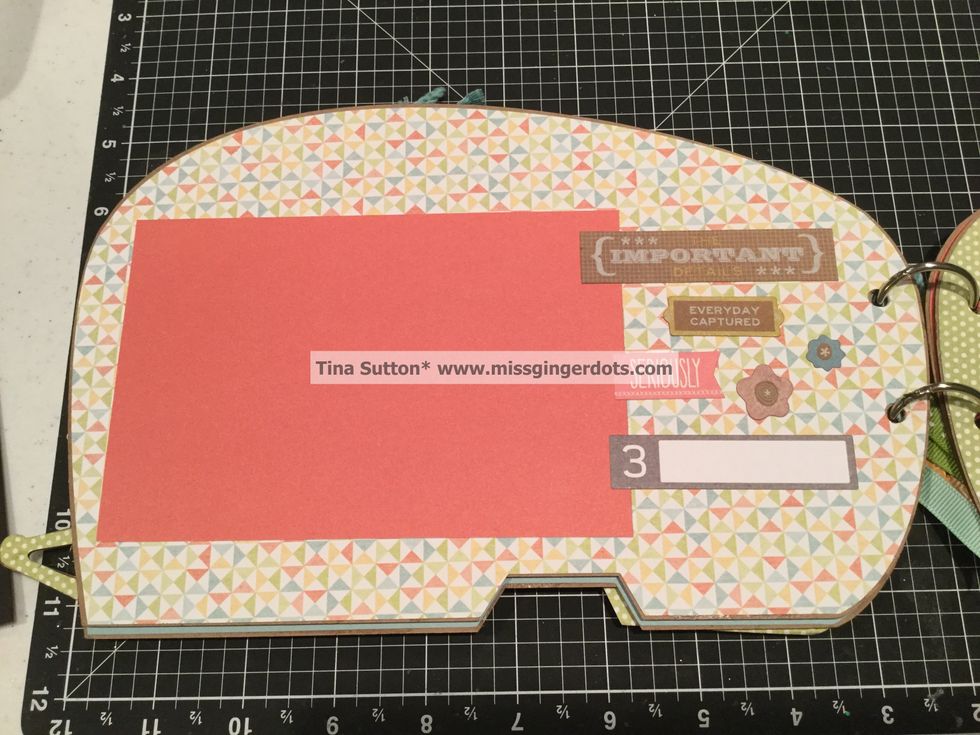
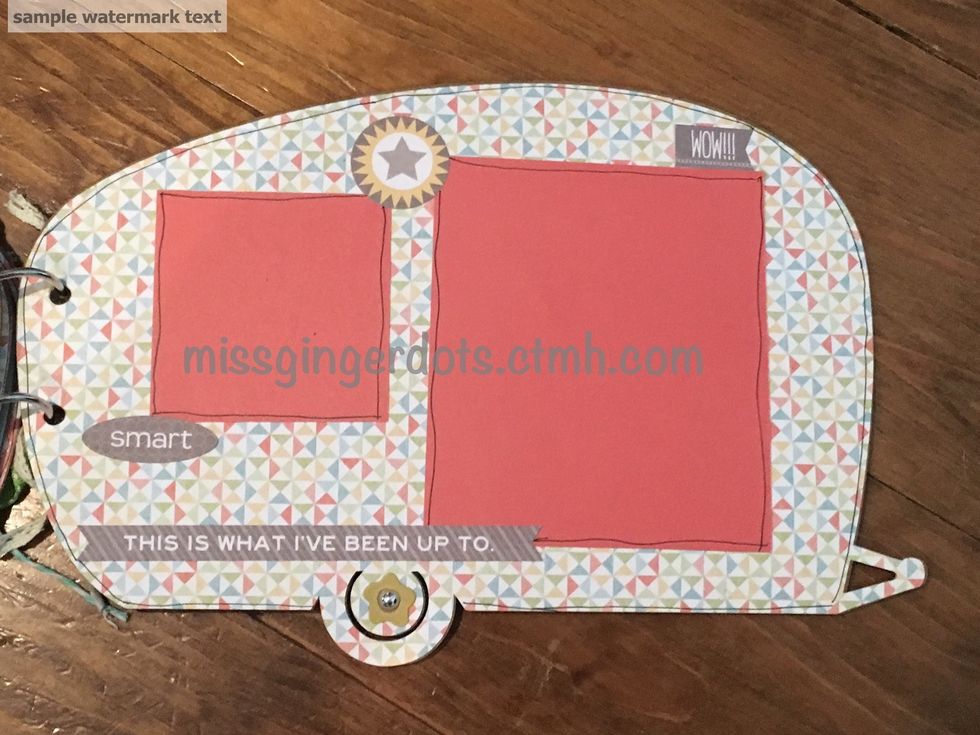
Decorate as shown . Mat size is 4 x 6".
Decorate as shown. Mat size is 2 1/2" x 2 1/2" and 4 x 4 1/2".
The last page can be left plain or decorated. If you choose to decorate the mat sizes are 3 1/4" x 3 1/4" and 4 x 5". If you choose you can add ribbon to the rings of the book to add more color.
I hope you enjoy your book. All supplies can be ordered WHILE SUPPLIES LAST from Tina Sutton- www.missgingerdots.com. Email- Missgingerdots@me.com