The Conversation (0)
Sign Up
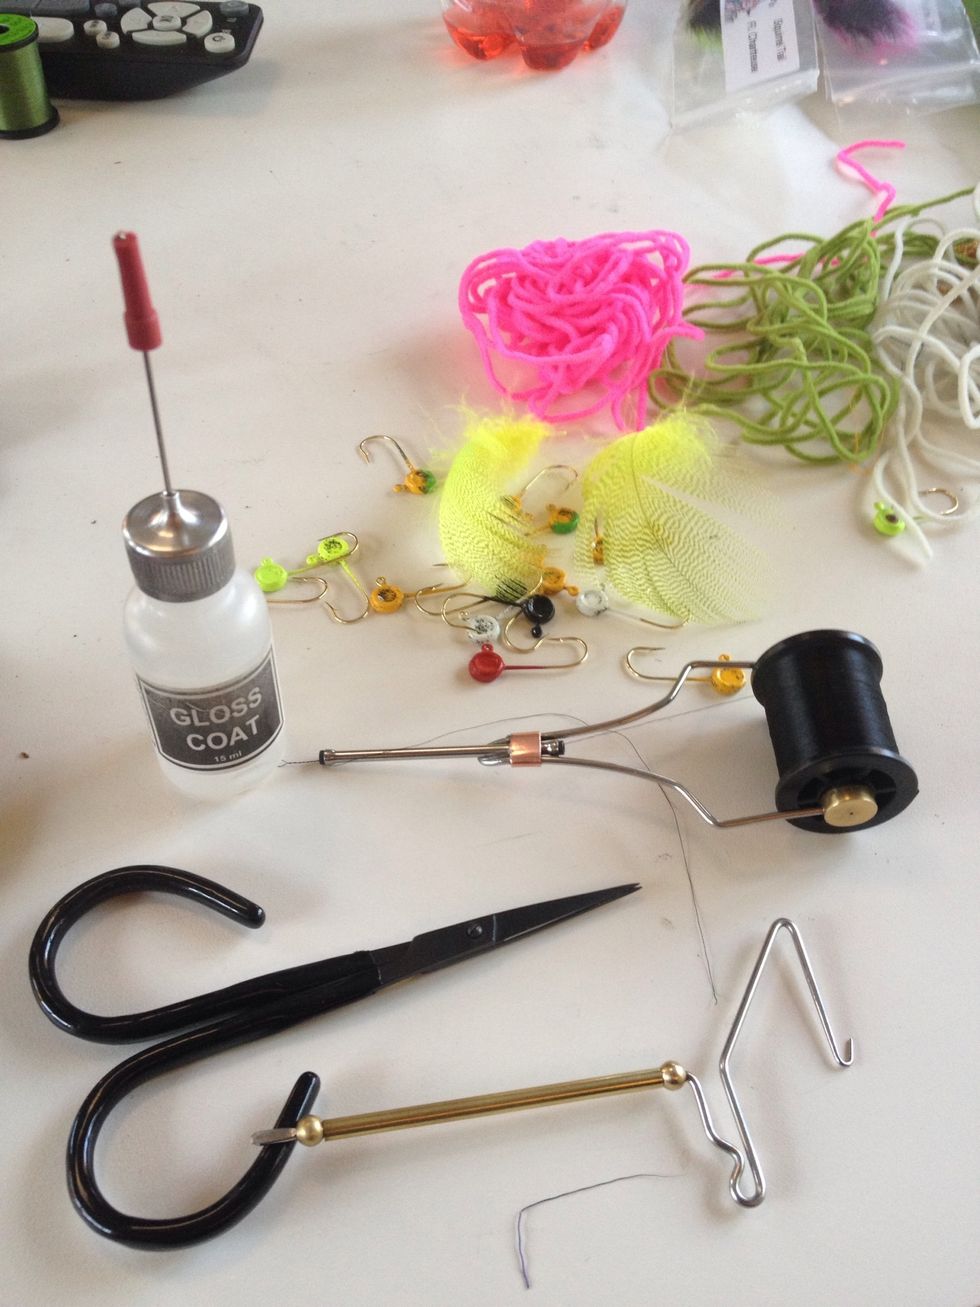
Here is a photo of the supplies you will need. A vise is not shown but needed.
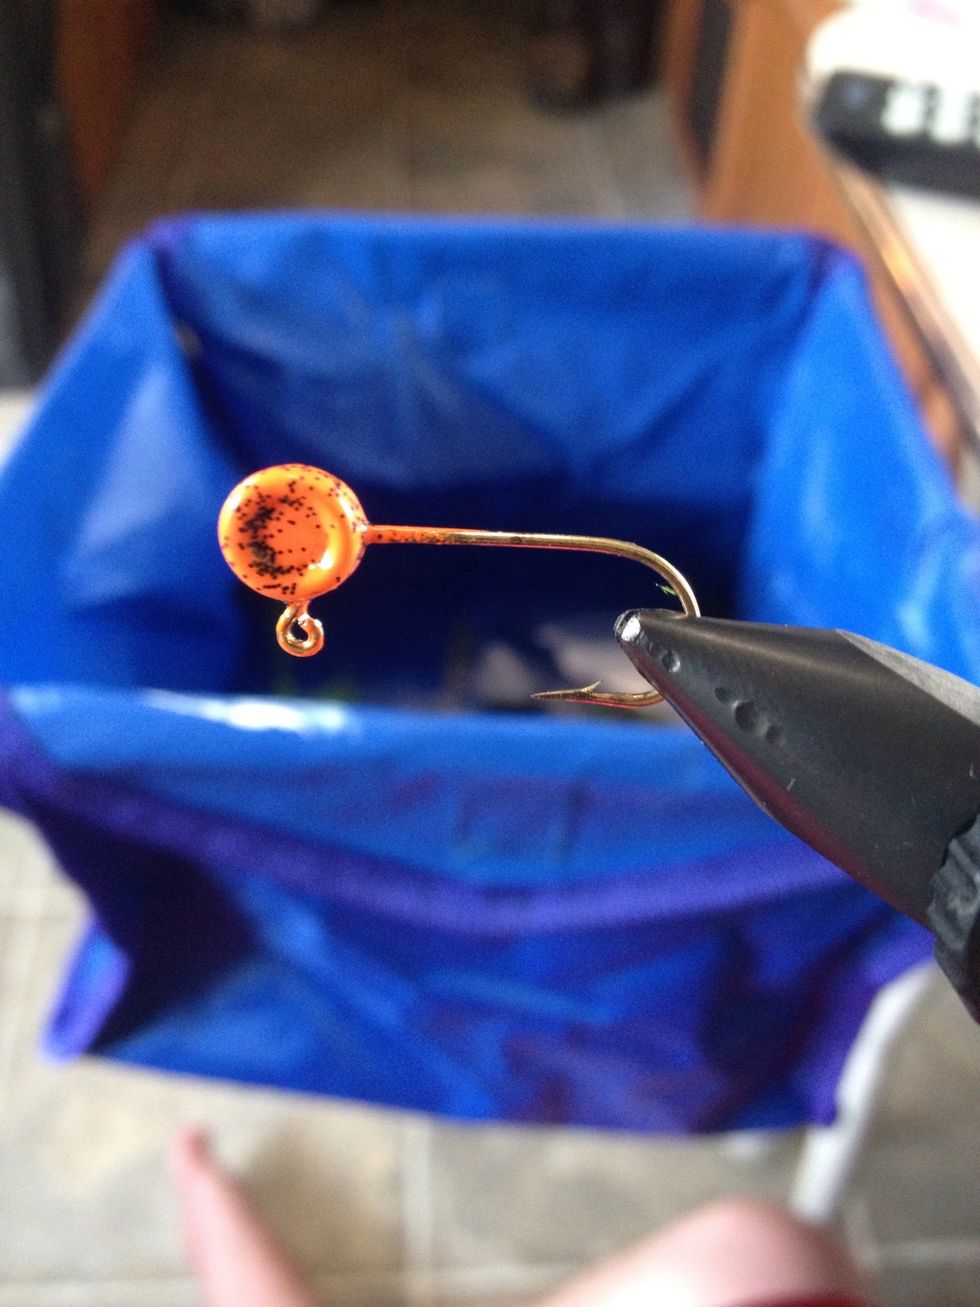
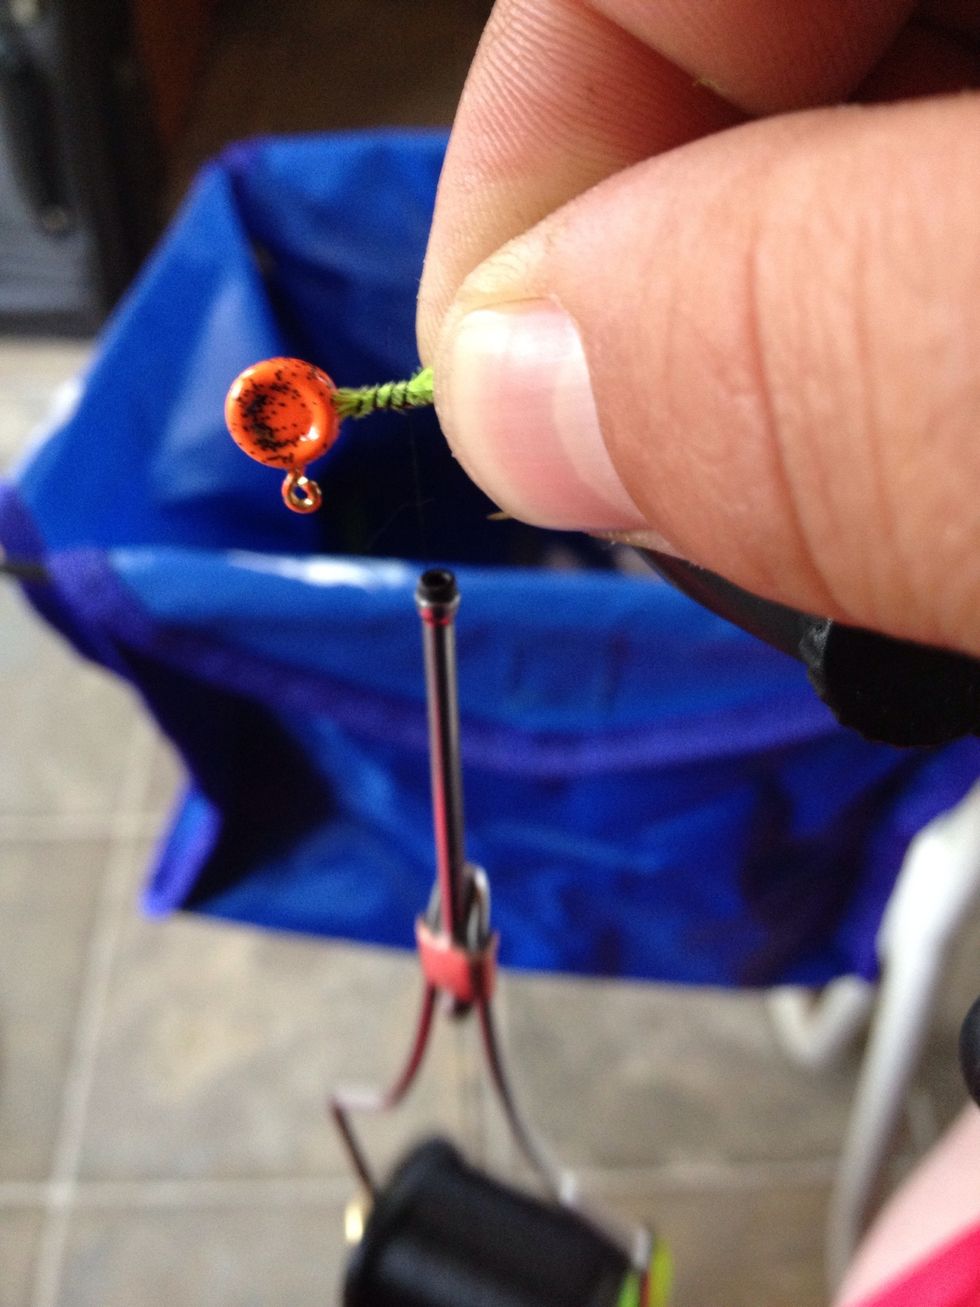
First place your jig head firmly in the vise.
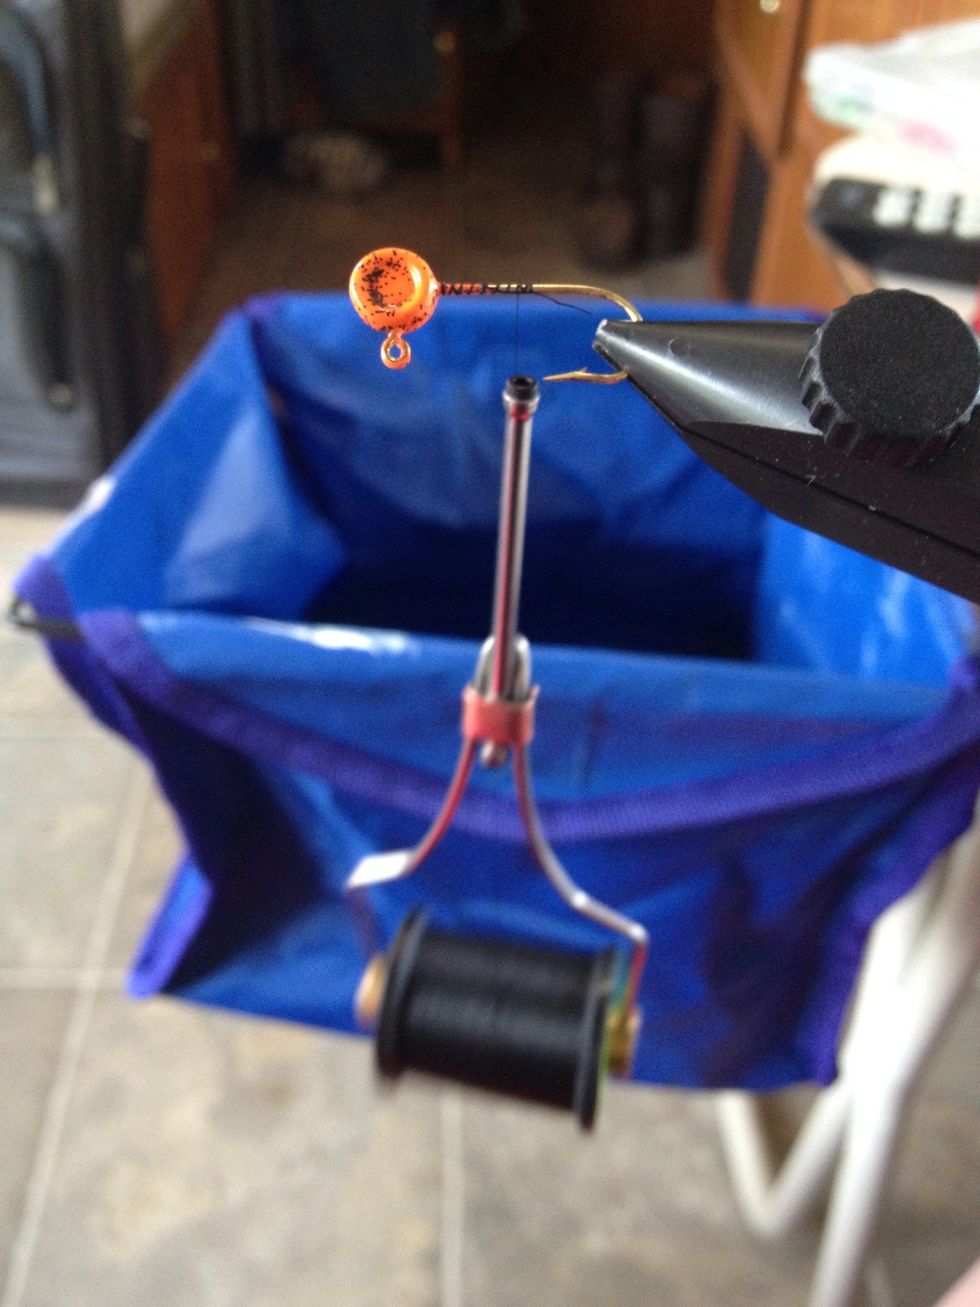
Starting at the head you then run your thread down the shank almost to the hook tip then back up to the head to secure it in place. You should be able to let the bobbin hang freely now.
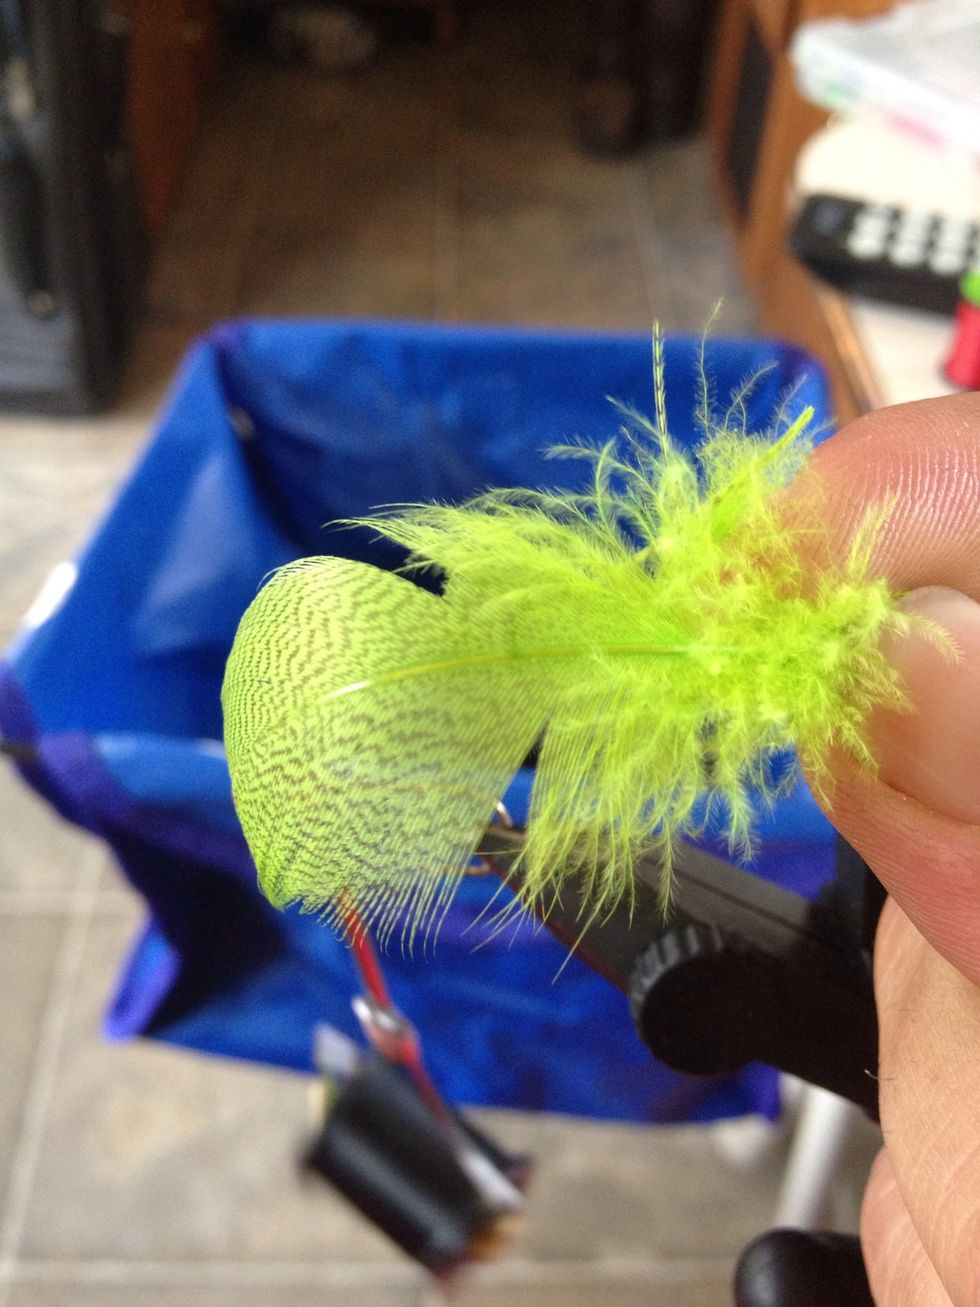
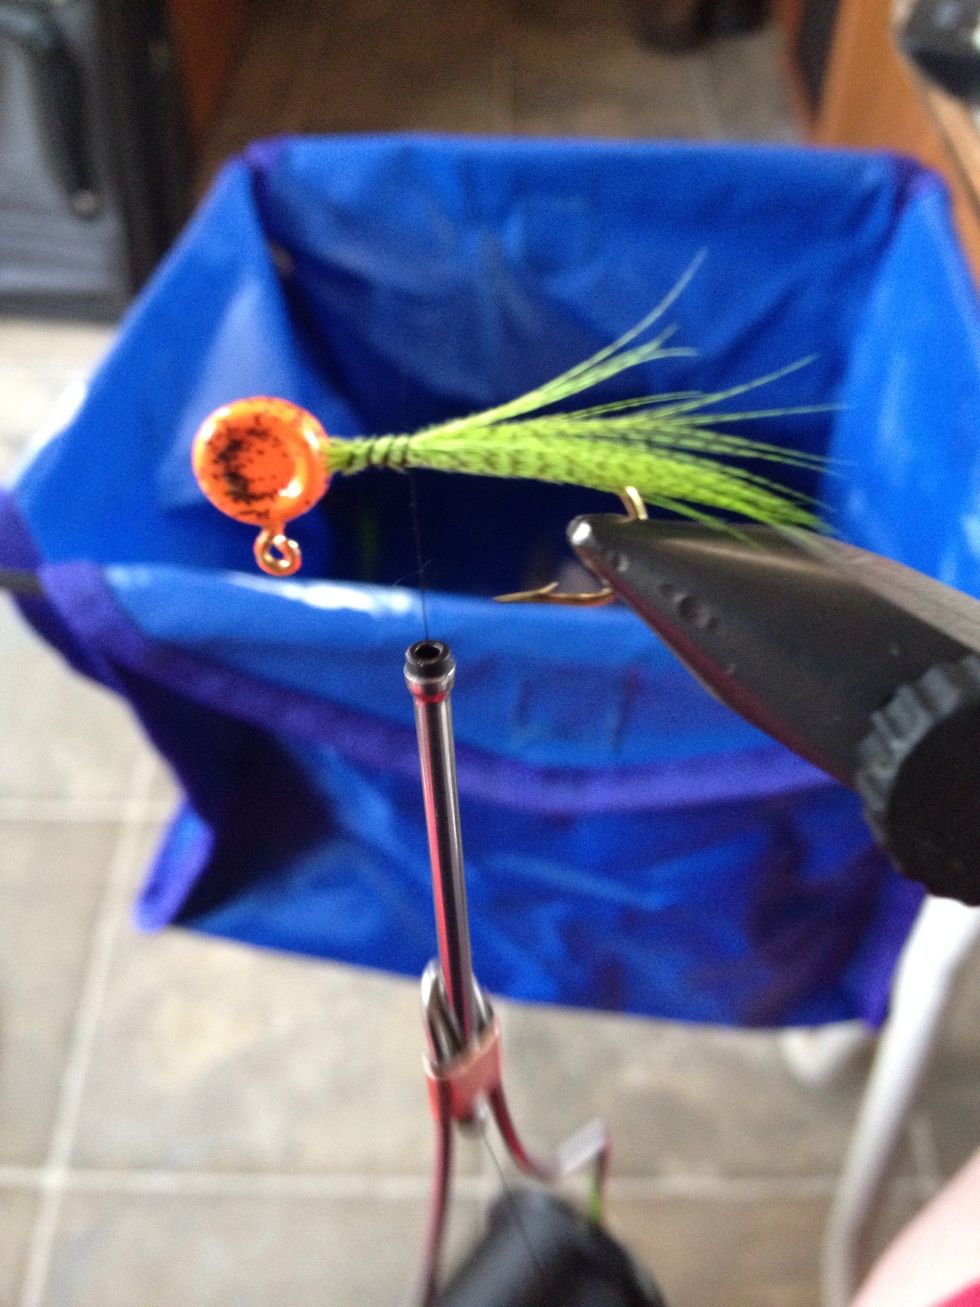
Now trim your feather along the center vein, (I guess that's what it is) and get as many feathers in your fingers that look like they will cover the bottom area.
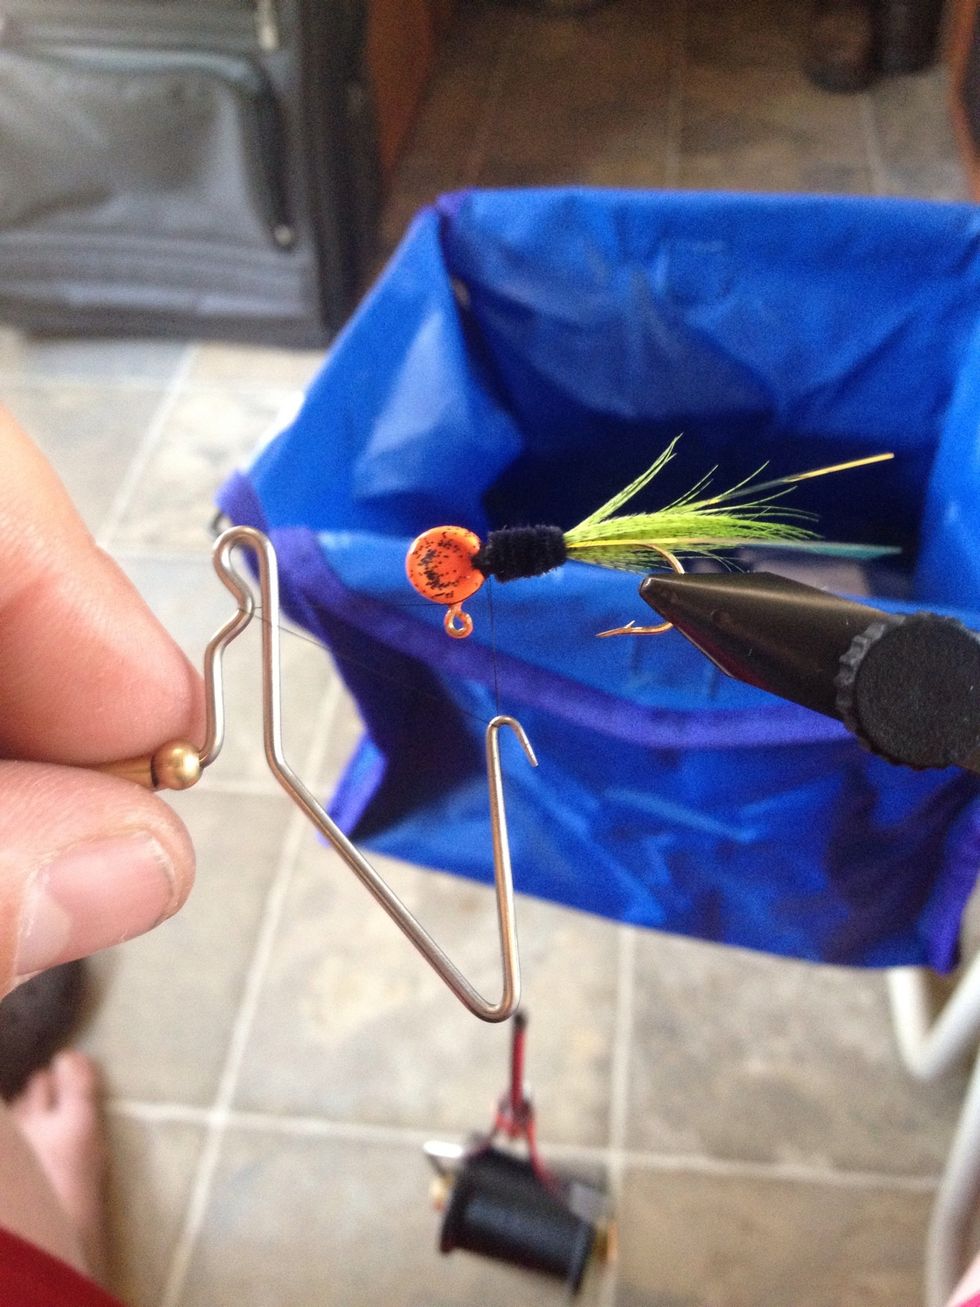
Place them on the shank (some maybe trimmed to make even towards the head) and wrap the thread from the head to the tail and back to secure them.
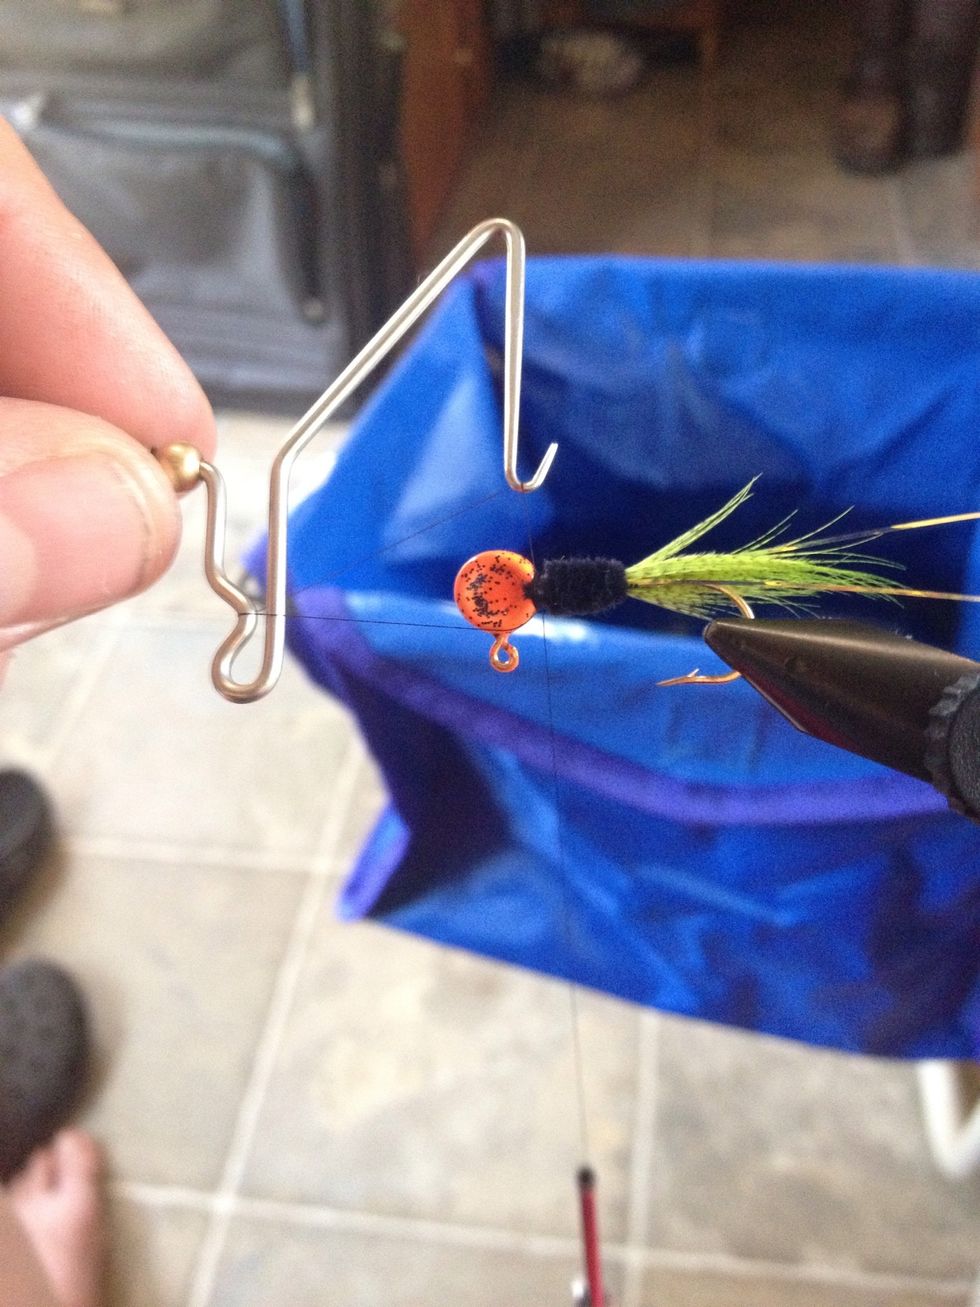
Picture without my fingers in the way
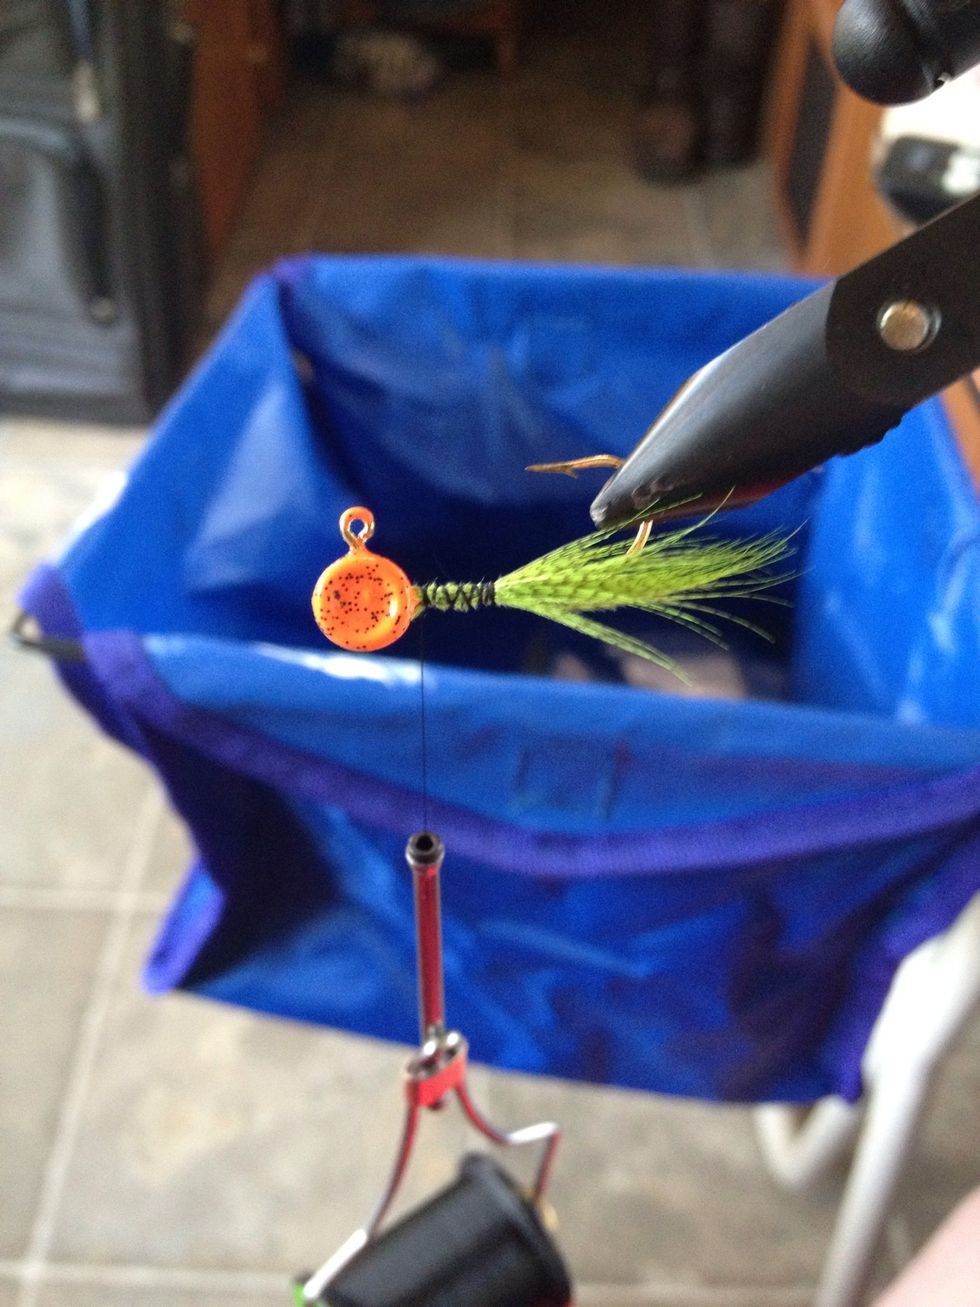
Now trim some more feathers to fill the shank out till you have it how you like it.
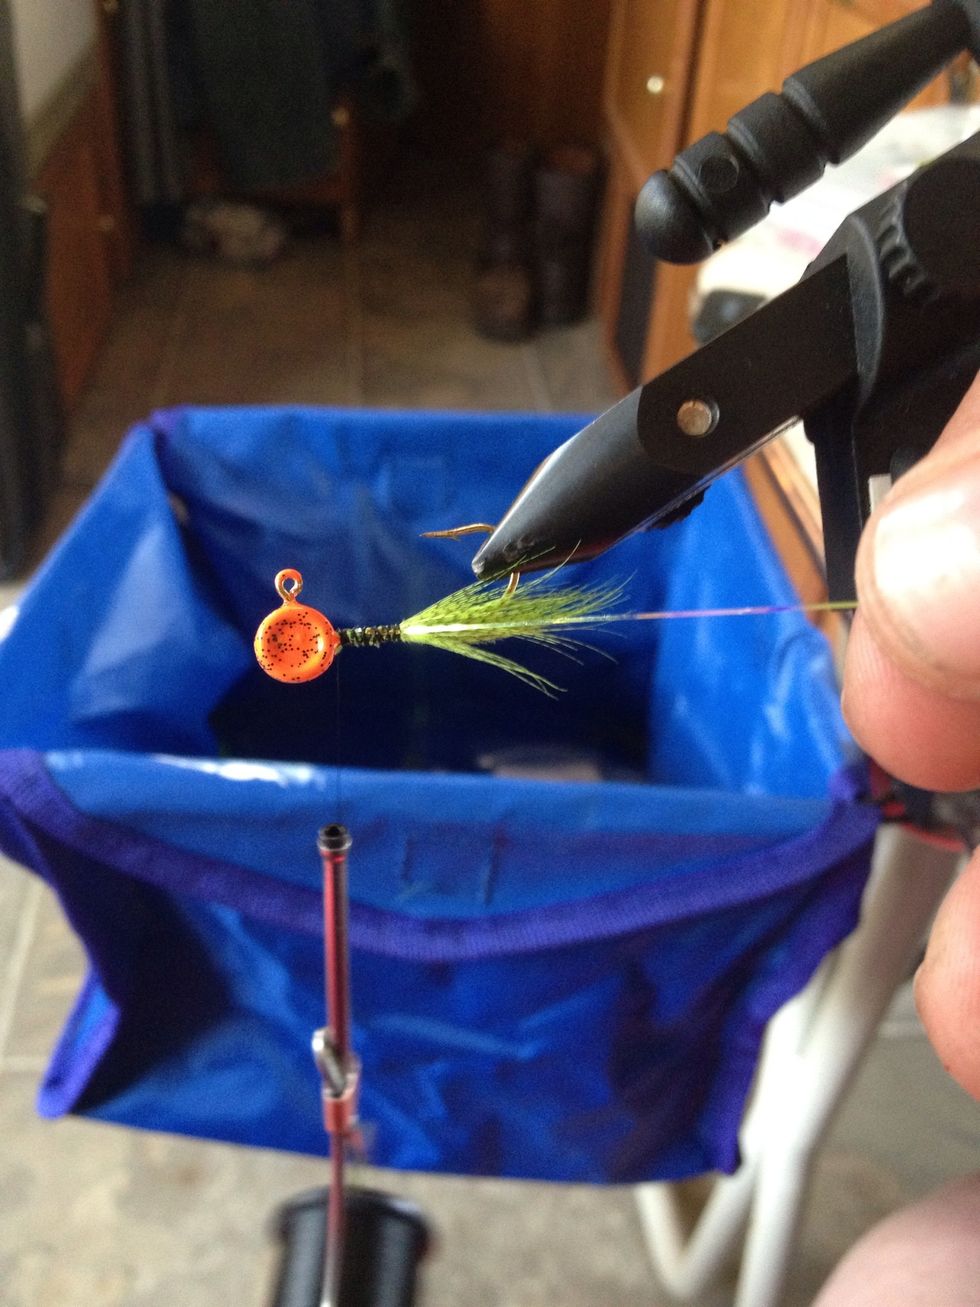
If you would like you can add tinsel along the side to mimic a minnow flash. "looks nice too" Anytime you finish a step it is wise to run your thread back towards the head so your ready for next step.
Place your chenille towards the head and run the thread down it till you get it to the tail. Then run your thread back to the head.
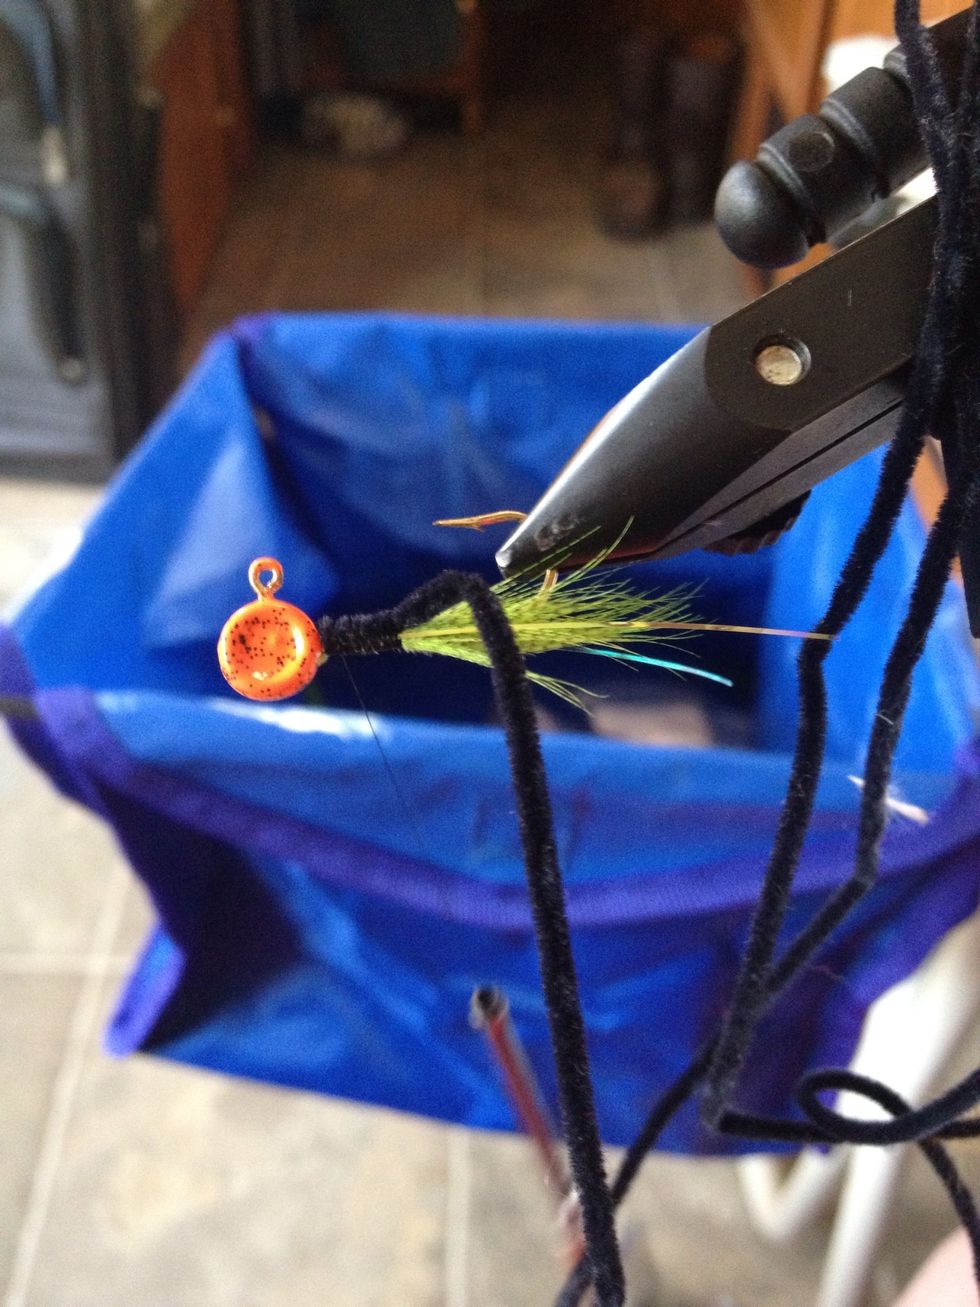
Now, tightly wrap the chenille back to the head where the thread is sitting. Holding it still tight take your thread and wrap it close to the head over the chenille.

Keep wrapping it over the top piece of chenille 7-10 times.
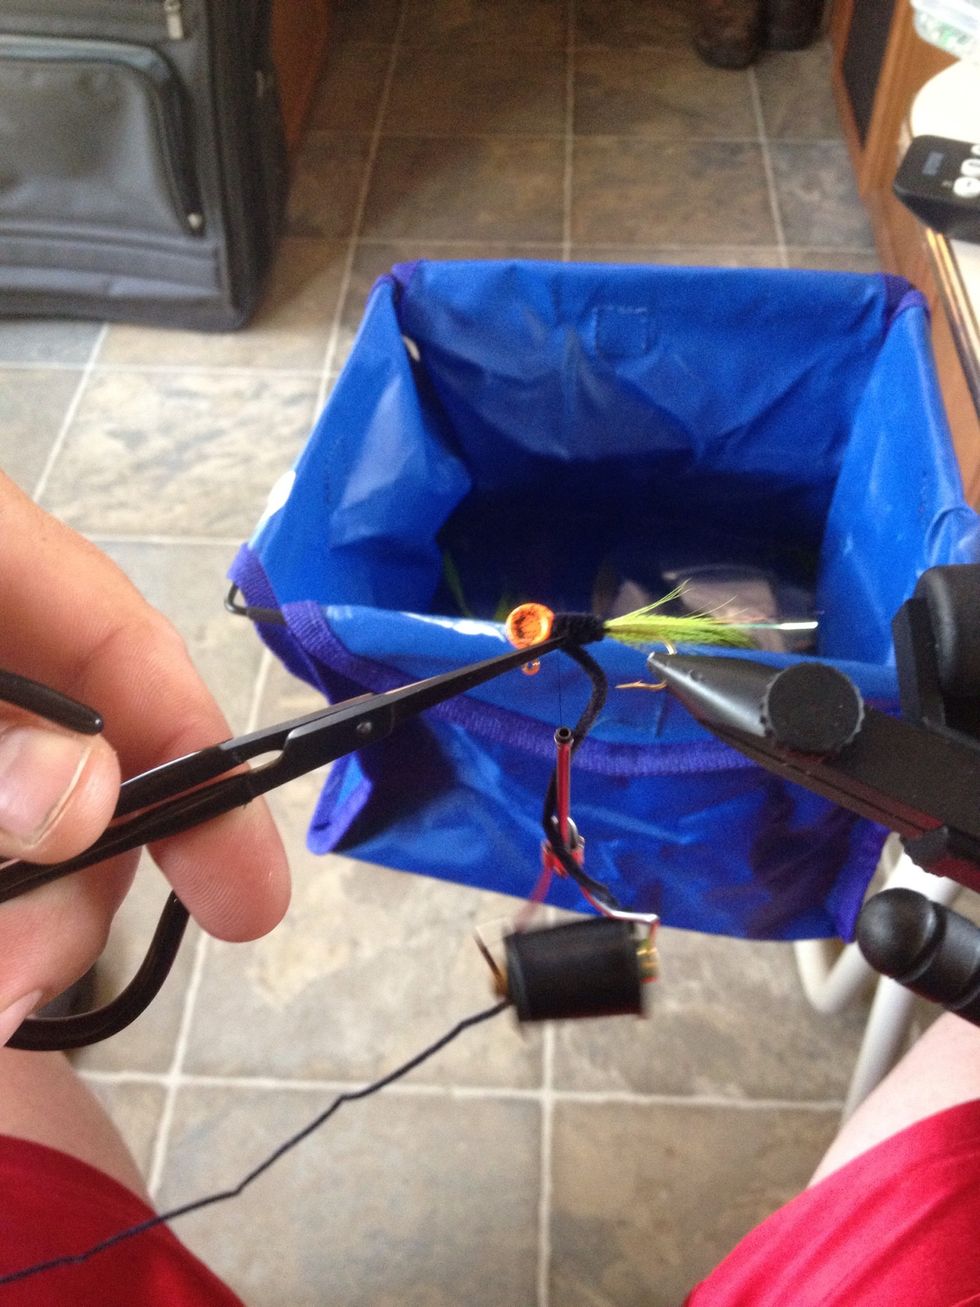
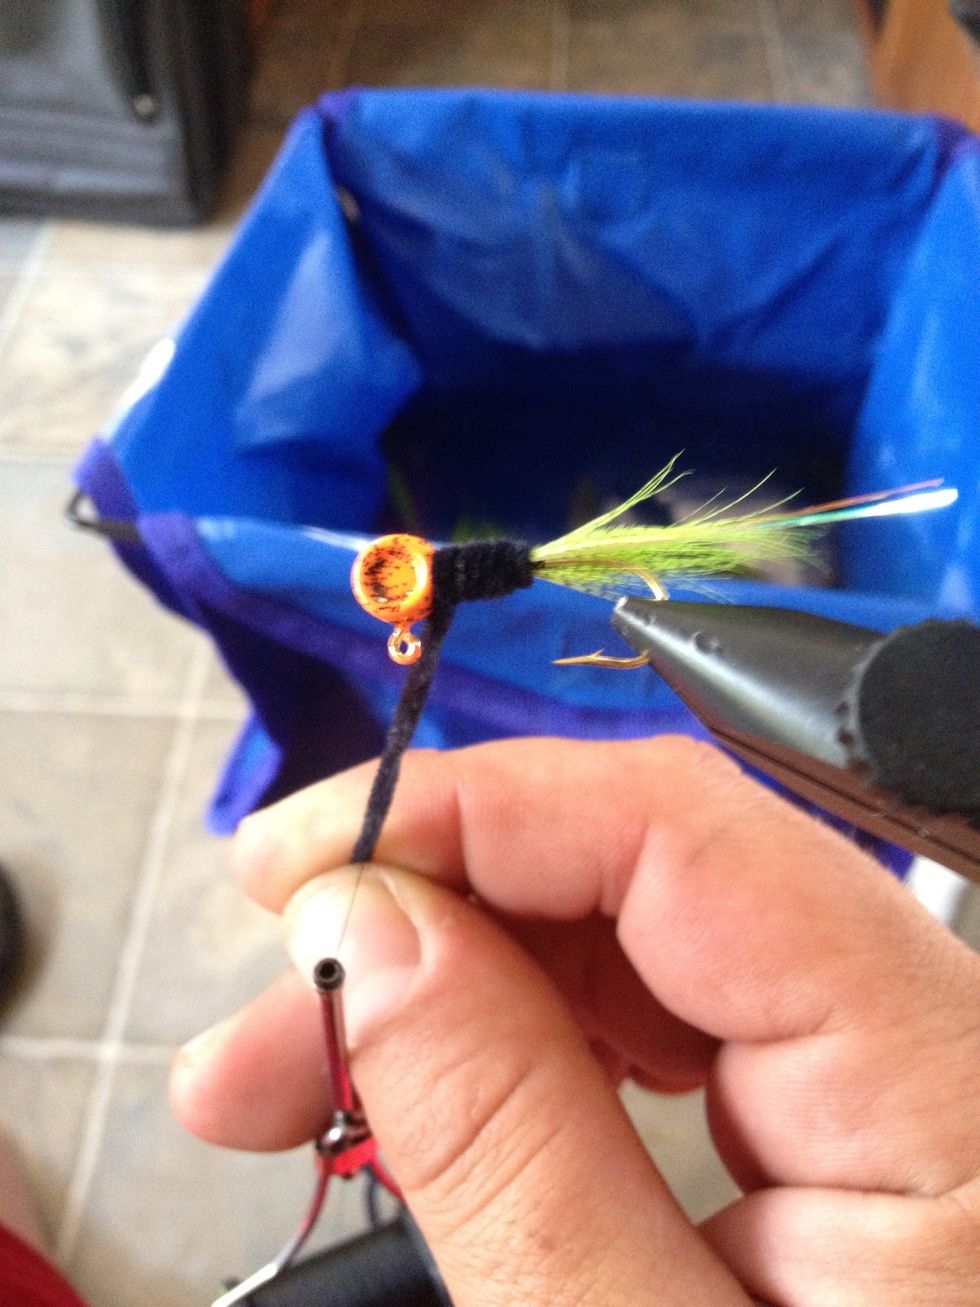
Trim the chenille being careful not to snip your thread.
Once the chenille is cut keep wrapping thread around it till you can't see the cut end of the chenille anymore and it looks nice.
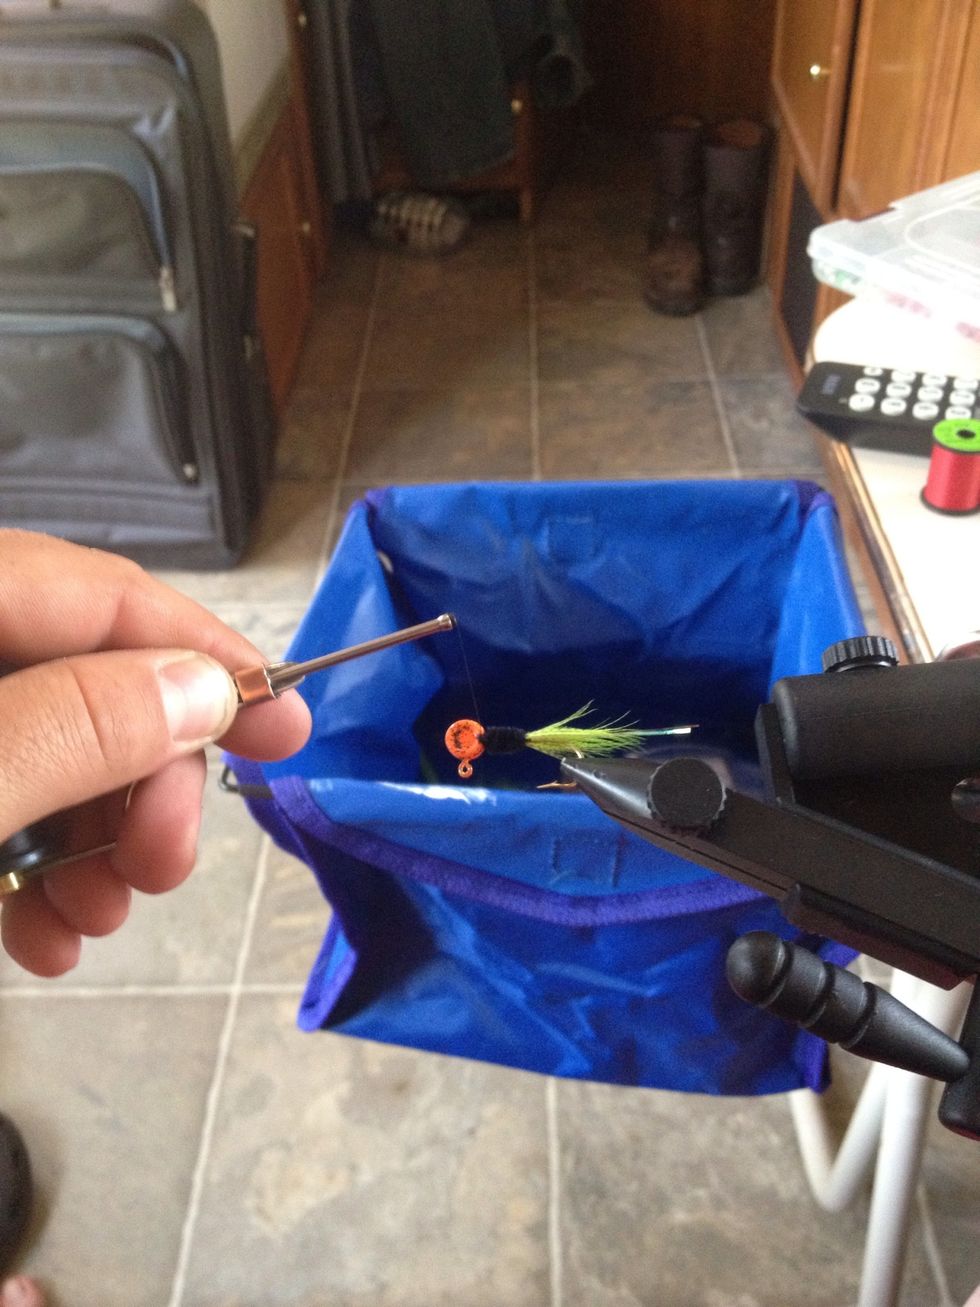
Take your whip finisher. (most come with instructions and I'm posting them soon) and do 7-12 wraps twice.
Another photo of finishing it.

When finished cut your bobbin thread close to the whip finish know and cement with what you like to use. You just made a jig. You can use these techniques to make anything from earrings to whatever.