The Conversation (0)
Sign Up
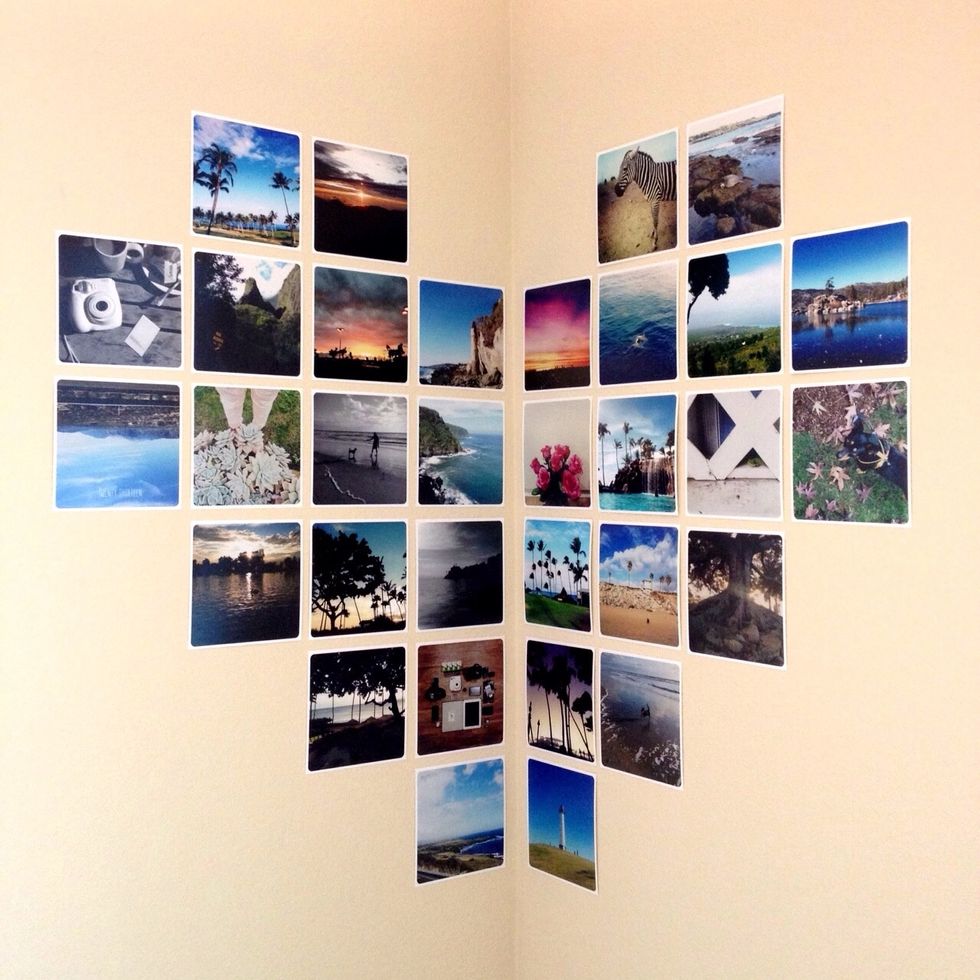
A glance at the finished product.
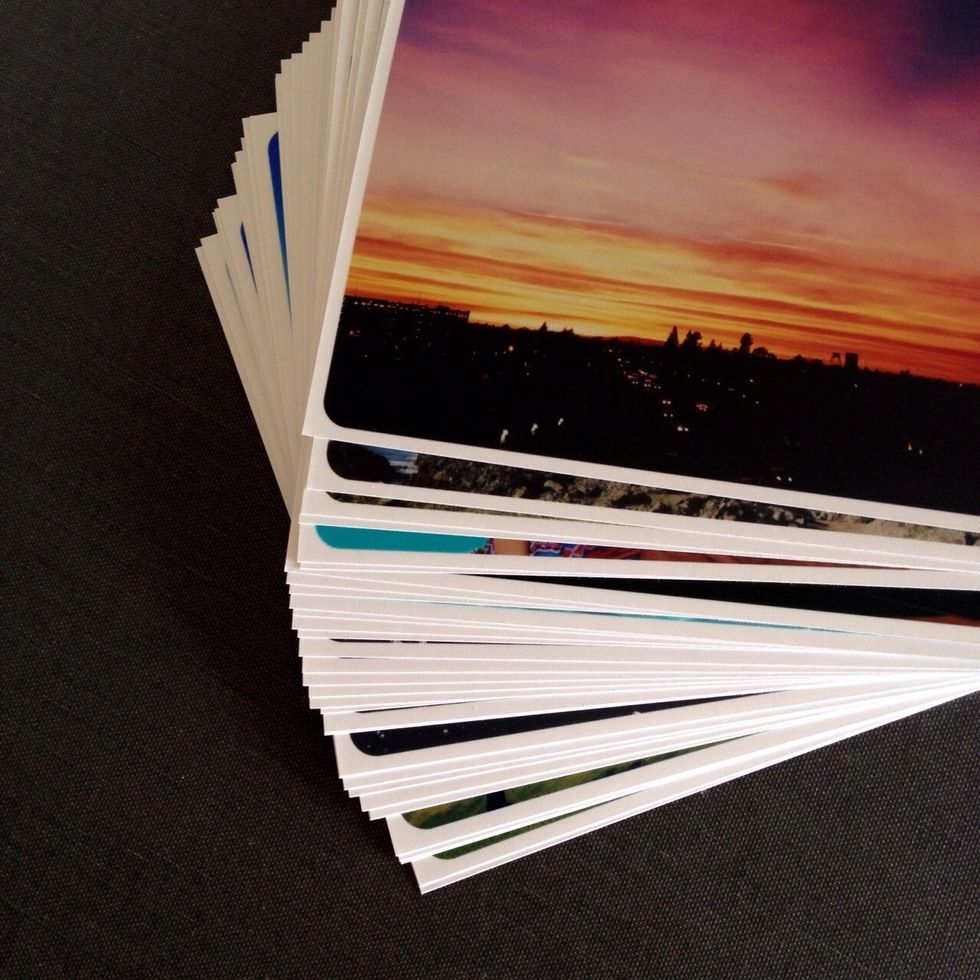
Get those Android or iPhone photo prints ordered! For this set, there were 32 4x4s used and a white border was applied via Camera+.
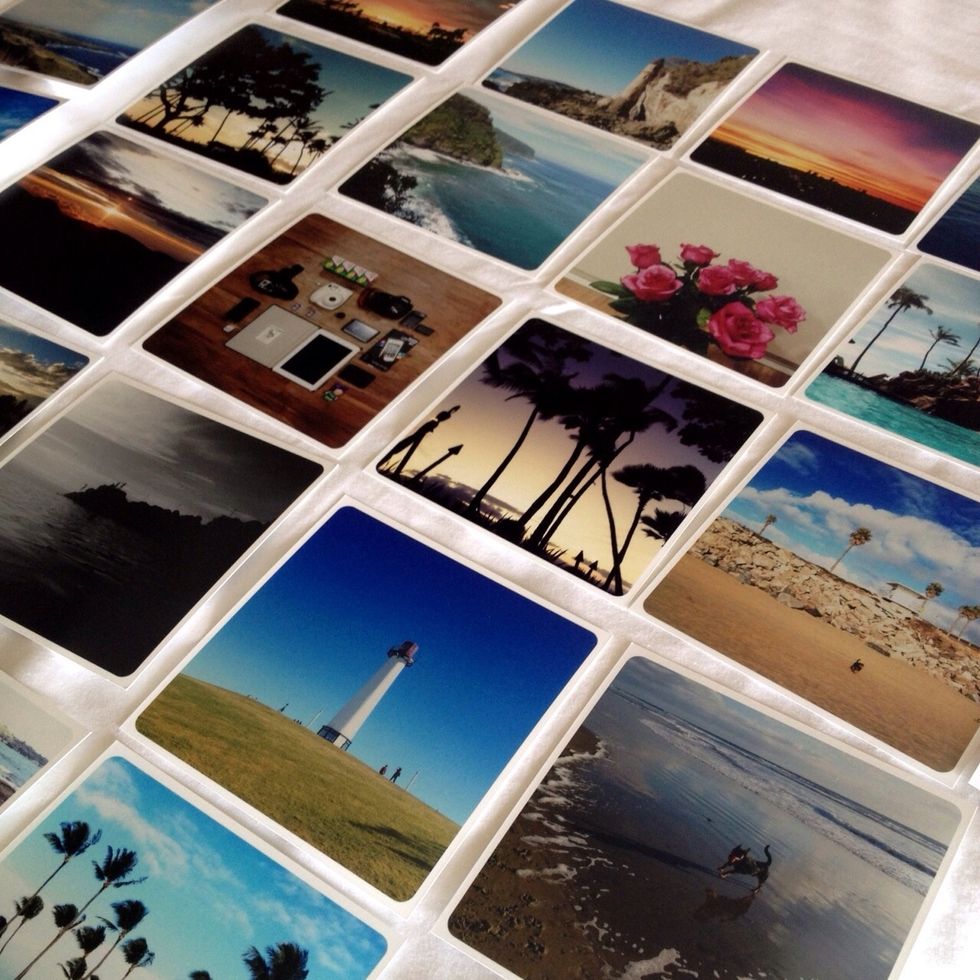
It’s best to lay these photo prints ahead of time in the order that you’d like. Then just add the adhesive you’re going to use to the back of the prints.

In this tutorial, regular Scotch tape was used. This may not be suitable for all wall types though, so be careful.
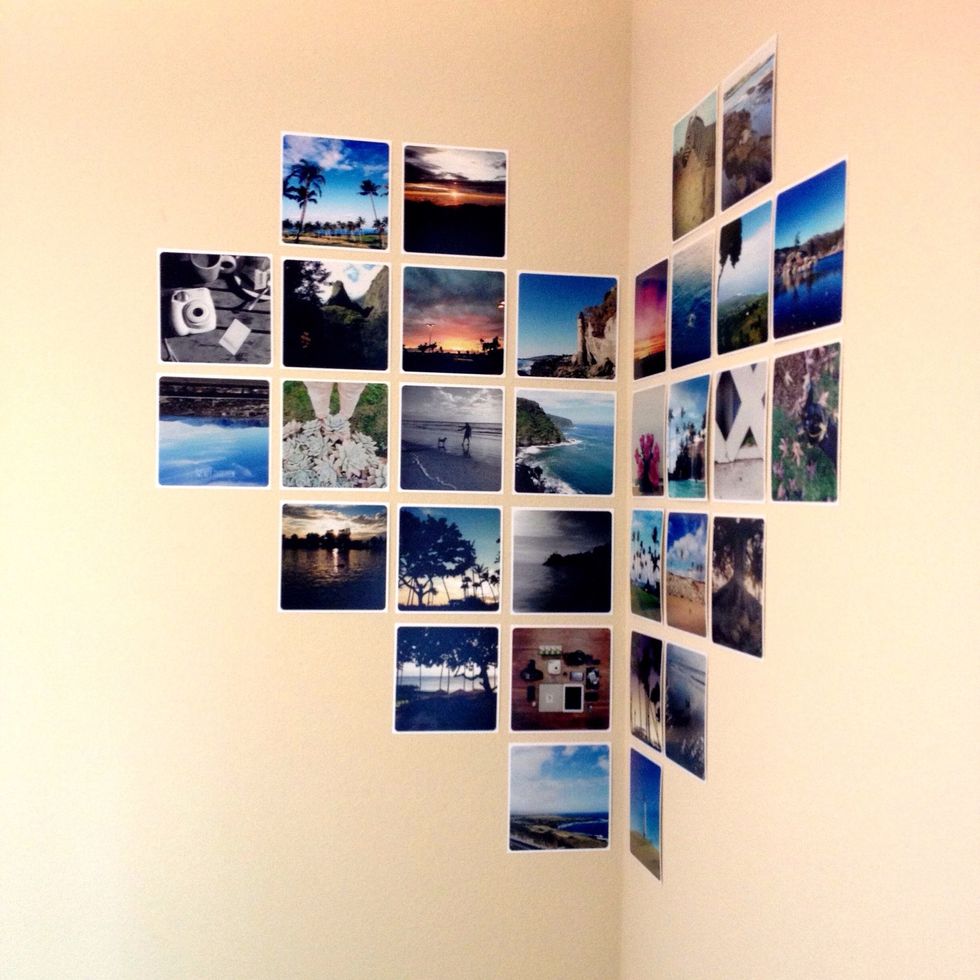
Just eyeball the space between or use a ruler as a guideline. Simply follow our photo as a guide on where to put the prints to get the corner heart look. 32 prints were used total.