The Conversation (0)
Sign Up
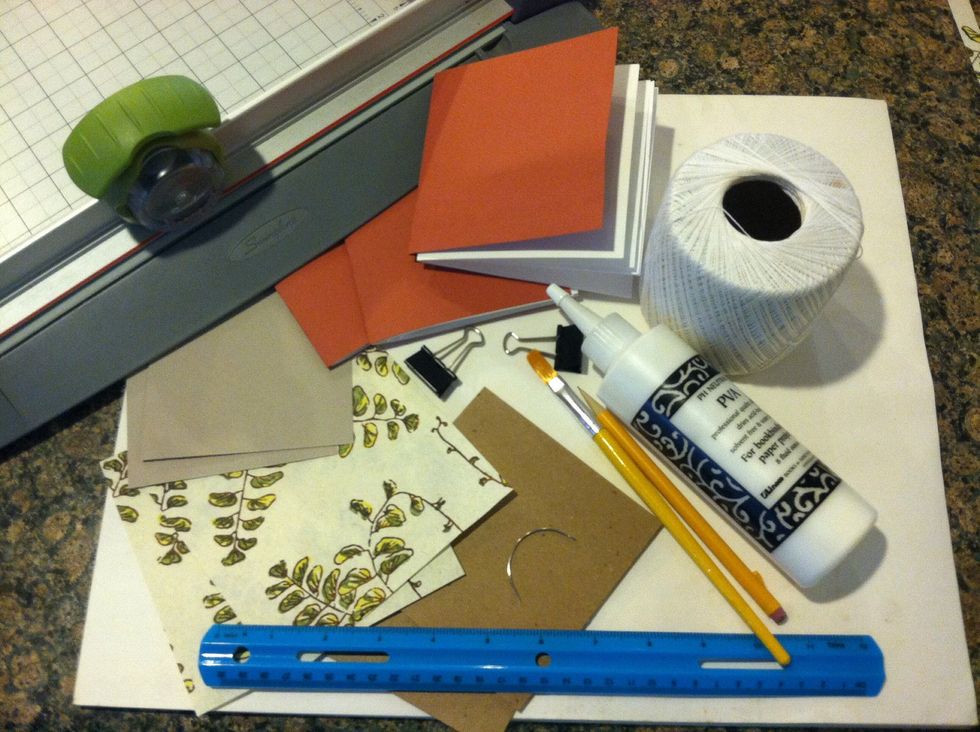
Supplies!
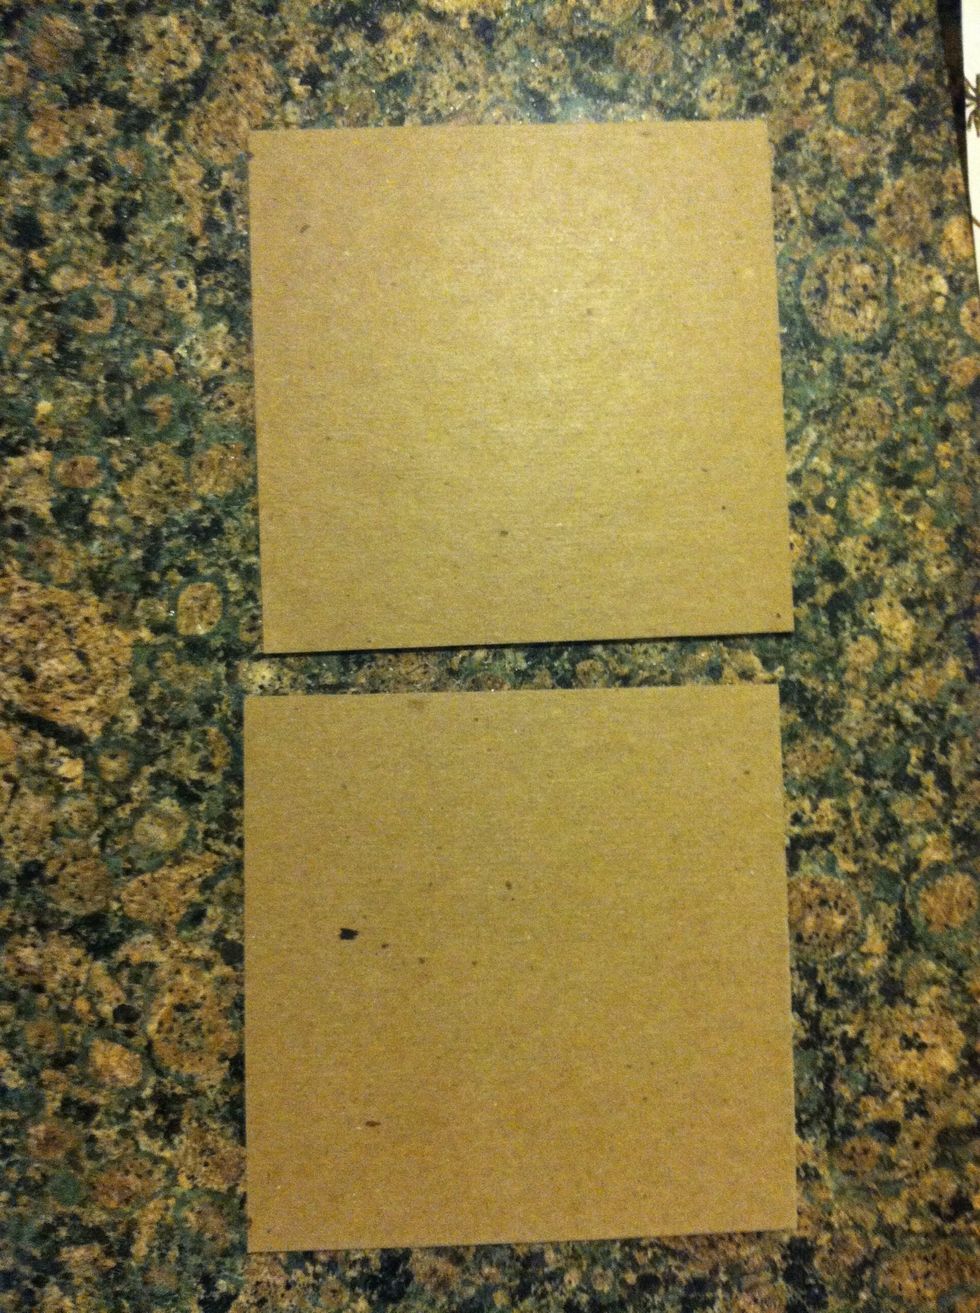
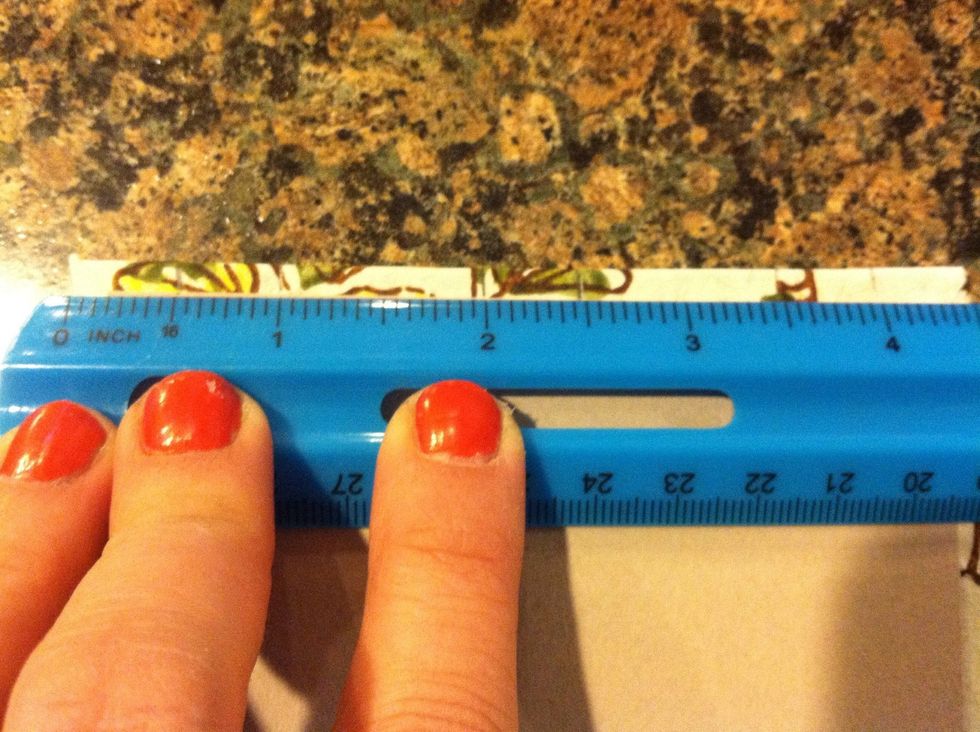
Cut your 2 pieces of cardboard or book board to size. (This is 4.5 inches)
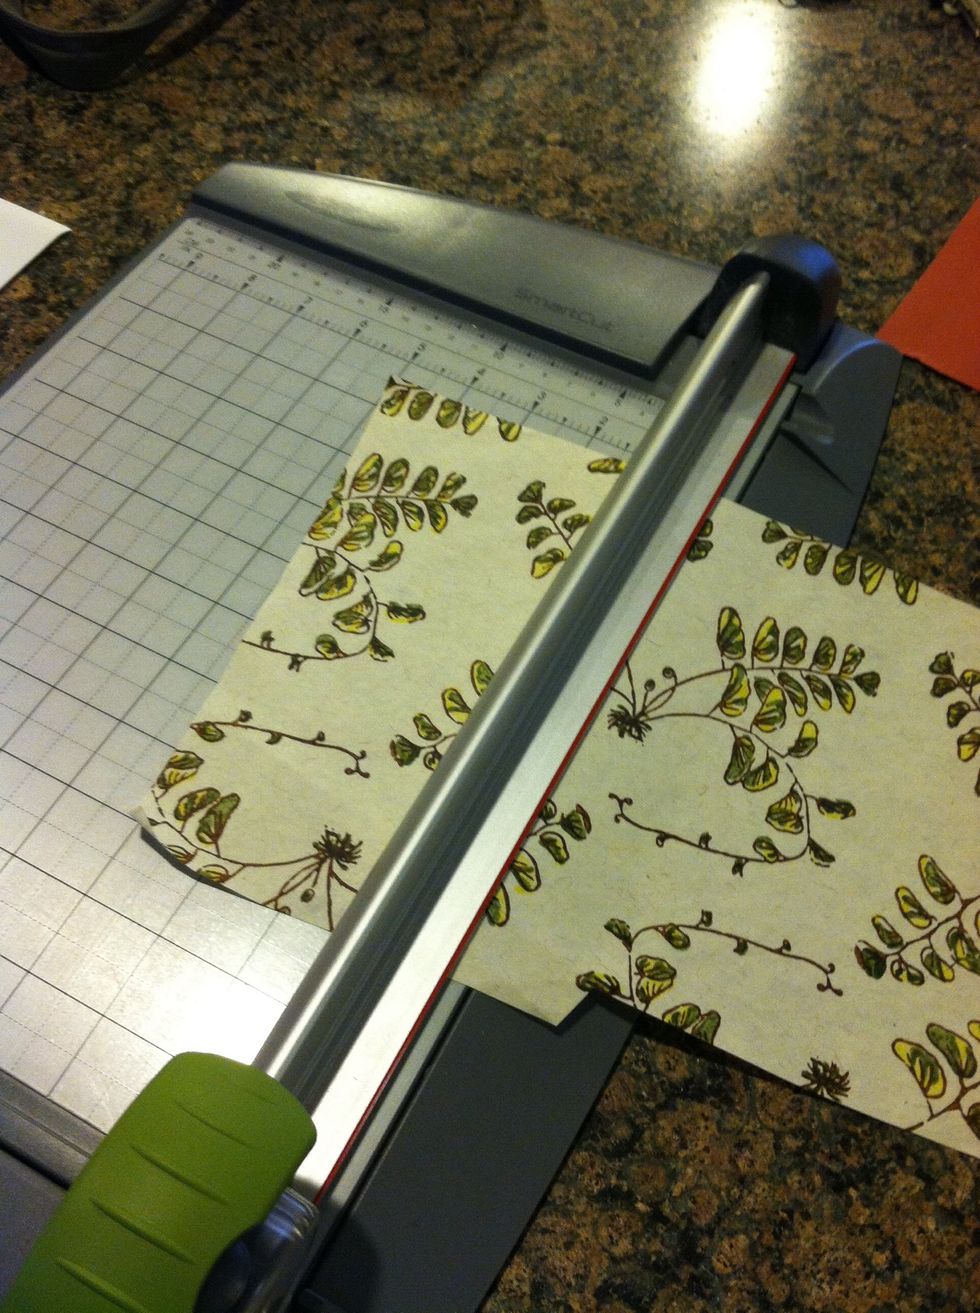
Cut your cover pieces to size, an inch to 1/2 inch bigger than the cardboard/book board
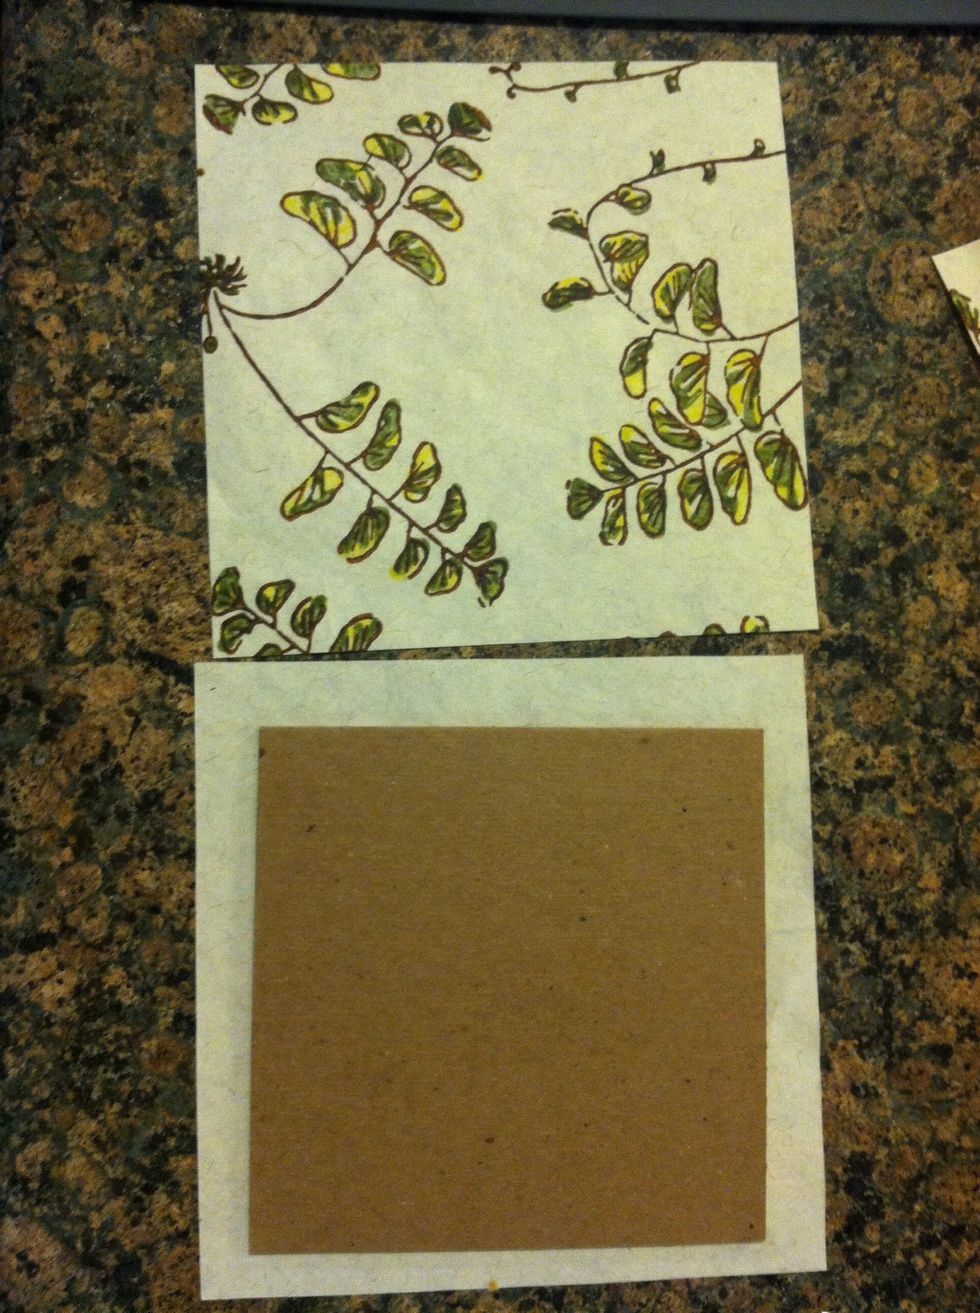
A bit bigger than the cardboard
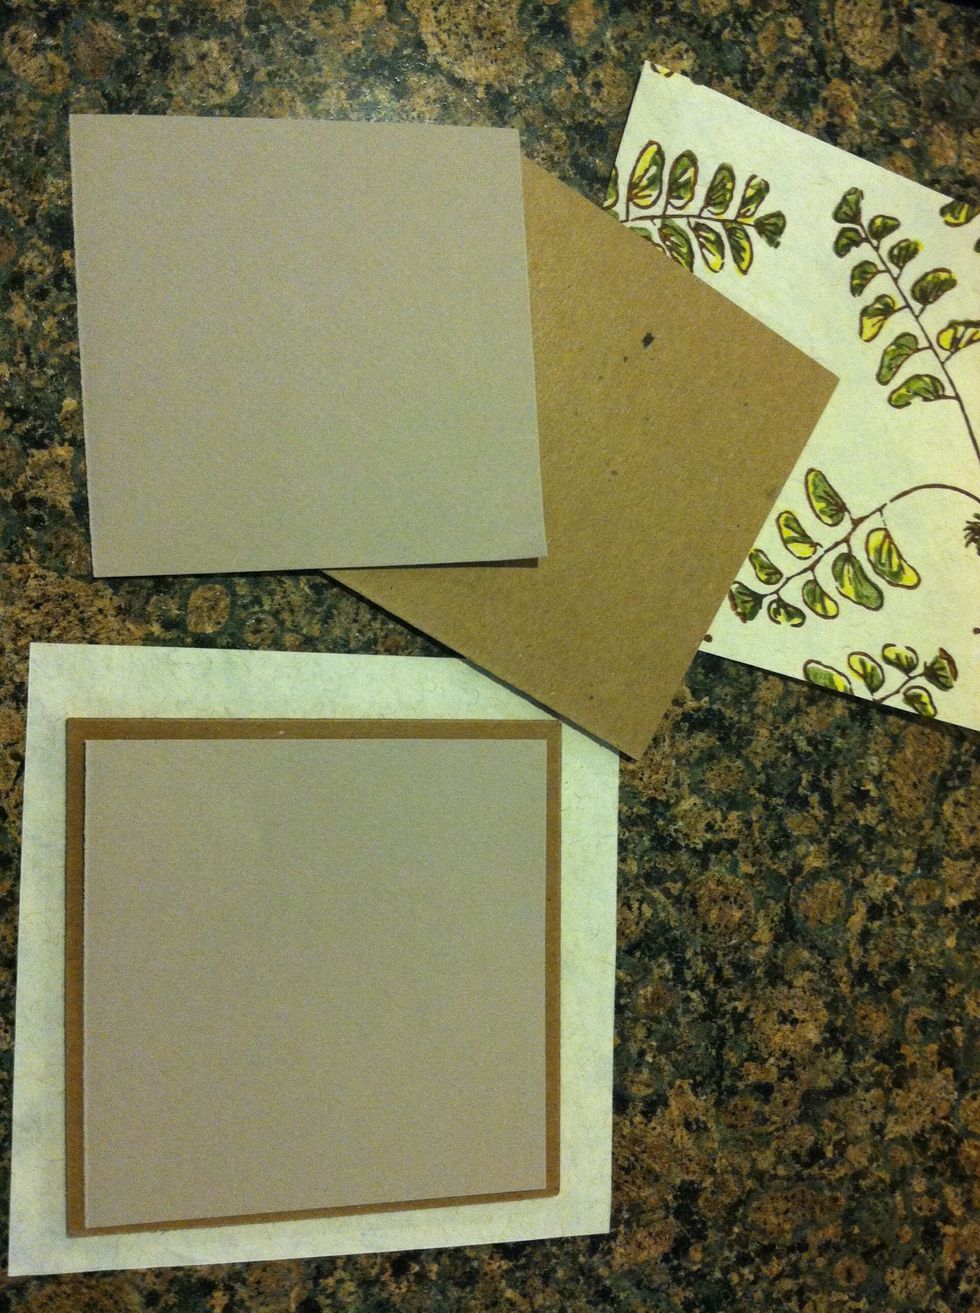
Cut the inside cover paper 1/8 - 1/4 smaller than the cardboard/book board
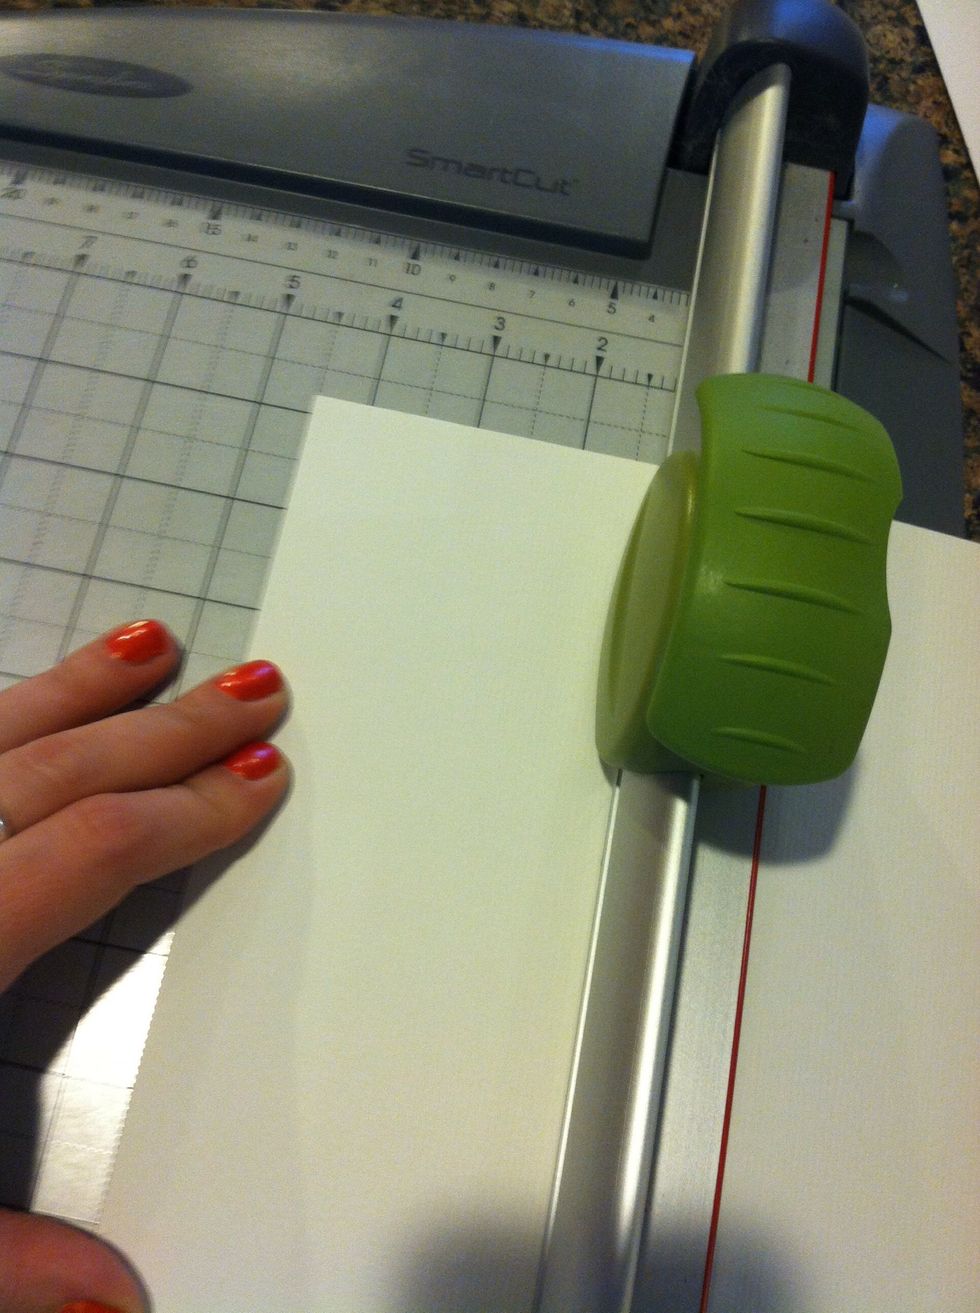
Time to cut the paper for inside, this book is 4.5 x 4.5 therefore my paper needs to be 4.5x9inches (double the width of your paper to fold in half)
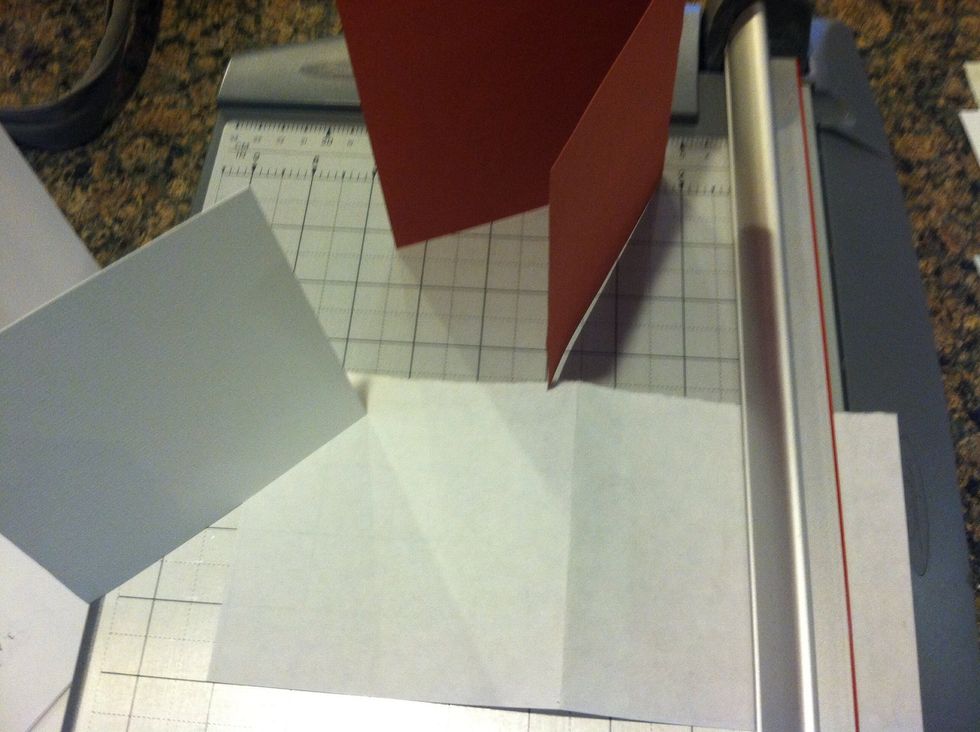
Cut as many pieces as you want, and fold them in half. This book has 15
Fold all sheets in half
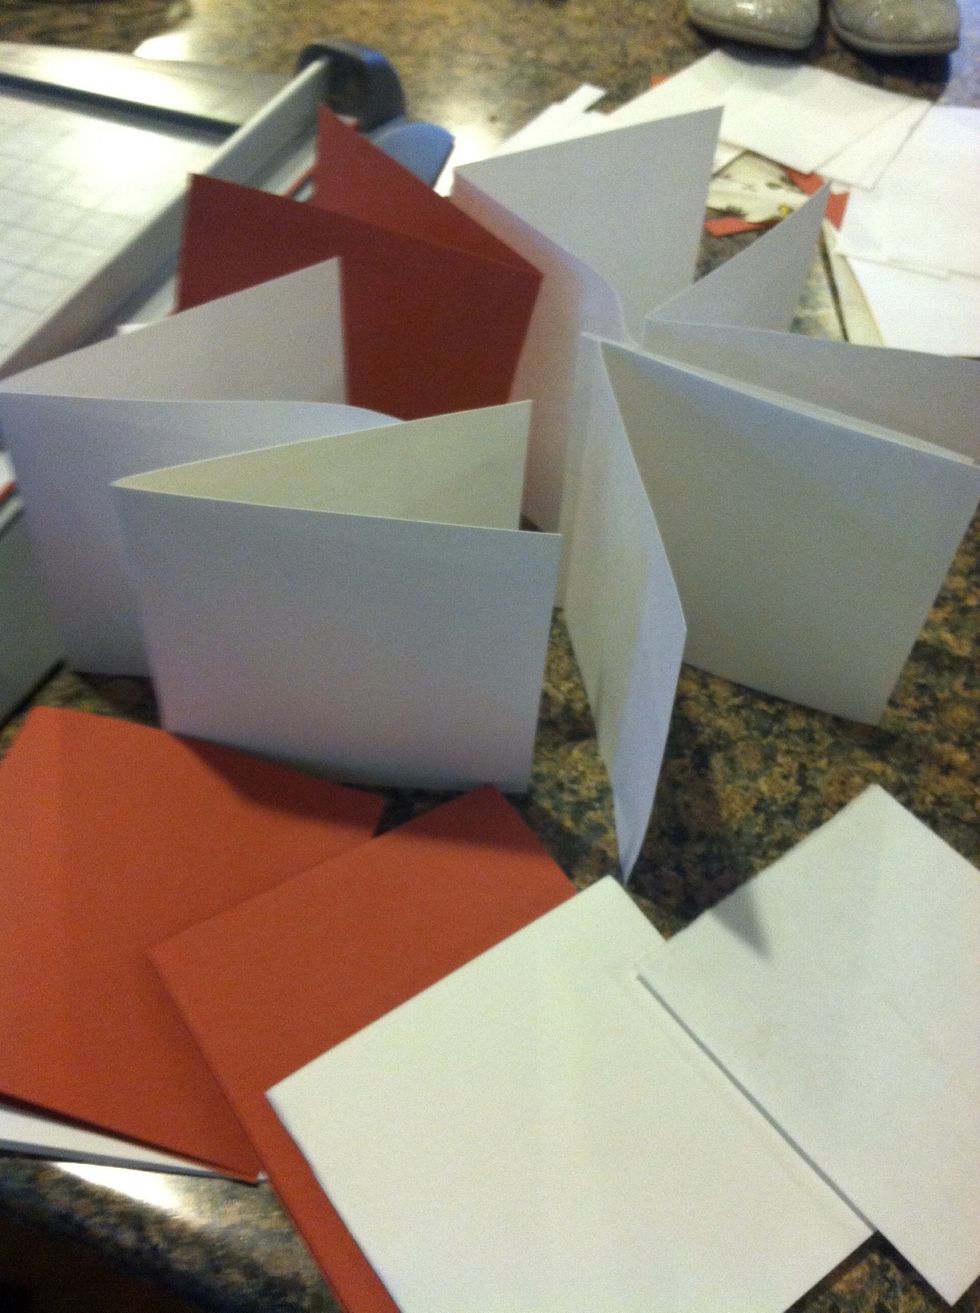
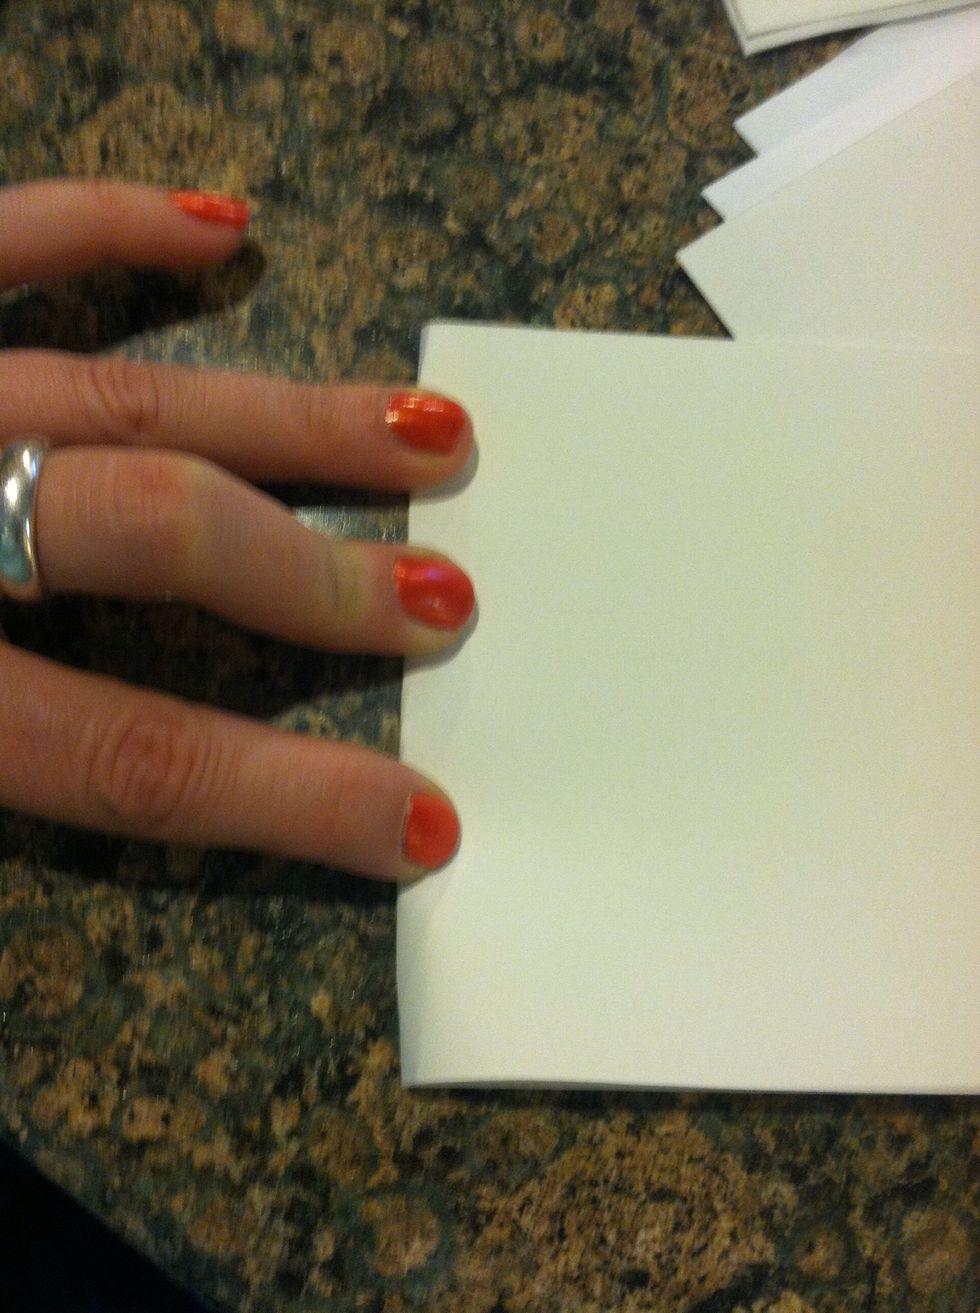
Lots of pieces folded now...
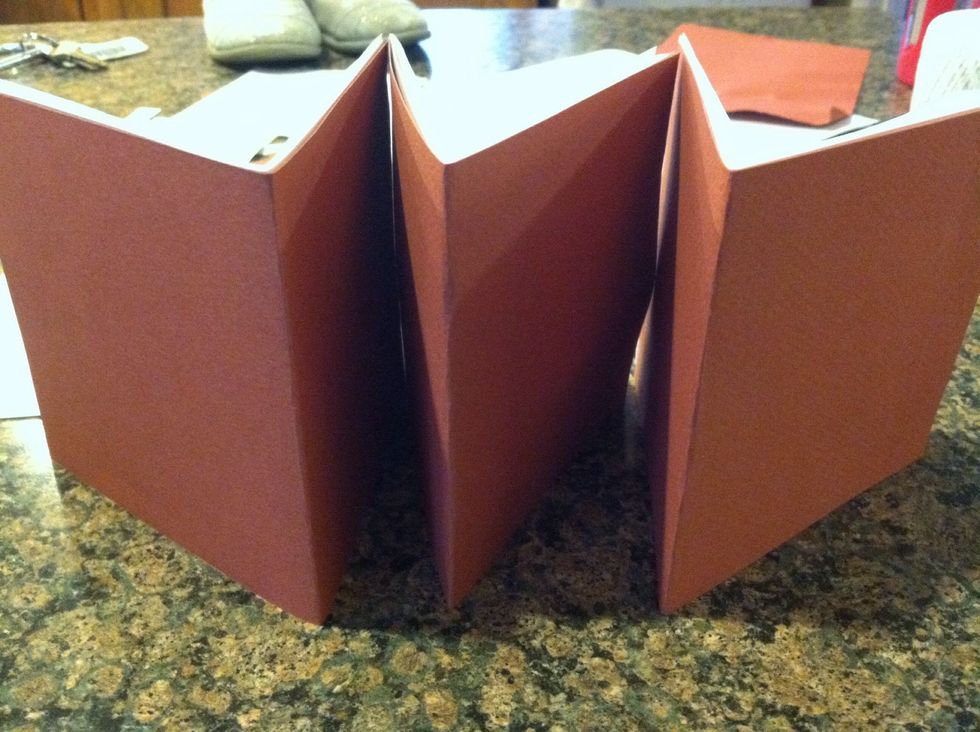
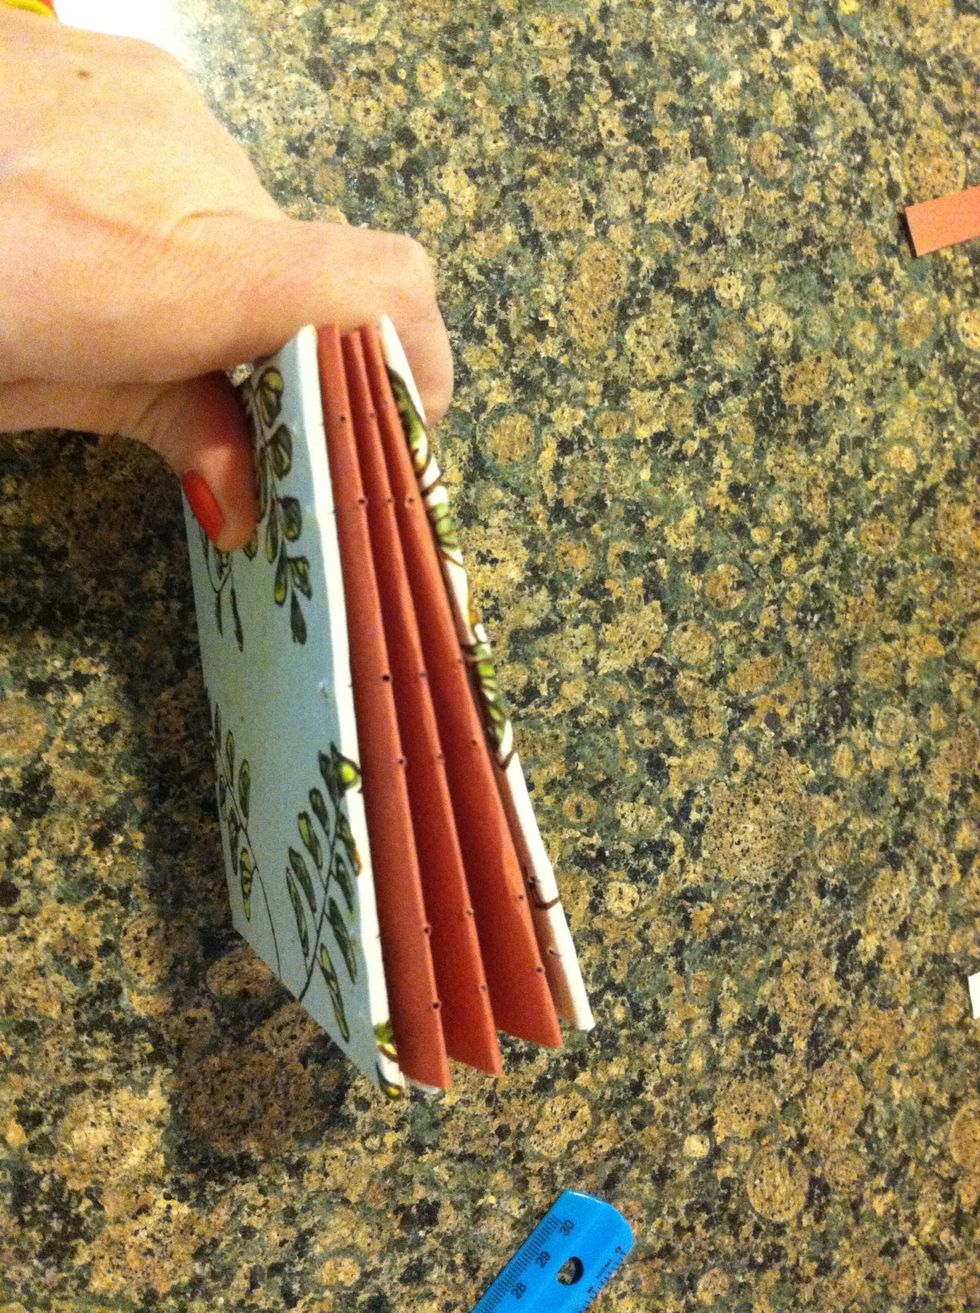
Put them into sections (bookbinders term is: signatures) signatures are a section or group of papers, this book has 3. I recommend an odd number of signatures, with no moe than 6 sheets in them

Work out some designs for how you want the binding to look. Always start at least a 1/2 inch in from each side.
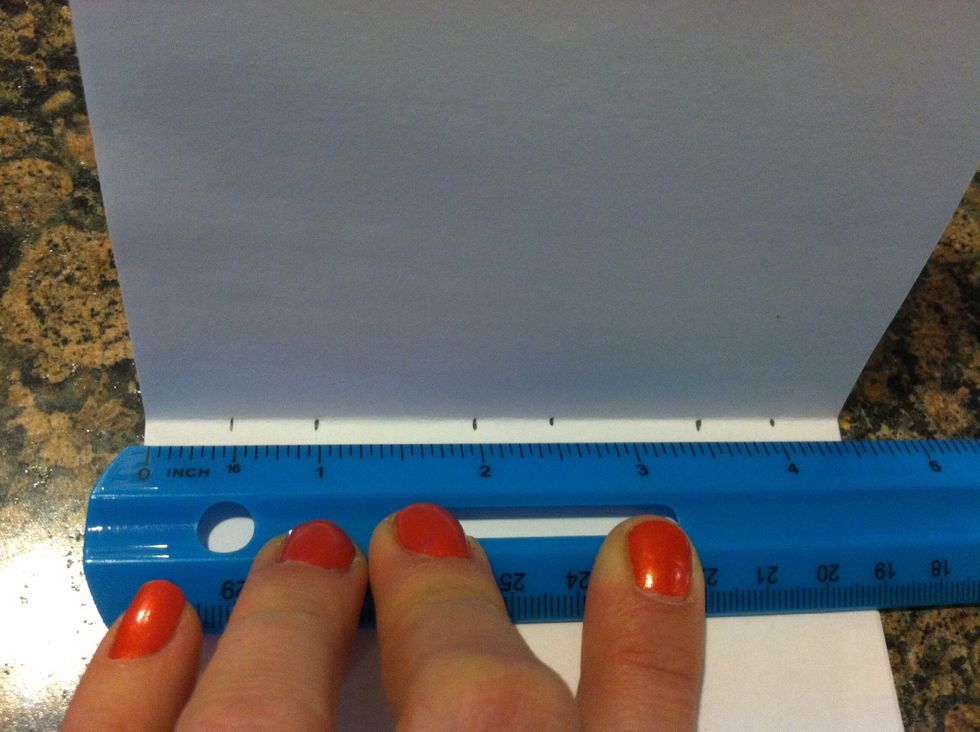
I marked with a pencil 1/2 inch, 1/2 inch, 1 inch, 1/2, 1/2, 1 inch 1/2, 1/2 inch
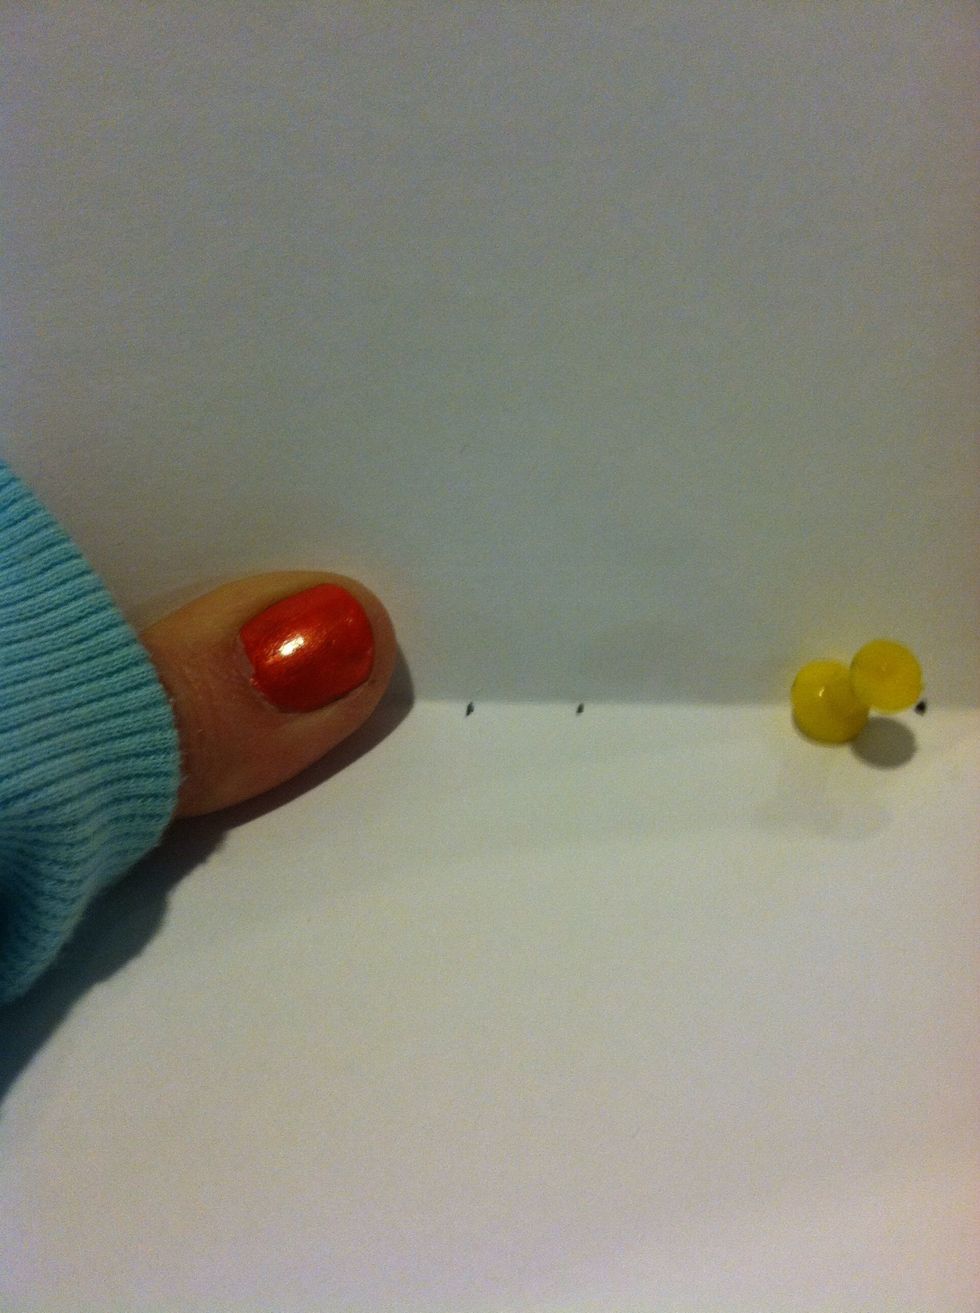
Held the signature and poked holes in all sheets of paper with a tack where I marked out.
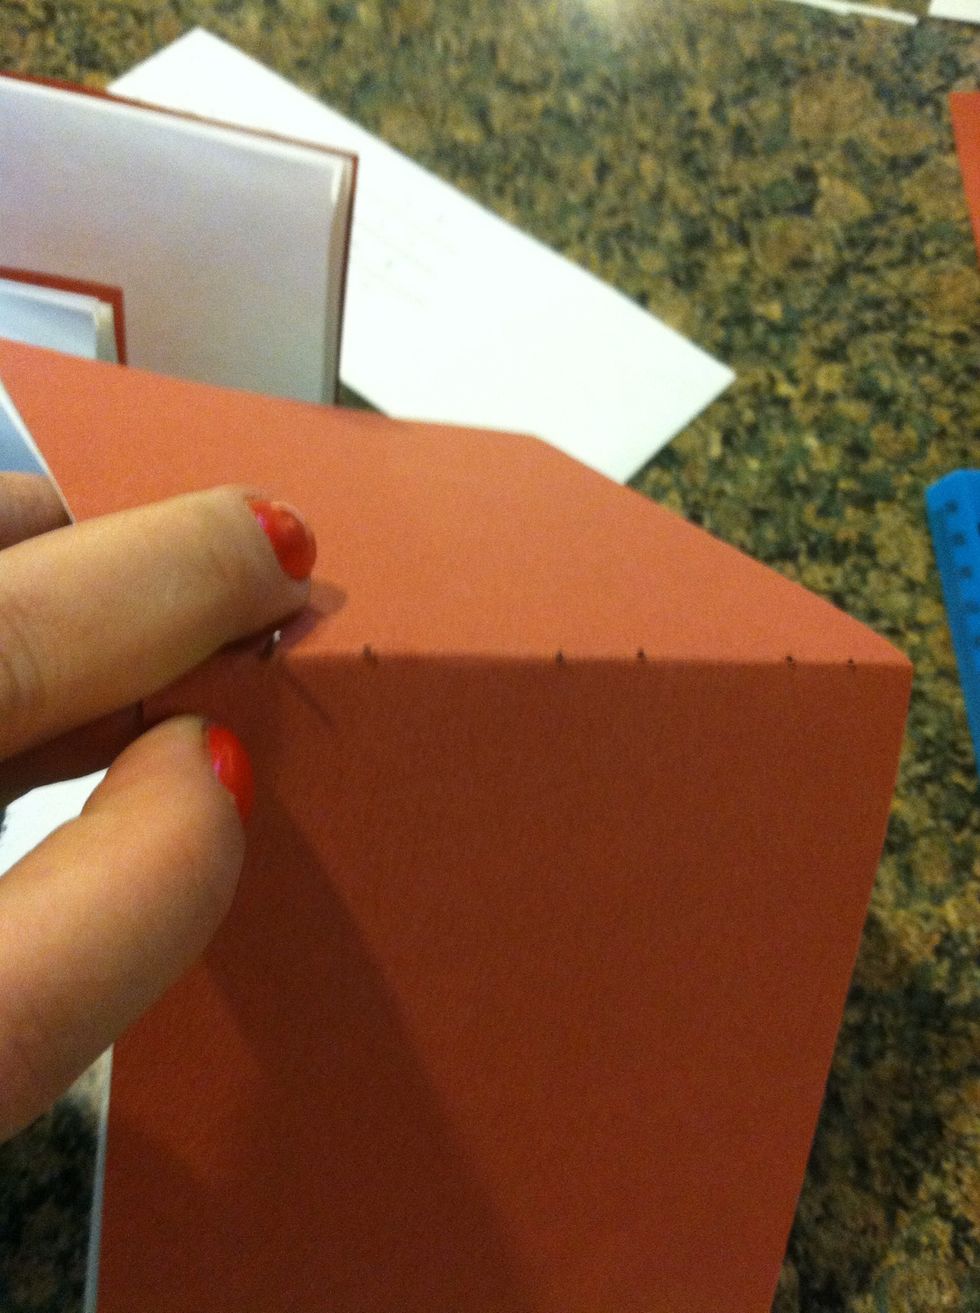
Poke holes into the spine
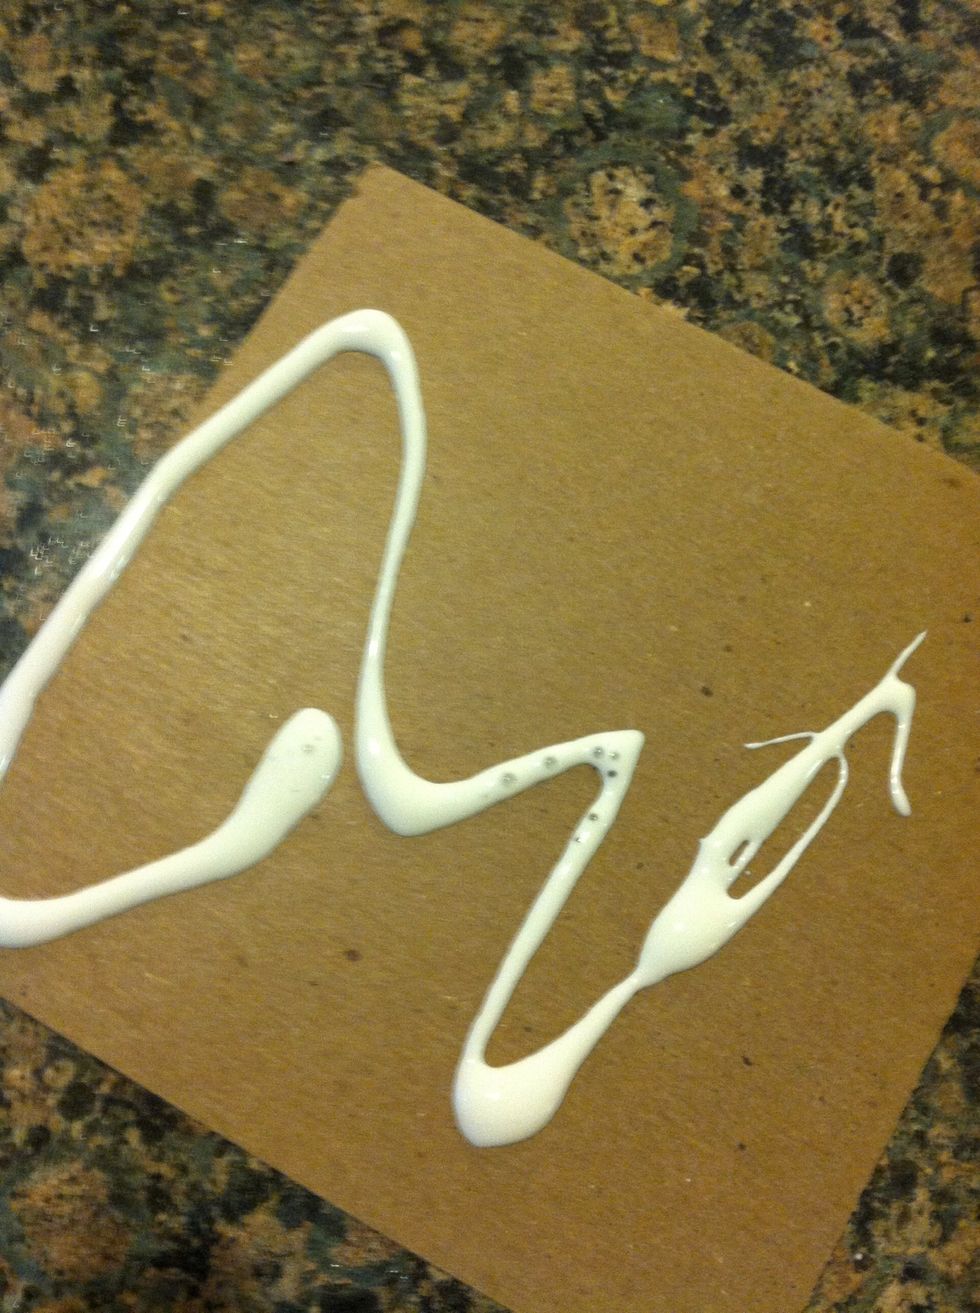
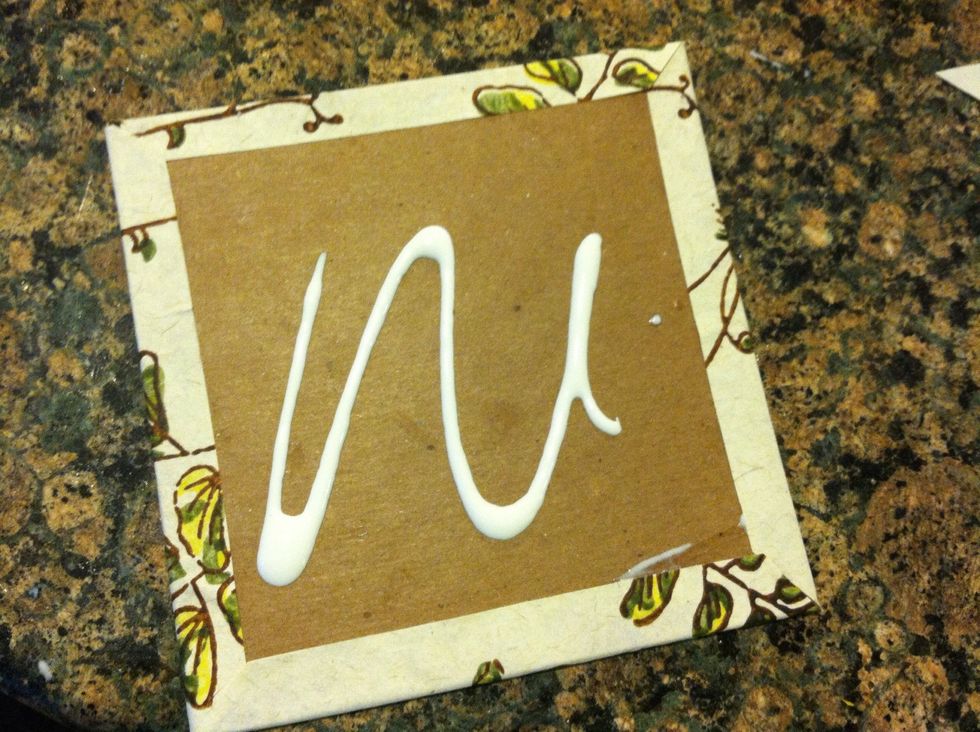
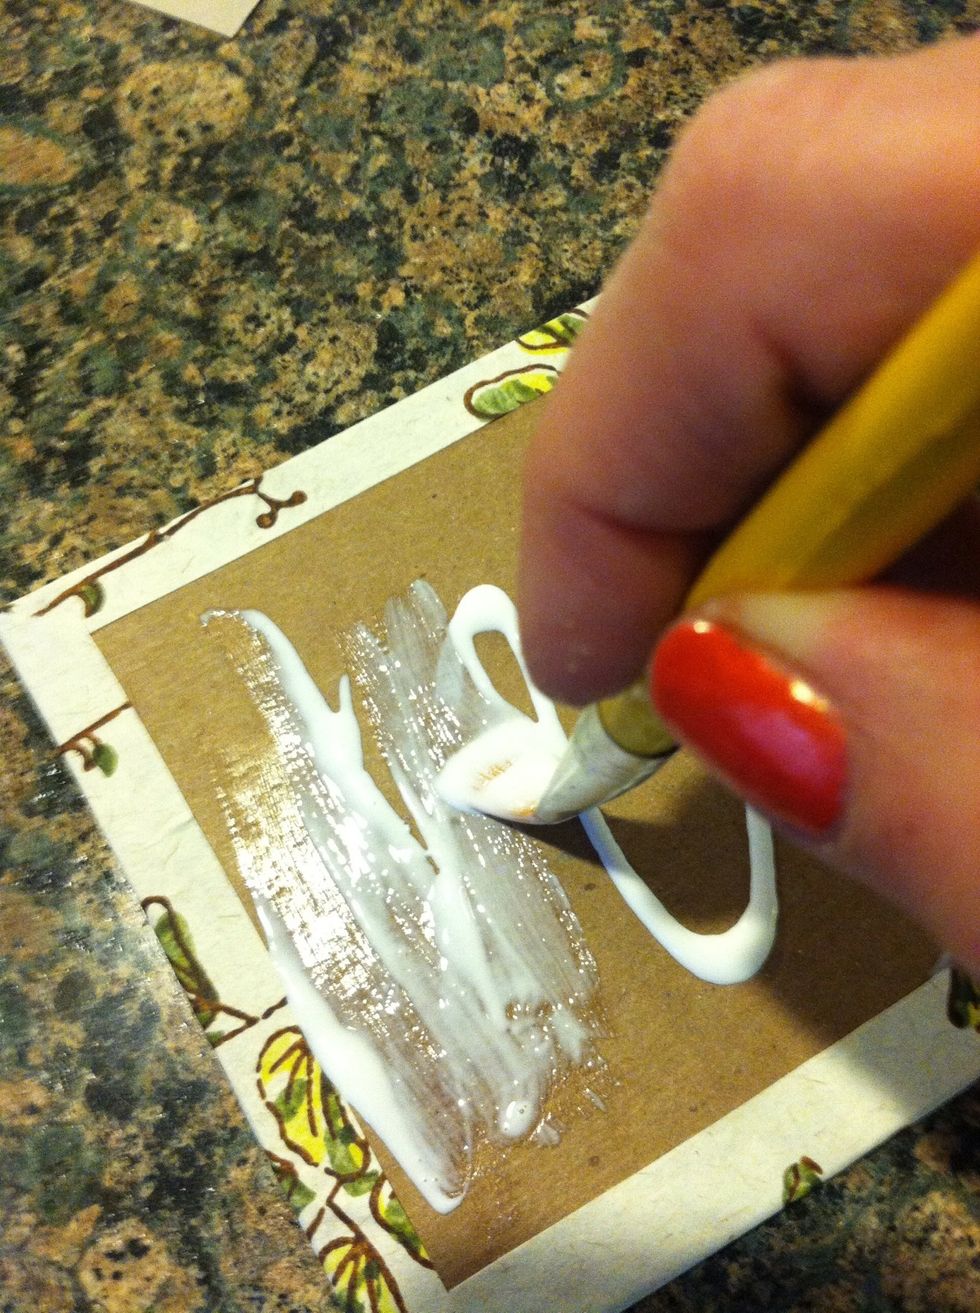
Now it's time to make the covers beautiful... Squeeze your APV glue on
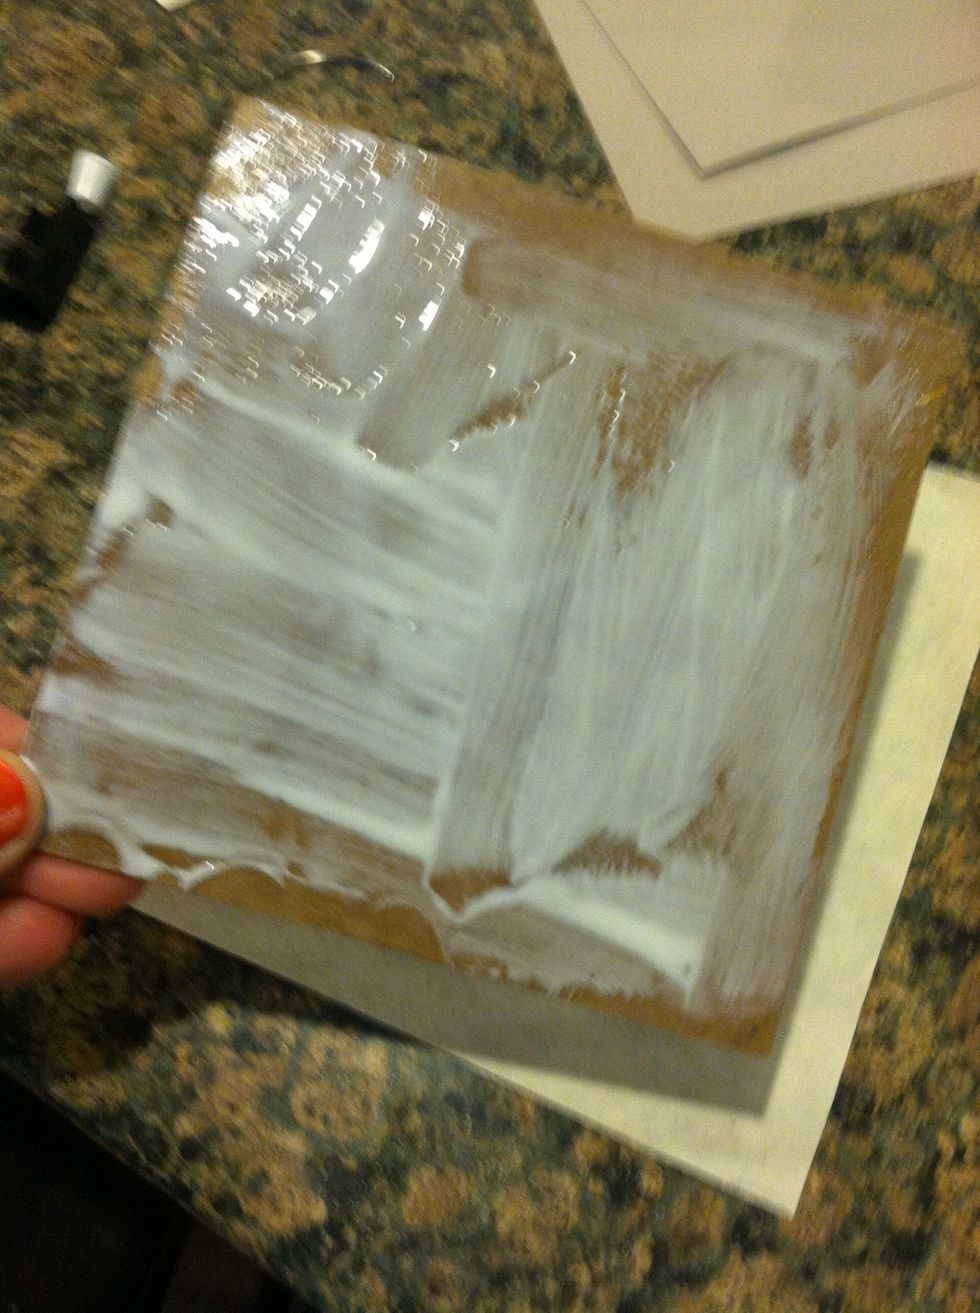
Quickly spread with a paintbrush and place onto your cover paper
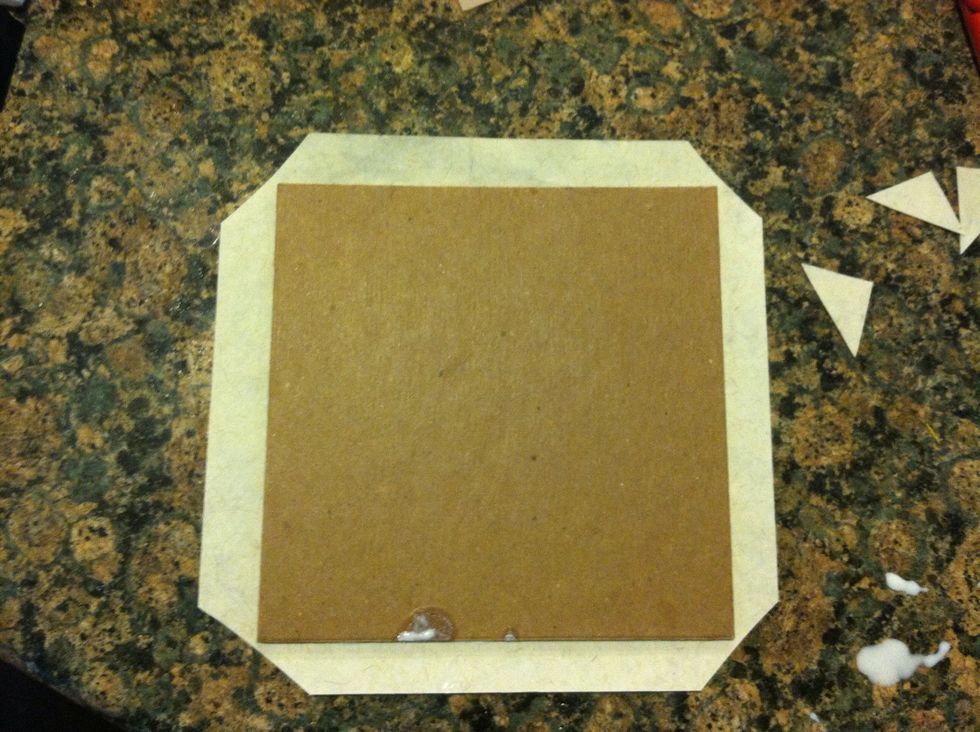
Cut off the corners and place on flaps
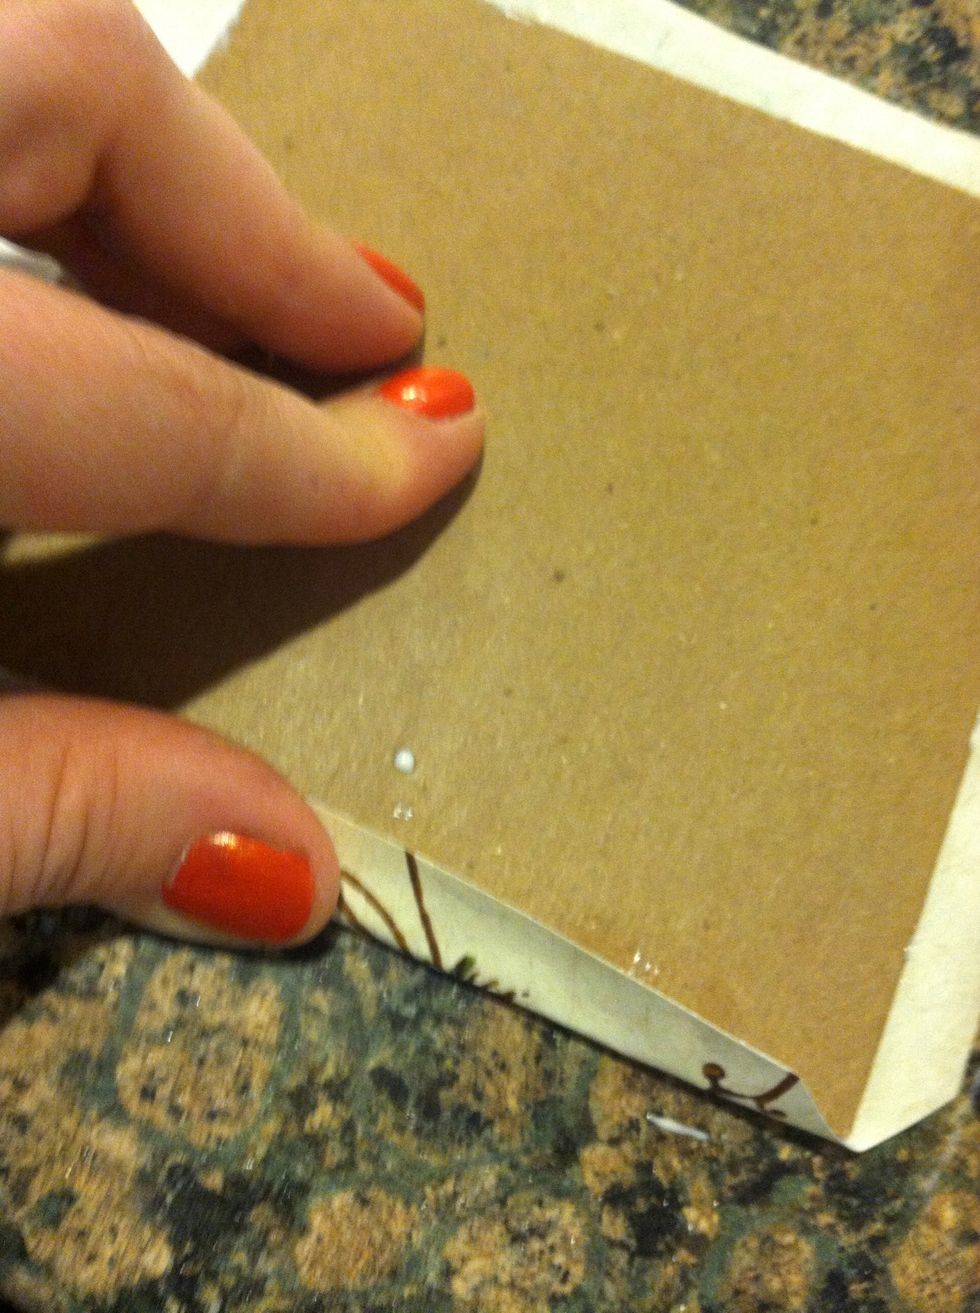
Fold down the edges on each side

Repeat to the other piece of cardboard or book board
Glue the inside cover
Spread with paintbrush to prepare surface for inside cover paper
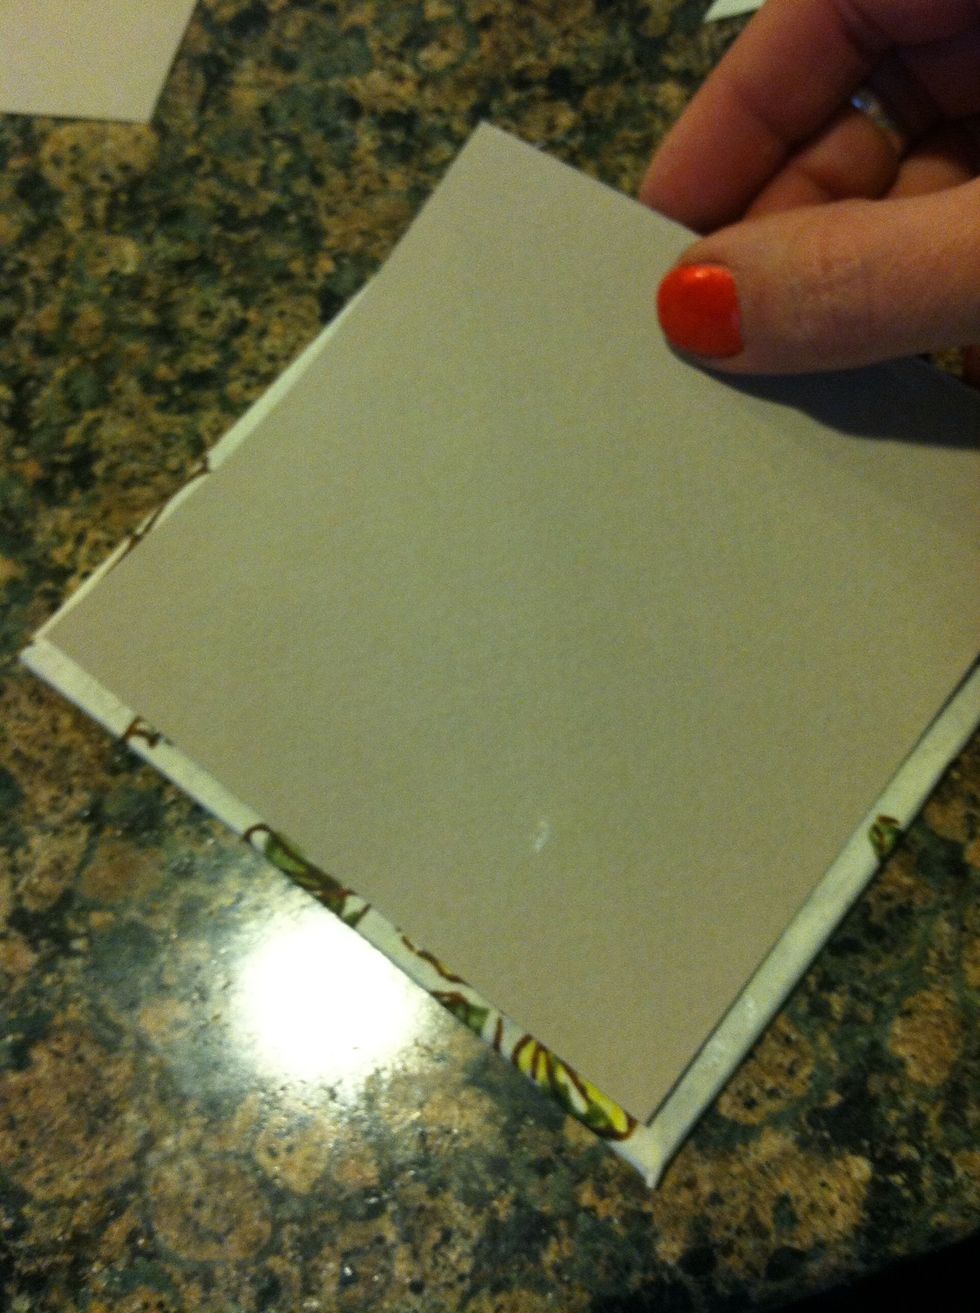
Place down inside cover... Repeat to other cover
Same measurements for the covers as the papers... Mark on the inside cover of both
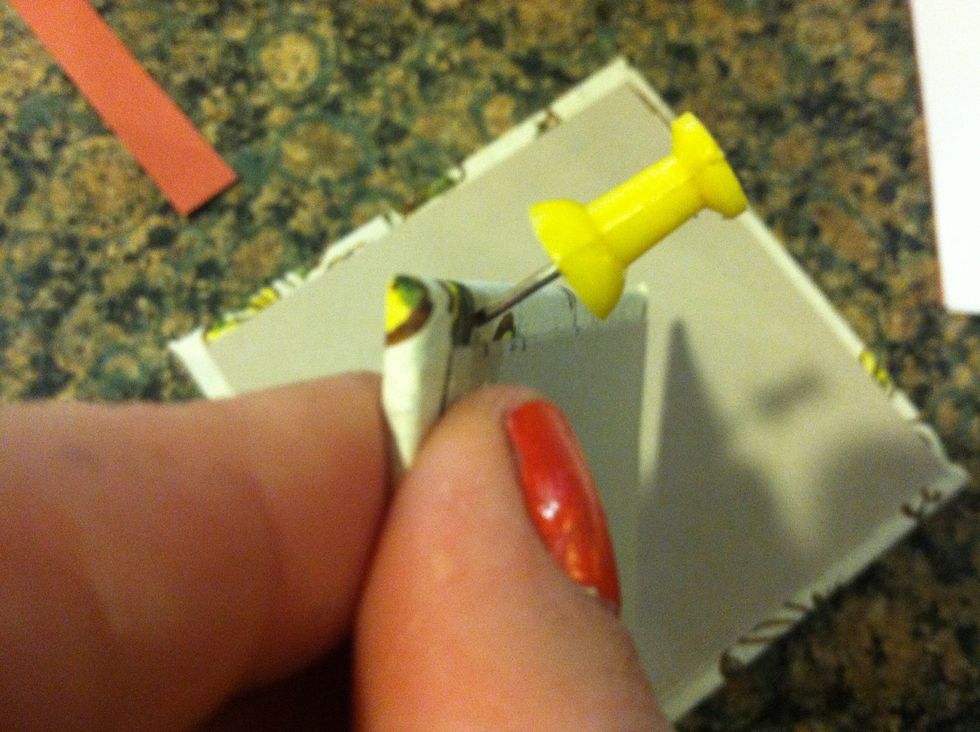
Poke holes with the take on the inside of the cover
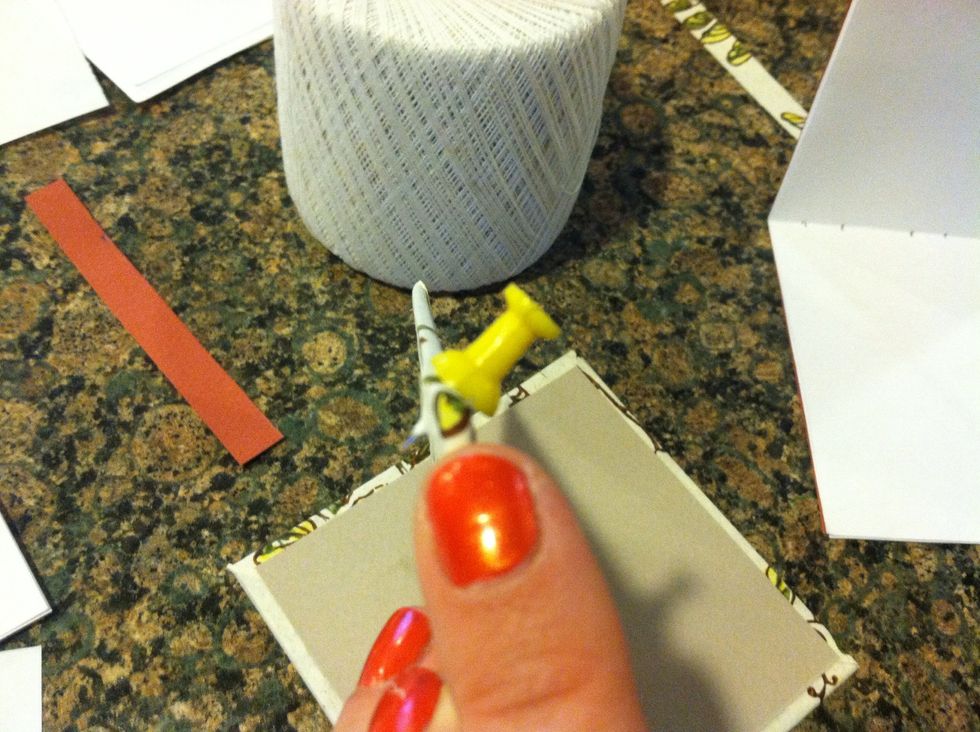
Tack should be positioned diagonally inside cover to outside cover
All holes punched ready to bind (sew)
The more lined up the more awesome your binding looks
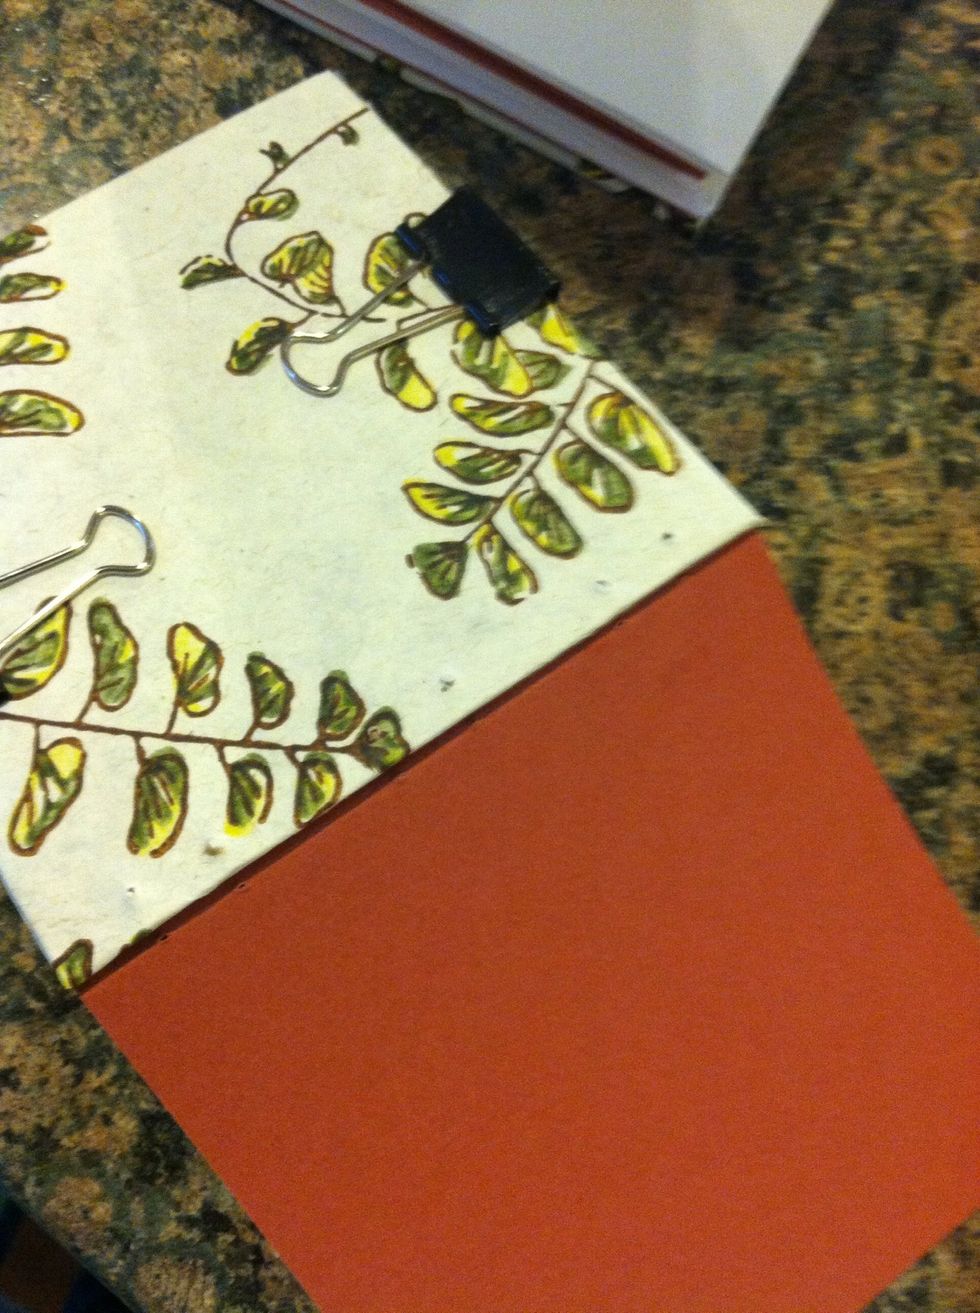
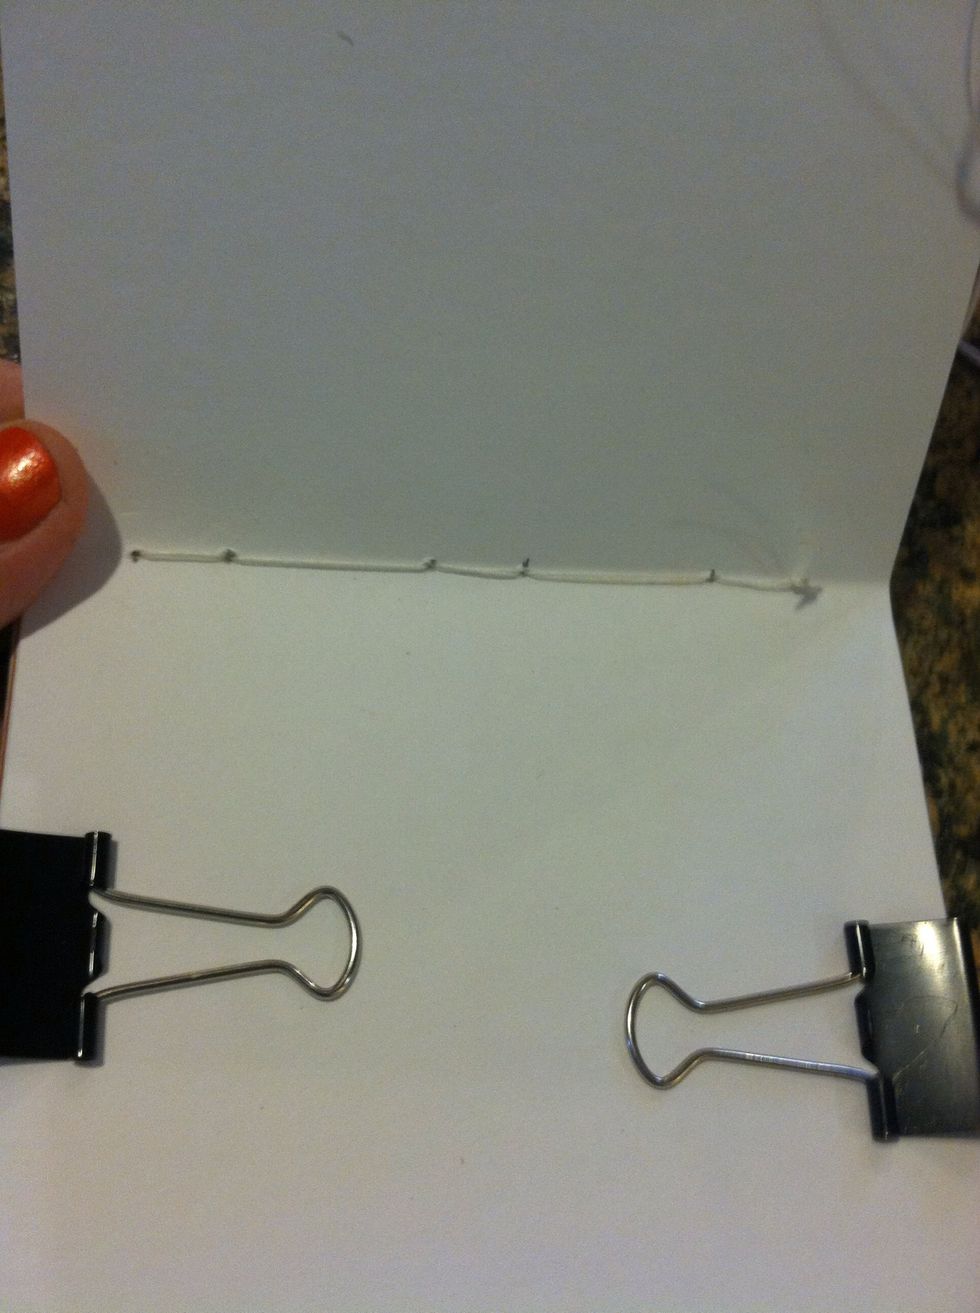
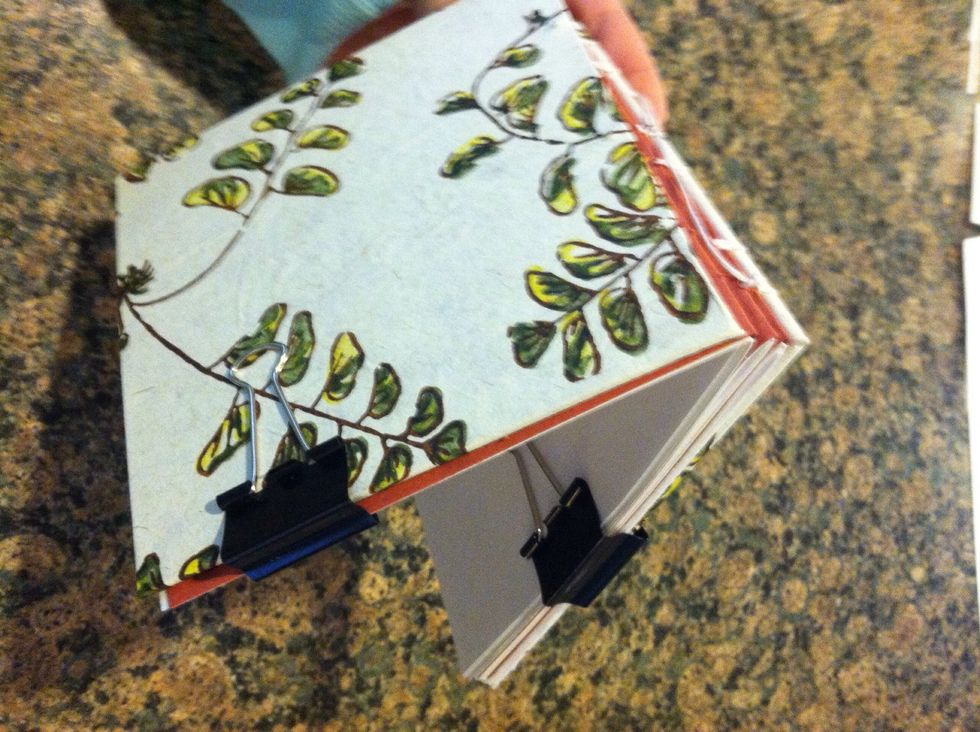
Put binding clips on one 1/2 of the first signature and front cover
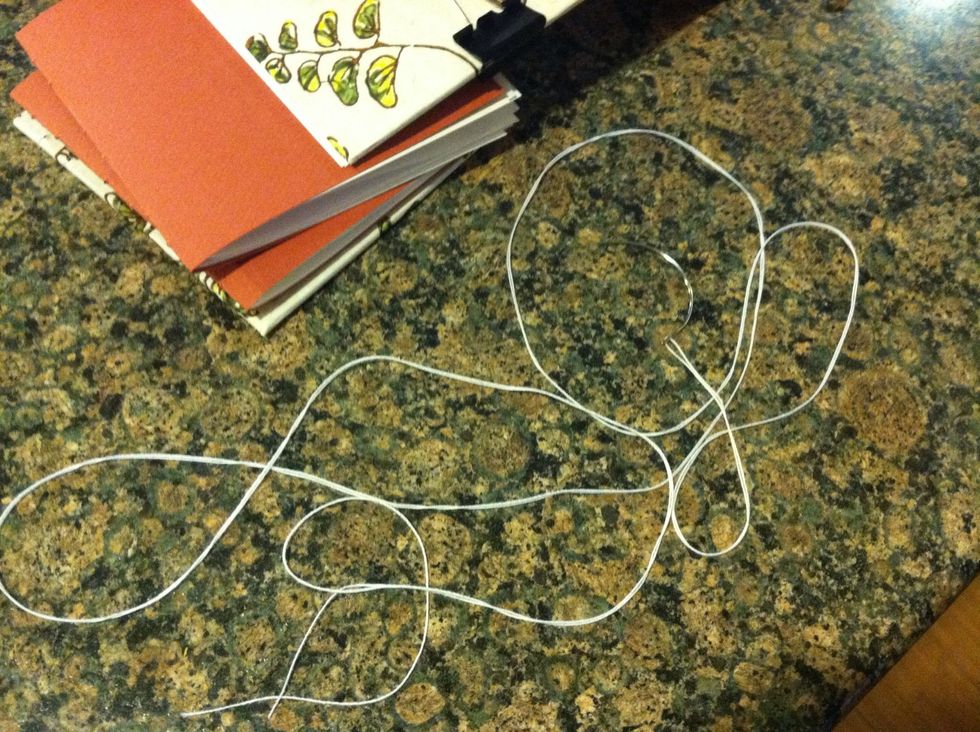
Oh the thread! Choose a color! take 2 arms lengths, thread the needle, move to the middle of the thread.
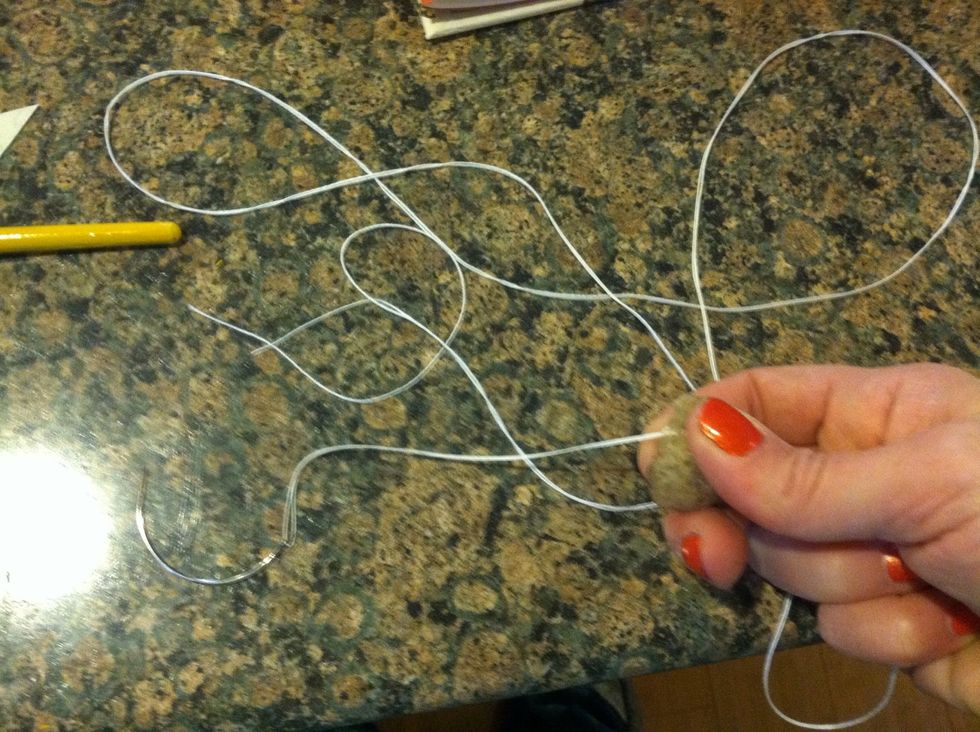
If you have bees wax or a candle... Wax your thread, it keeps the thread together and acts as a barrier if you use water color on one page but don't want it to travel to other pages
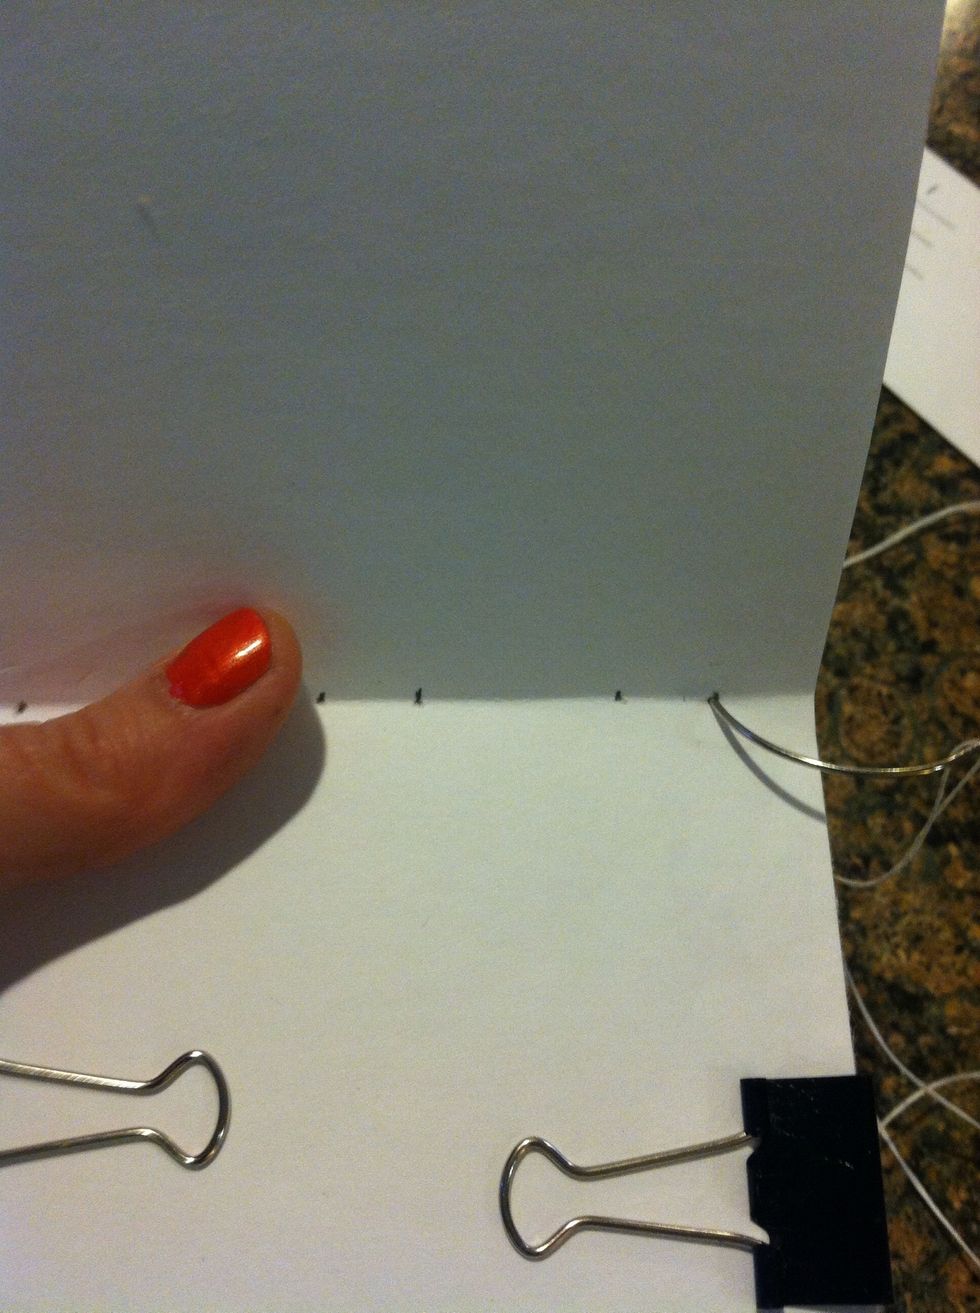
Start sewing, push needle through the first station on right
Leave a 3-5inch tail inside
Push needle through first station in cardboard OUTSIDE to the INSIDE pull tread tight (but don't pull the tail out)

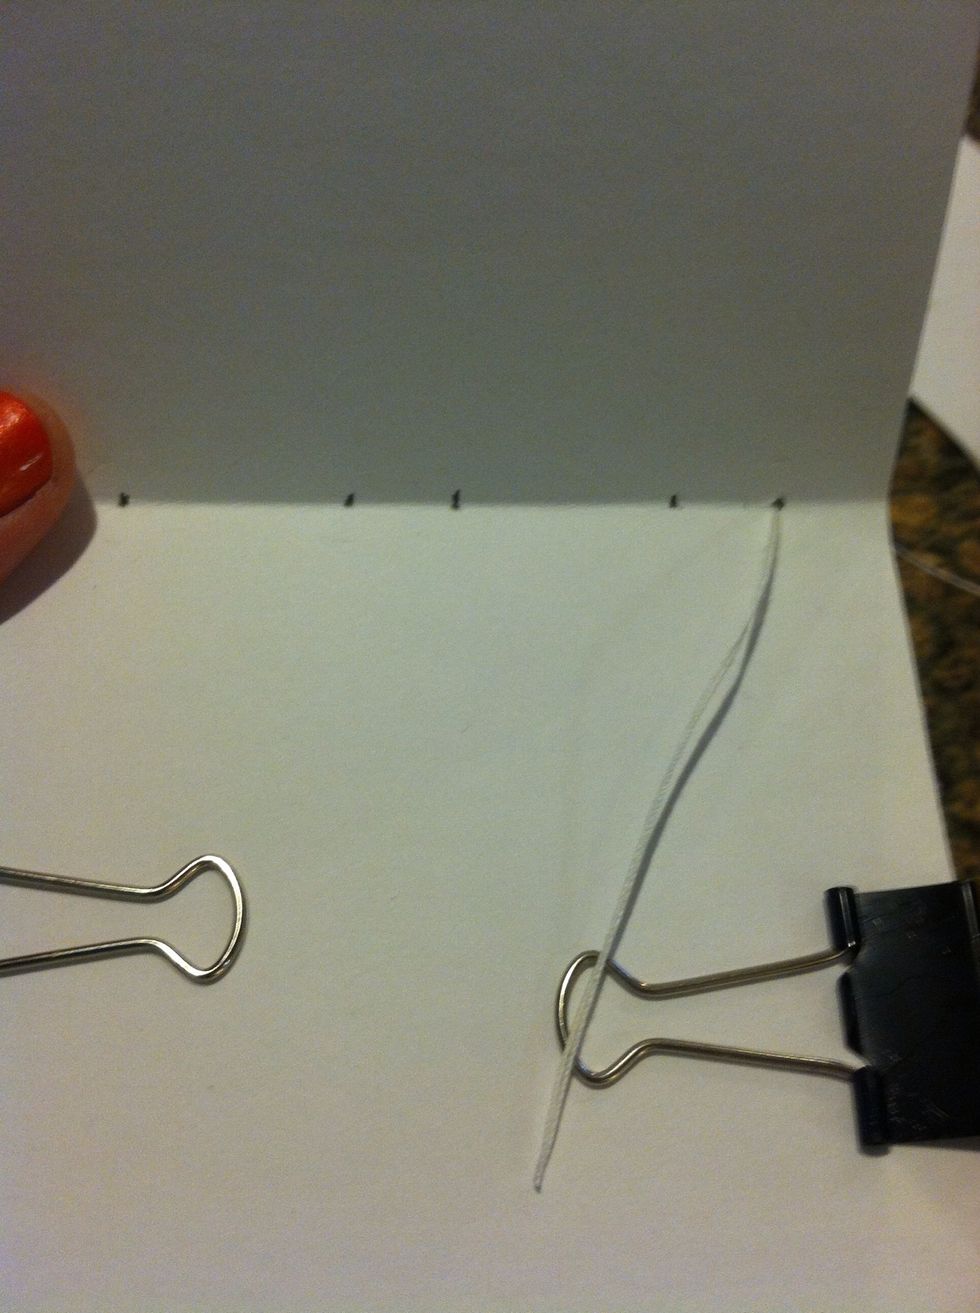
Then push needle through the same hole in the paper
Tie a knot and cut the extra thread off (this is the only knot tied until the very end)
Next station, push needle through paper pull tight, the cardboard outside to the inside, pull tight , needle back through the same station, pull tight to attach the cover to the first signature.
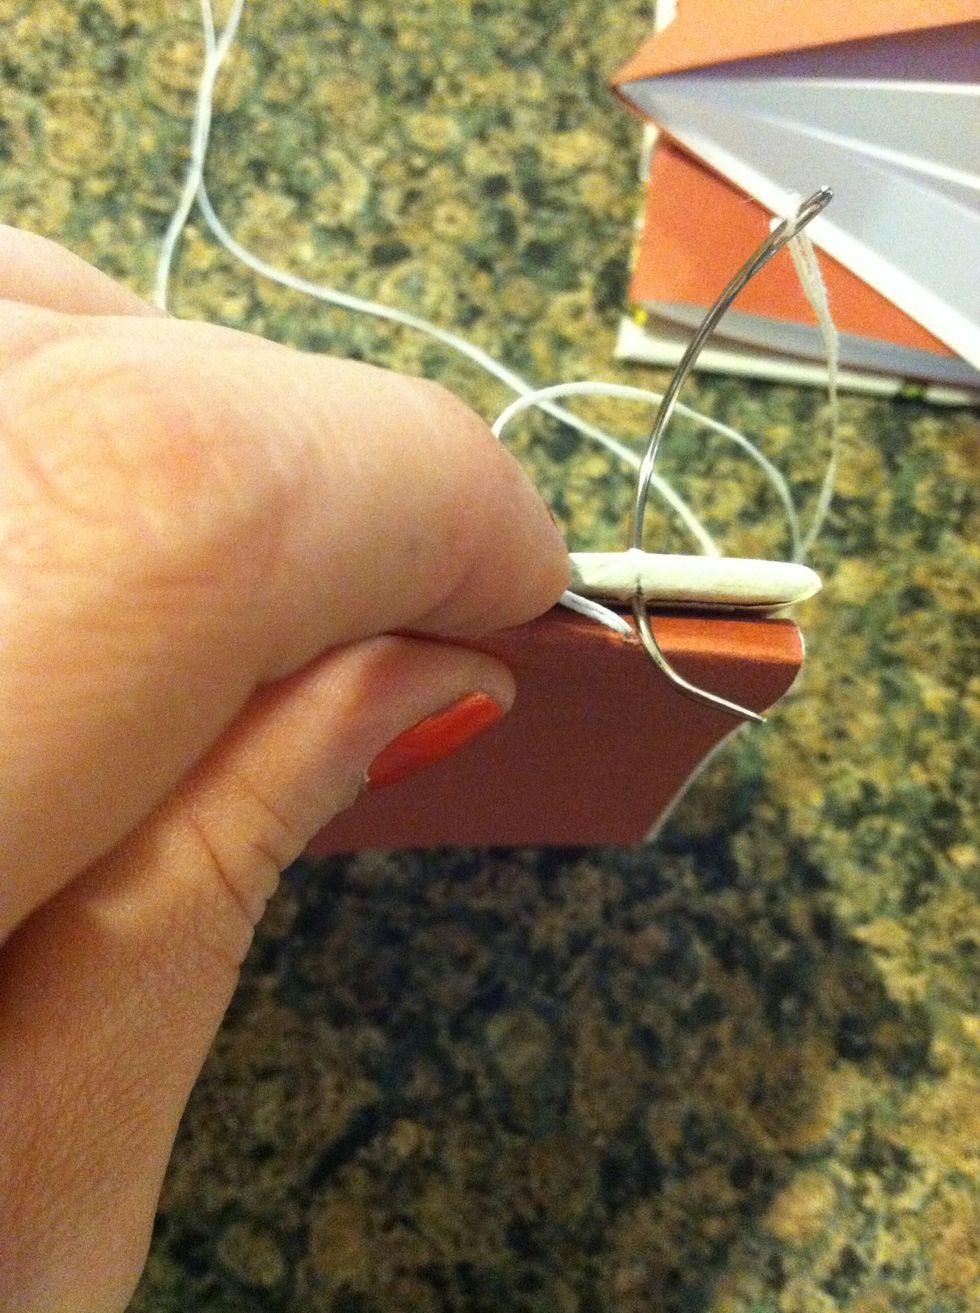
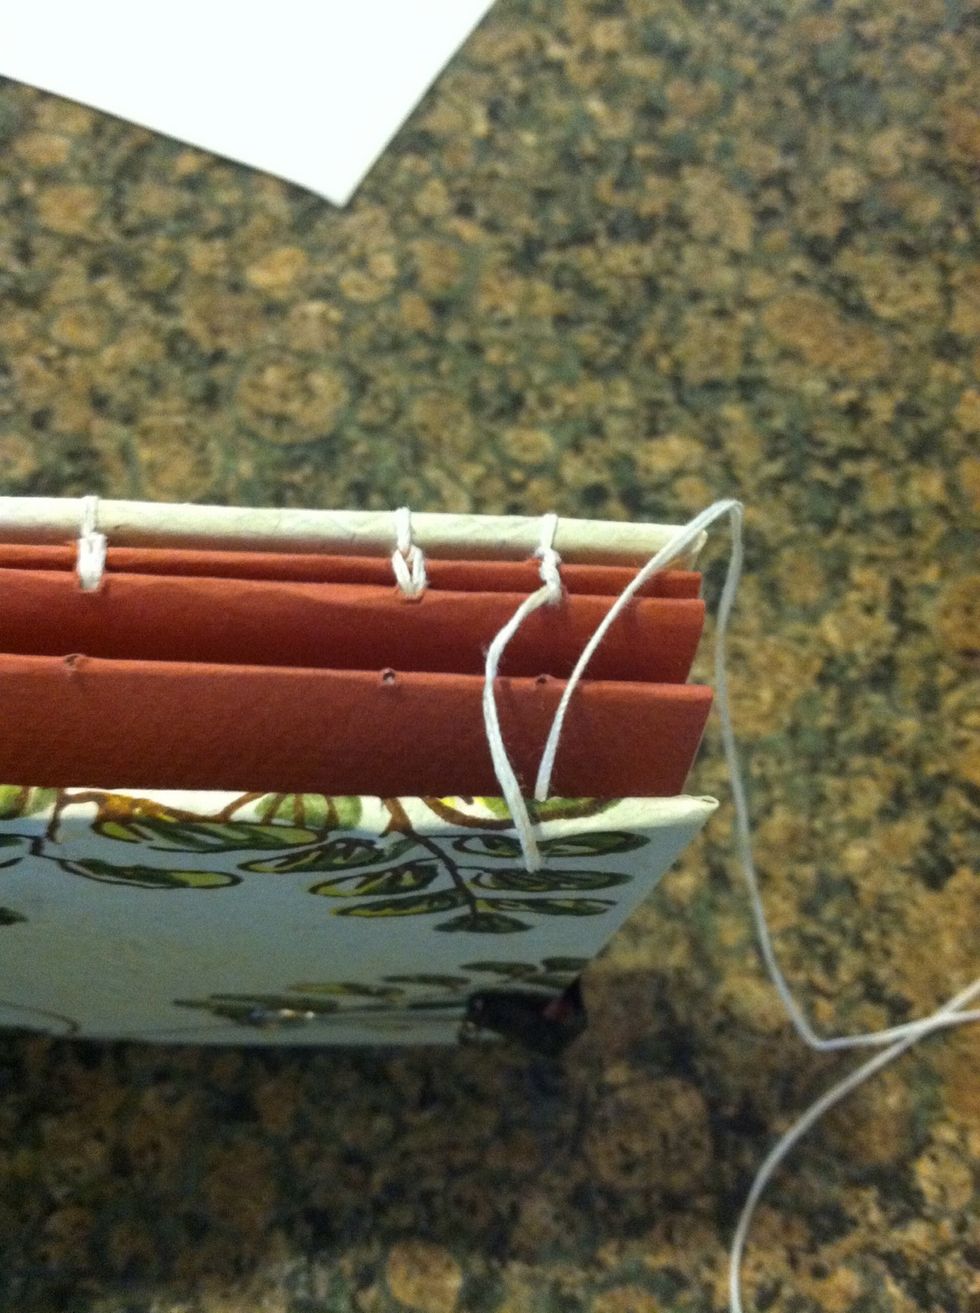
Repeat until you are on the end and inside your pages should look like this photo. On the last station, thread stays on the outside.

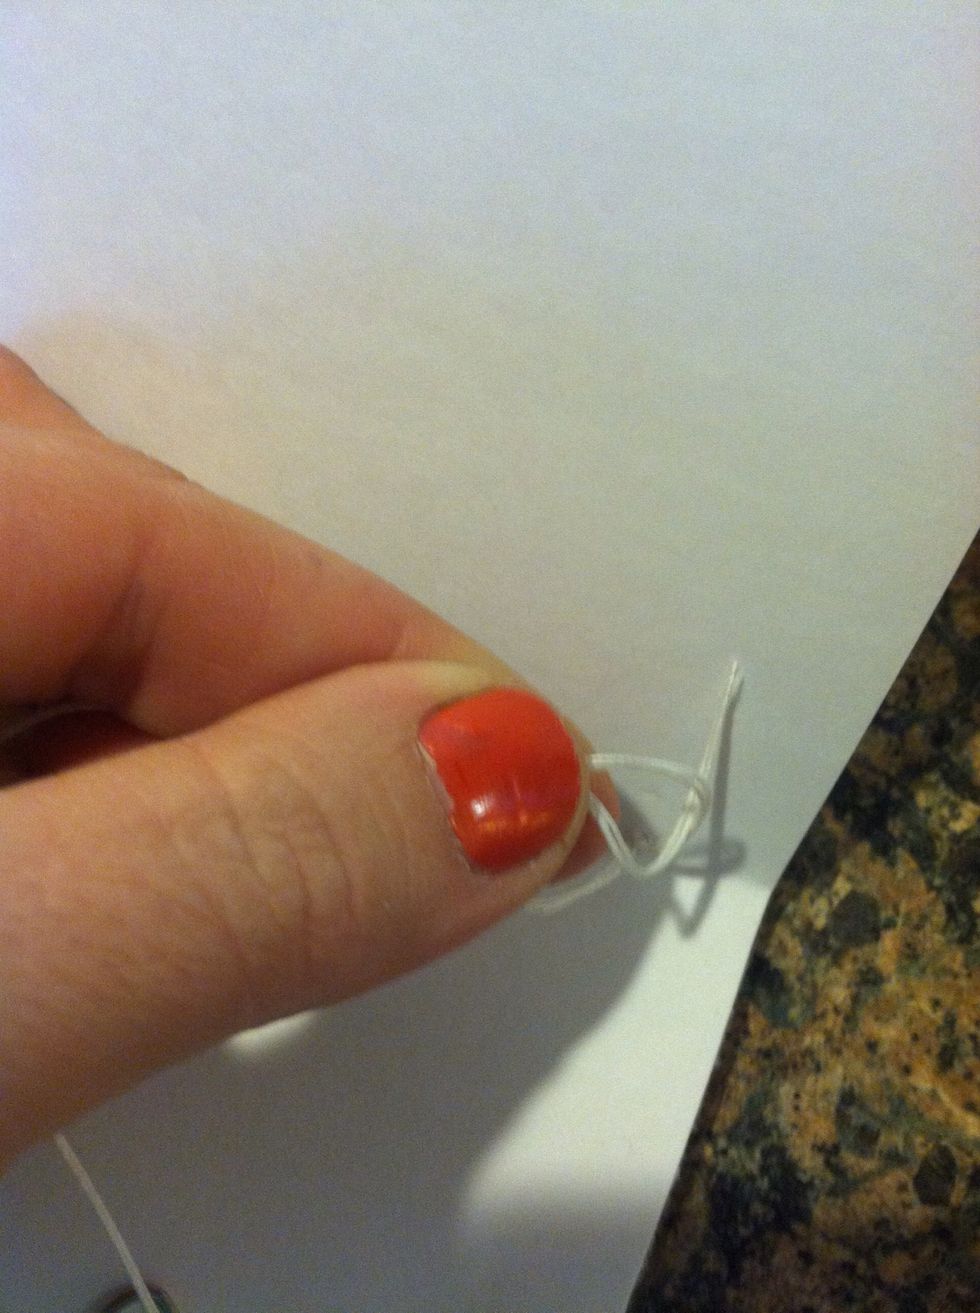
With string on the outside loop around itself (view next photo)
Loop around itself

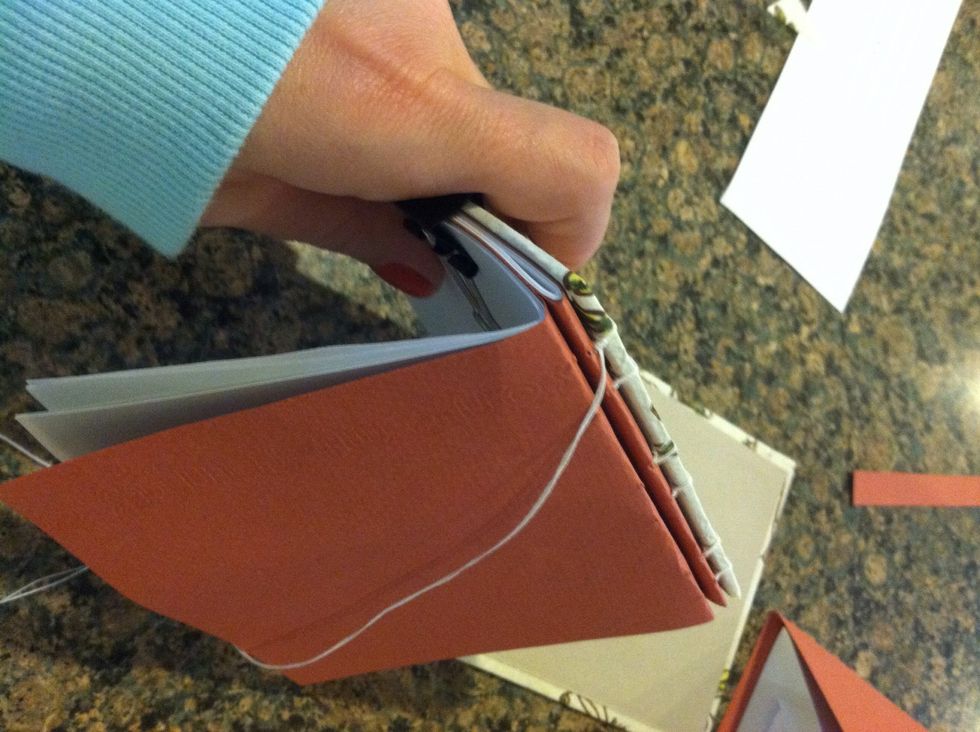
Move binding clips to include next signature
Ready to see the next station (when you have more signatures the middle signatures are the easiest, you are just looping with the previous signature)
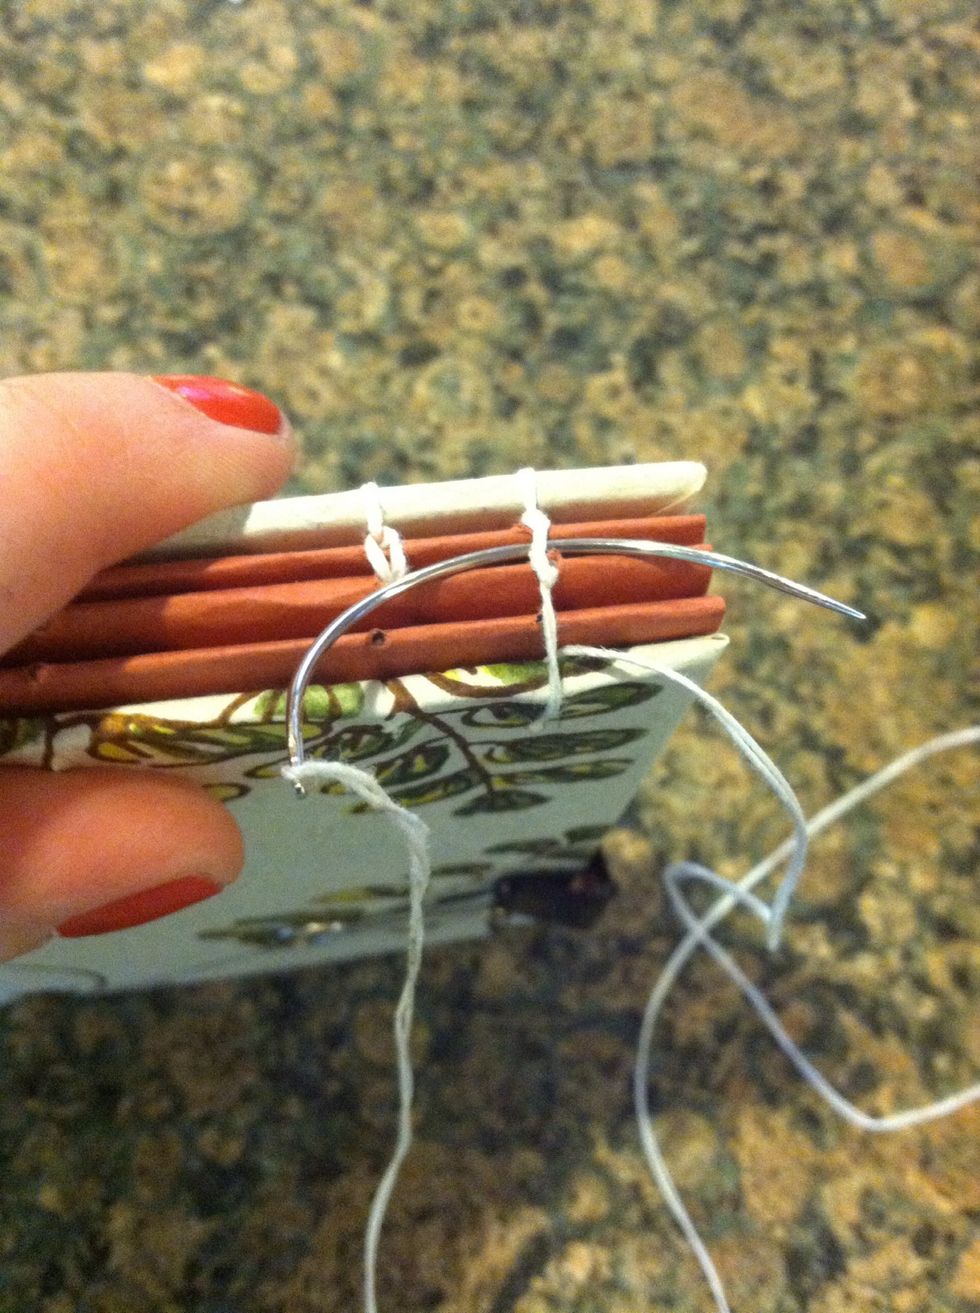
needle through the outside of the first station on left

Pull tight... Like so. Then on the inside go to the next station puts needle through pull tight.
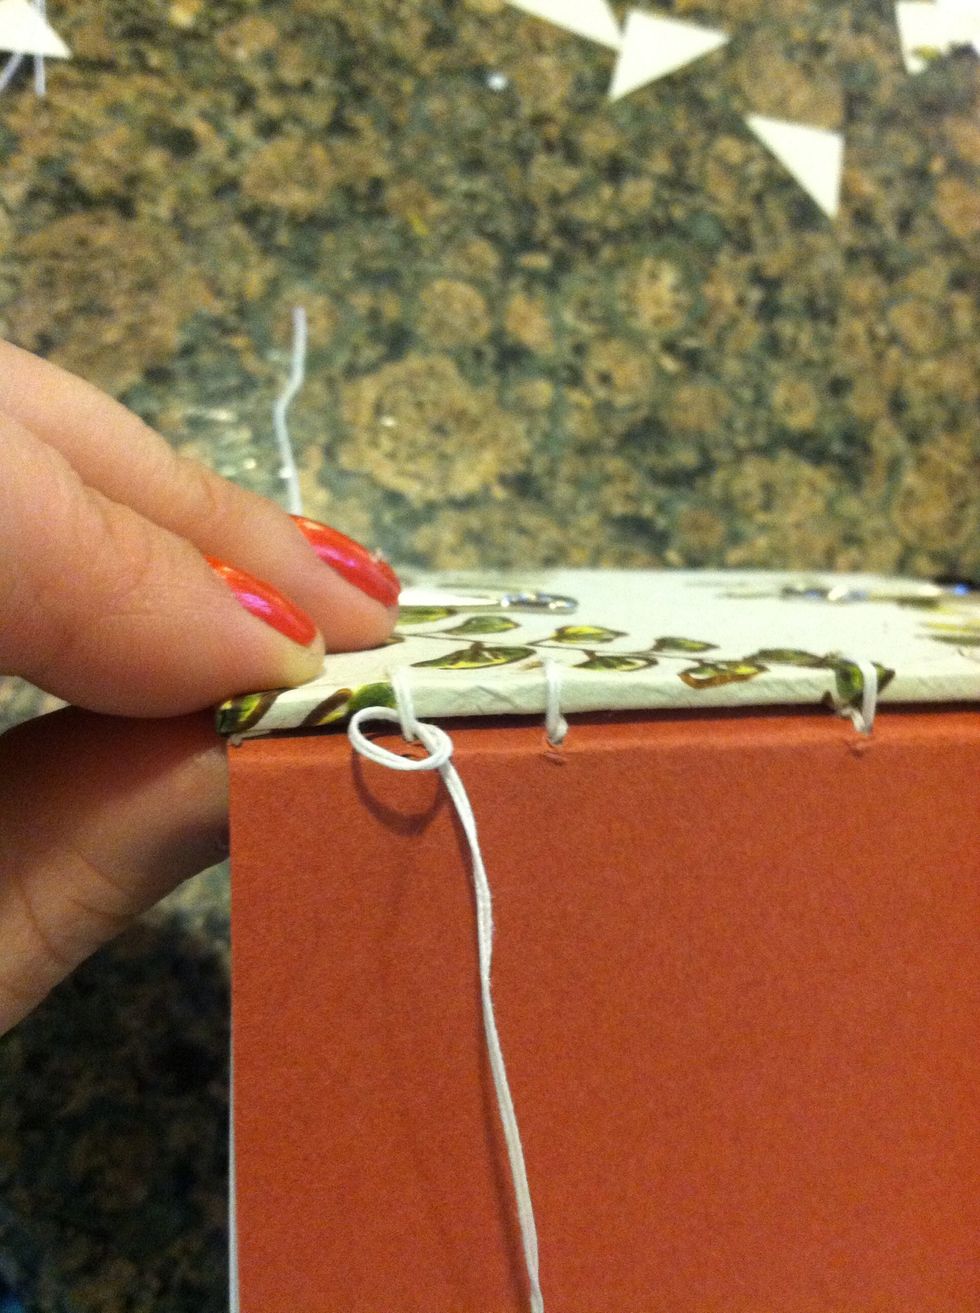
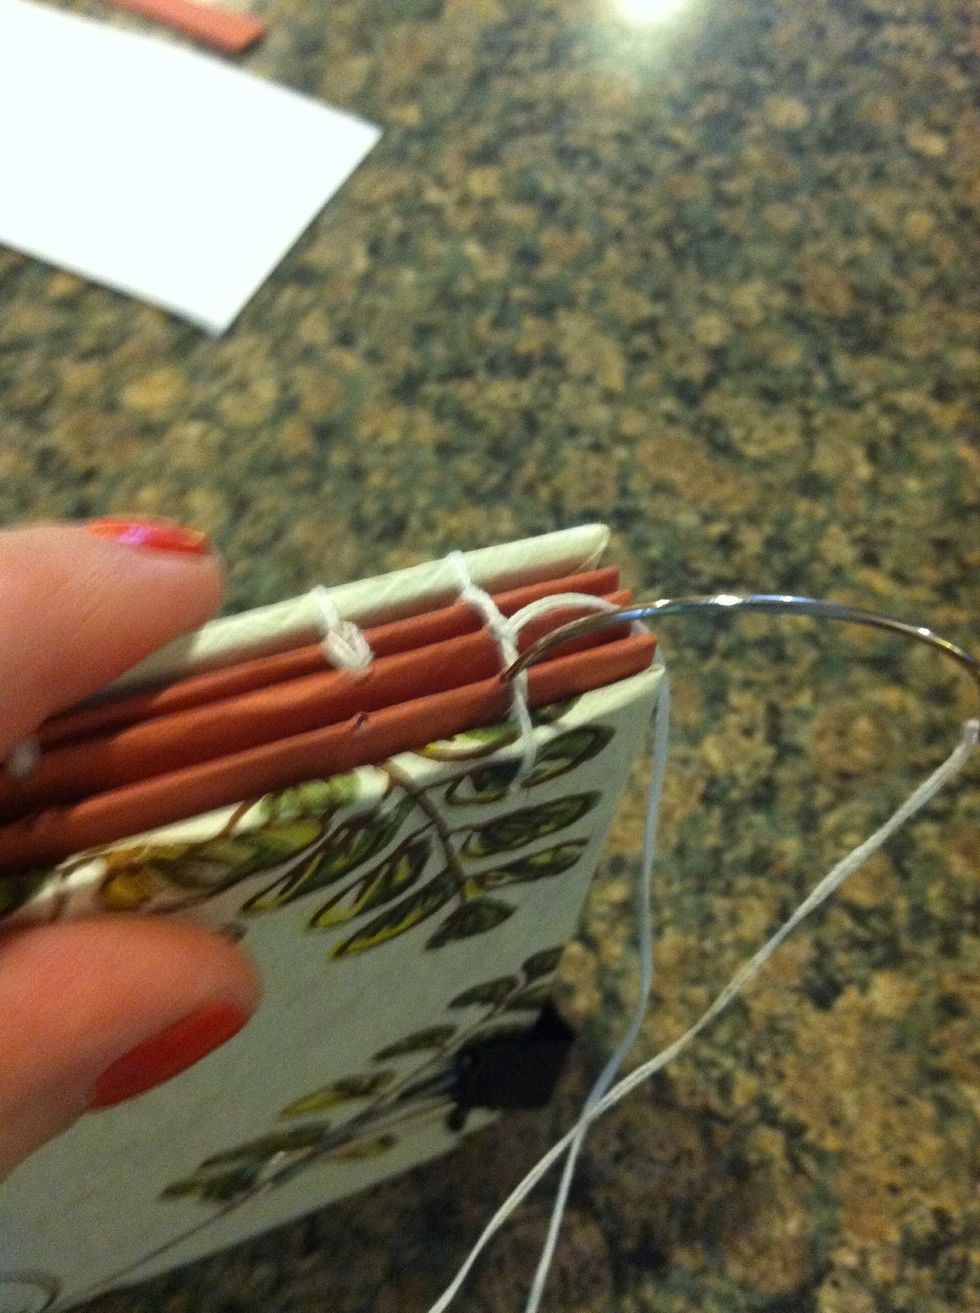
Hook your needle under the thread above the station you are on pull tight.

And go back through the same hole pull tight... Repeat until the end.
At the last station do go back to through the same hole so loop around herself to make the bond strong
Looped around itself?
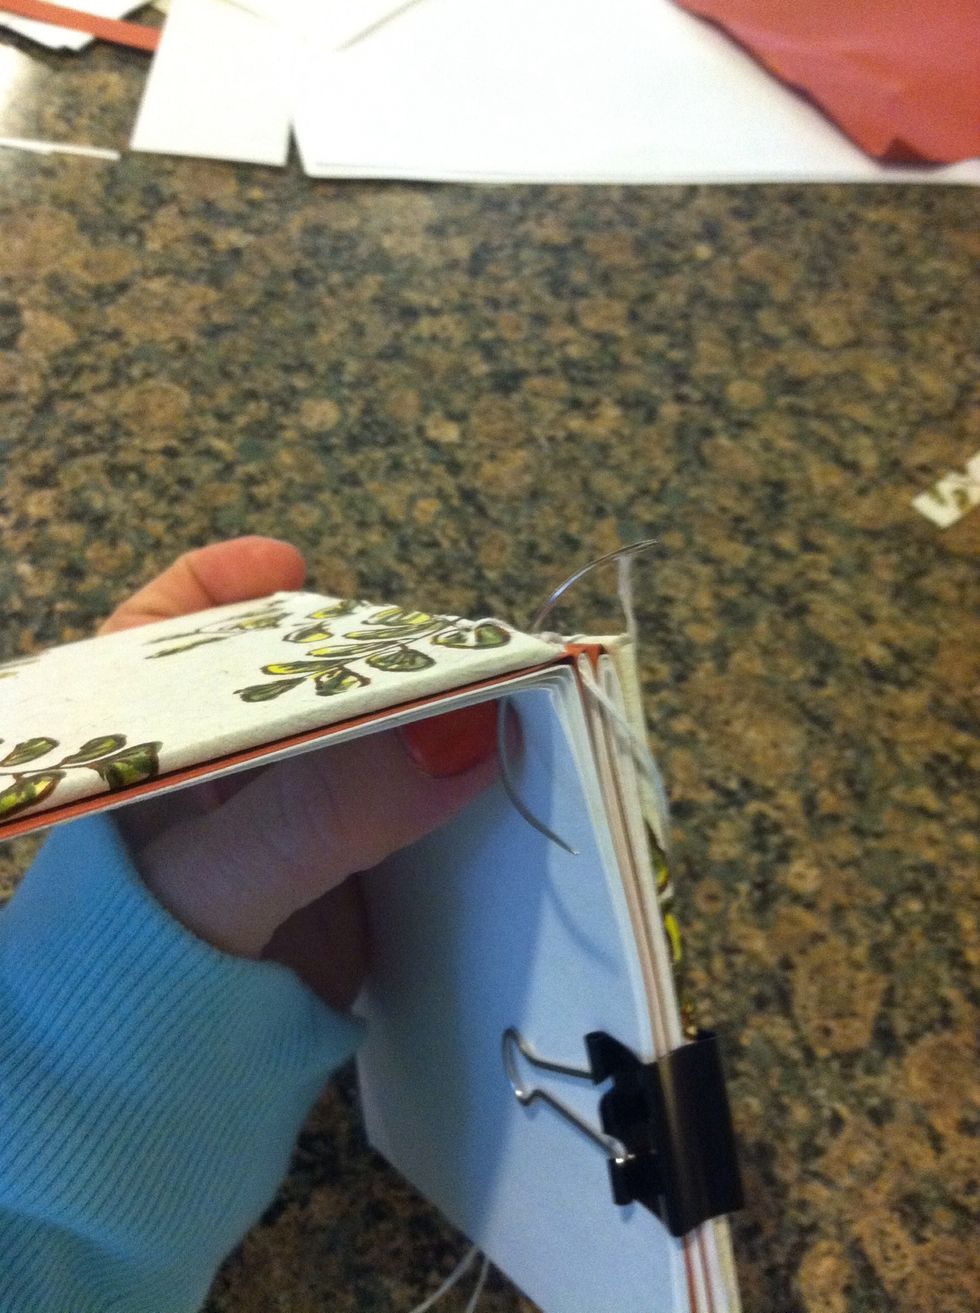
Put one binding clip on one side to hold next signature the other should be in the back cover and the last signature
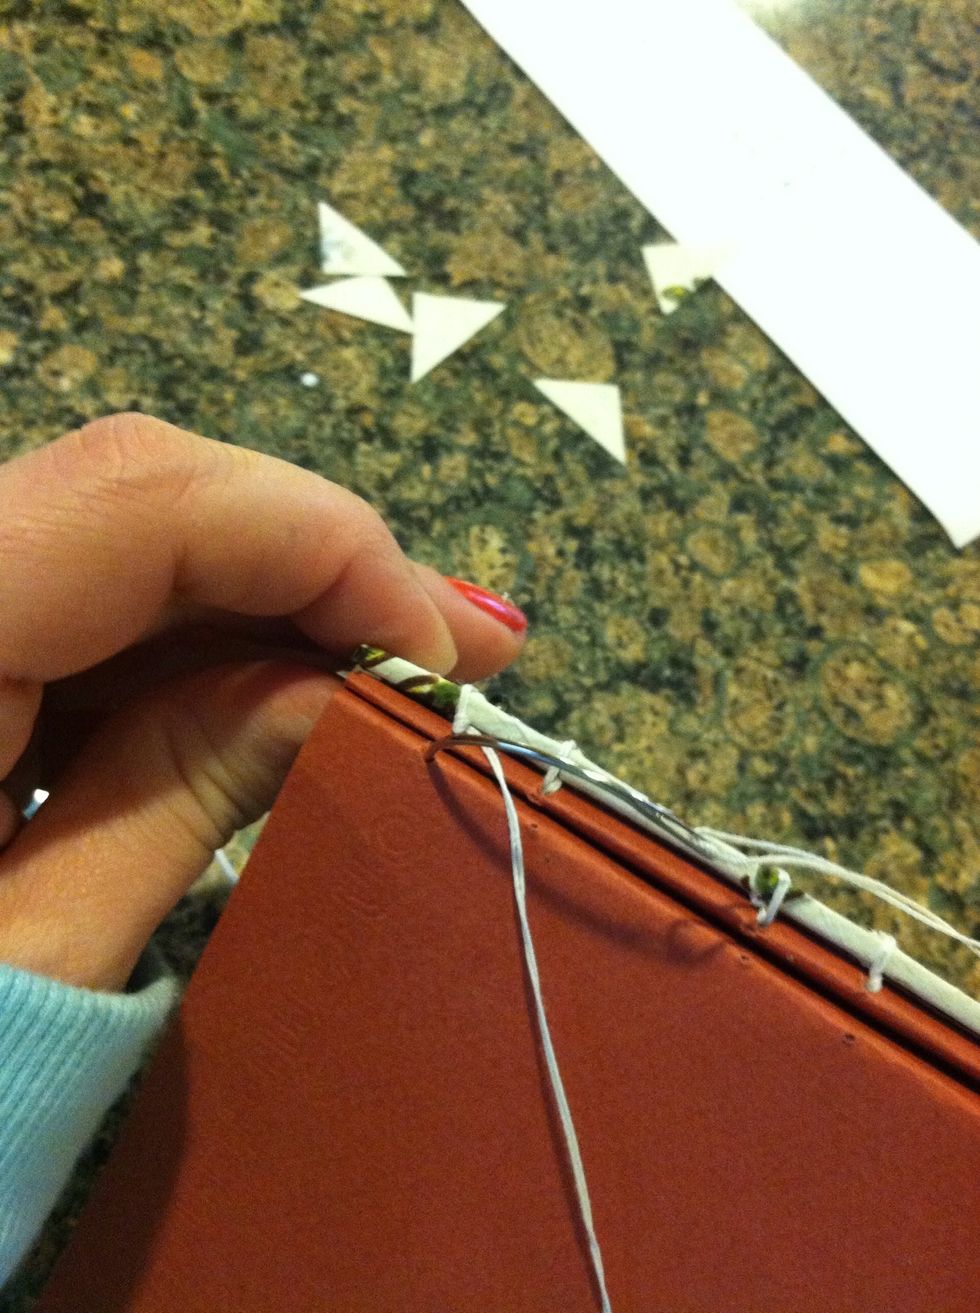
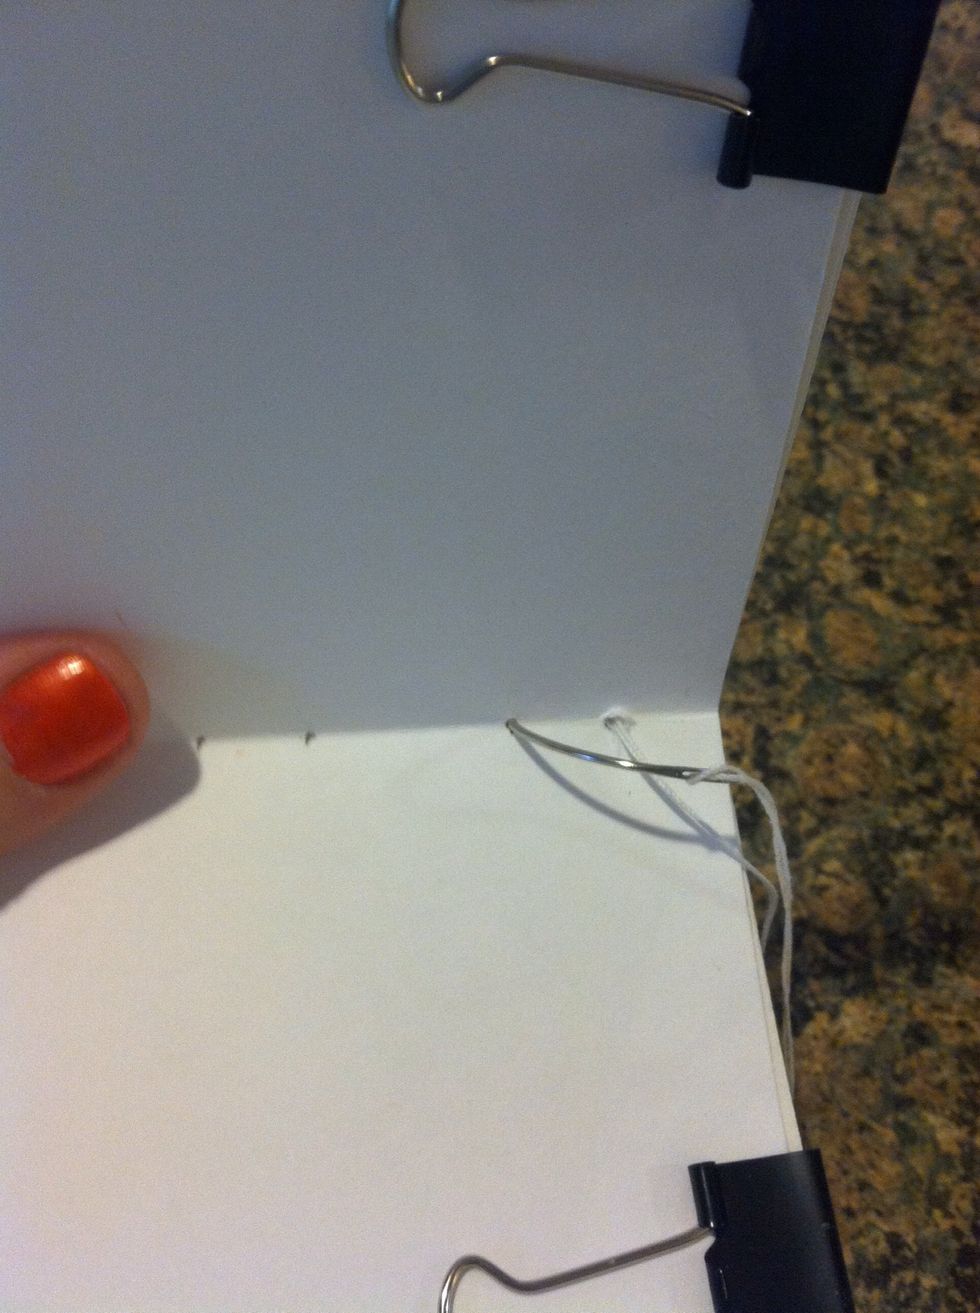
On the outside put the thread through the first signature in the cardboard outside to the inside
Loop between signatures one and two
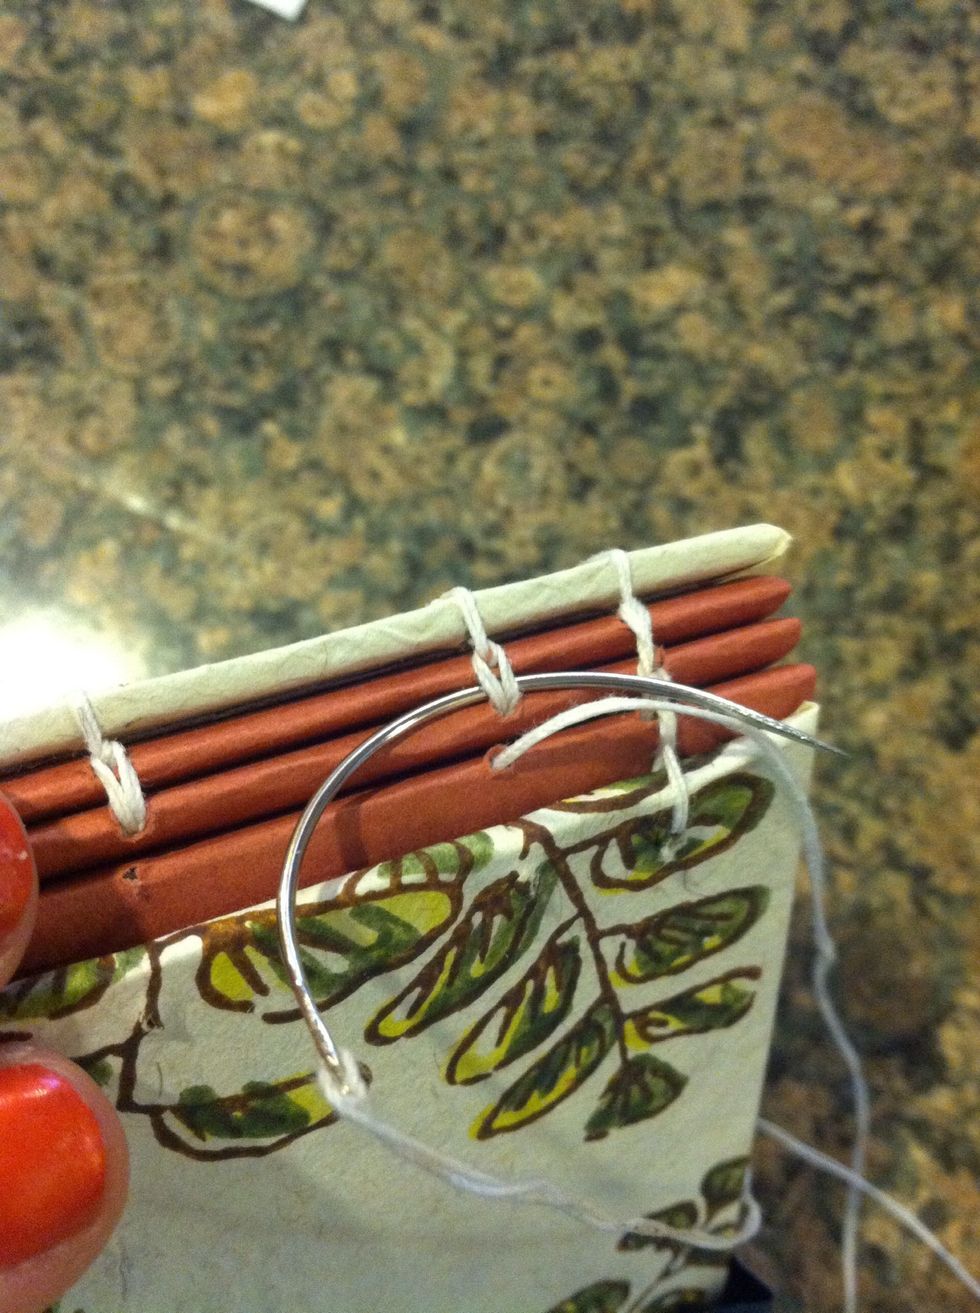
Push needle through third signature first staton
Pull tight
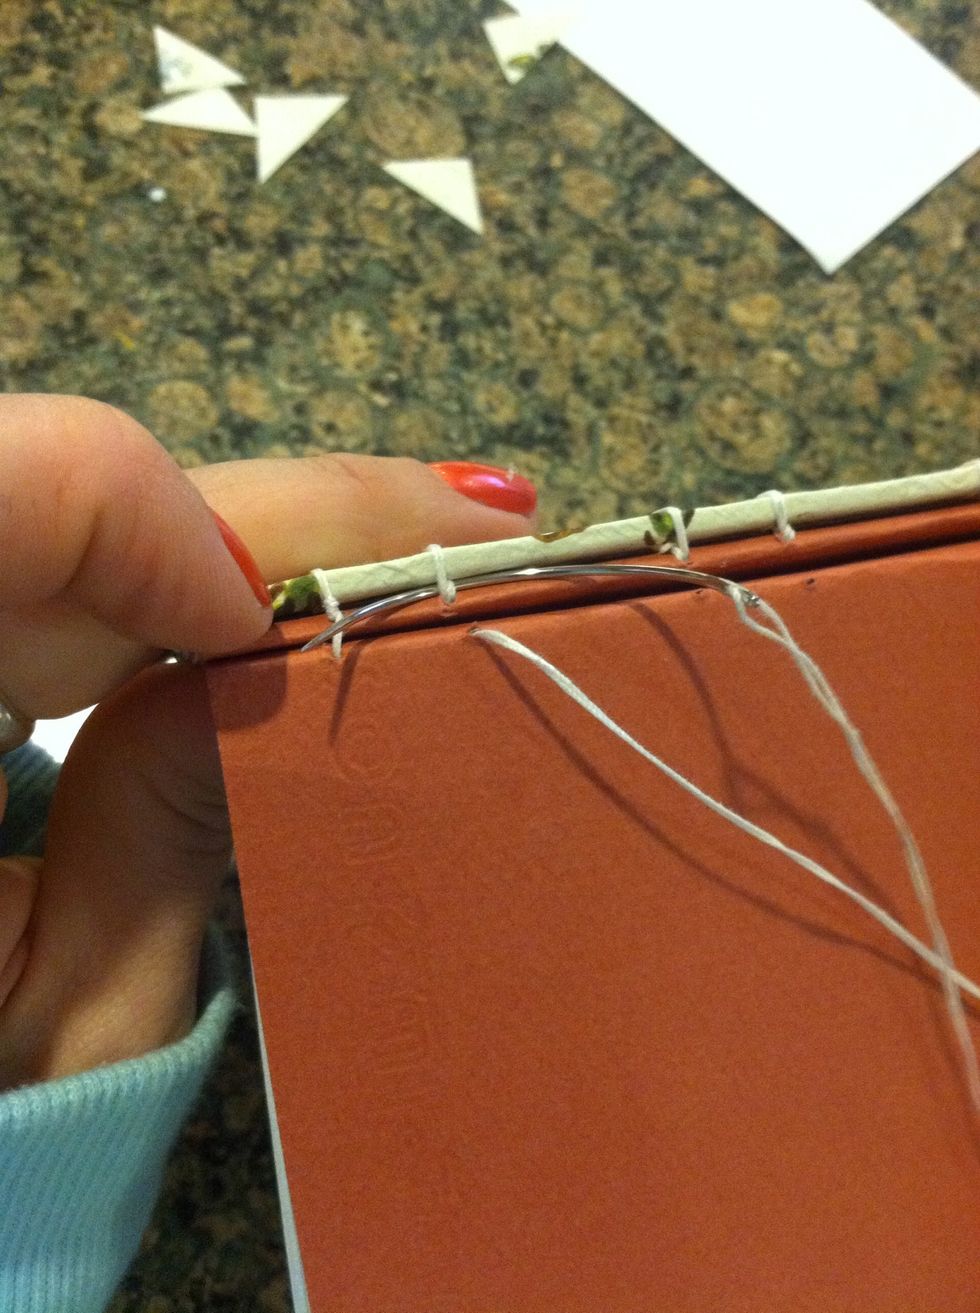
Go to the next signature, push needle through, pull tight
Loop between one and two pull tight
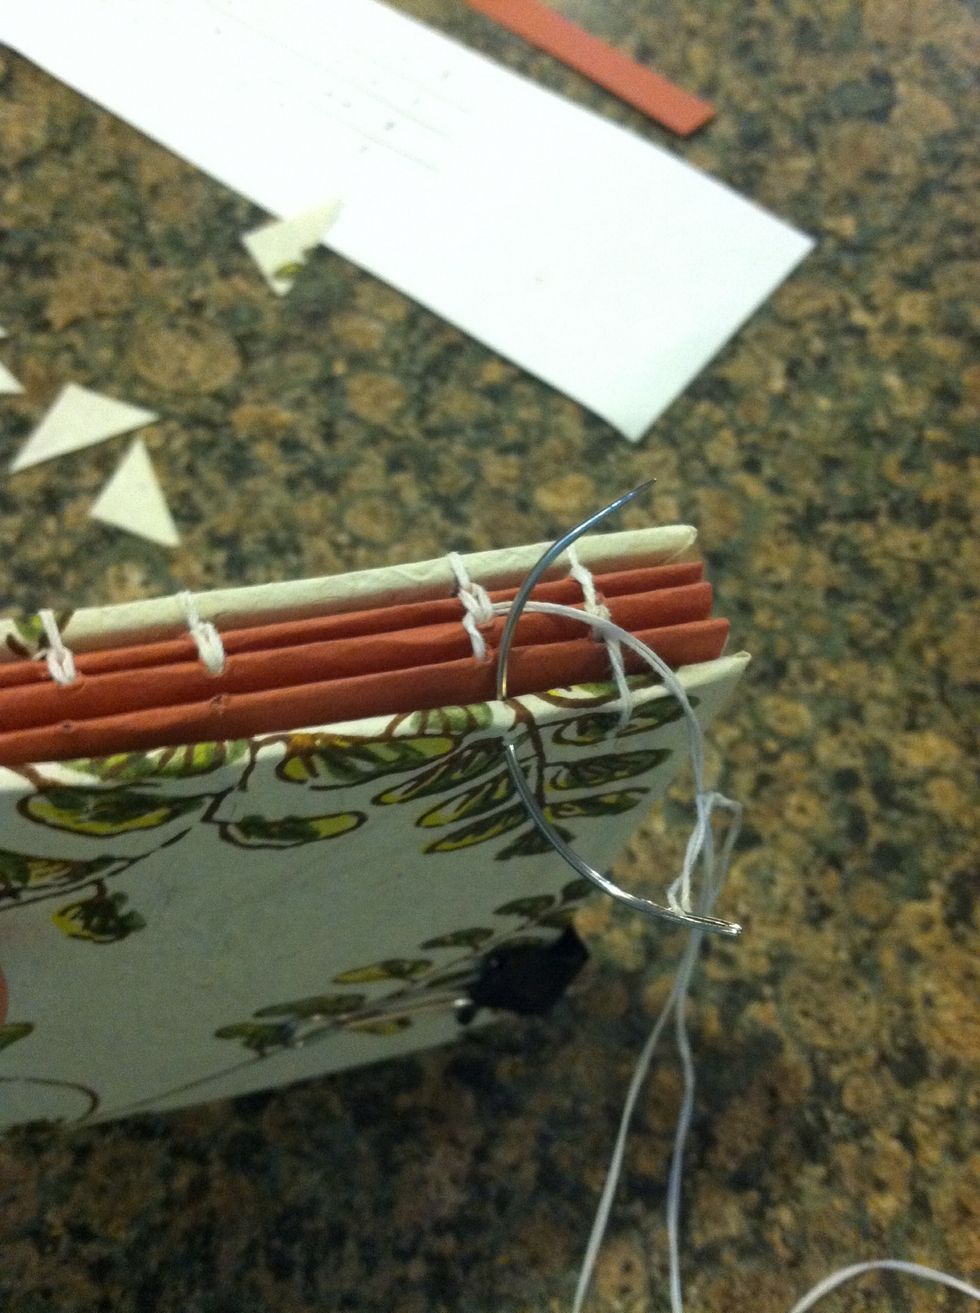
Go through the cardboard out Side to the inside

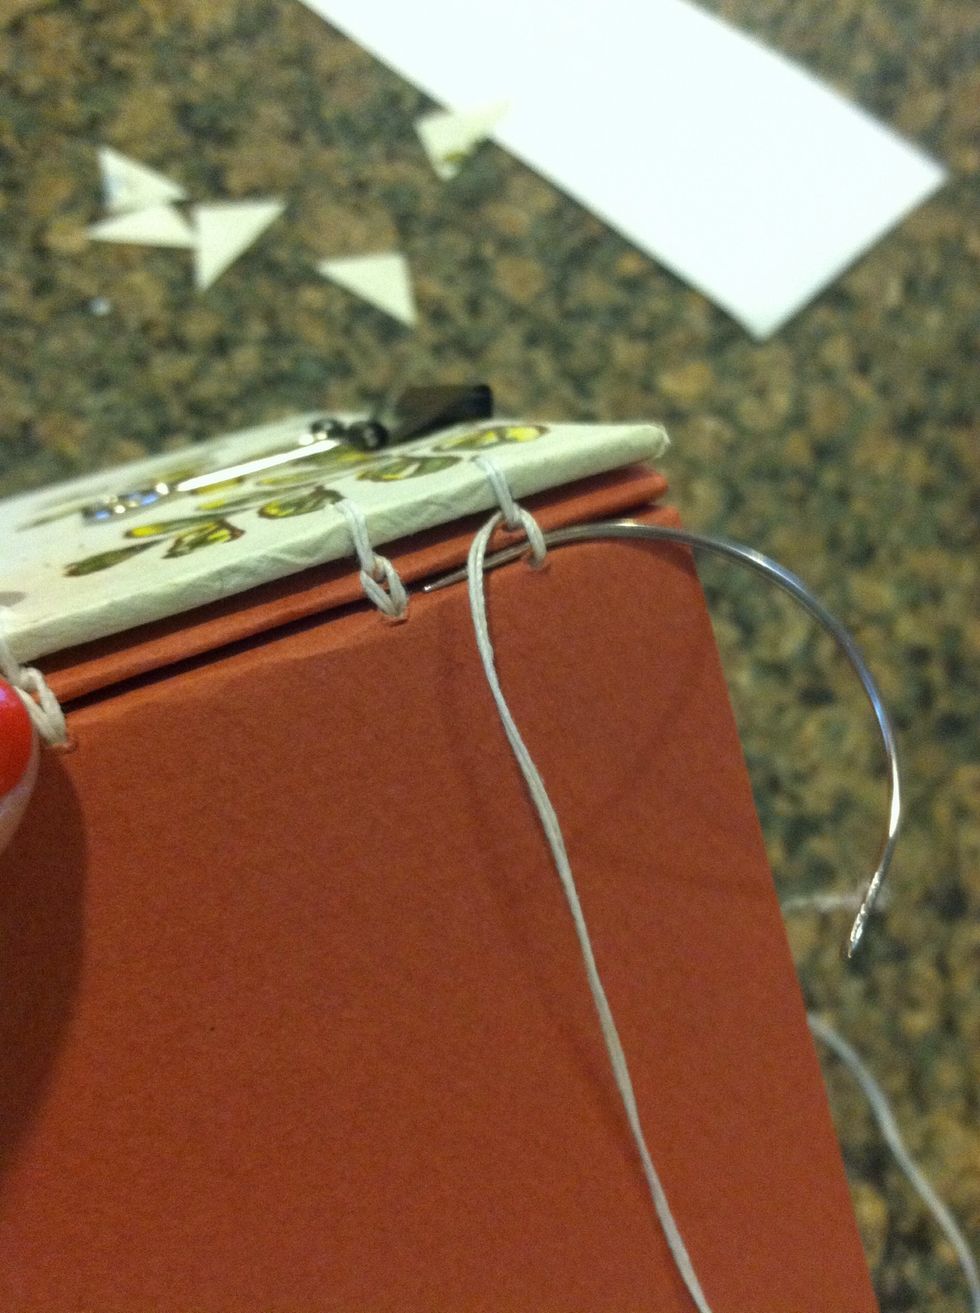
Then loop between the 2nd and 3rd signatures pull tight. Repeat all the way to the end!

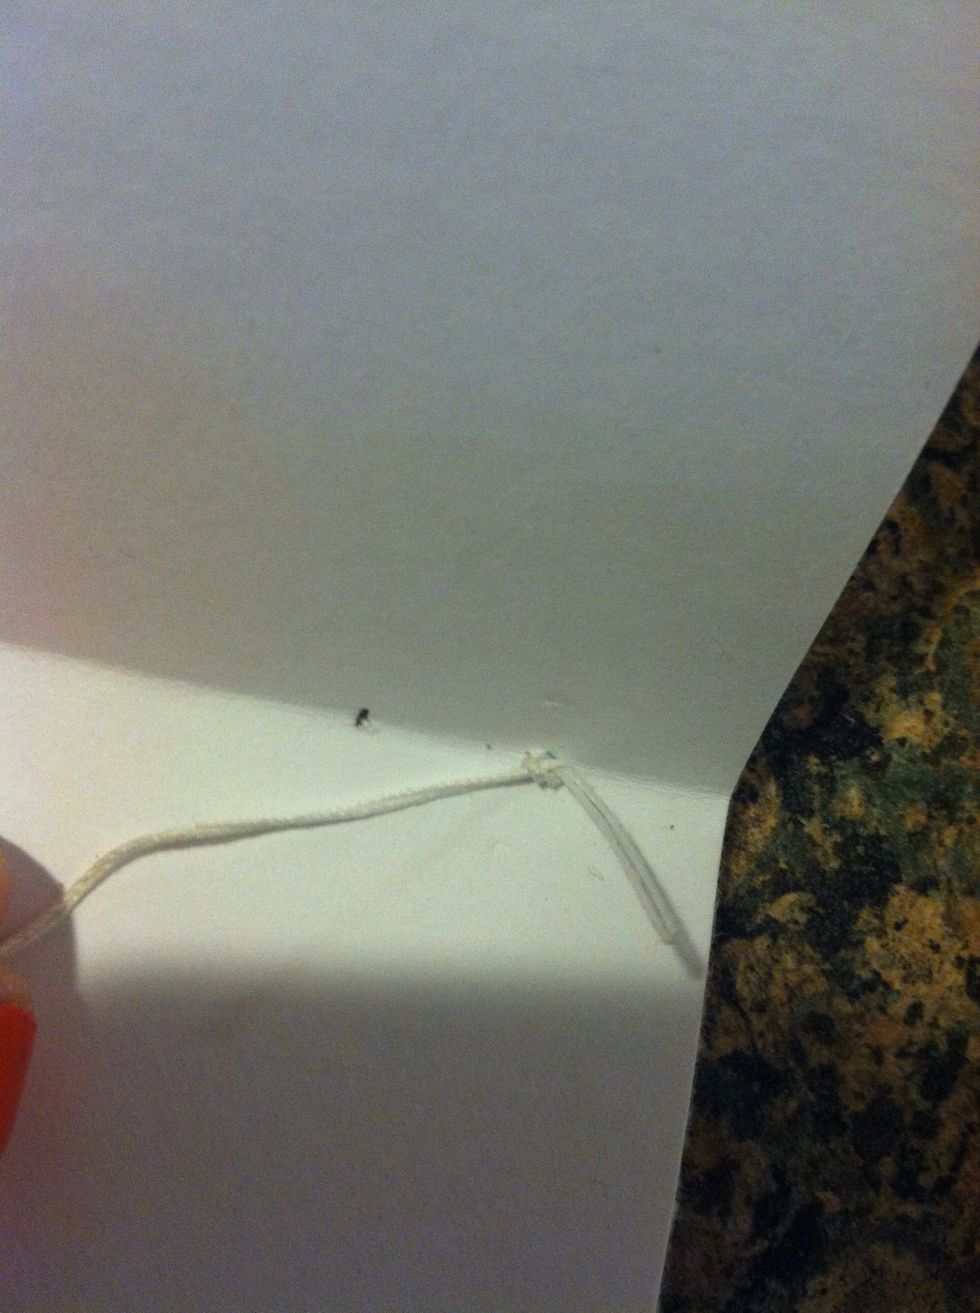
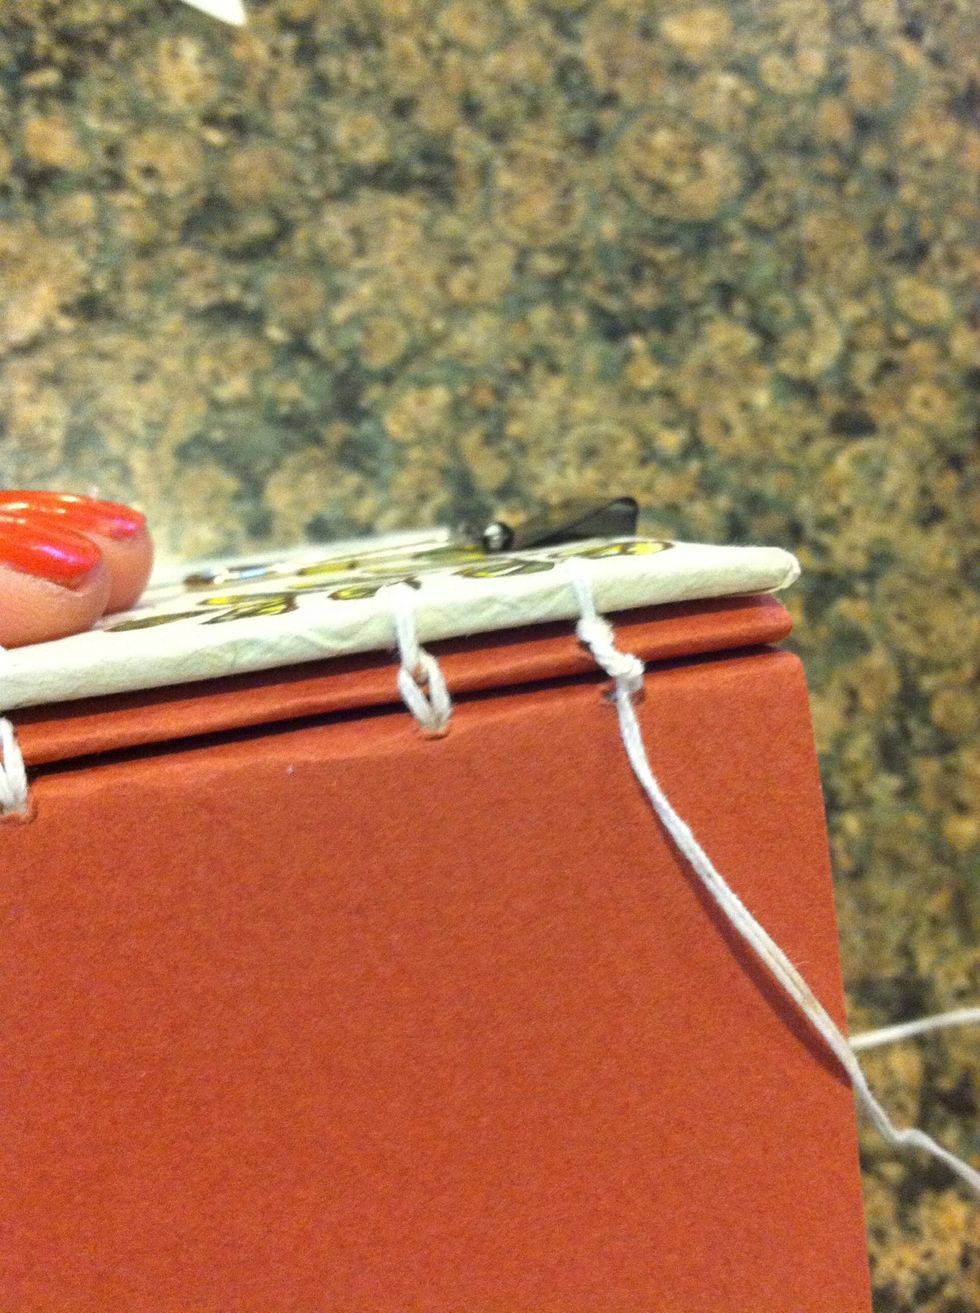
When you end on the inside of the last station, of the last signature tie a knot to end the binding
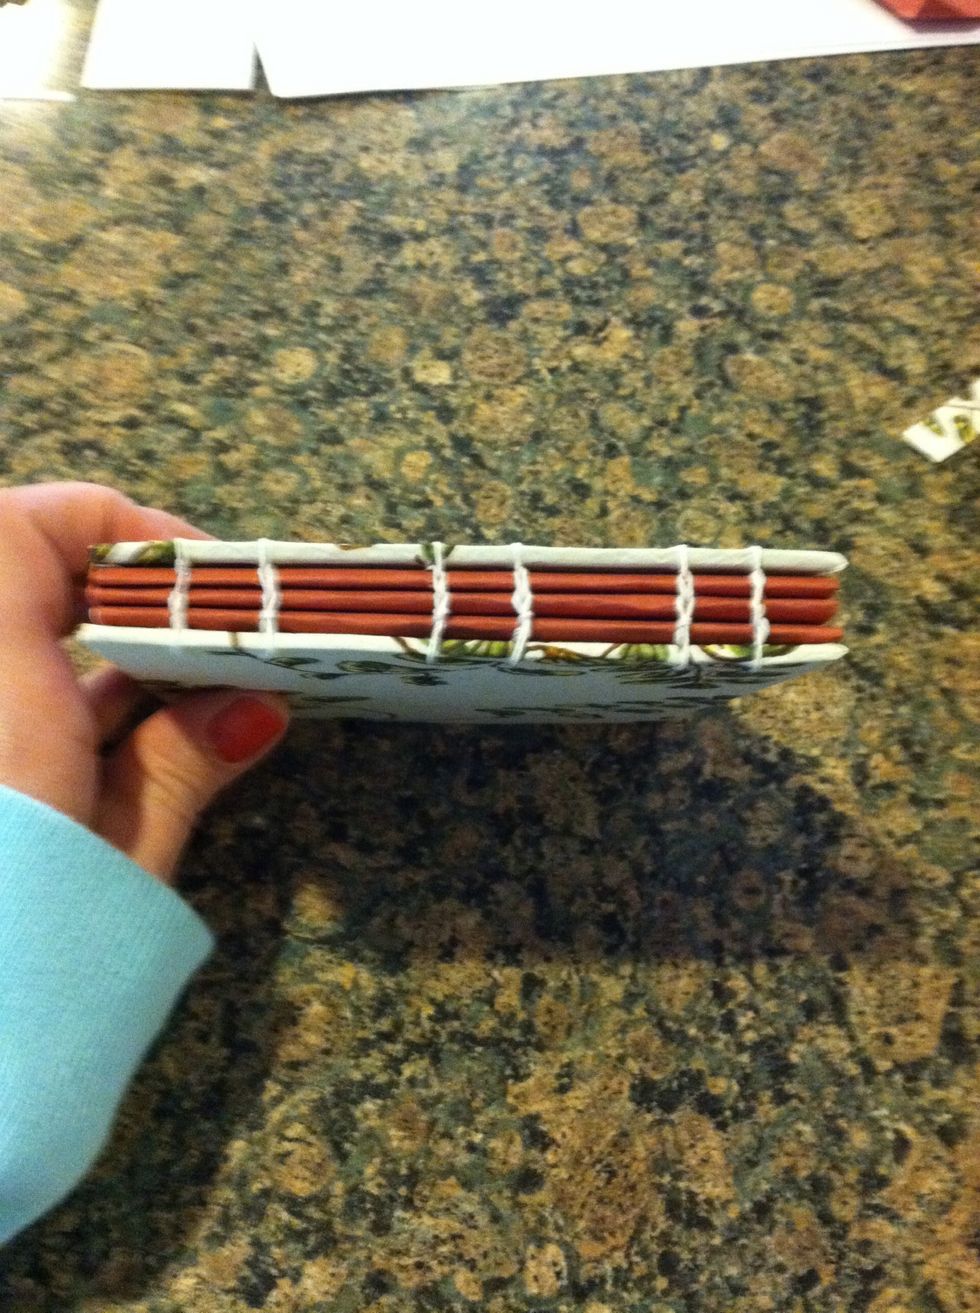
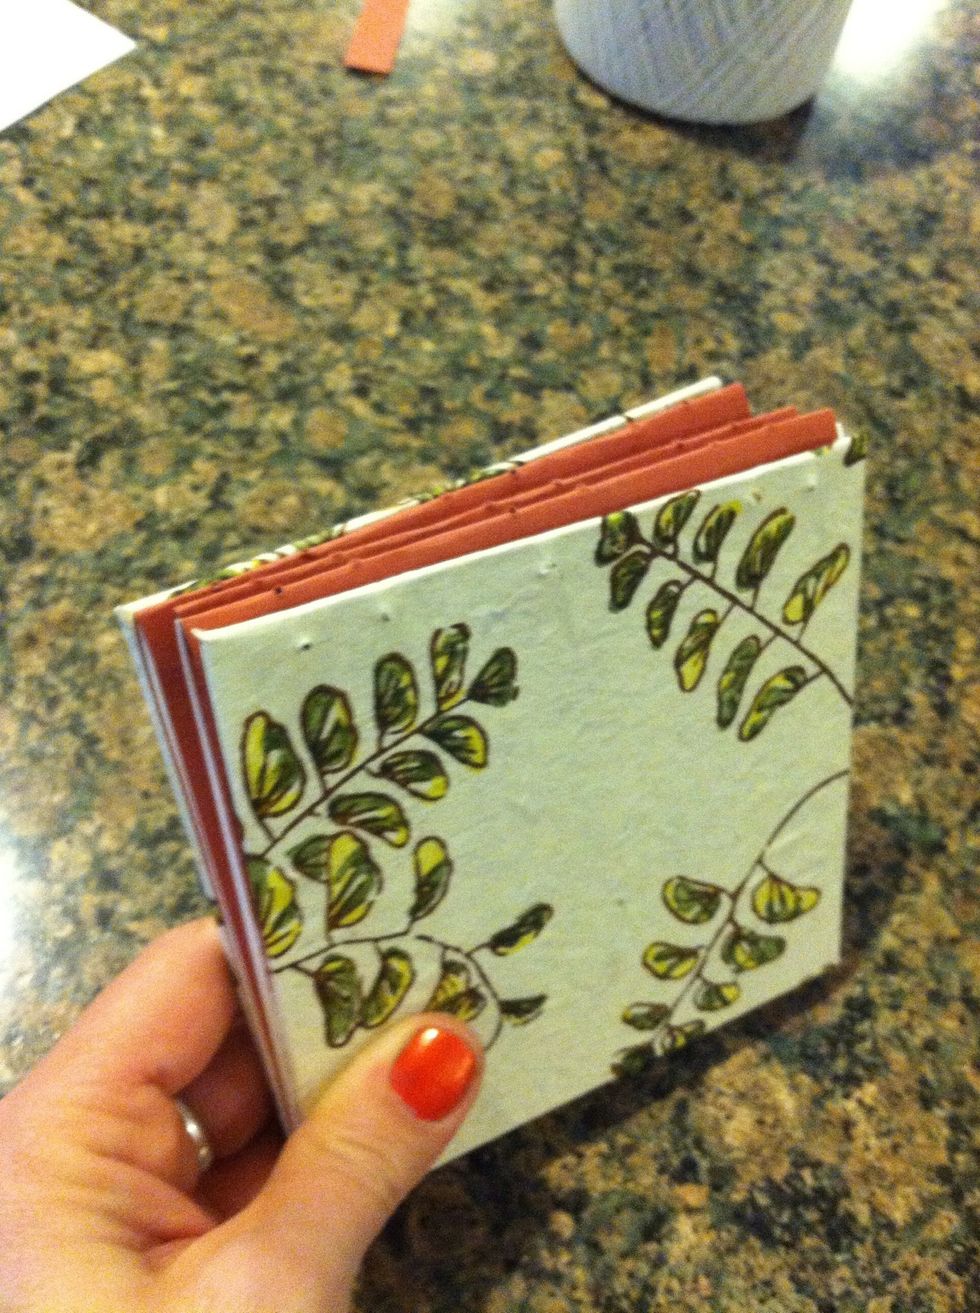
That's what your binding should look like!
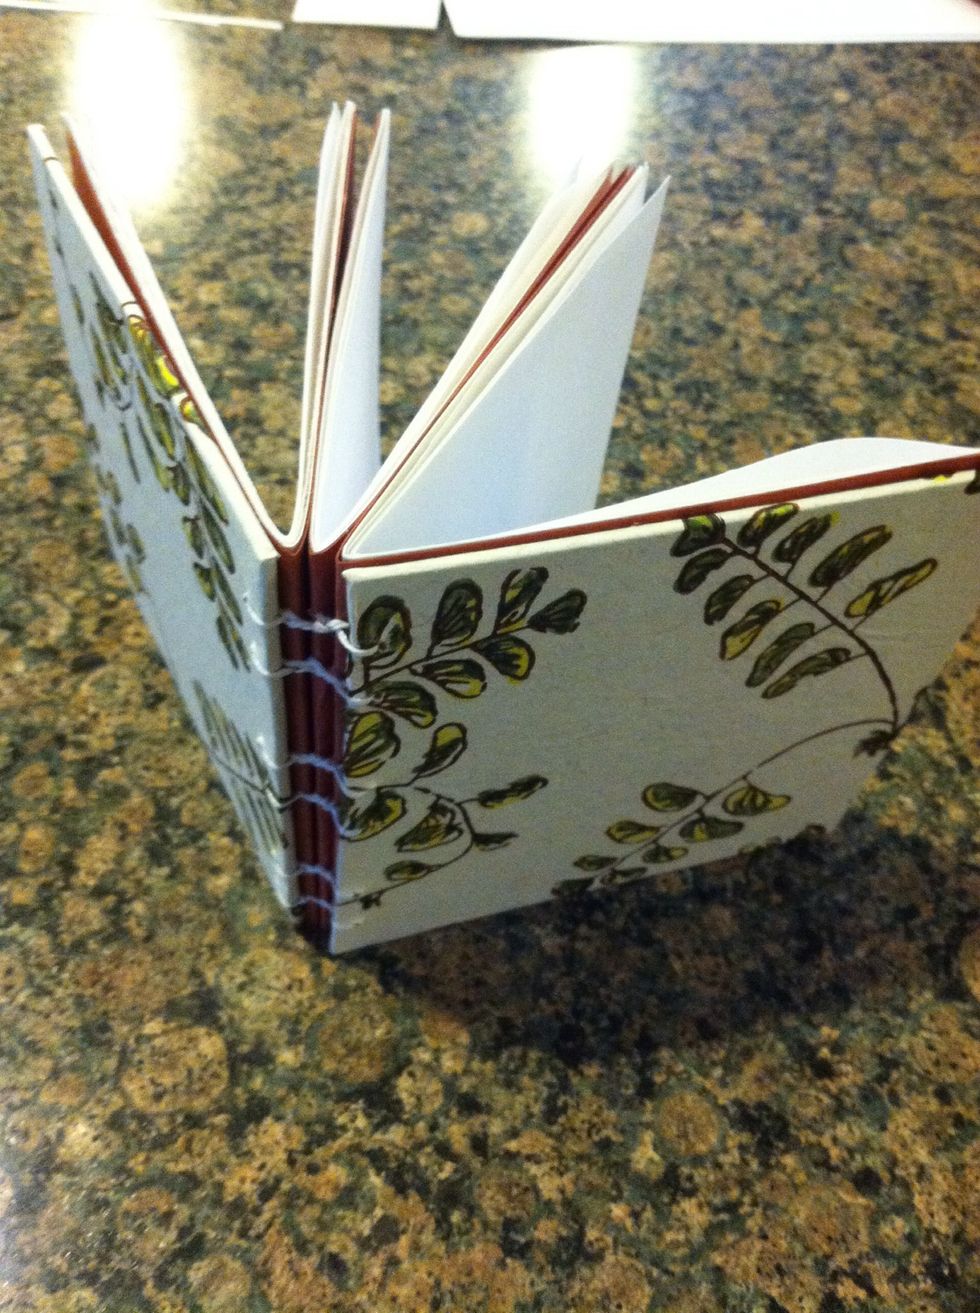
Tahdah!!!