The Conversation (0)
Sign Up
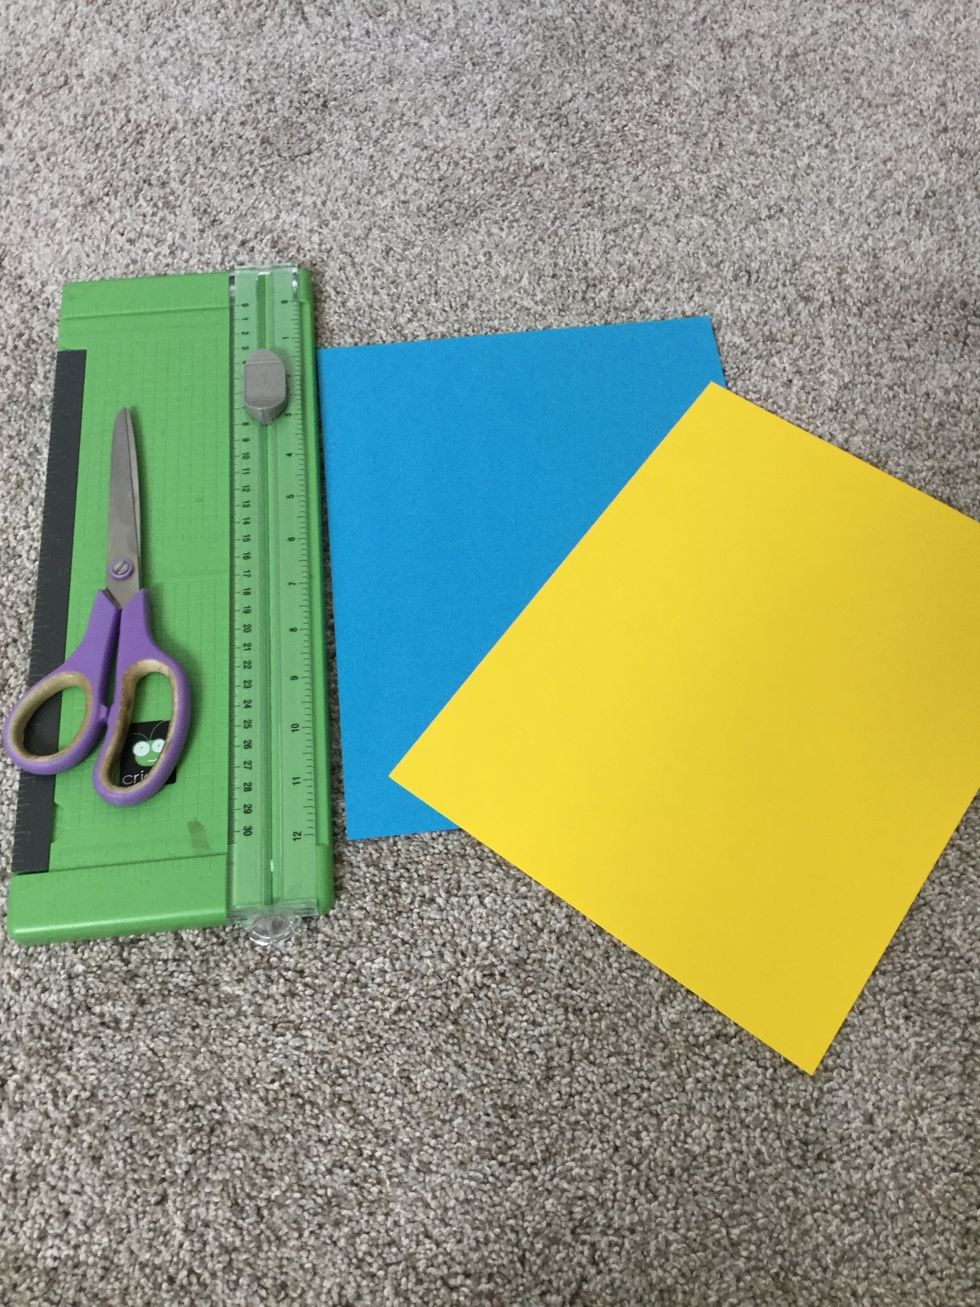
You will need 2 colors of paper, a pencil, a ruler, scissors, and/or a cutter
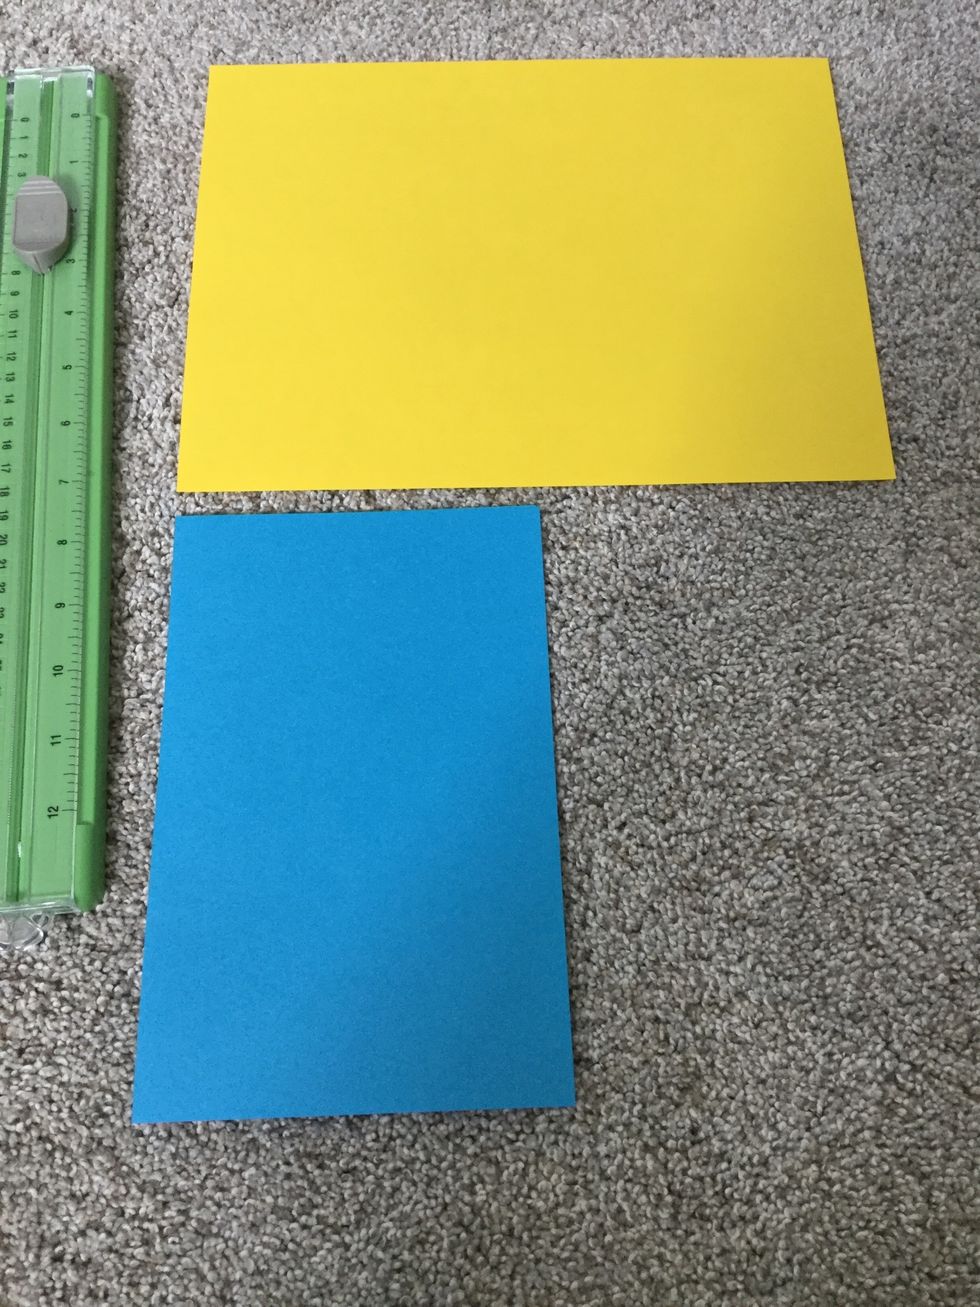
Fold the blue one in half like a card. The blue will be the card (shirt), and the yellow paper will be the tie.
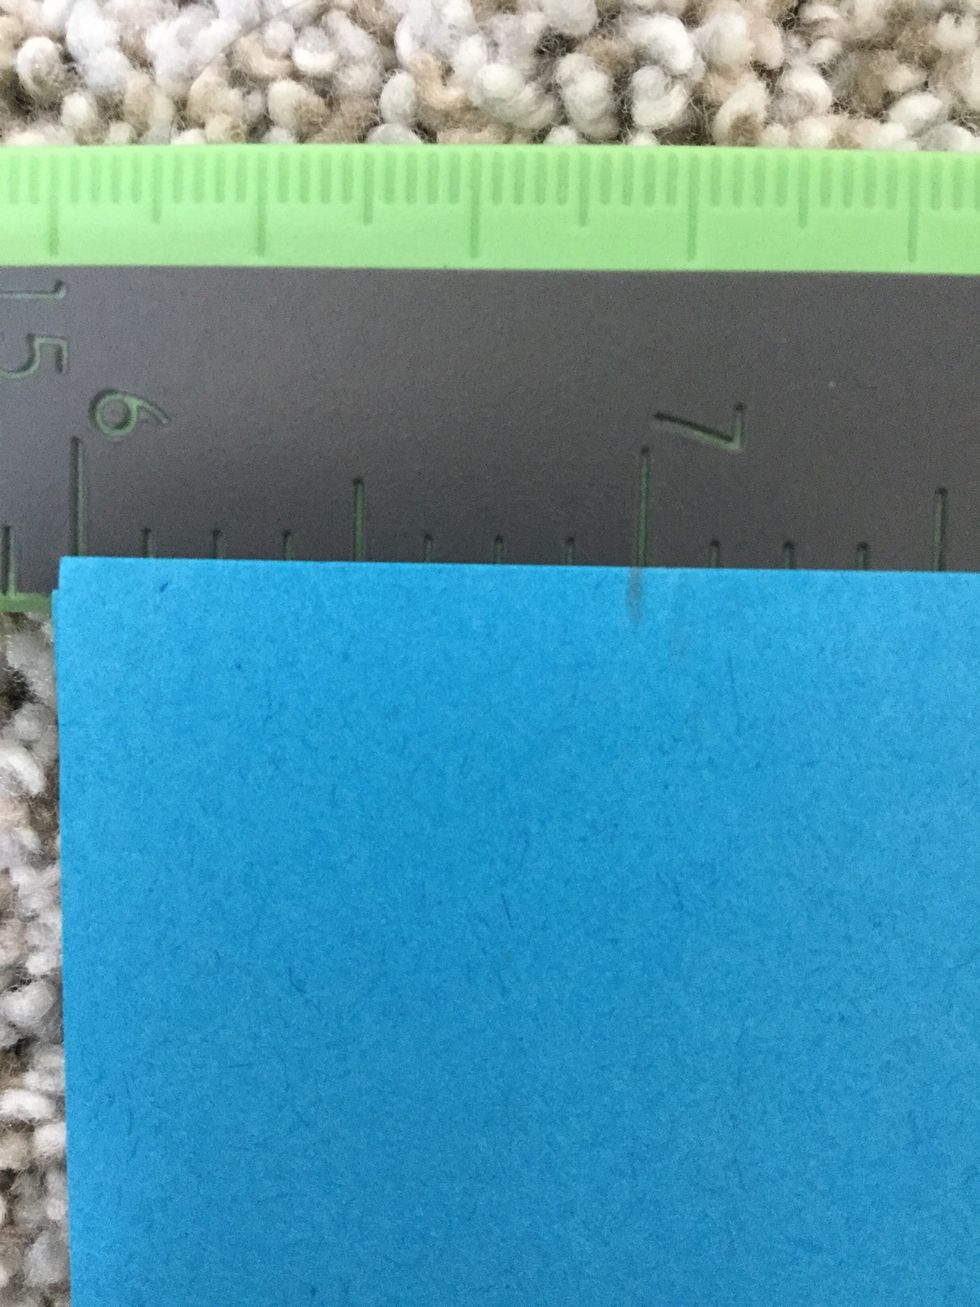
Turn it sideways and make a mark at one inch.
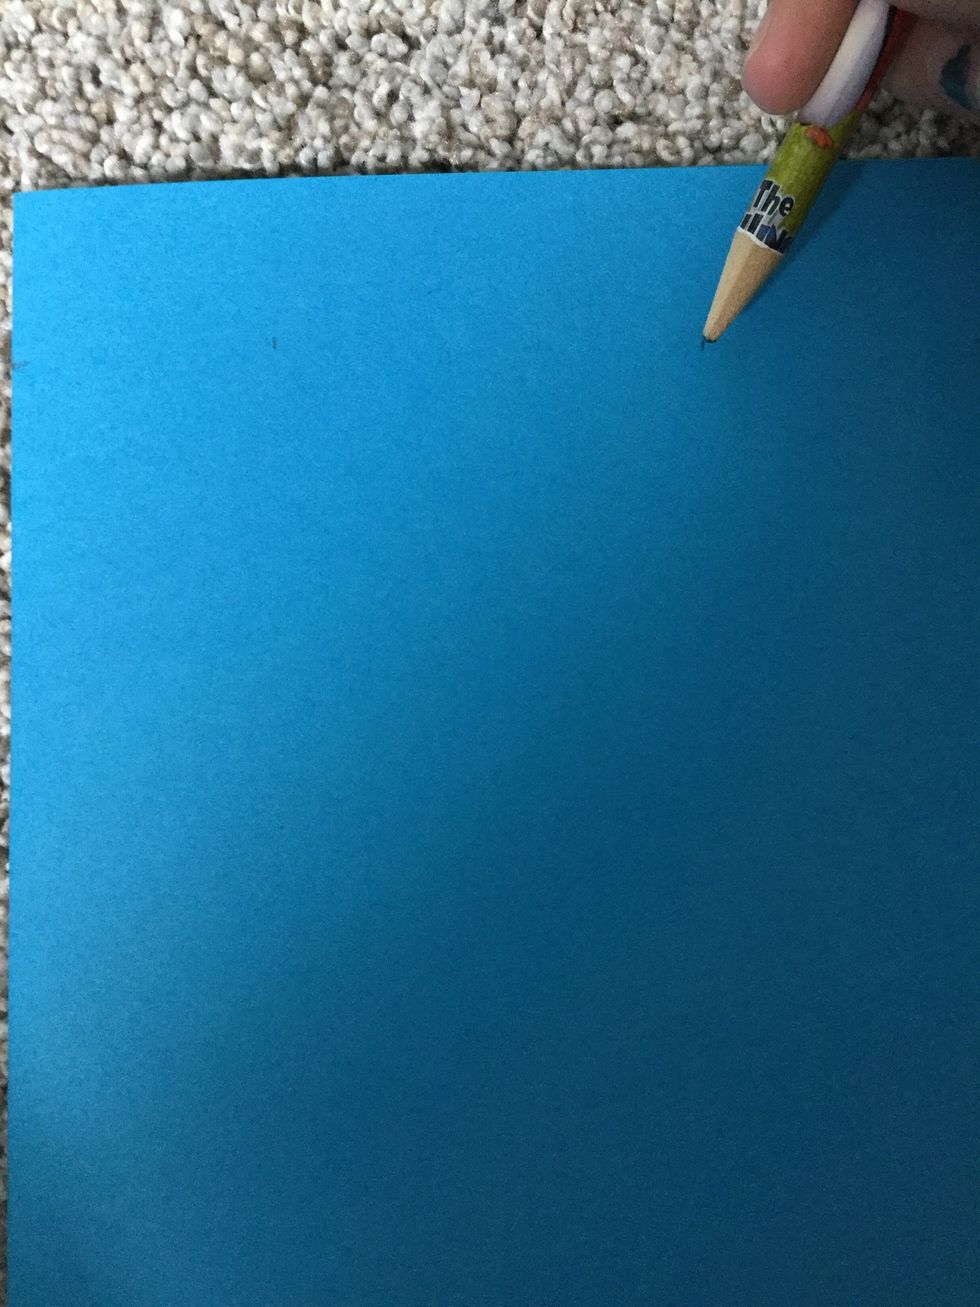
And another mark at four inches.

Cut the top along the one inch mark until you get to the four inch mark. If that doesn’t make sense, you’ll see what I mean in the next slide.
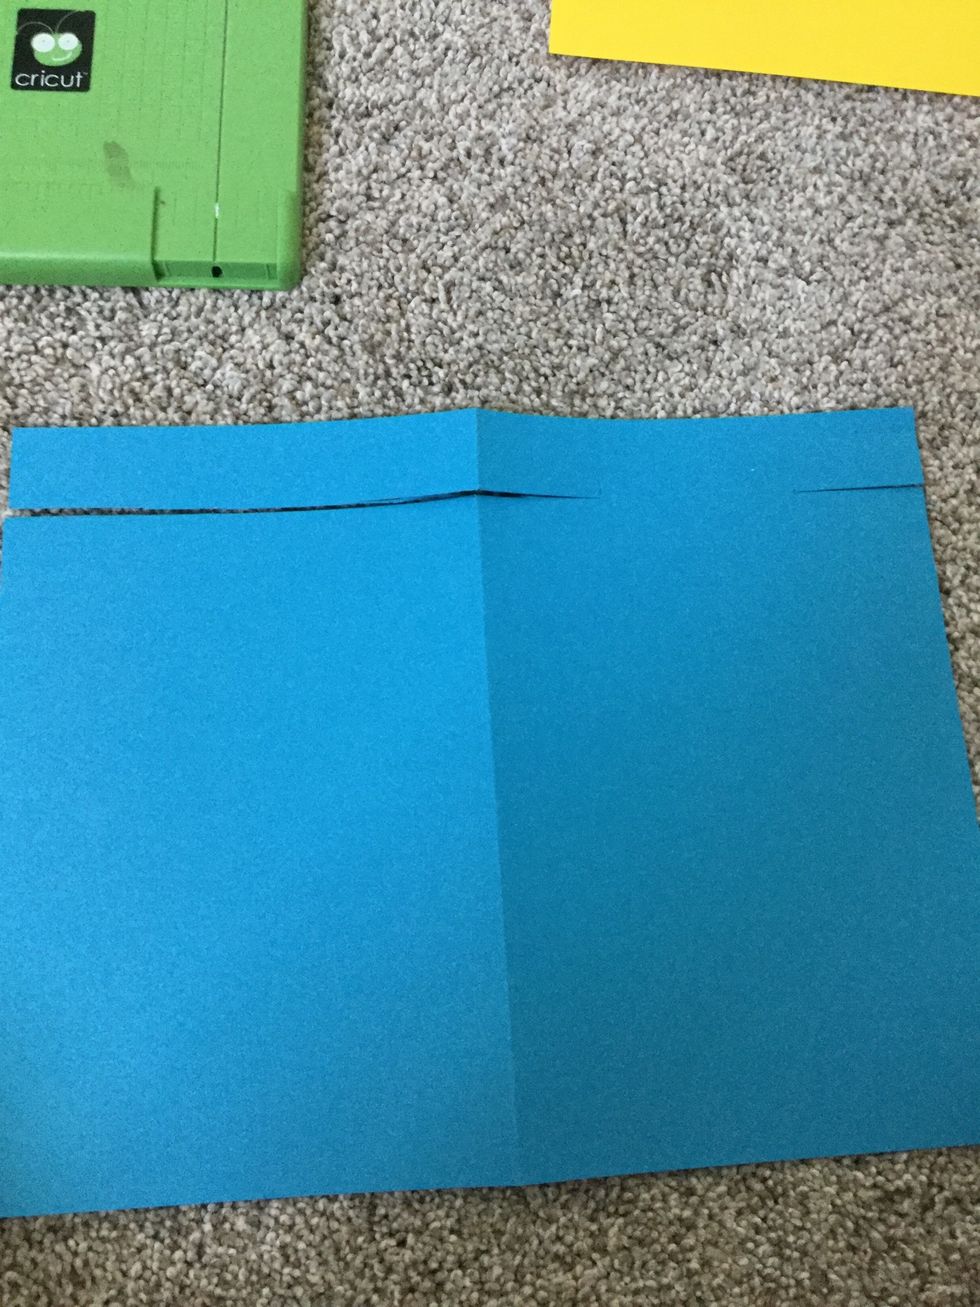
Cut it like this. Cut the back all the way, but only part of the way on the front.
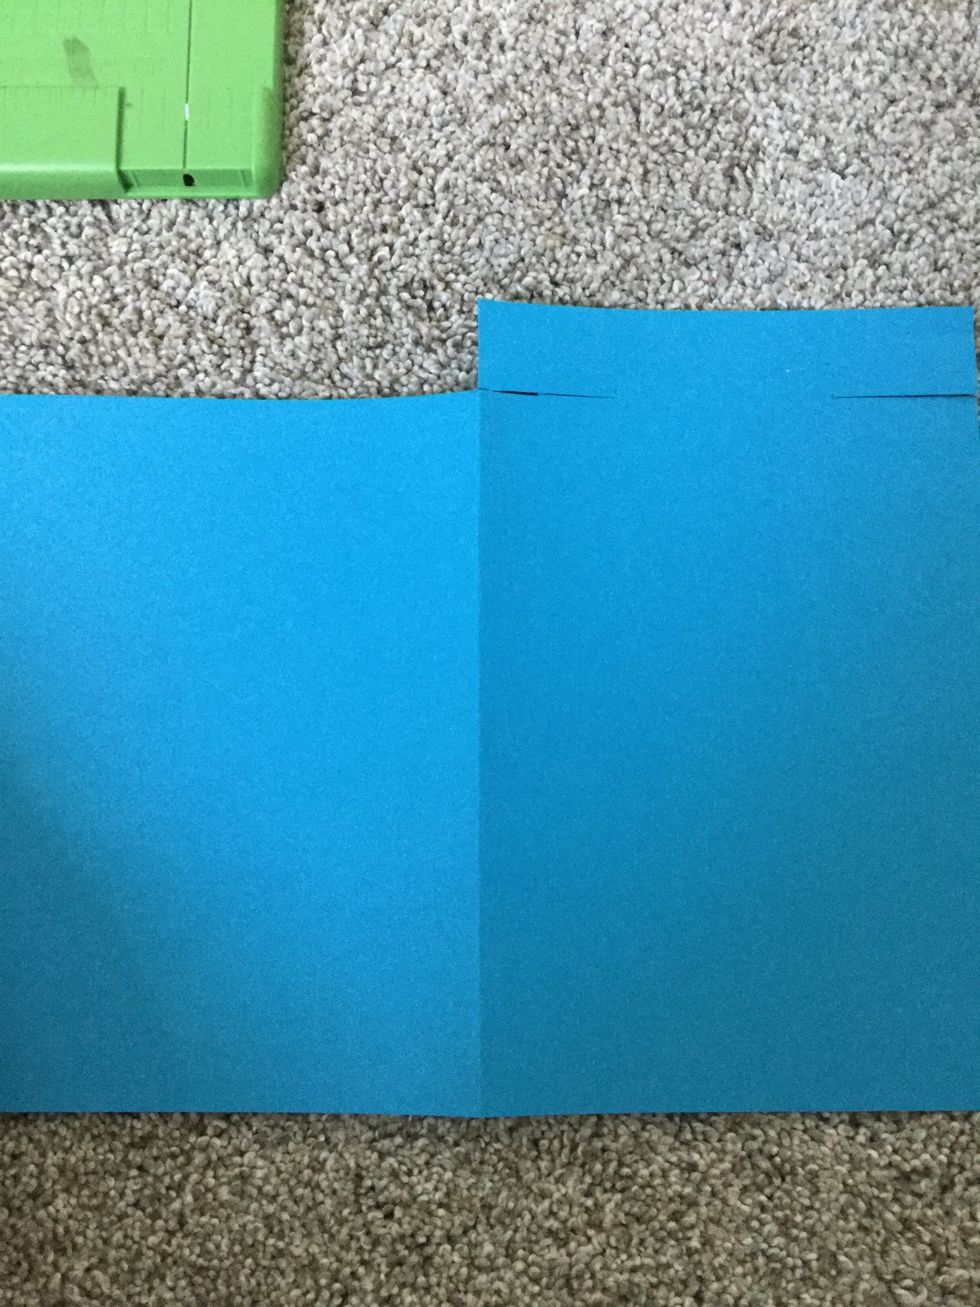
Cut off the back part along the fold.
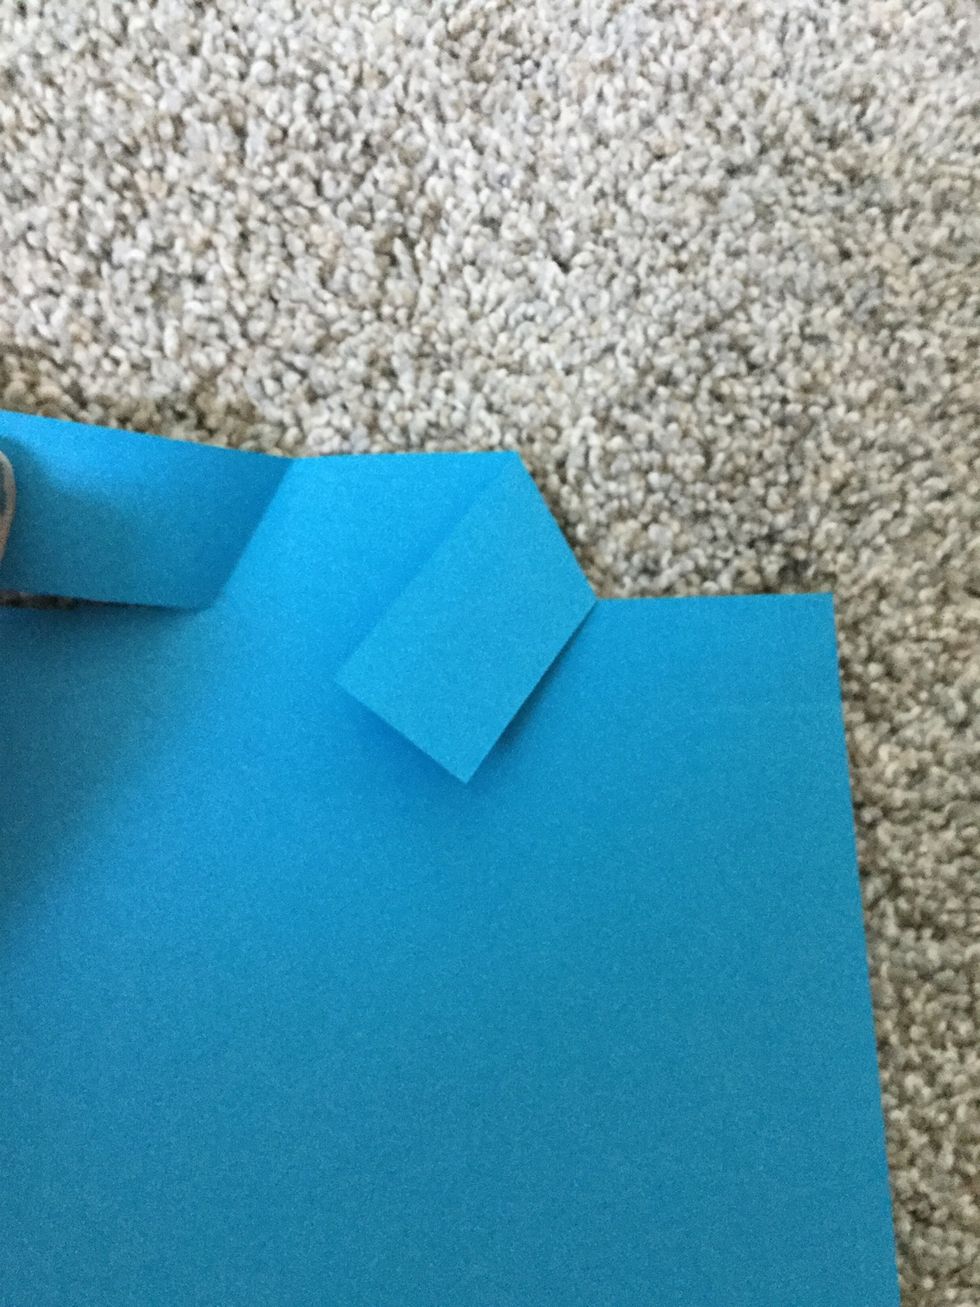
Bend the pieces of paper down diagonally. This will be the collar of the shirt.

(Like this)

Cut your tie paper into a 4”x4” square.
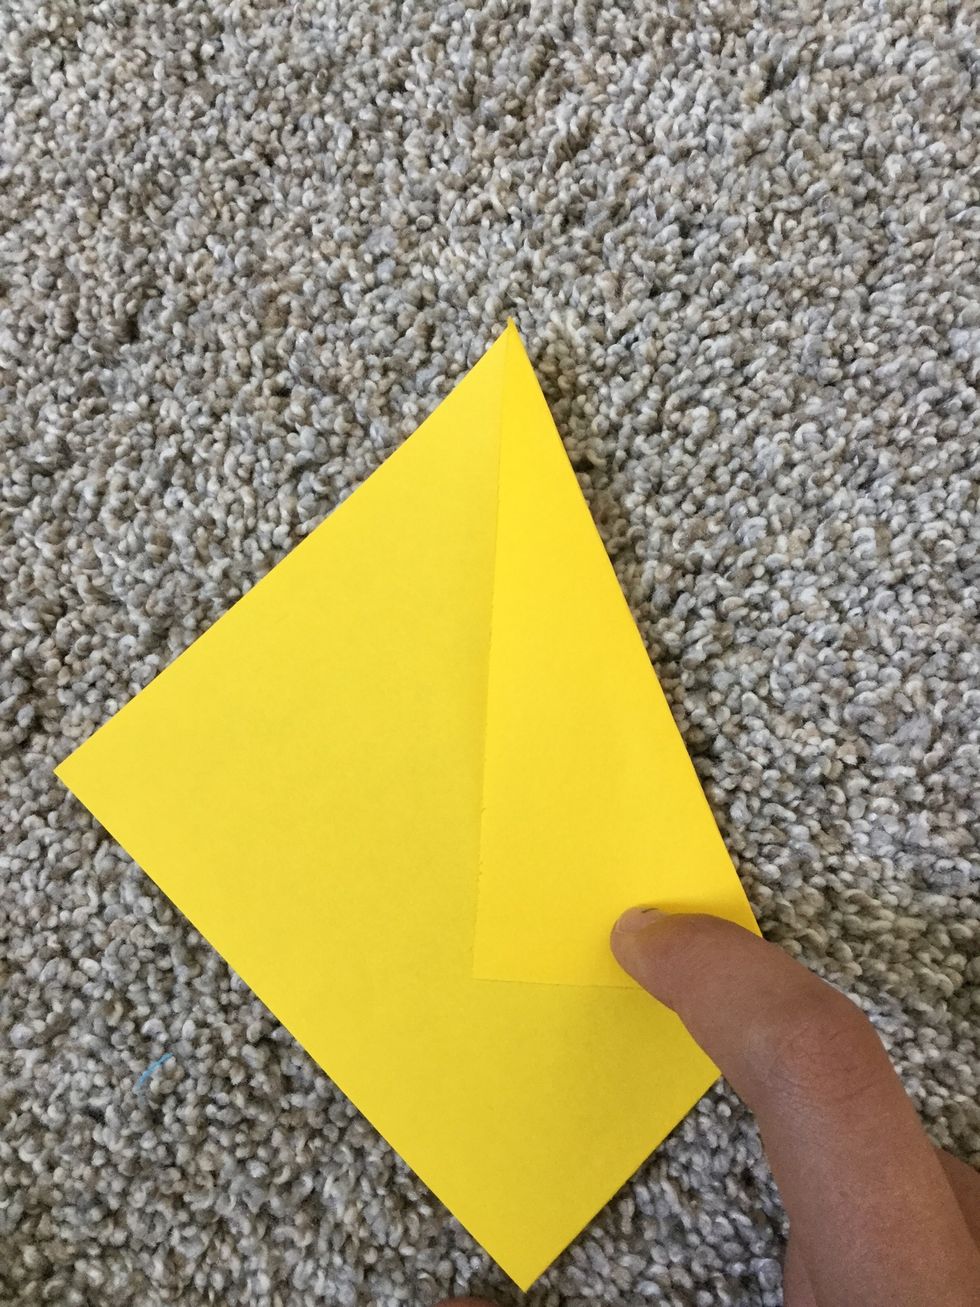
Fold it into a triangle like this.
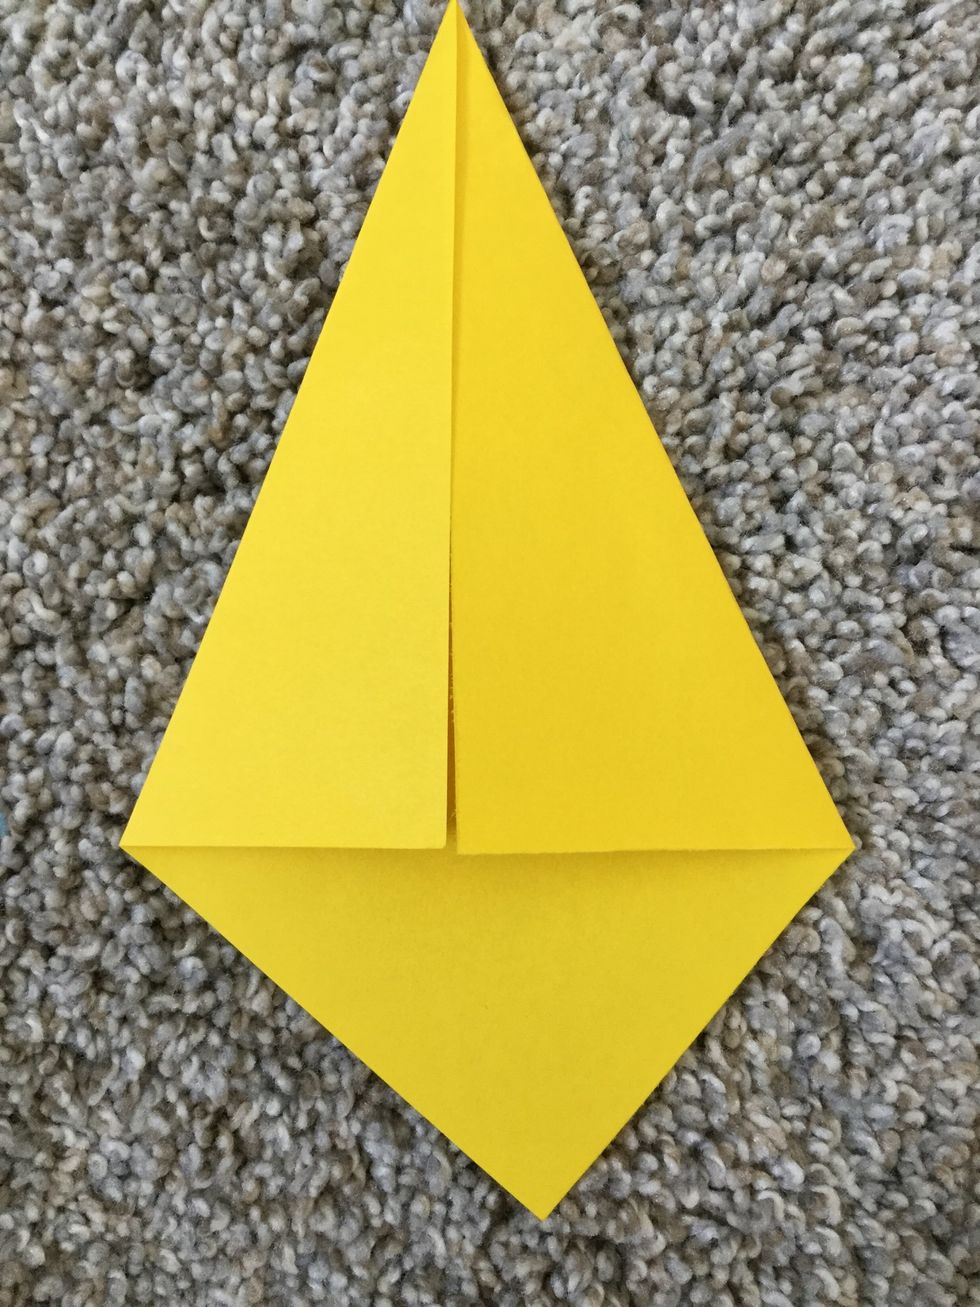
Repeat on the other side. It’s okay if it’s not perfect, because you make have to take it in a little more at the sides.

Tape it under the collar.
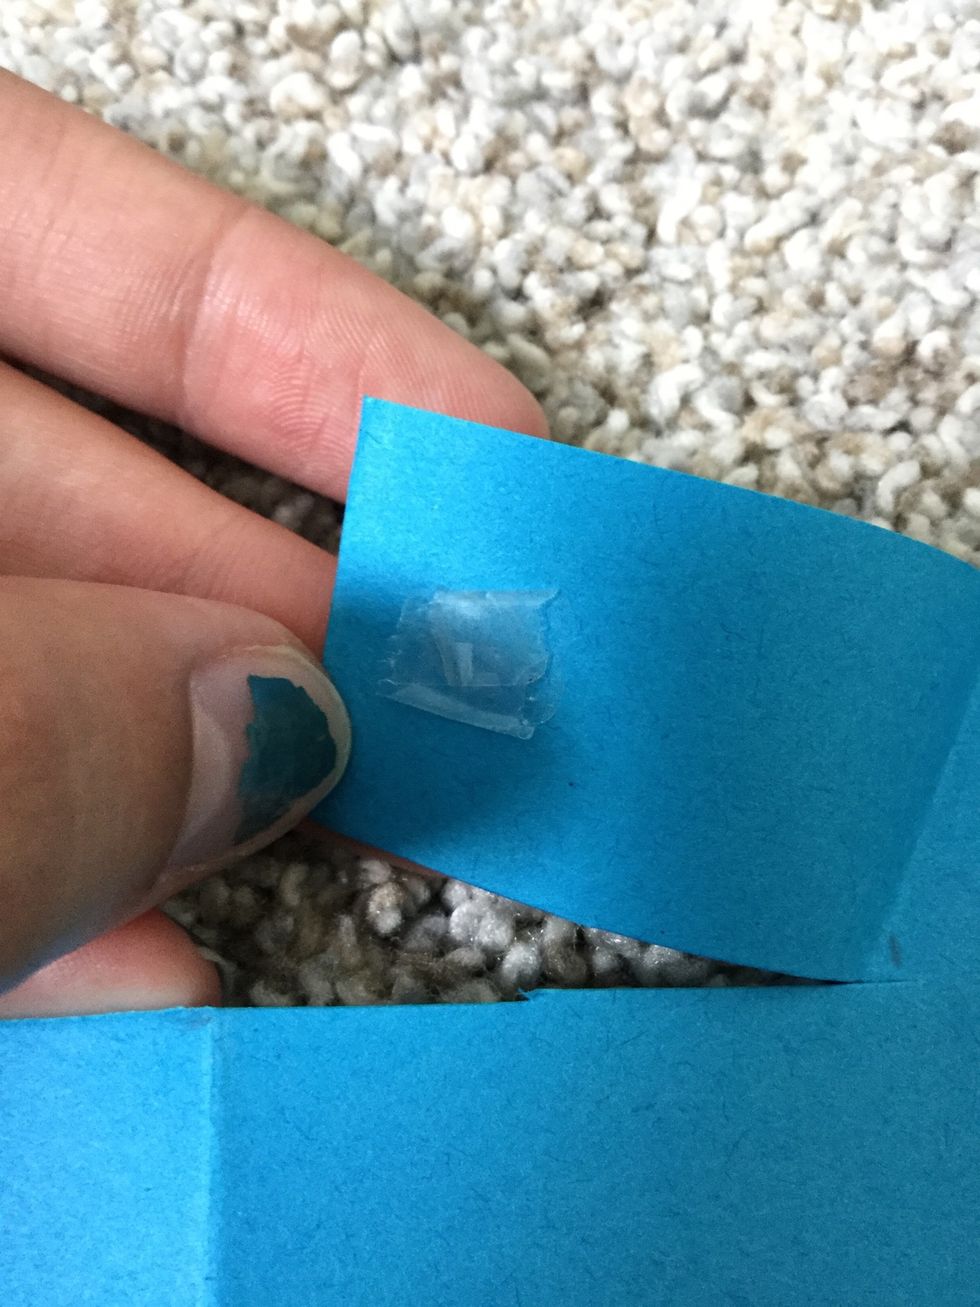
Put double sided tape (or roll a piece of tape onto itself to make it double sided) on the collar parts, and stick it down.

Done! Now close the card.
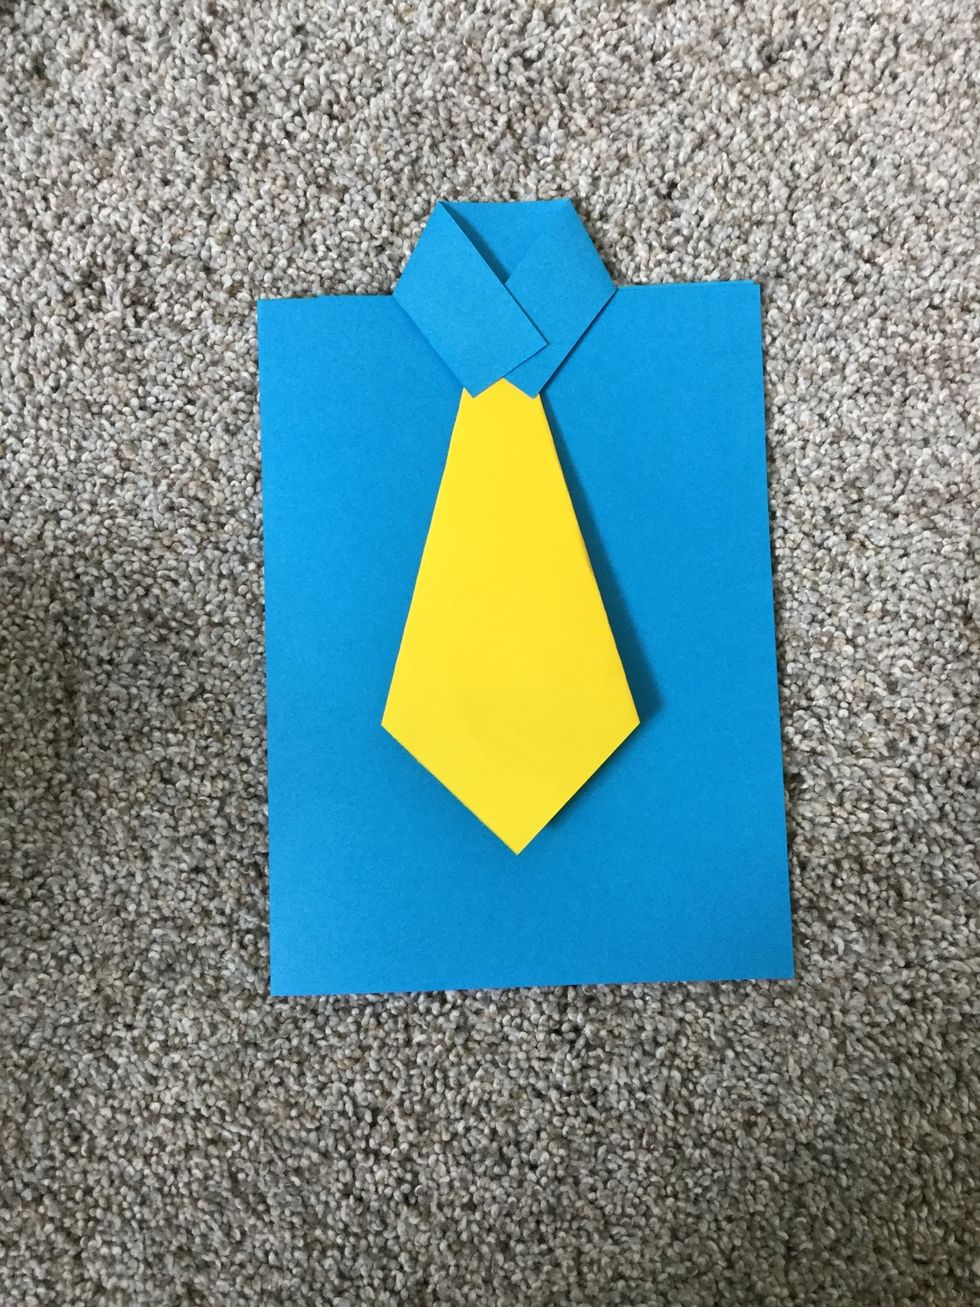
Ta-Da! Now write whatever you want inside!