The Conversation (0)
Sign Up
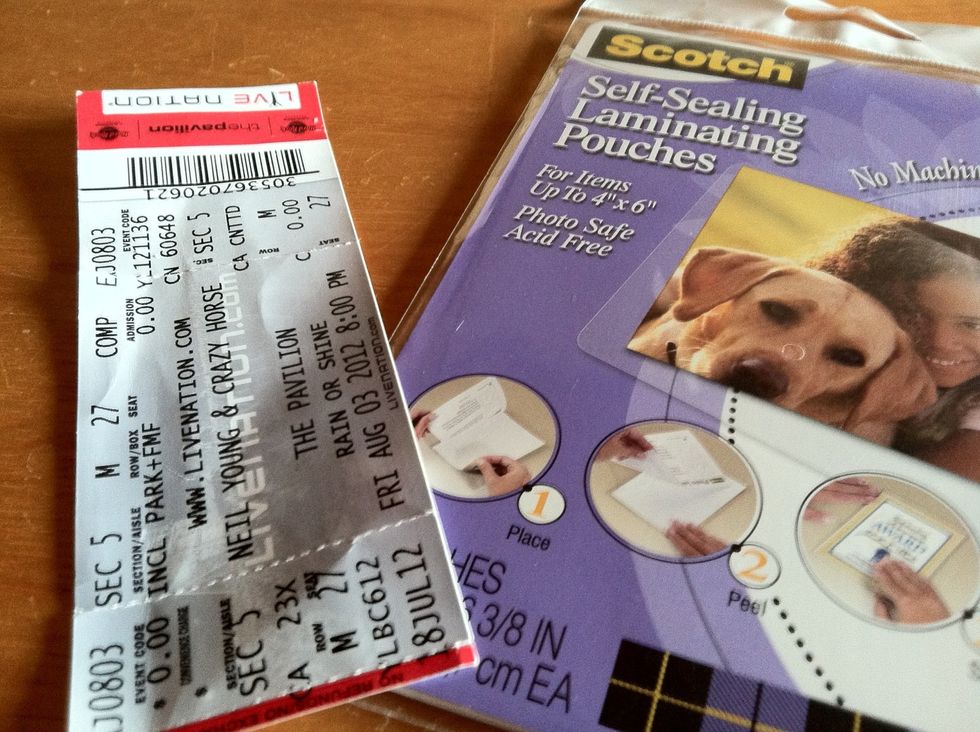
Gather your materials.

Place the laminating sheet clear side down, and lift up the backing sheet.
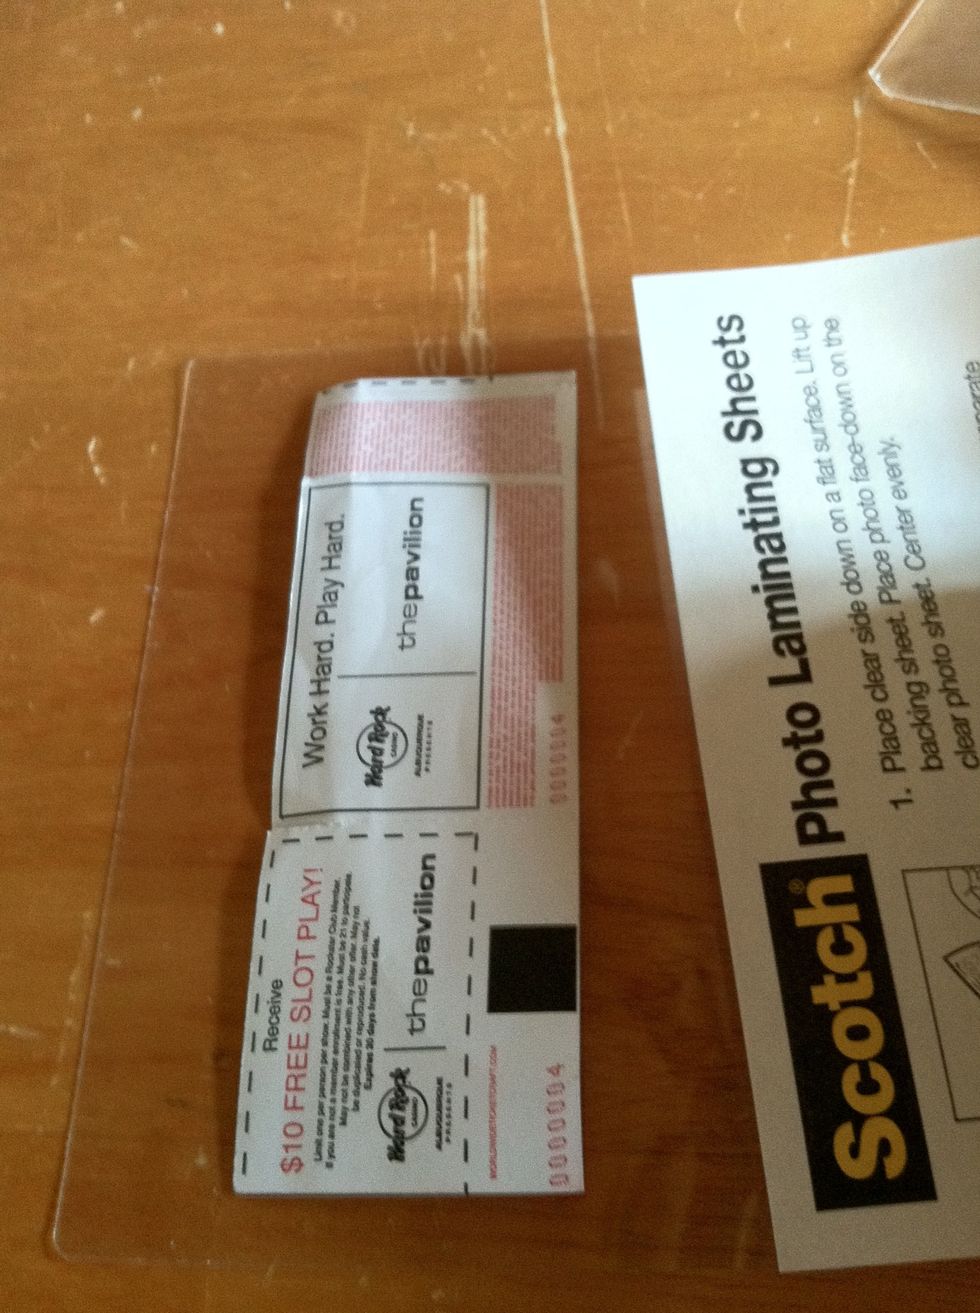
Place the ticket front side down on the laminating sheet. Center the ticket as best as possible. Remove the paper protecting the sticky surface of the laminating sheet.
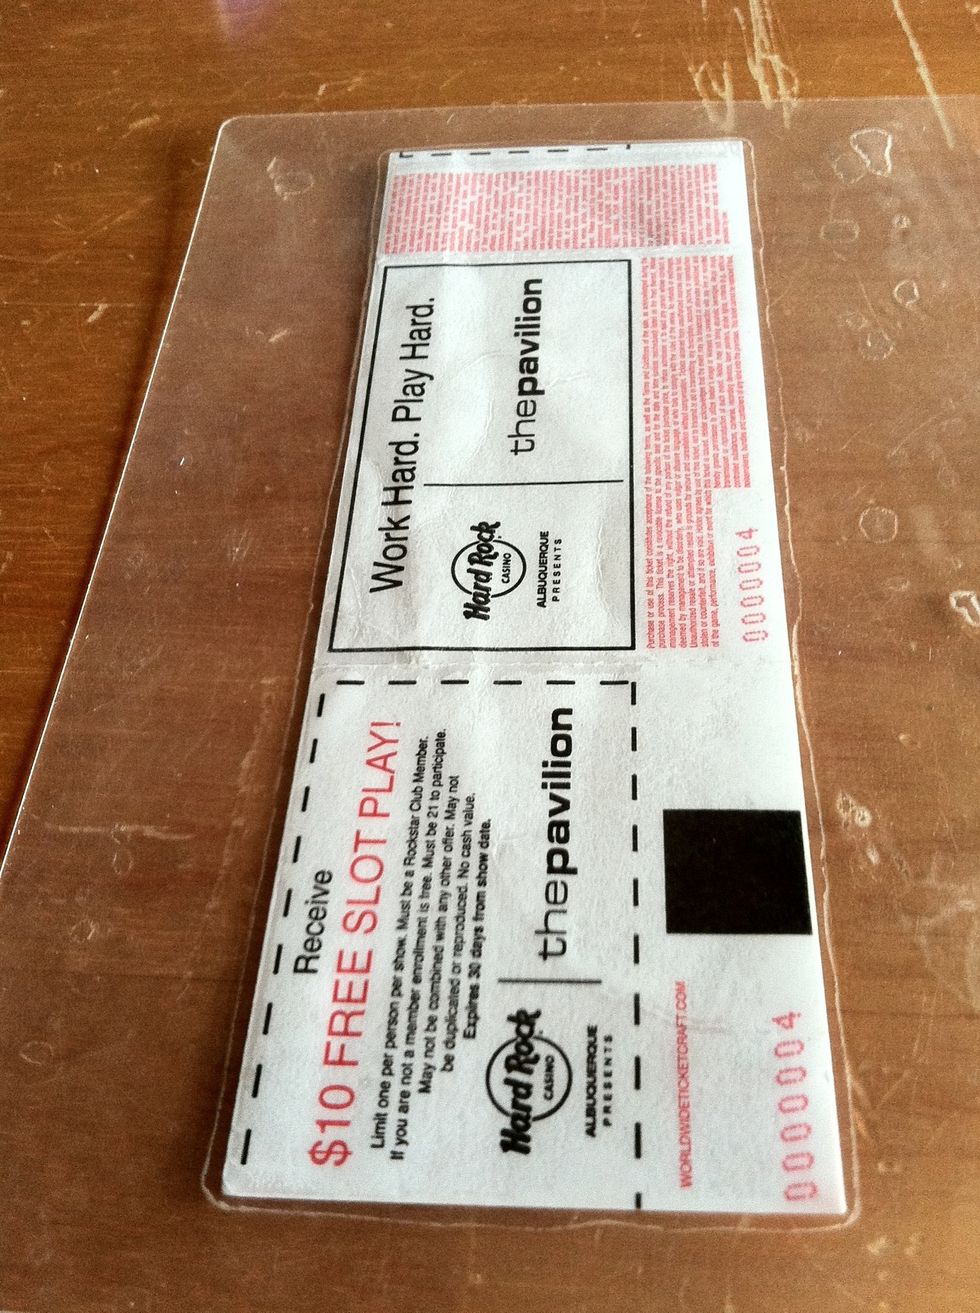
Roll the backing slowly over the ticket. Smooth the sheet with a credit card or similar object to remove the air bubbles.
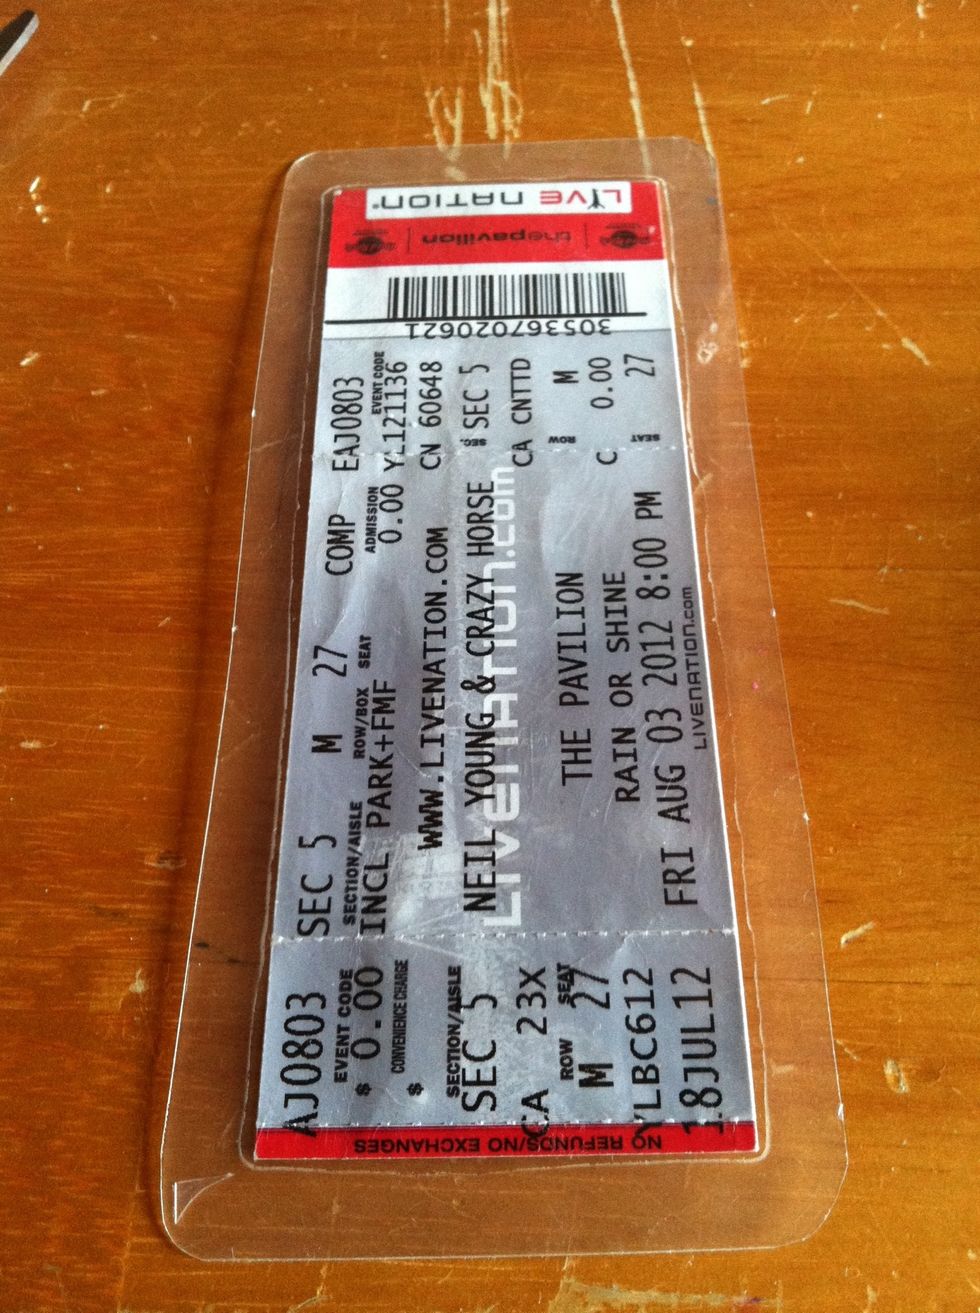
Cut the excess laminate roughly to your preferred size.

To round the corners, use as a guide an object that already has rounded corners. Altoids tins are a good thing to have. Line up the edges of the guide with the edges of the bookmark.
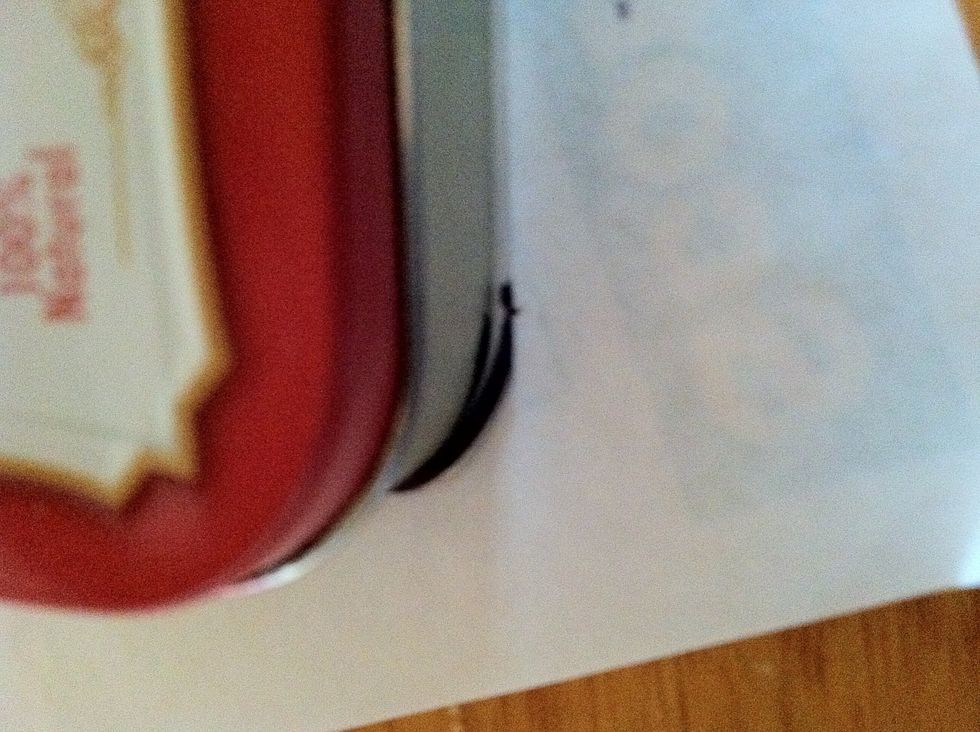
Using a felt-tipped pen, trace the corners. Fine-tipped dry erase markers are good.

Cut along the traced lines. Finish-cut the edges, too.
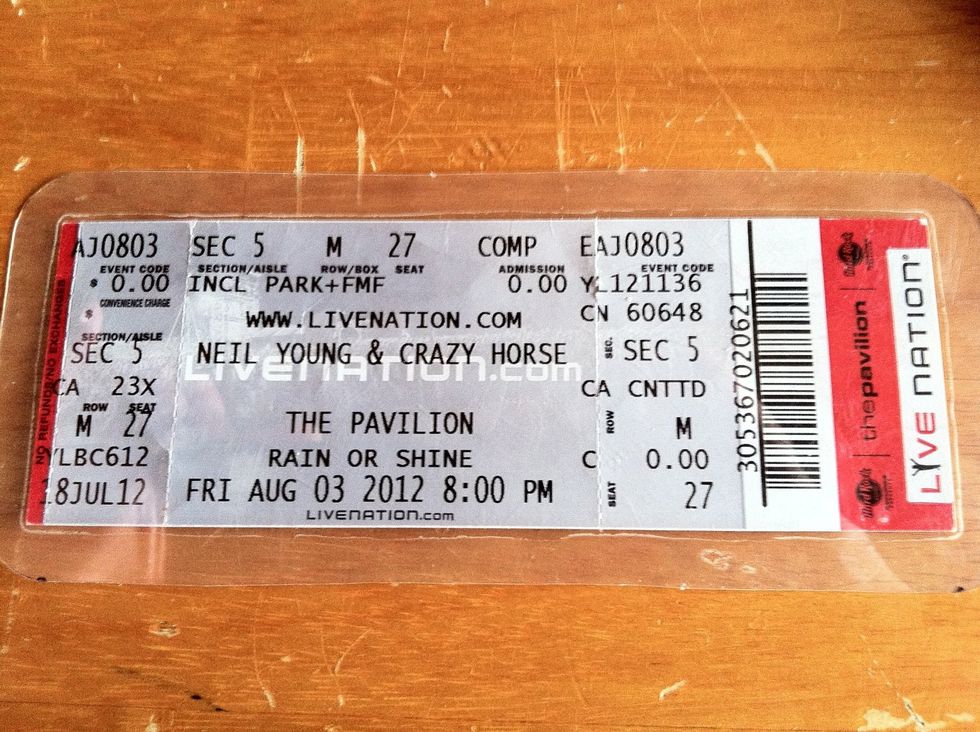
The finished product.
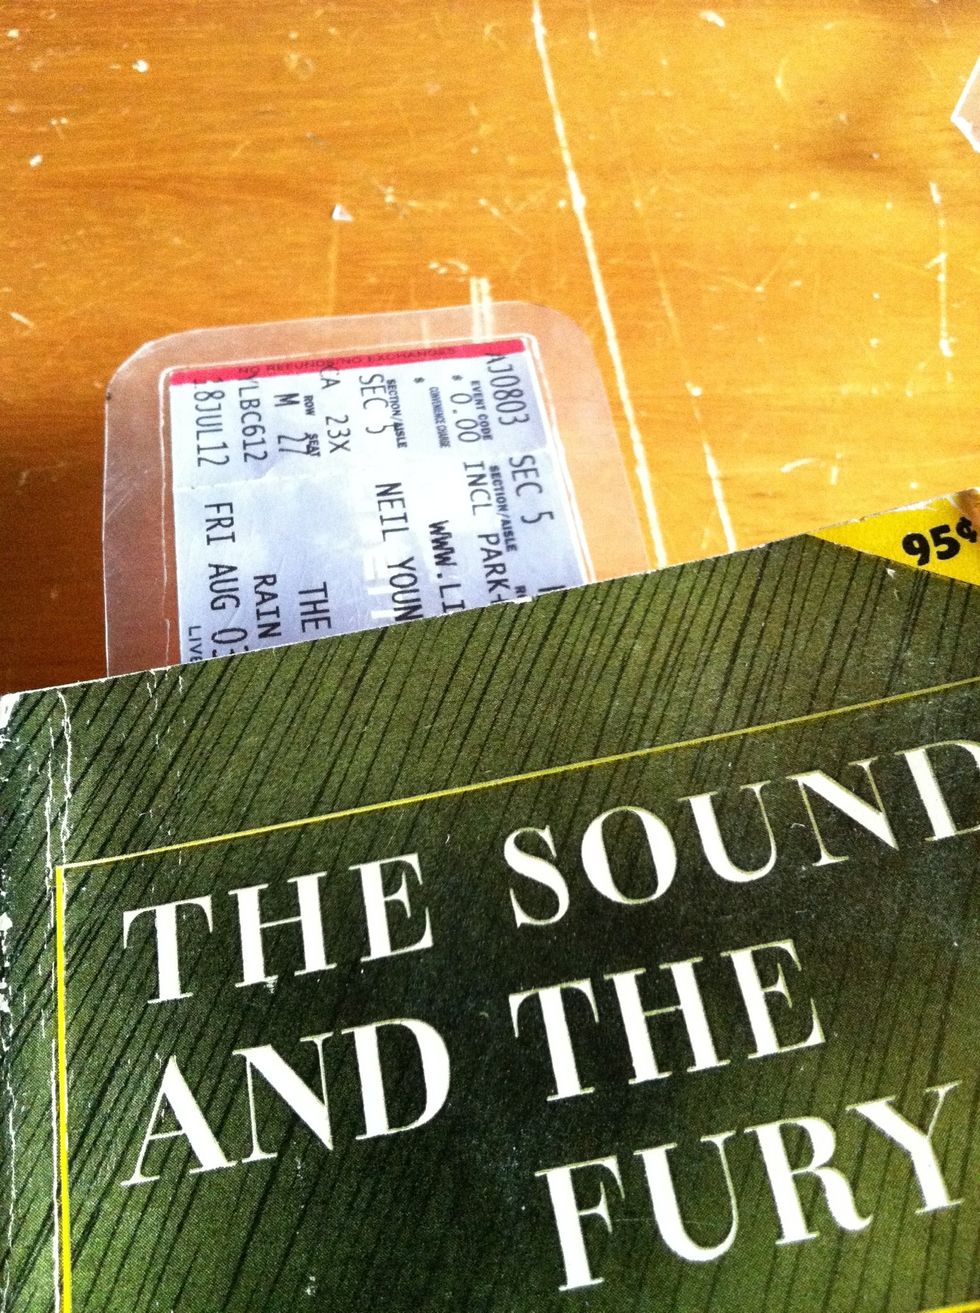
Fin!