The Conversation (0)
Sign Up
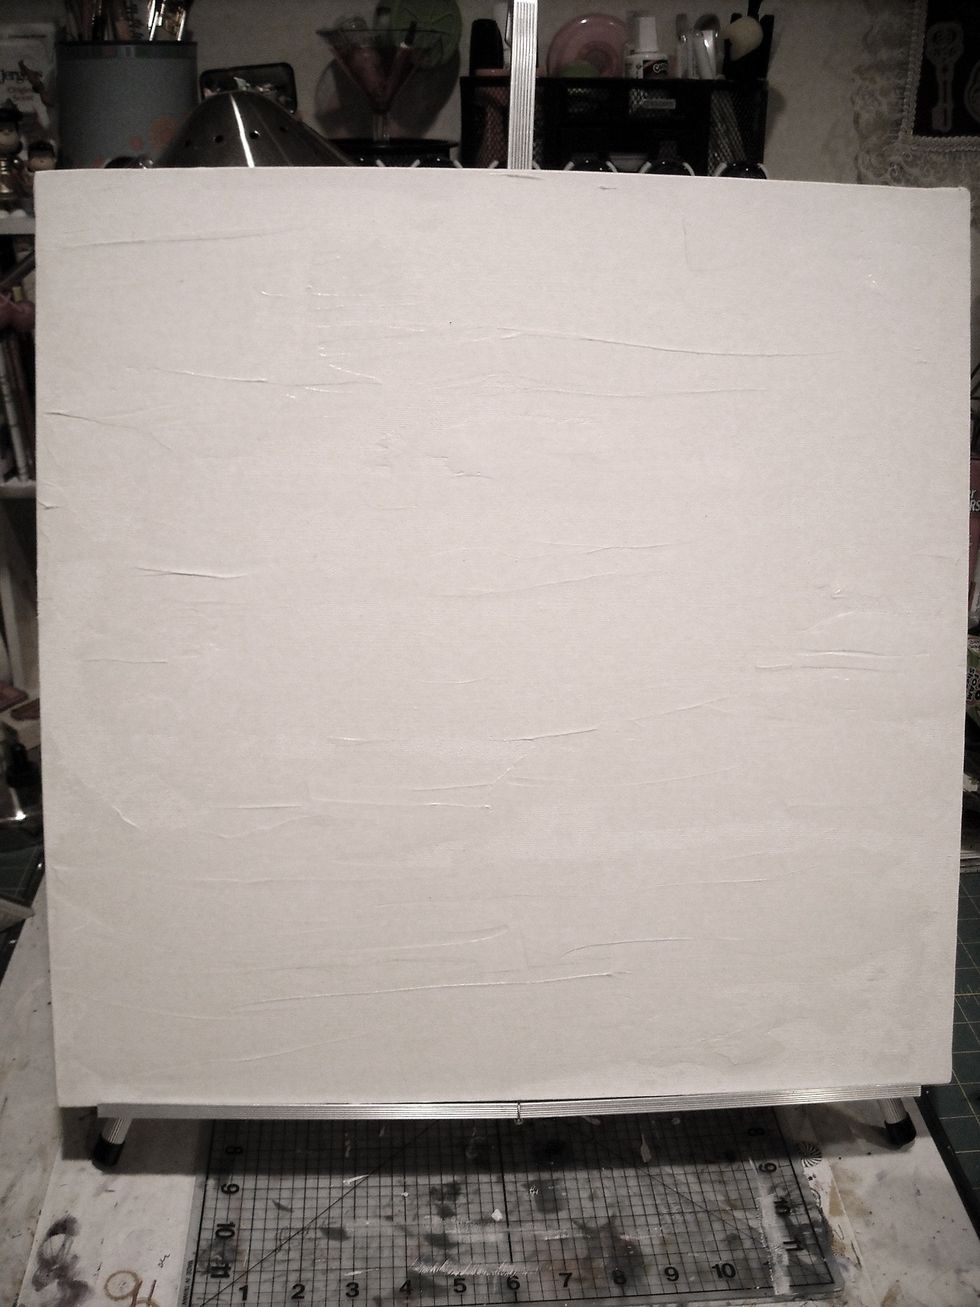
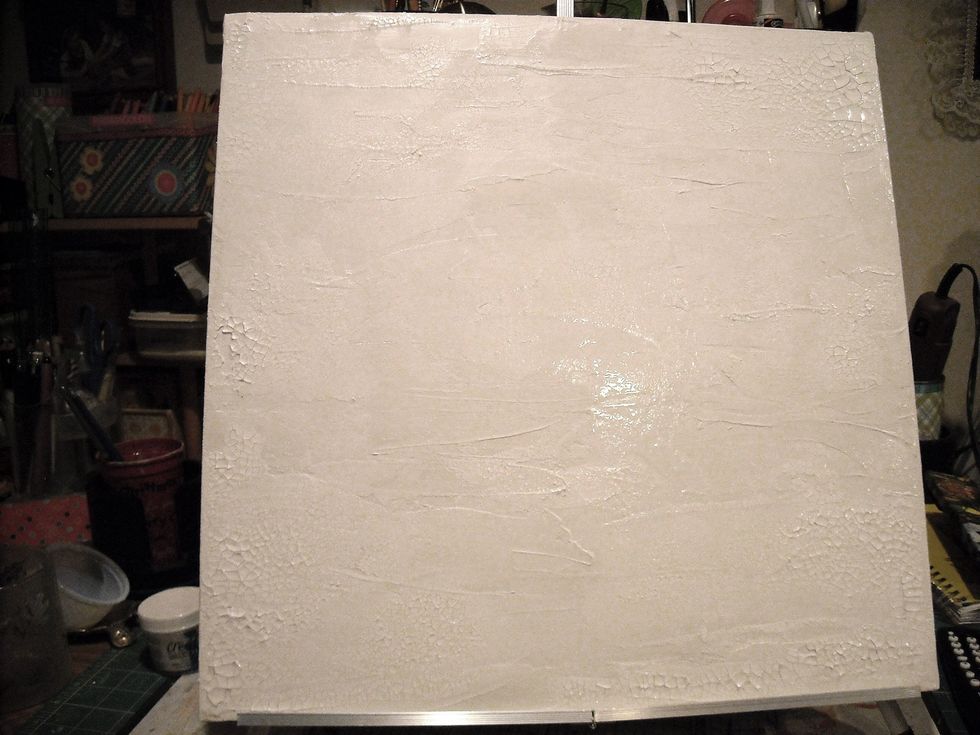
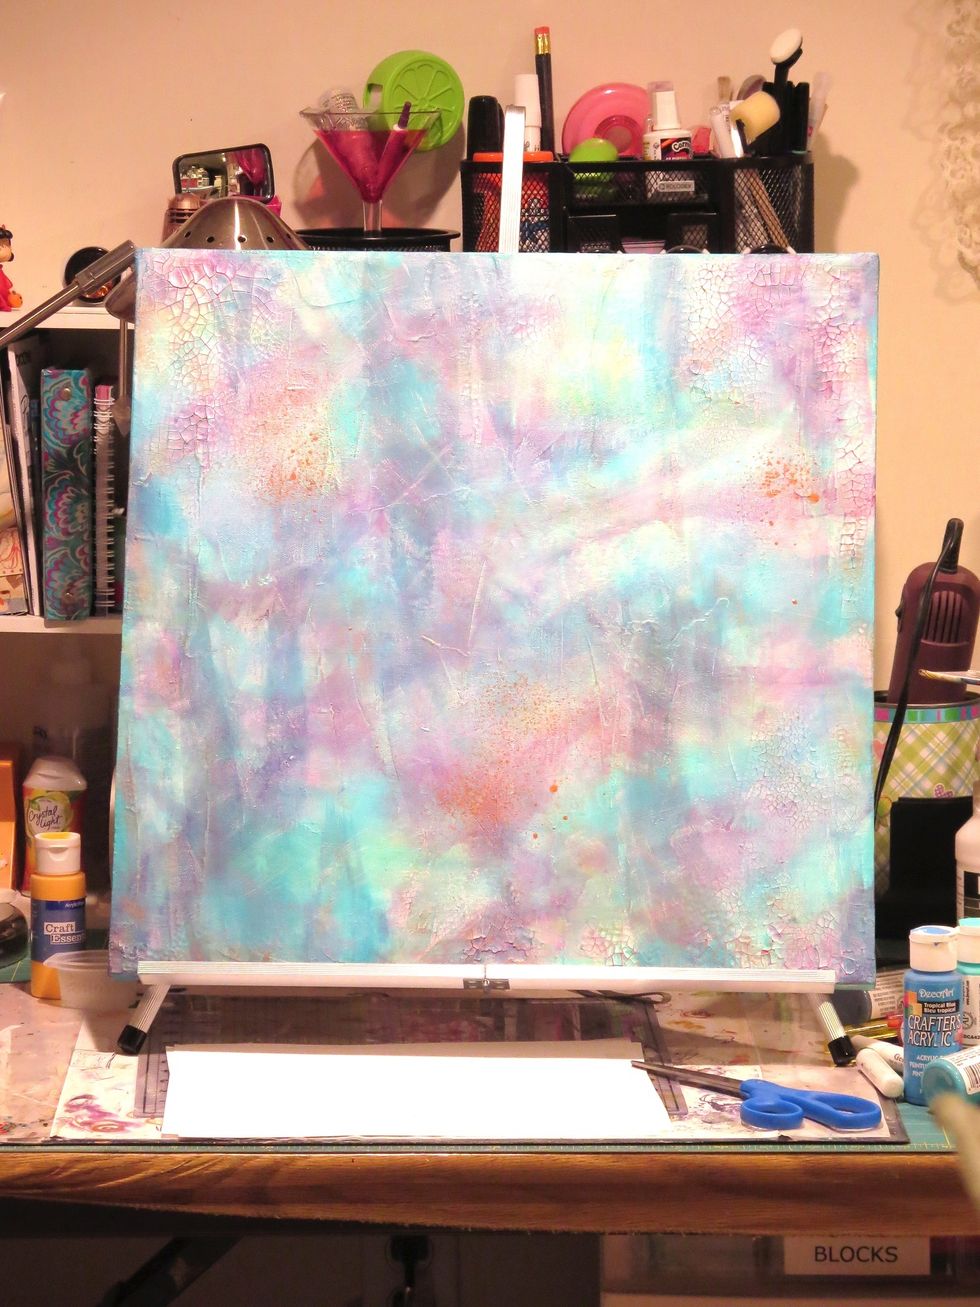
USArt Quest 101 Heavy Molding Paste is creamy and makes a great base of texture on the blank canvas.
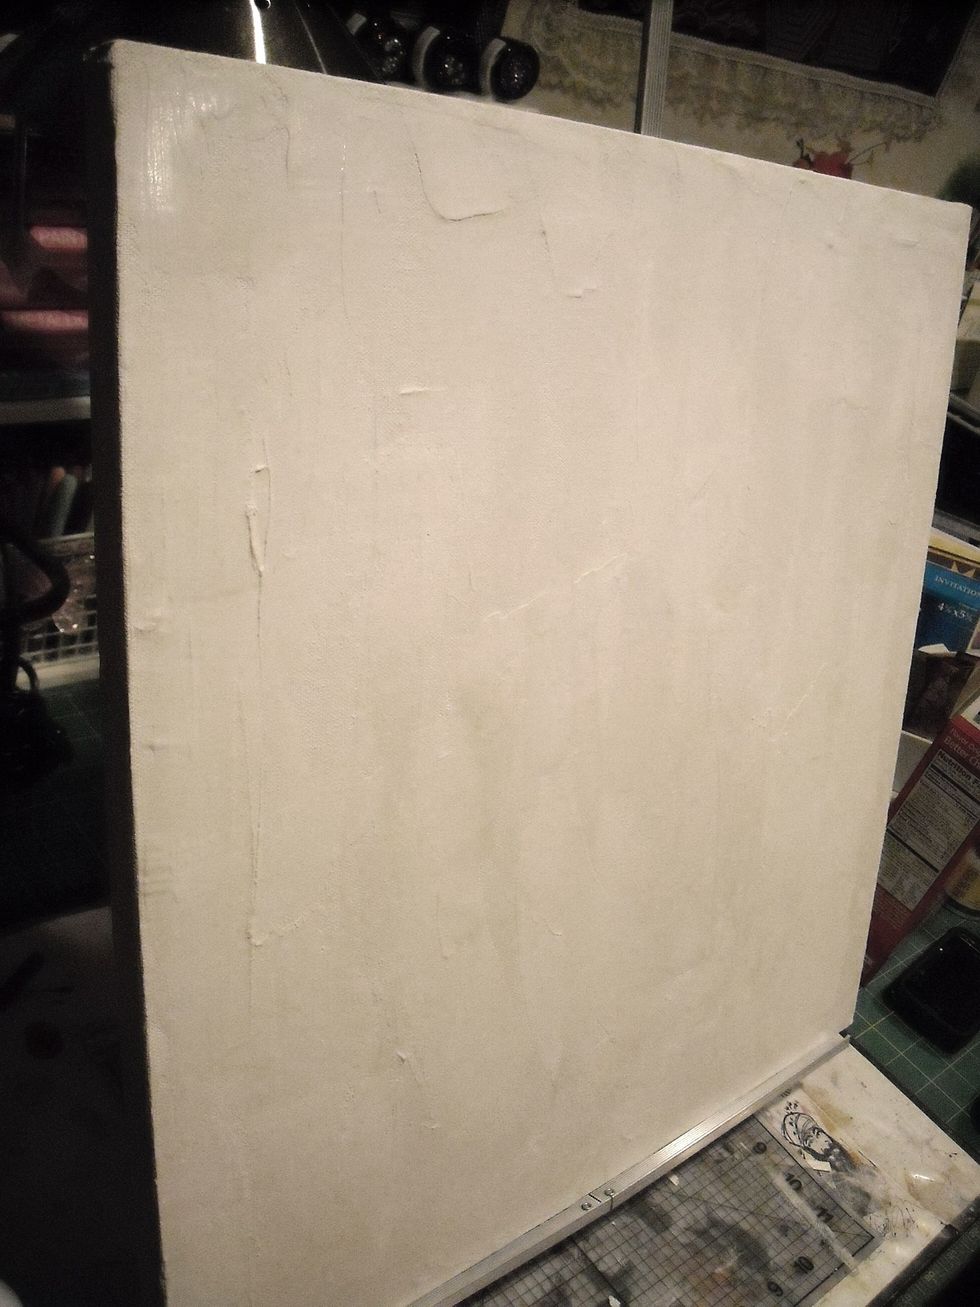
USArt Quest 101 Light is a fluffier consistency and produces a different layer of texture.
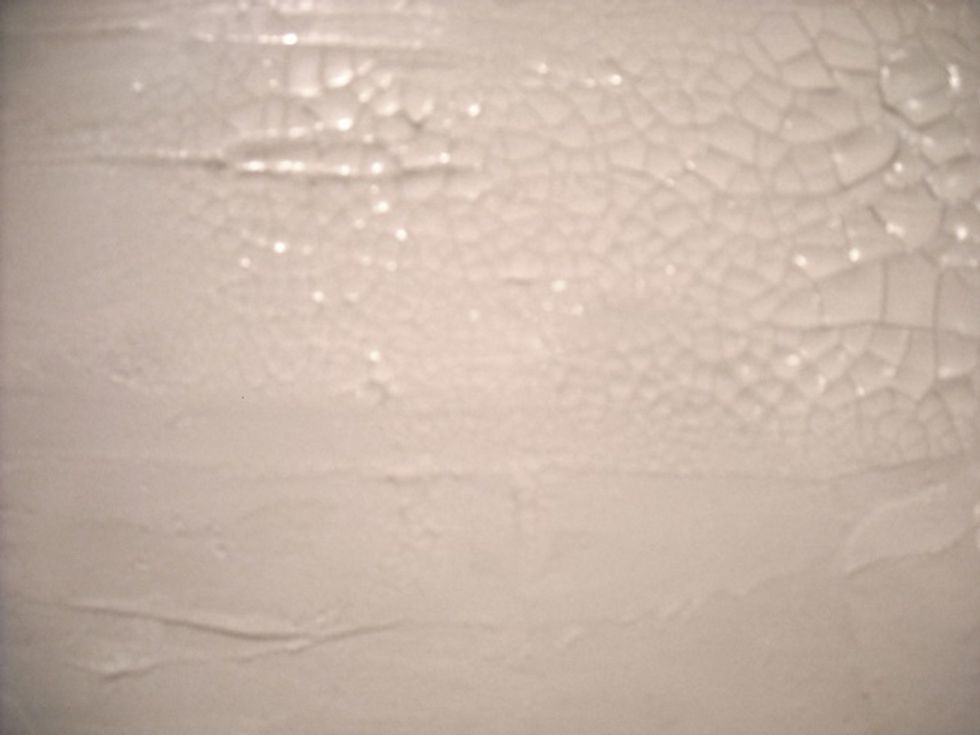
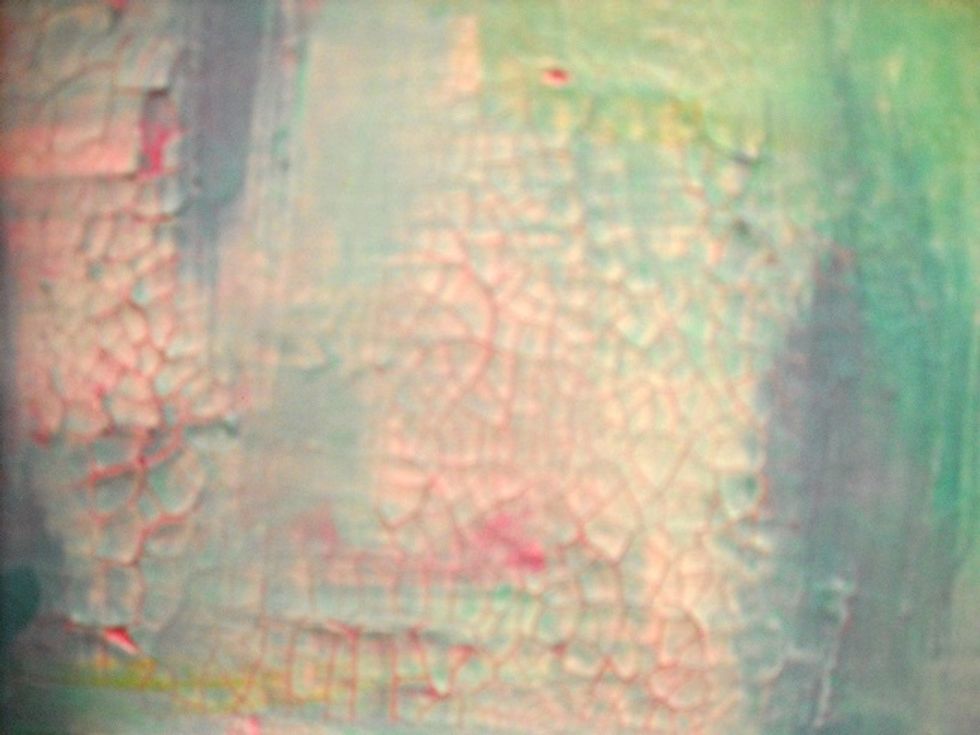
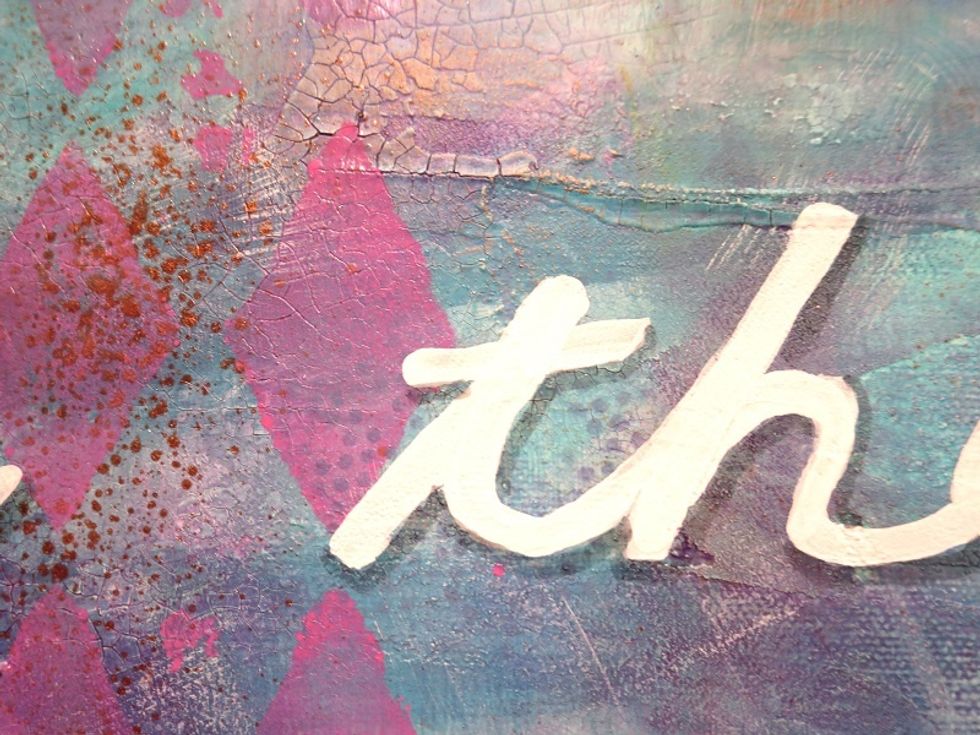
I added Deco Art Crackle Paste on large corner patches and lightly here and there in the center. And something happened I had not counted on!
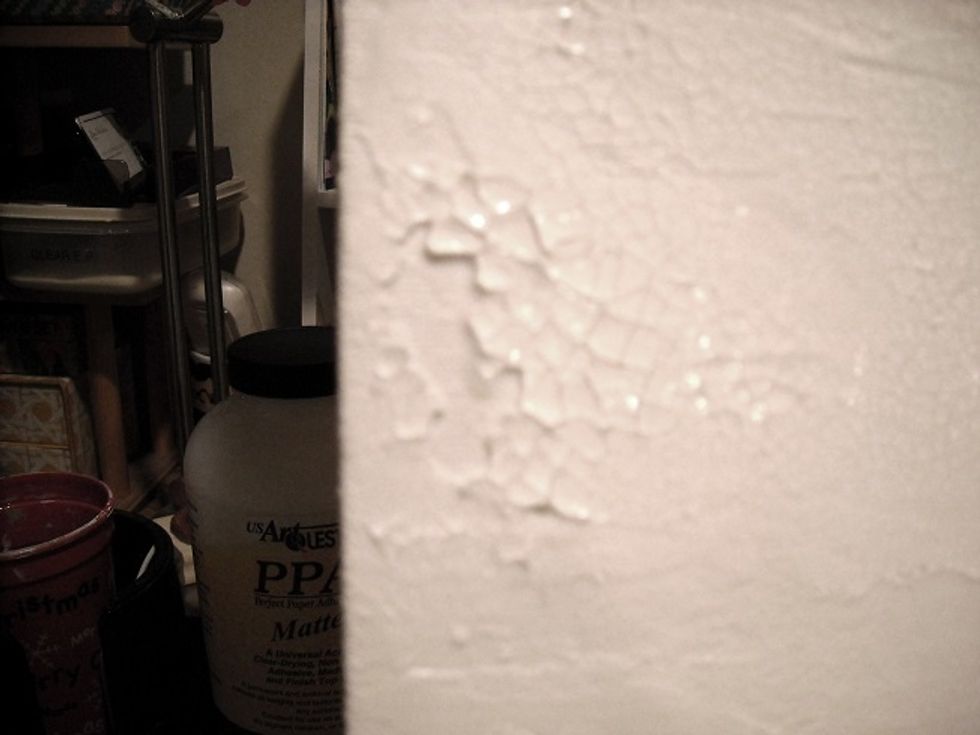
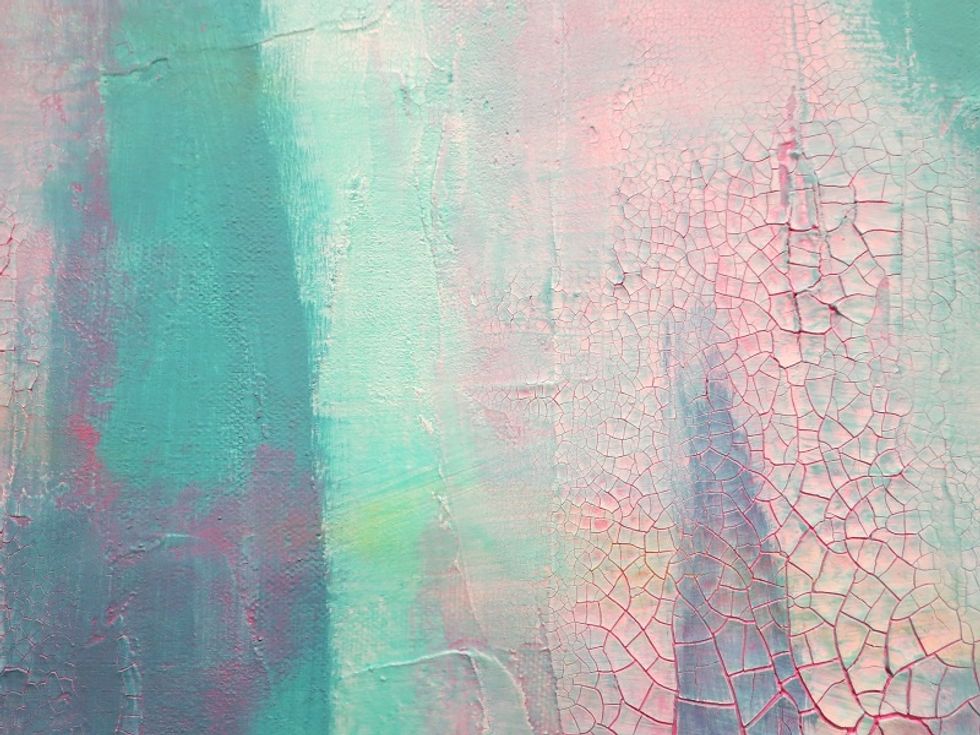
The size of crackle depends on the thickness of paste. It "grabbed" the USArt Quest molding paste! Where it was the thickest, the crackle flaked off.
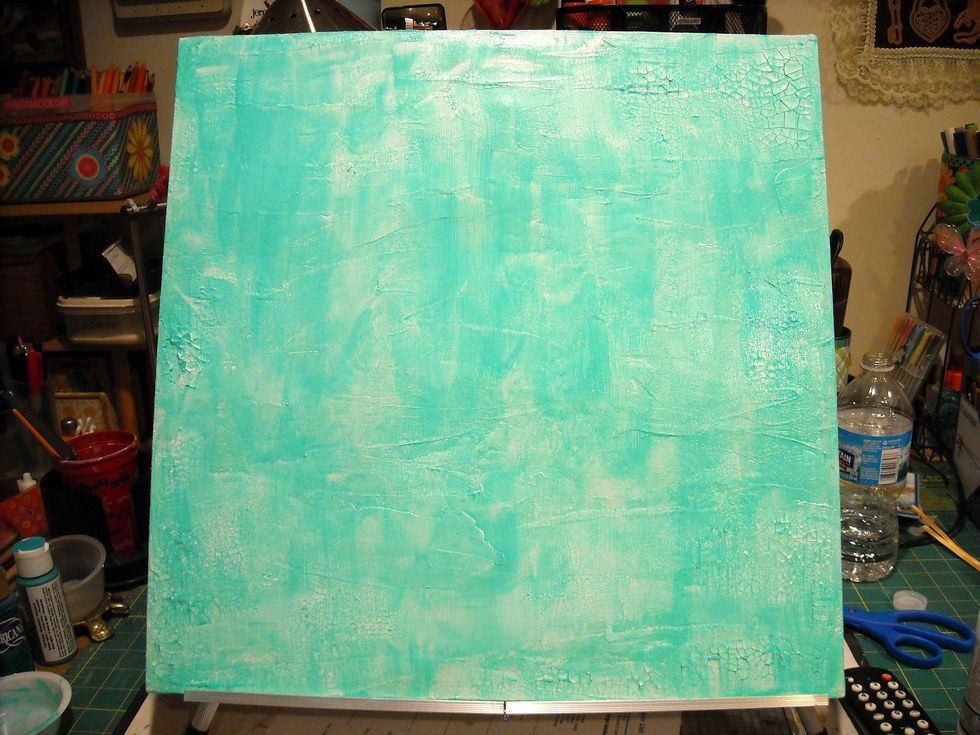
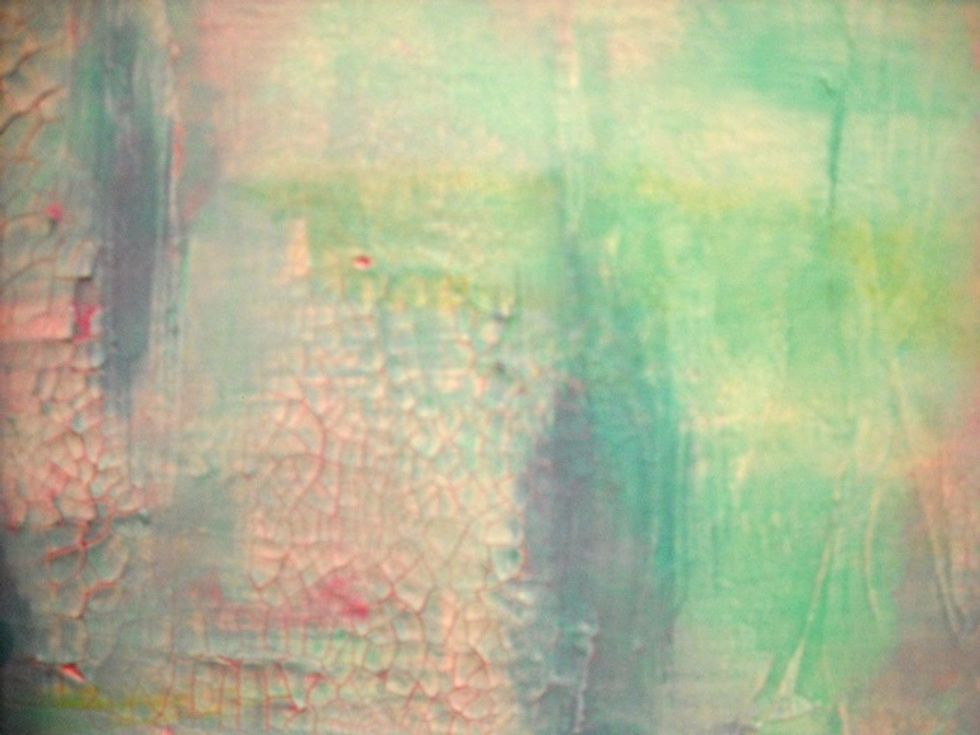
I mixed Deco Art light turquoise with Liquitex matte fluid medium so the coat was uneven and gave the piece a great first layer of texture and color.
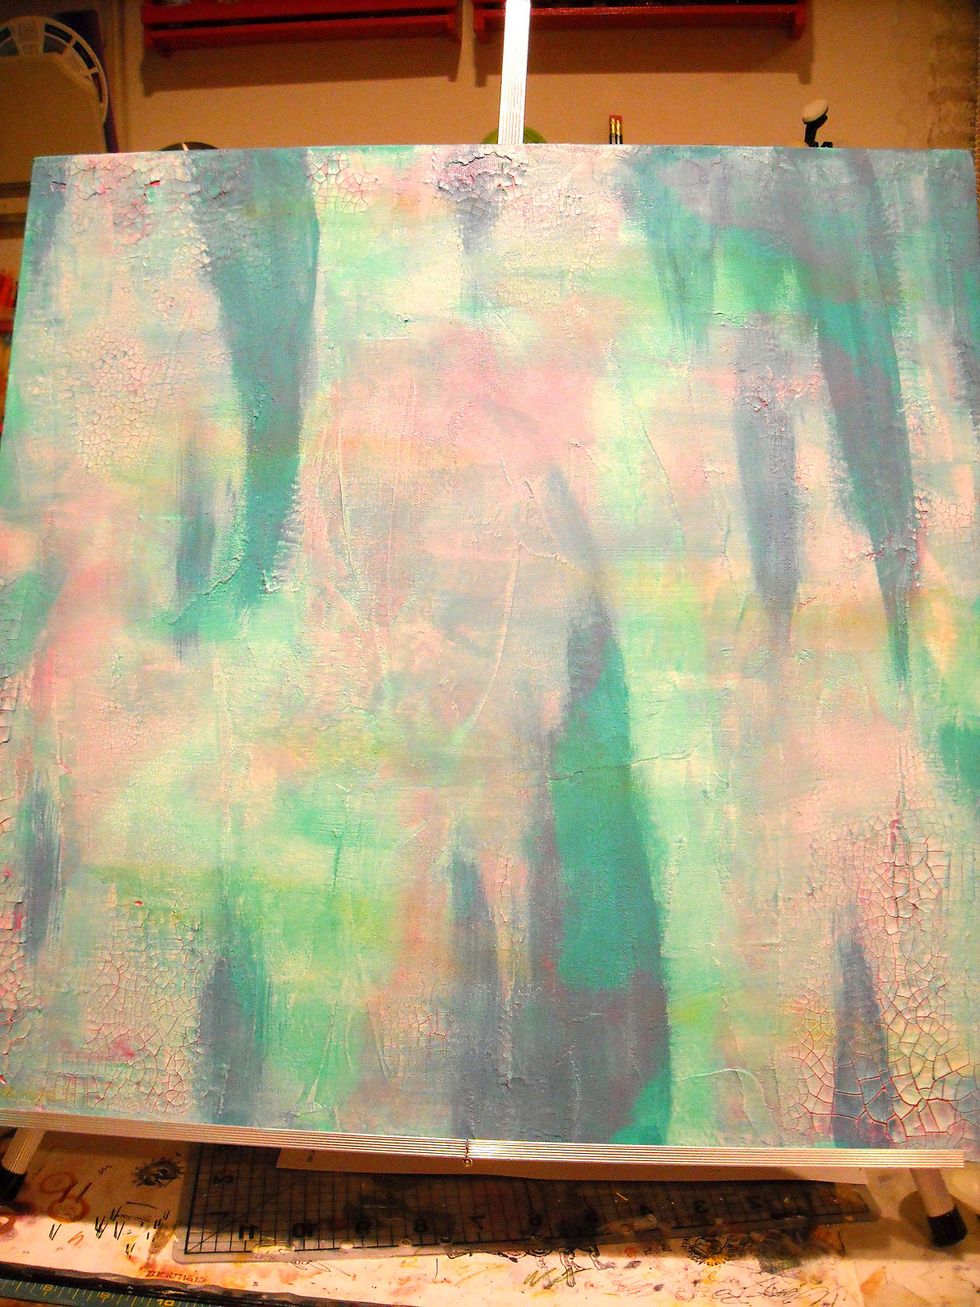
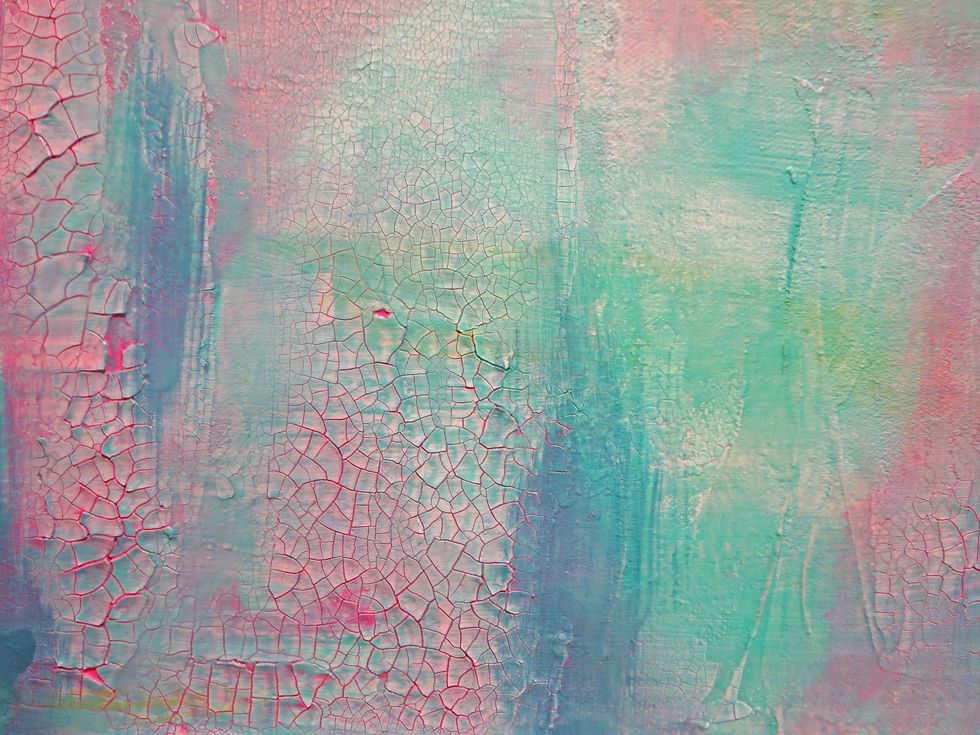
I painted colors at random. All but the dark turquoise were added then wiped with baby wipes to lighten and blend the colors.
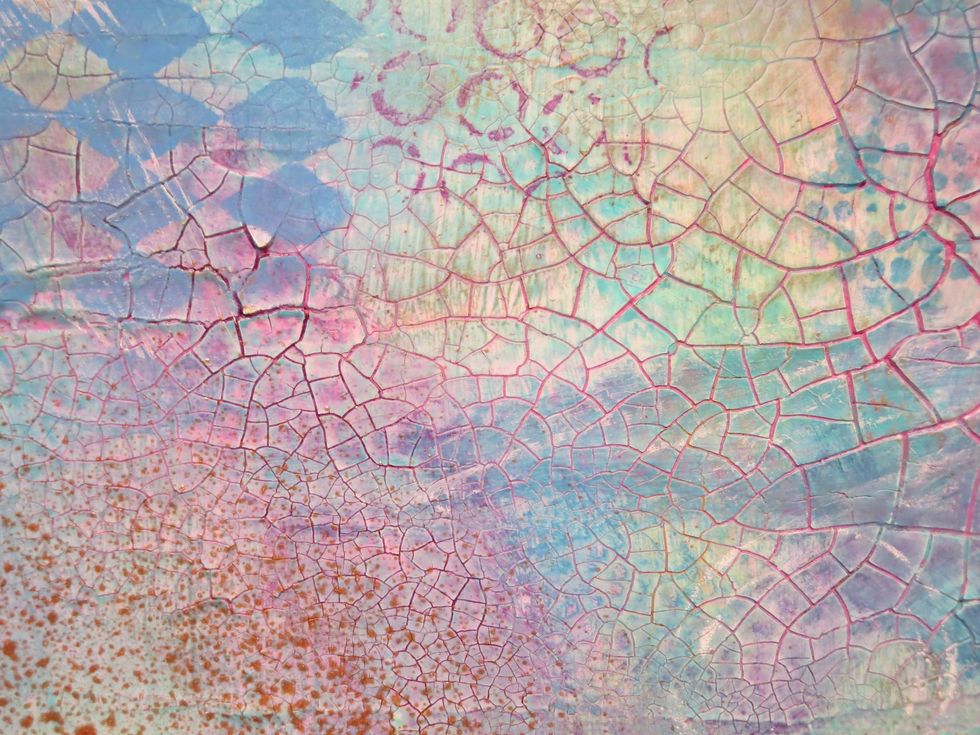
And fun things started to happen with the crackle.
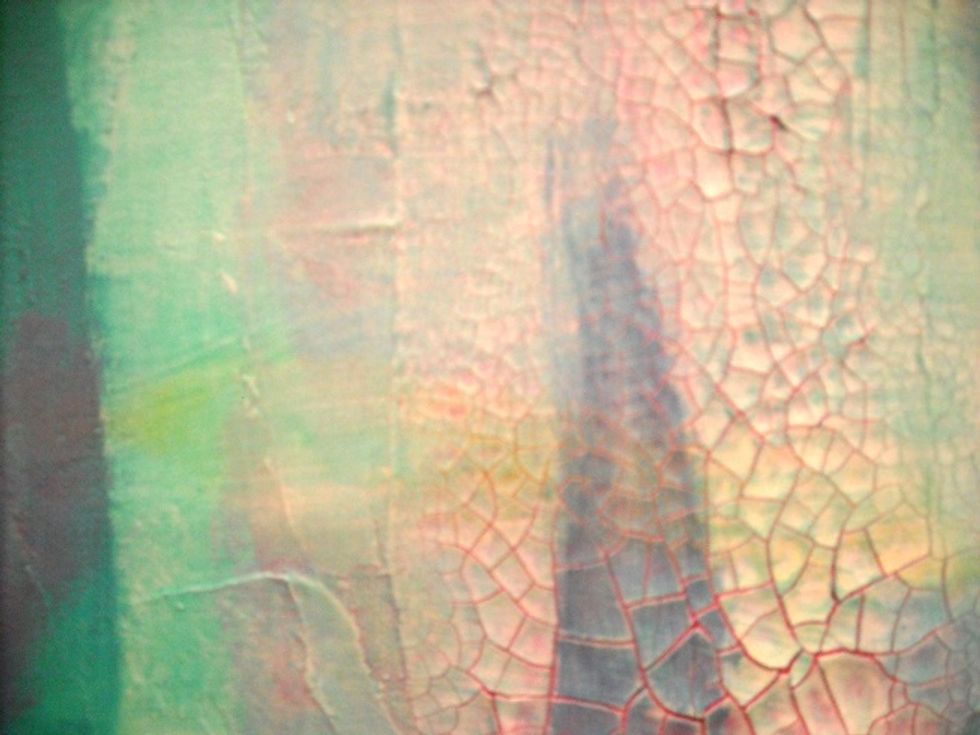
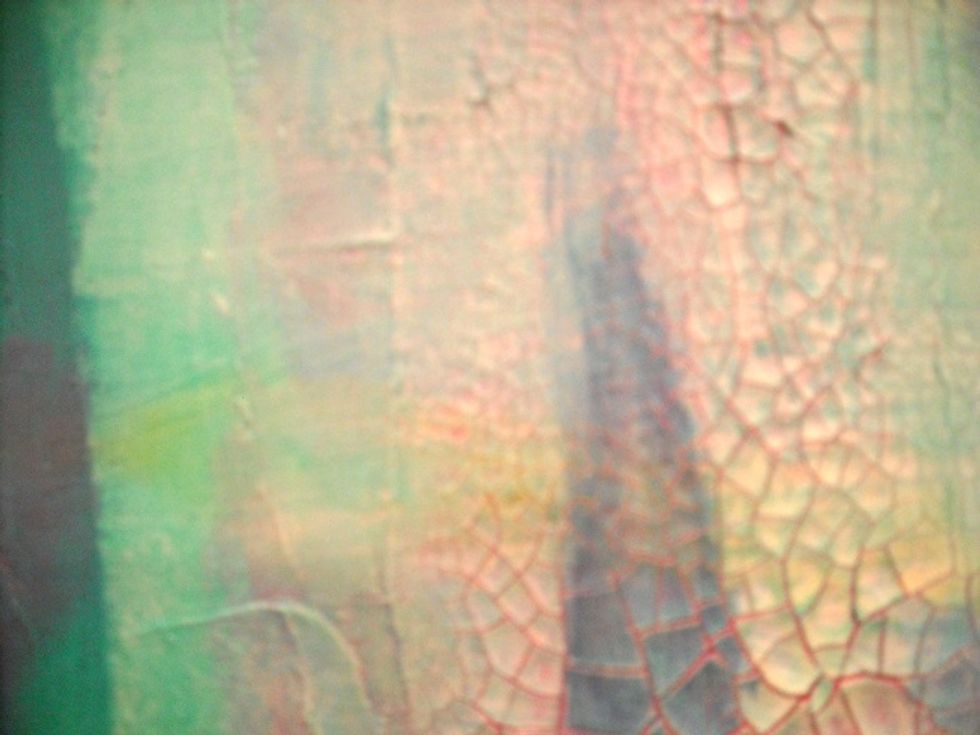
I made sure each of the crackle had a good coat of dark pink before I added the other colors so the "tracks" are pink. (Sorry so blurry)
Another tiny spot missing paste took the pink paint beautifully.
More texture.
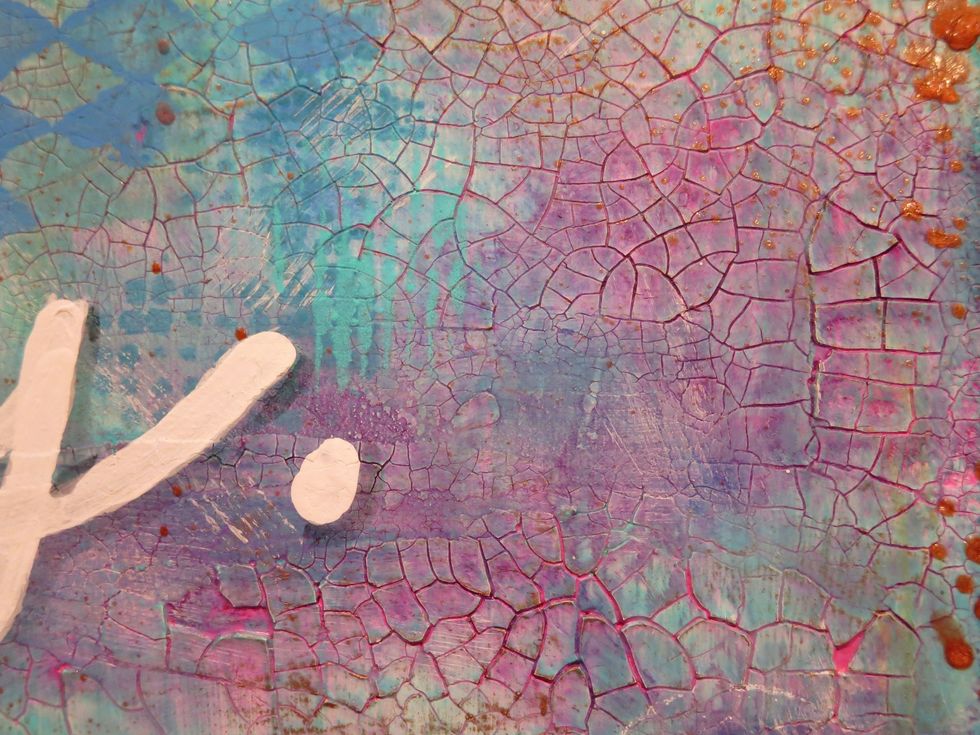
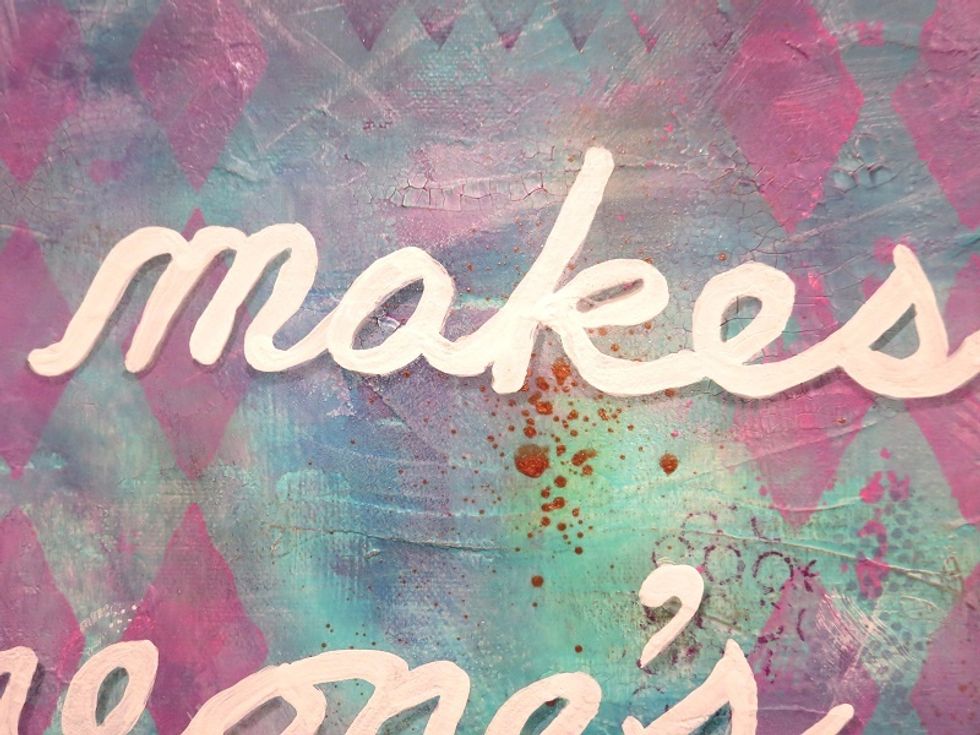
I used a feathery paint brush to add some white streaks.
In some spots where the molding paste was either missed or very thin you can still see the canvas's original texture.
Rub-on paints over some of the largest texture spots helps emphasize the crackle.
With more color added.
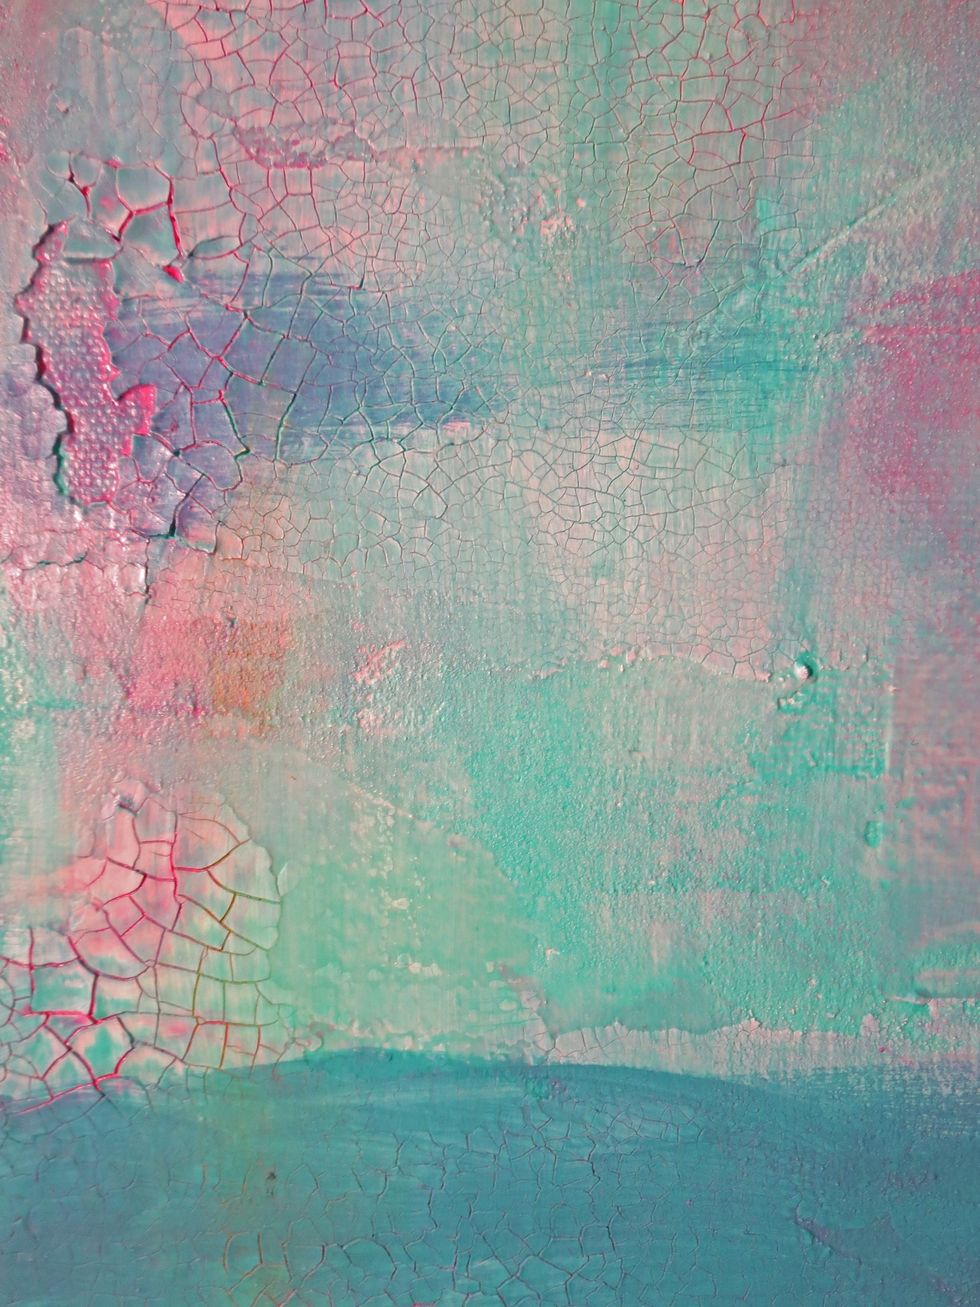
Here is the spot where the largest pieces of crackle flaked off.
Copper spray was added in a few places. Because I wasn't sure which direction it was going to face I didn't let them drip.
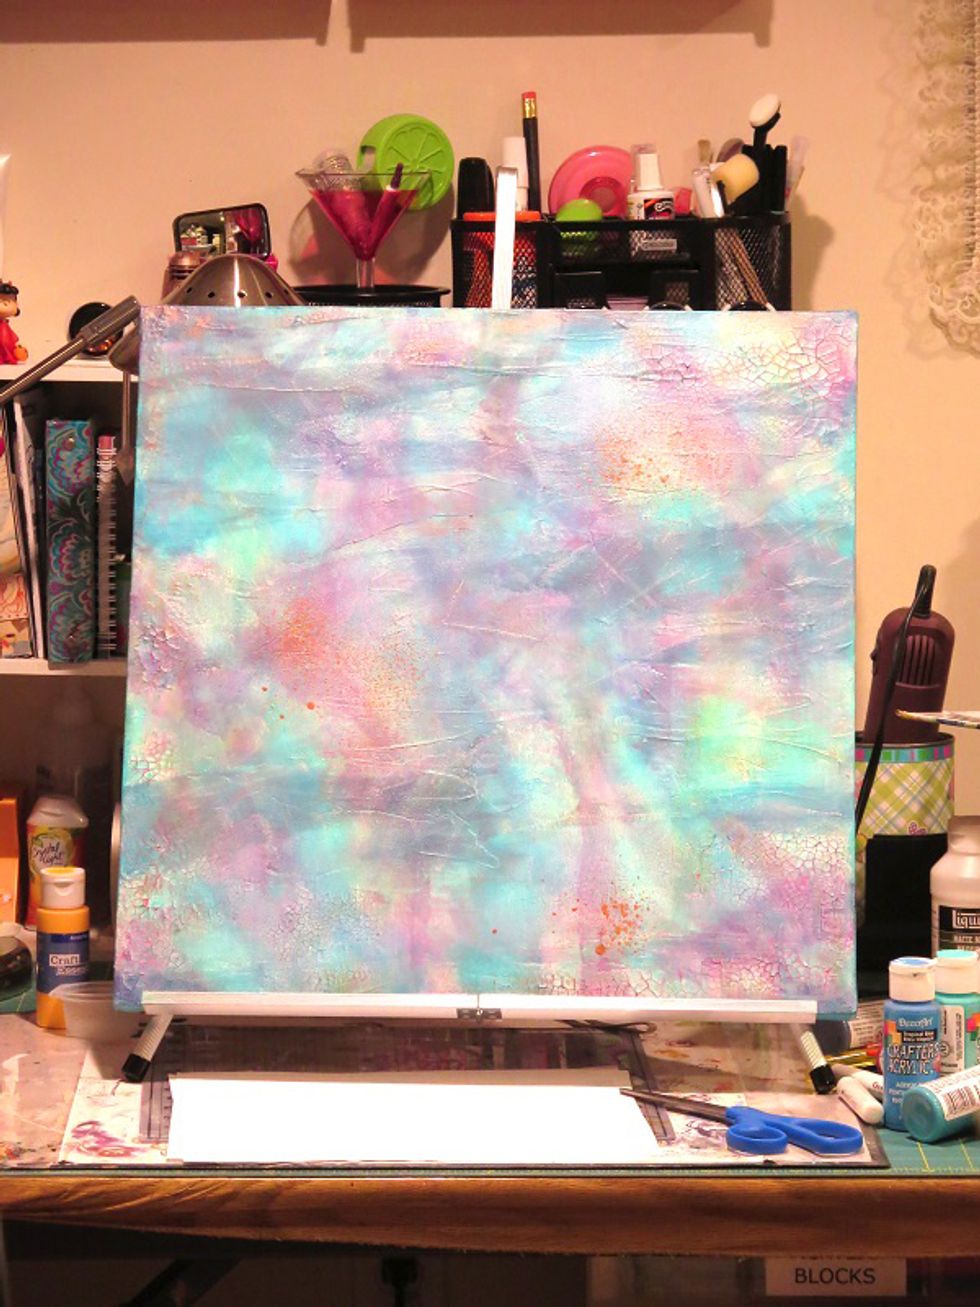
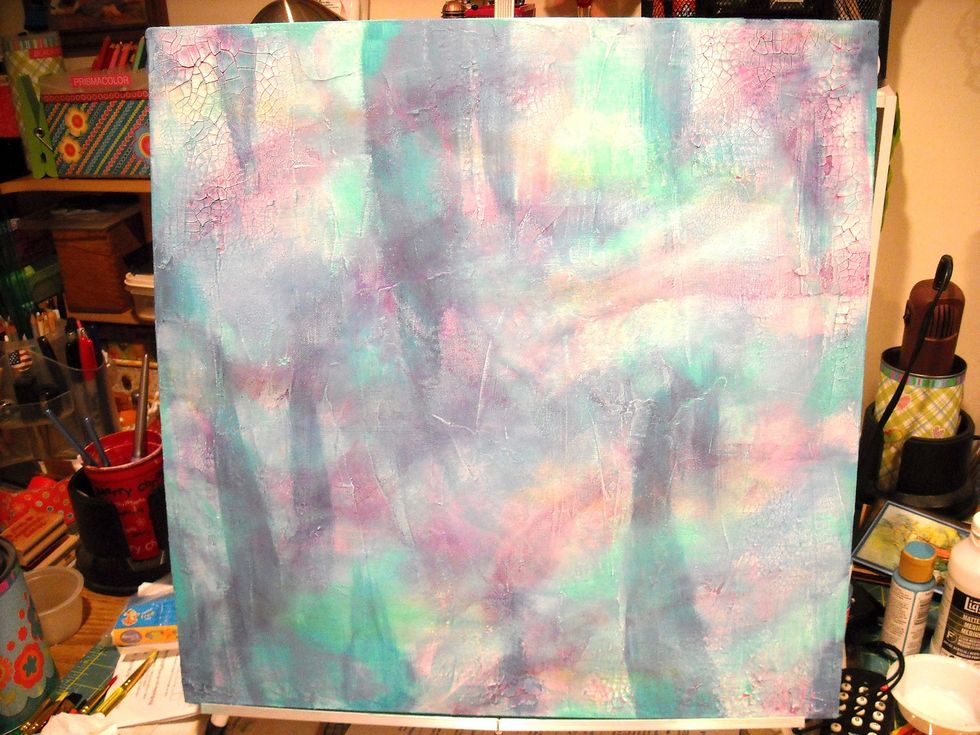
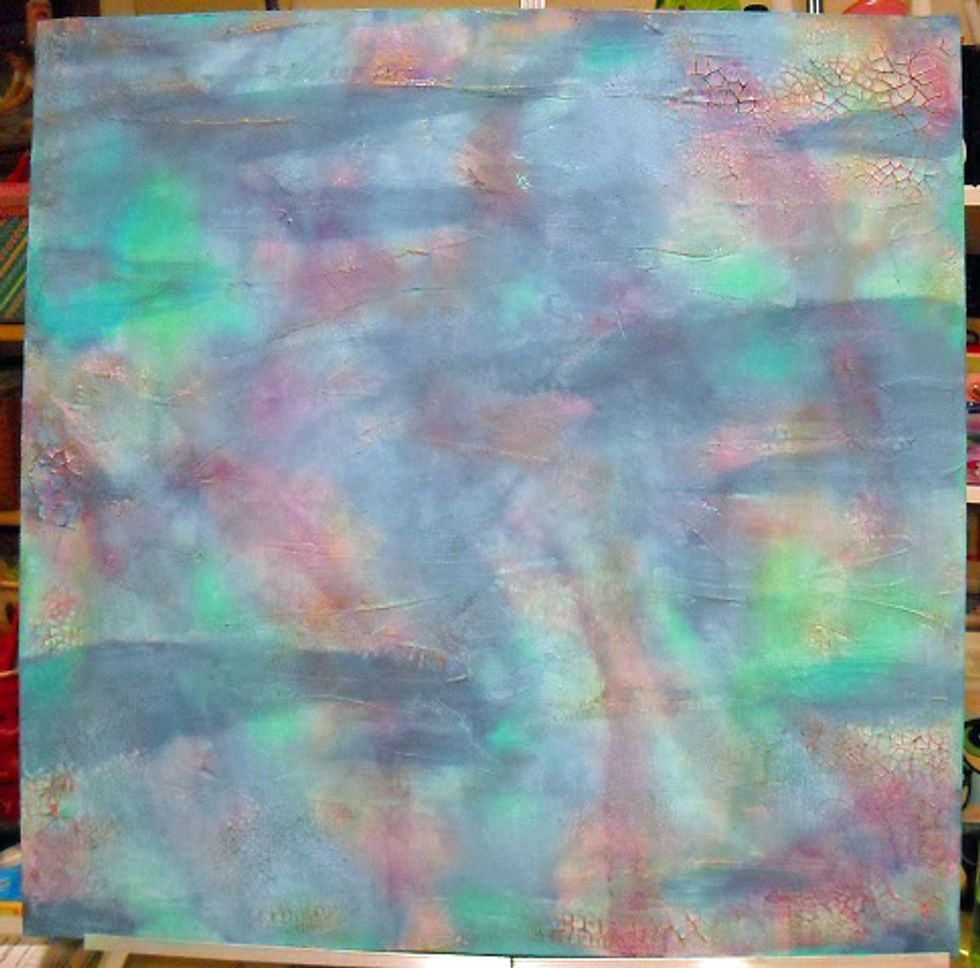
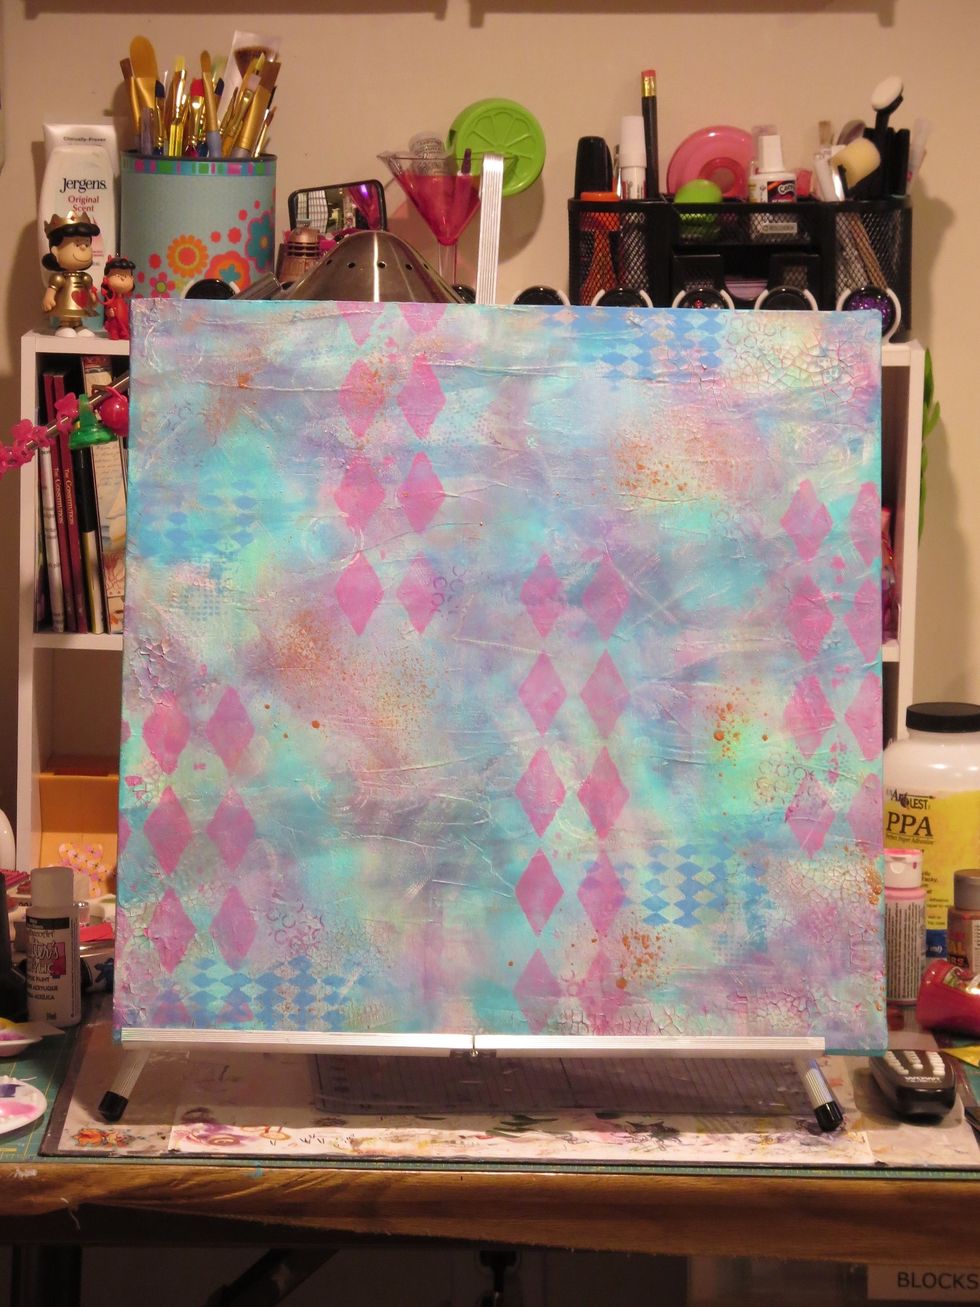
Really coming together here. I almost left it "as is"!
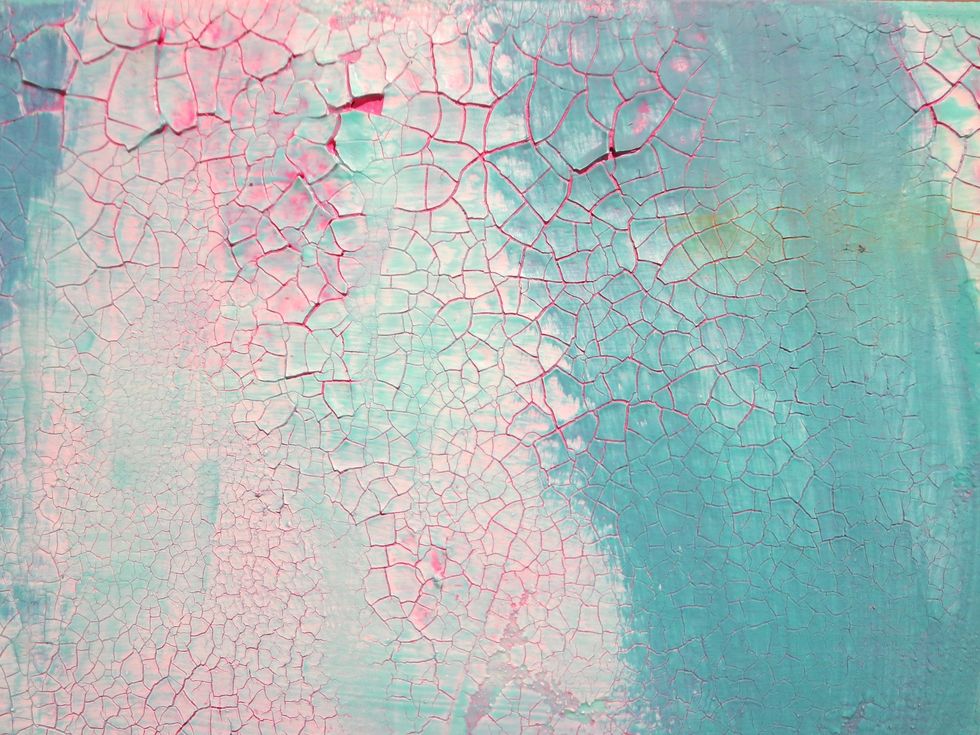
Love, love, love the pink inside the crackles.
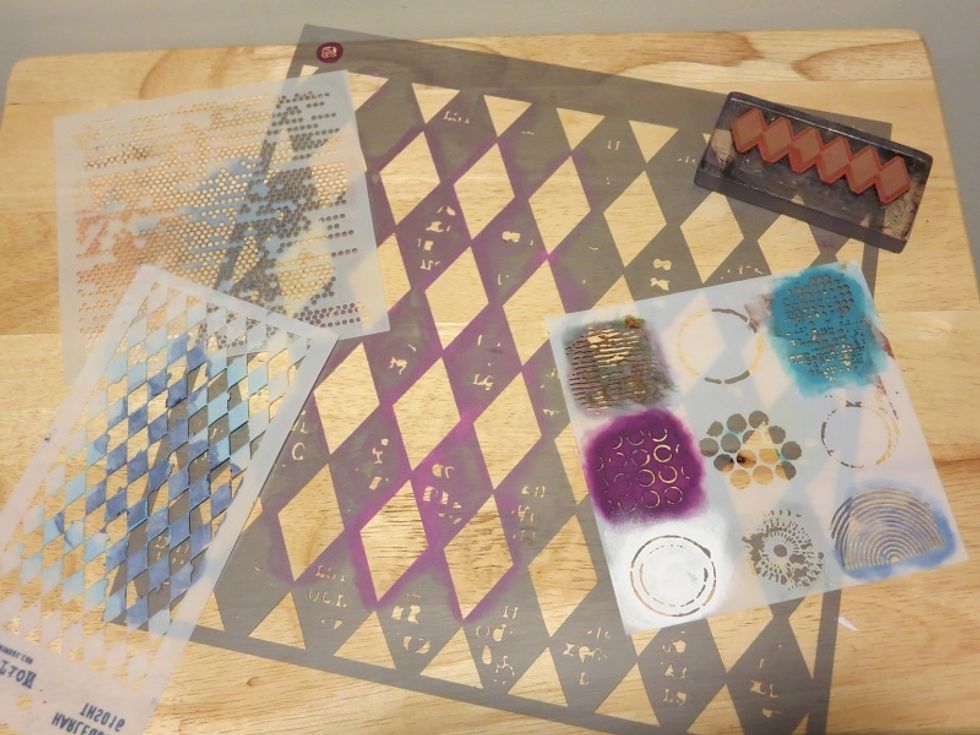
Stencils and a rubber stamp gave it another layer of color and texture. A lot of diamond shapes were used.
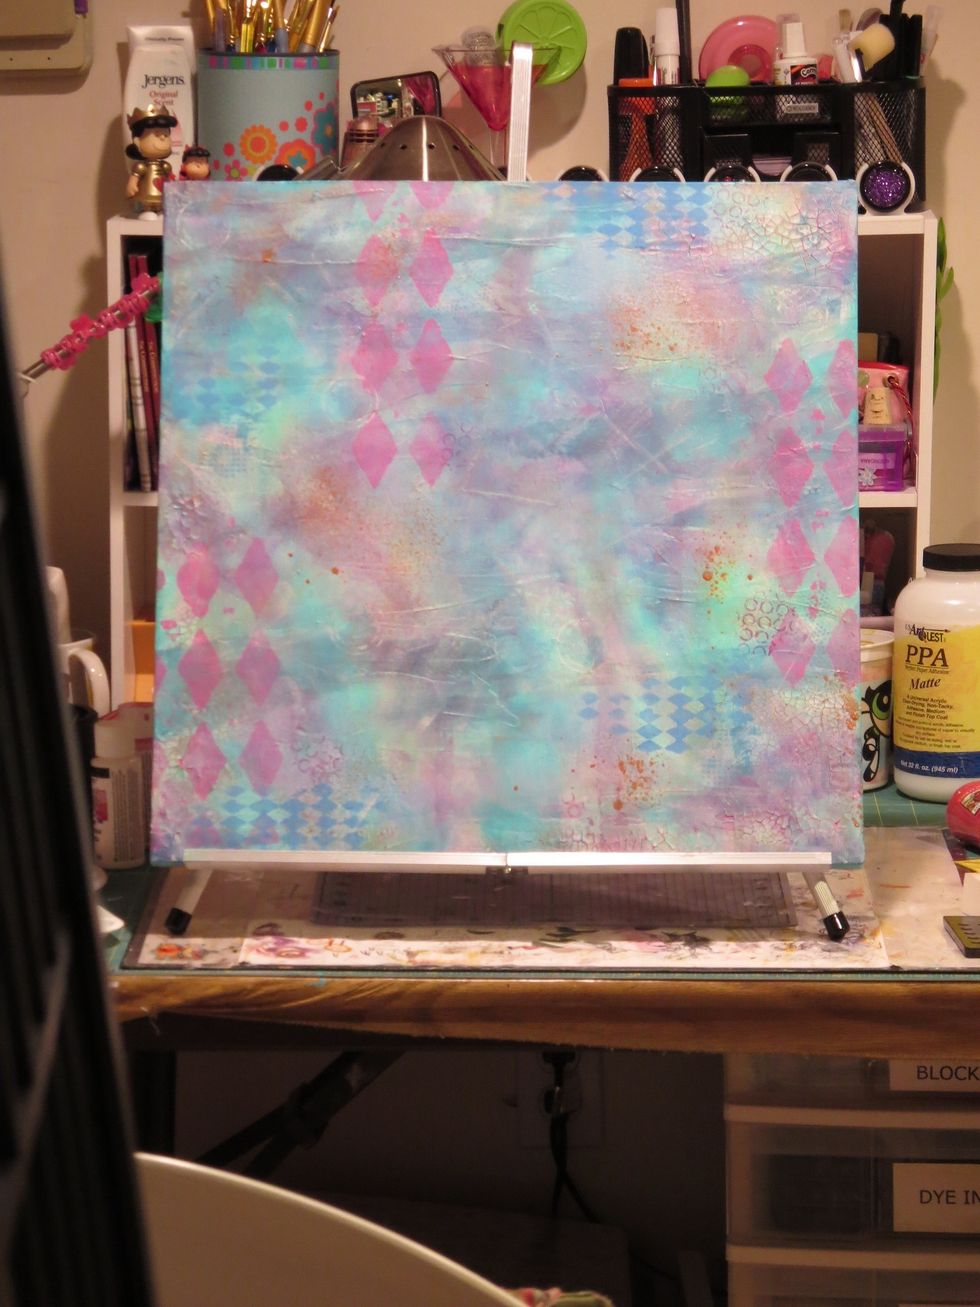
I finally decided this was the correct position after the stencils were added.
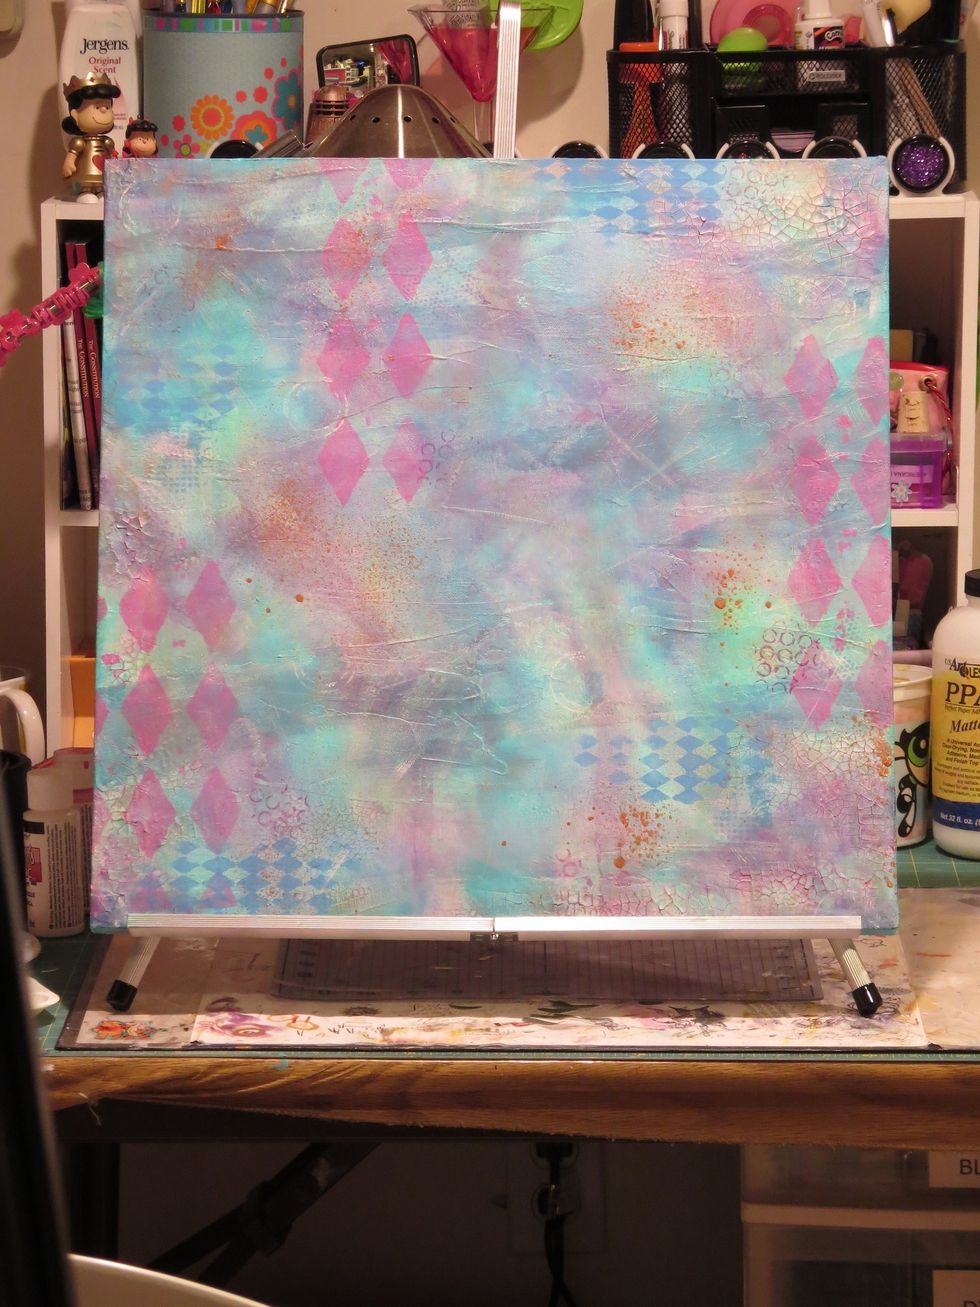
At this point, I almost decided (yes, again) to leave it "as is".
So pretty that I am almost sorry I added words.
This was the last layer of stencils. Now time for my words.
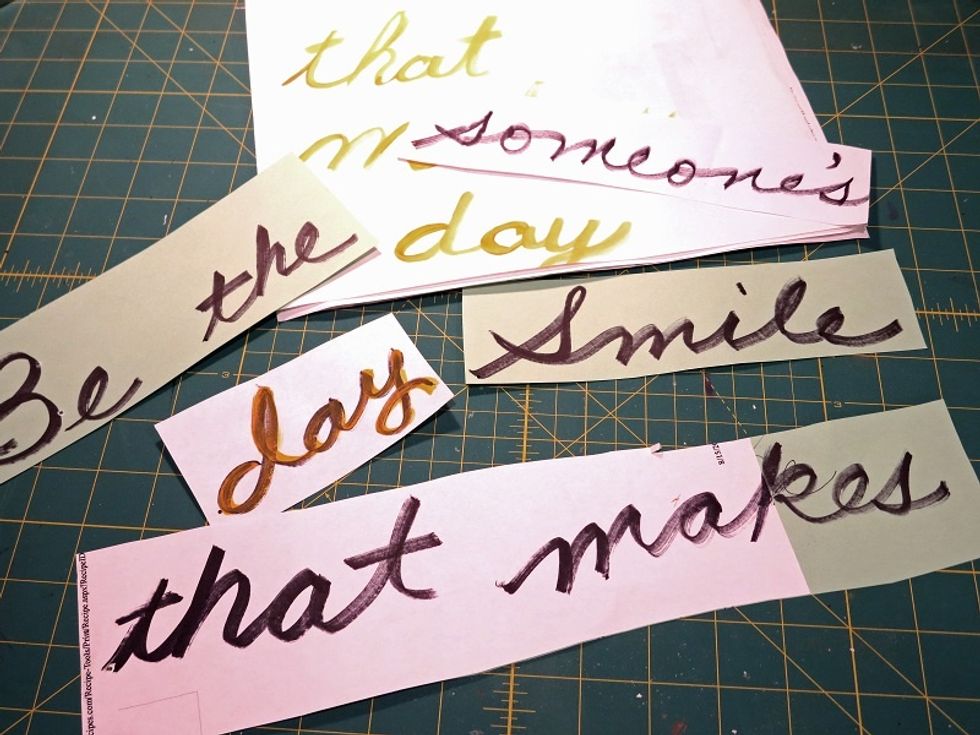
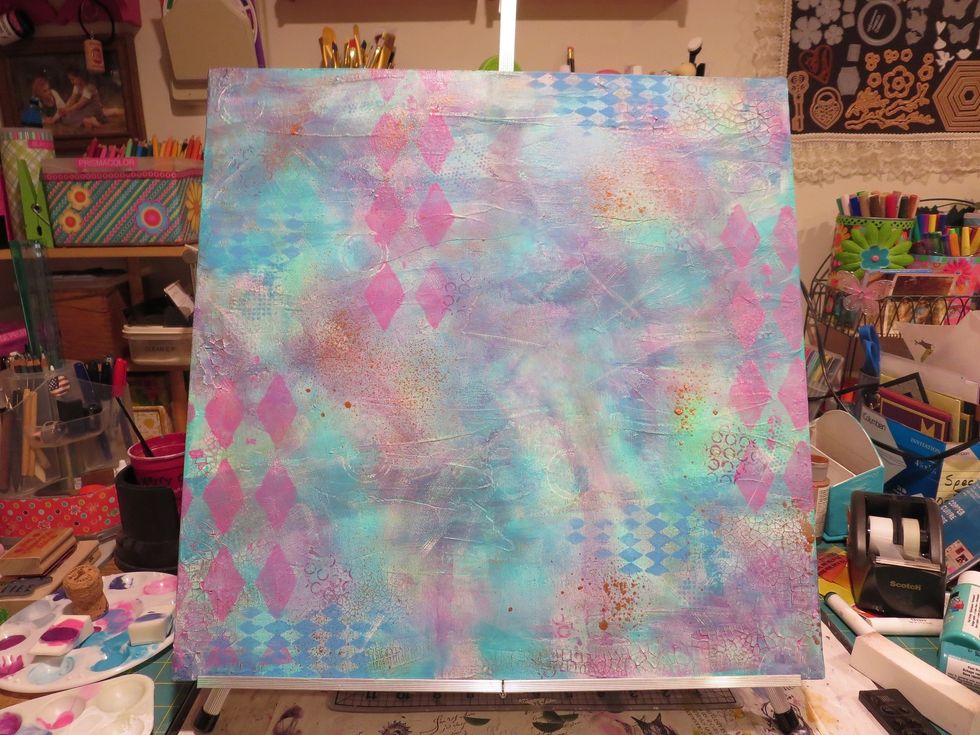
I practiced writing on scrap paper with both markers and paintbrushes. I cut strips for positioning. In the end, I use a ruler and paintbrush to write freehand across the canvas.
Look, more crackle photos! This is the final layer...I promise.

Final layer on the broken crackle.
I like how the copper spray gave a slight shine in spots on top of all the matte acrylic paints.
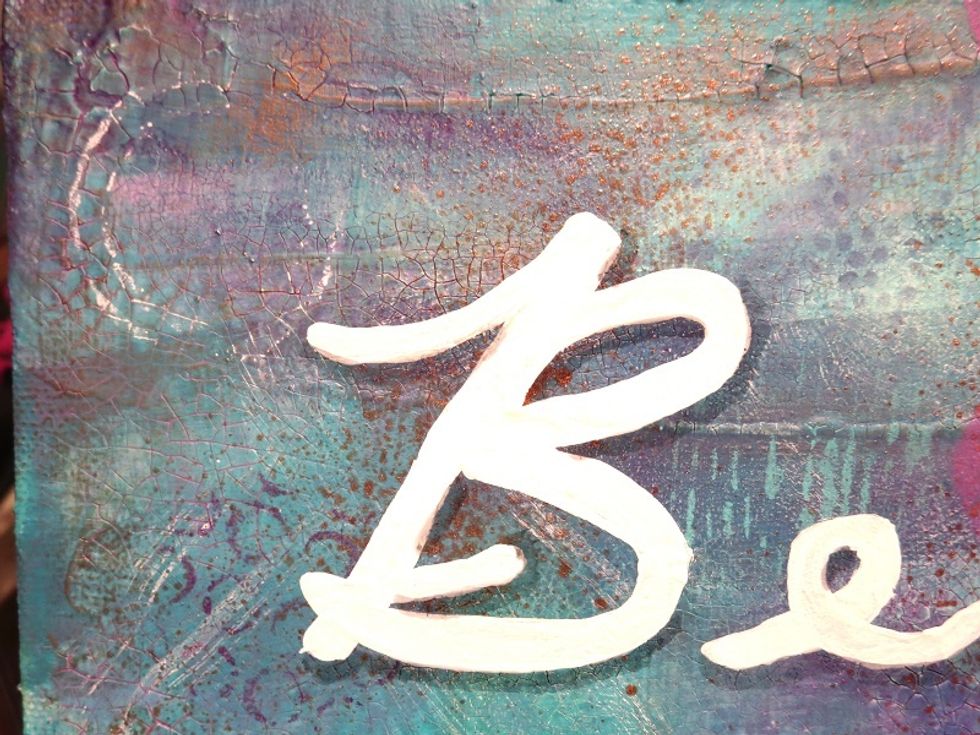
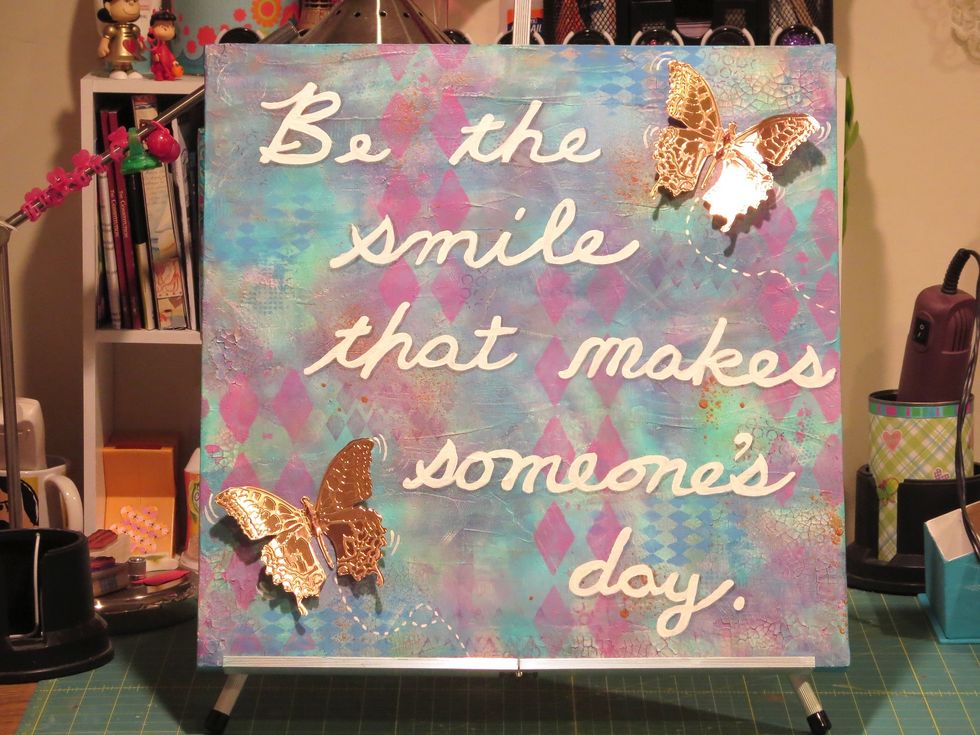
I thought the bright white letters were out of place on the canvas. I used a Faber Castell Pitt Pen in gray to add some shadow to the letters and they came alive. Much happier with them.
Yes, the words are slightly crooked, but considering it was freehand and the first time I every tried to do it this way I'm pretty pleased.
Layer after layer of paint really added to the molding paste's texture.
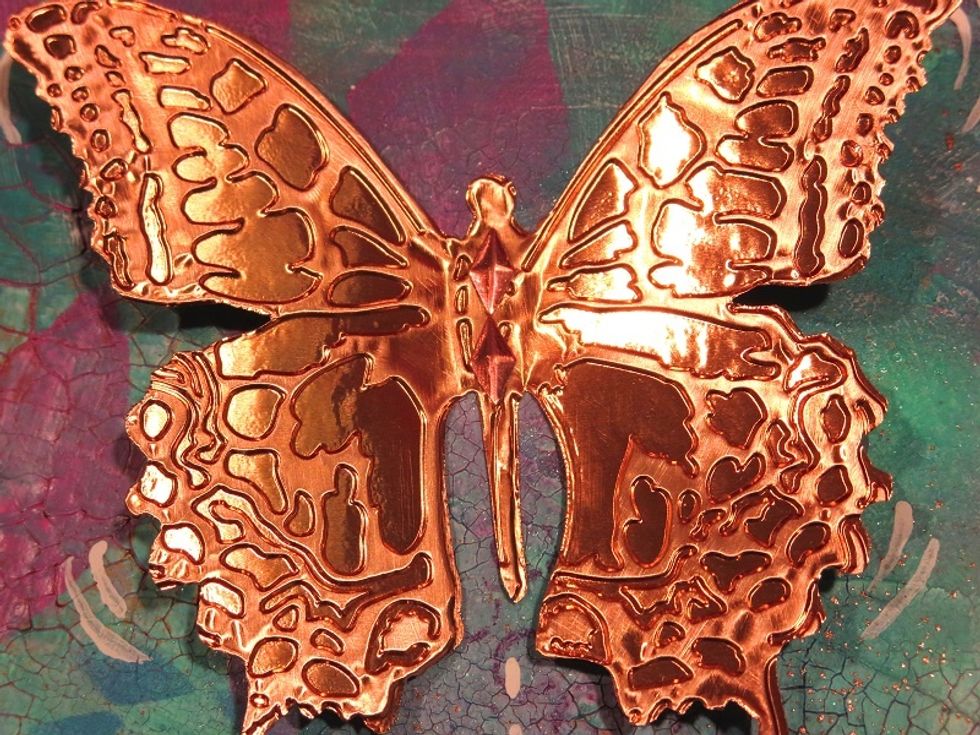
I used Tim Holtz's set of die and folder to cut this butterfly out of foil sheets. The wings are glue in the up-position after light sanding. I added diamonds to his body for subtle texture.
A little movement for the butterflies was added with white acrylic paint.

And it's done! I hope you enjoyed all the photos. It was fun to finally make something for myself! This is going to hang in my office cube.
Thanks for stopping by. I hope you'll also check out my blog at http://robinsbirdhouse.blogspot.com