The Conversation (0)
Sign Up

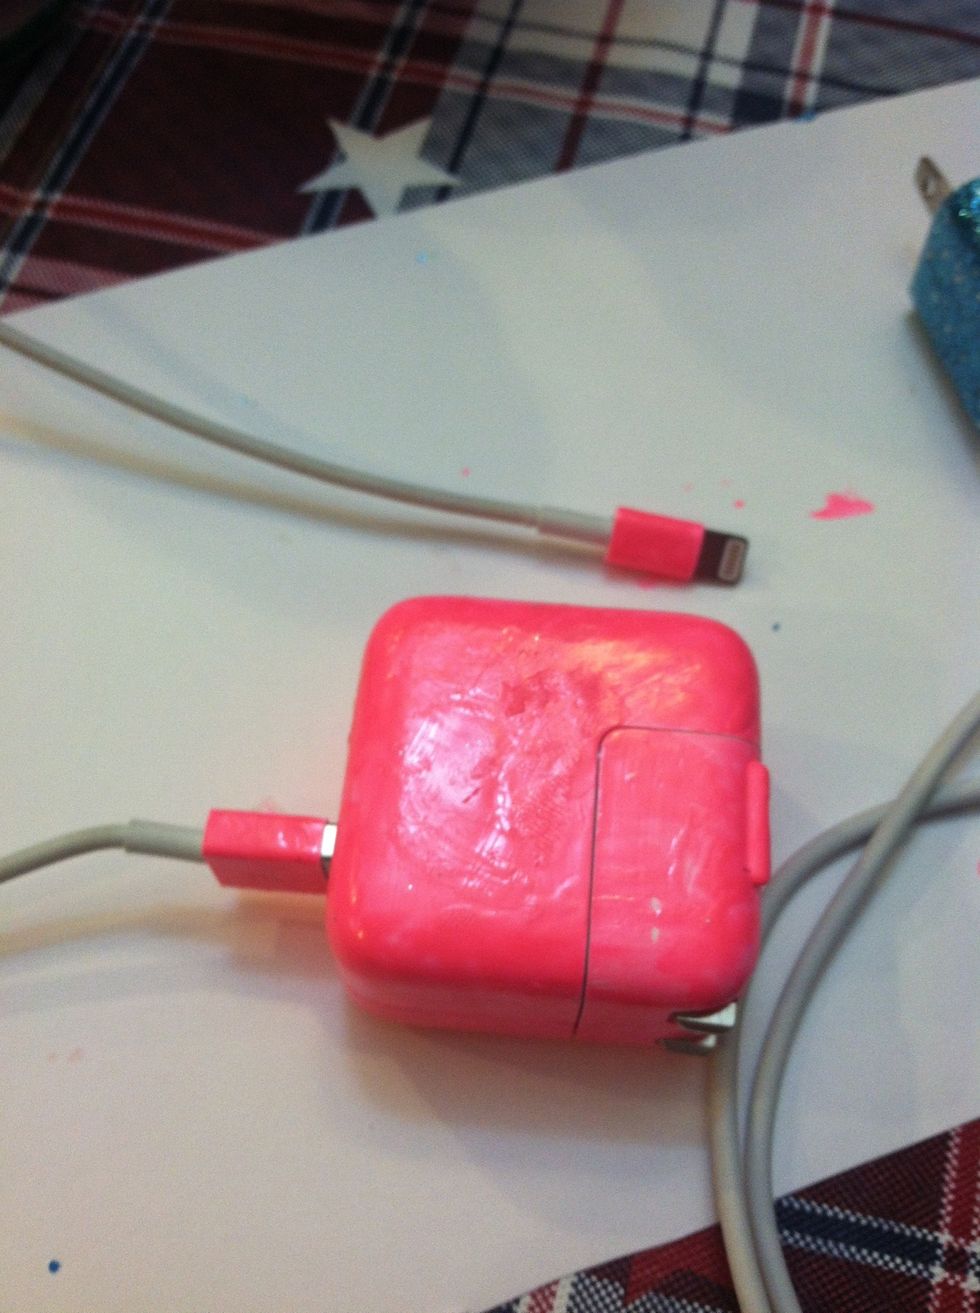
If you have a iPad charger take it apart like I did

Start to paint with the nailpolish brush ONLY THE WHITE PART!
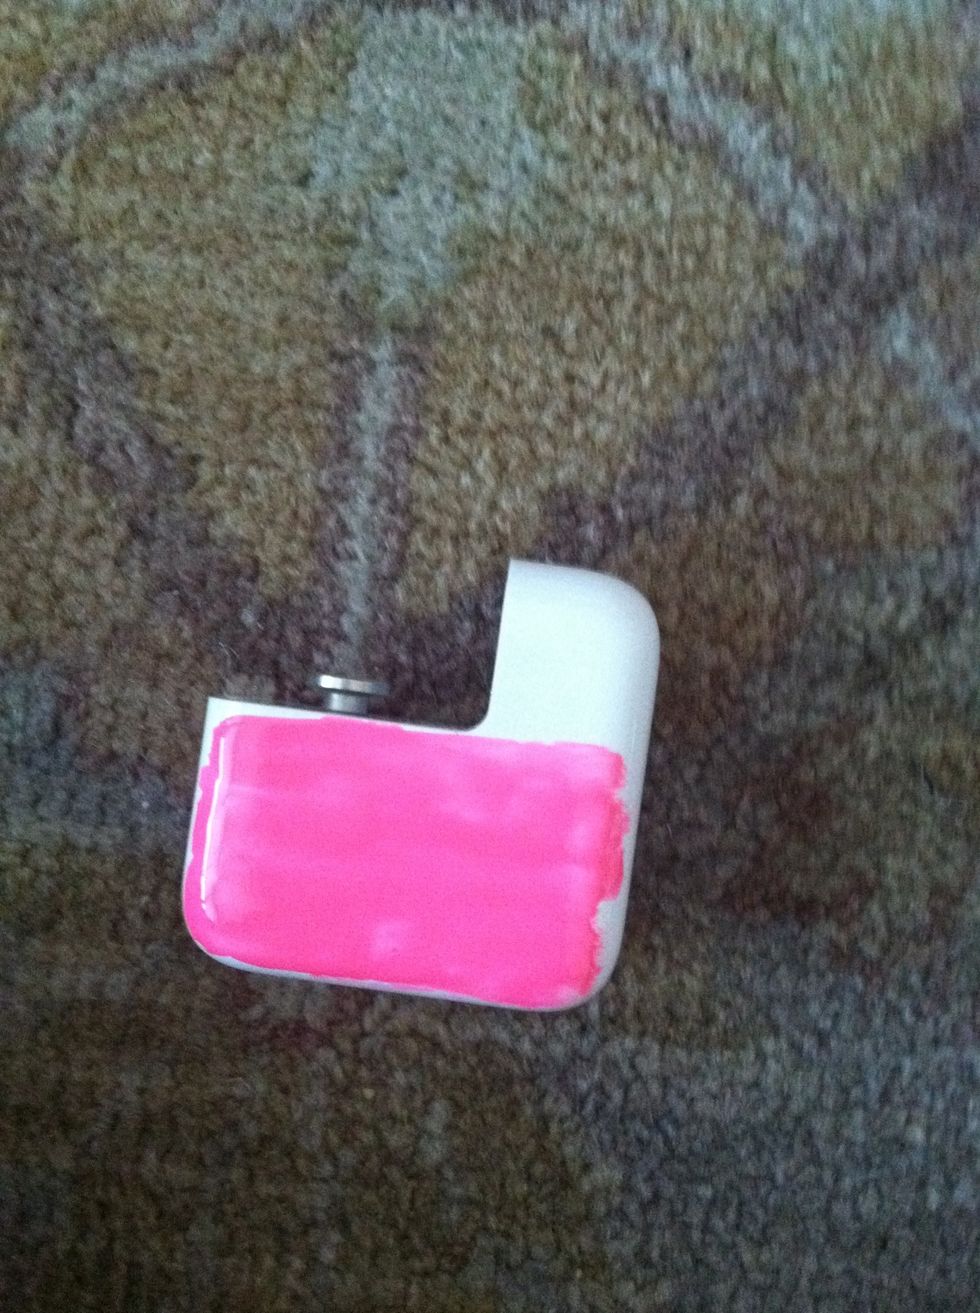
Paint in one direction so it looks neater!
Make sure not to get any polish in any of the cracks or the holes!
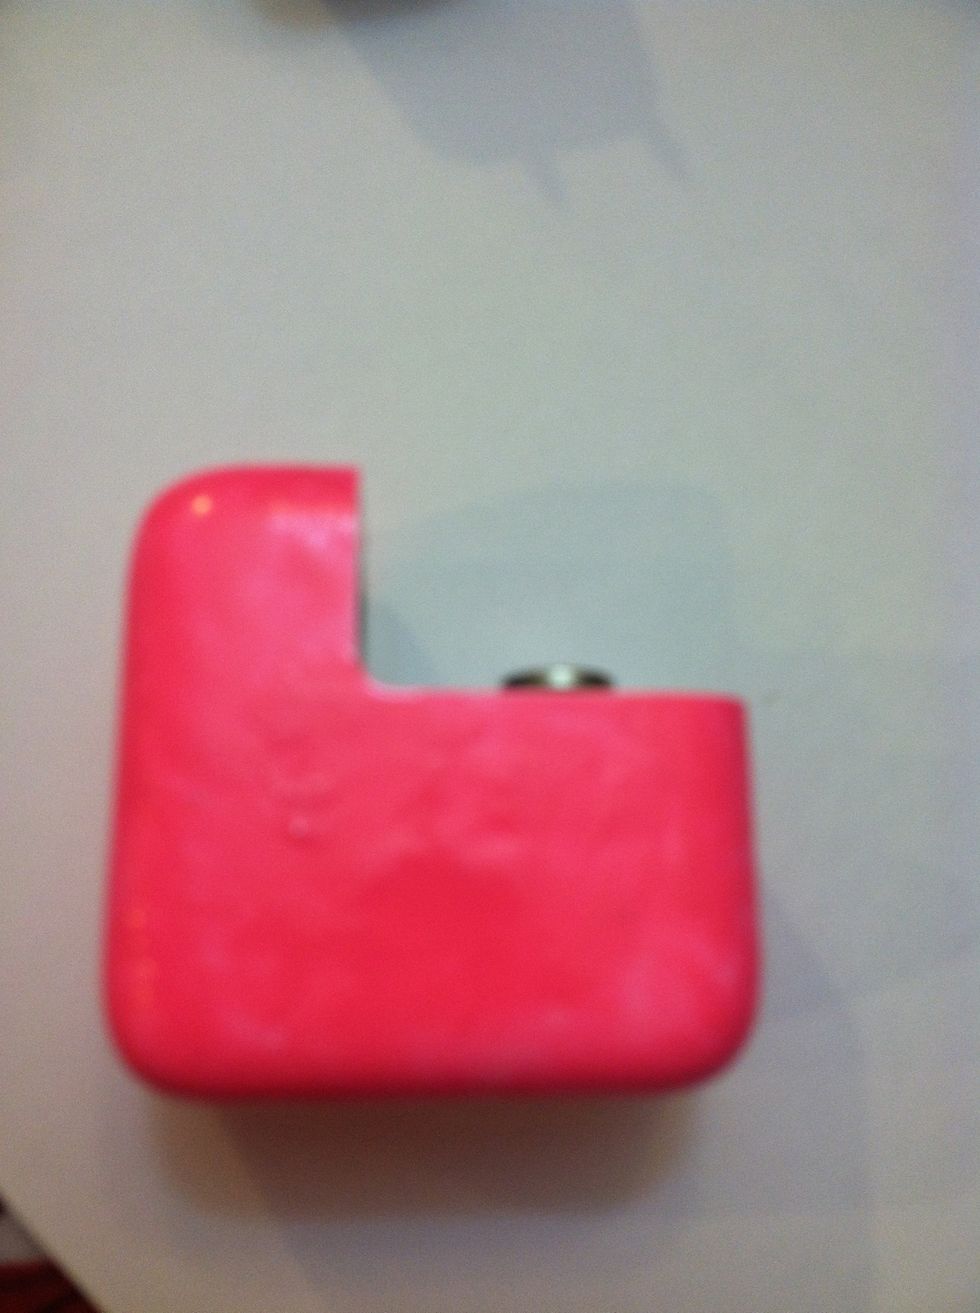
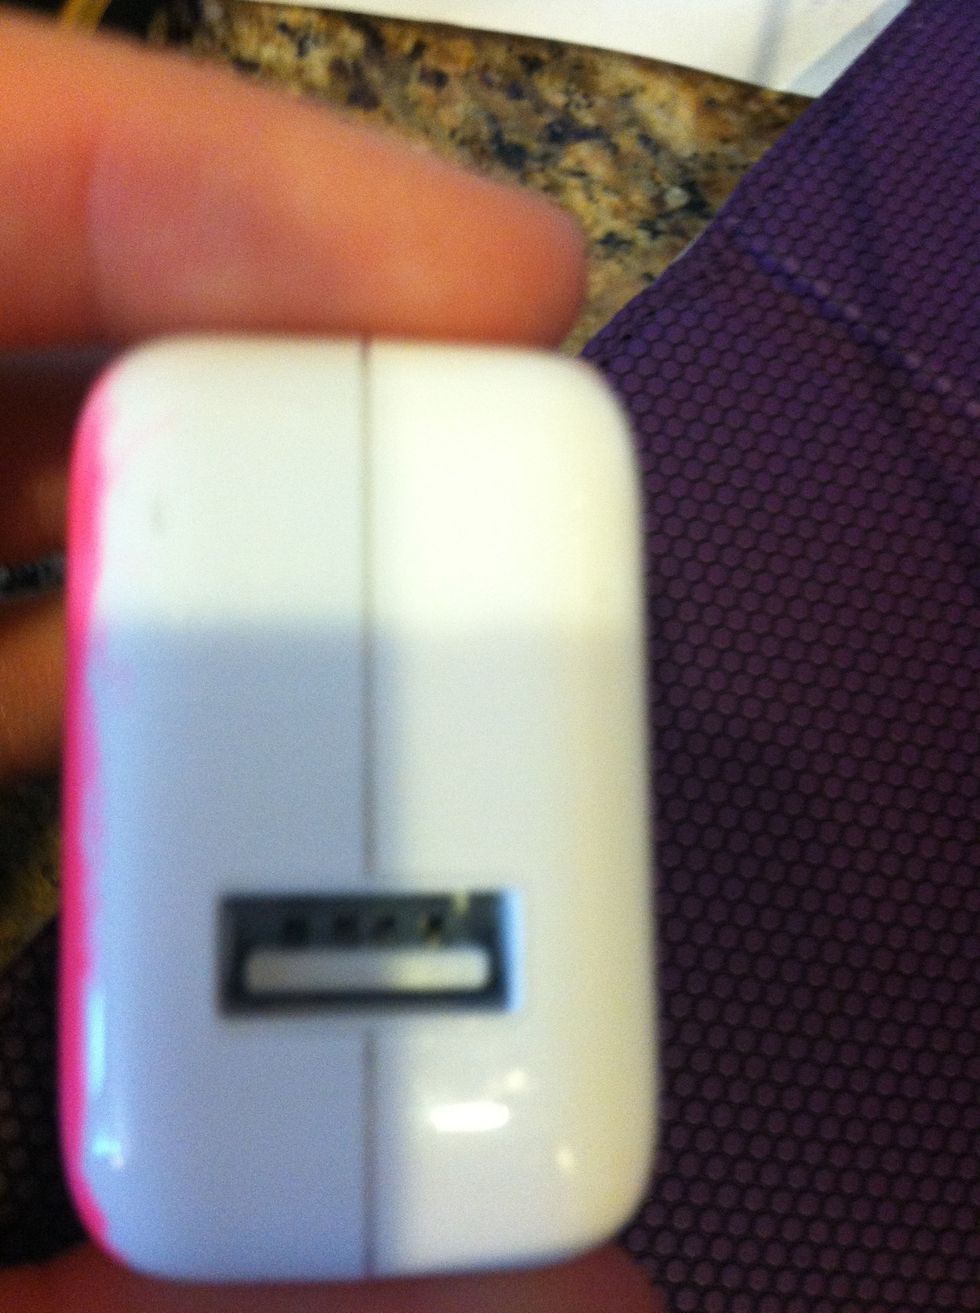
After it is all painted let it dry for 10 mins

After its dry paint a thin layer of top coat
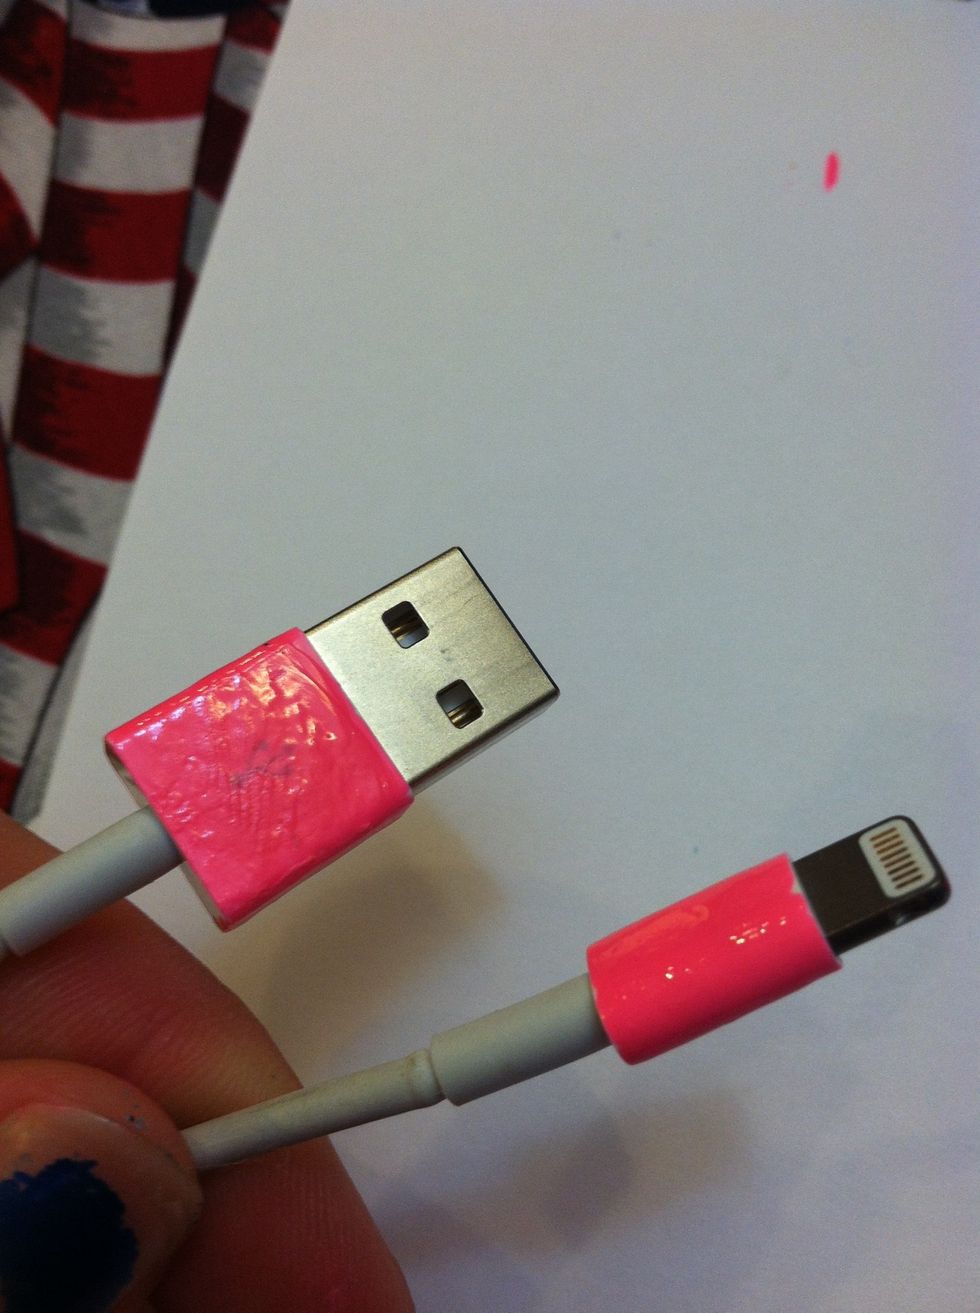
Paint the ends with color wait 10 mins and then do the top coat
All done!
I hope you enjoyed your new customized charger! If you have any questions comment