The Conversation (0)
Sign Up
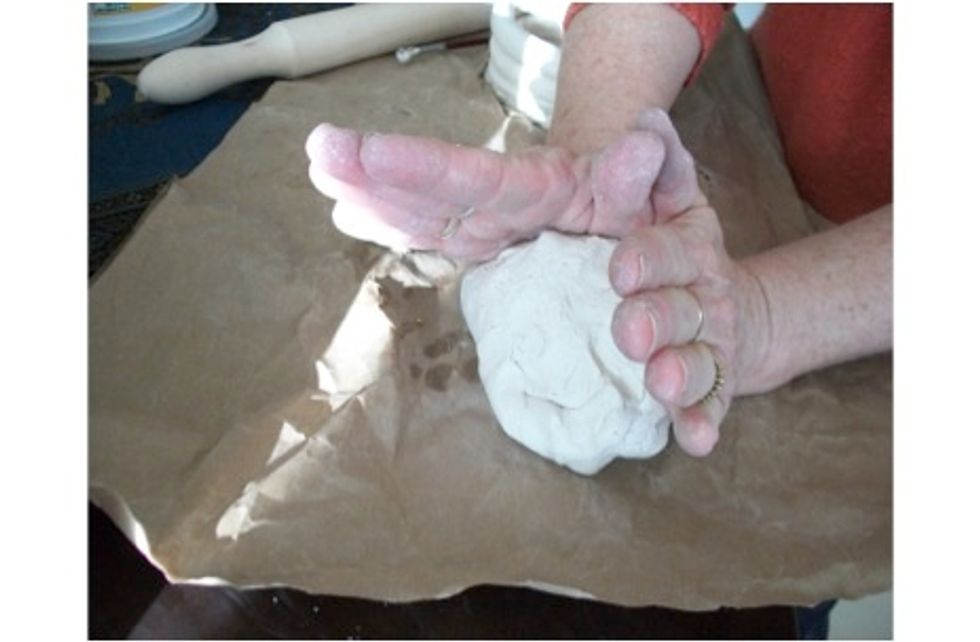
Wedge your clay to get the air bubbles out of it. Place clay between hands and press/roll forward. Pick up and repeat several times.
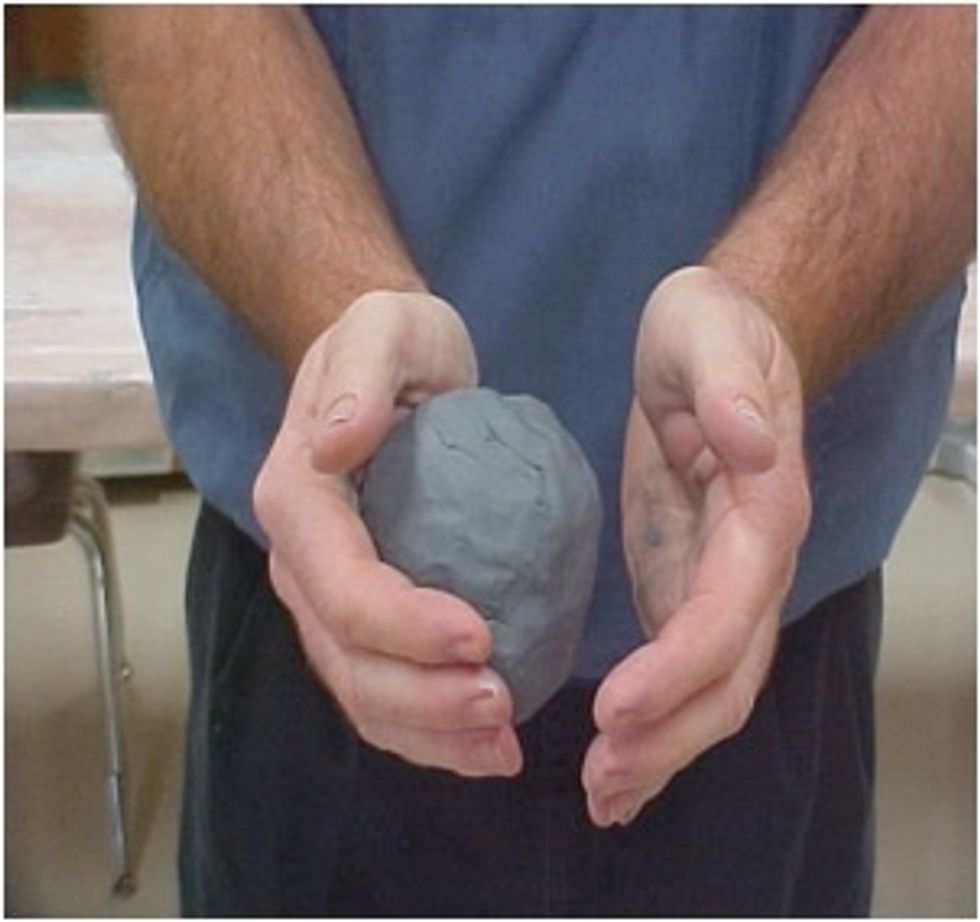
Once clay has been wedged, take some clay and roll into a round ball about the size of a tangerine. This will be the base.

Flatten the base either with your hands or a rolling pin. DO NOT SMASH IT. The base should be 3 inches wide.

You could also roll a coil to create your base. The base should be 3 inches wide.
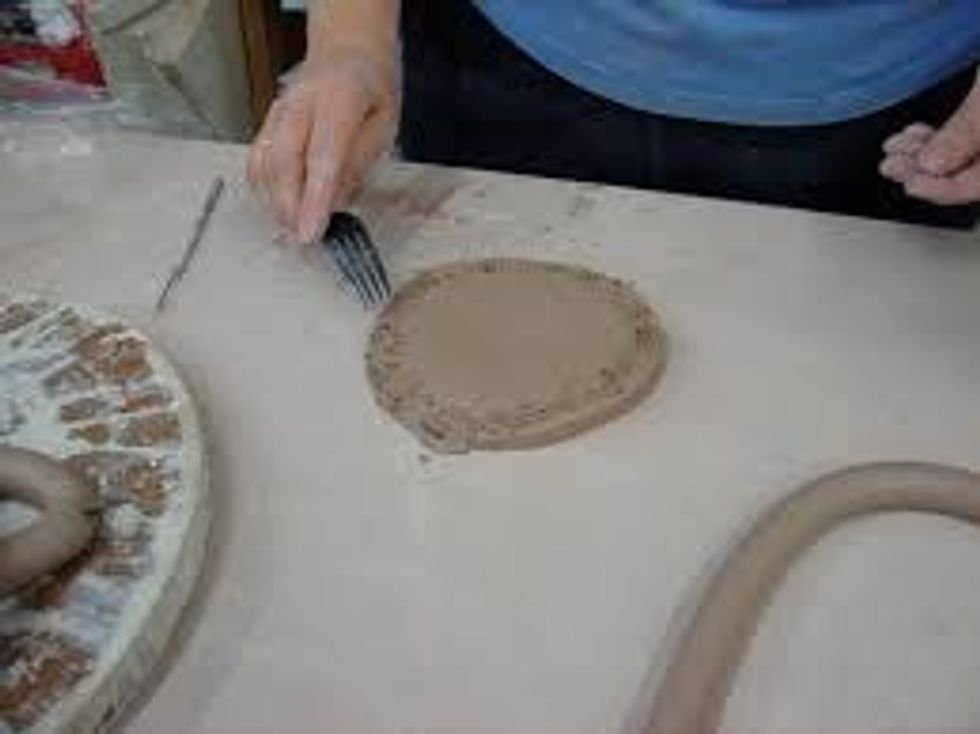
Once base is made, scratch the surface where the coil will be adding. This is called Scoring. You can use many tools to do this, a fork, a scratch tool made of toothpicks and tape..
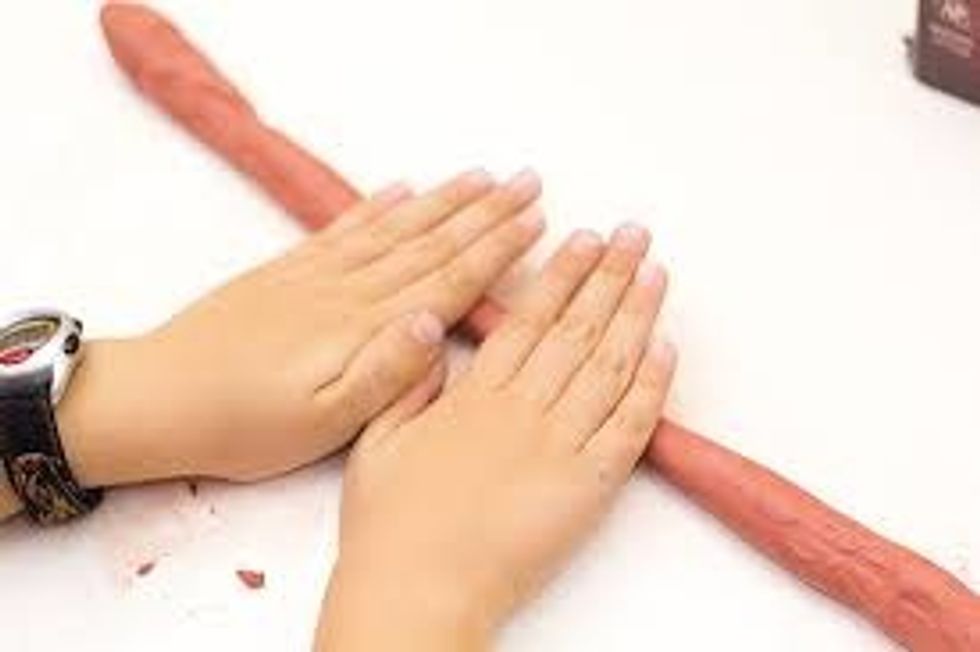
Grab a portion of clay. Make it into a hotdog shape. Place on table. Start rolling your clay with your hands touching. As you roll back and forth your hands move to the ends.
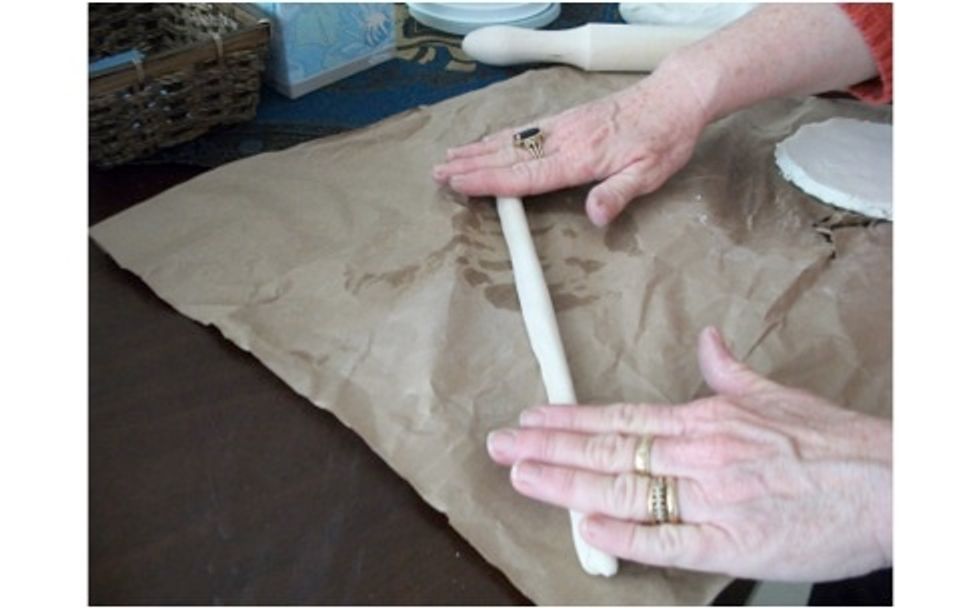
As you gently roll your hands move to the ends of the coil. If your coil starts to become a square coil , gently tap down the edges to make them round again.

Your base is scored (scratched) now add slip and press your coil onto the base. You may have to trim the coil if it is too long. If it is too short roll a NEW one.
Trim the coil once you meet the other end.

Once you have a few coils attached, remember to ALWAYS score and add slip to each coil.. You are going to smooth the inside. Carefully hold the outside so you do not stretch the clay.
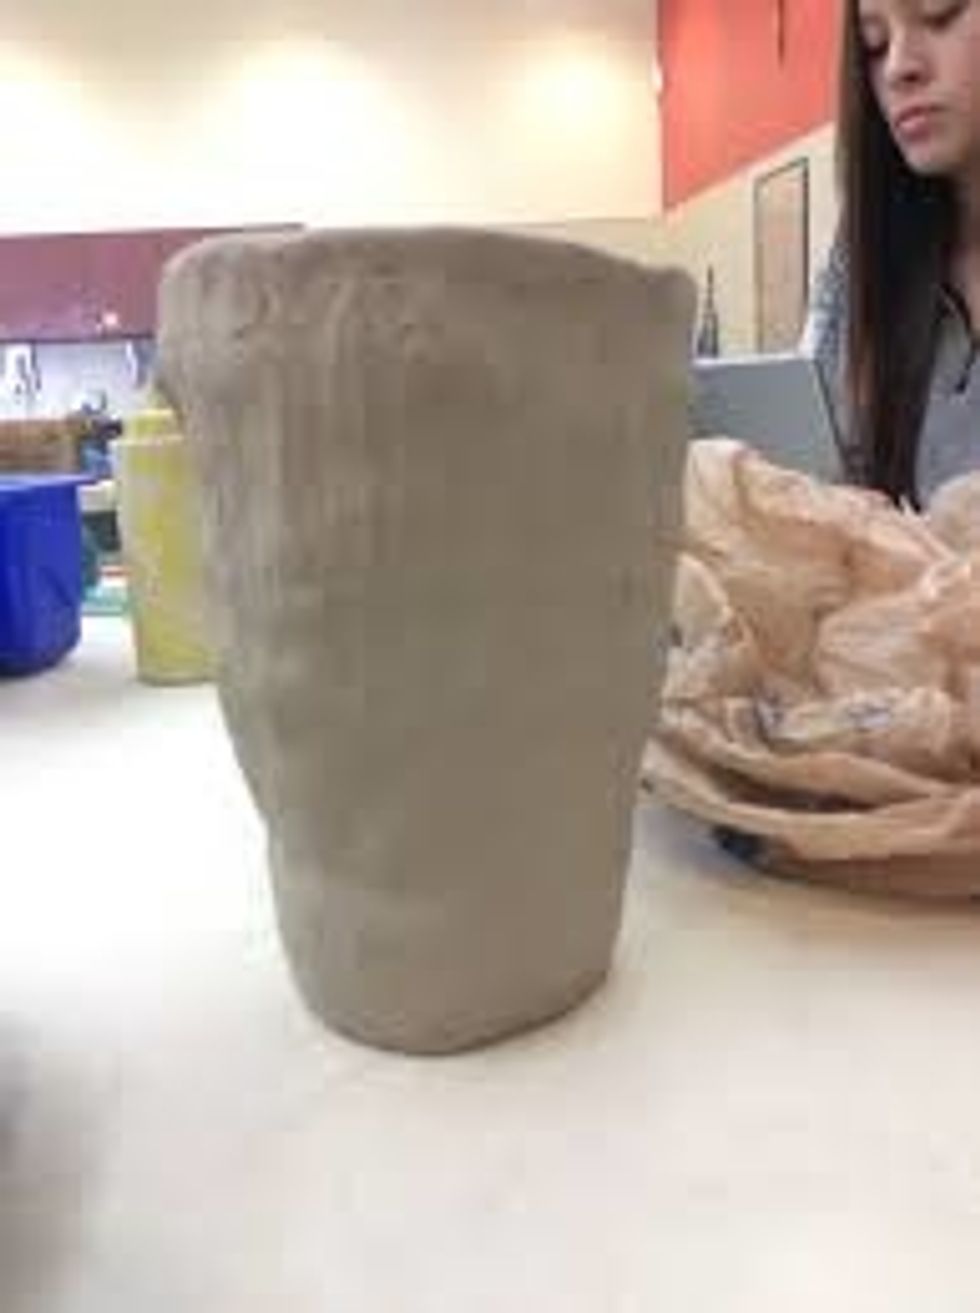
You can smooth the outside if you want but you do not have to. The inside should be smooth to help seal up any possible leaks/holes.
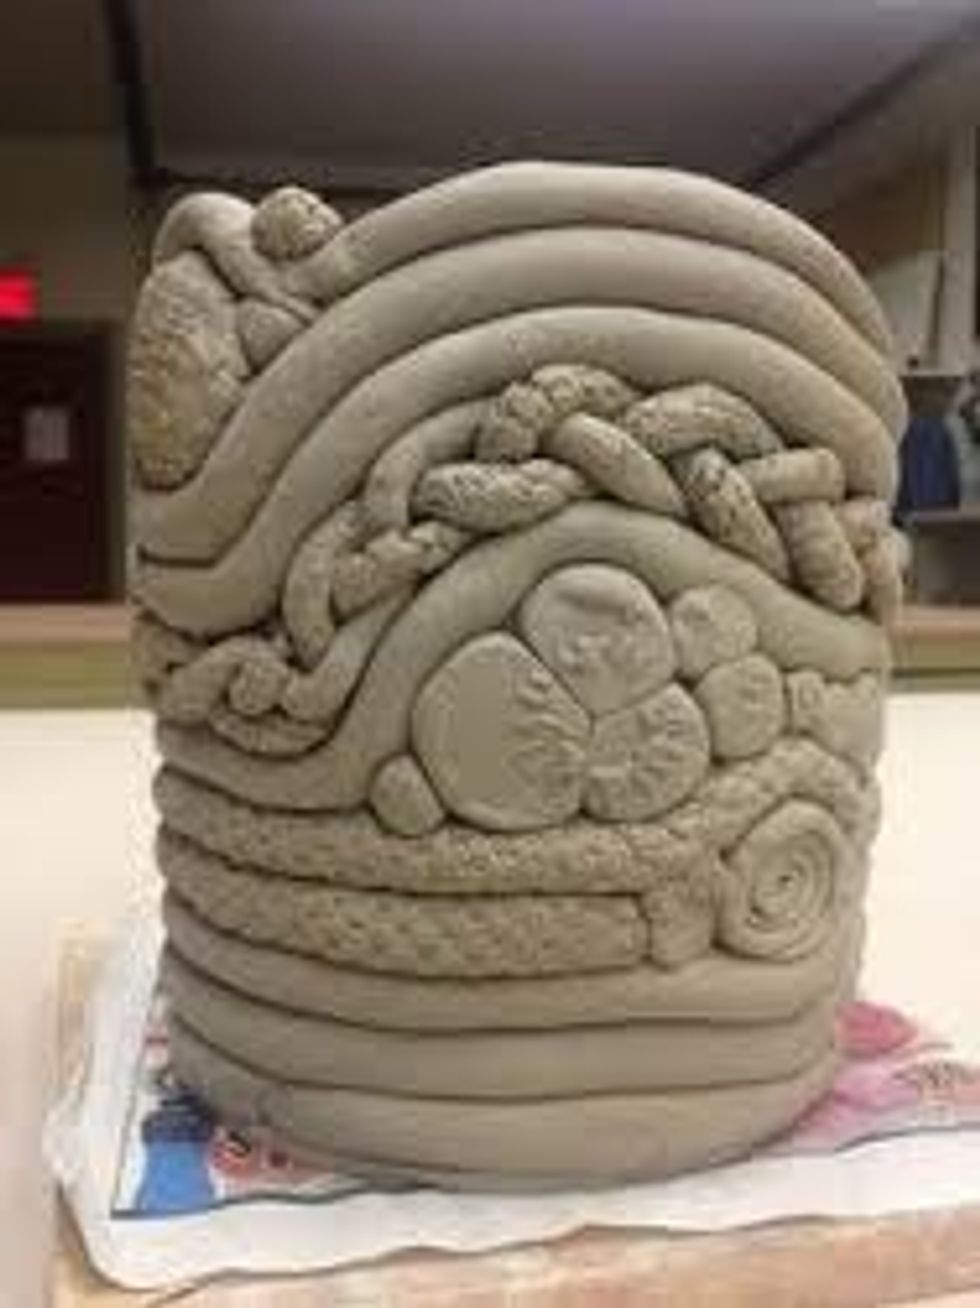
You can have the coils remaining visible on the outside, you can add braids and small coils.
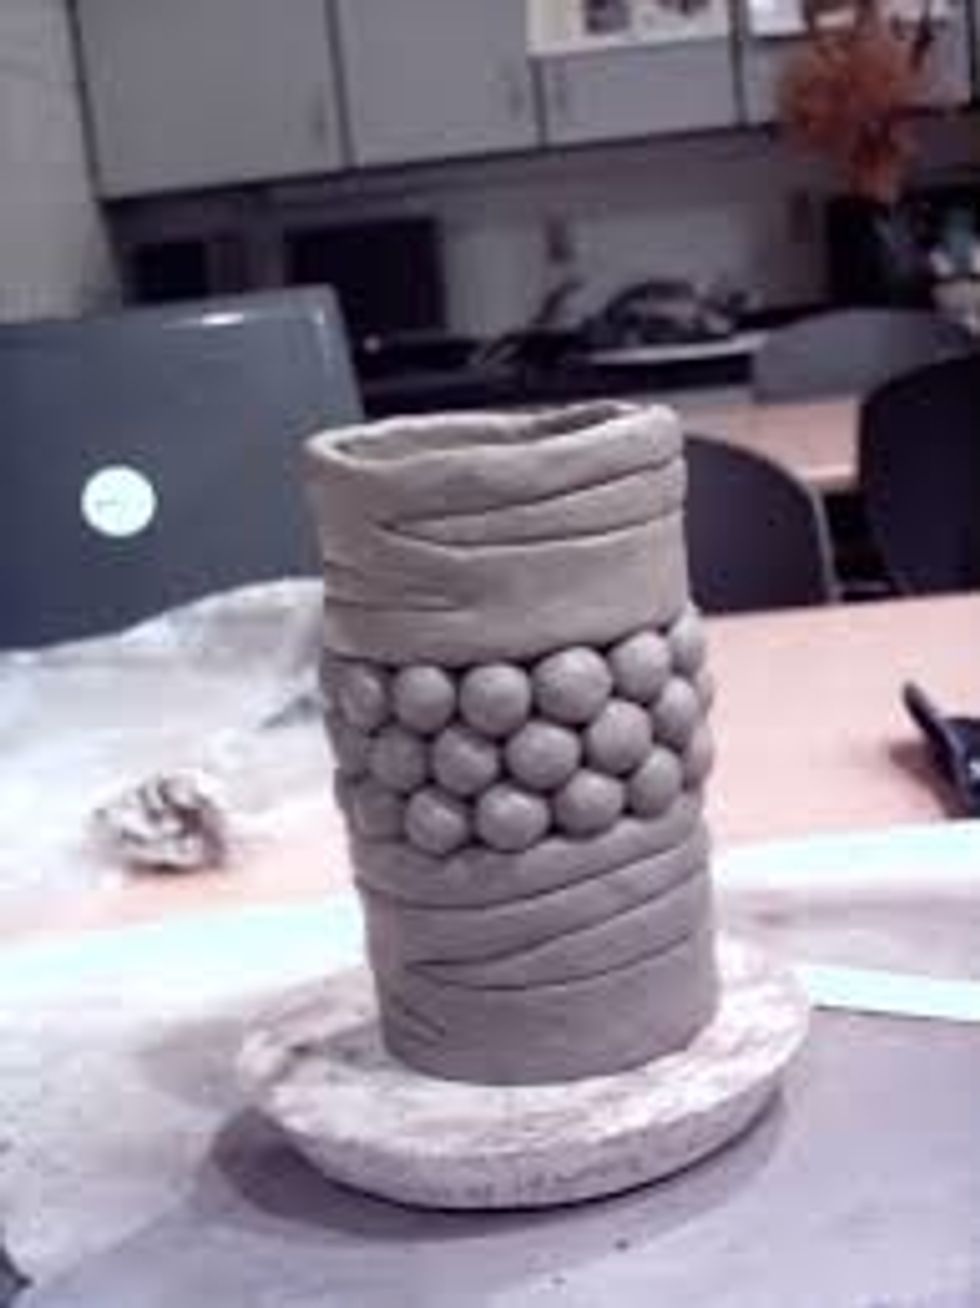
More texture design. Just remember to score , slip and push each row, spiral, round piece of clay.
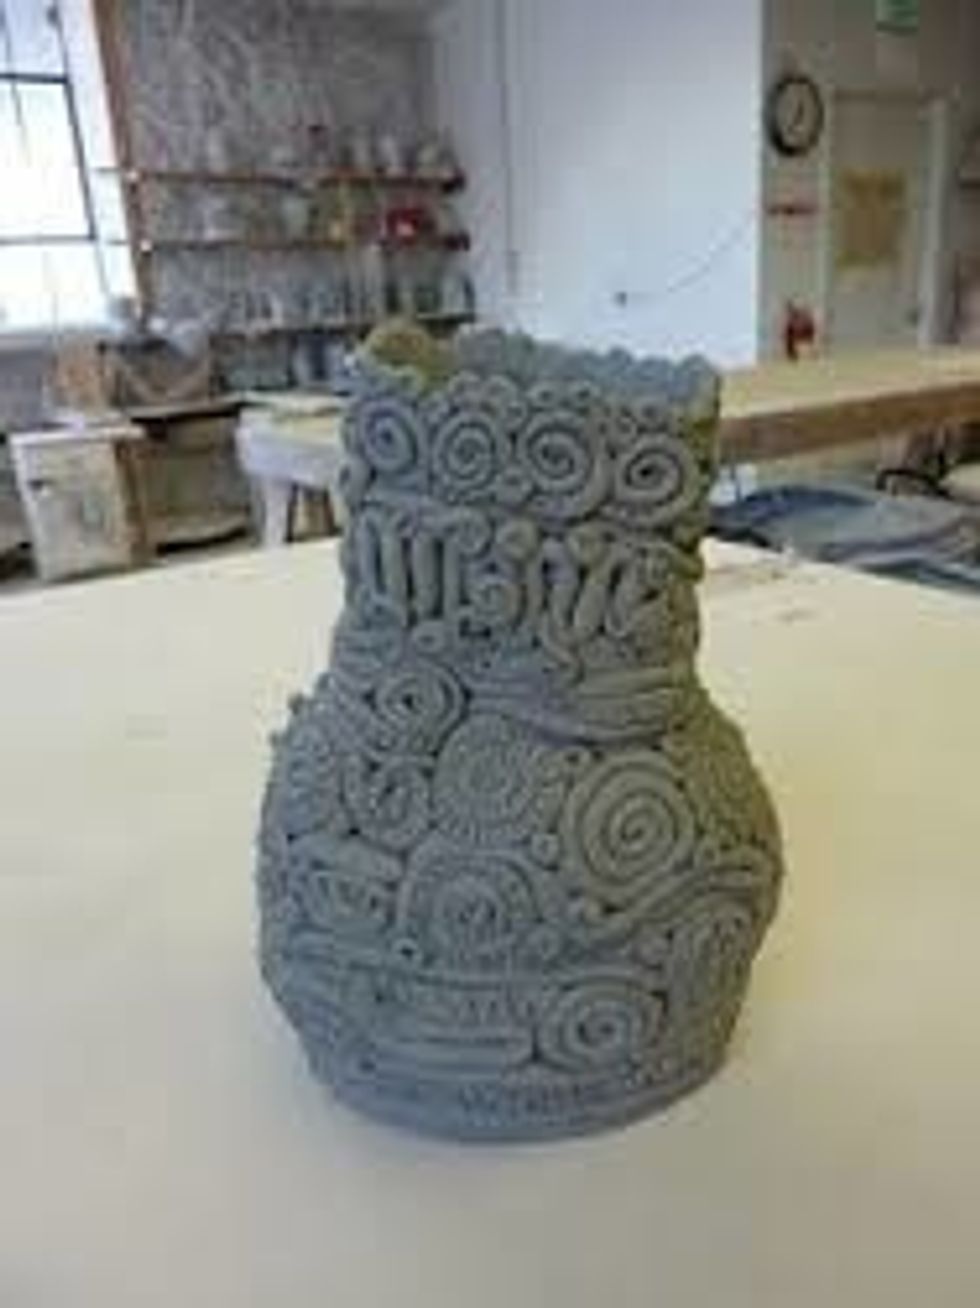
This one is very spirally! Again be sure to score, slip and gently pressure each piece.
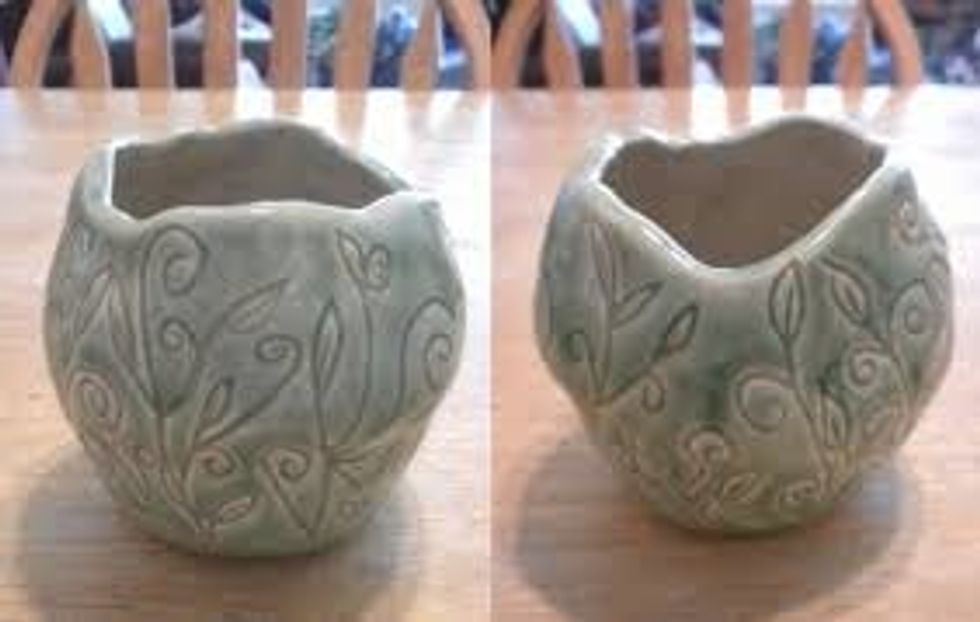
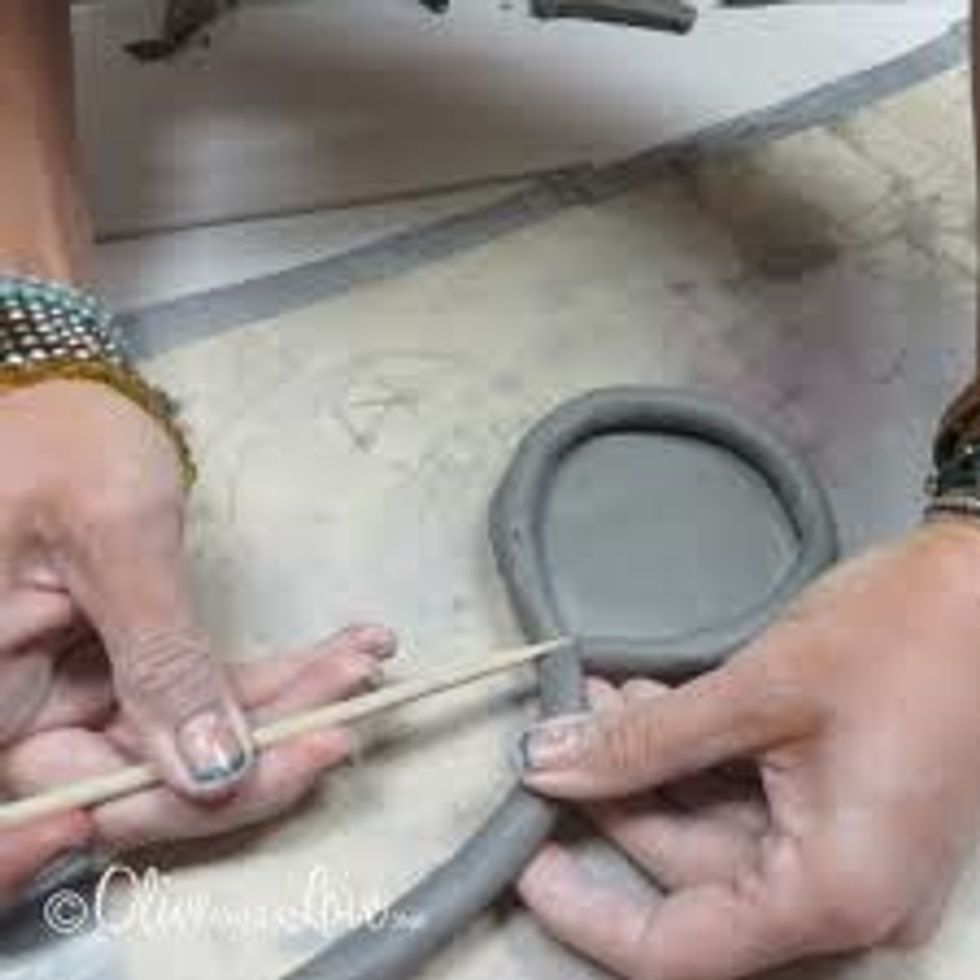
You can even add surface design by carefully drawing into the clay with a pencil or small stick. Make sure that the "extra" clay from the design is gently patted down or carefully removed.
Once your pot is around 6 inches it is ready to sit and dry. Make sure your piece is smooth and there are no sharp areas. NOTHING magical happens in the kiln. Check you piece for rough areas.
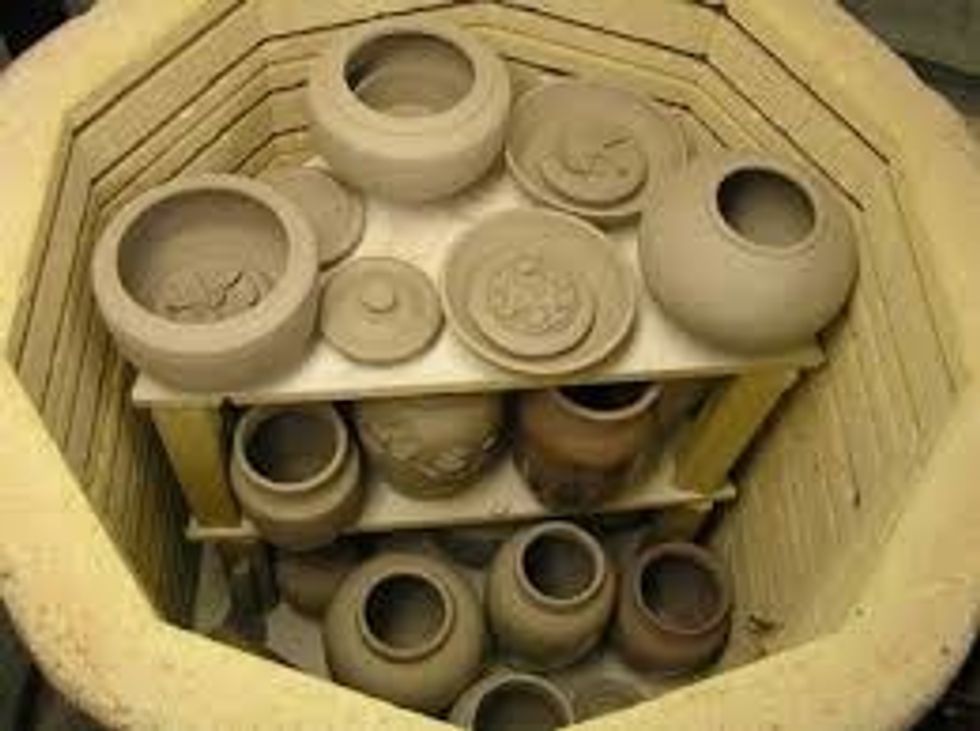
Once the pieces are BONE dry, they will be loaded carefully into the kiln for the first firing which is called a bisque fire.
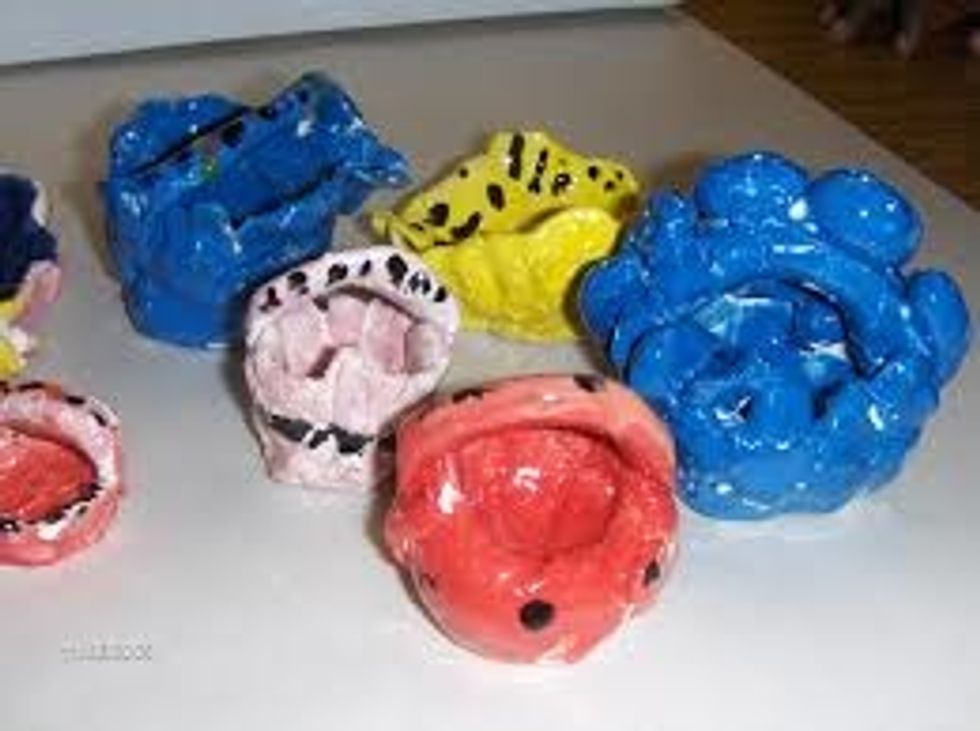
We will now add "paint" GLAZE to the bisque pieces. Paint 3 layers/coats of each color . Let the LAYERS dry before painting another layer of the same color. 3 COATS! Then they get fired one more time
The glazes we use do not have any lead in them . They are safe to eat out of, drink from etc. You can wash them and even cook in your piece.CONGRATS on making a functional piece of art.