The Conversation (0)
Sign Up
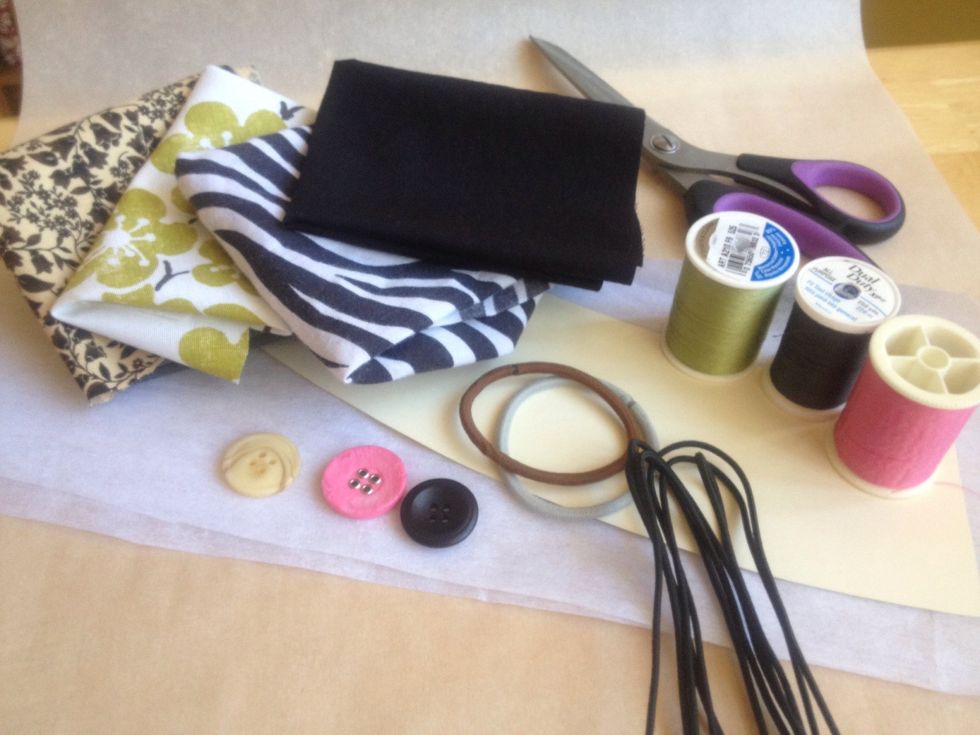
Go gather up those supplies!
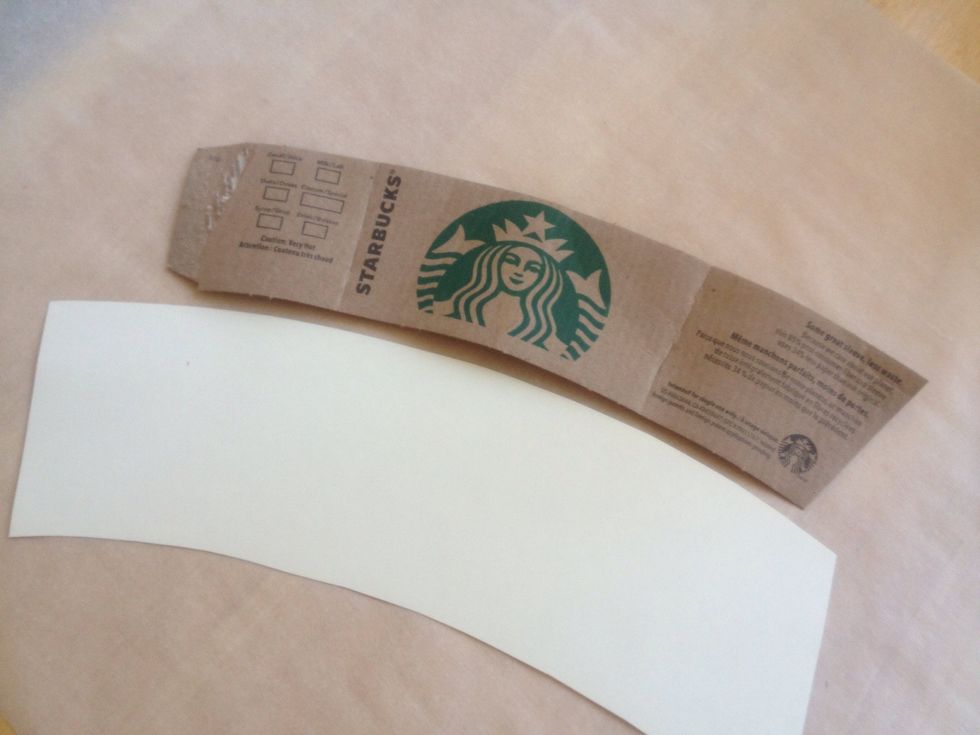
You will probably need a template. Take apart a cardboard one from your local coffee shop or design your own on a piece of card stock. Or google some printables. There are tons out there. Next...
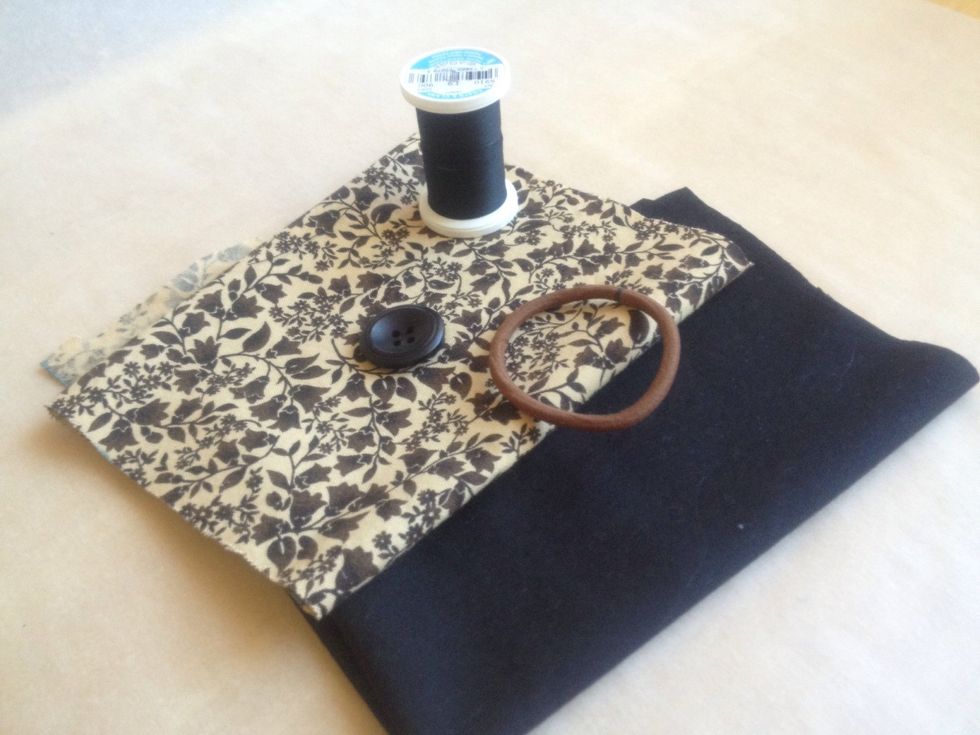
Here are my choices for showcasing today. Since this fabric is thin I will be doubling up on the black fabric and I'll apply some iron-on interfacing to one of the black layers for added thickness.
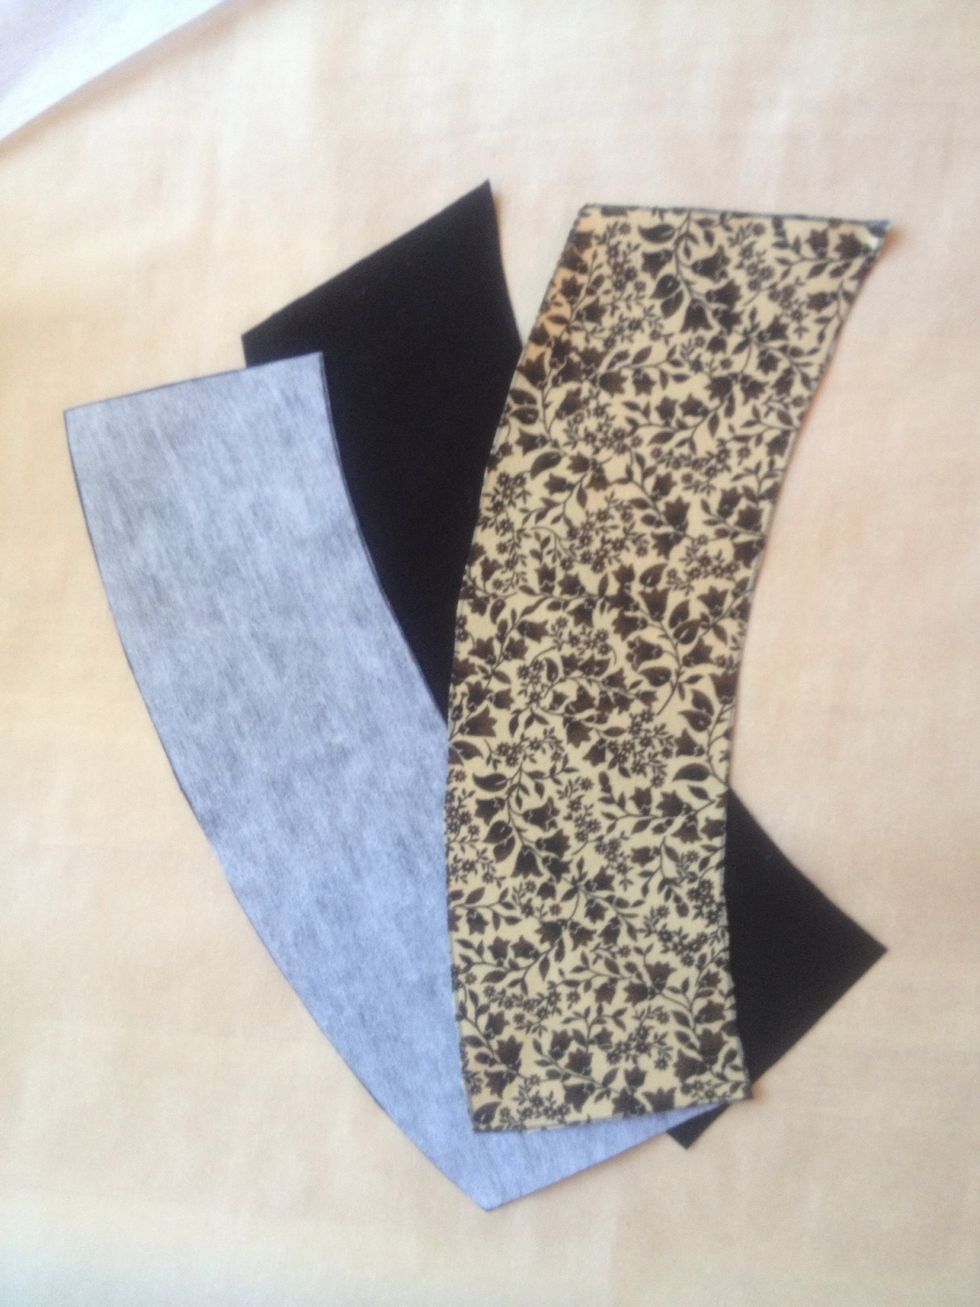
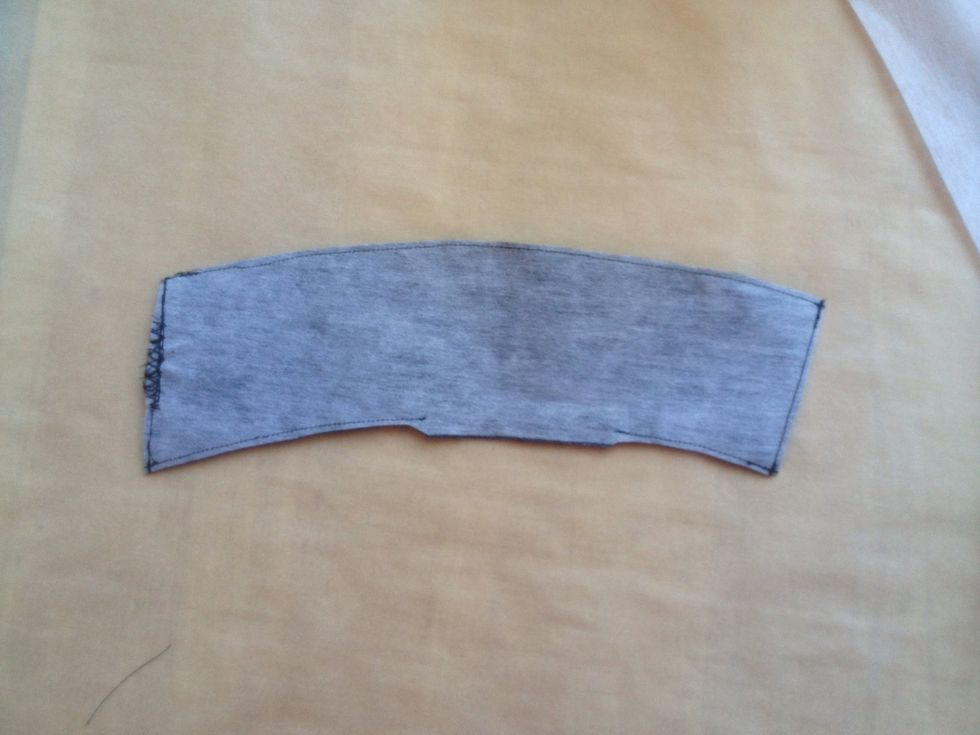
Here are my cut pieces. One black for the lining. One black with interfacing to make it extra thick. One patterned fabric for the front exterior.
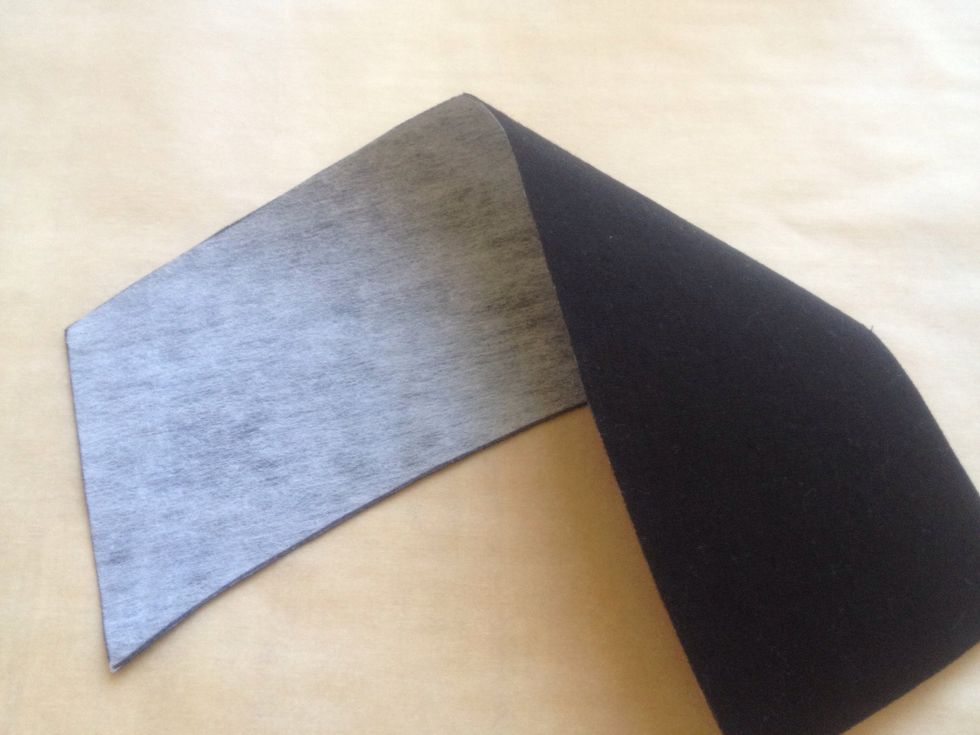
OPTIONAL use felt as your middle fabric or cotton batting. I'm using interfacing and extra fabric because this project is meant for using scraps I already have. Be creative. The choice is yours.
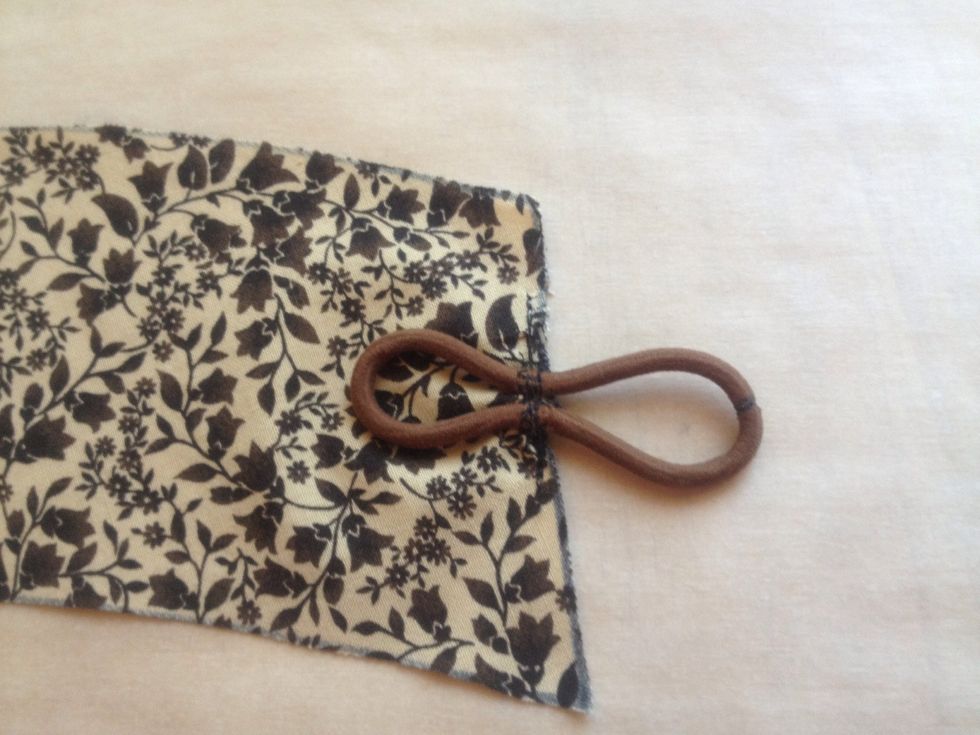
Place the hair elastic on the right side of the exterior fabric. Using a zigzag stitch go over your stitches a few times to secure it.

Stack your fabrics in this order: Batting or interfacing on the bottom, exterior fabric right side up in the middle, and lining fabric right side down on the top.
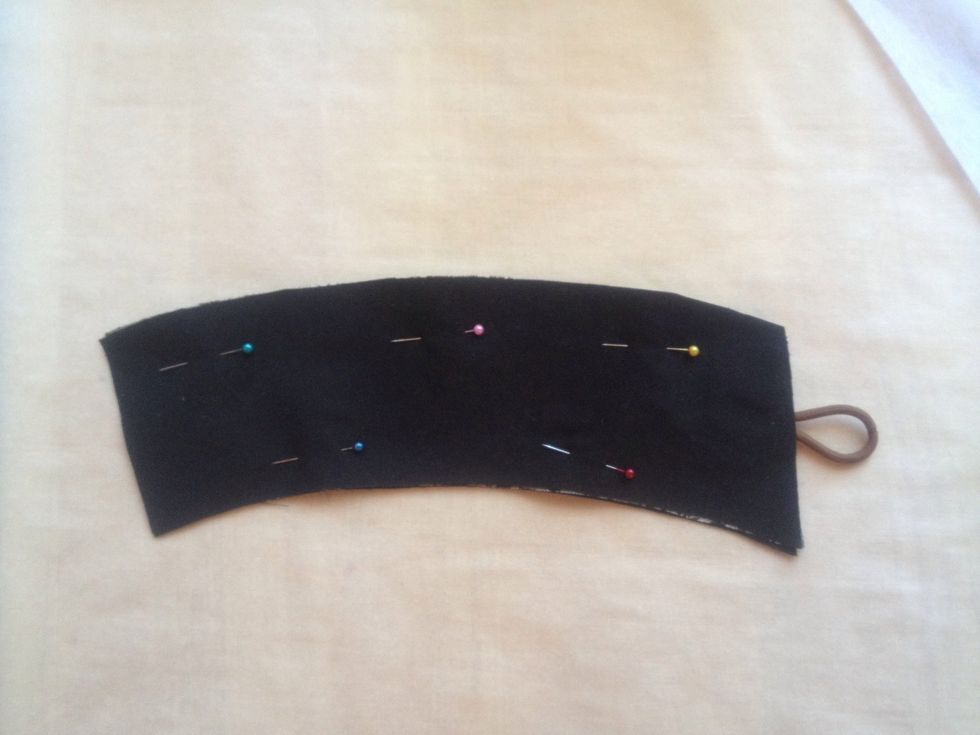
Pin all three layers together.
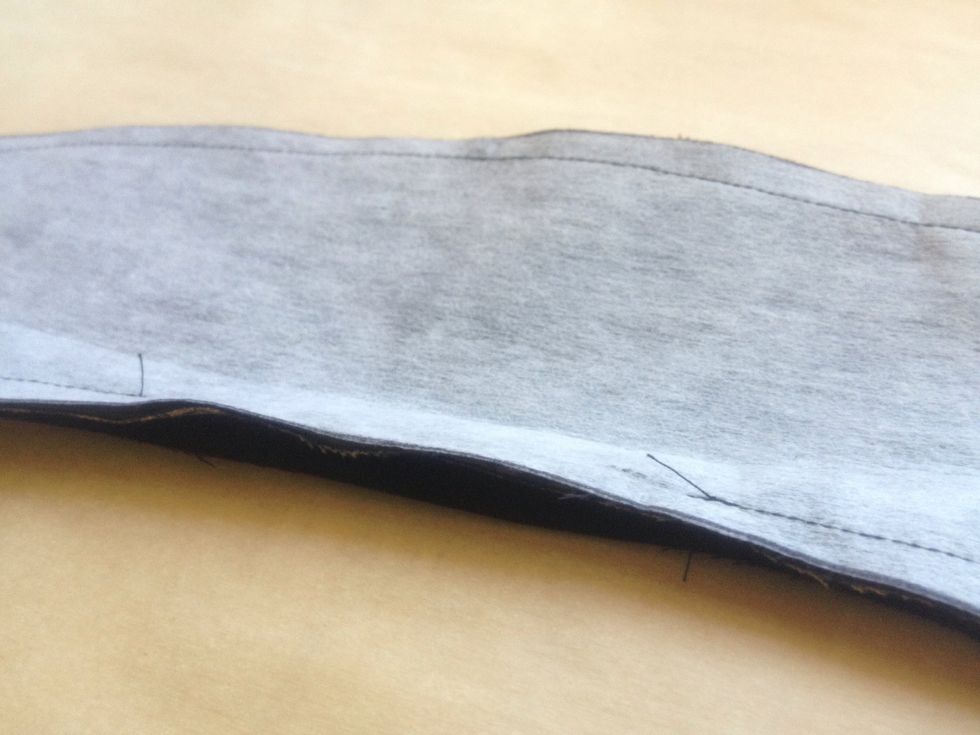
Sew all around the sleeve leaving a 1/2" seam allowance and leaving a two inch opening on the bottom center of the sleeve. Sew over the elastic at least four times to secure it.
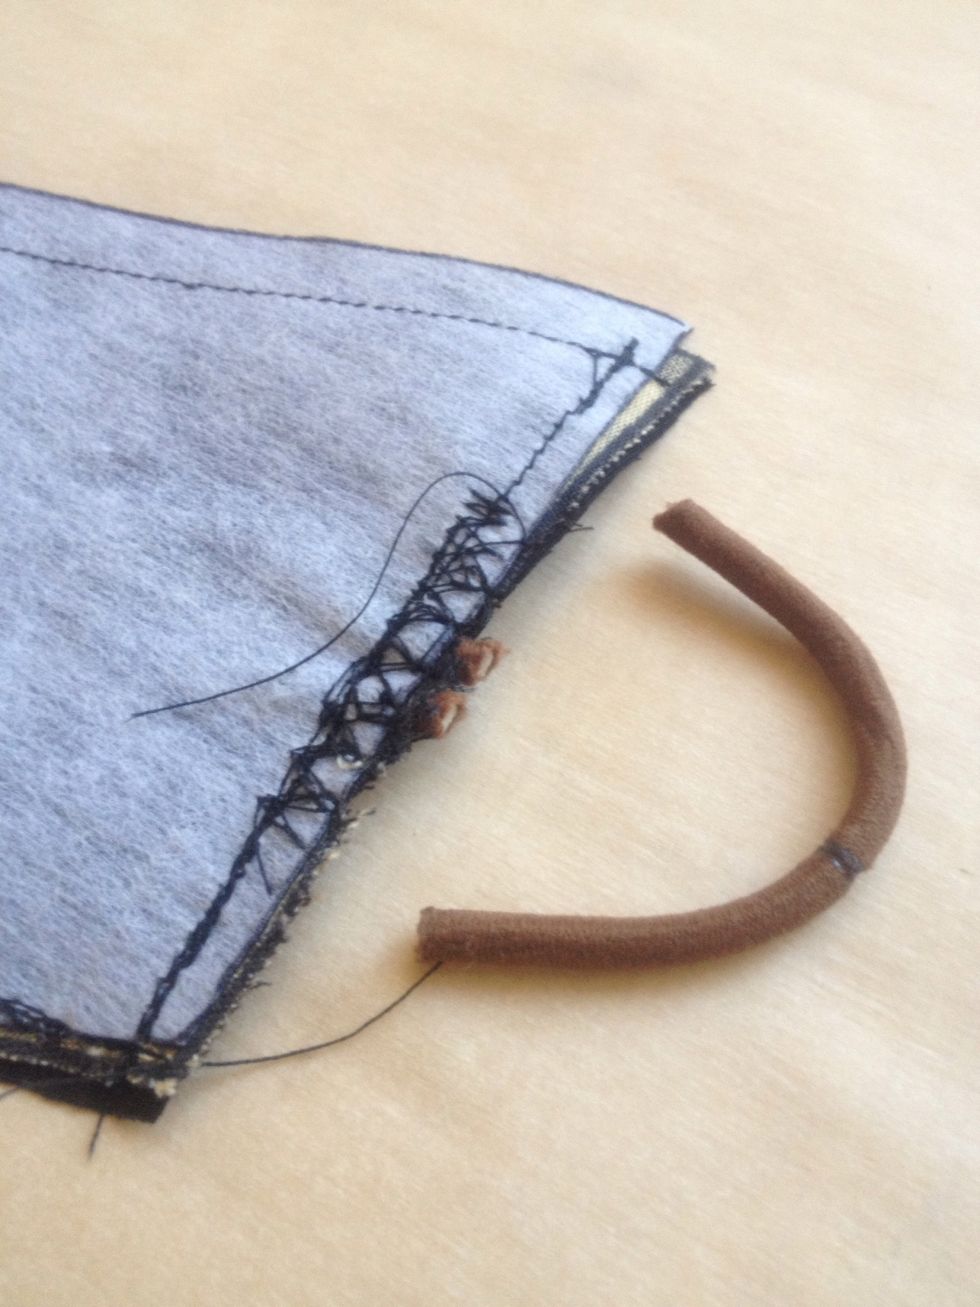
Trim off the hair elastic. Trim seams to a scant quarter inch except at the opening. Leave that seem allowance as it is. See next picture.
Trimmed. Next...
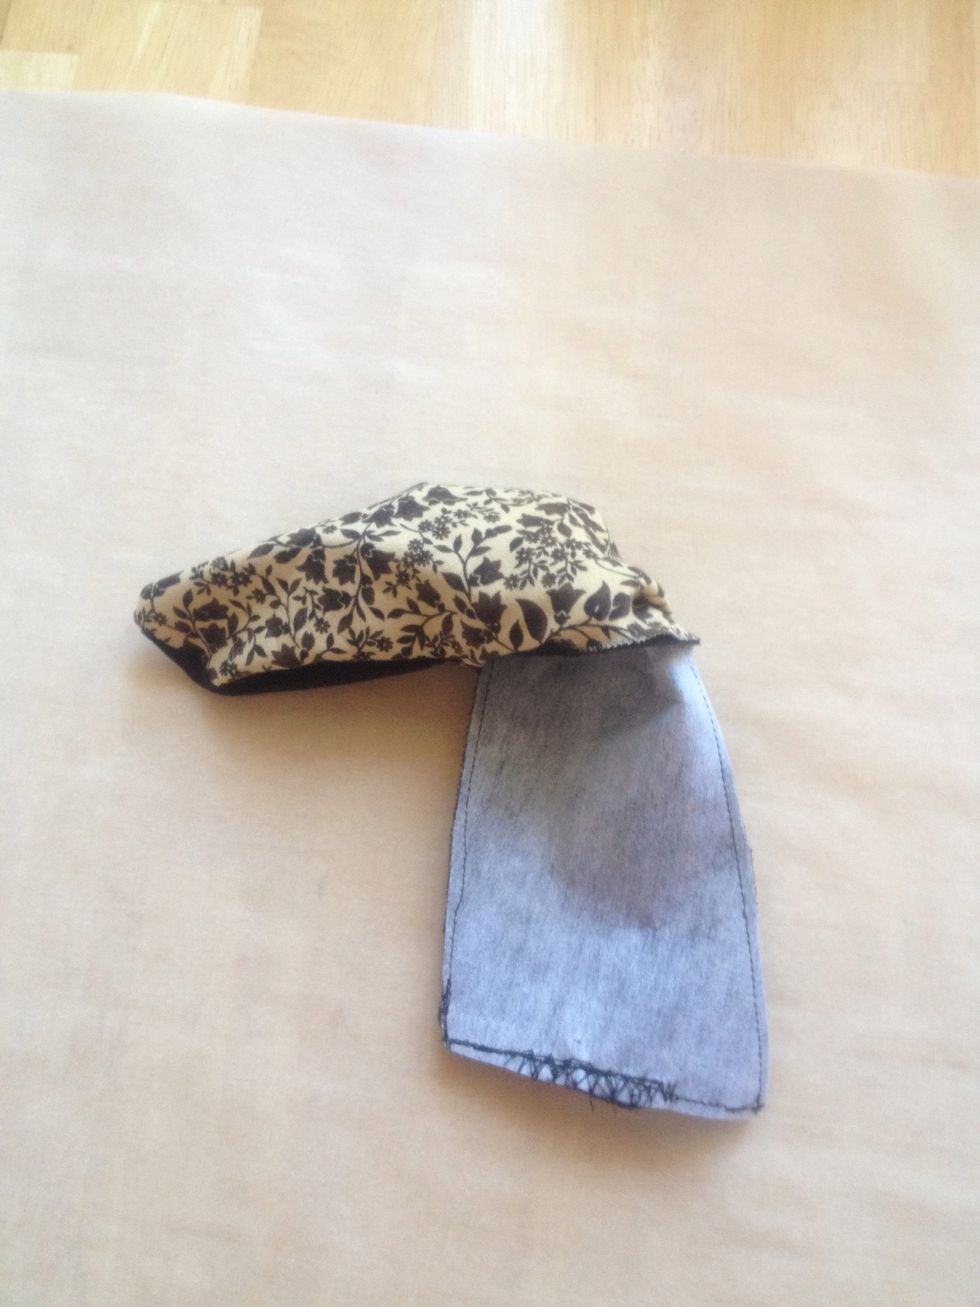
Gently turn right side out through the 2 inch opening. Push out corners using the cap of a pen. Careful not break open the seams. Iron the sleeve flat. Do not iron the hair elastic - it will melt.

Top stitch around the sleeve 1/8" from the edge.
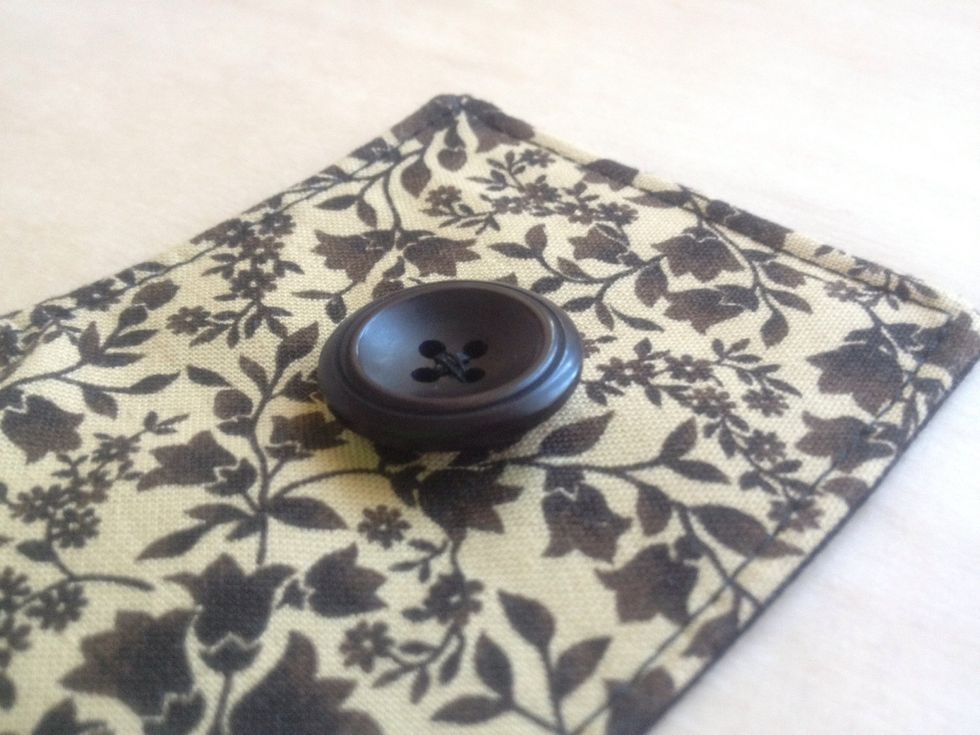
Figure out where you need that button to go and stitch it on there! Now go buy yourself a cup of coffee and try out your new sleeve.

ENJOY!!