The Conversation (0)
Sign Up
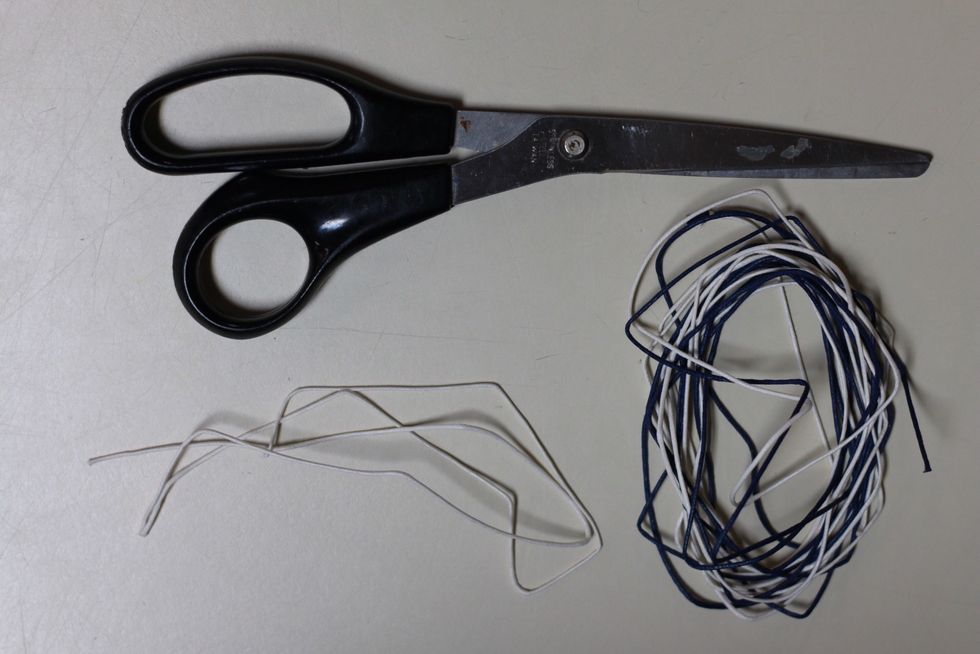
These are the supplies that would be needed.
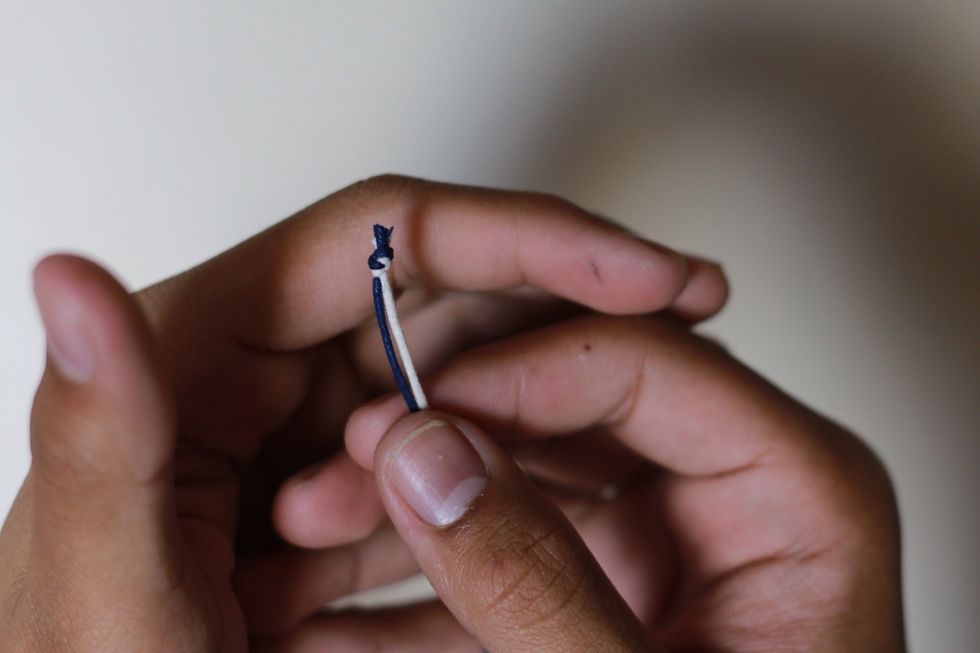
Tie two color cords of your choosing together. Like so in the picture.
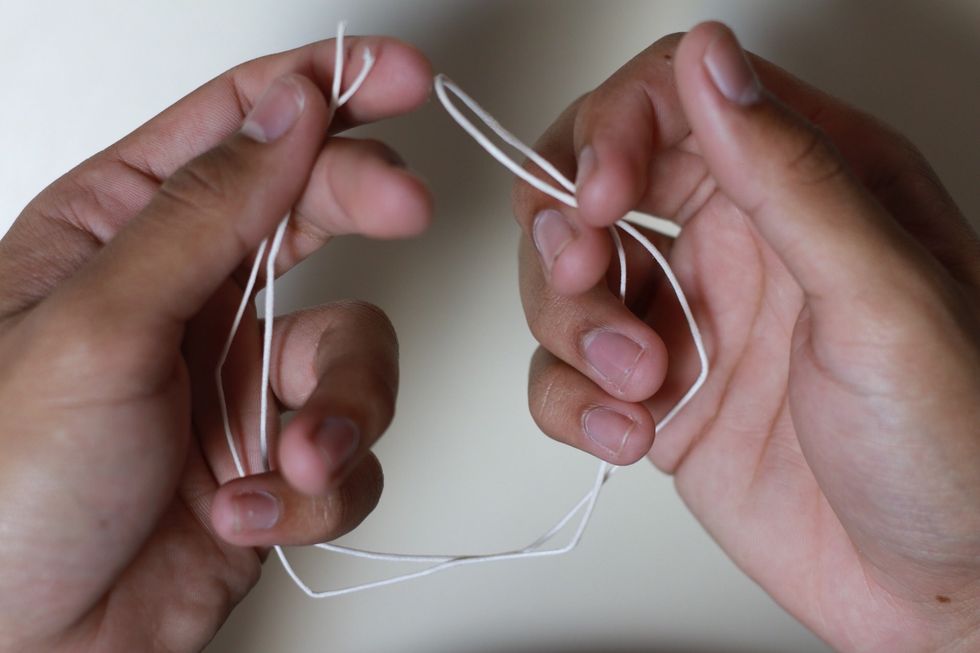
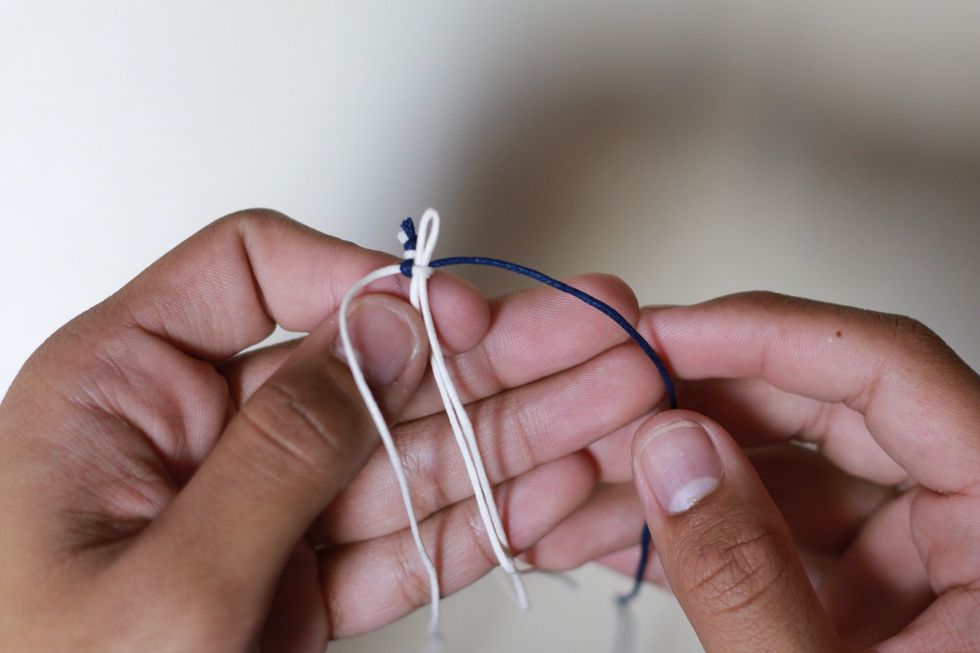
Grab the other cord and fold it in half to find the middle

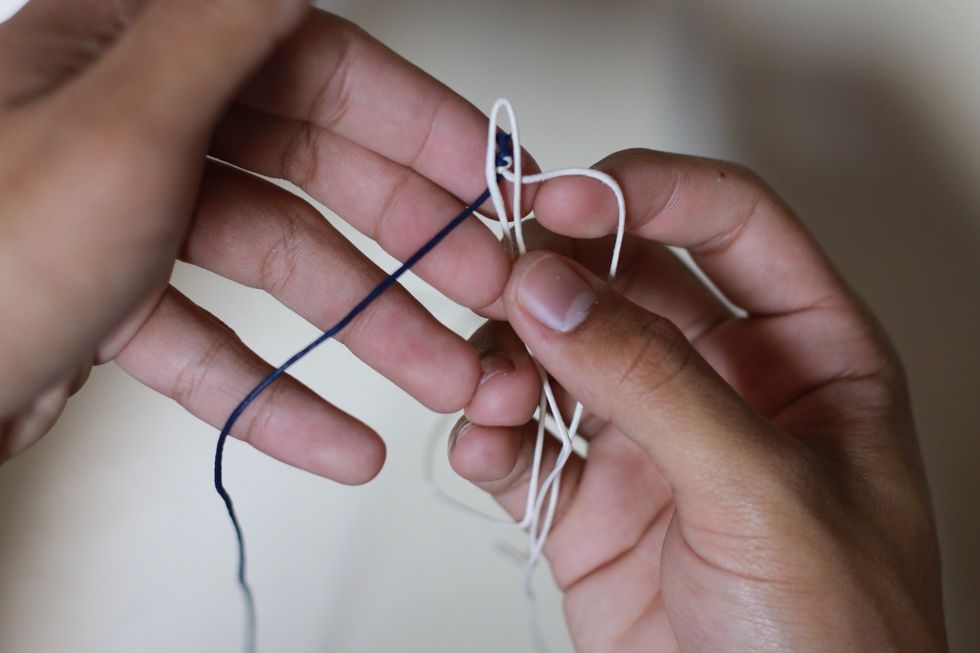
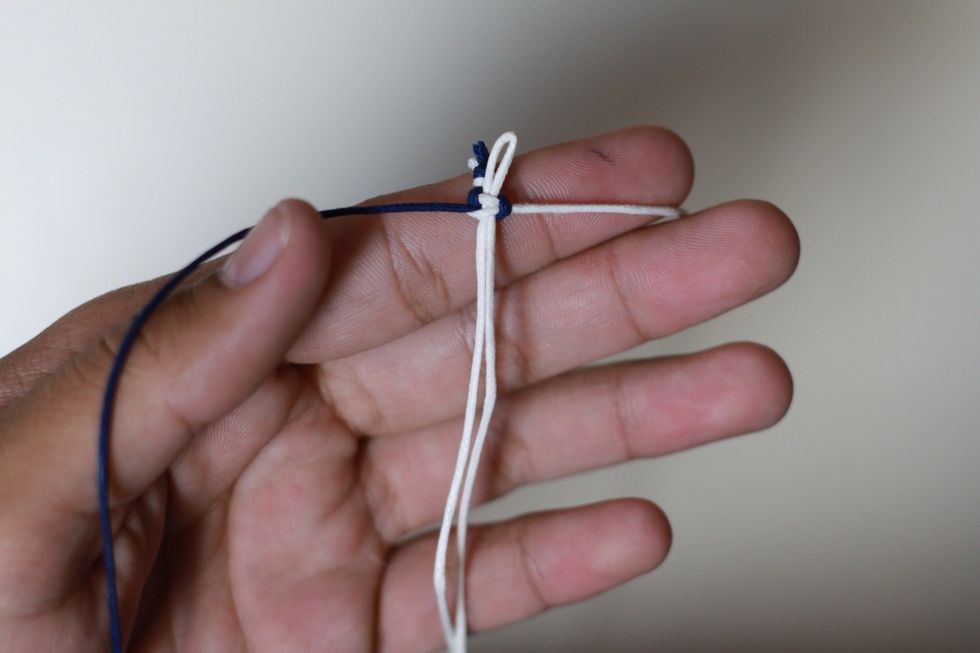
Grab the cord that's tied together and put it behind the folded cord. Like so in the picture.
Start to do the cobra stitch. If you don't know how to do the stitch, check out my first Snap GUIs on how to.
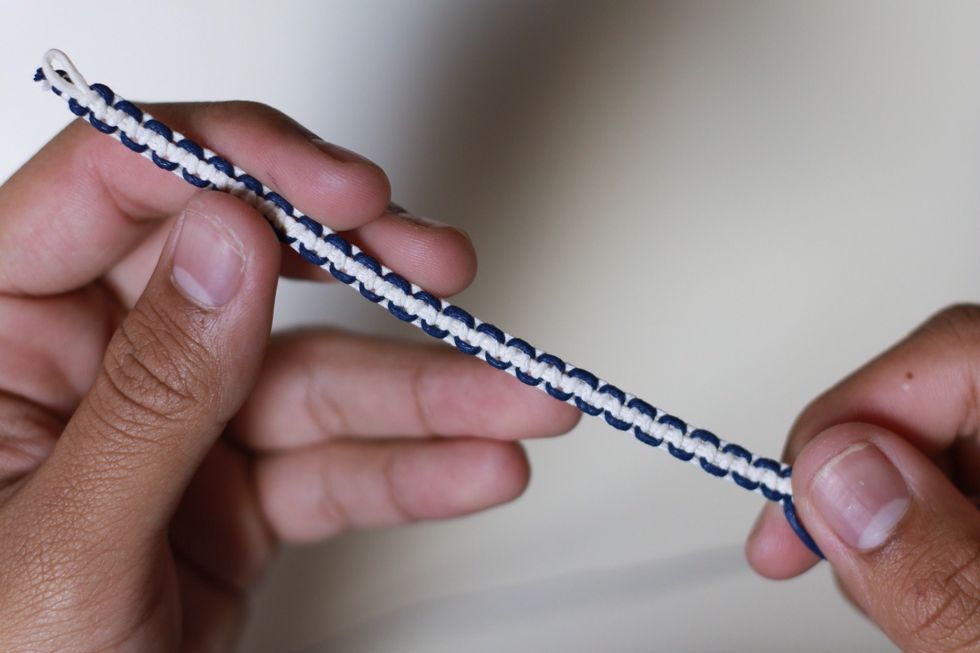
Continue the braid.
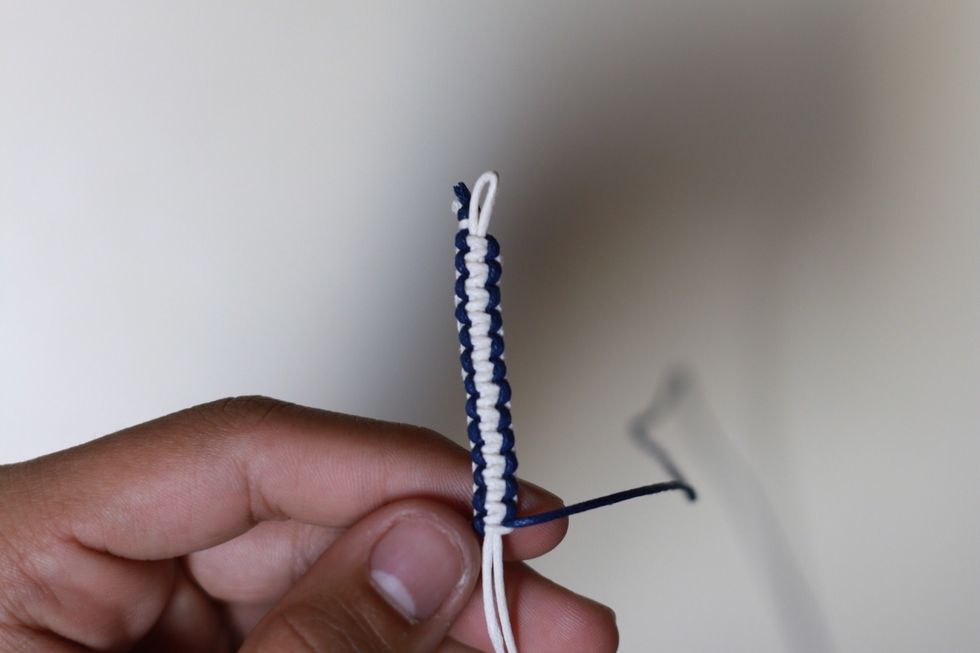
Continue the braid.

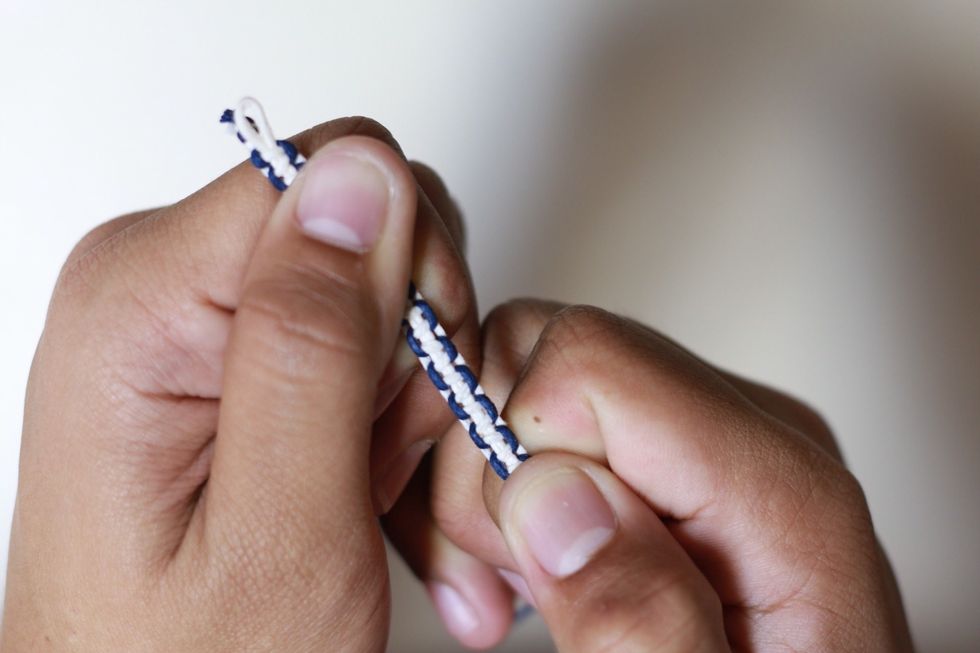
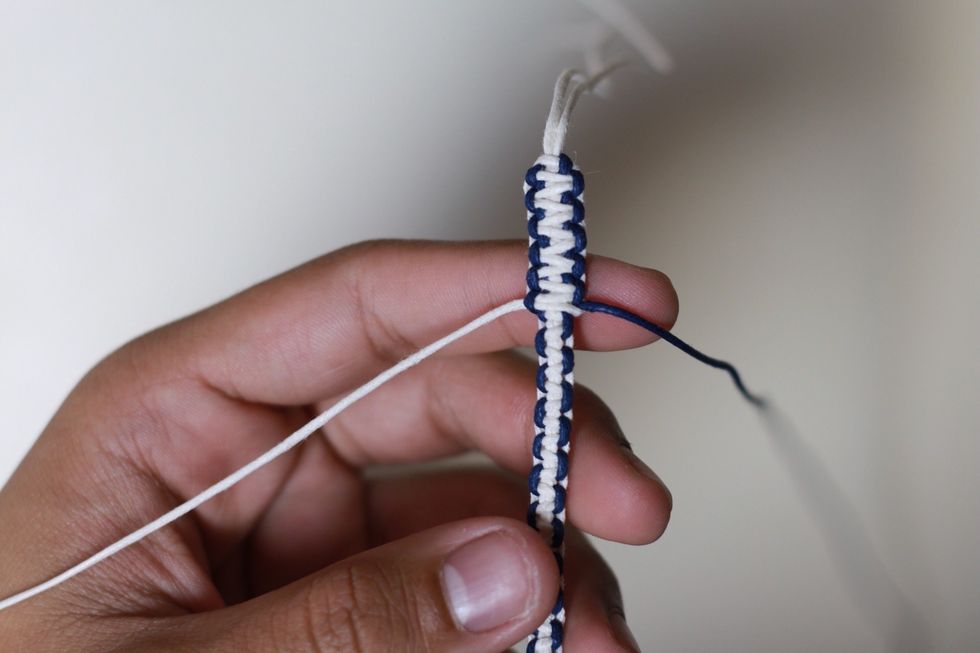
To quicken the process. Pull the cord apart like so in the picture. So it can cover more cord and make the process faster.
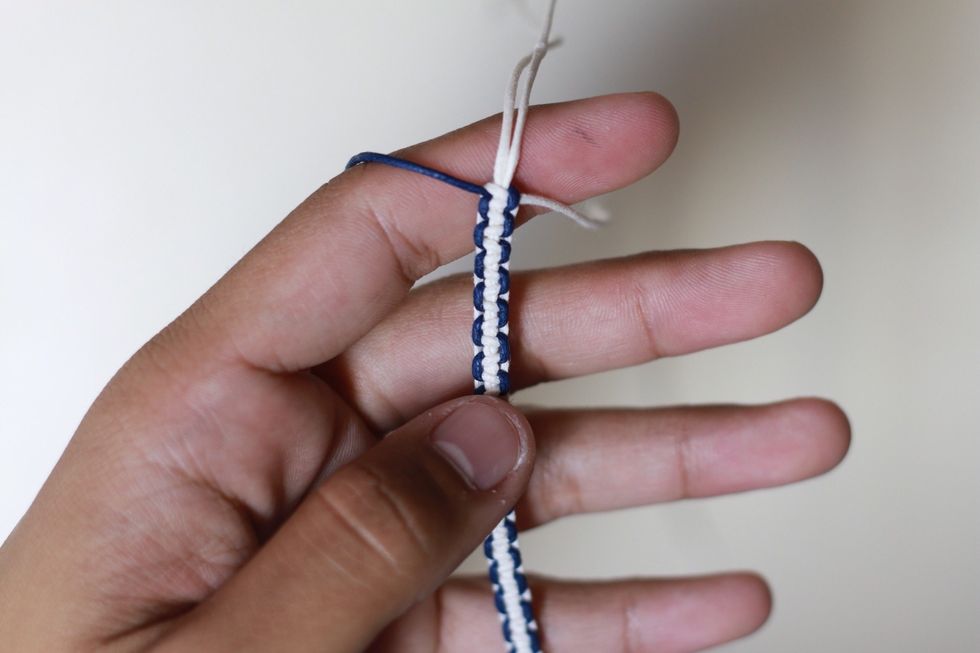
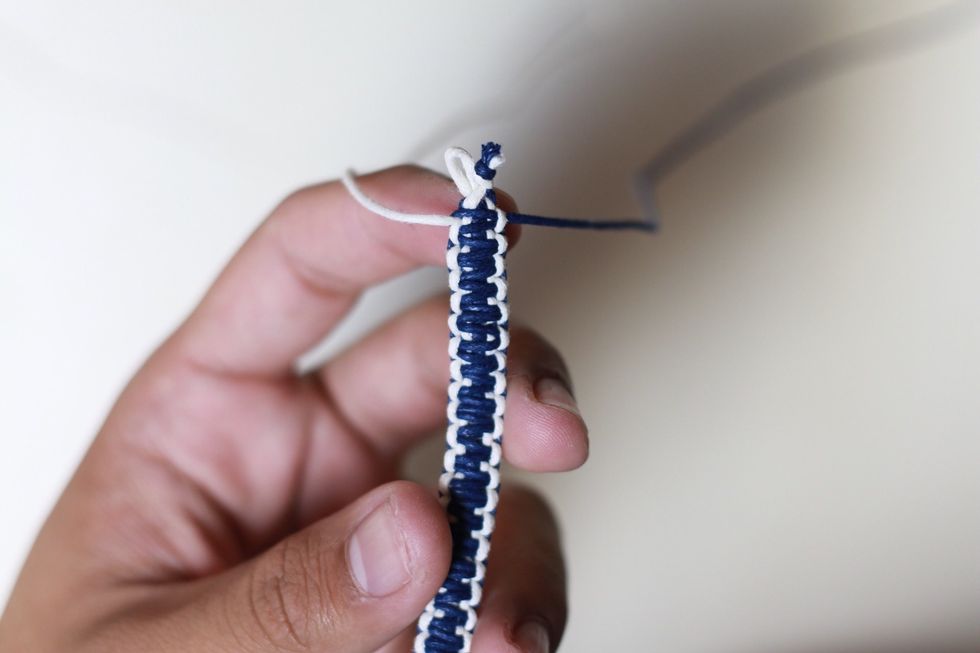
When you have the desired length fold it over like so in the picture above.

Start to do the cobra stitch on the original cobra stitch you just finished, like so in the picture above.
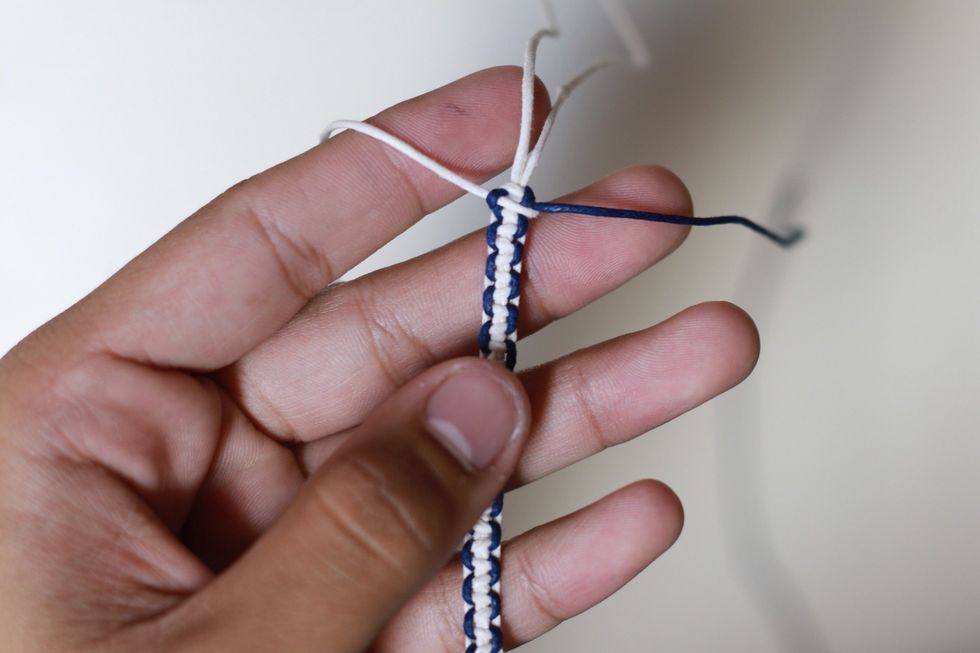


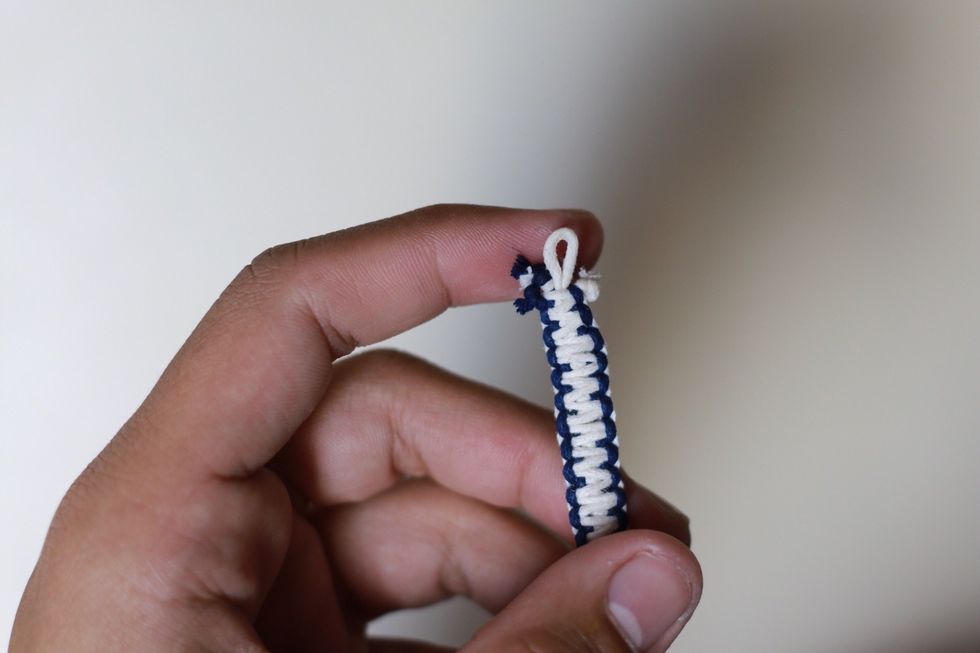
Once at the end, turn it over and flip it around.
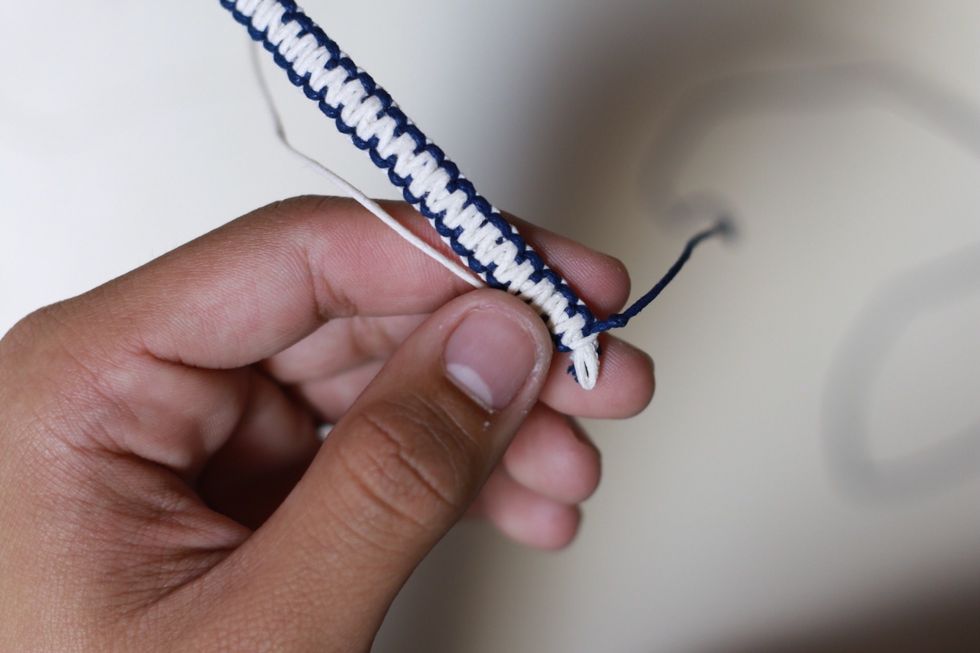
Tie a knot on both side of the string to keep the braid from unraveling.
Tie a knot on both side of the string to keep the braid from unraveling. Once done, cut the excess cords off, like so in the pictures.

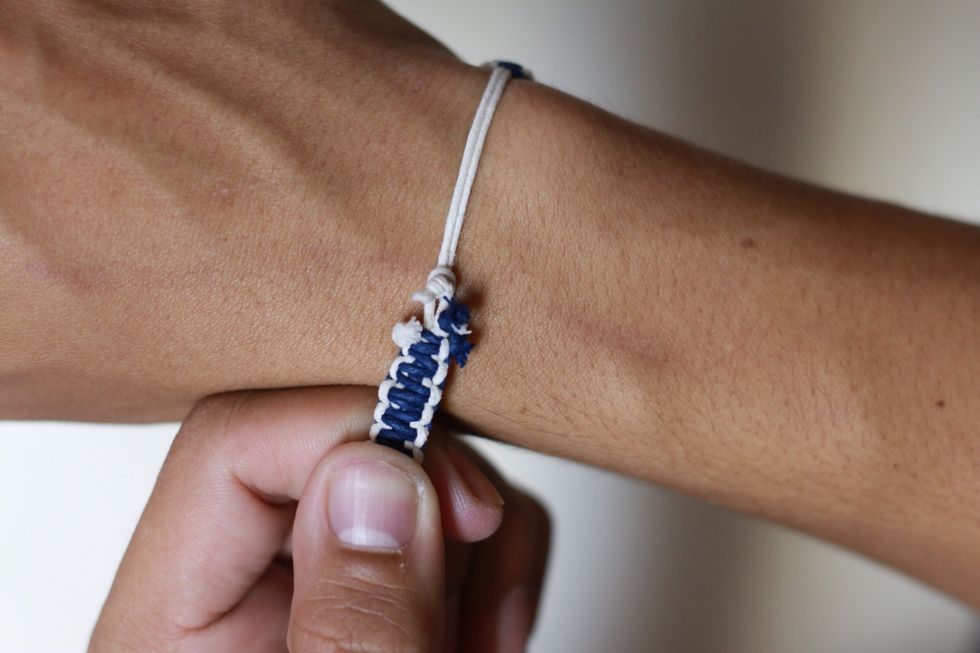
After that, put the bracelets around your wrist to find the desired tightness for your wrist or your friends.
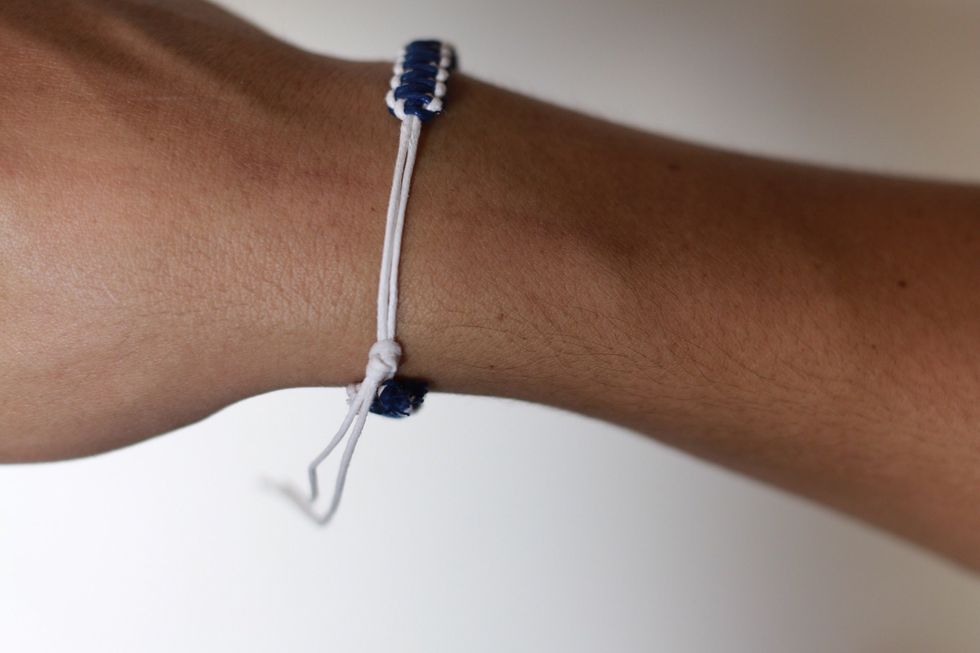
Then tie a knot at your desired tightness.

Cut the excess, like so in the pictures.
To keep it from falling off in your daily routine. Pull the braid towards the knot to kinda seal in the knot so it won't fall off. Like so in the picture.

There you go! Thanks for check out my snap guide, hope you guys liked it. Like, Follow, and Comment and have a great day!!