The Conversation (0)
Sign Up
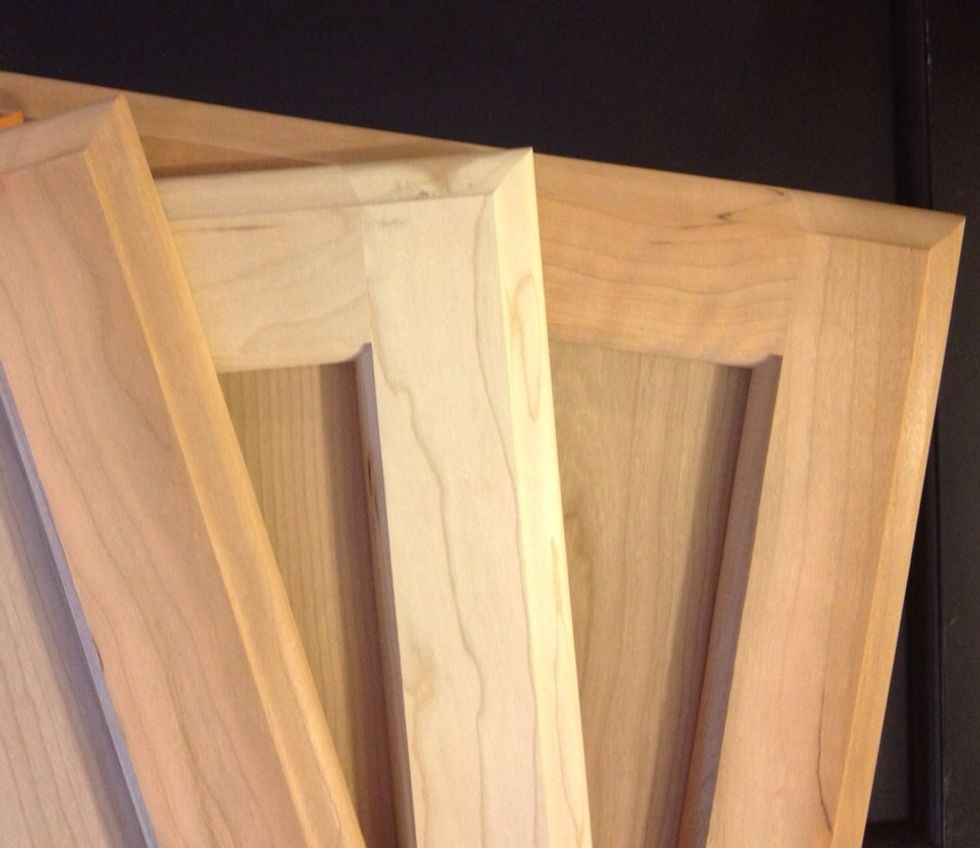
Choose a cabinet door. Since I planned to use scrapbook paper (measuring 12x12") on the center panel, I chose a door with a panel no larger than 12x12".
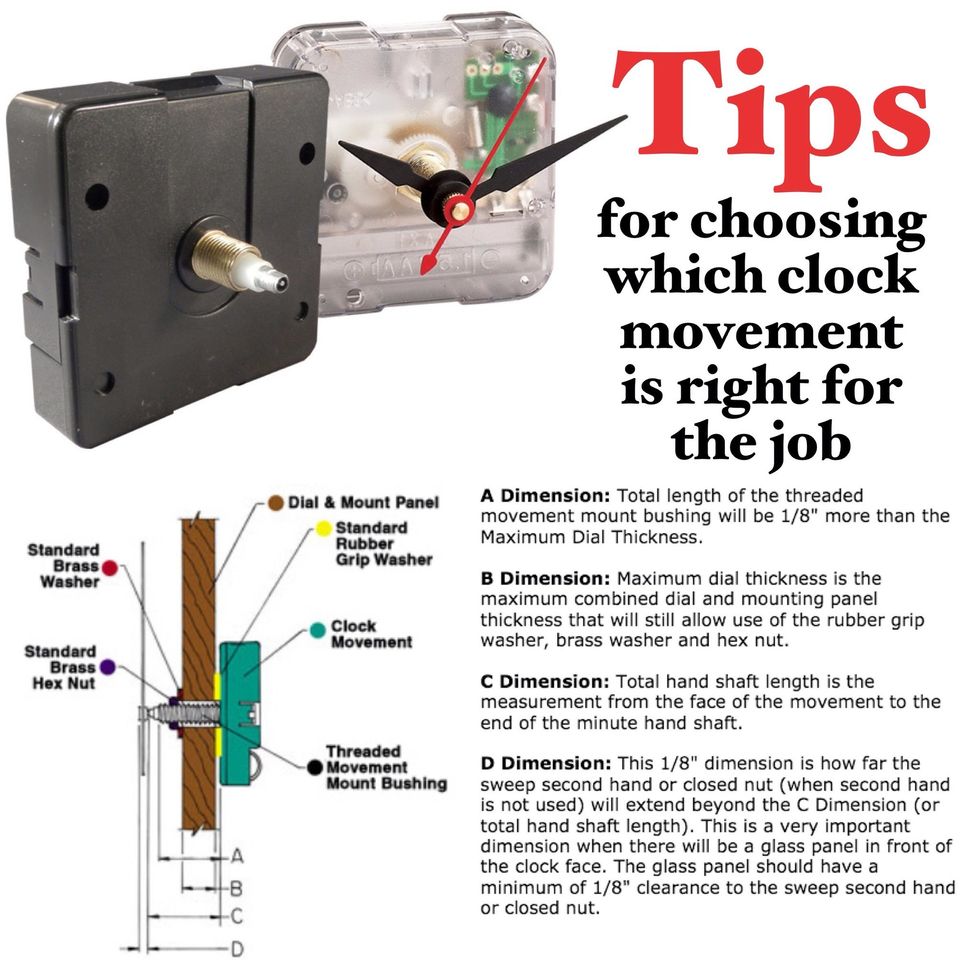
Choose the right movement kit for your door! •For a flat panel cabinet door, try 1/4" maximum dial thickness. •For raised panel cabinet door, try 5/8" maximum dial thickness.
Complete kits (including instructions) available in our store. Not local? Head over to www.klockit.com for complete clock kits (cabinet door not included).
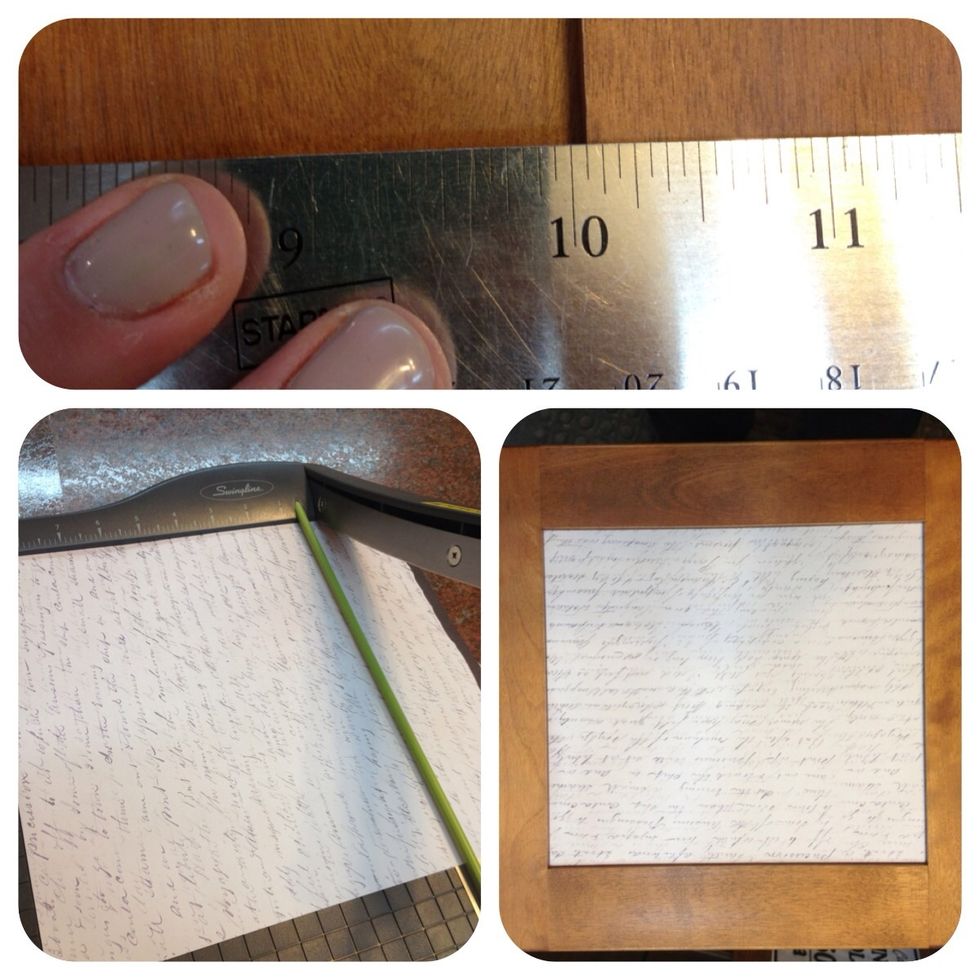
If covering the panel with paper: Measure panel, cut paper to size, check for fit & set paper aside.
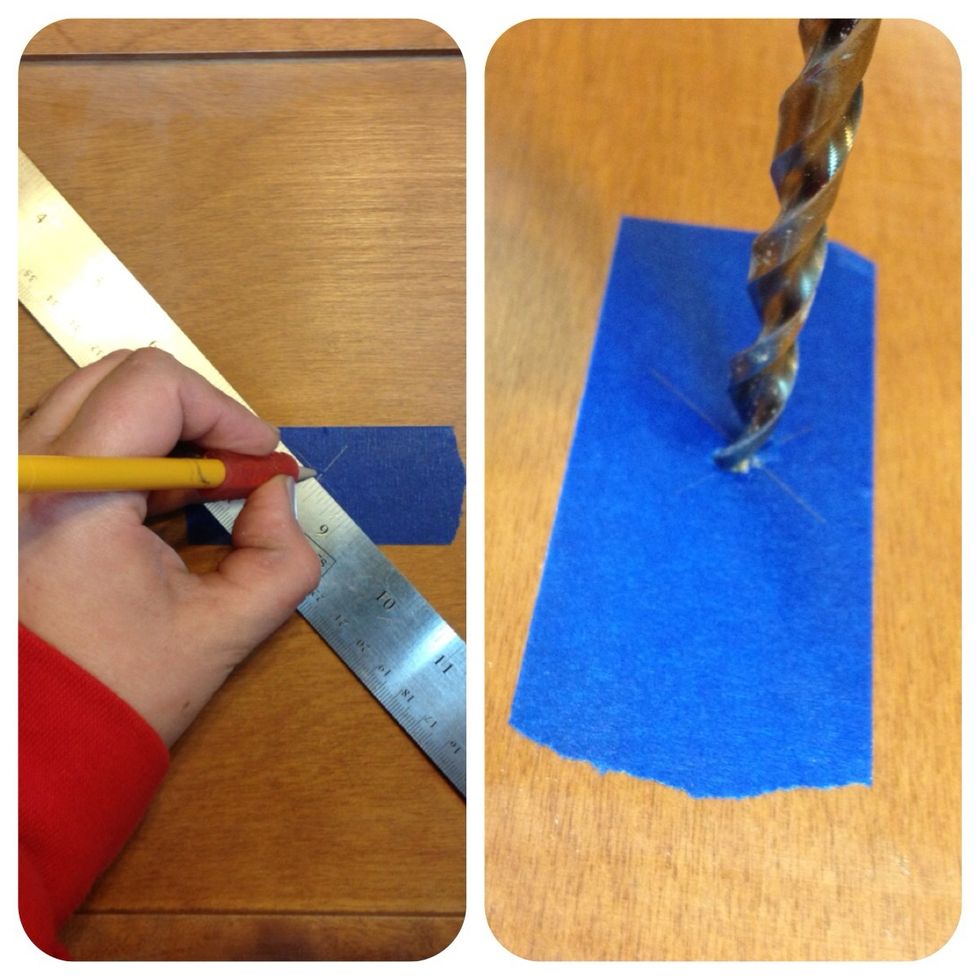
Measure & mark the center of the panel (where hand shaft will mount). Drill a hole approx. 1/16" larger than the diameter of the hand shaft. Taping the area will reduce splintering when drilling.
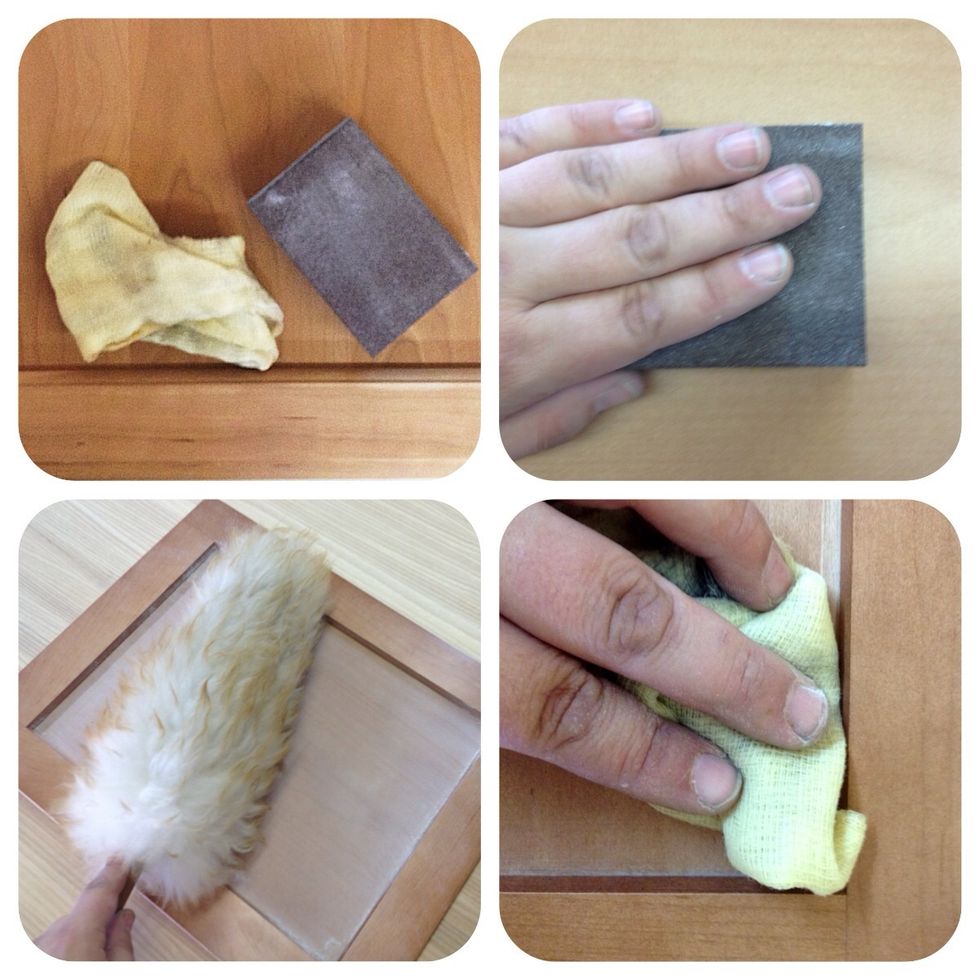
Using a sanding sponge, lightly sand entire surface (no need to strip wood, only to "rough up" the surface a tad. Remove all dust. A tack cloth (bottom right) is extremely helpful.
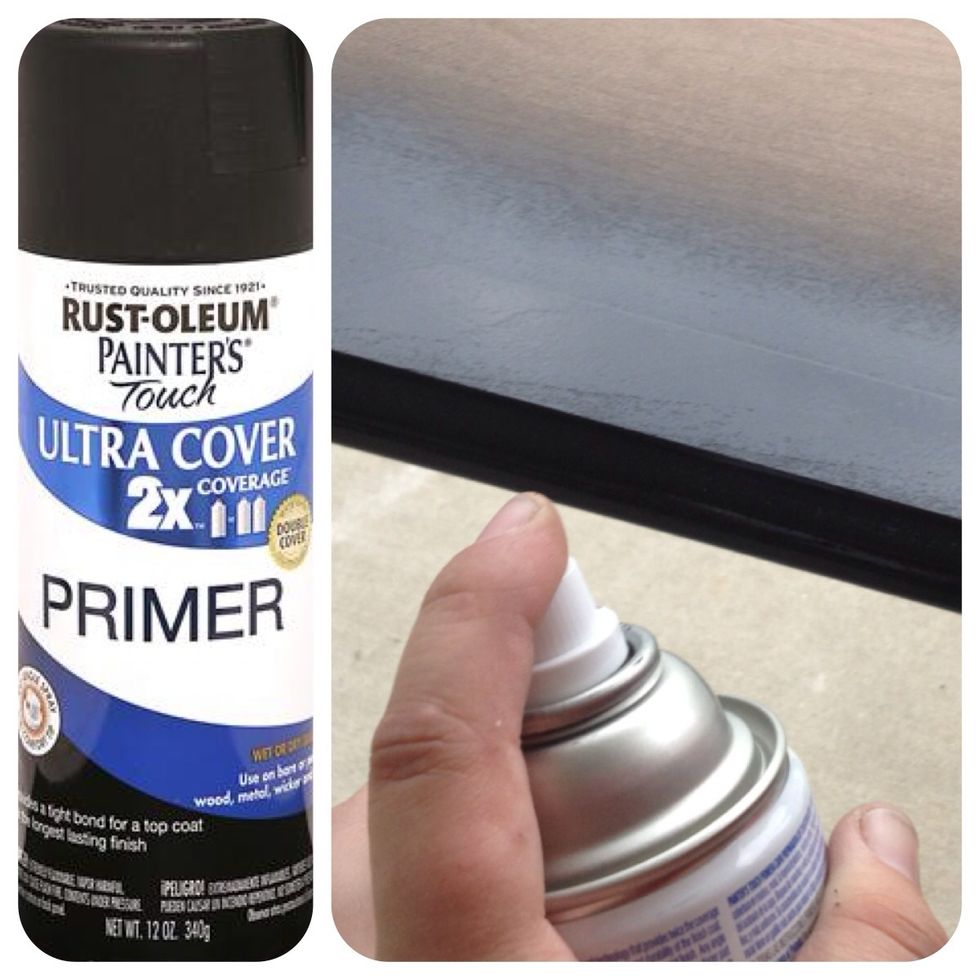
Apply 1-2 light coats of primer, allowing to dry completely between coats. (I wanted a black "frame" & did not apply additional paint over this primer - this brand covers very well)
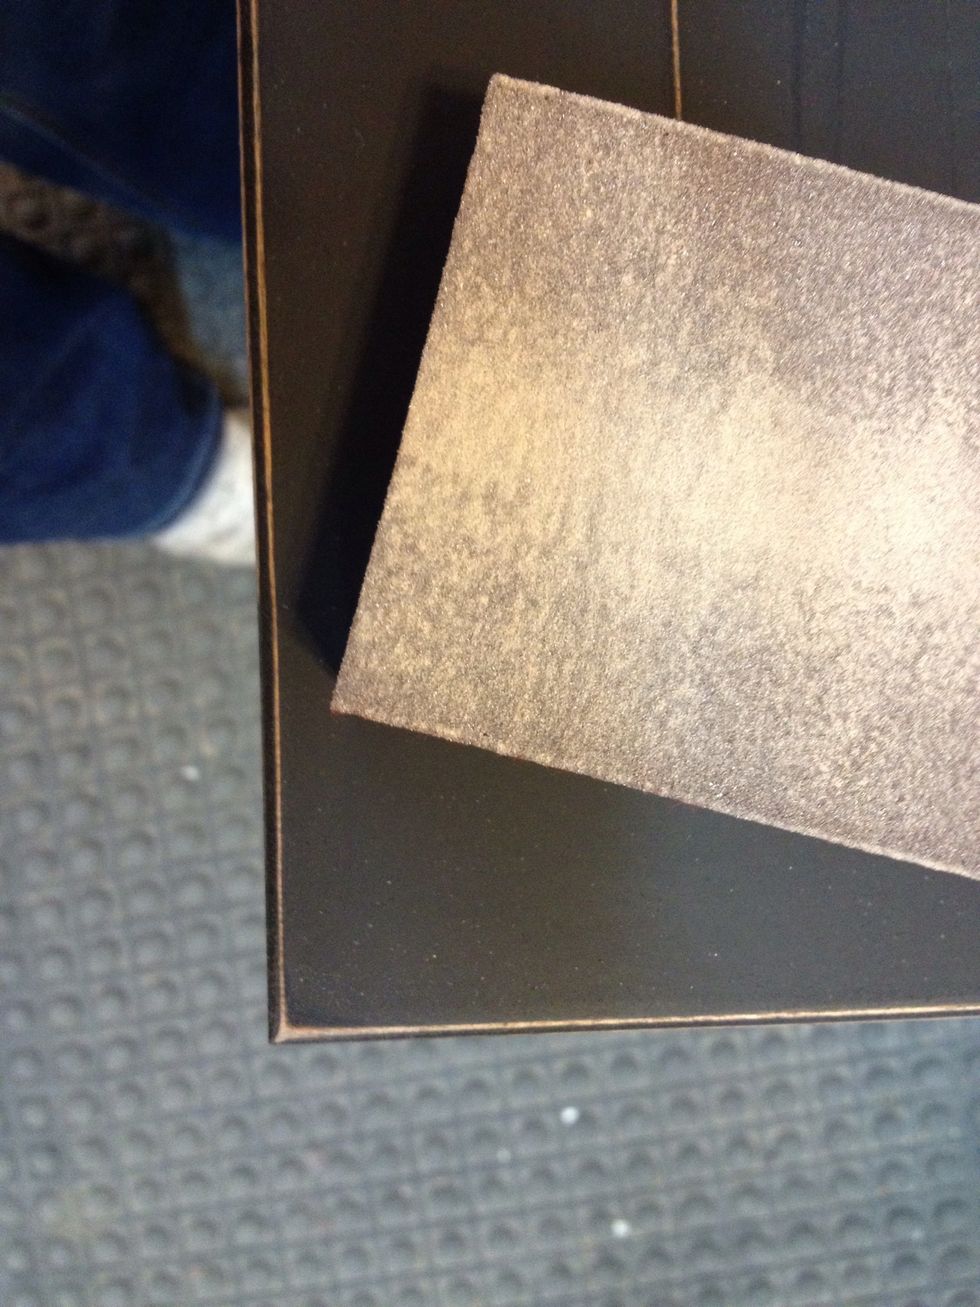
Use any painting technique and decorate the clock in any way you like. I lightly distressed the wood, then applied my scrapbooking paper to the panel with (Elmer's) spray adhesive. Apply clearcoat.
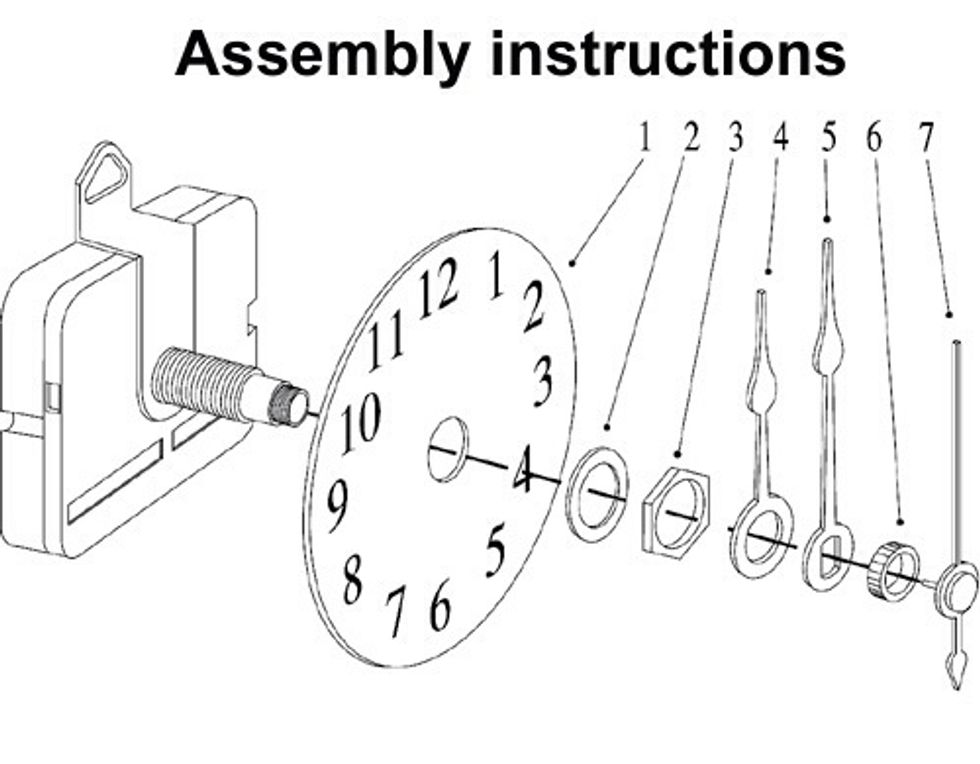
Install clock movement according to manufacturer's instructions. The cabinet door is used in place of the clock dial.
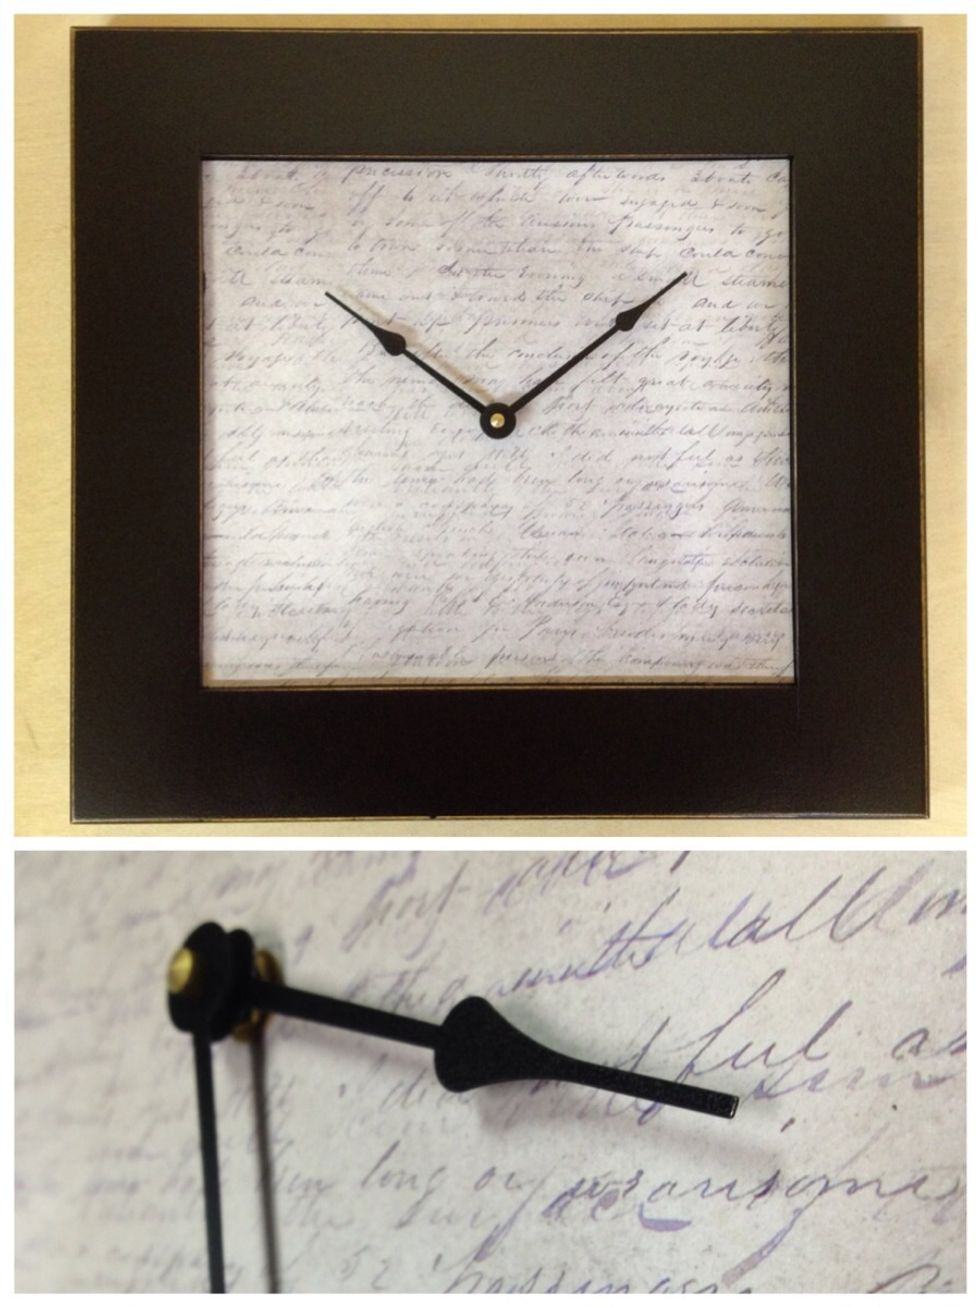
I did purchase longer hands (make sure they are not too long for the size of the door you are using!) and painted them black prior to installing.
Thank you for checking out my guide! See my other guides for more cabinet door craft ideas, such as "How to Make a Chalkboard from a Cabinet Door"!