The Conversation (0)
Sign Up
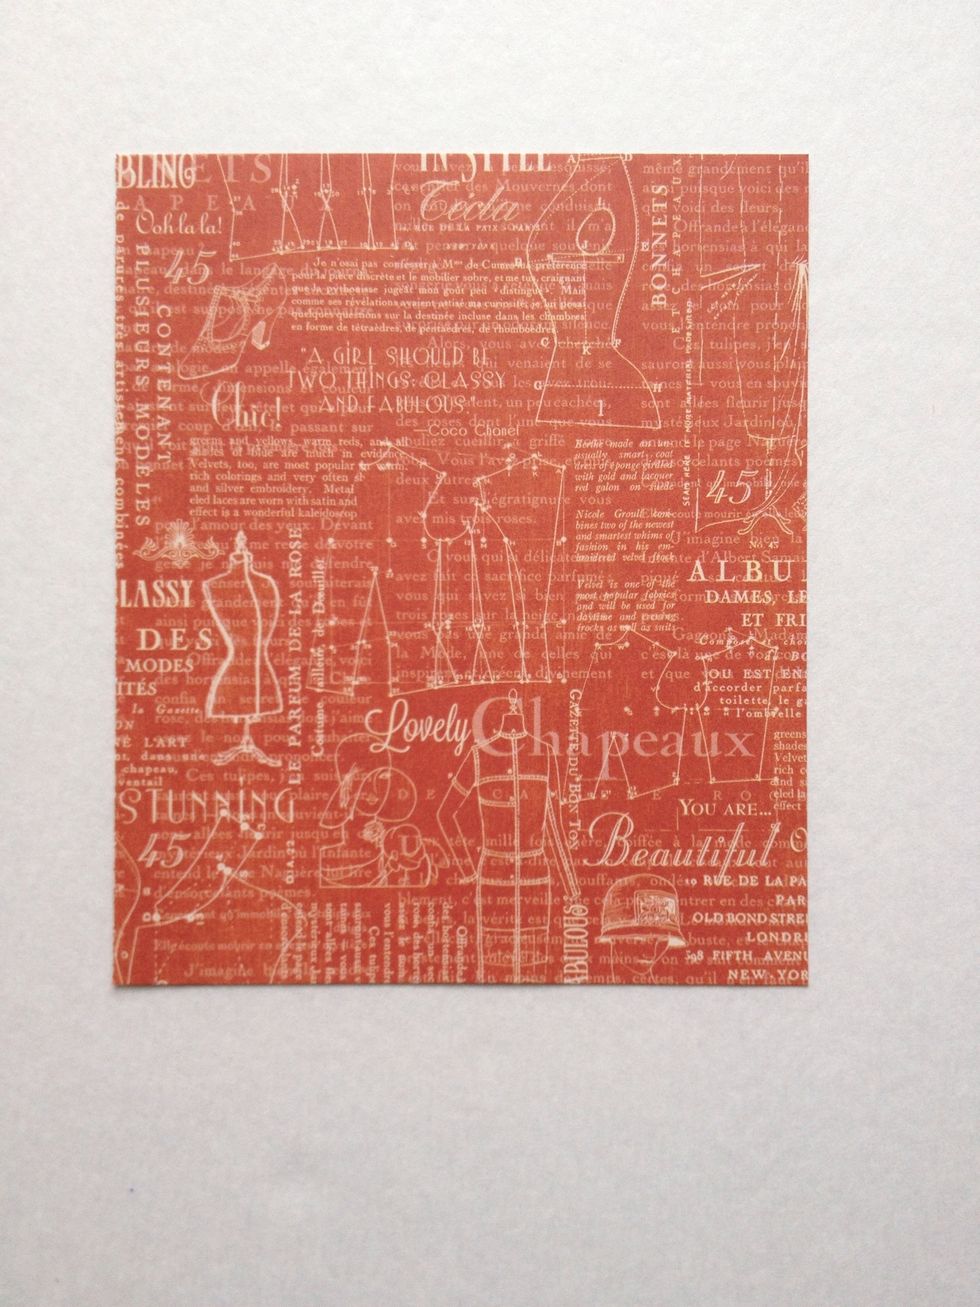
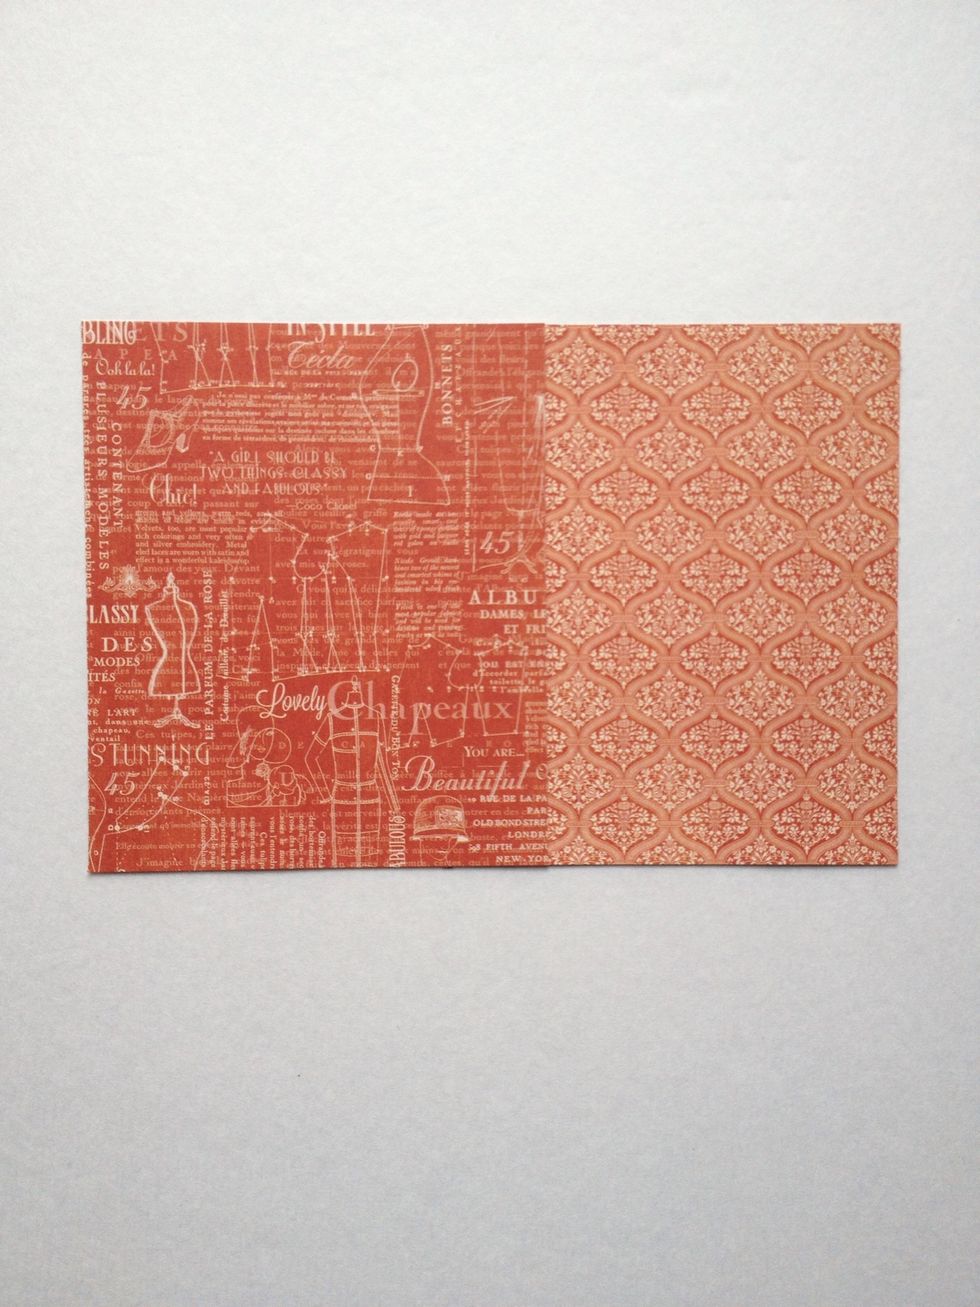
Locate this paper from your 6x6 paper pad. Trim so that it's 5.5" wide and then flip over to reveal tan side.
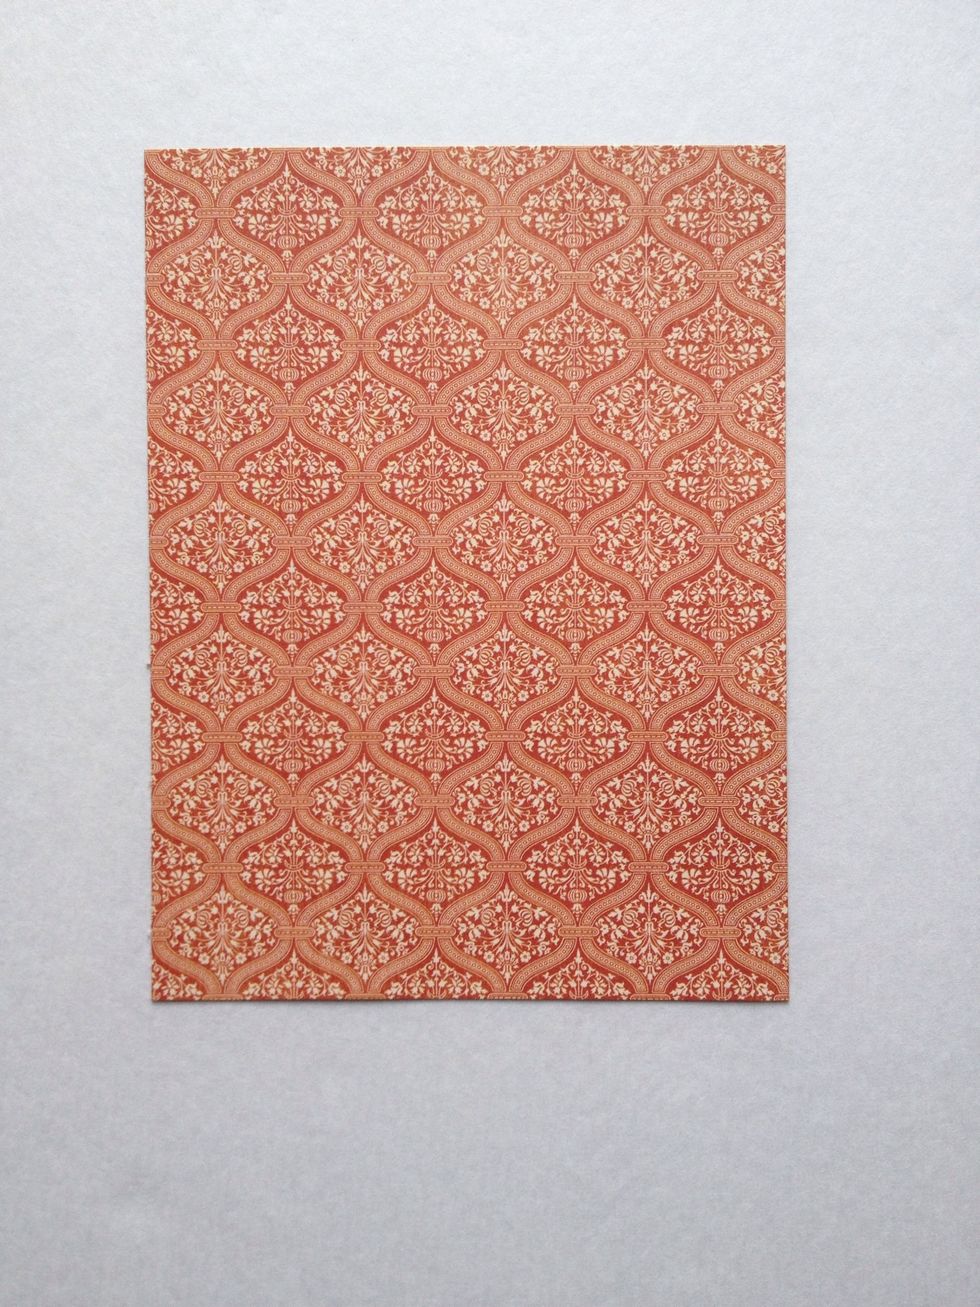
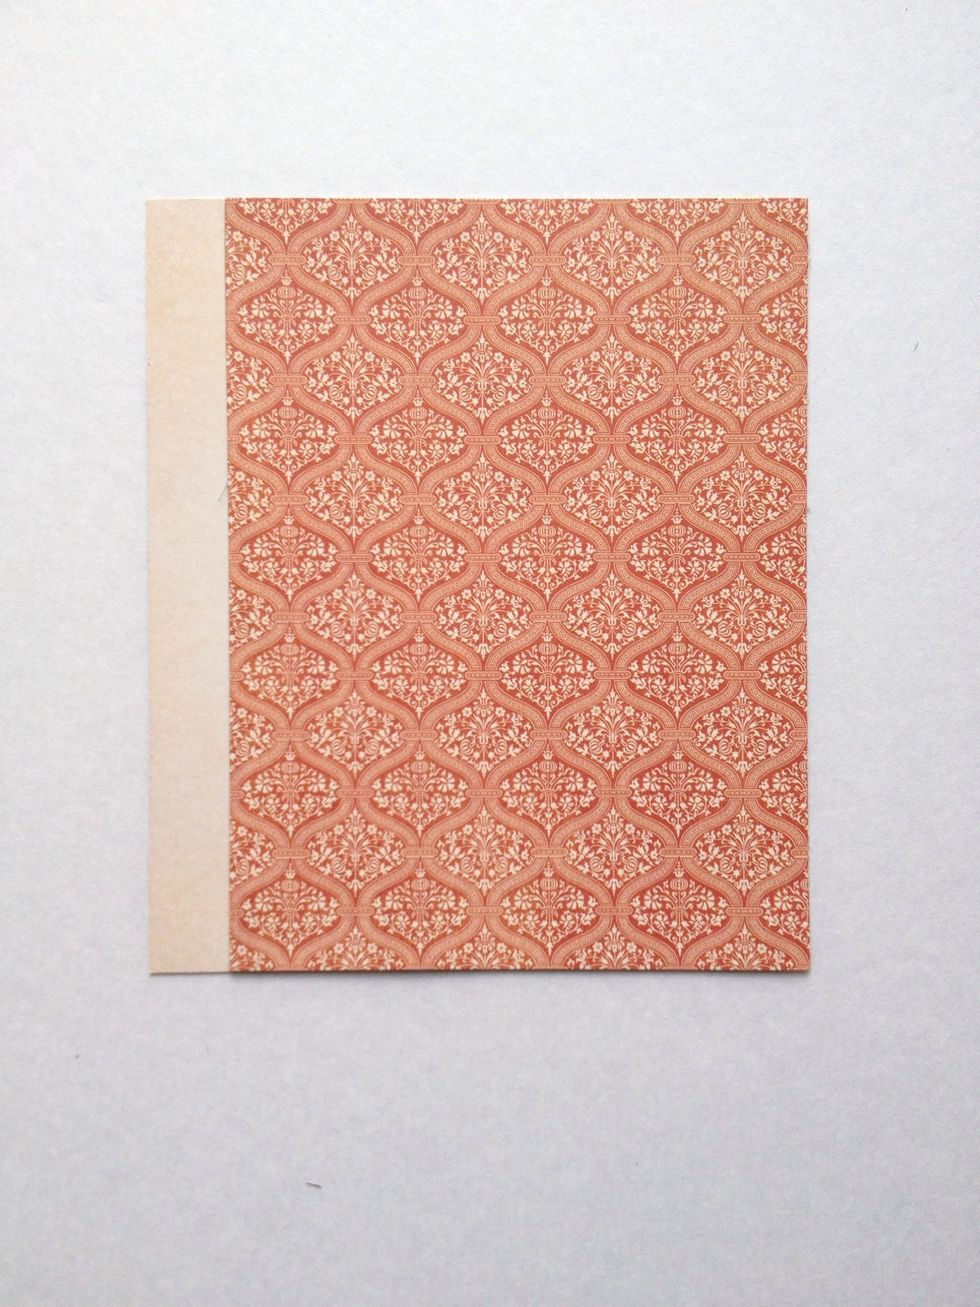
Locate this paper from your 6x6 pad and trim so that the paper is 4.5" wide. Flip over to reveal tan side.
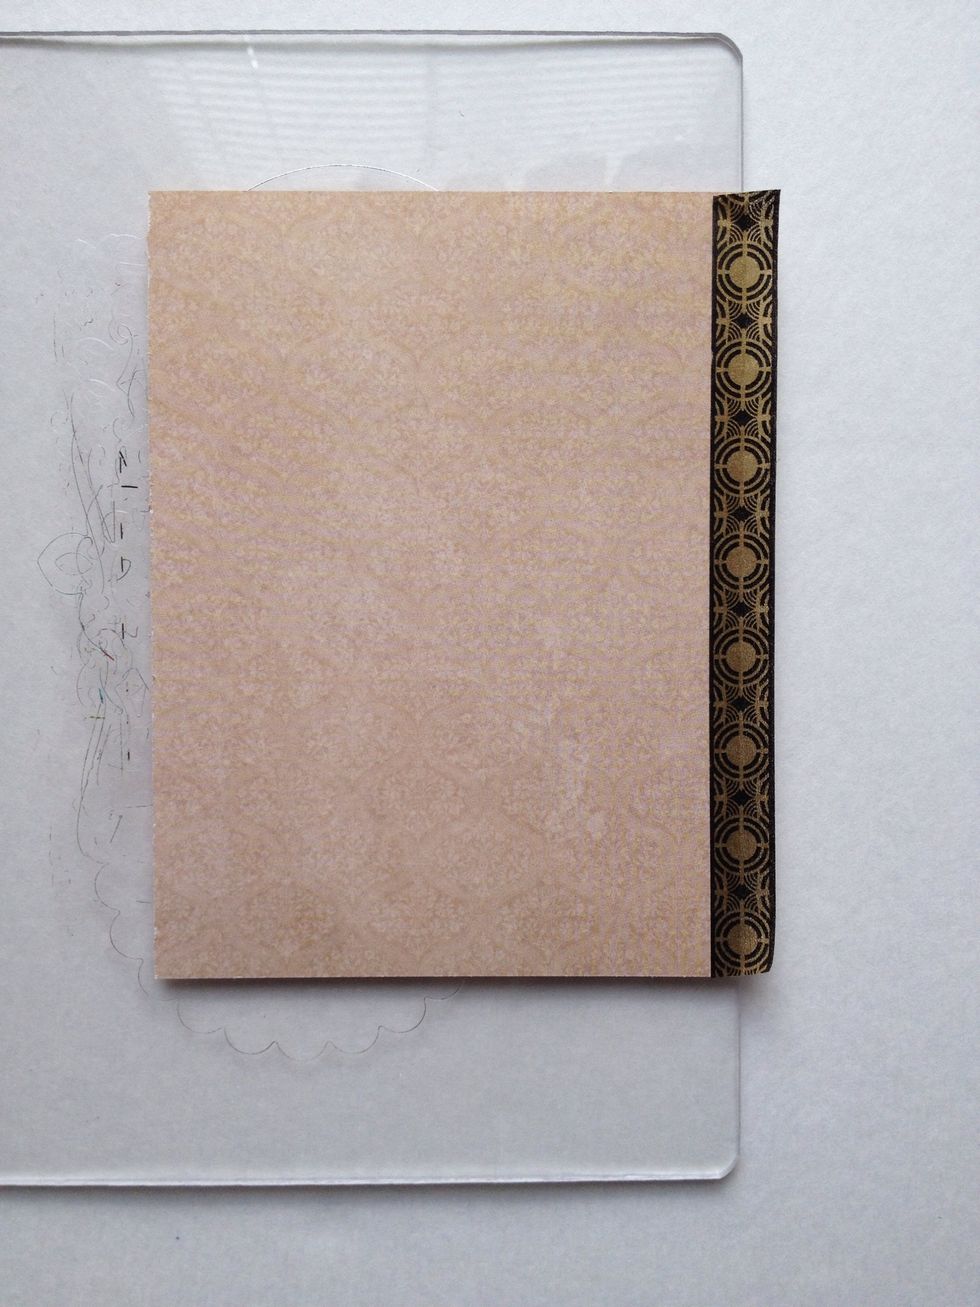
With your 4.5" wide piece of paper flipped over, attach a strip of washi tape along the right side, but attach only half of the material so that the other half of washi tape is exposed.
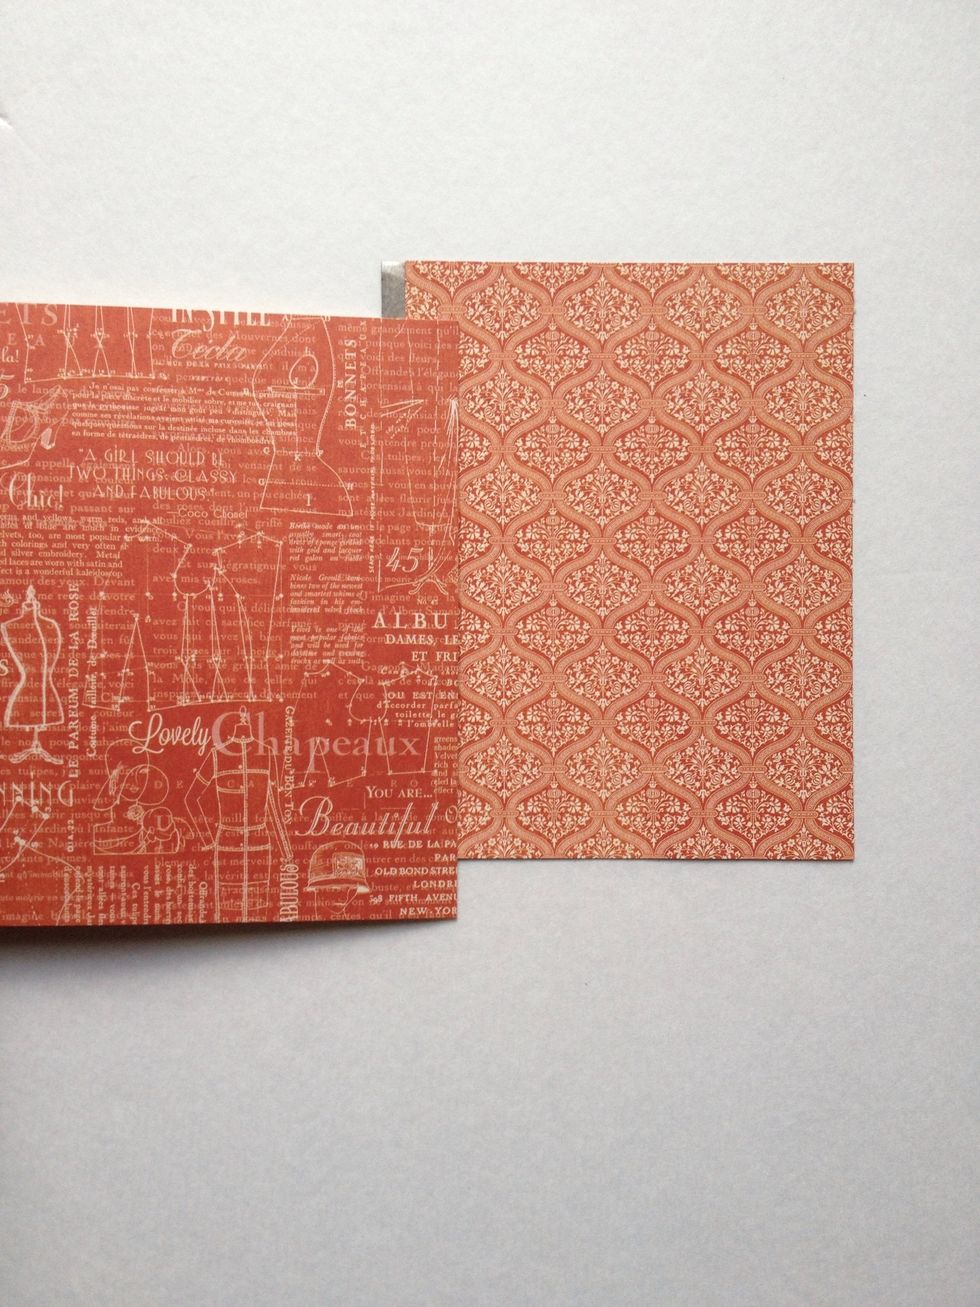
Flip your 4.5" wide paper to reveal the pattern side again. Grab your 5.5" wide paper, pattern side up. Place 5.5" wide paper over the 4.5" paper so there is about a 1/2" overlap.
Press 5.5" paper firmly over the washi tape.

Flip paper over, and this is what the inside will look like.
Gently fold the 4.5" paper over.
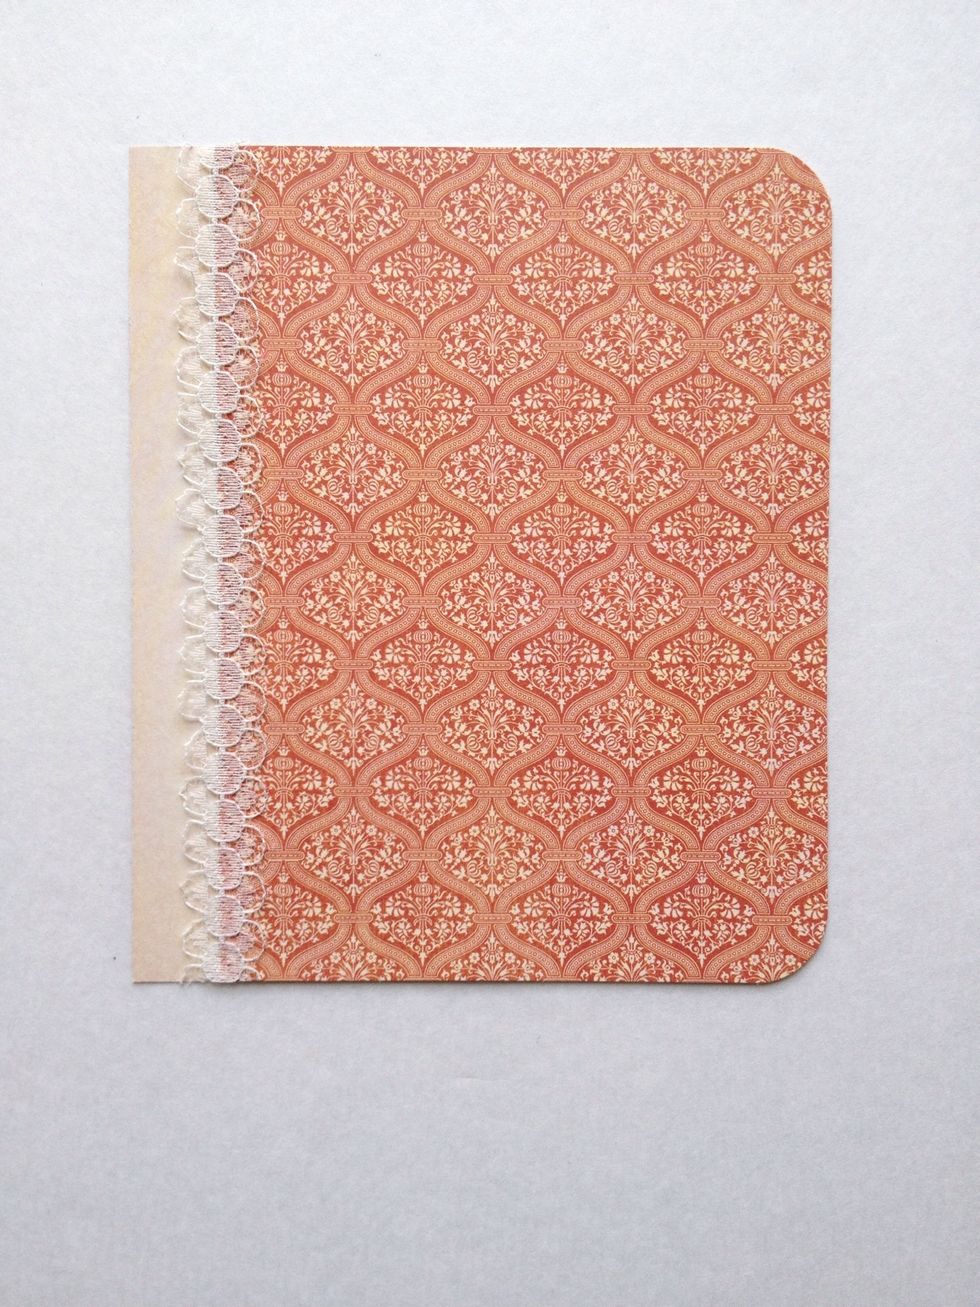
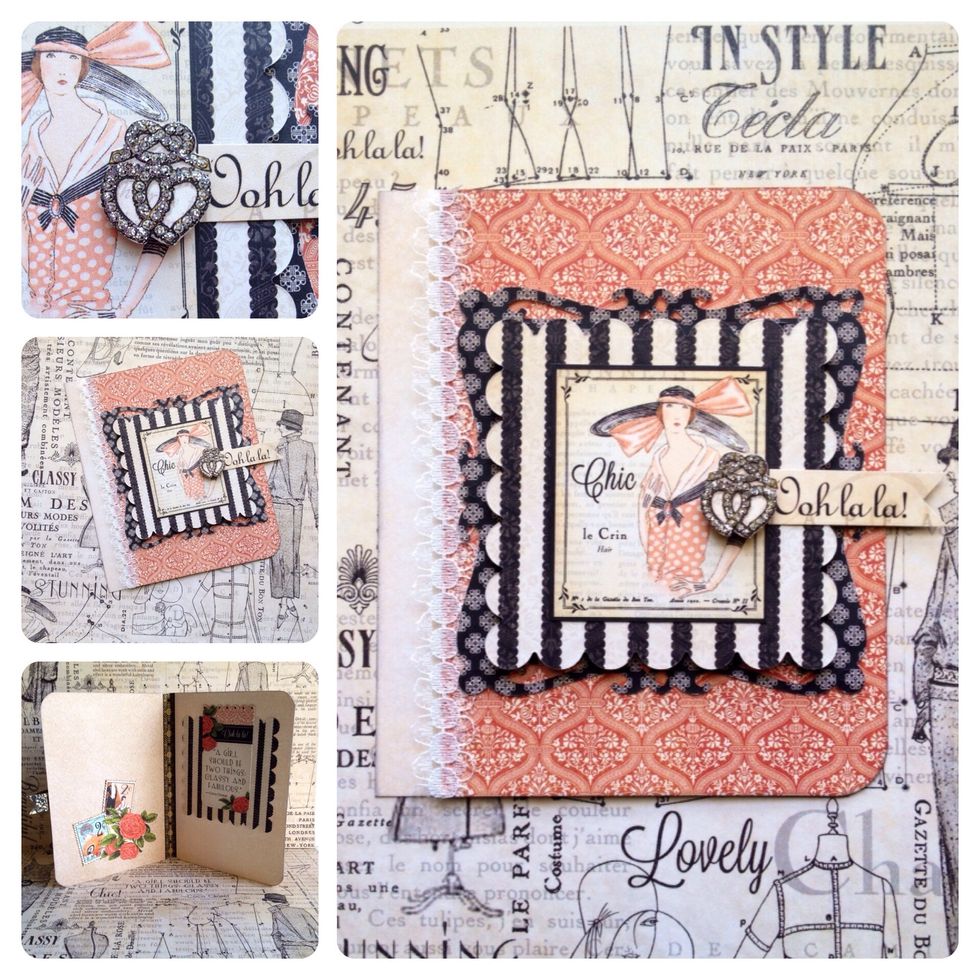
Adhere the lace ribbon and use a corner rounder on the upper and lower right corners.
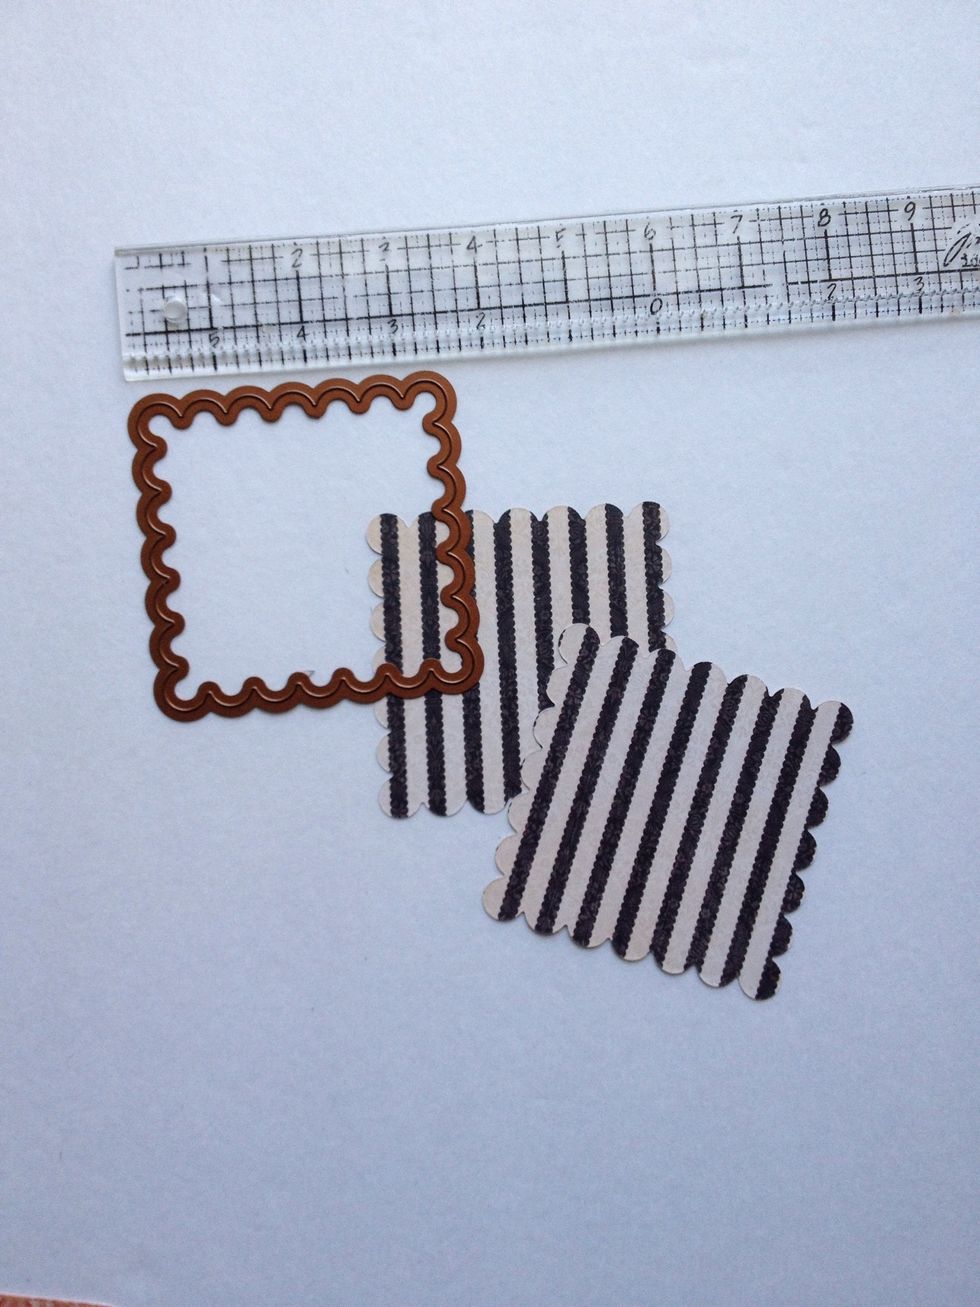
Locate the "Accessorize" paper from your 8x8 pad and cut (2) 4" square pieces. Use your die cutting machine and the 3.5" Spellbinders Scalloped square die to cut your papers.
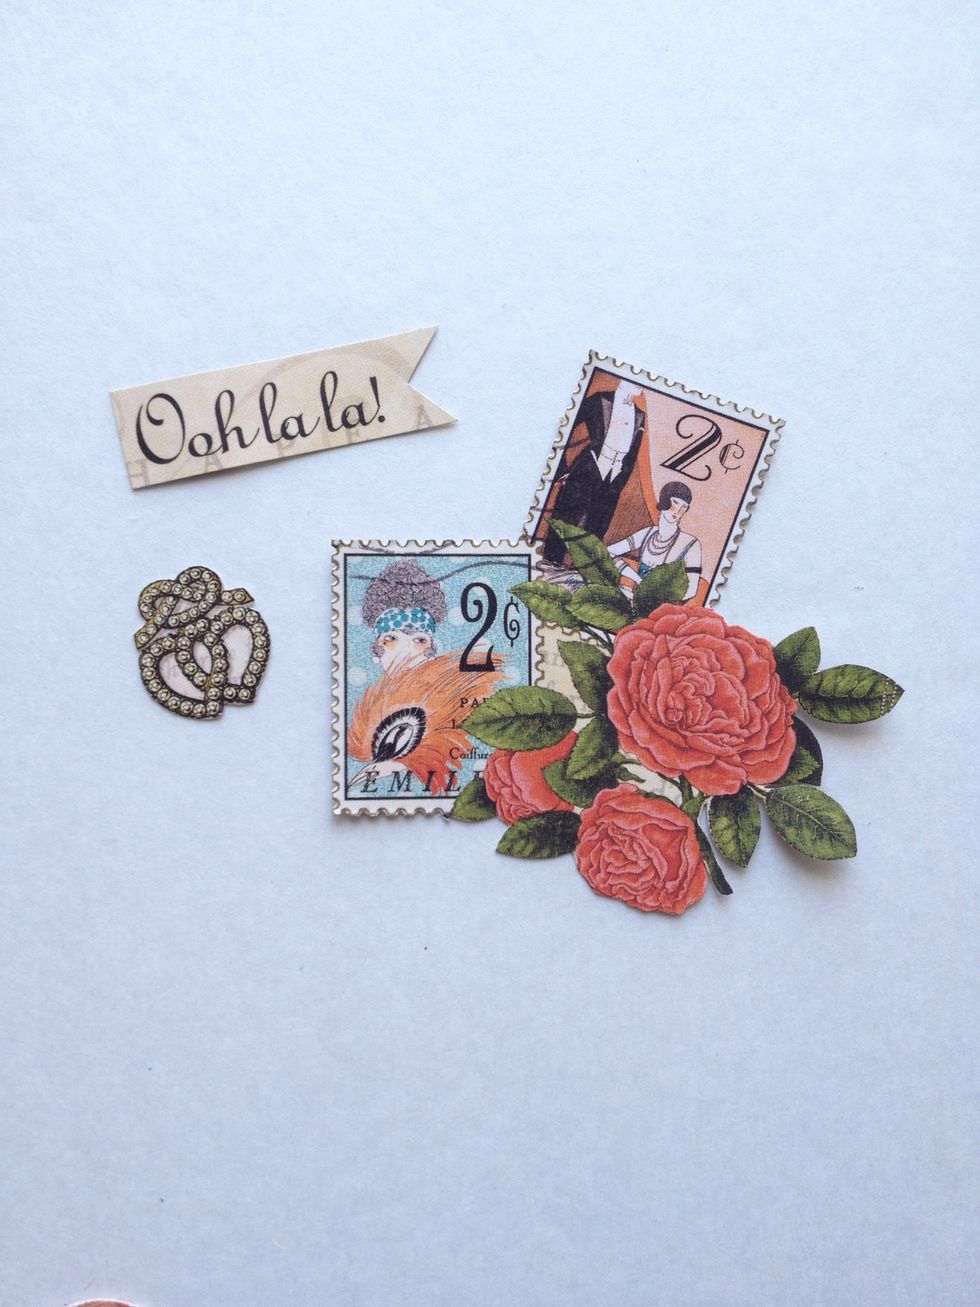
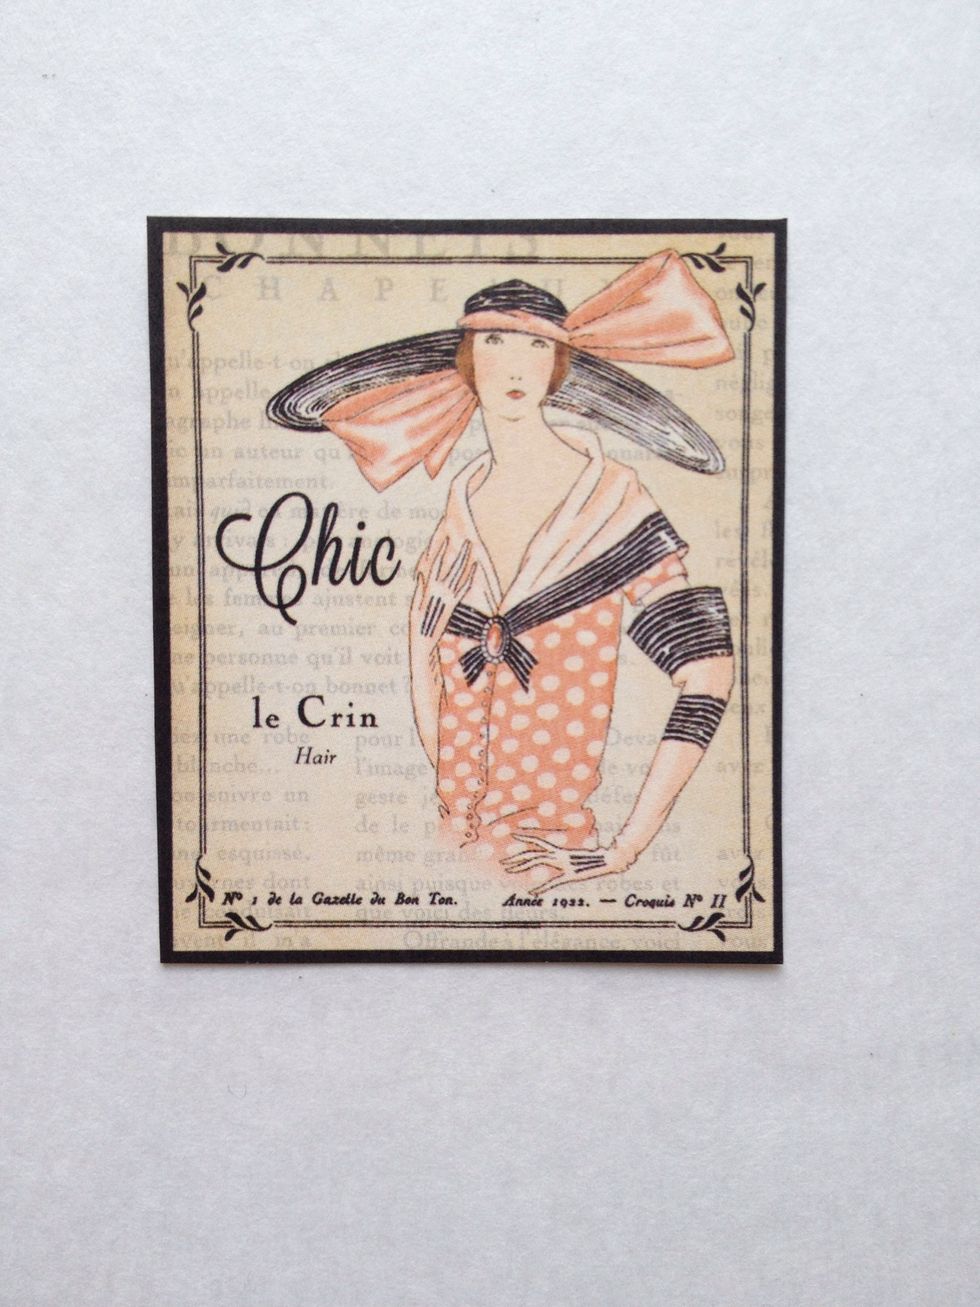
Locate the "Chic" paper from your 12x12 pad. Fussy cut these images.
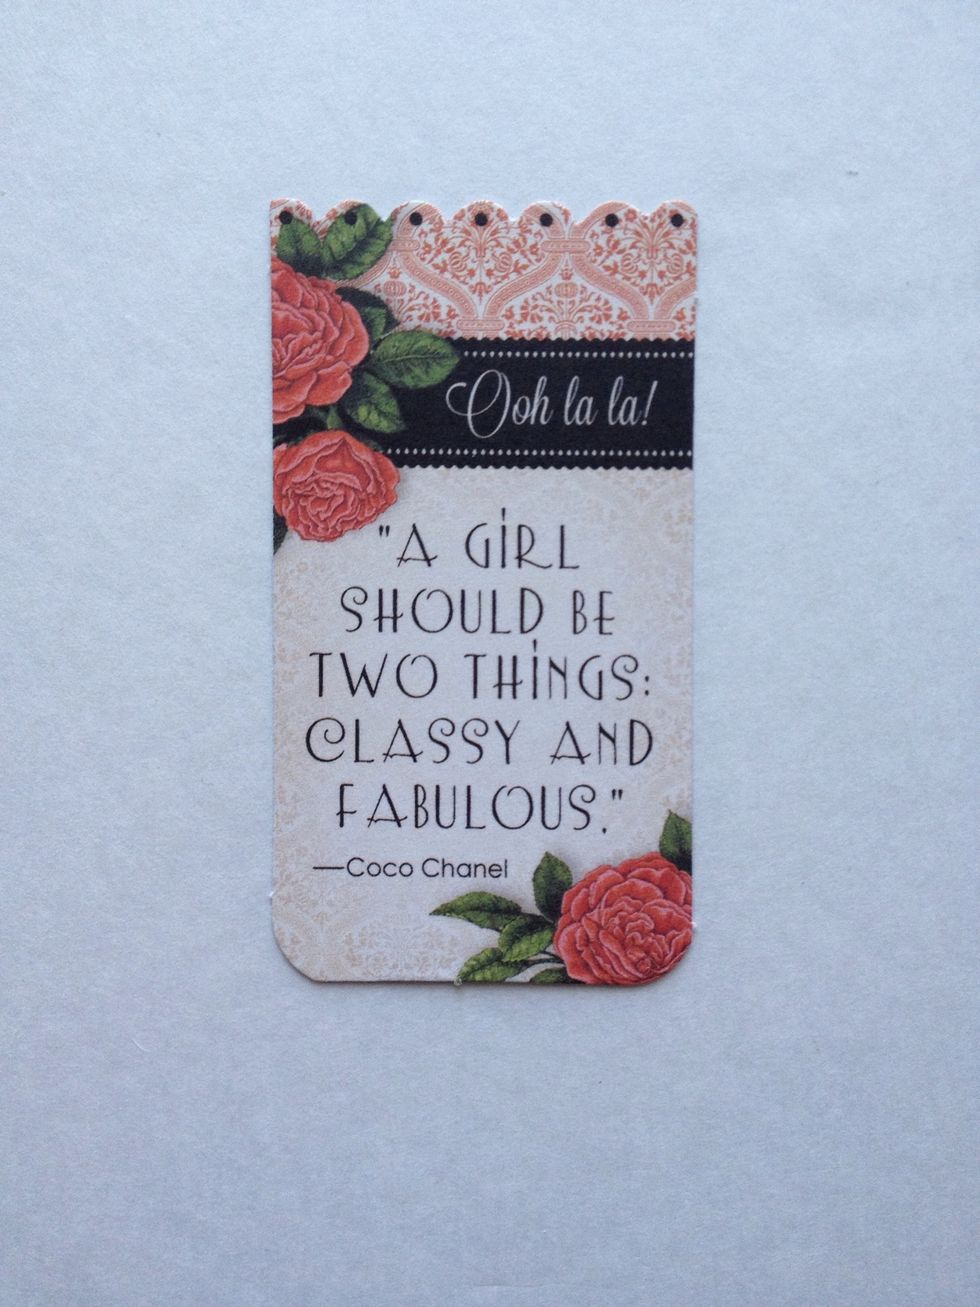
Locate this piece from your tags & pockets.
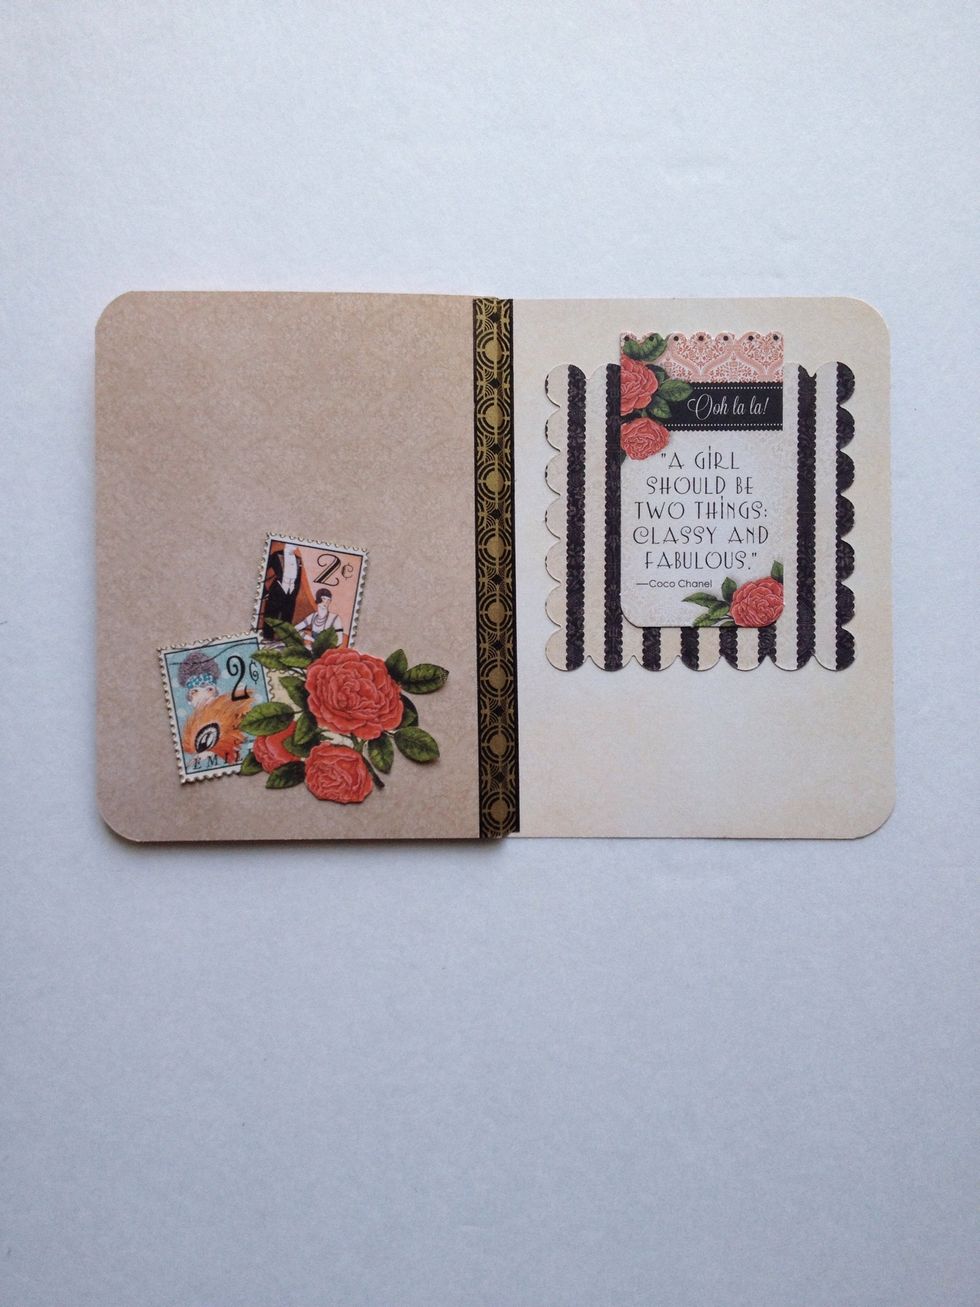
Arrange pieces per photo, then adhere. (You are only adhering one black and white square.)
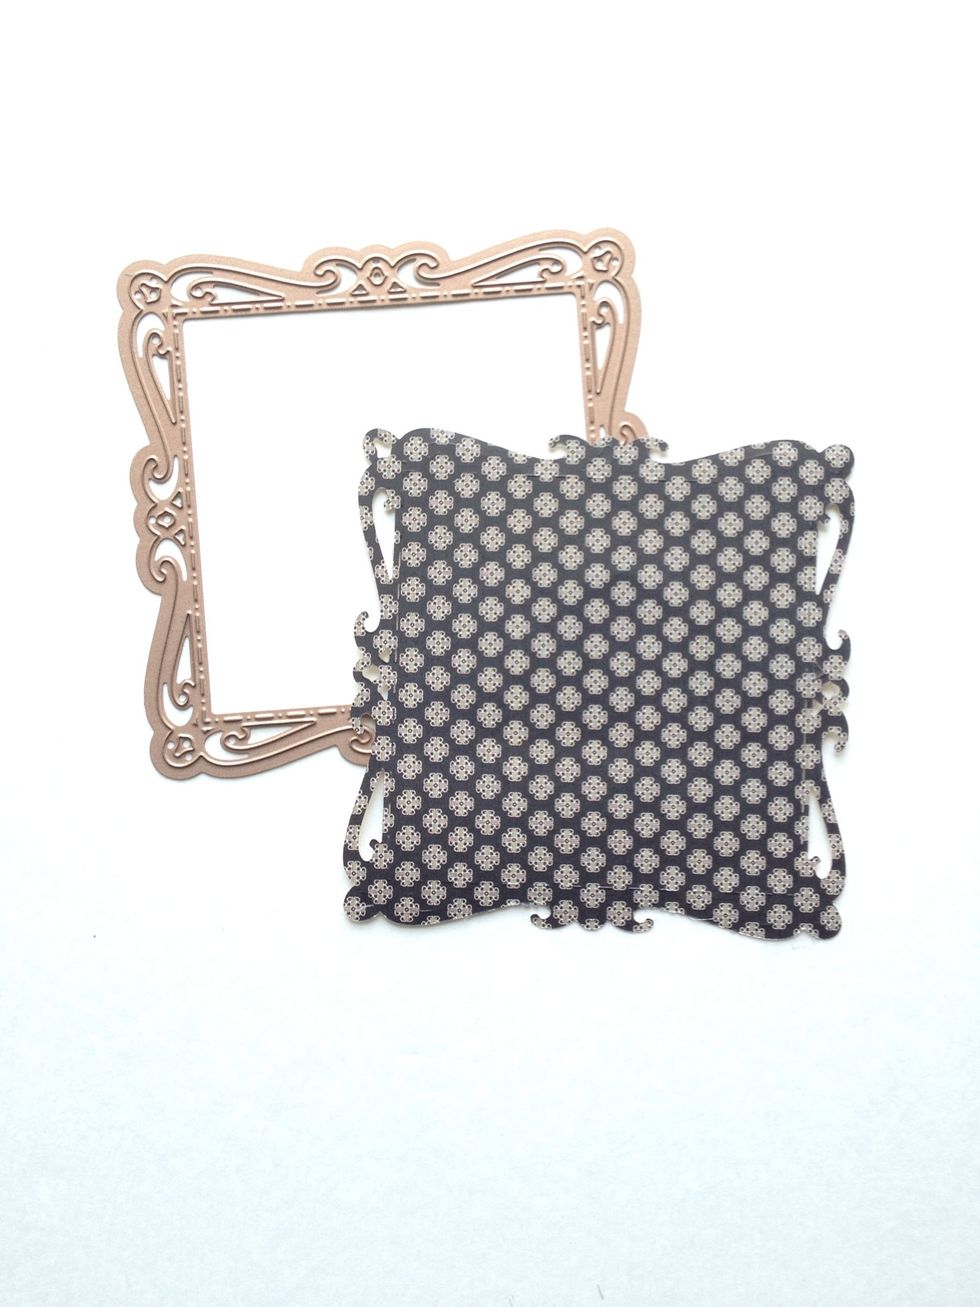
Locate the "Fashion" paper from your 12x12 pad and cut a 4.5" square. Use your die cutting machine and largest die from the Spellbinders Captivating Squares die set to cut paper.
Locate the "Beautiful" paper from your 8x8 pad and cut out this image.
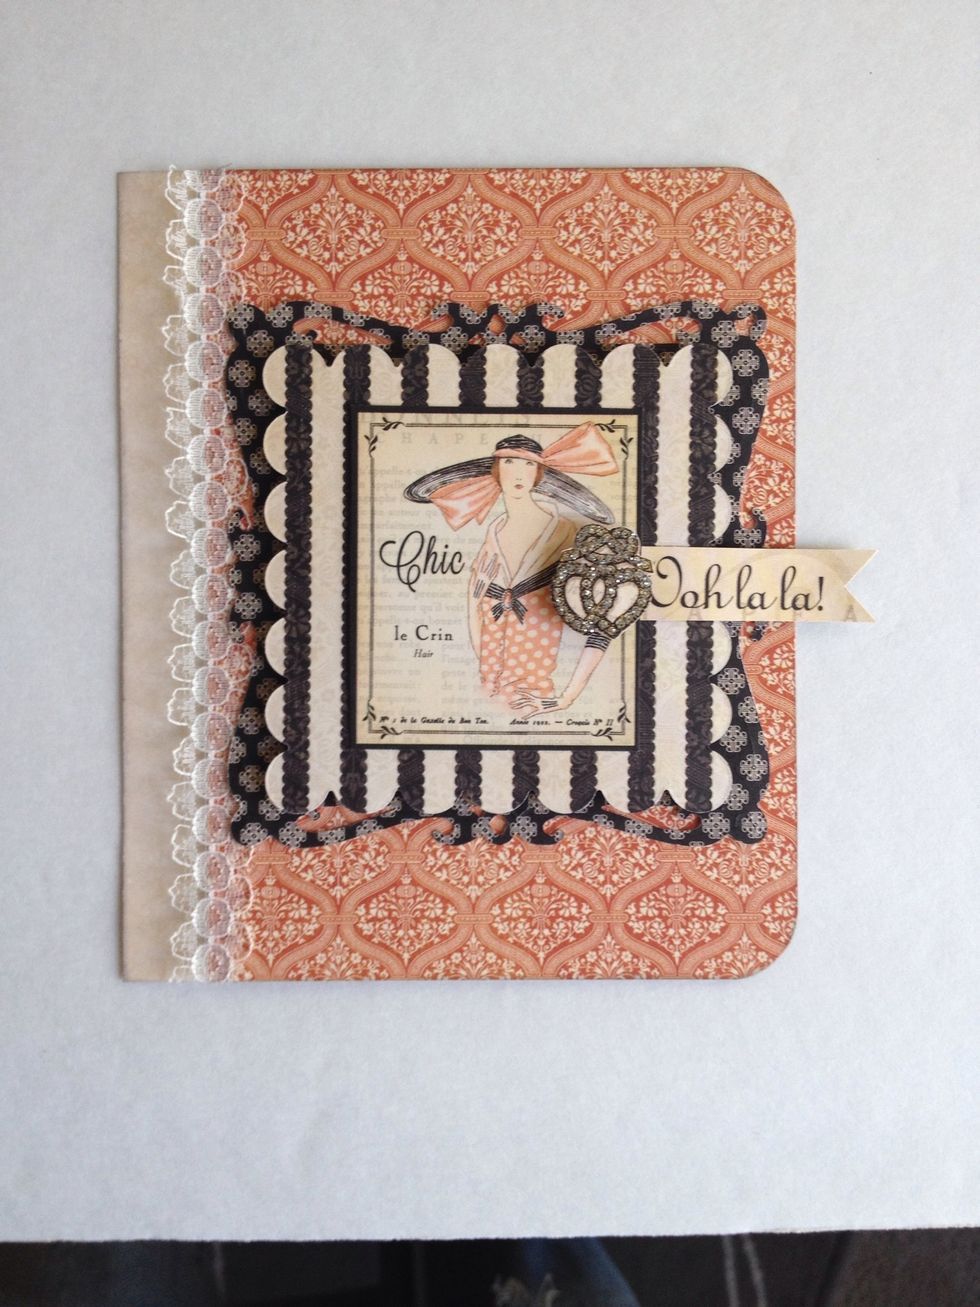
Arrange pieces per photo, then adhere. For added dimension, attach the black and white paper and fussy cut heart jewelry with foam dots.

Apply Silver Stickles to the heart jewelry image for extra dazzle!
Now, write a lovely message and send your card to someone super special!