The Conversation (0)
Sign Up
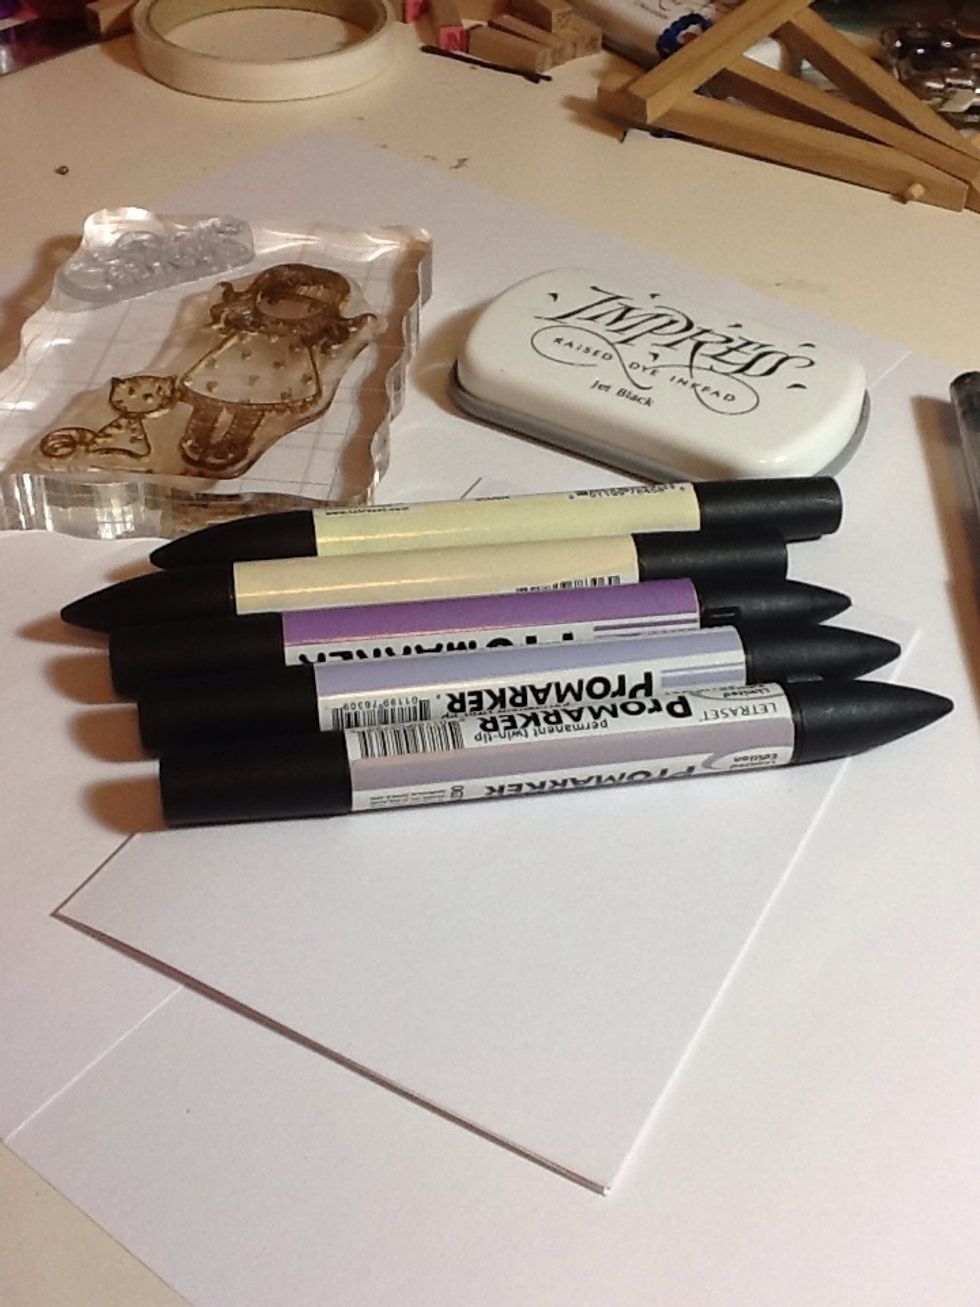
Firstly choose your image, colours and card base (I'm going to use more than the promarkers shown but to give you an idea of what colours I'm using)
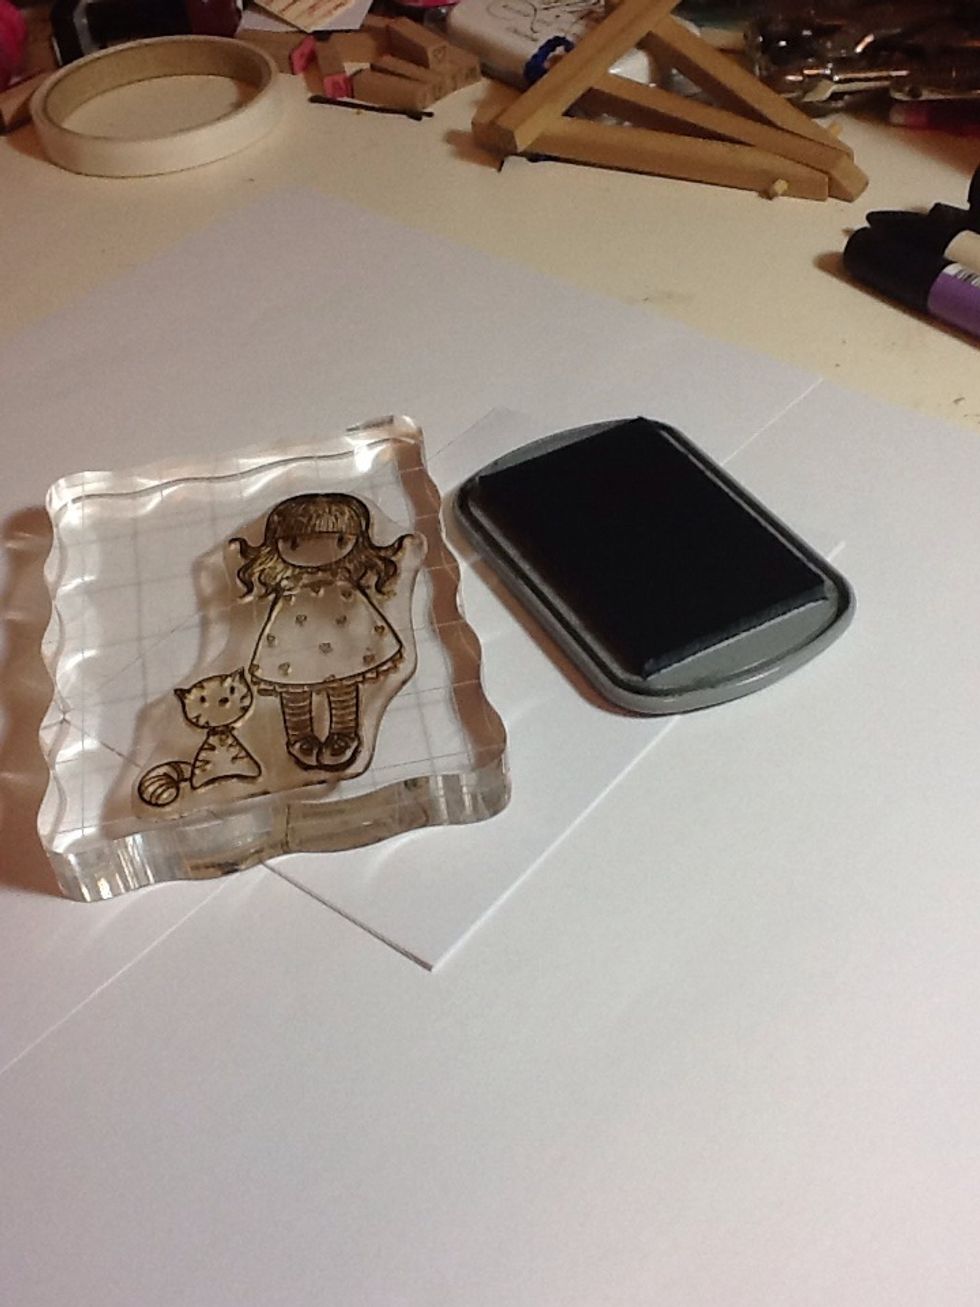
Ink up your image
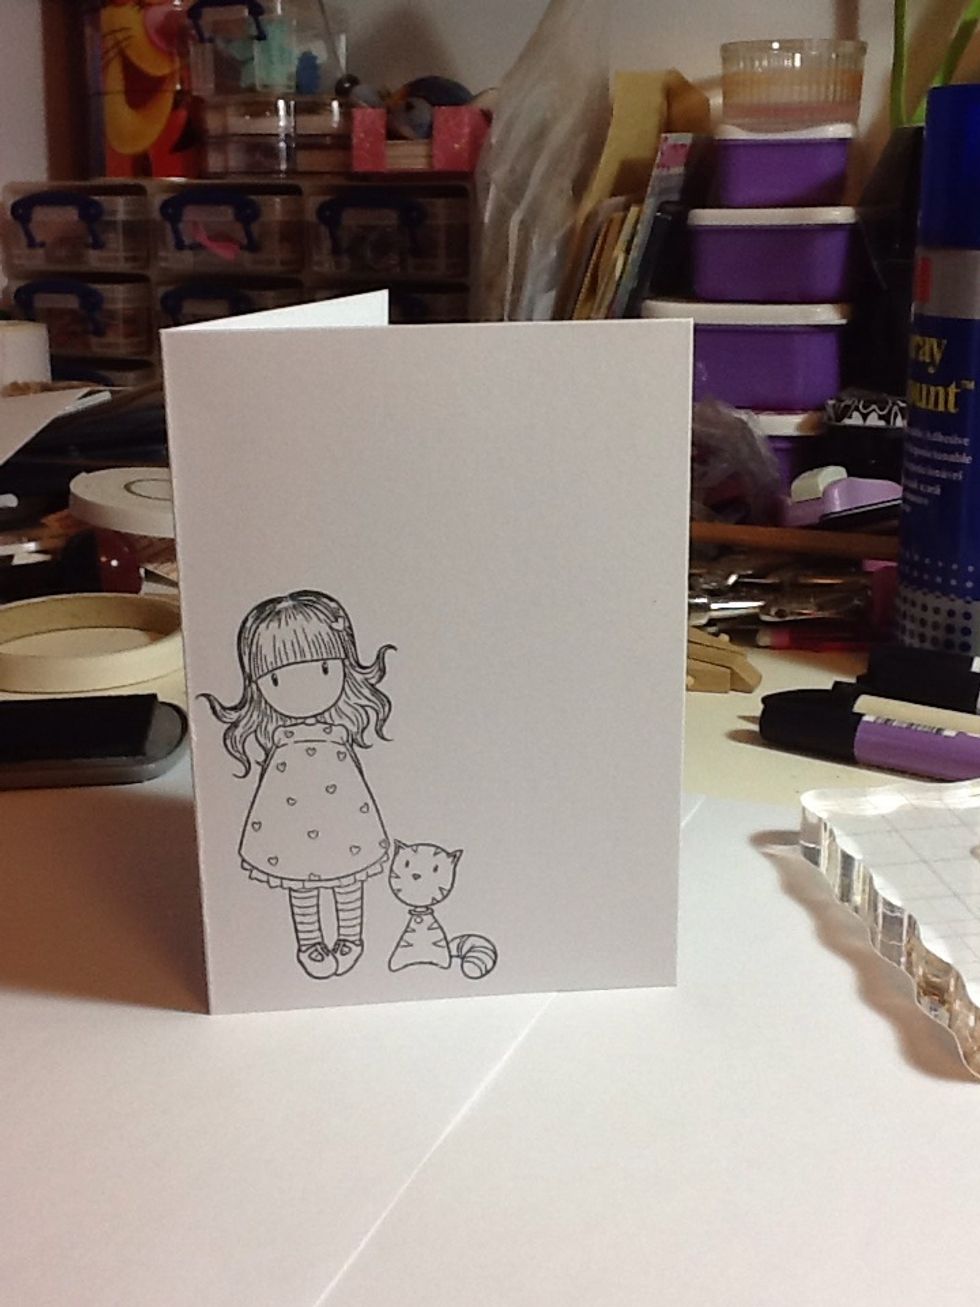
And carefully stamp onto your base card (this is not for the faint hearted lol) don't worry if you do mess up, just start again and put the first card away to use for something else or recycle!

Start colouring in your image! I have opened the card up as the promarkers will leak through. Slightly gone over the lines or your ink run a little? Don't worry will show you a tidy up next!
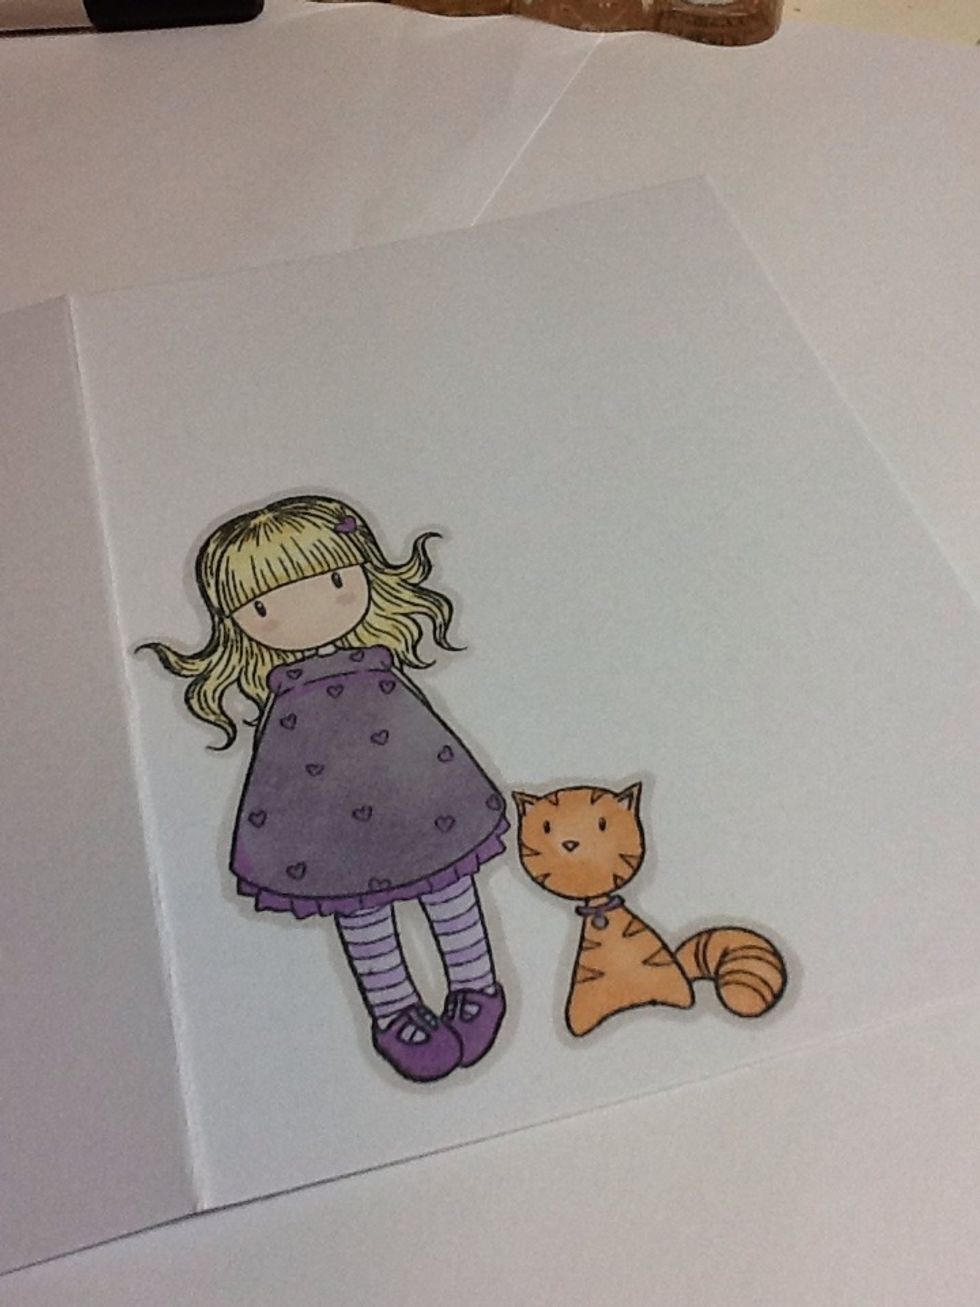
Love promarkers, hate the fact the ink can run! But no fear as this can be fixed by going round the edge of your images with another colour which will also make it pop from the card! Try to go lighter
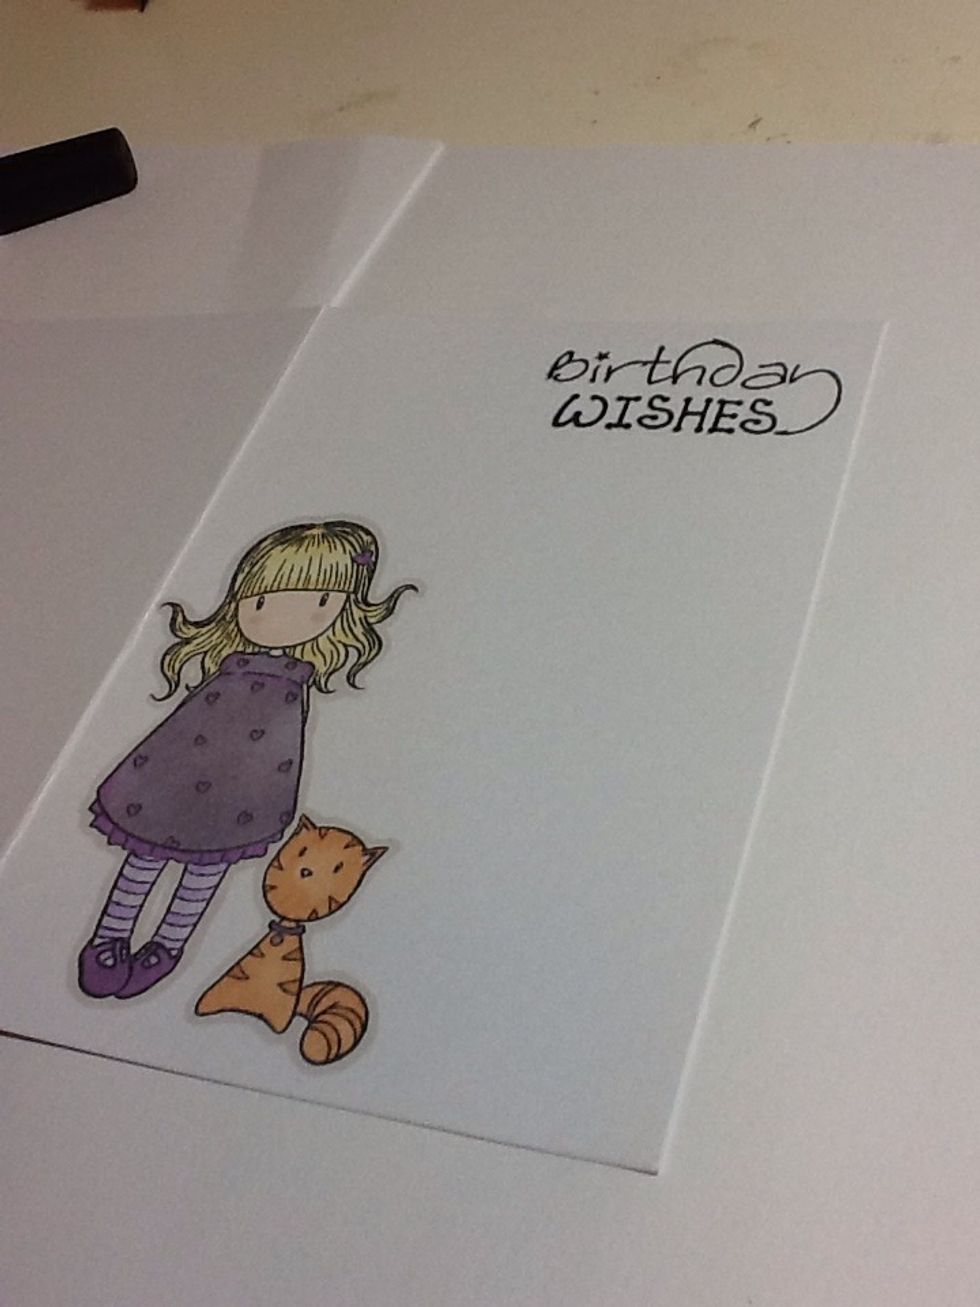
Now ink up and stamp on your greeting, I tend to go for the opposite corner to the man image
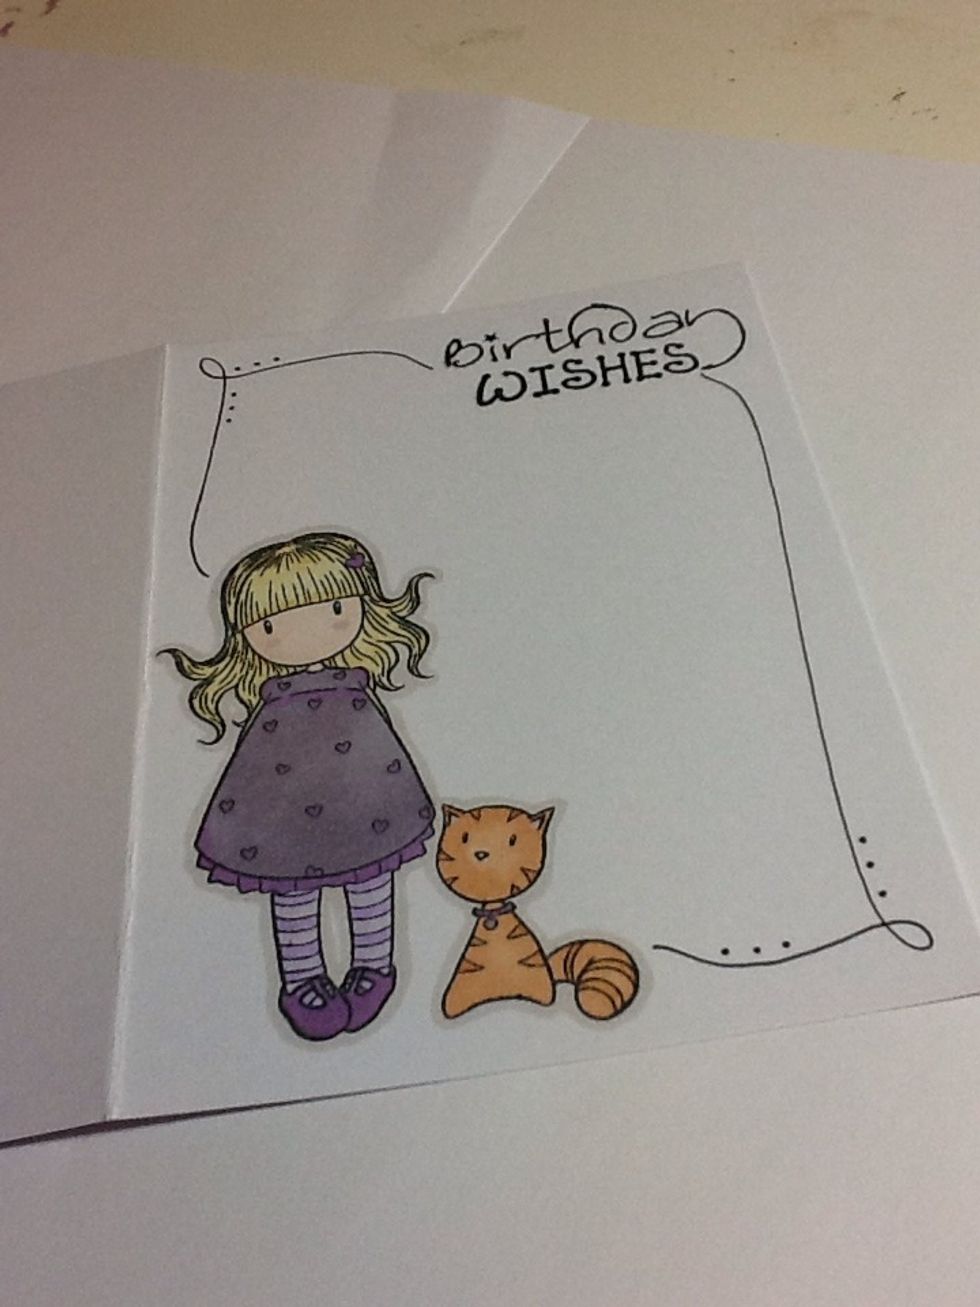
Get your fine liner, this will take a steady hand so practise on scrap paper first. But draw a simple border around the edge of the card and joining the image with the greeting but not touching
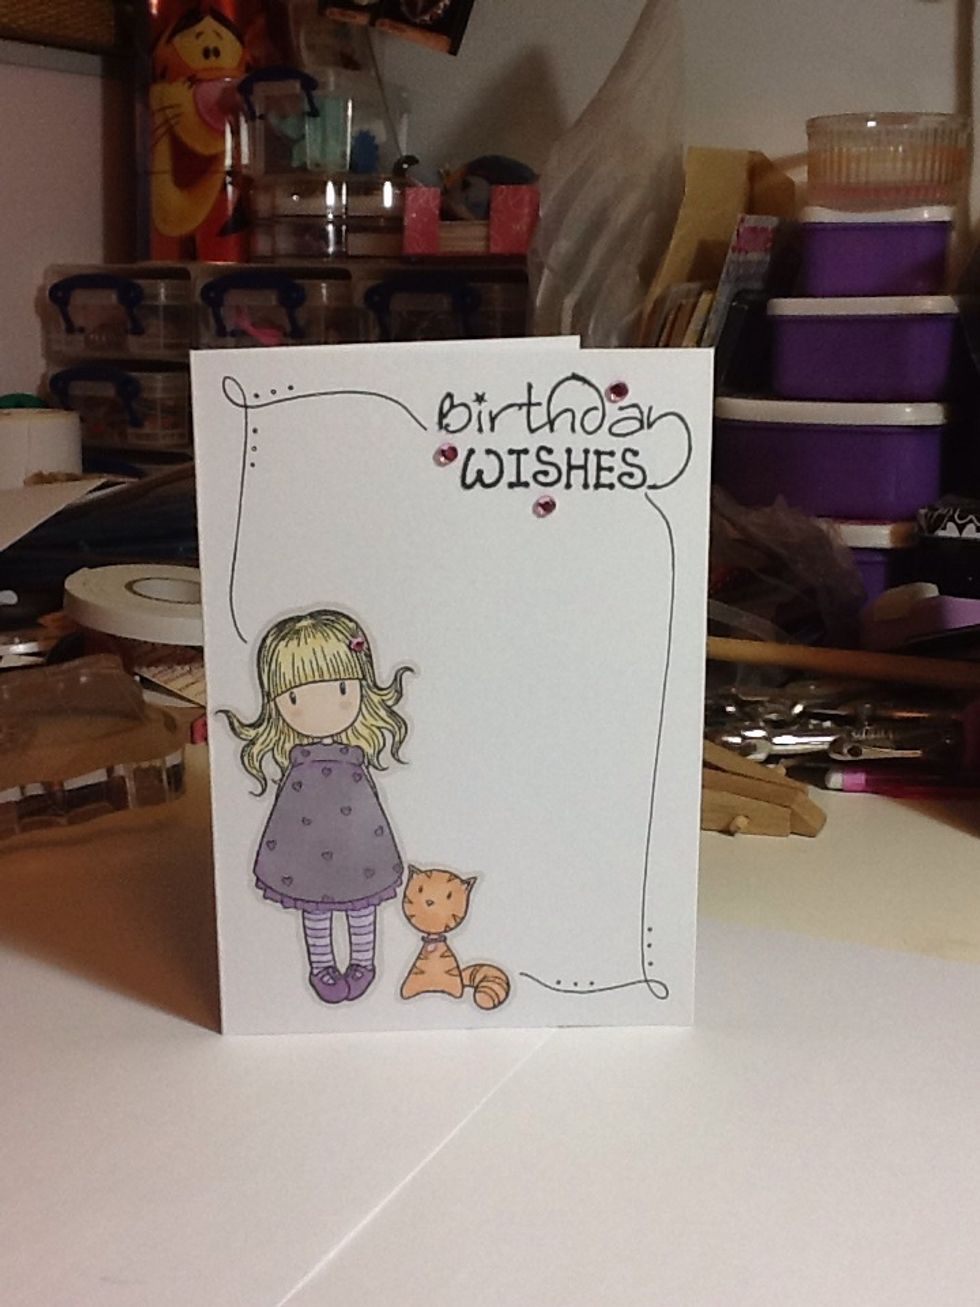
Add some embellishment either using your finer liner or gems. You can also add bows/buttons/card candy, but keep it simple! Stick to the odd number rule (groups of 3s / 5s)
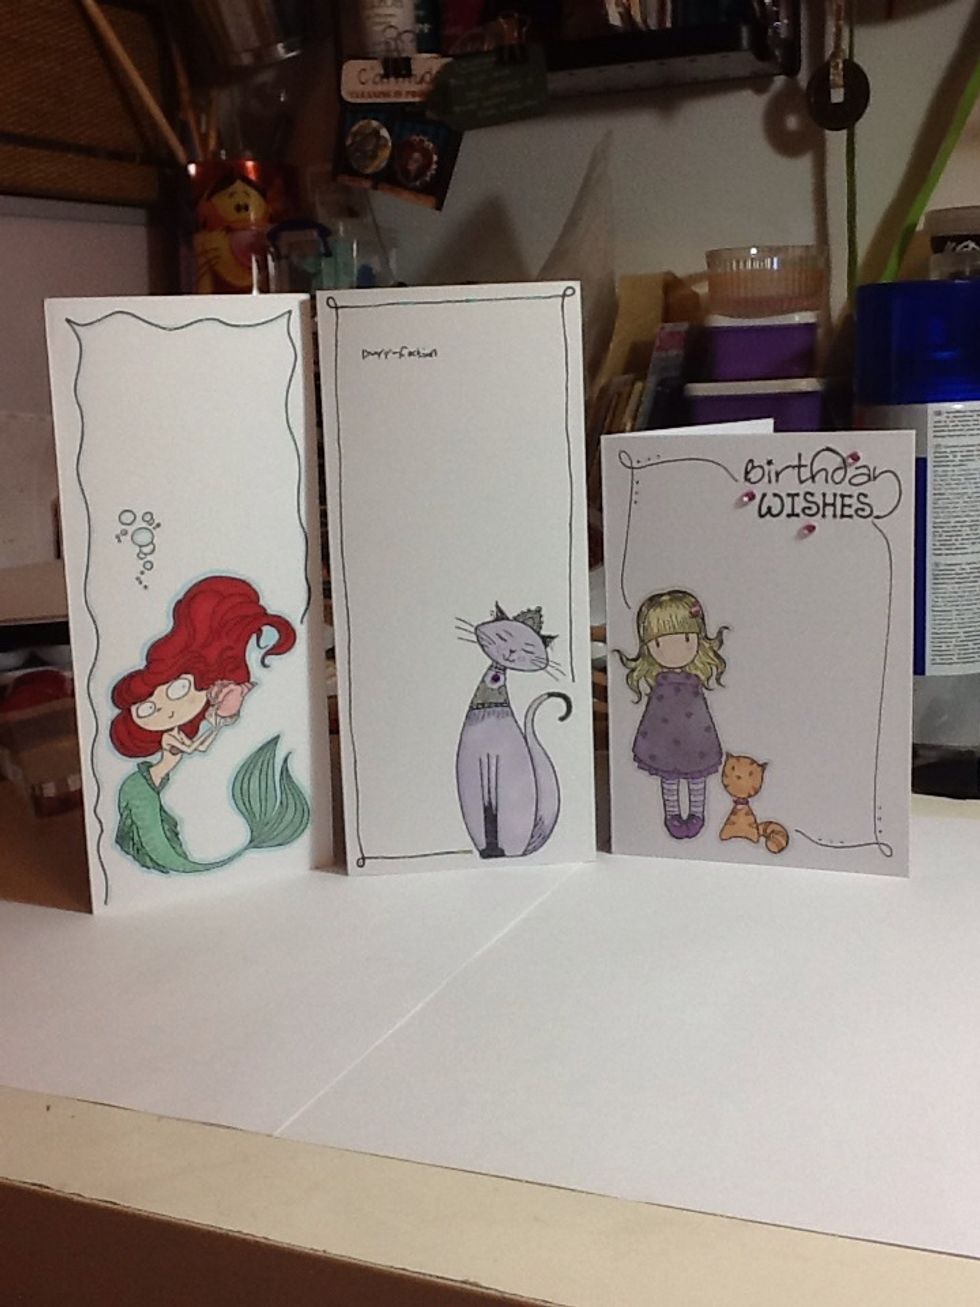
And your all done! Soon you will be churning them out as they can be quite addictive!

As mentioned in my supplies list, this can be done with digital images. Print off the image, colour and then go around the edge like shown before. Cut out and stick down!