The Conversation (0)
Sign Up
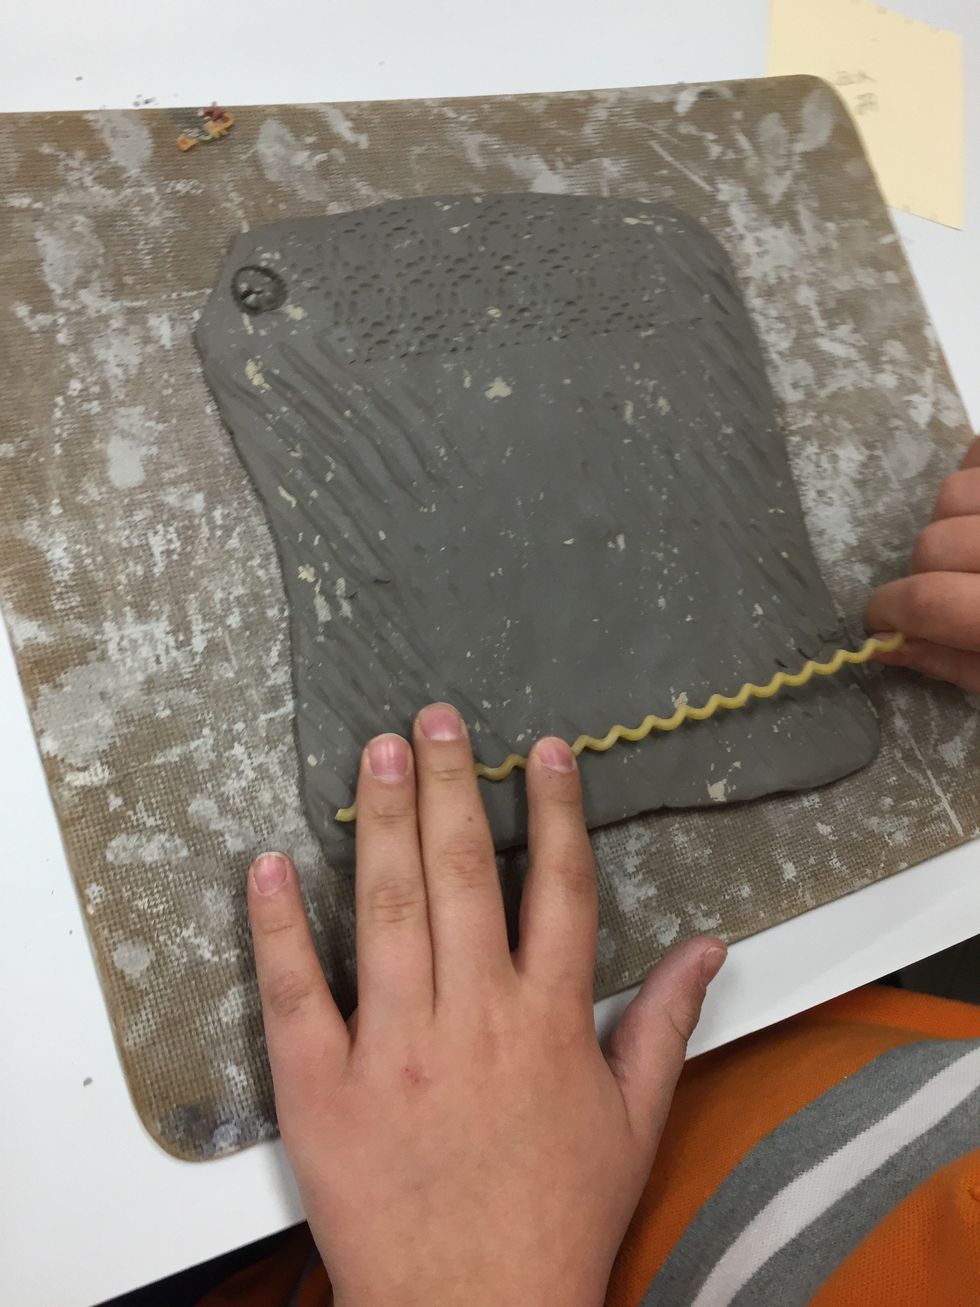
Roll out your slab of clay using two rulers as your guide for thickness
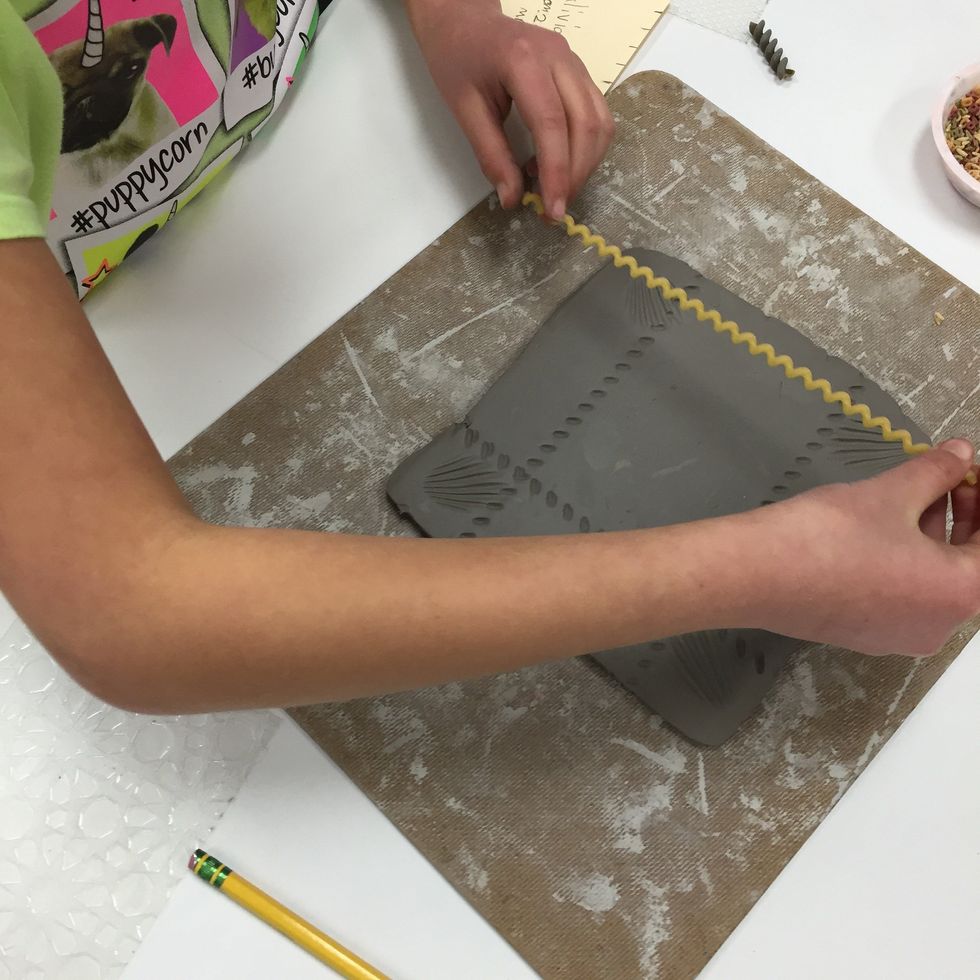
Add texture with pasta, shells, fingers, marker tops, etc.. Use alphabet pasta to add your name or words...leave alphabet pasta in the clay...it burns off in the kiln!

Using the tagboard guide, cut out center for your loom using a popsicle stick.
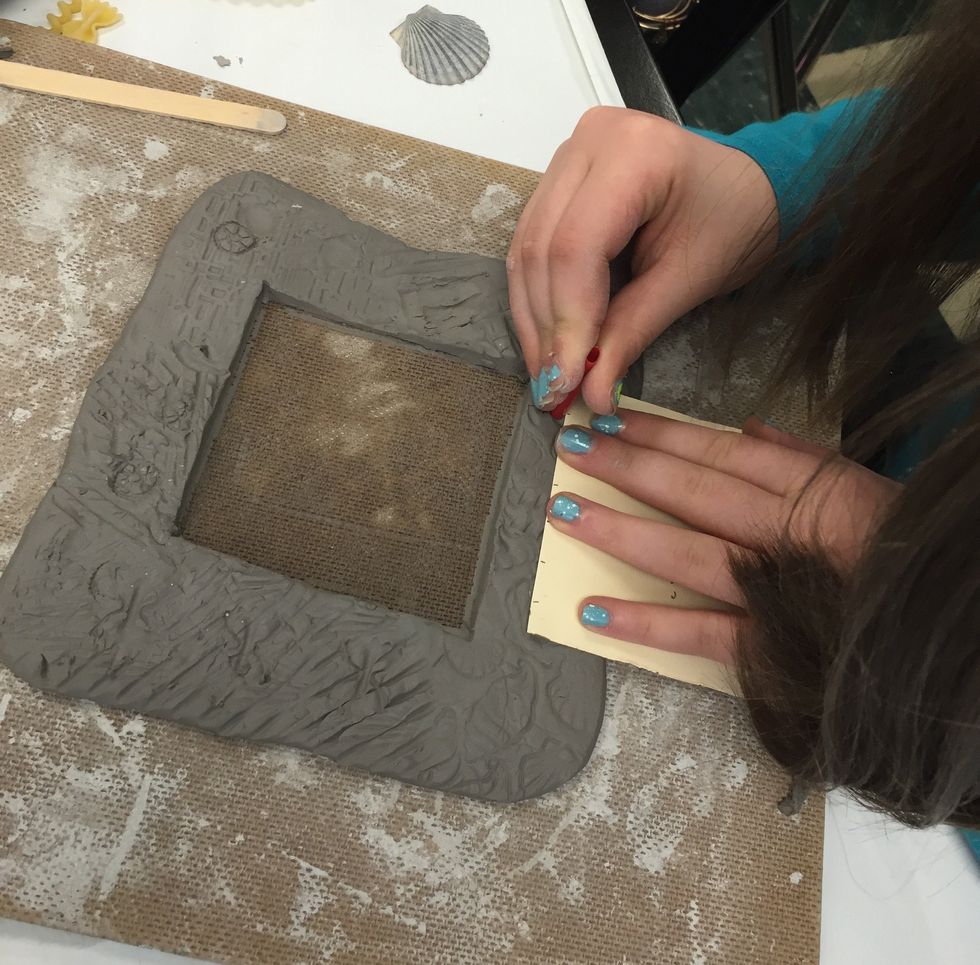
Using a straw, create holes along the top and bottom of your loom. Use the guide to know where and how many holes to make.
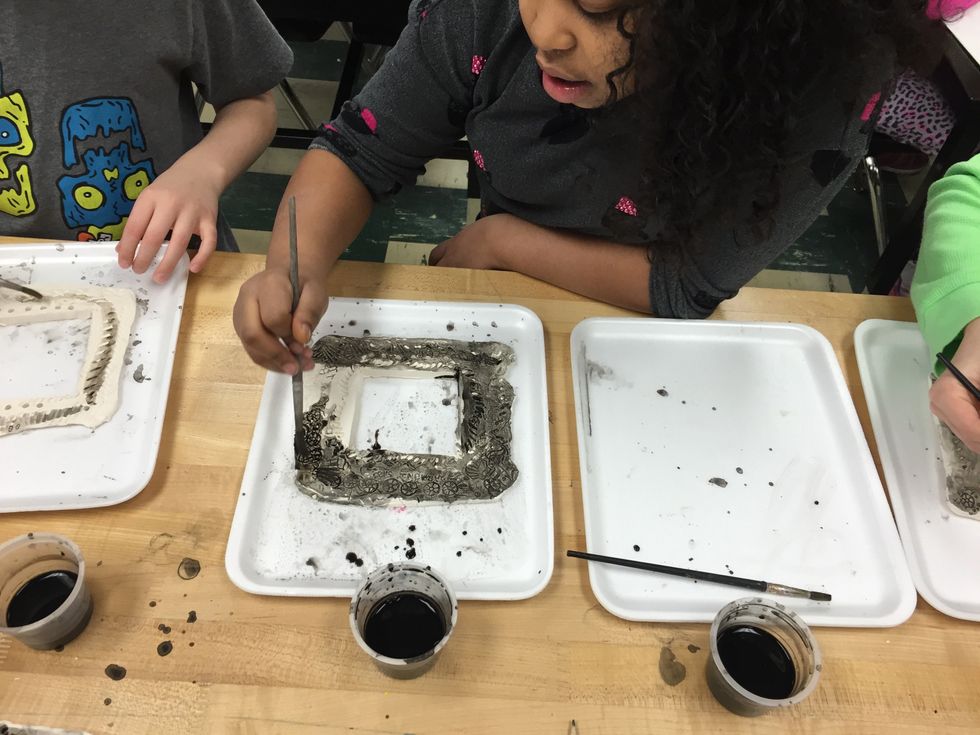
After your clay loom has been fired, stain the clay using a wash of watered down ink or paint. This will help make the texture areas pop out.

Thread loom with your warp yarn. You want these to be nice and firm not loose. tie ends.
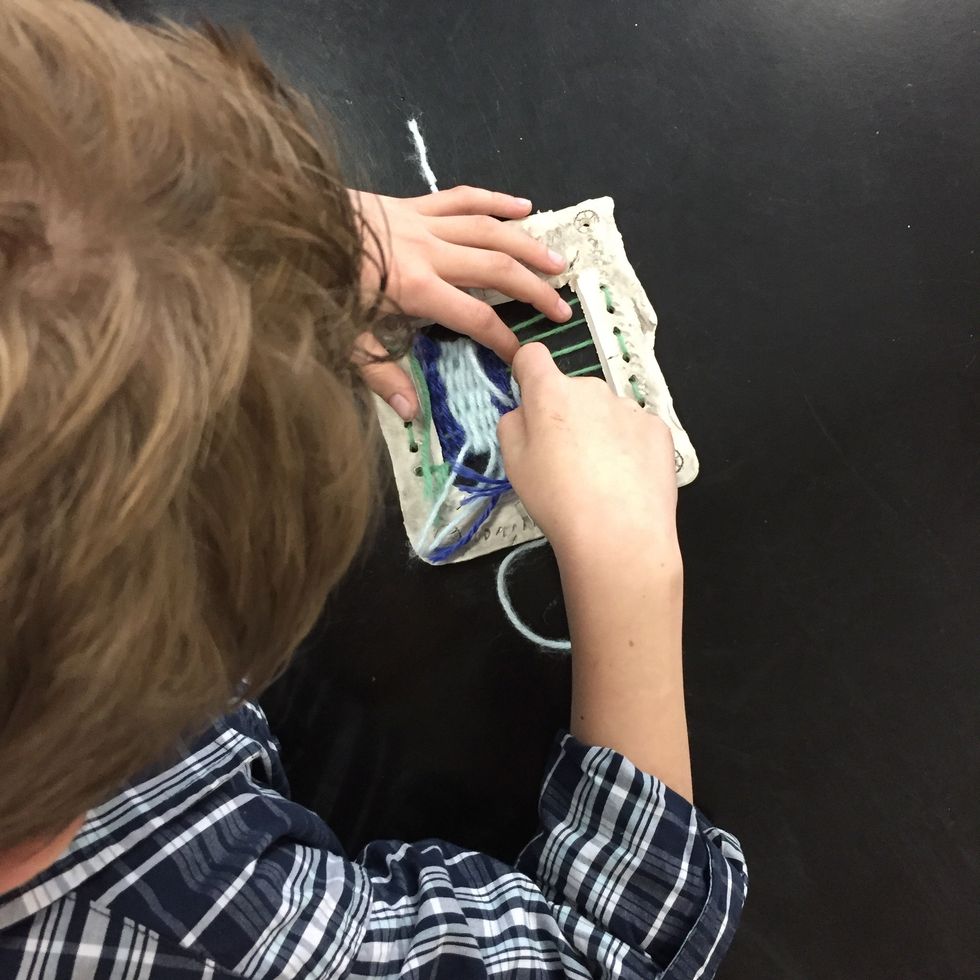
Begin your weaving...over, under, over, under...remember to not pull the sides tight. After each few rows, gentle push down your yarn to make a tight weave.
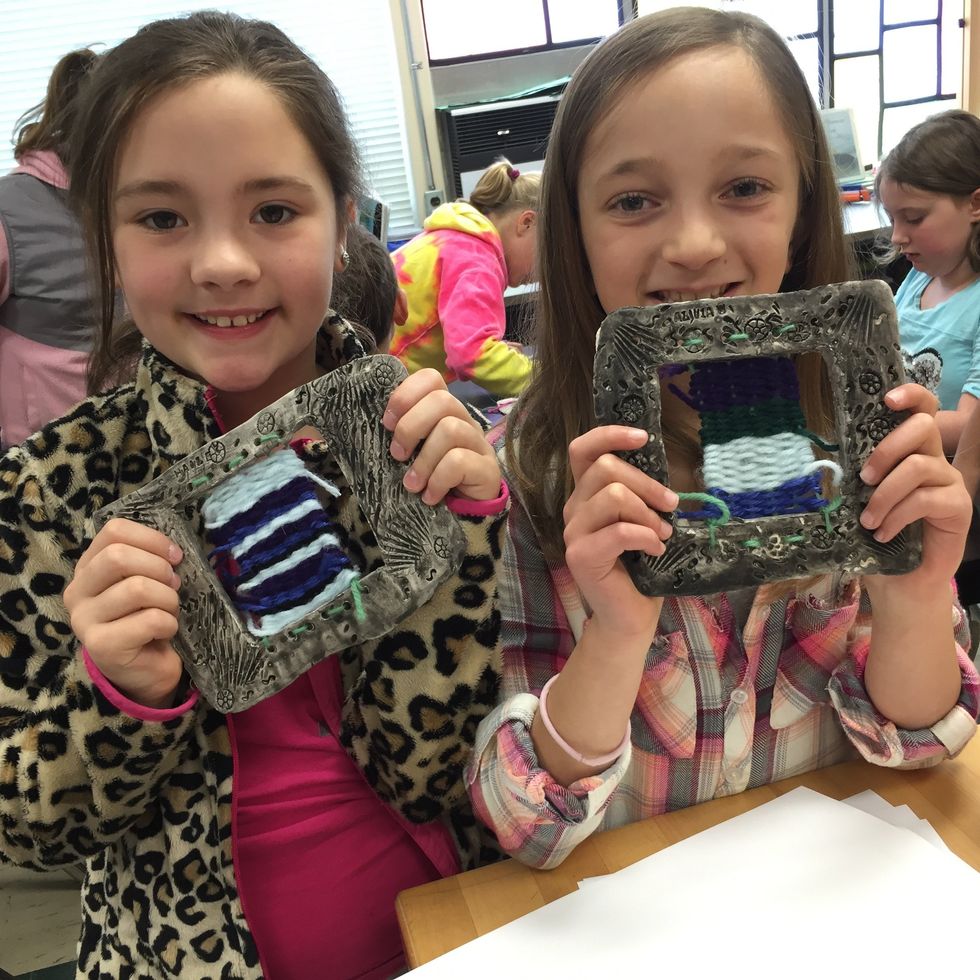
All finished! Trim or tuck ending yarn into your weaving.