The Conversation (0)
Sign Up

Cut your photos out. Cut right on the outside line of the photos.
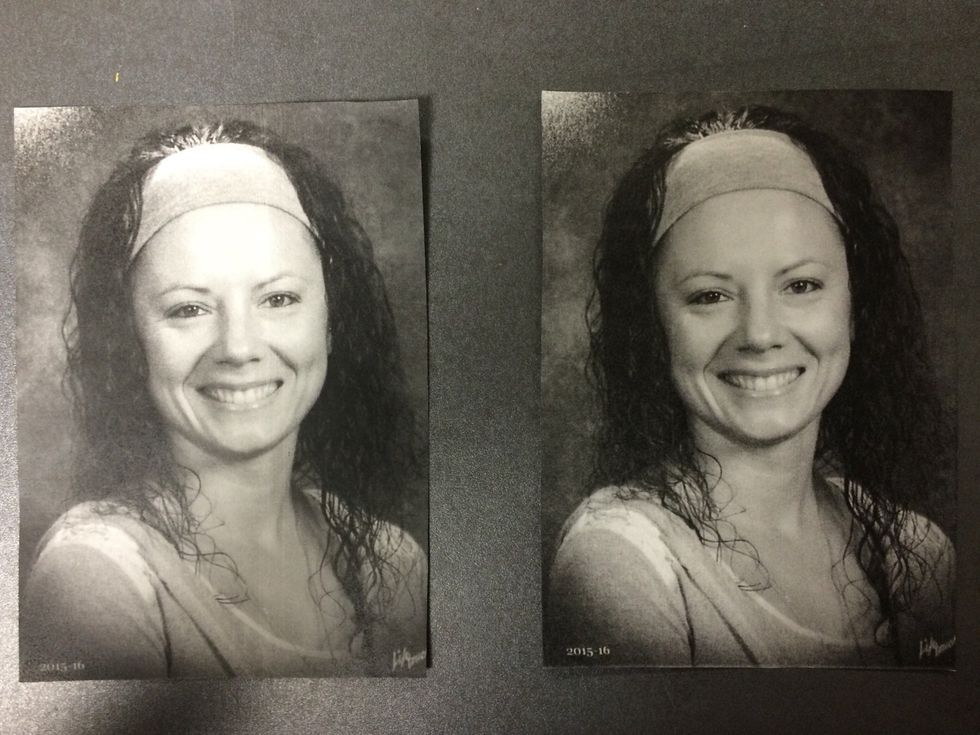
Your 2 photos should look like this when you are done cutting (only your face and not mine 😉). Put one photo in your bin.

Get a fine point crayola marker. Begin outlining the IMPORTANT parts of your face, neck and shoulders. Do NOT outline the whole nose. Check with Mrs. Cheney when you think you are done.
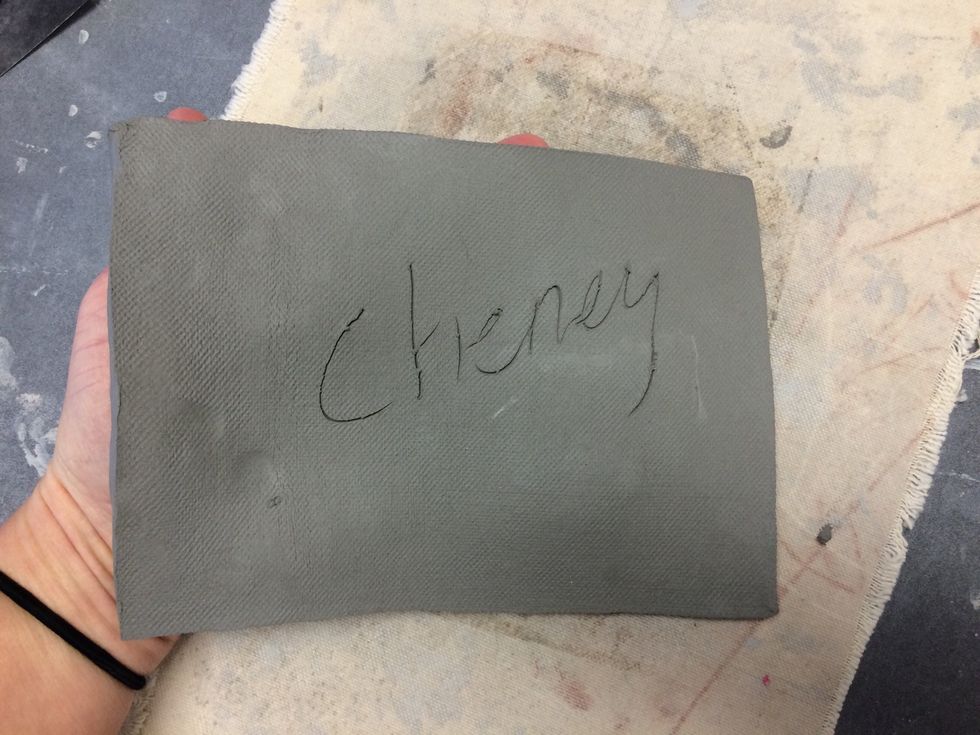
Write your name on your clay lightly with the needle tool and flip it over.
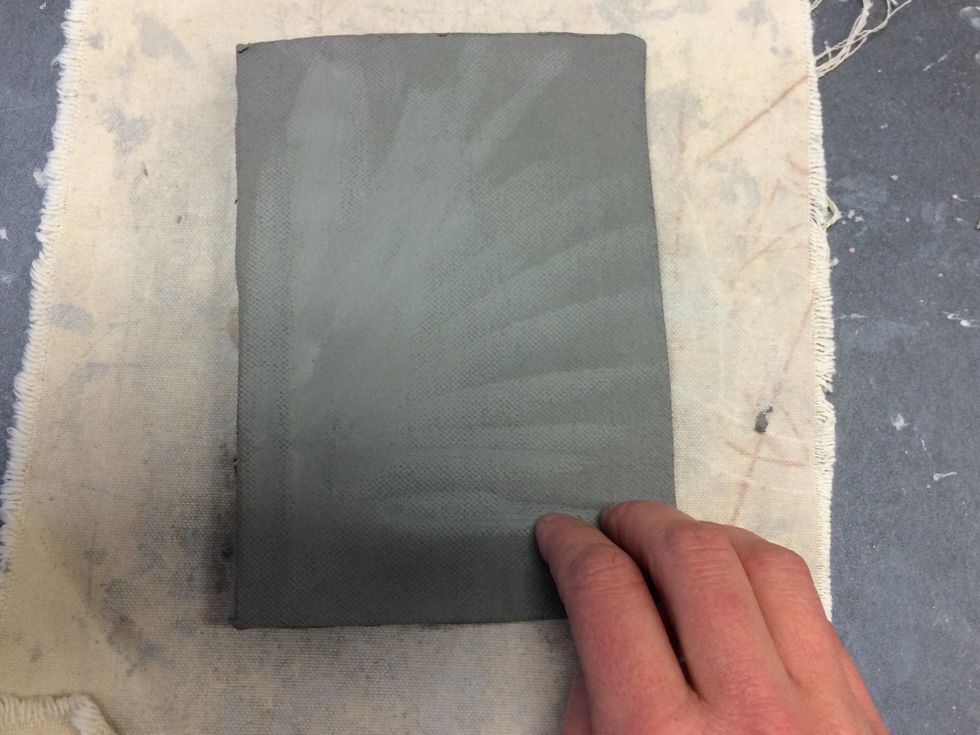
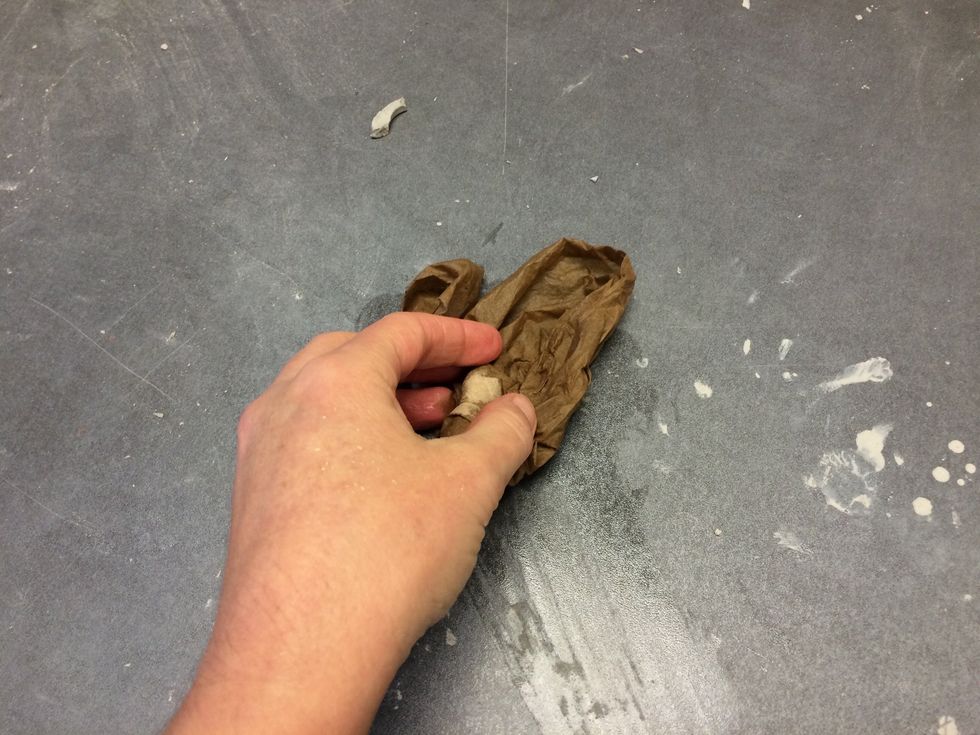
Smooth out your clay on the top and the edges. Do not press too hard with your hands when smoothing.
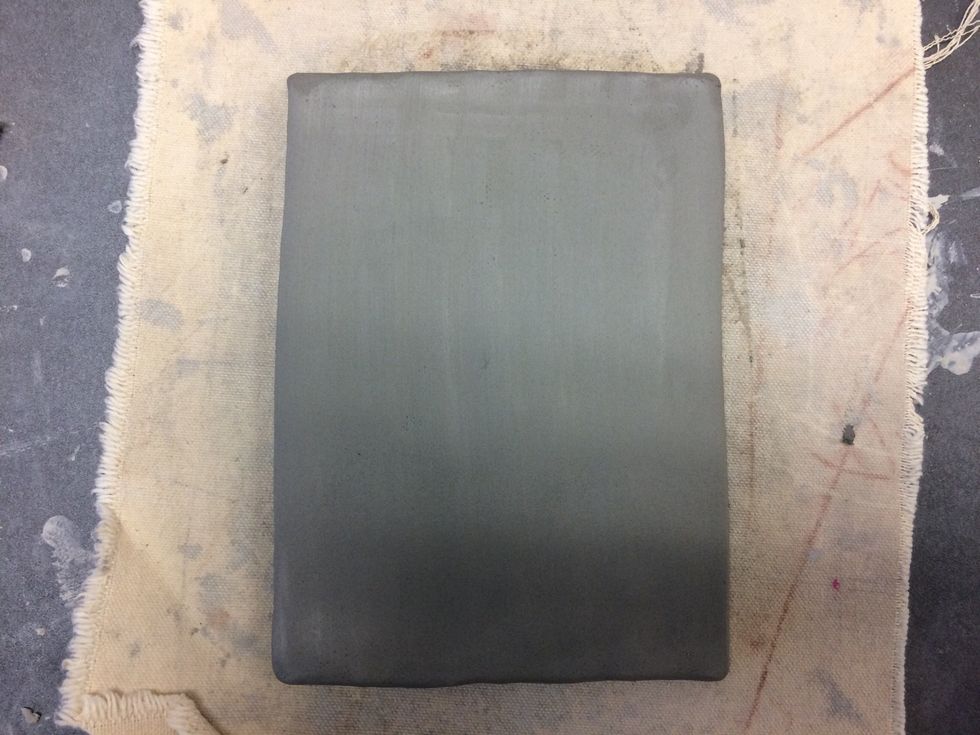
It should look like this when you are done. Nice and smooth!!!
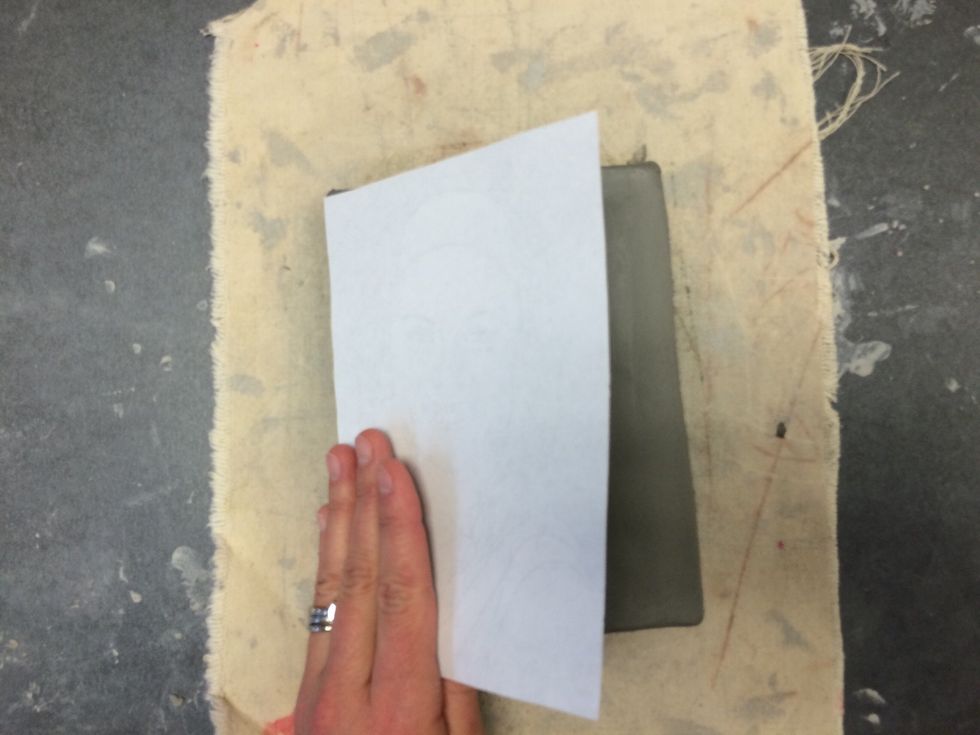
Lay your outlined photo FACE DOWN on your clay.
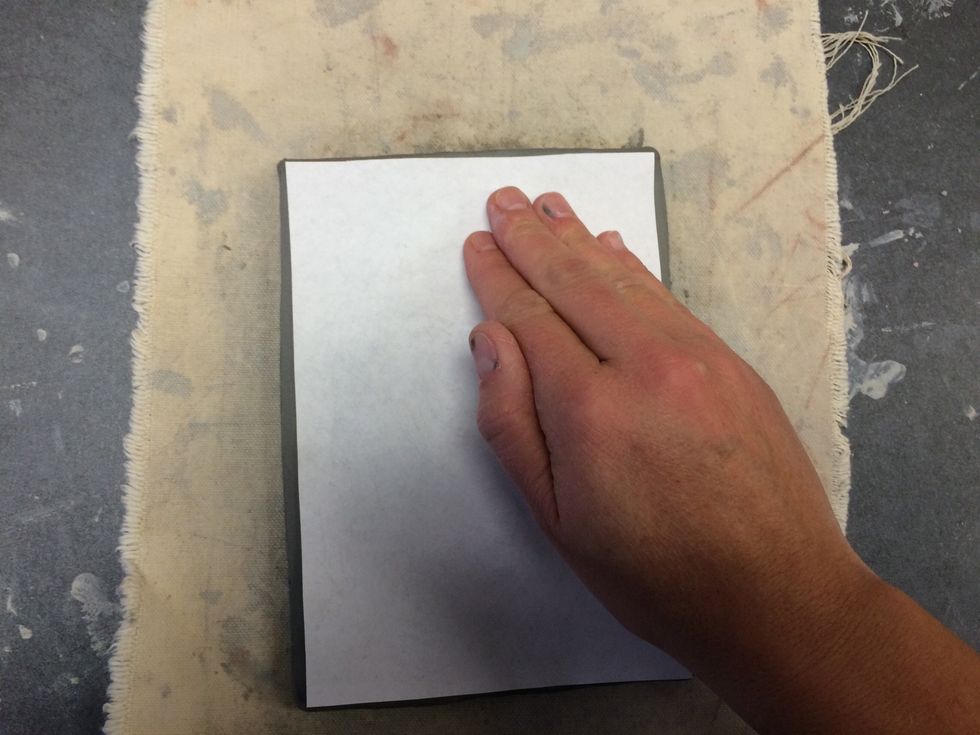
Rub the back of your photo gently from top to bottom and side to side.
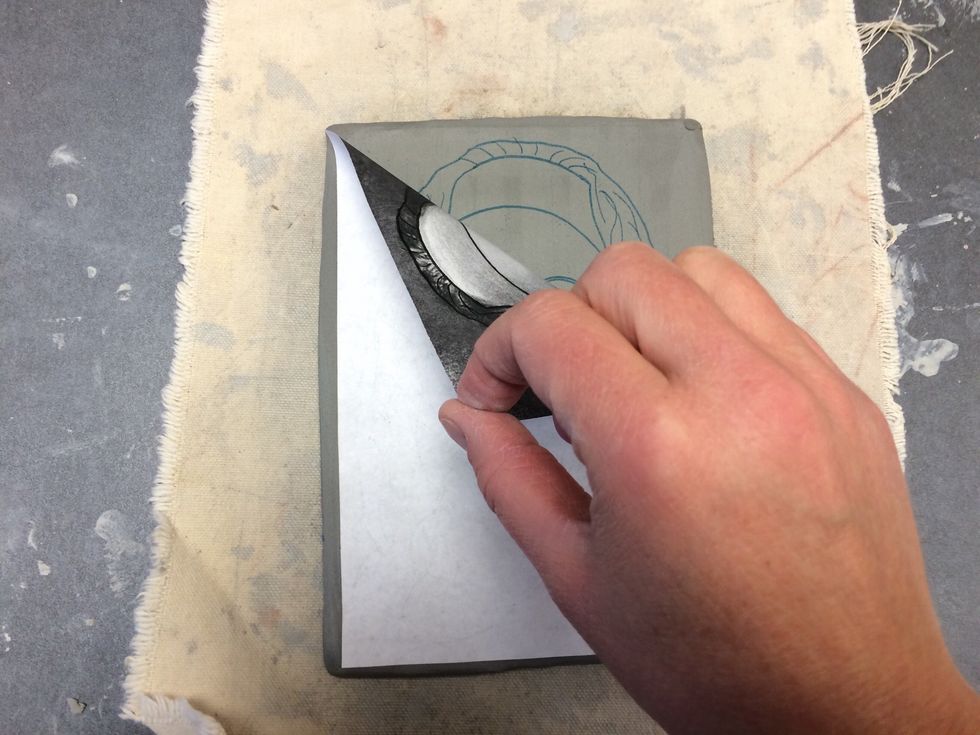
Gently peel your photo off.

Your face is now on your piece of clay!
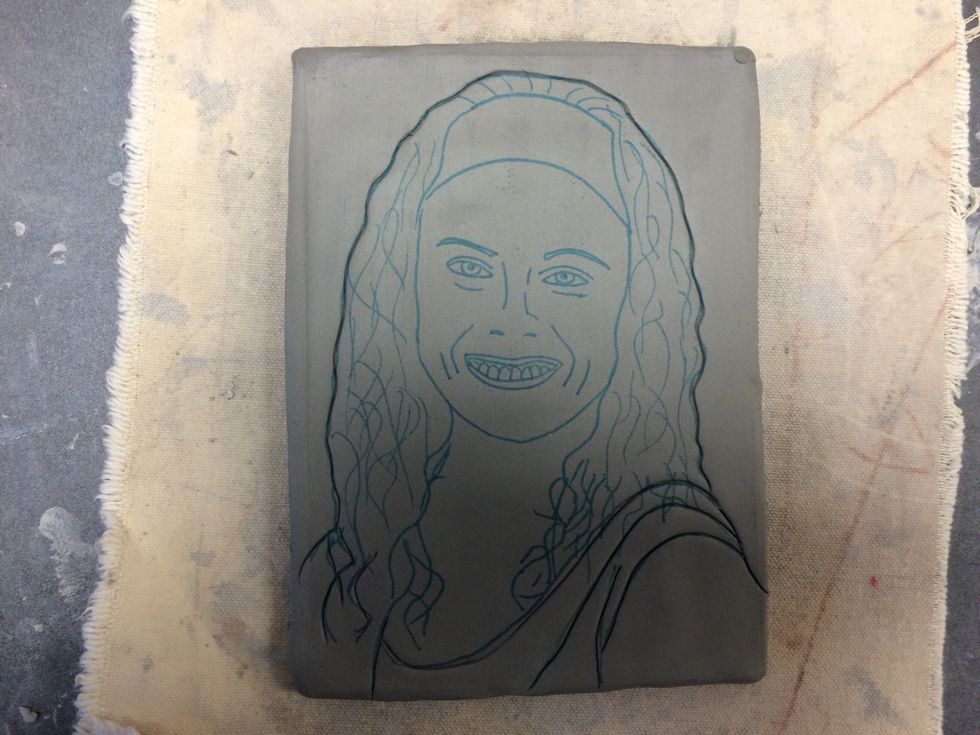
Begin going over your lines LIGHTLY with the needle tool.
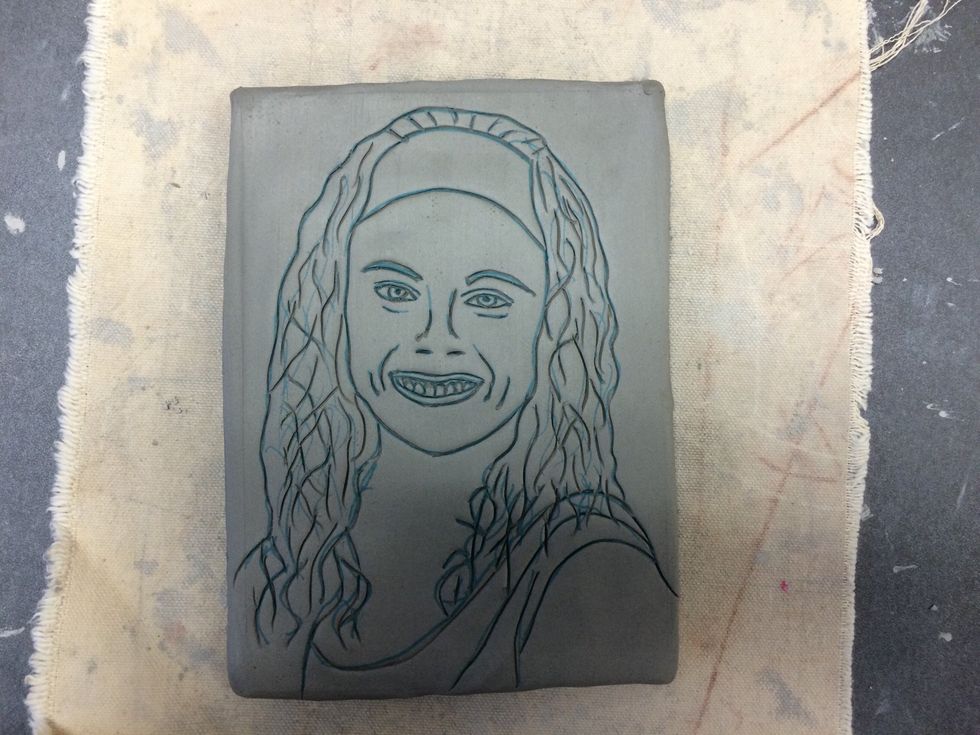
It should look like this when you are done. Check with Mrs. Cheney to be sure you got all of the lines.
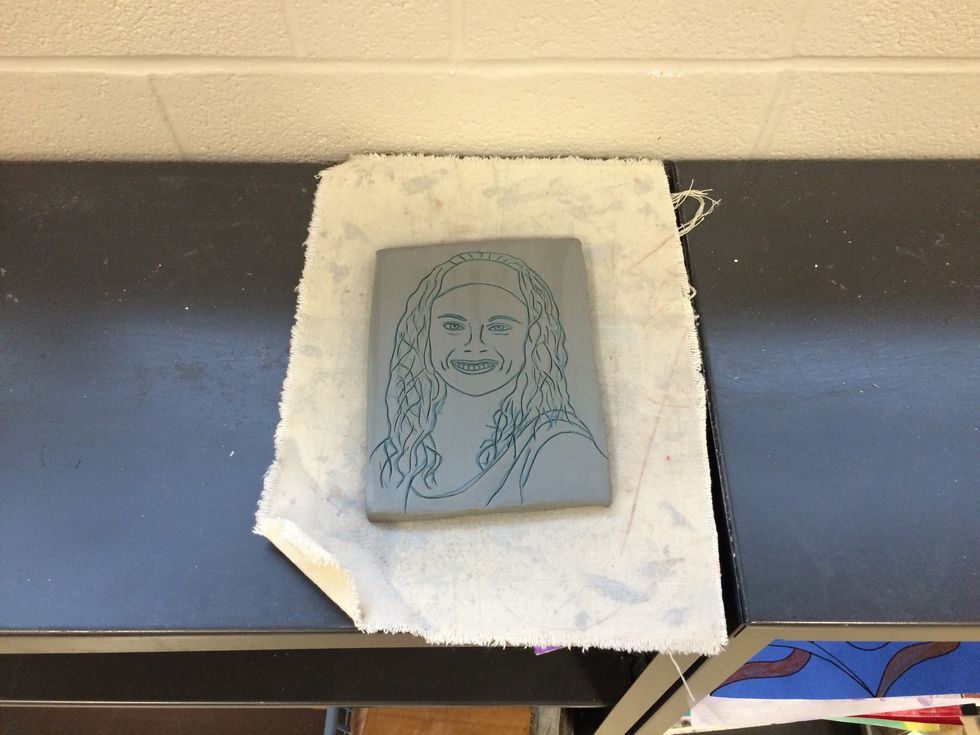
Place your portrait on the shelf to dry.
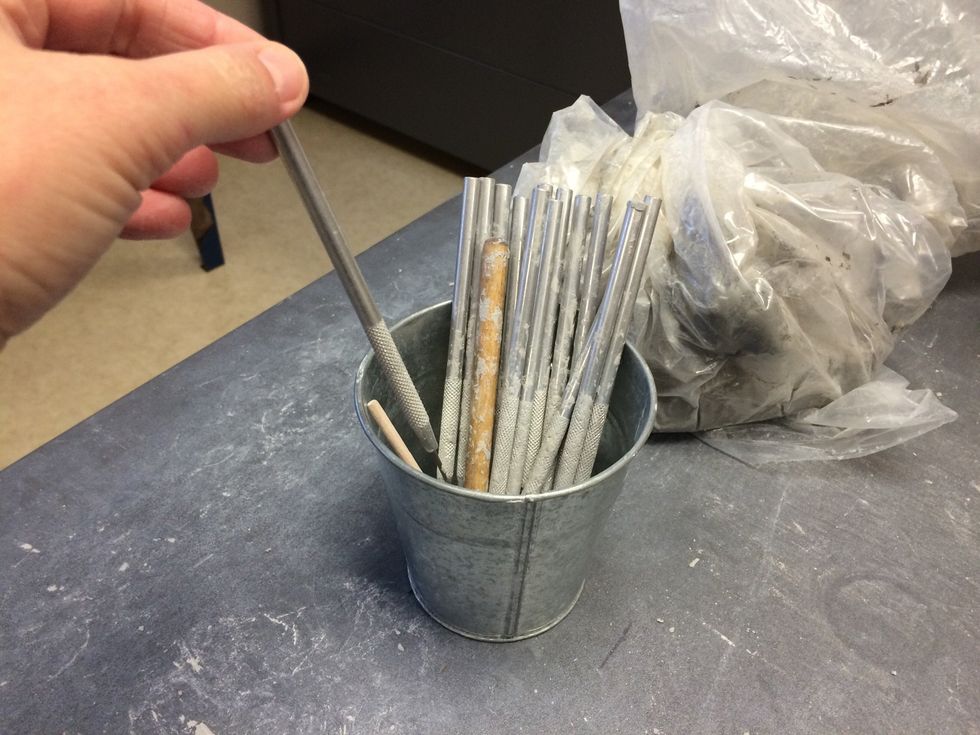
Put your needle tool away.
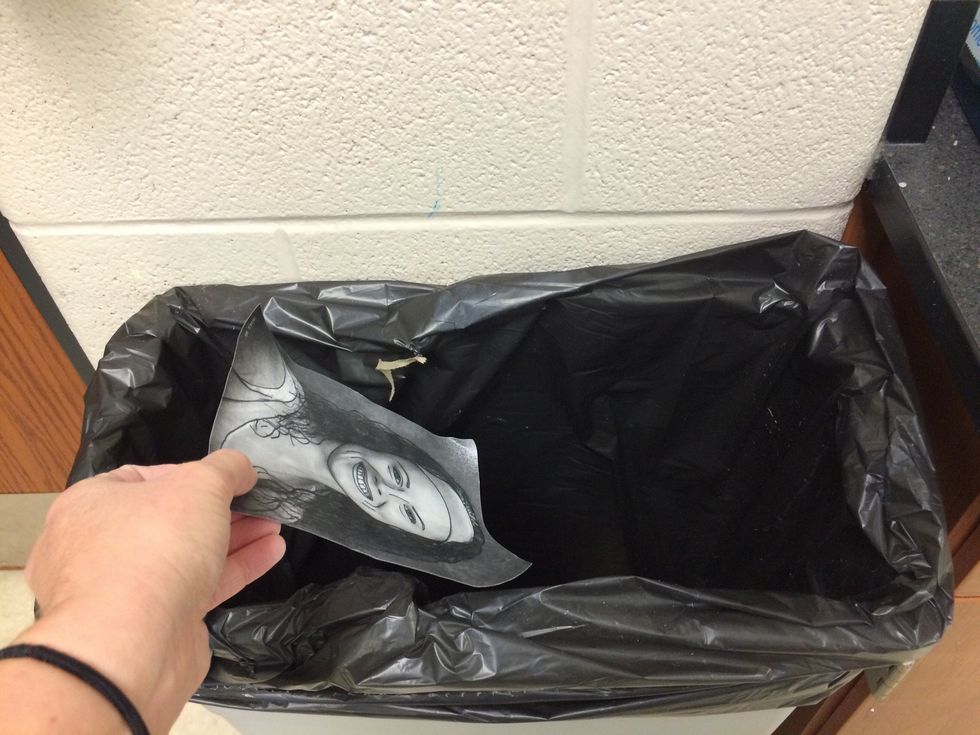
Throw your photo away.
Wipe off your area. You are done! Next week we will paint your self portraits!