The Conversation (0)
Sign Up
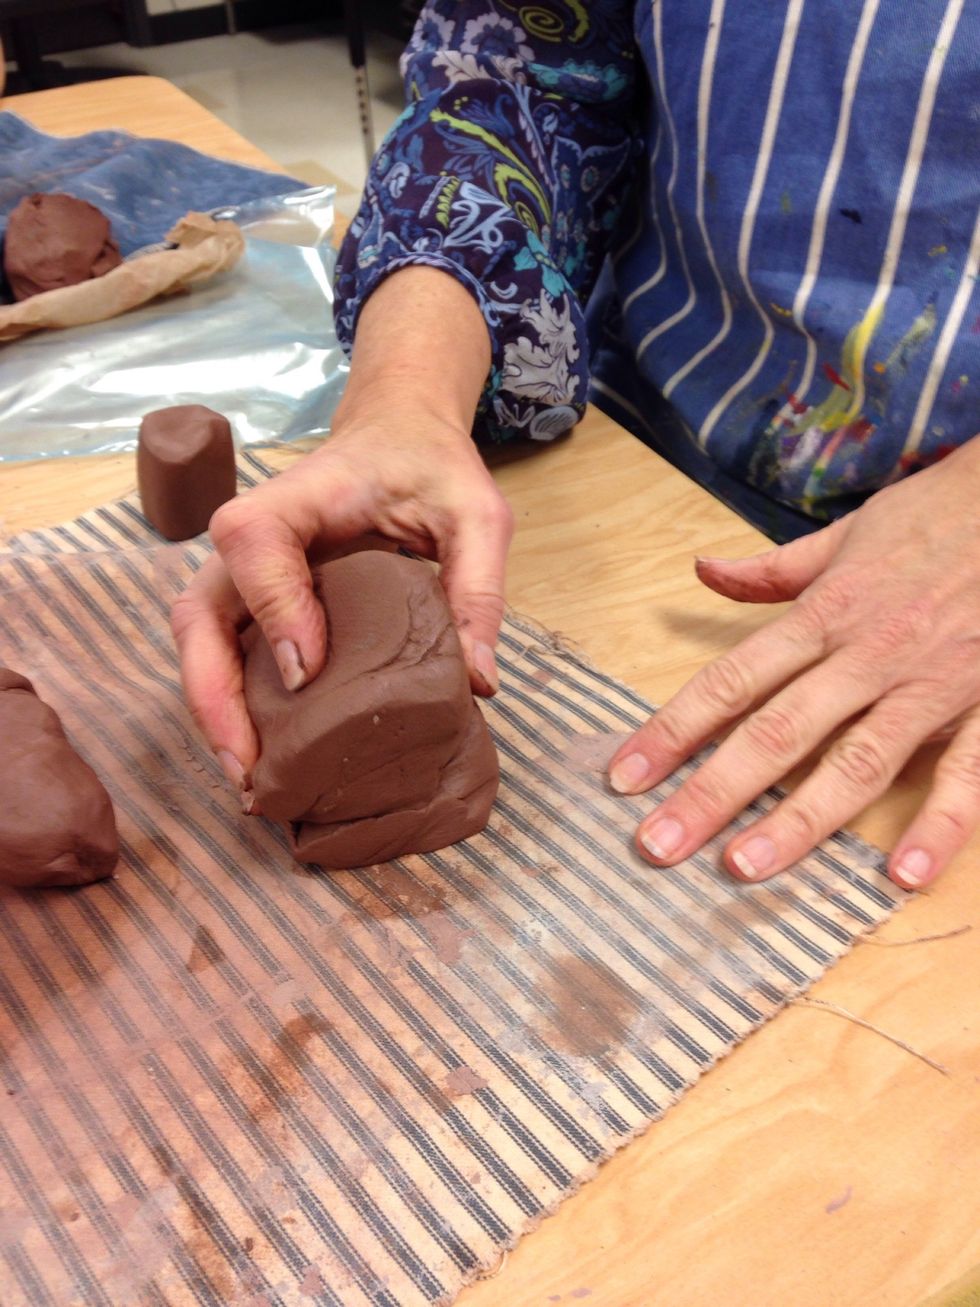
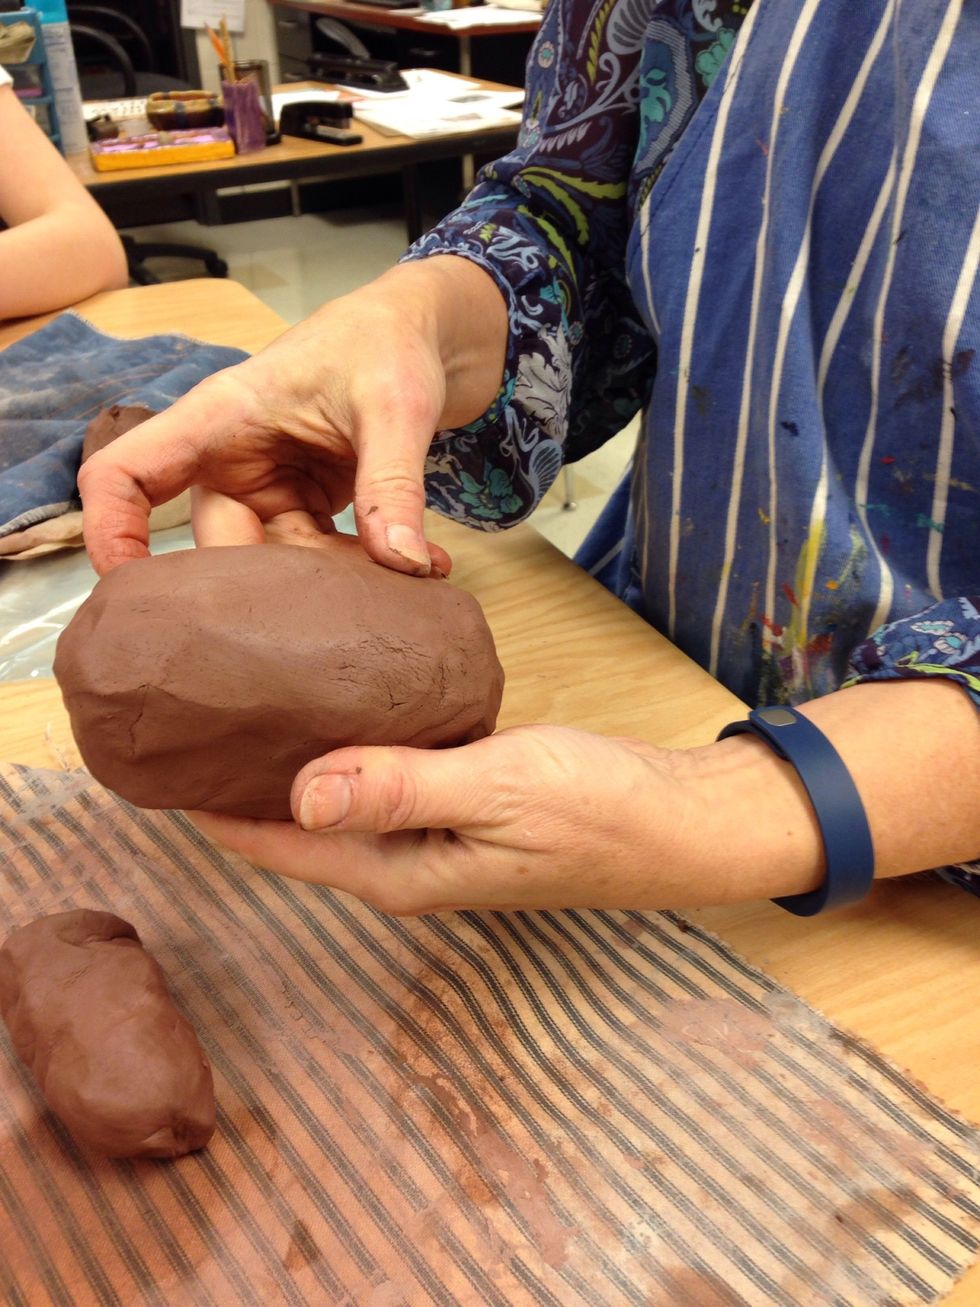
Wedge clay to remove air pockets by tapping it in the table.
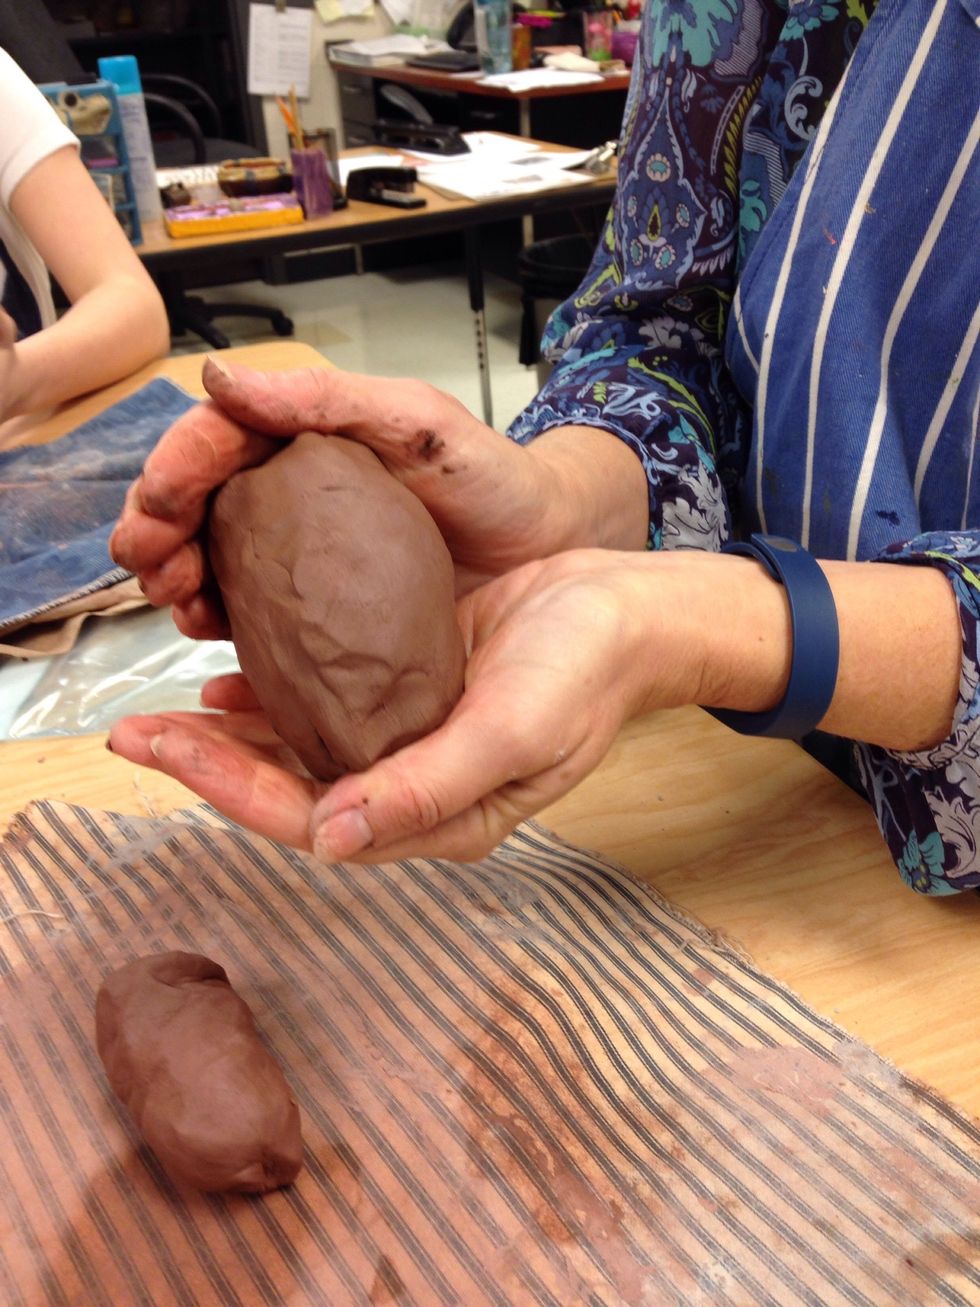
Form clay into a potato shape.
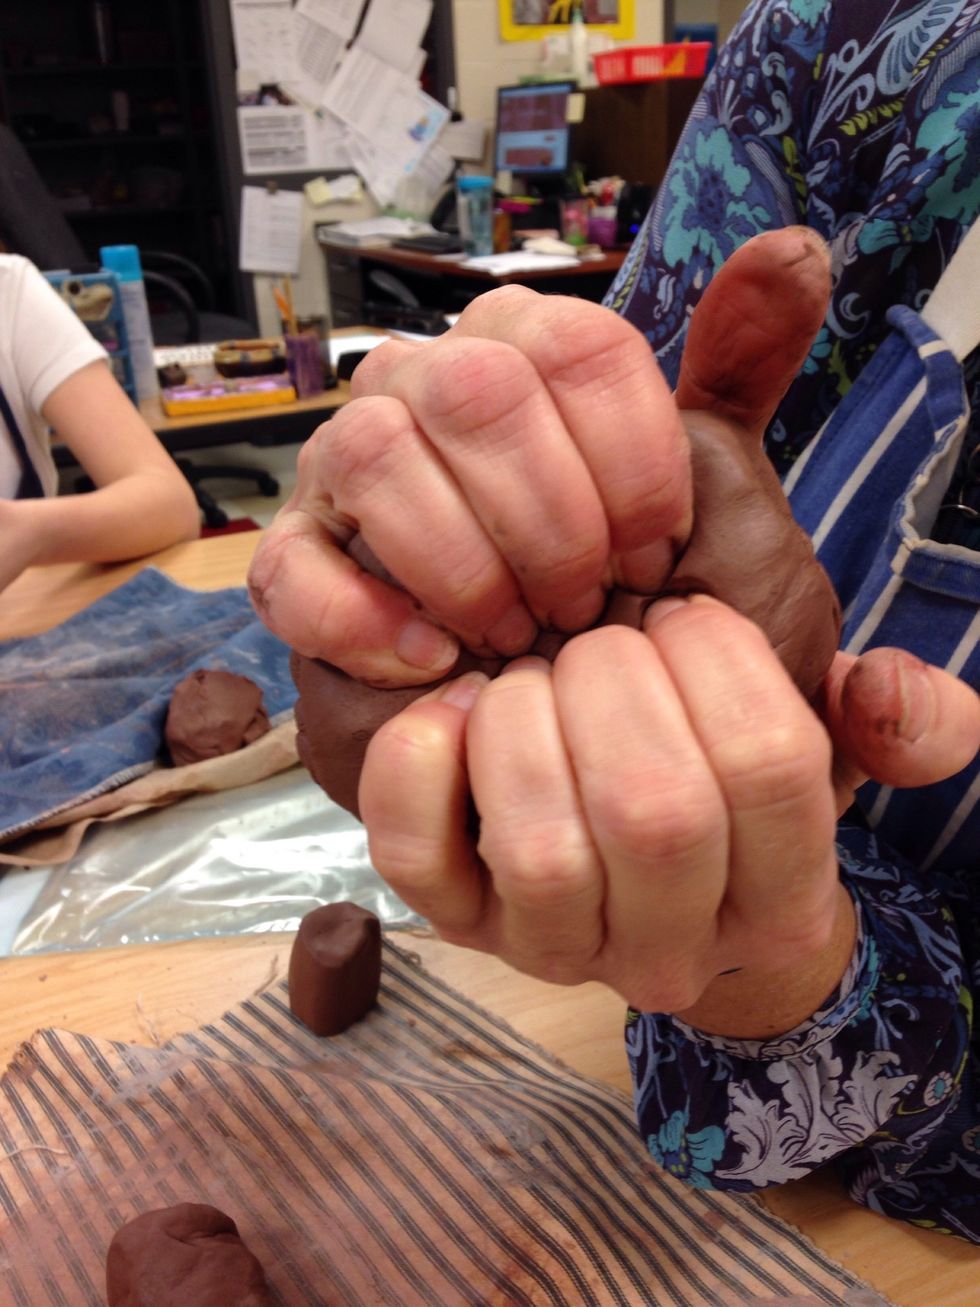
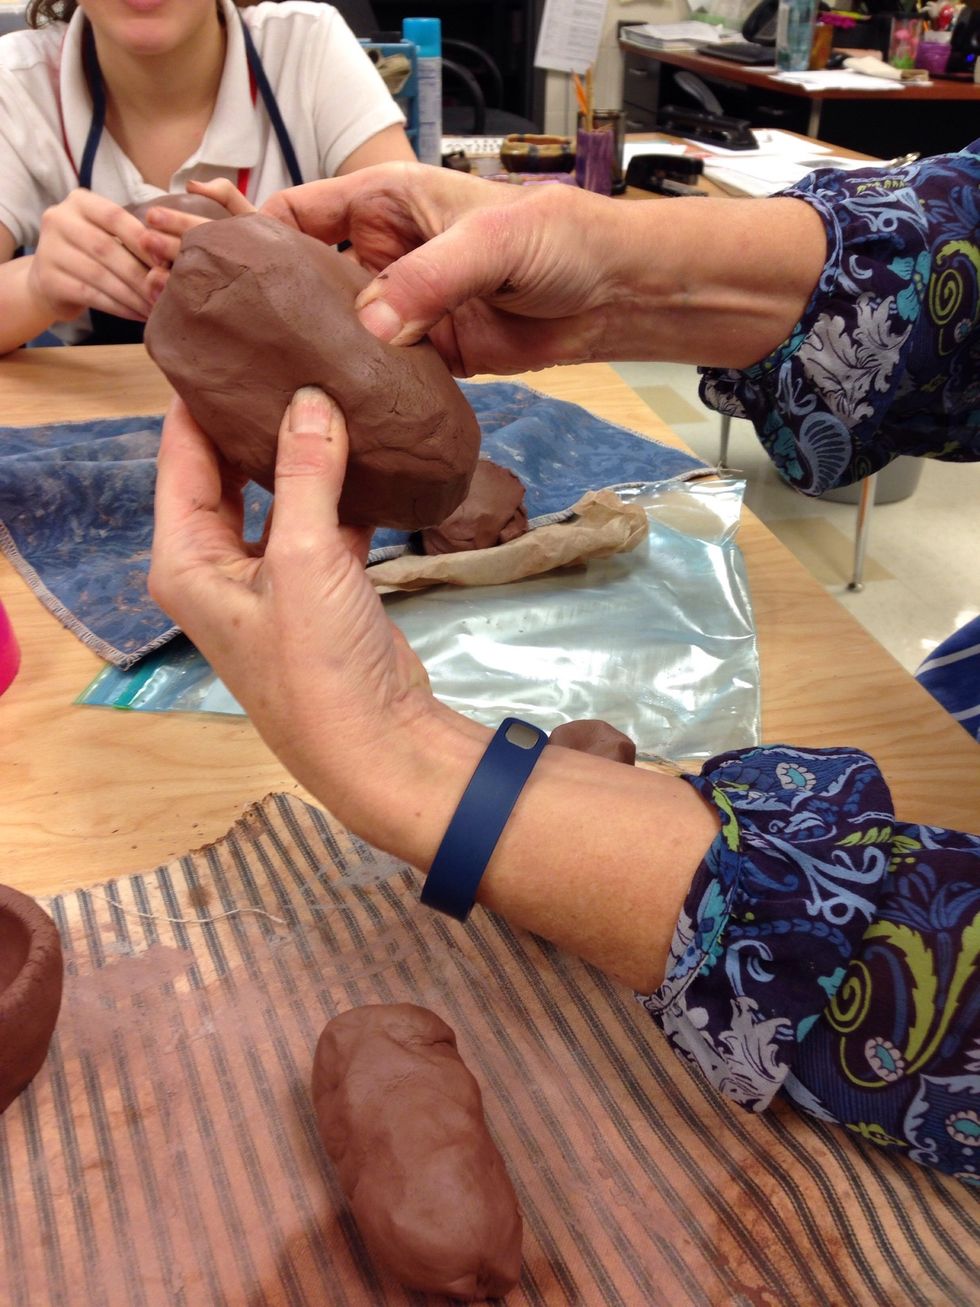
Push fingers into the center to create a boat shape.
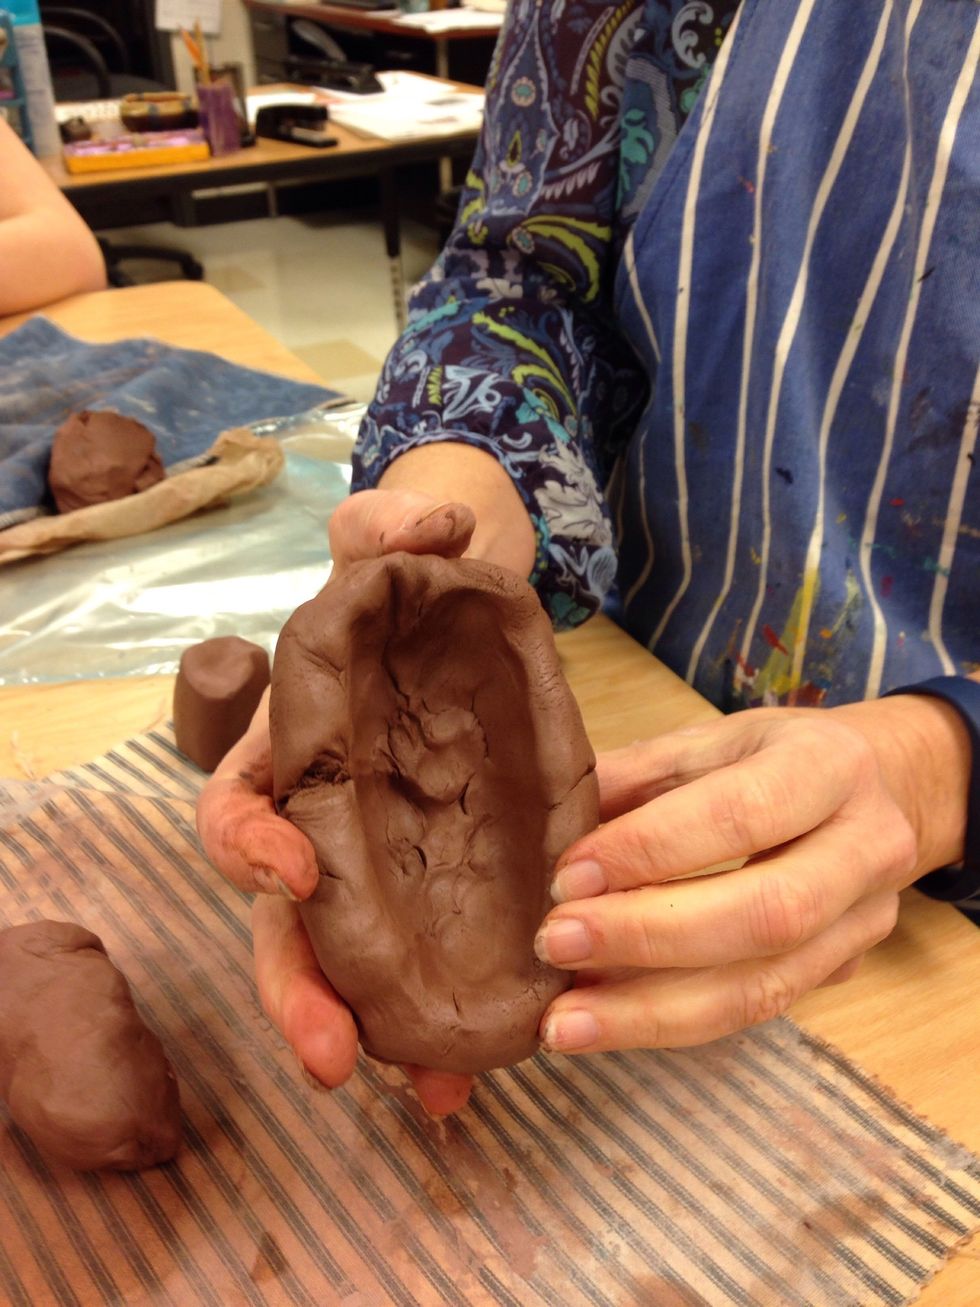
Make sure the sides aren't too thick.
Smooth the side for the face.
Press thumbs in the middle of the oval for the eye sockets.
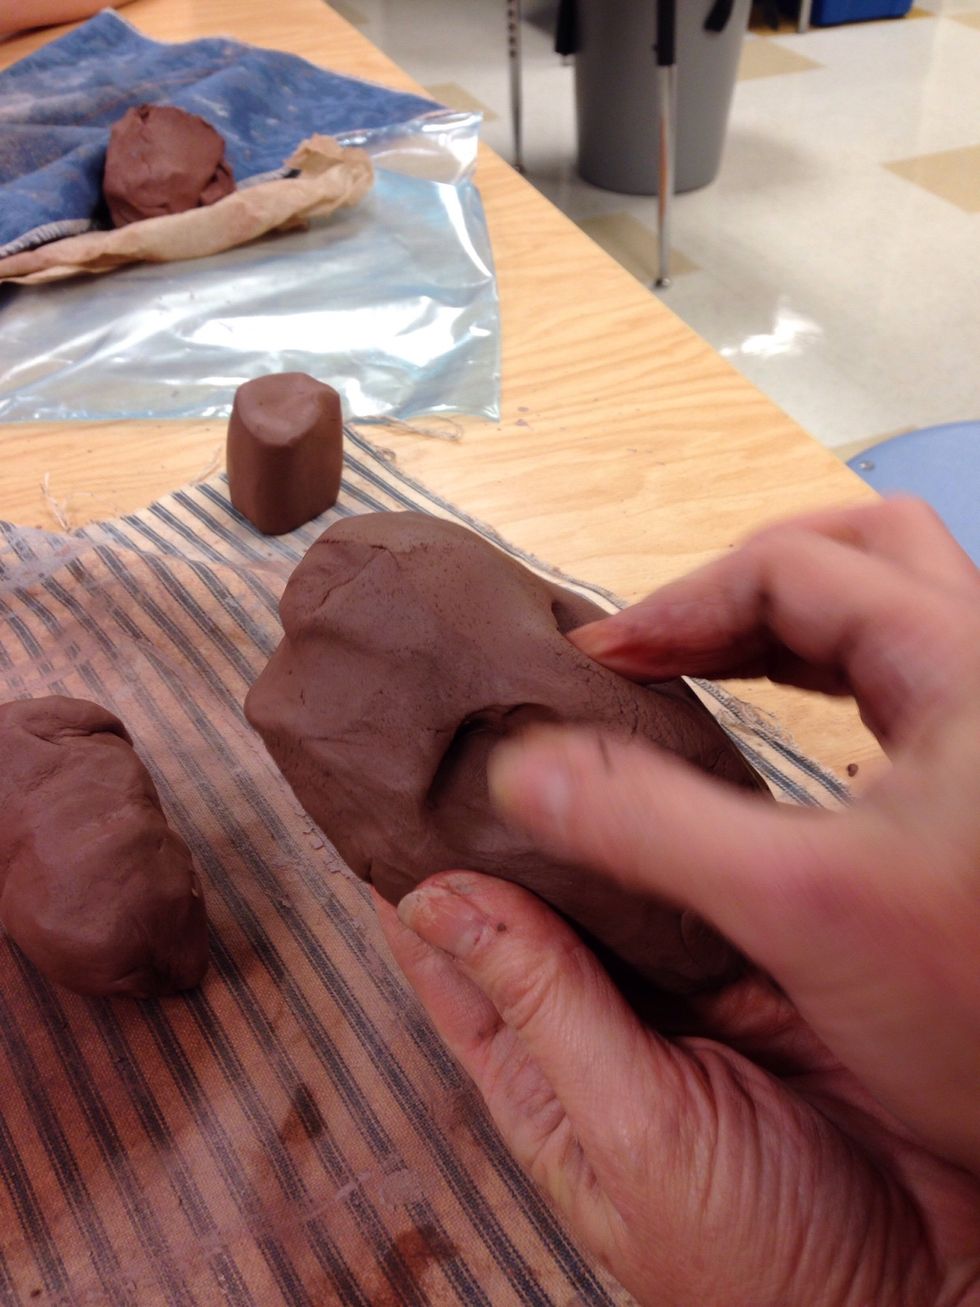
Pinch the nose.
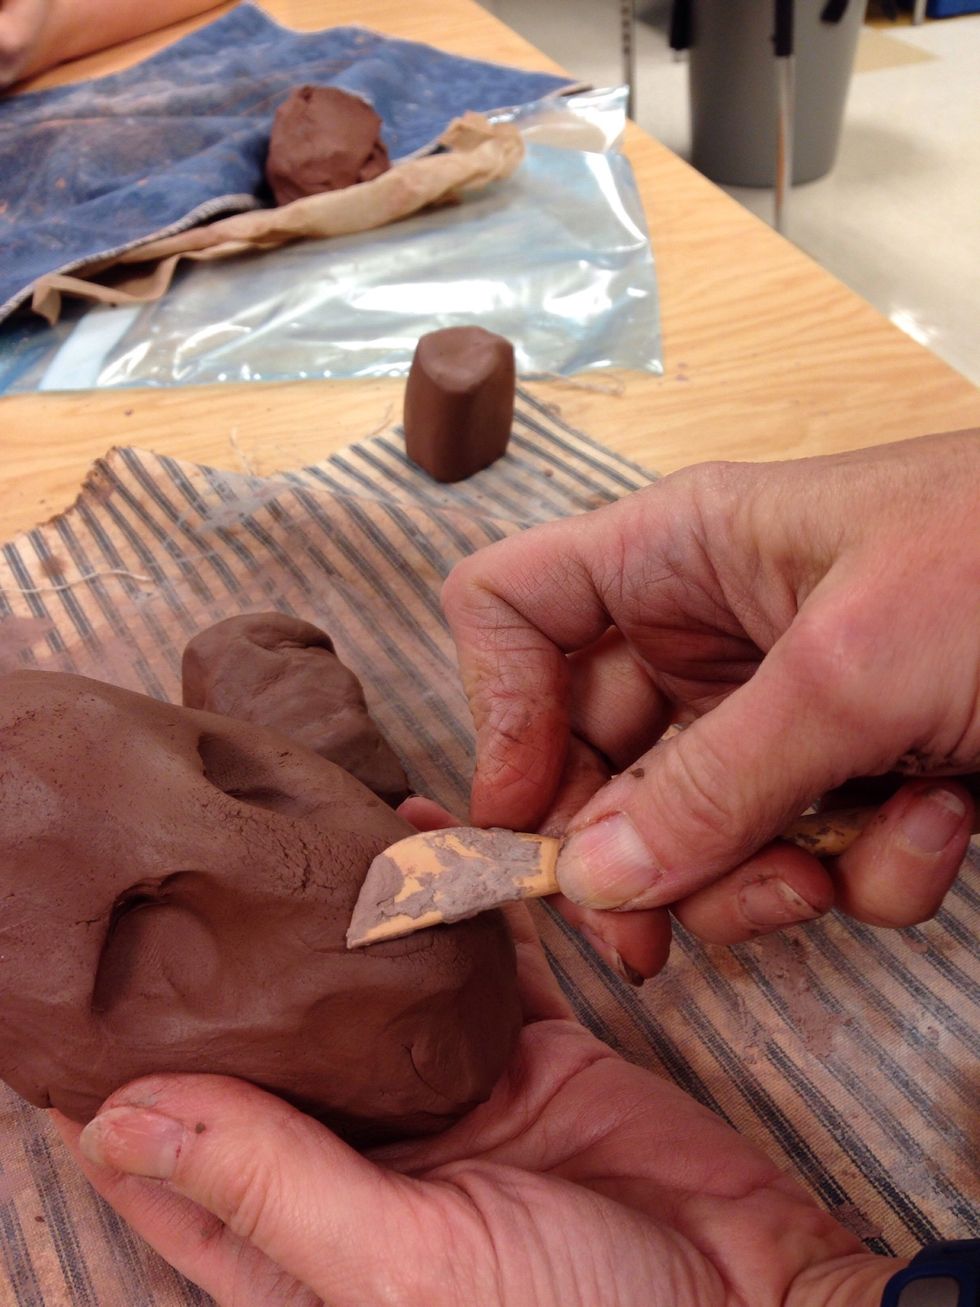
Using a clay tool press to create the bottom of the nose.
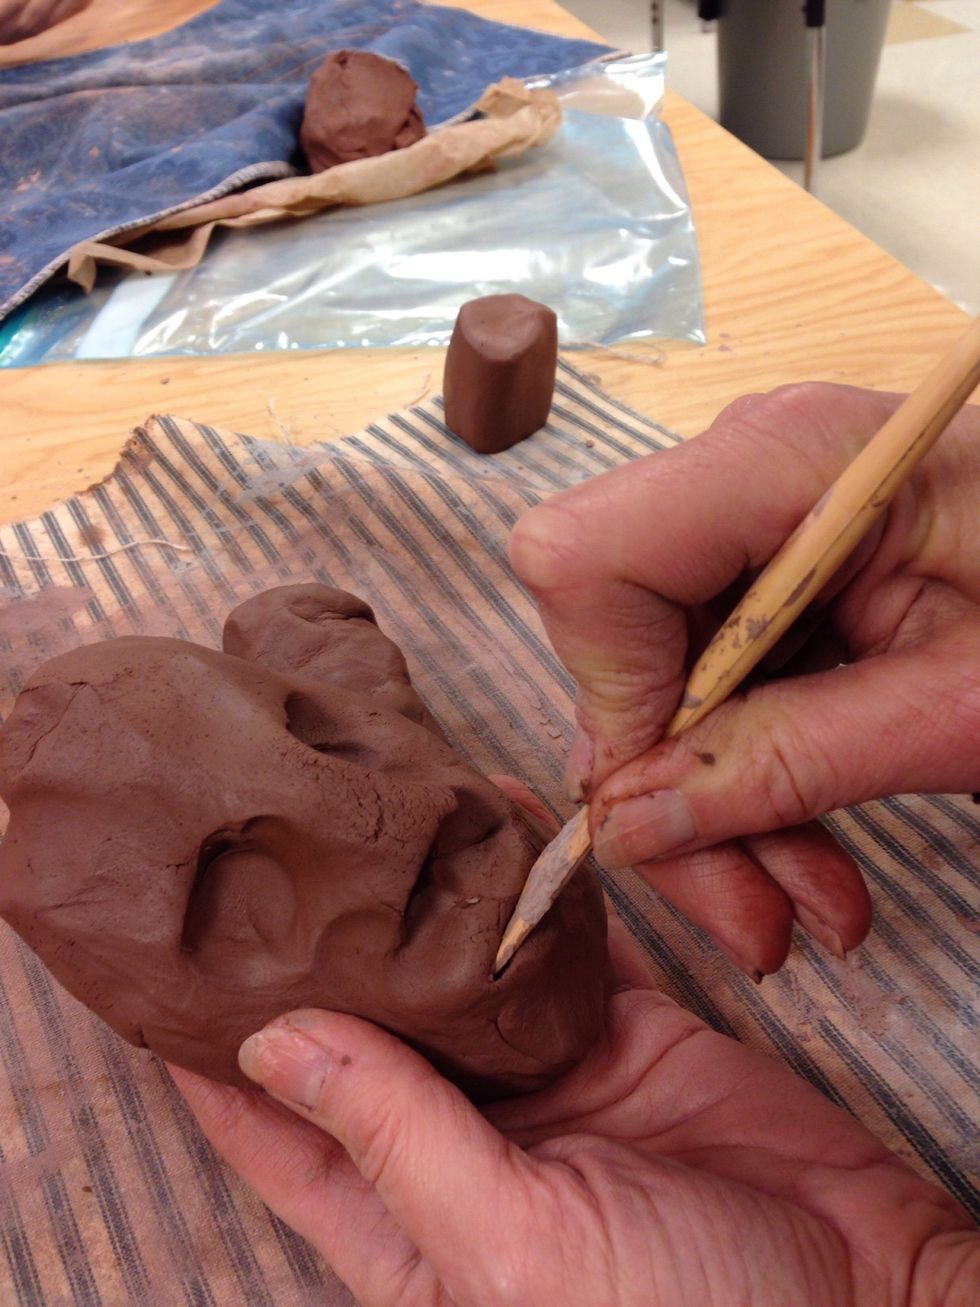
Cut the mouth. Model the nose and lips.
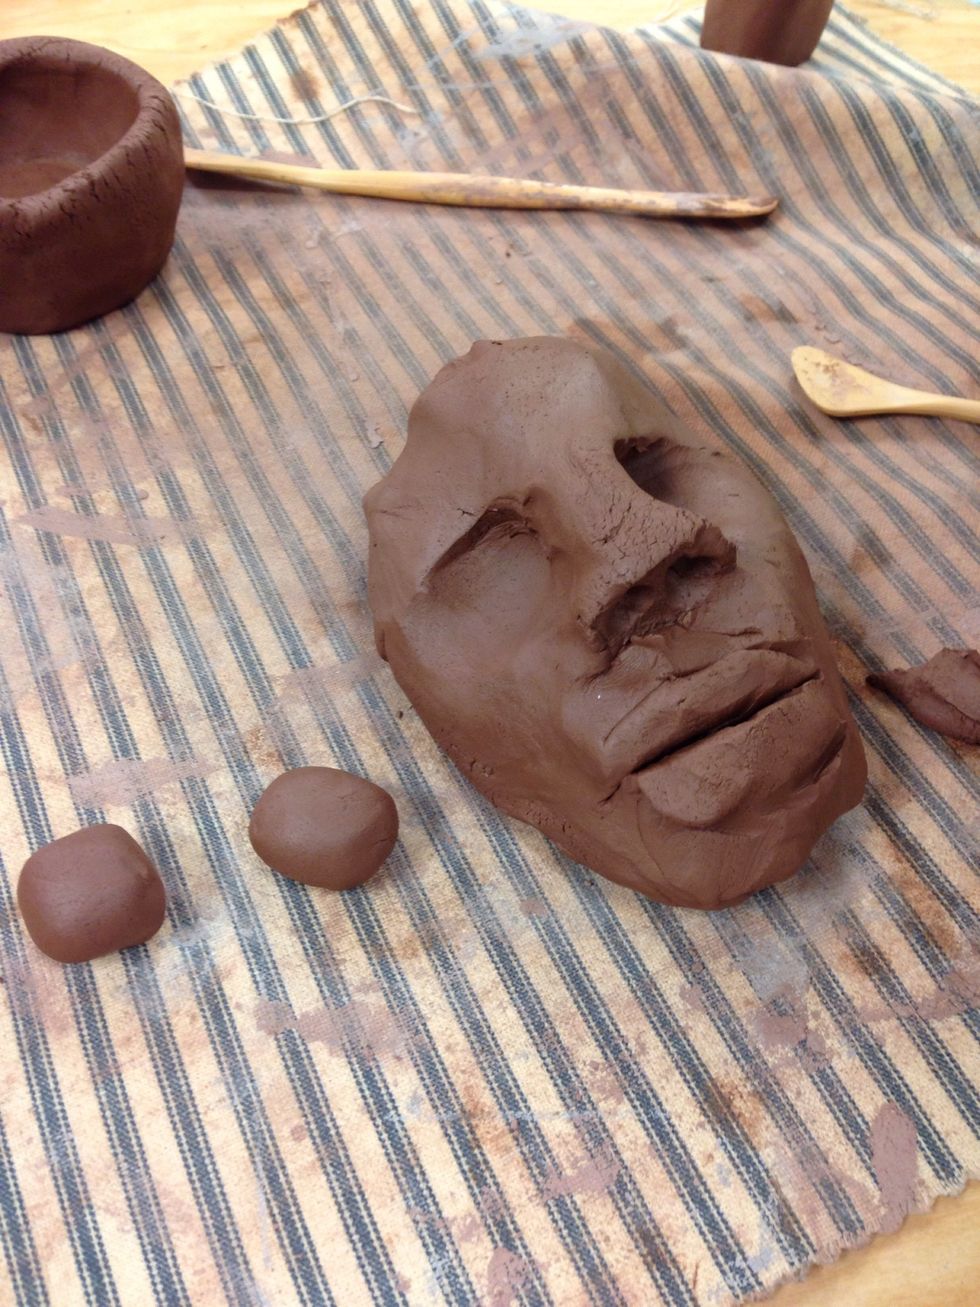
Roll 2 small eyeballs.
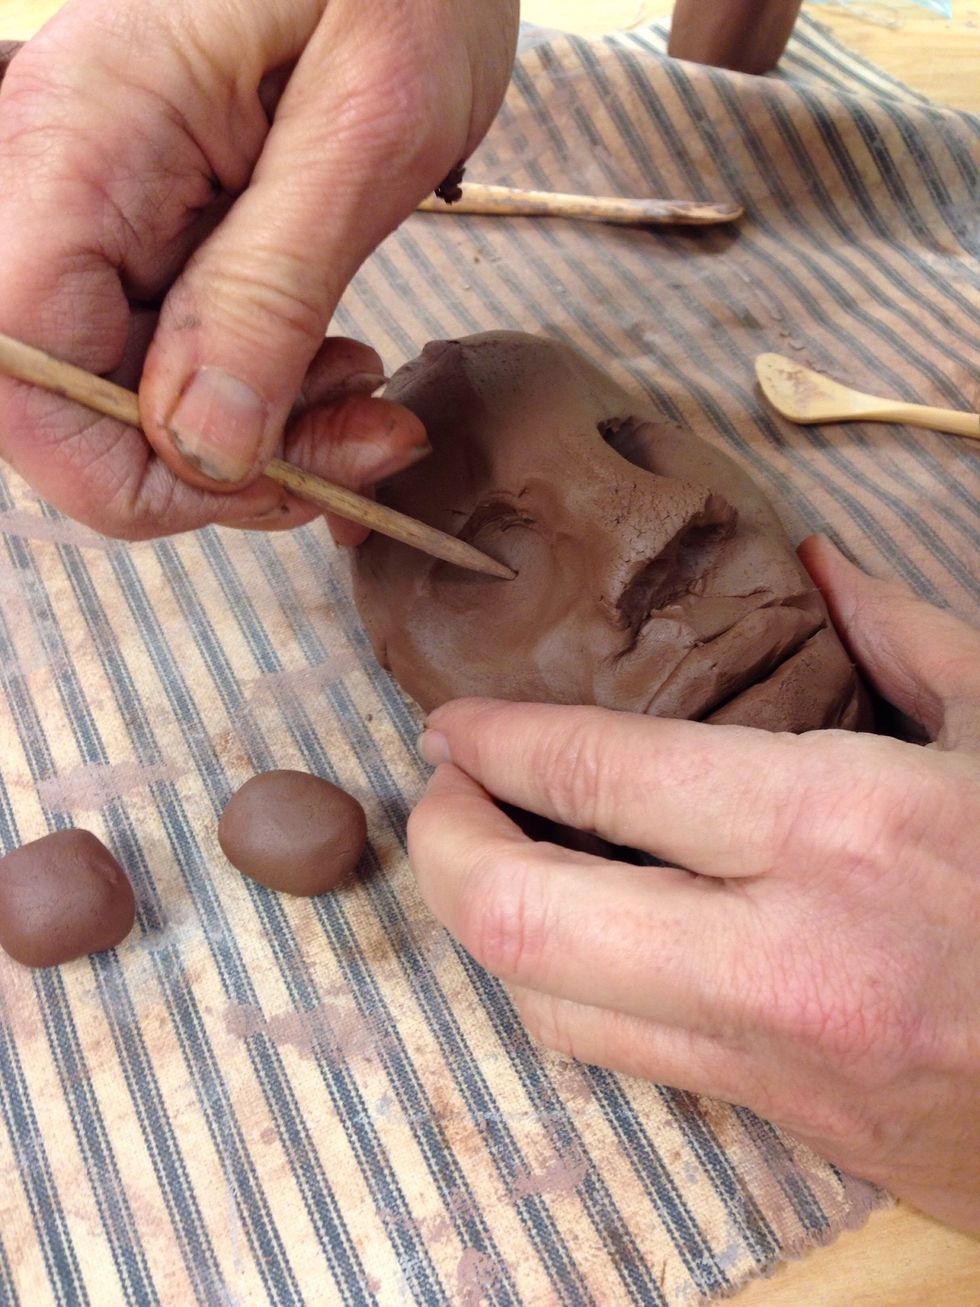
Cut a slit in the eye socket.
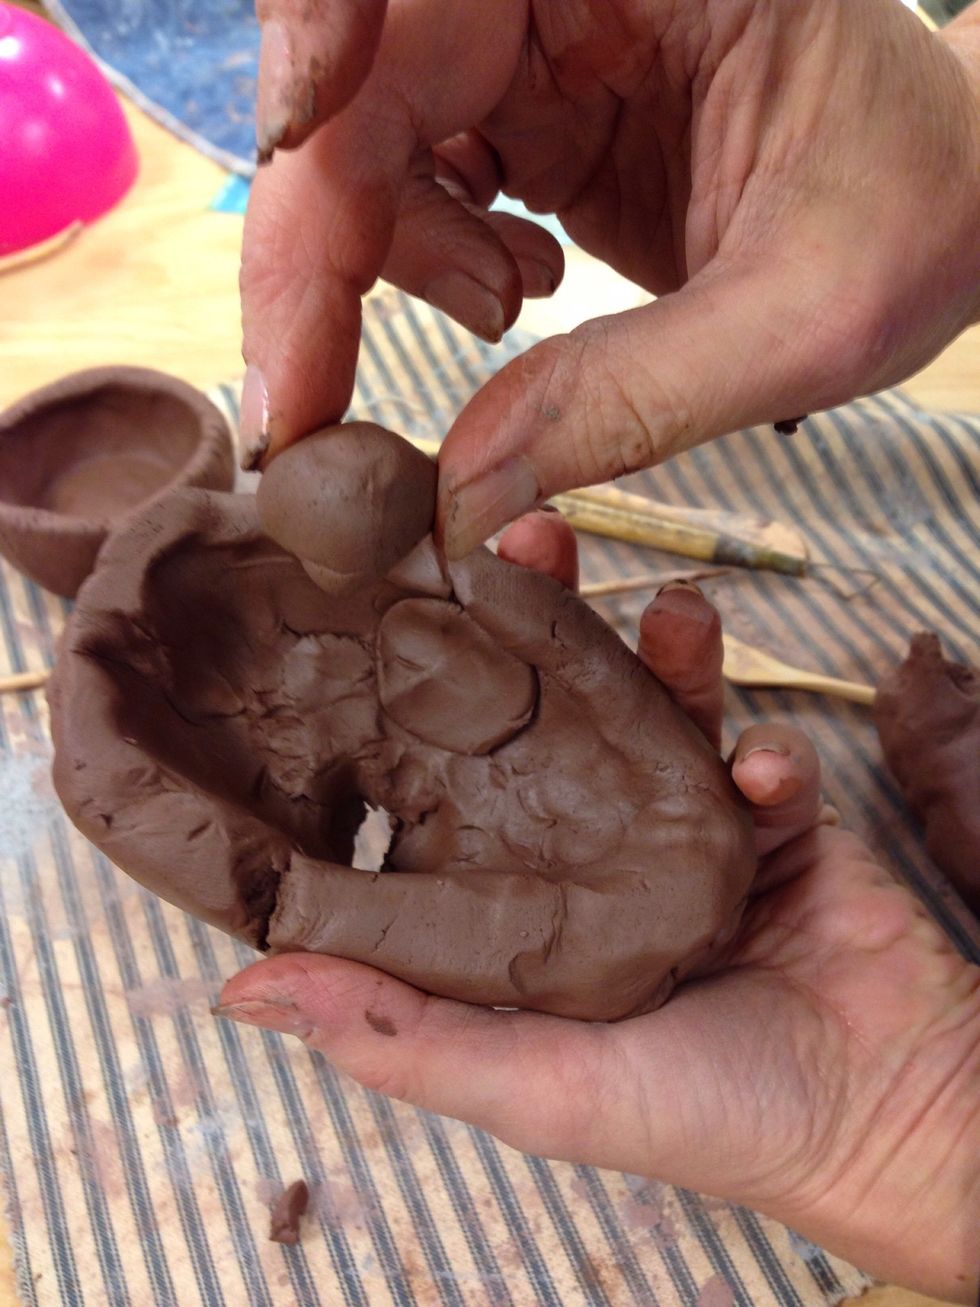
Press the eyeball from the back through the slit. This will form the eyelids.
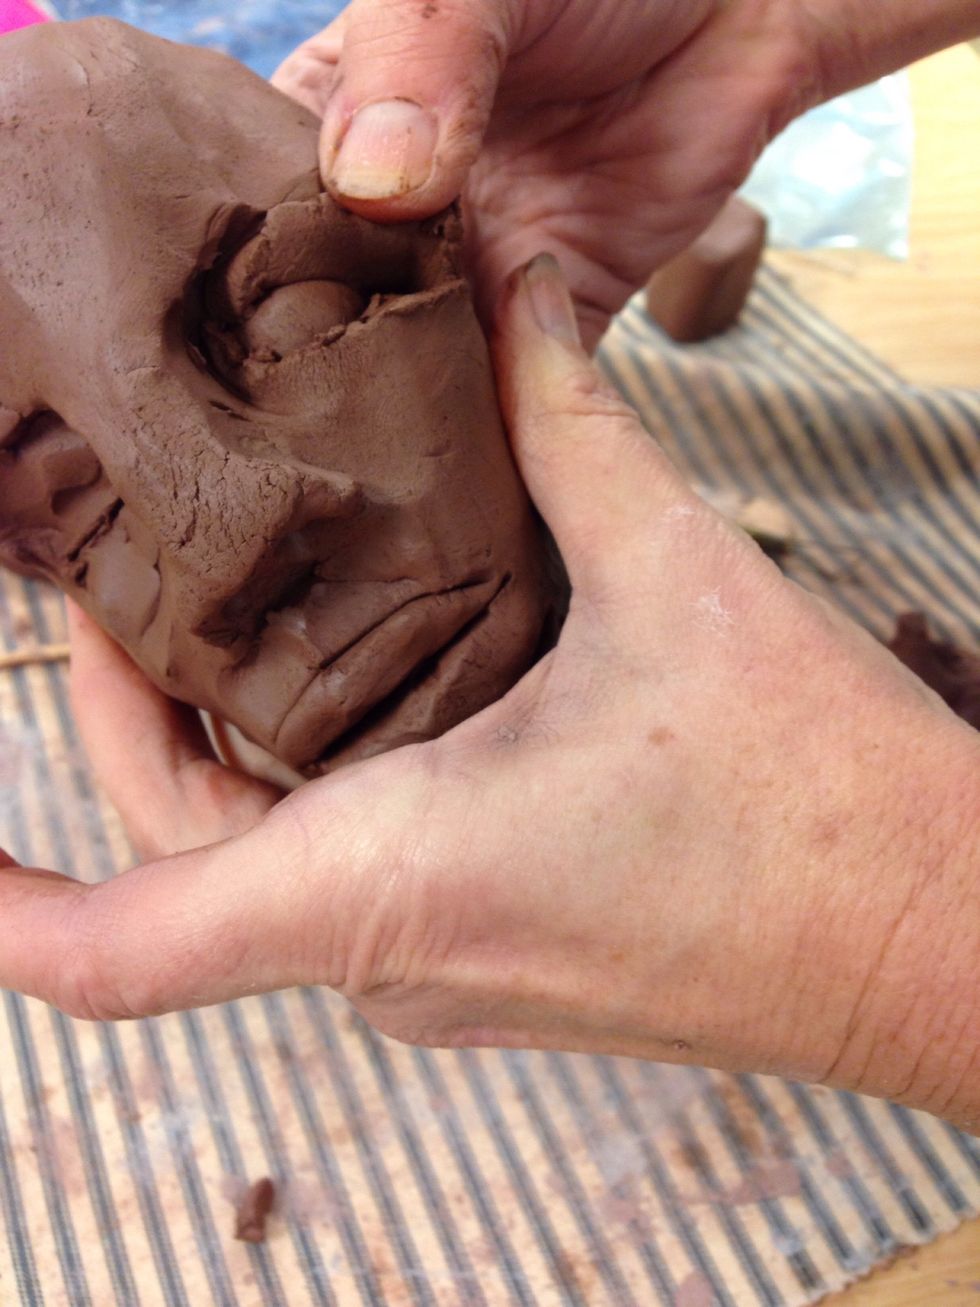
Model the lids and smooth out cracks.
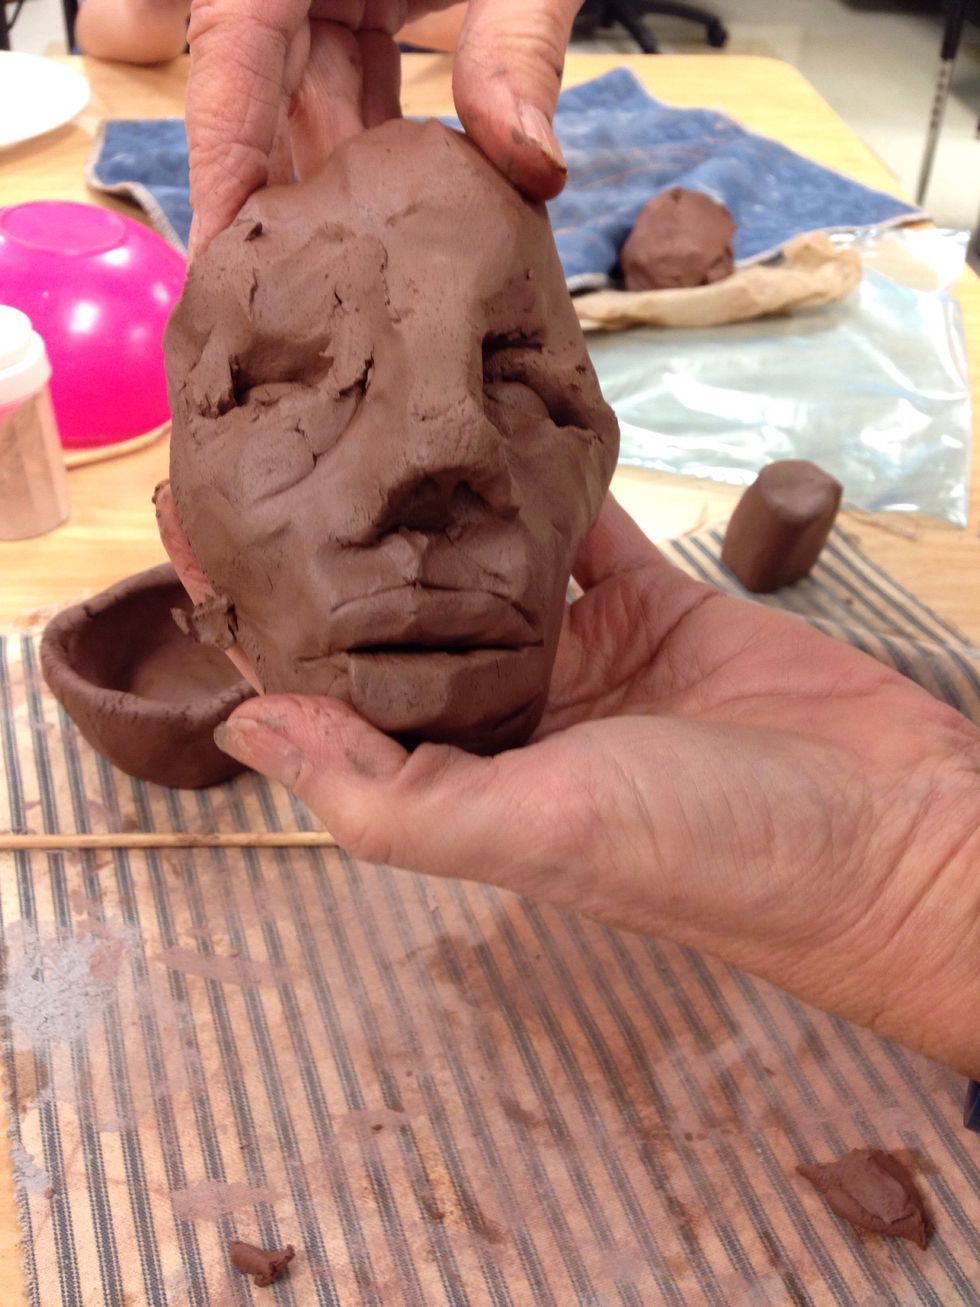
Repeat on the other side.
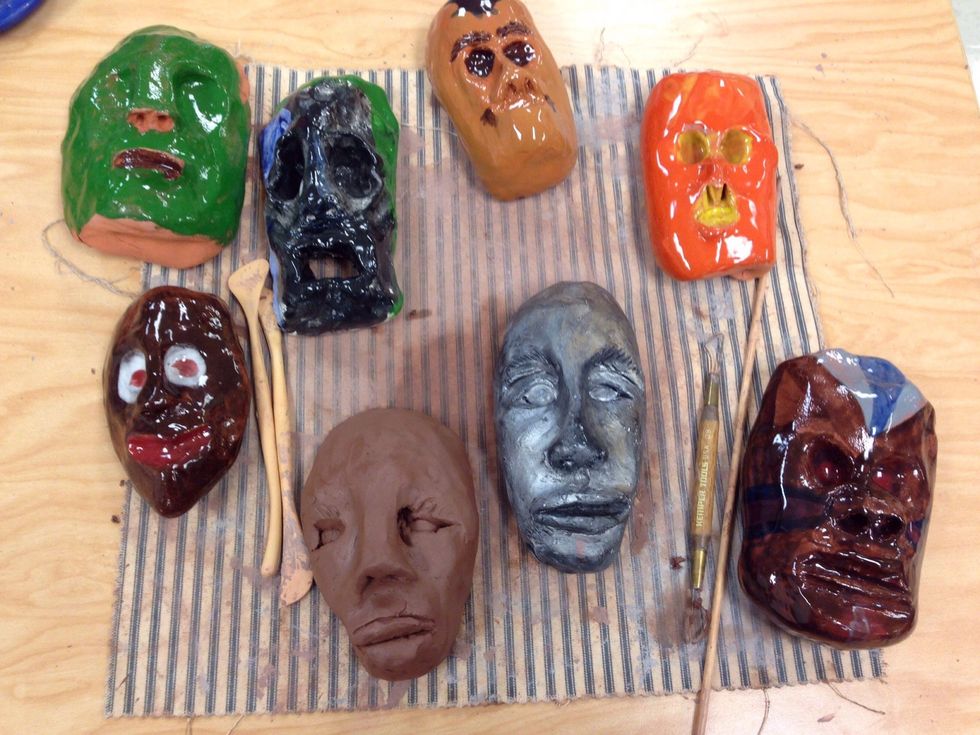
Add details. After firing in a kiln or air drying you can glaze or paint your little face.