The Conversation (0)
Sign Up

I used A5 drawing block, it makes good card stock.
Tear out a piece of drawing block, and fold into half. Rub the creases down with a ruler. Fold over to the other side and repeat to get neater creases.

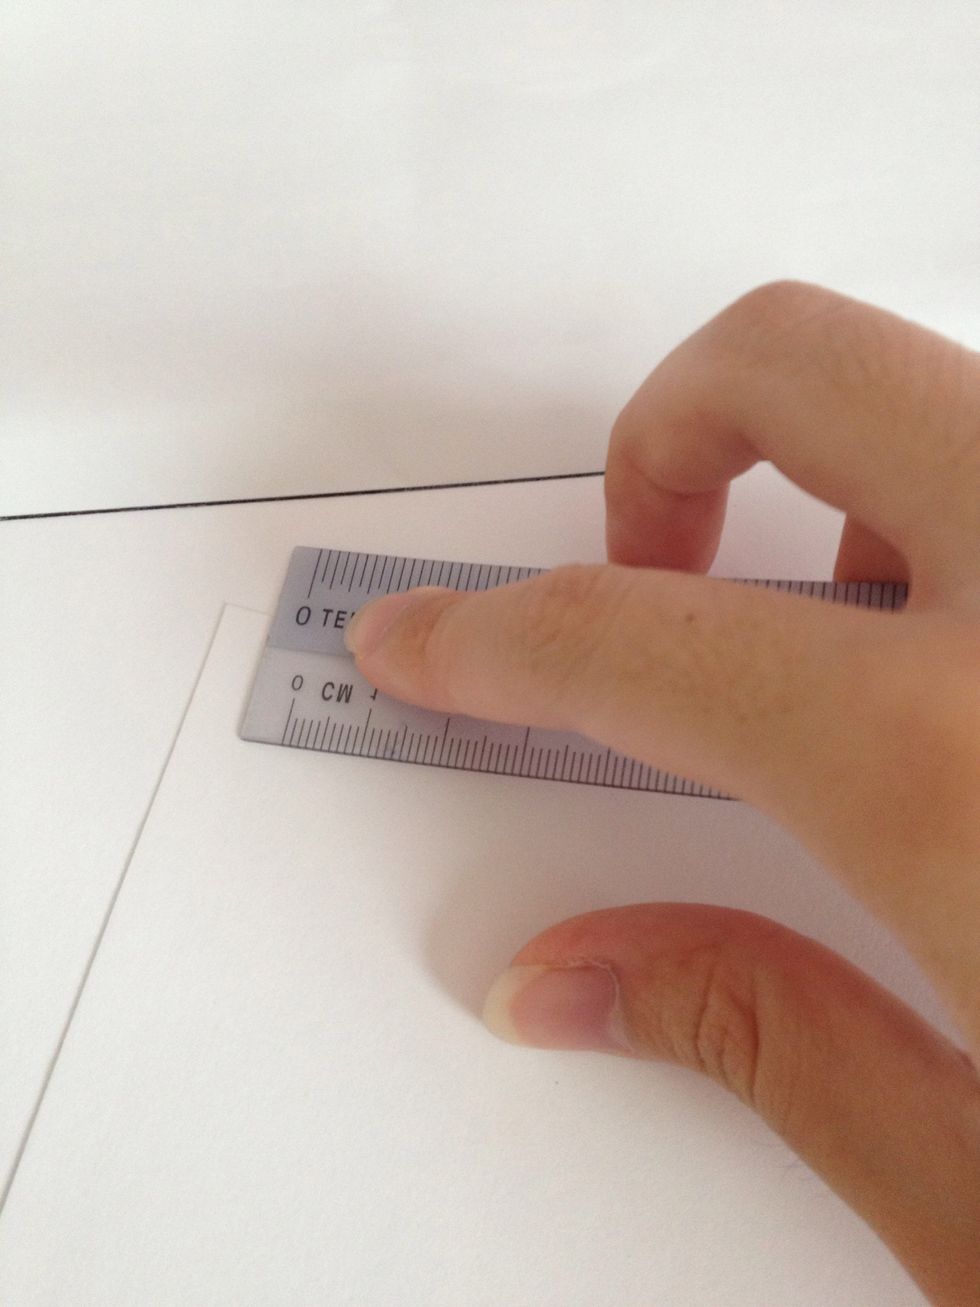
Measure the exact dimensions of the front of the card and draw onto your patterned paper. Cut out the rectangle.
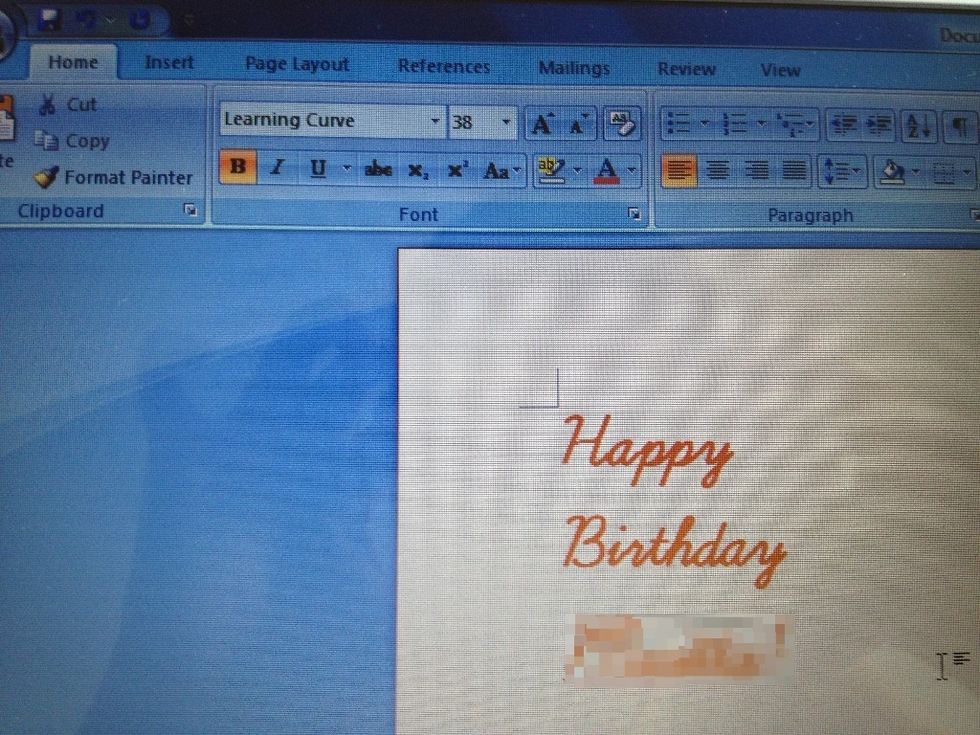
You could either type out your message on the computer, or handwrite it.

Approximate how large the message is, and use a compass to draw a circle.
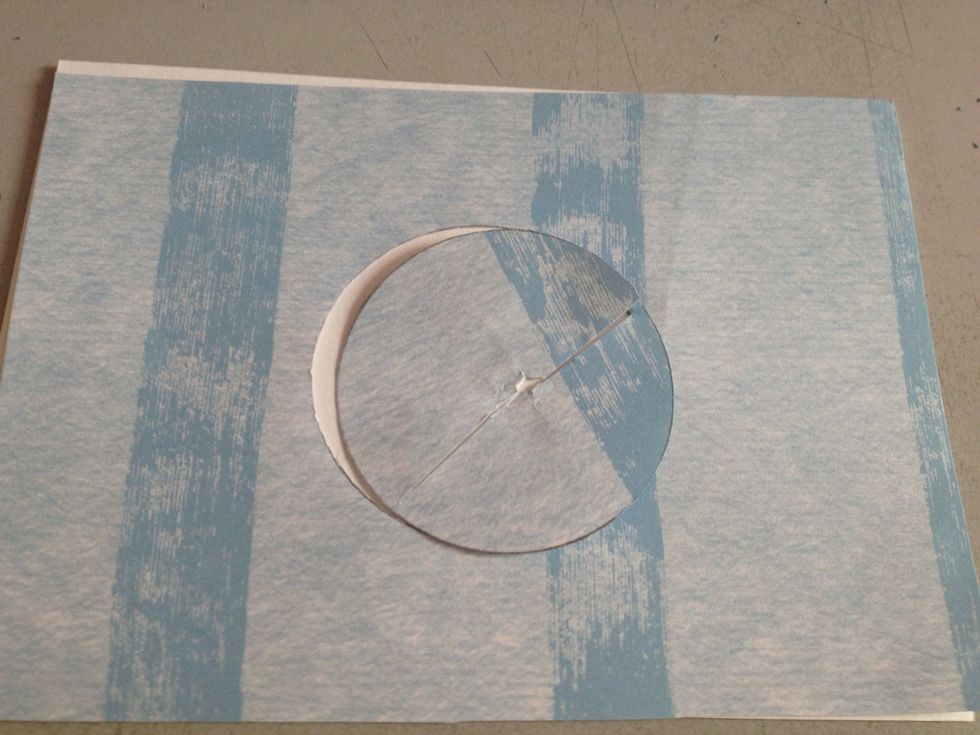
Cut out the circle along the border. You can cut a hole in the middle of the circle and make your way outwards.

Check to make sure that the message fits into the circle. Glue down both the message and the patterned paper.
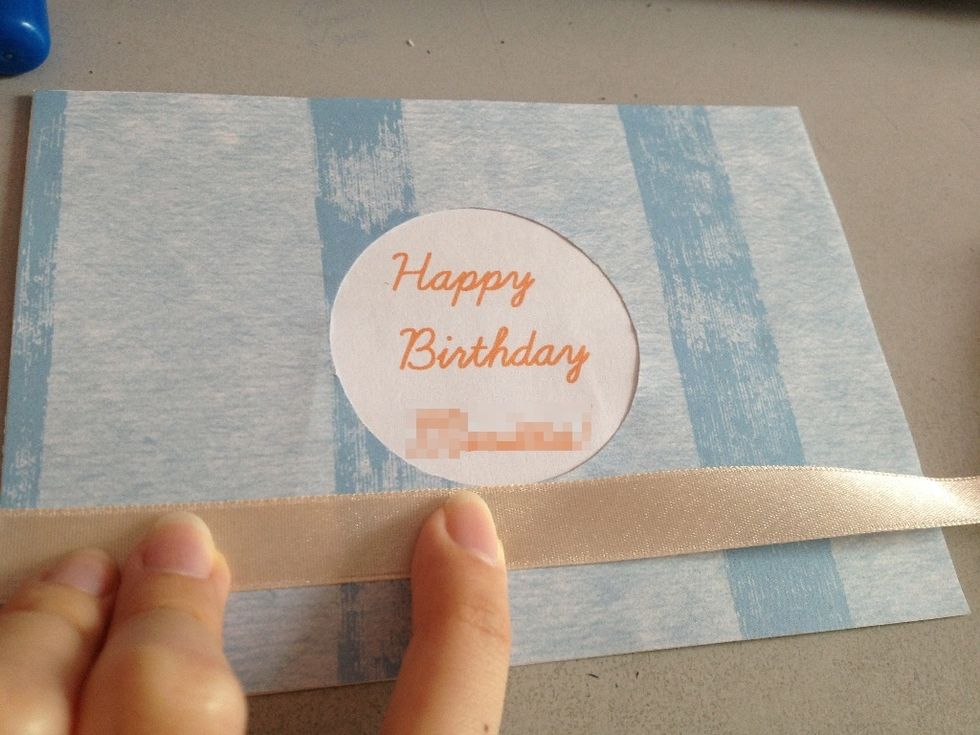
To make the card less plain, I glued a thick ribbon at the front of the card, below the circle.
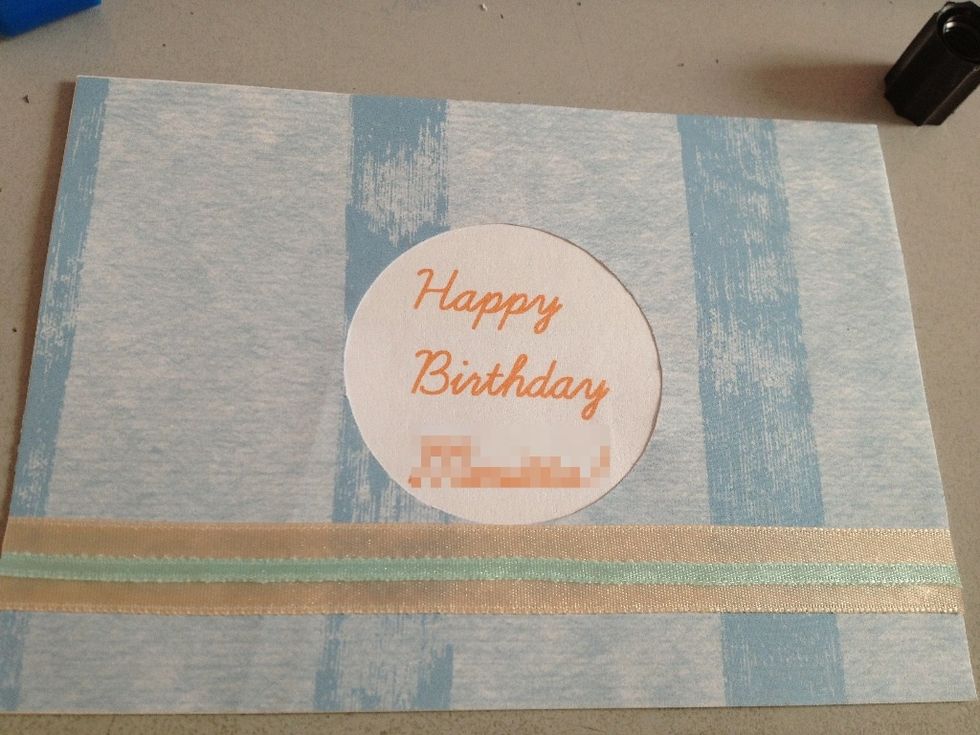
And a thin ribbon over it, so that the thick ribbon is less plain.
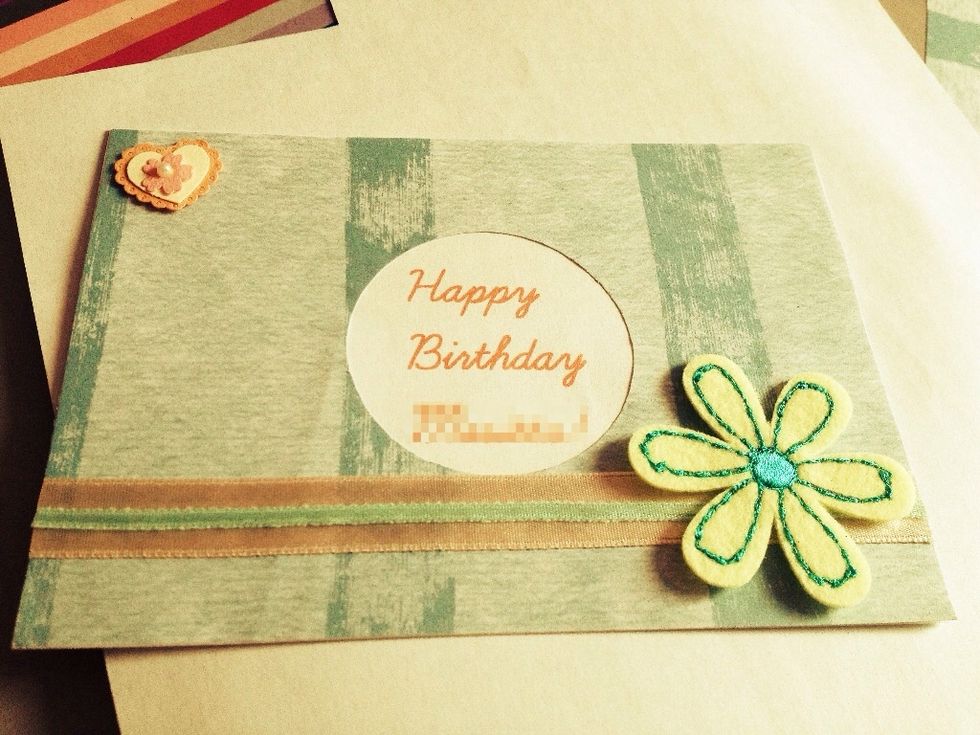
Added some embellishments and I'm done! More card guides available on my profile.