The Conversation (0)
Sign Up
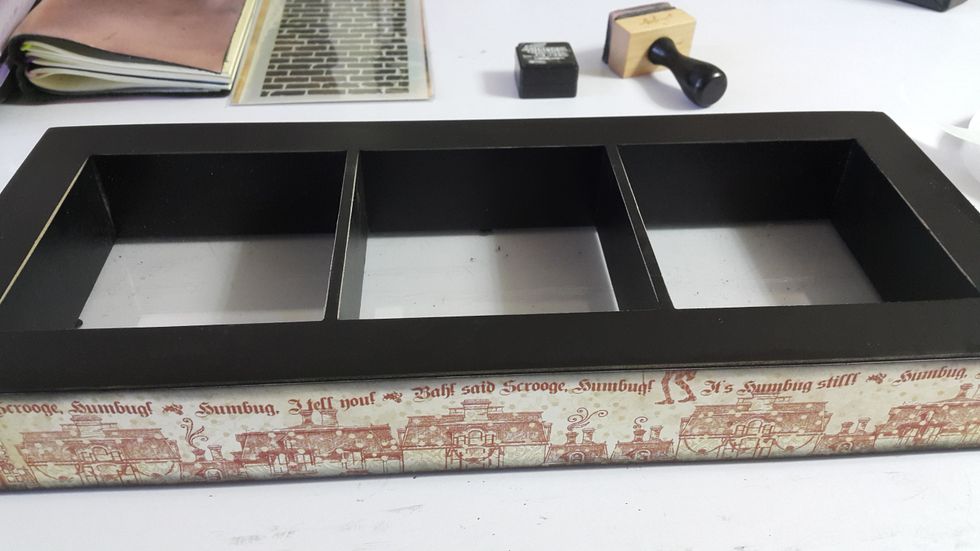
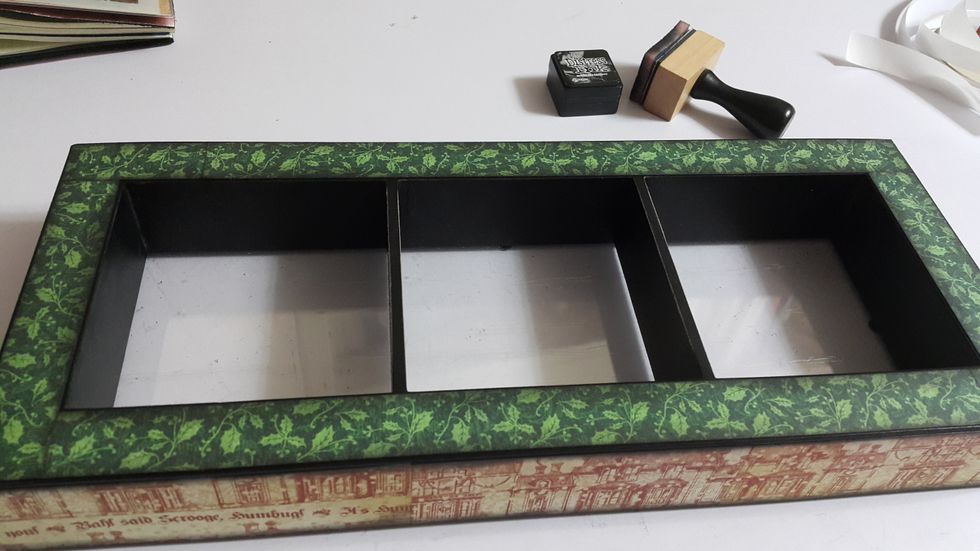
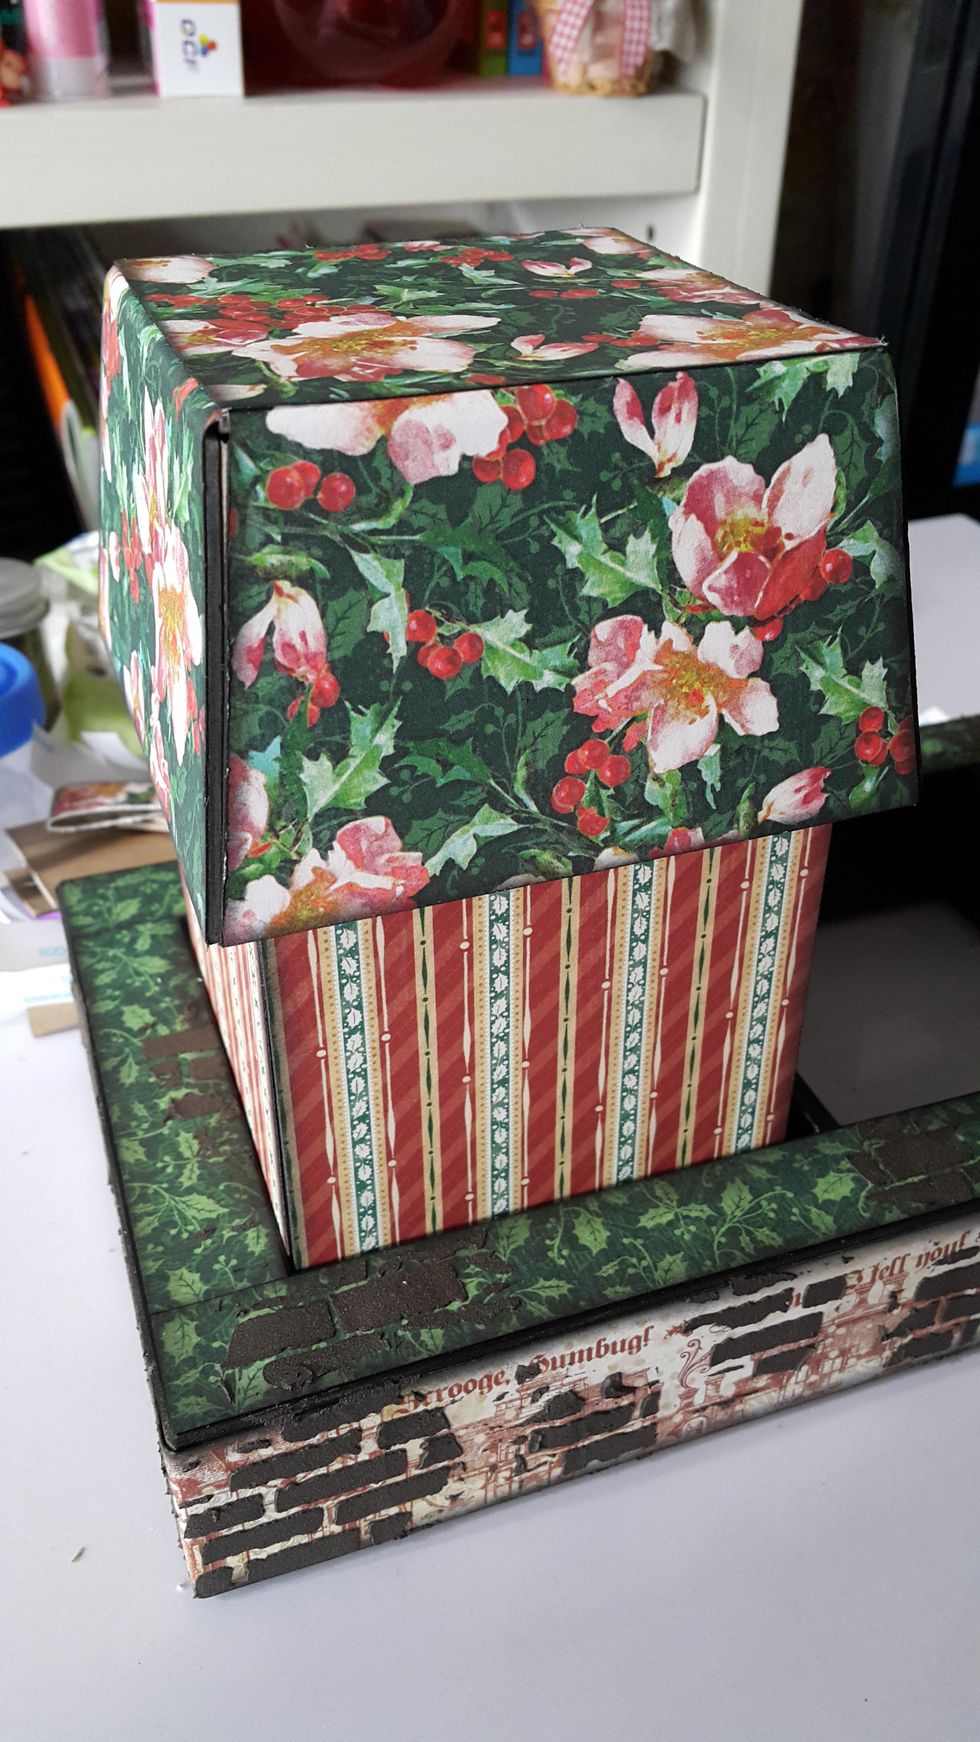
Cover Graphic 45 Window Shadow Box with paper, 1-5/8" height, you may need 3-4 strips of 12" to cover all faces
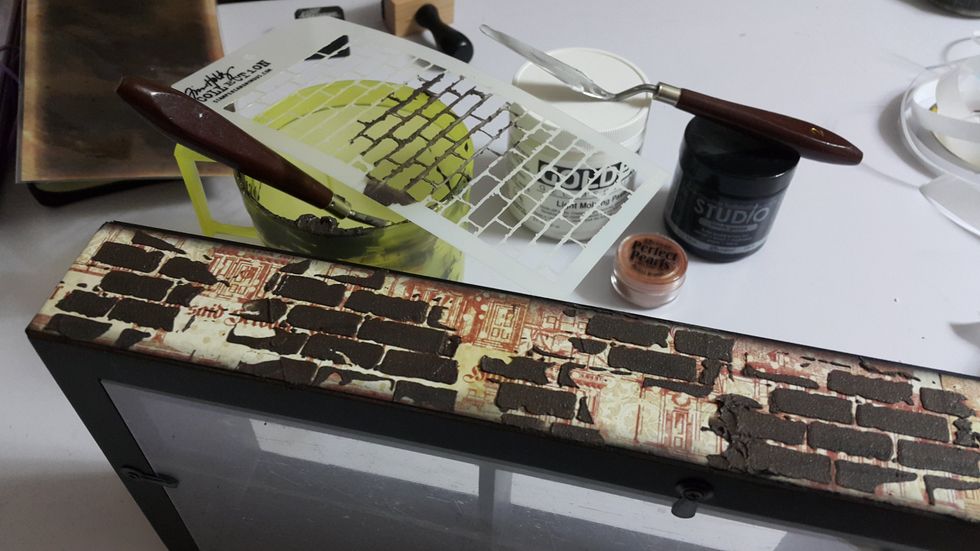
Mix Light Molding Paste, Black Gesso and Perfect Pearls for the bricks color, spread randomly with stencil by the side and on the top of the window shadow box
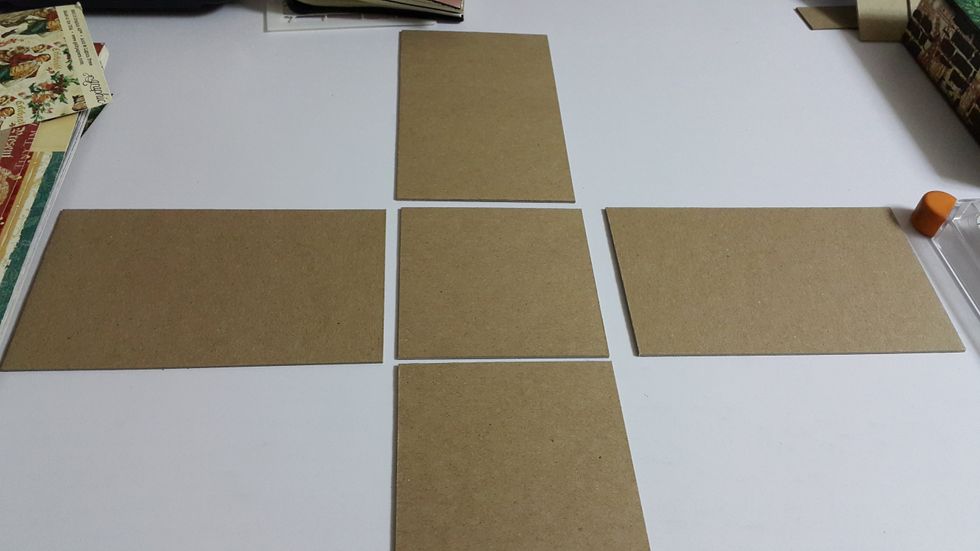
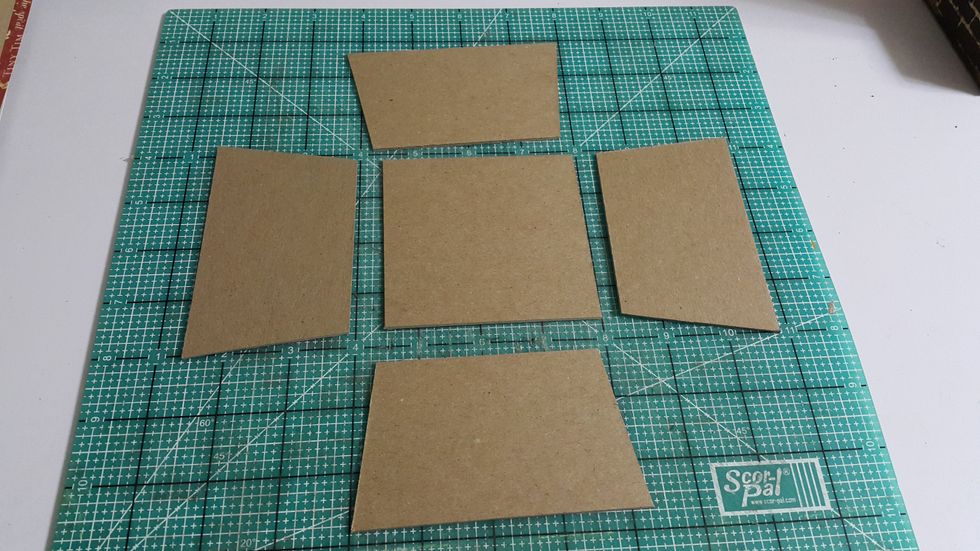
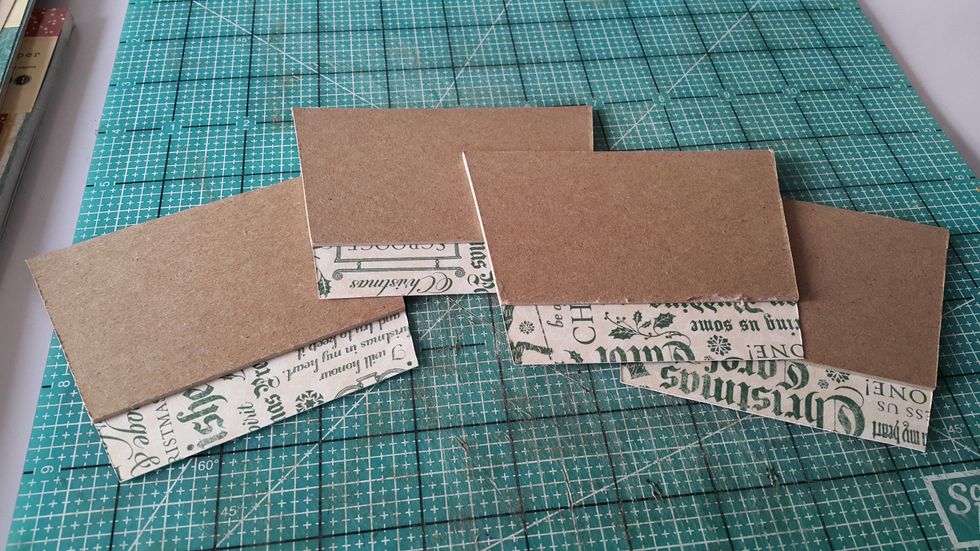
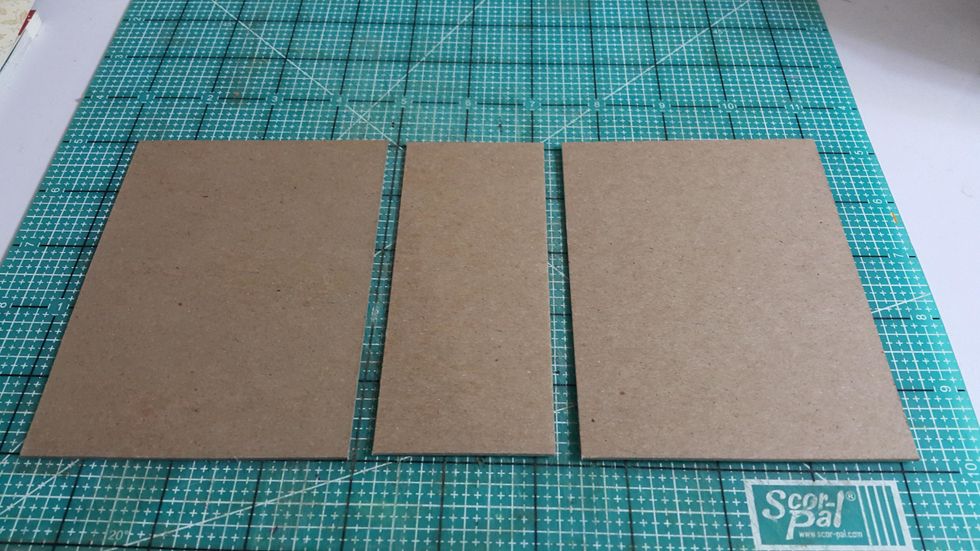
Now go to the first explosive box Christmas house, cut chipboard of 6"x3-5/8" (4pcs) and 3-5/8"x3-5/8" (1pc)
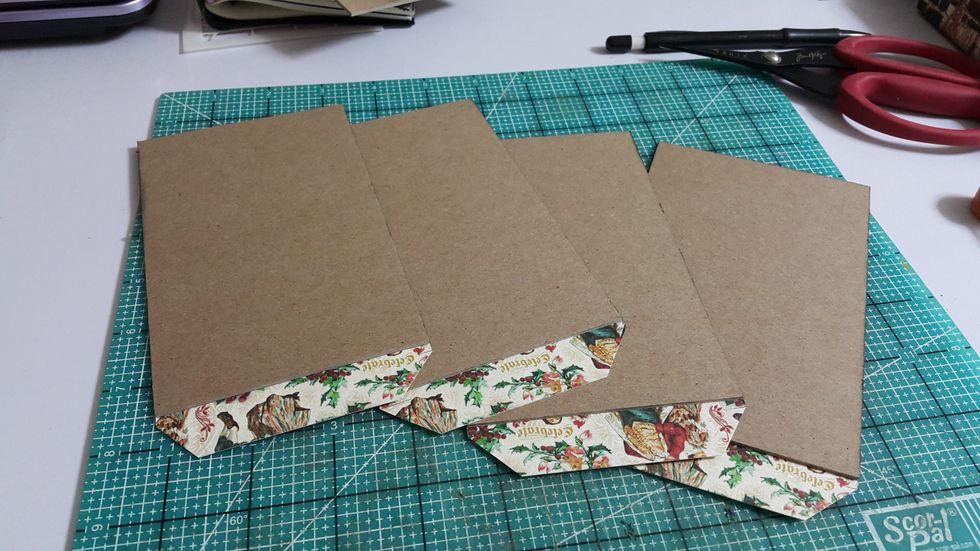
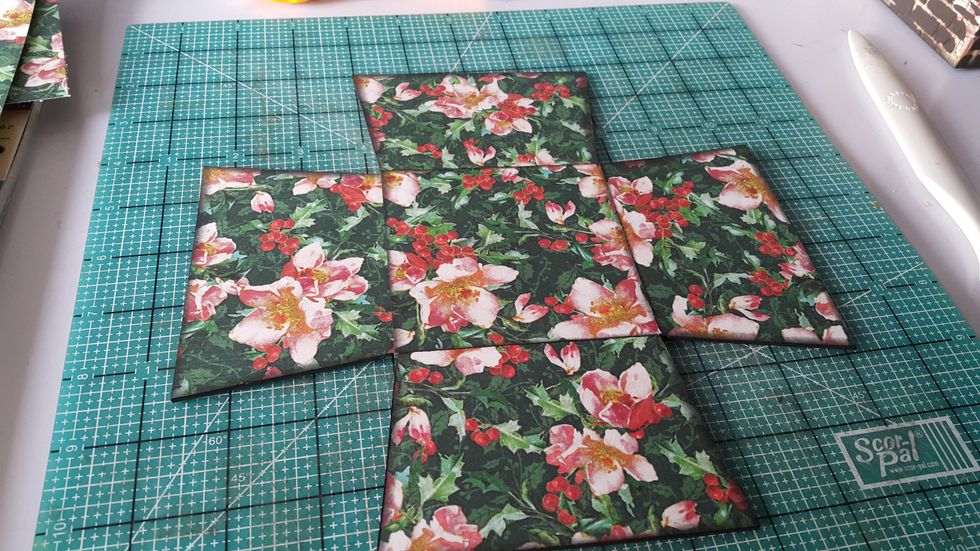
Cover the outside walls of the house with papers, left 1" to connect the base
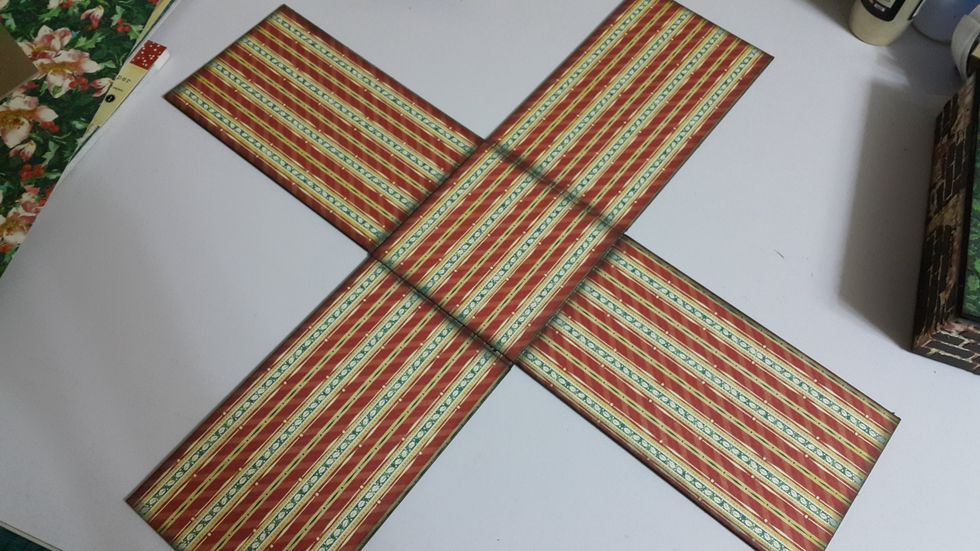
After adhere the base chipboard on, cover with paper as well
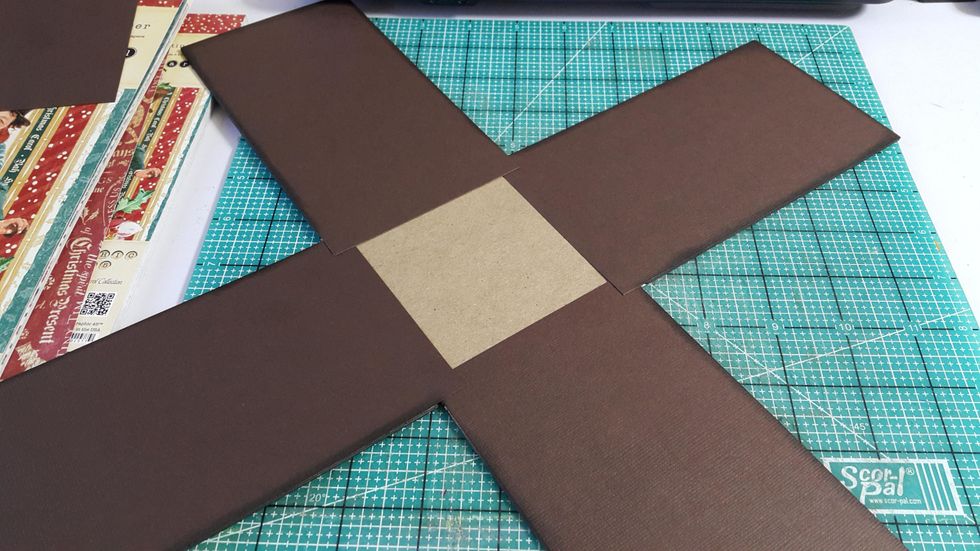

Then cover the middle with pattern paper, round the corners for perfect finish
Cut chipboard for the roof, 3-1/2"x3-1/2" (square 1pc) and 4pcs of trapezium shape of 3-1/2" top and 4-1/4" base
Cover the roof with paper, left 1" as well to connect with the middle piece
Once connected, cover the middle with paper
Use connecting strips to form the roof (connecting is simply cardstock with double sided tape)
This is what it looks like when place inside the hole
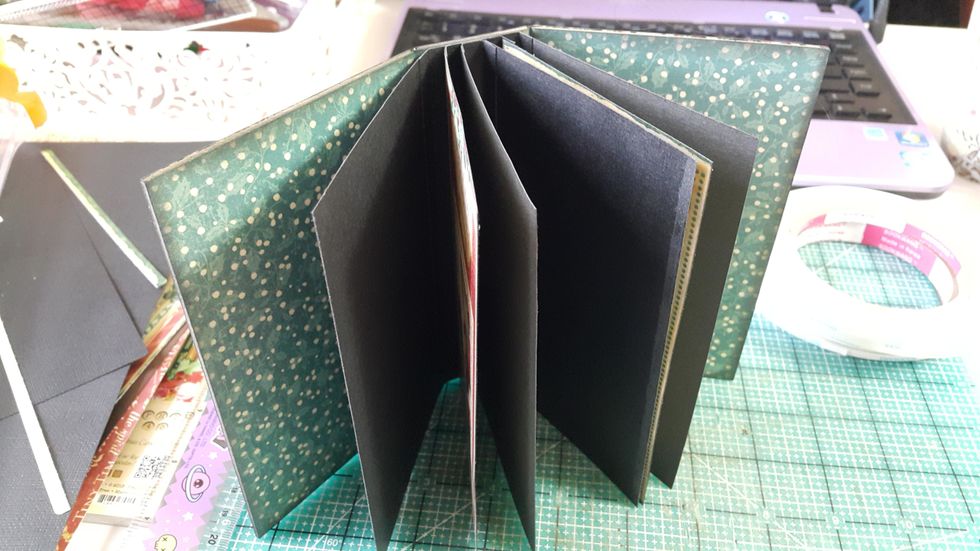
Then go to the middle hole of 2 chipboard mini albums, ready chipboard for the shorter one with 5"x3-5/8"(2pcs) and 5"x2"(1pc), then the taller one with 6"x3-5/8"(2pcs) and 6"x1-1/2"(1pc)

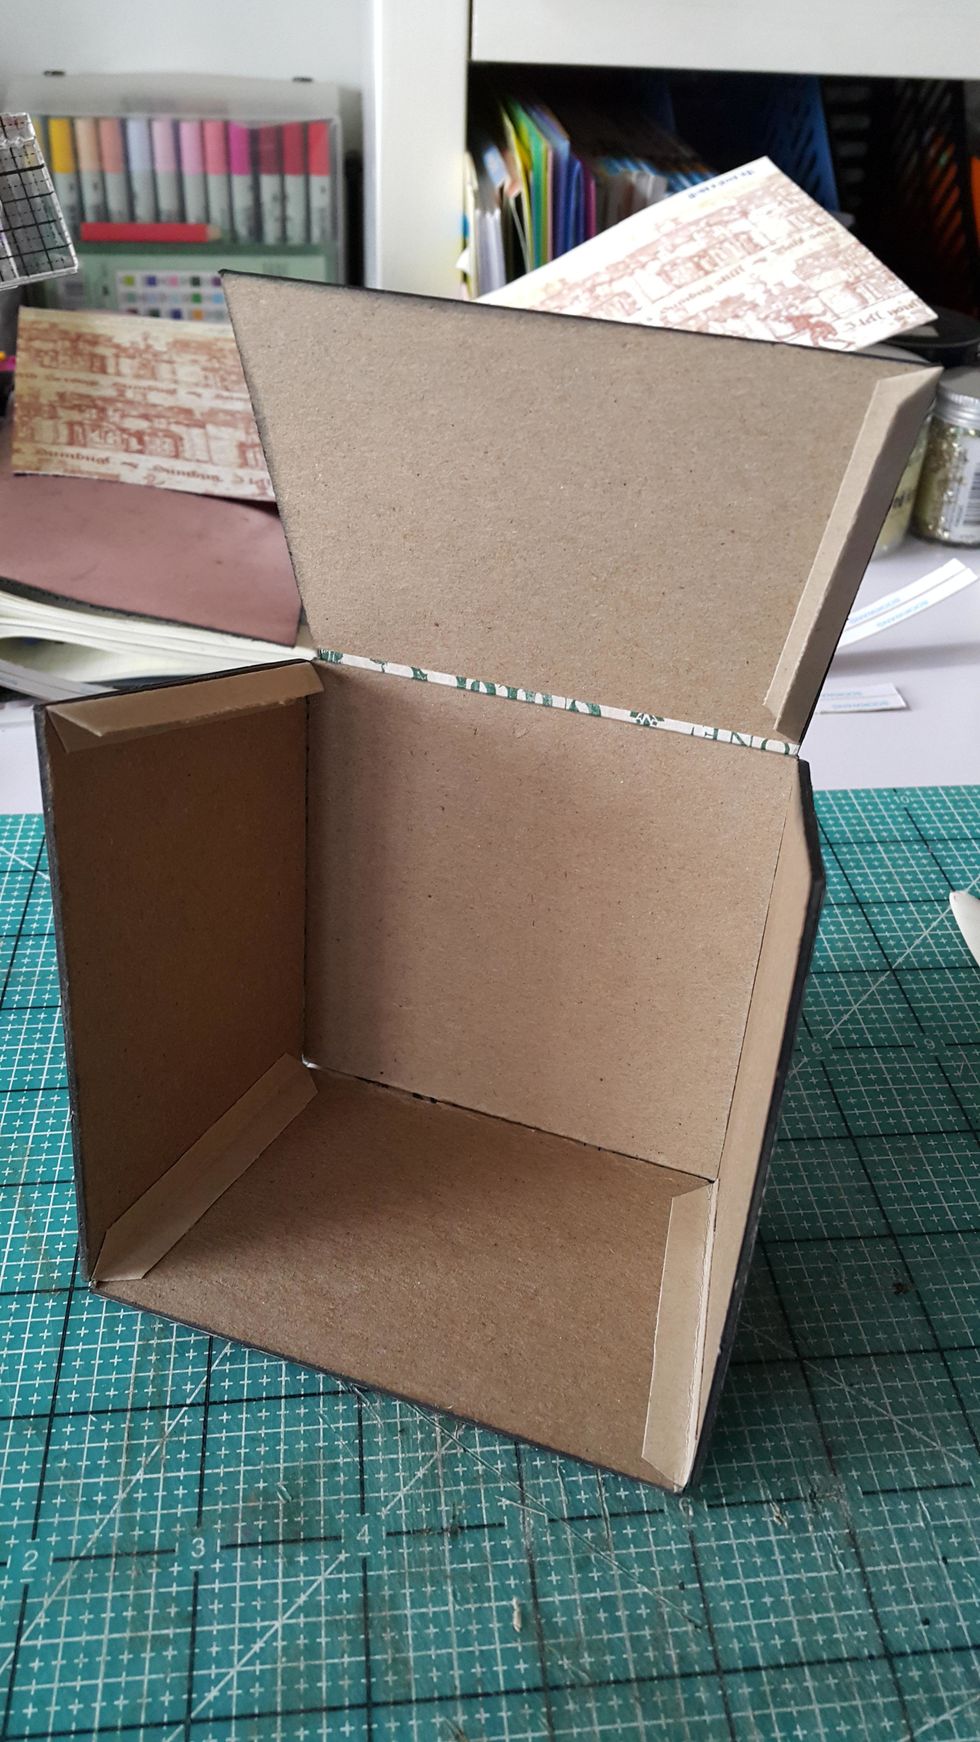
Use paper to connect the chipboard pieces, remember to left a gab for easy folding
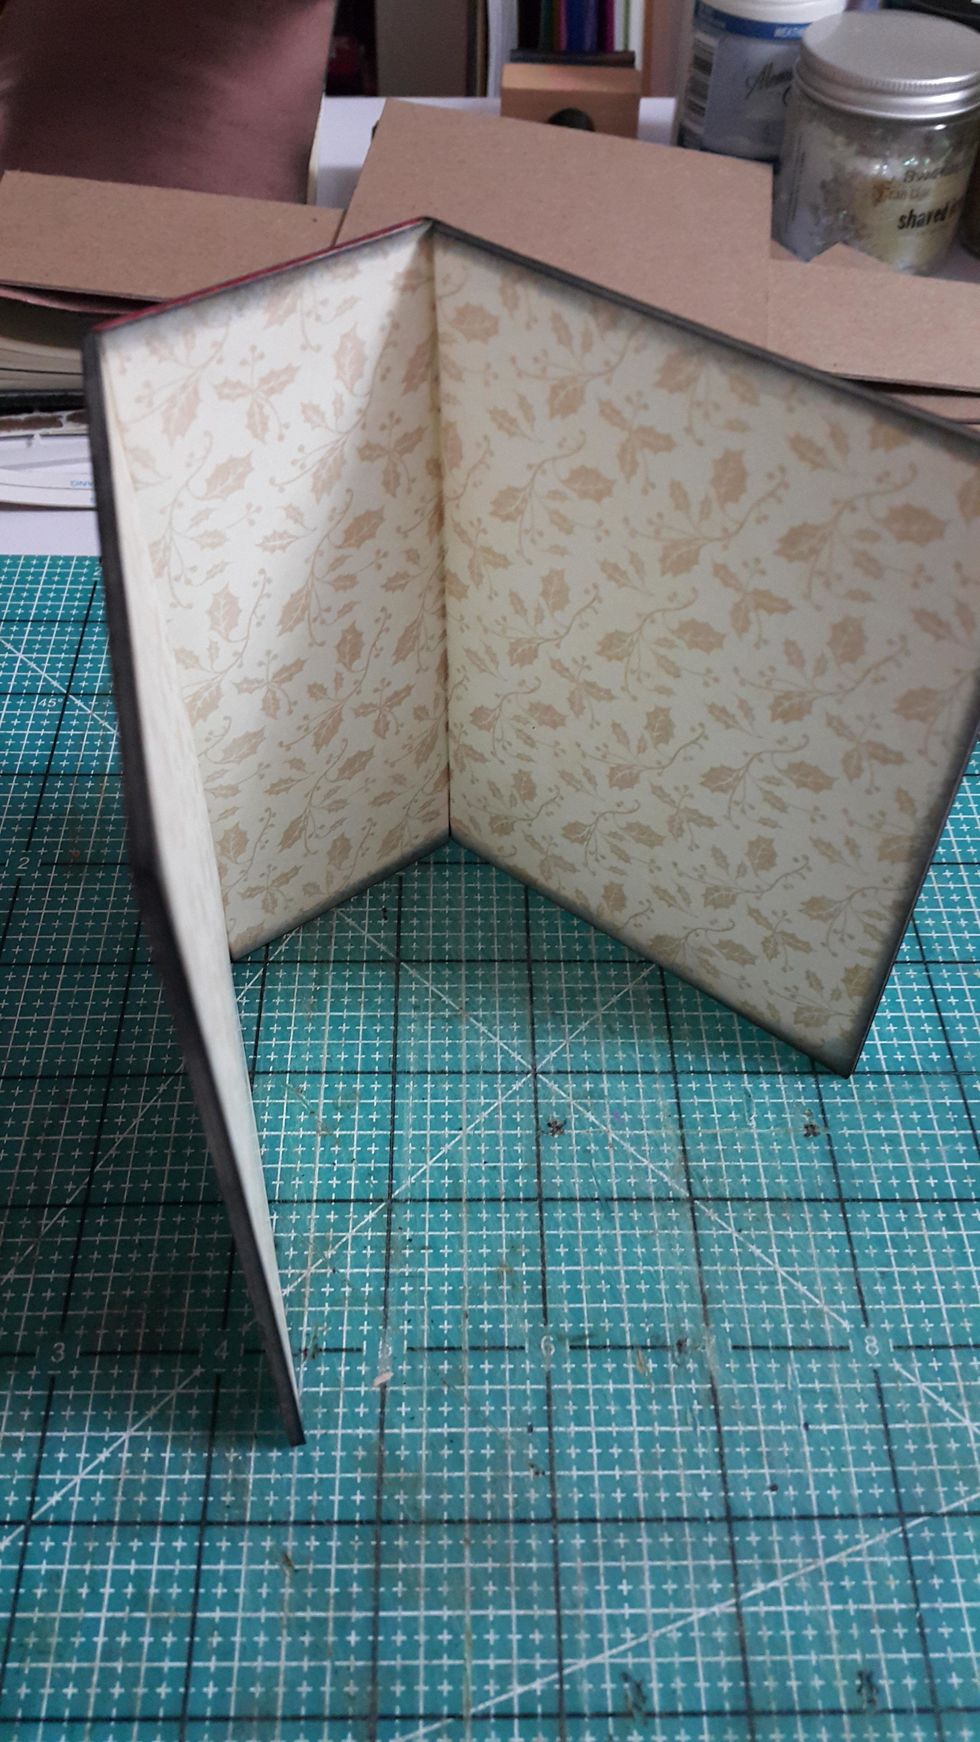
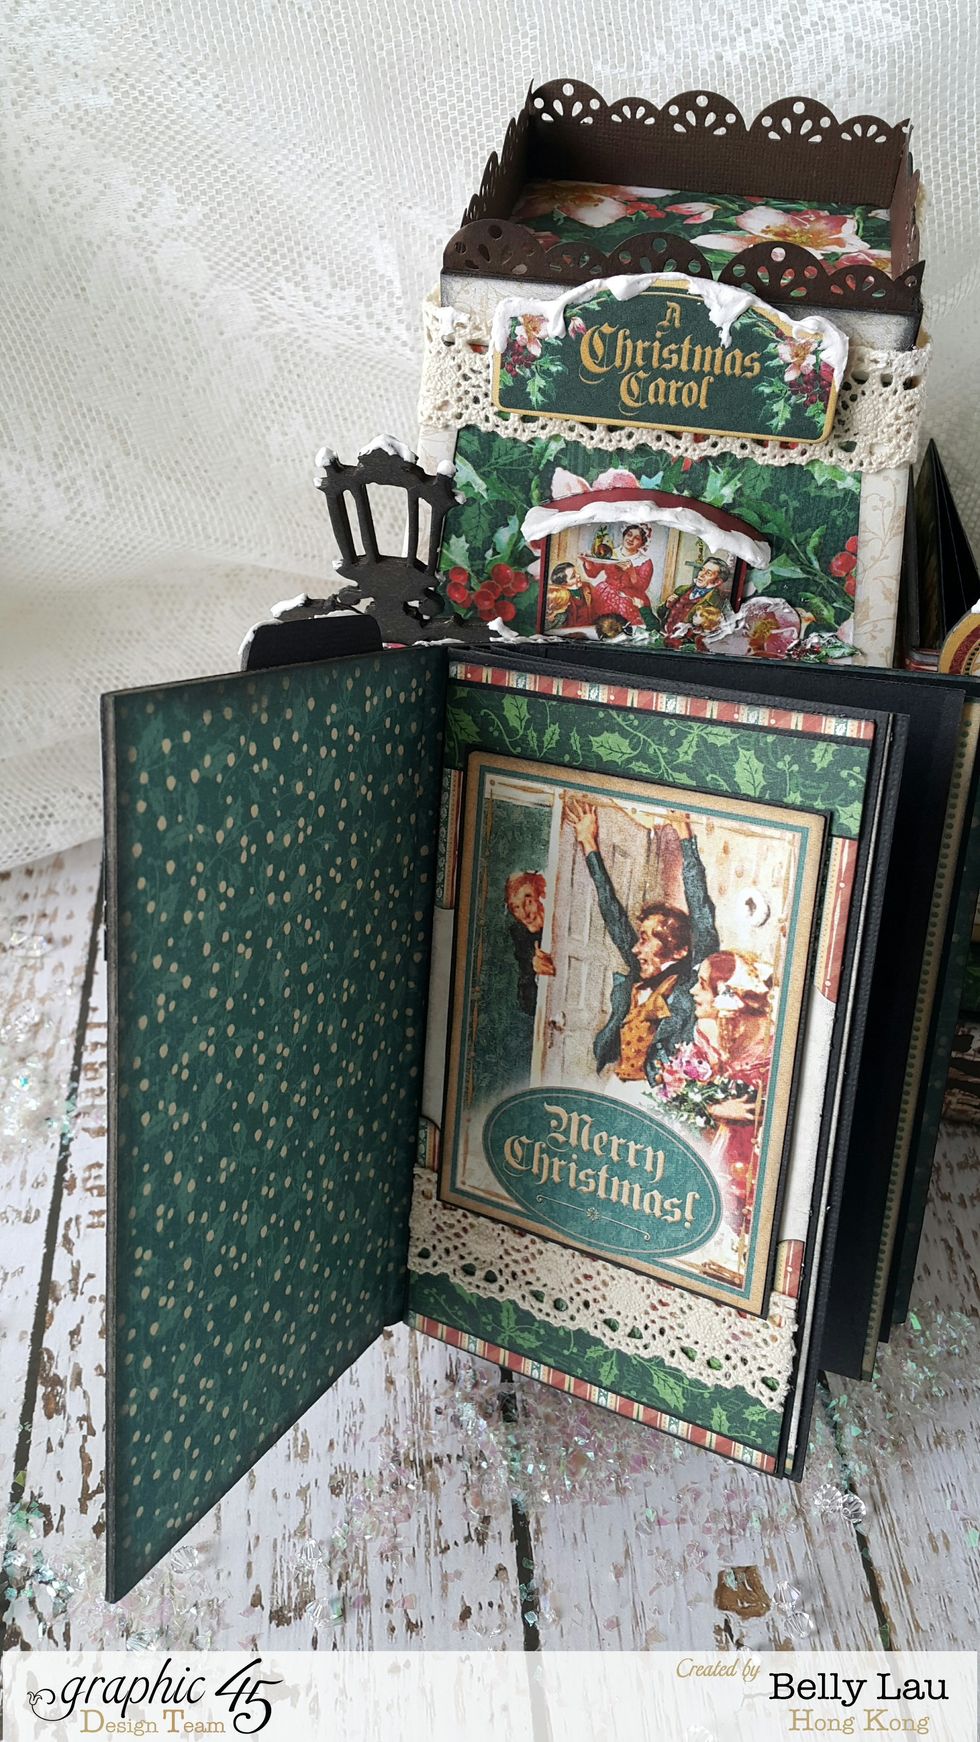
Cover the inside with paper as well and fold like an album cover
Then this is what it looks like when put inside the middle hole
Ready flags for the albums with black cardstock
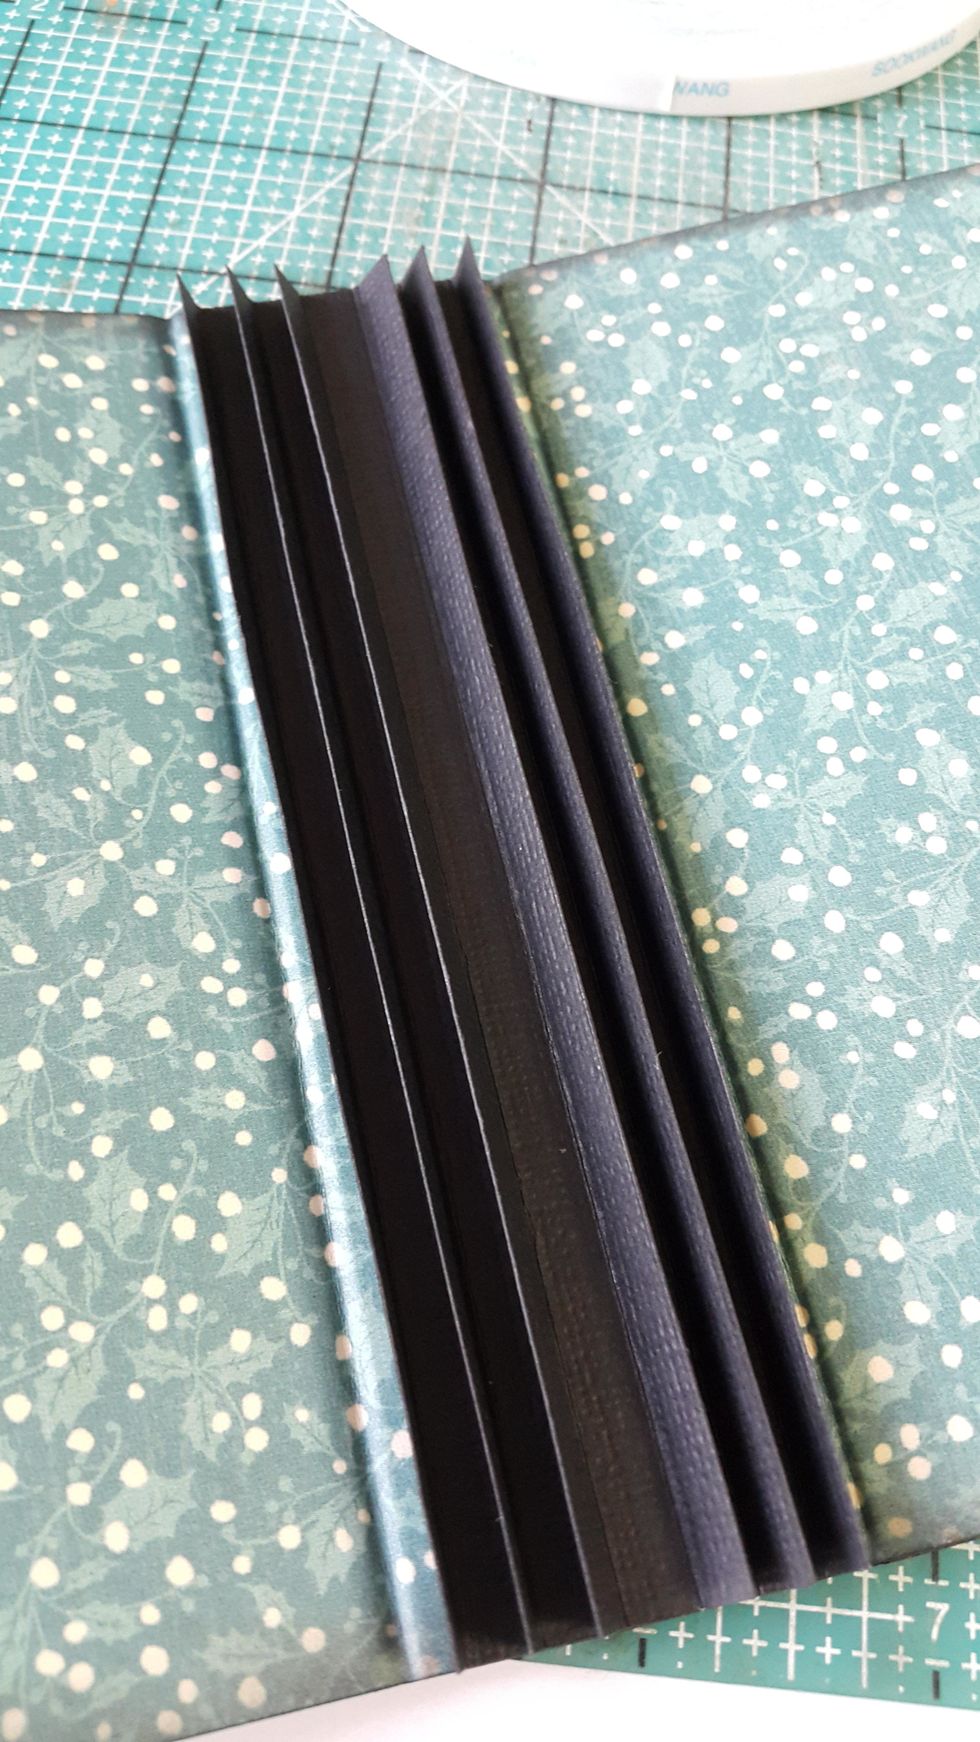
With 1/4" interval between each flag
Simply adhere cardstock or paper for the pages, you can make folding page or pockets if desired

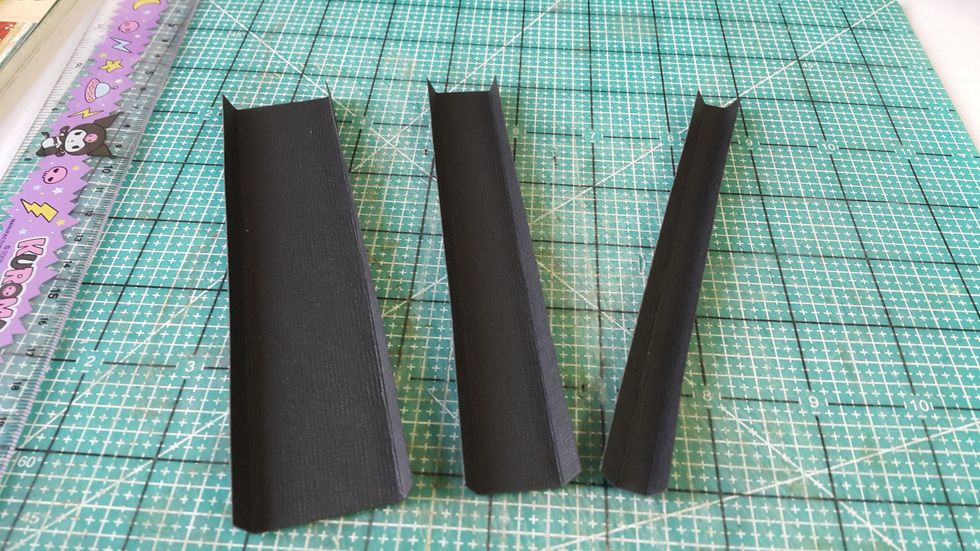
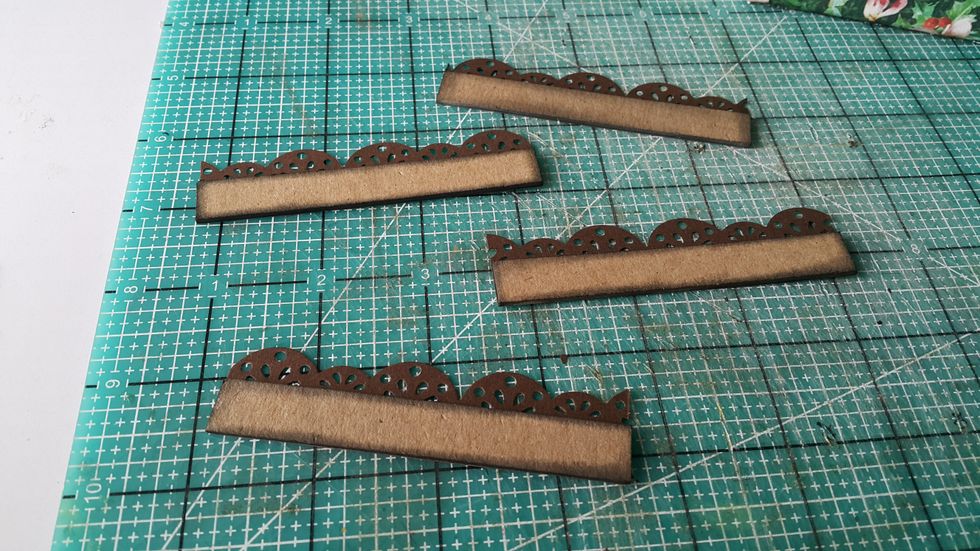
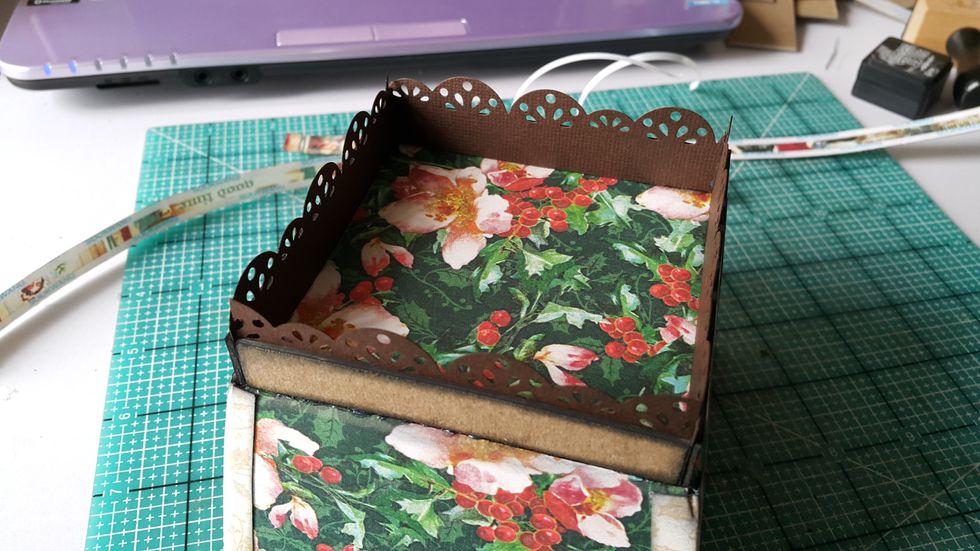
Now go to the last hole, ready chipboard pieces of 3-5/8"x3-5/8"(1pc) and 1-1/2"x3-5/8"(4pcs), use connecting strips to form it to shape

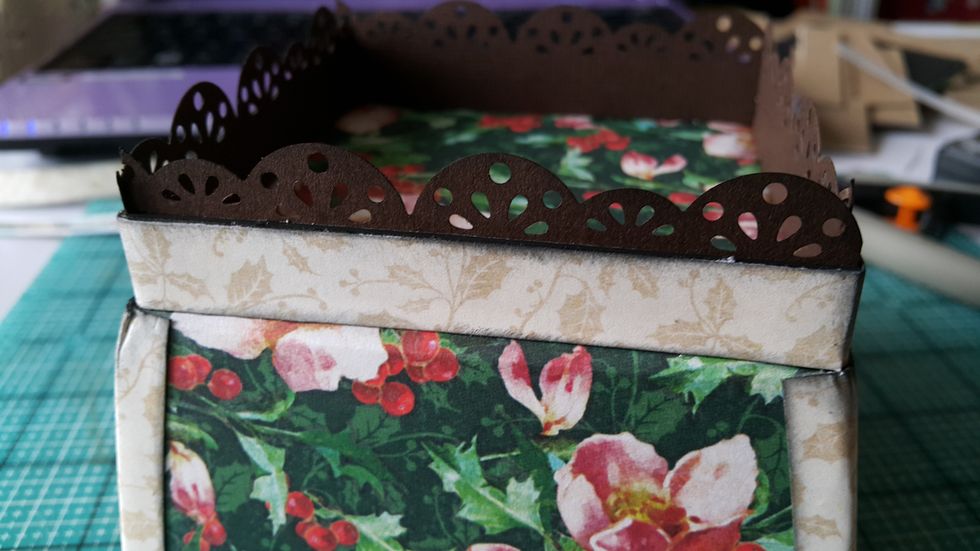
Cover with pattern paper, you can spread some bricks pattern with molding paste like the what we did on the window shadow box

Cut a piece of chipboard of 3-5/8"x3-5/8", cover with pattern paper of 4-1/8"x4-1/8", fold the excess and adhere well
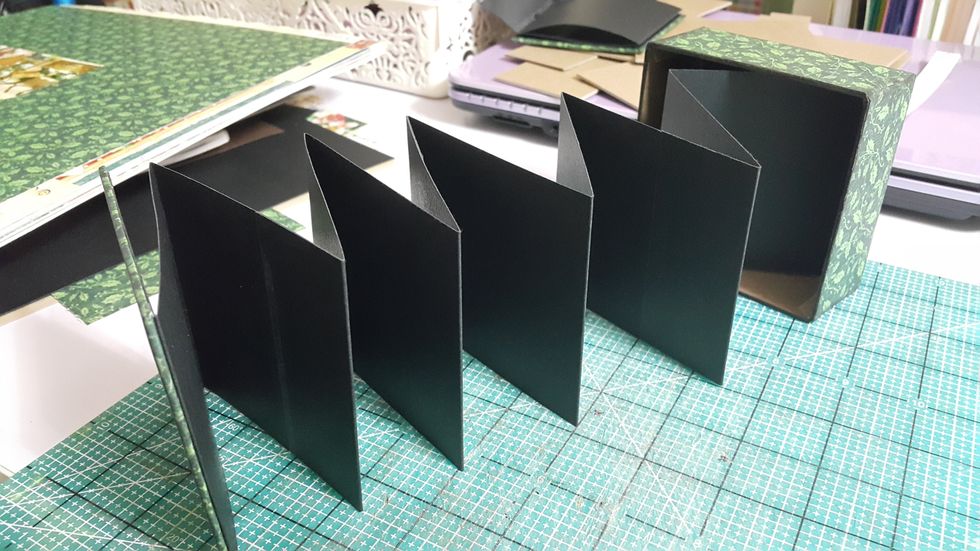
Prepare strips of black cardstock, I did 3 strips here, 12"x3-3/8" each and fold at every 3-3/8", adhere together to form the accordion, then connect all three parts together
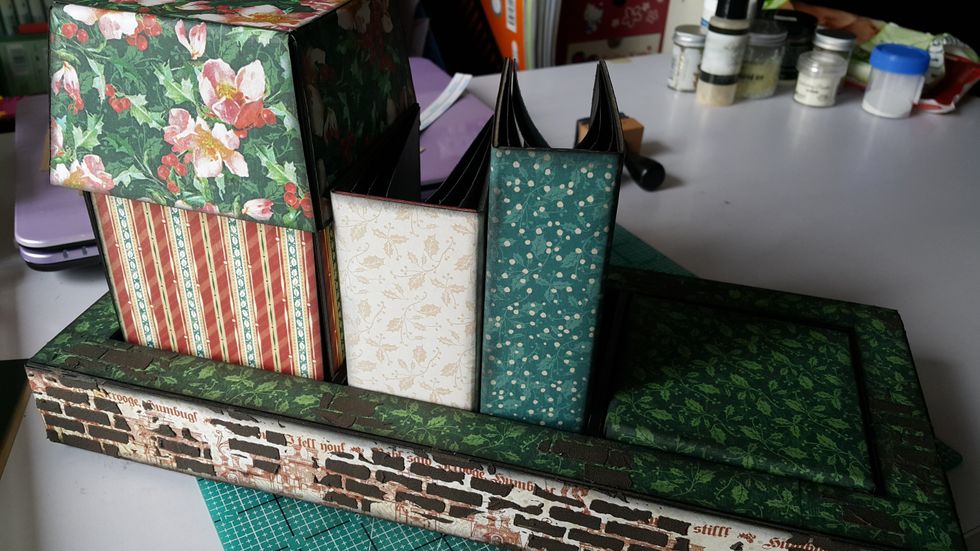
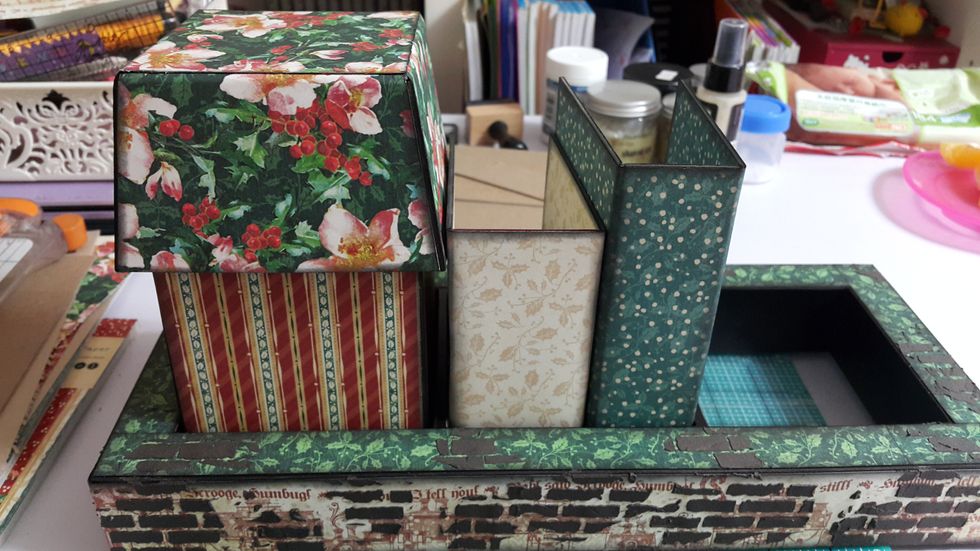
Put the box inside the last hole and this is what they look like before decorating
Decorating tip: use chipboard strips and cardstock punch-outs to decorate the house roof
Use strong glue to adhere on
Cut a strip of pattern paper to cover the chipboard
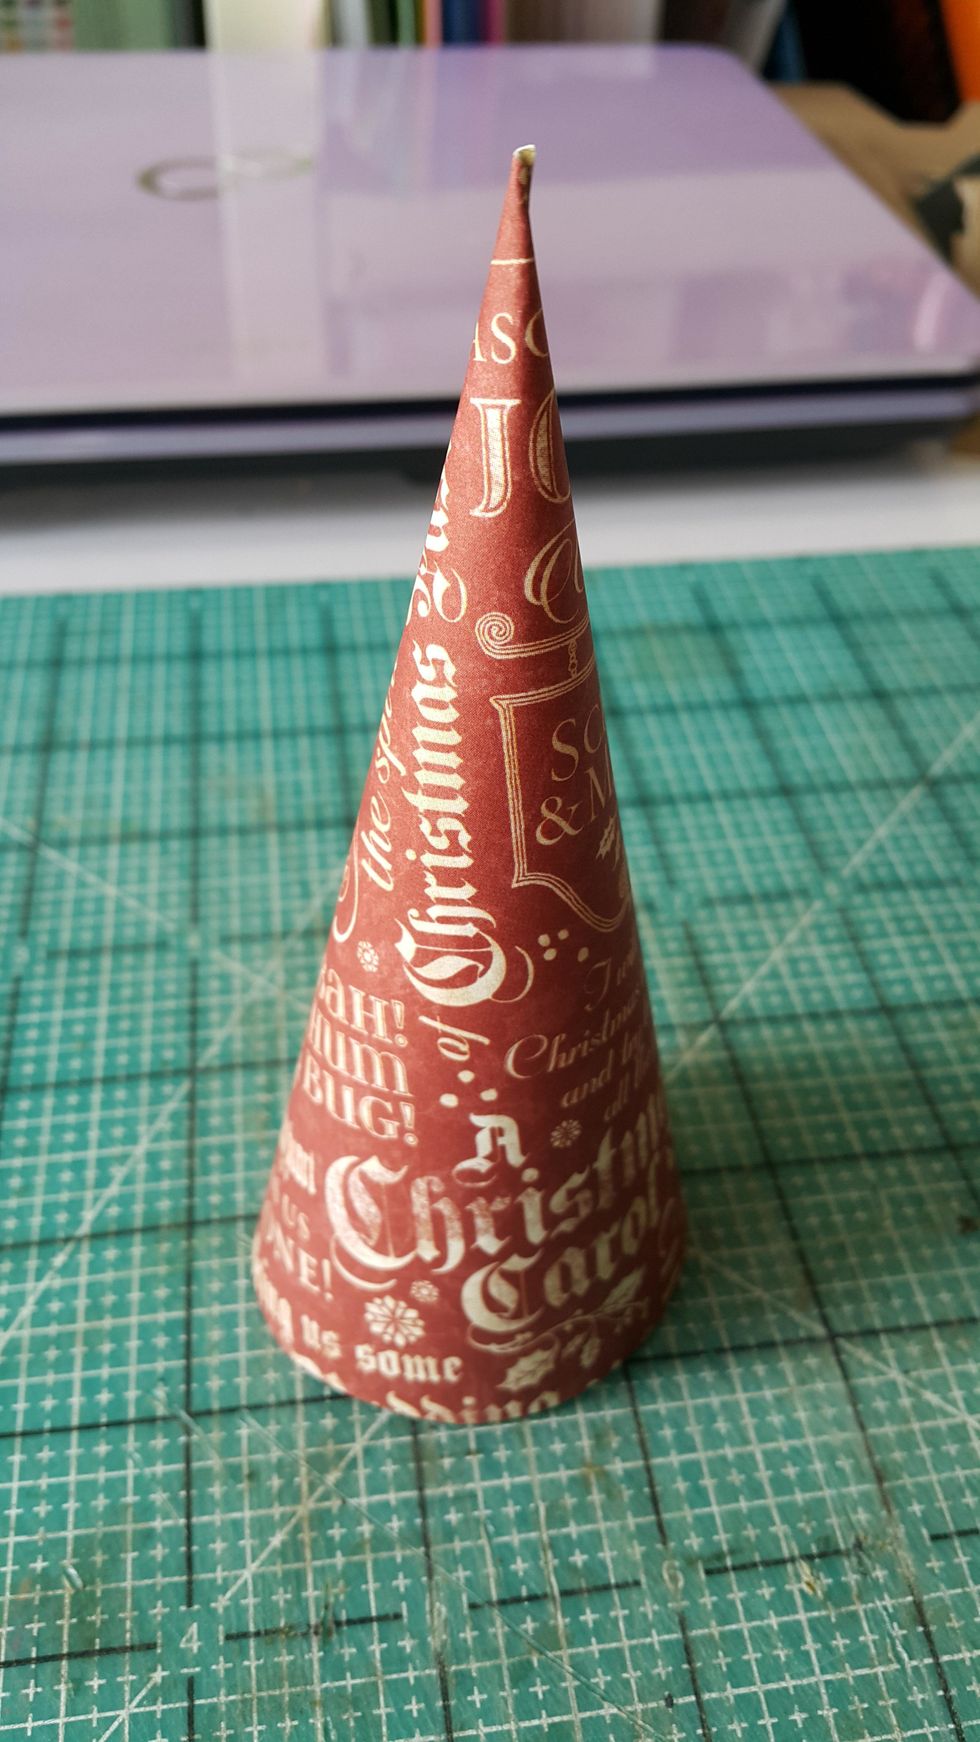
Decoration tips: Cut a piece of quarter circle paper, adhere and form the shape of a tree, you can of course use whatever scraps
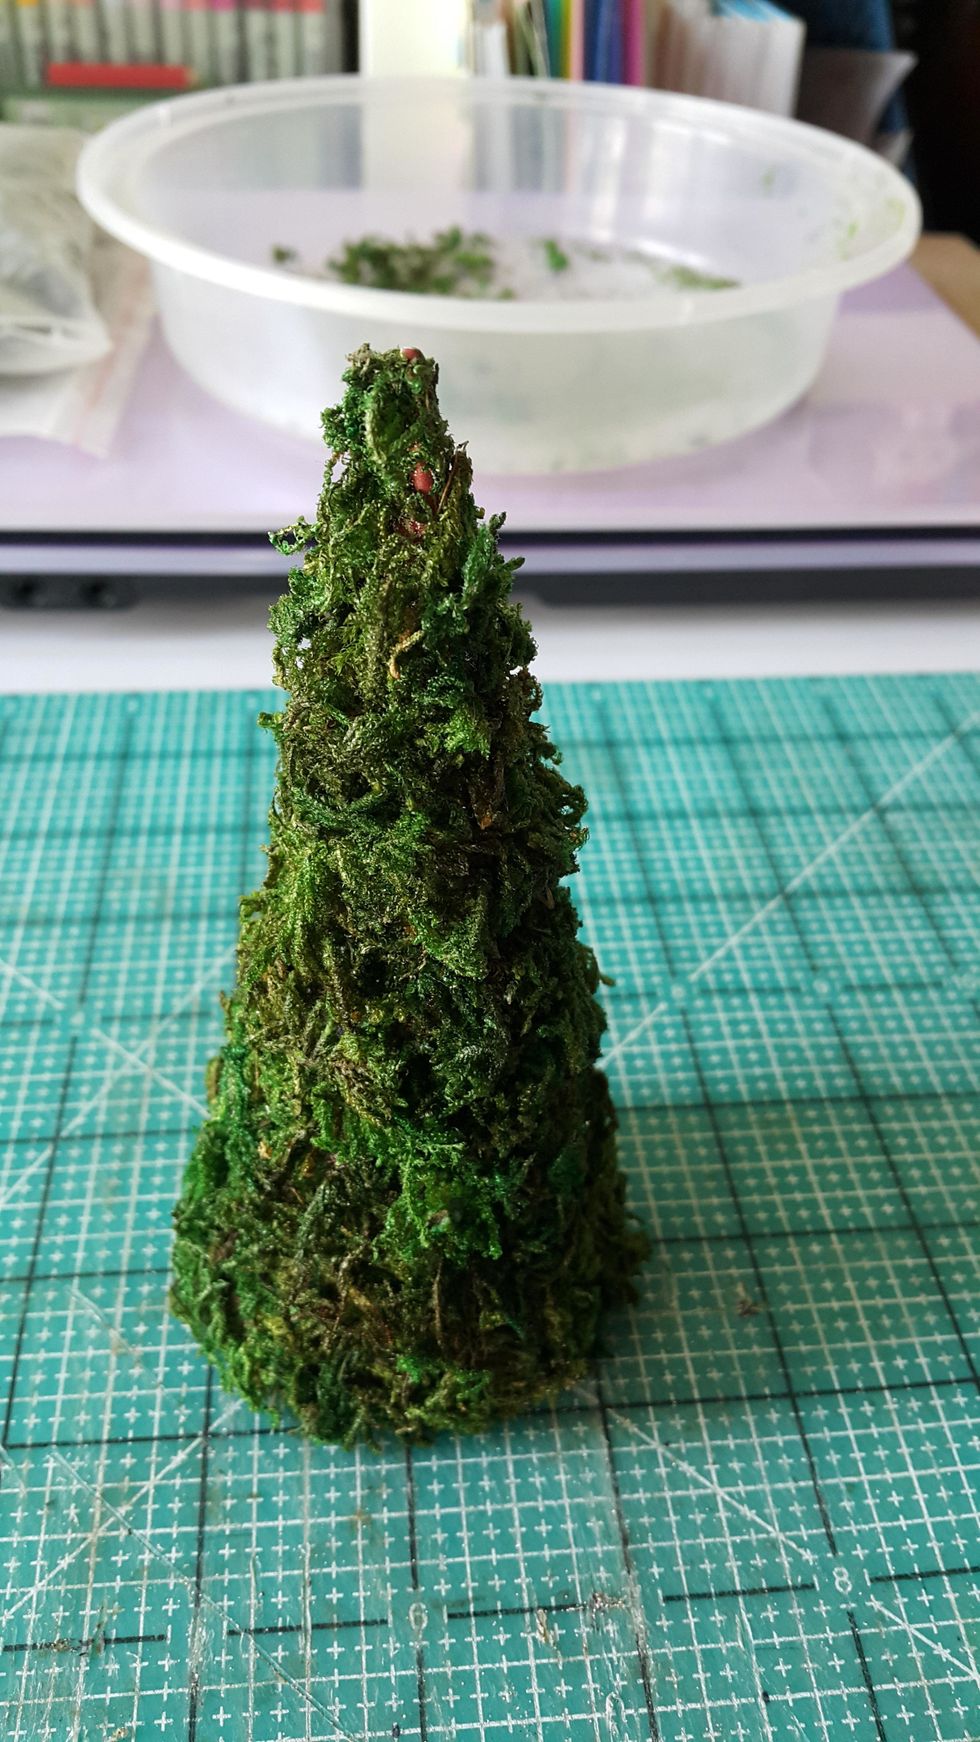
Apply glue on the tree and put the dry decorative grass on, for this winter theme, spread on glitter snow paste and a few bow to match
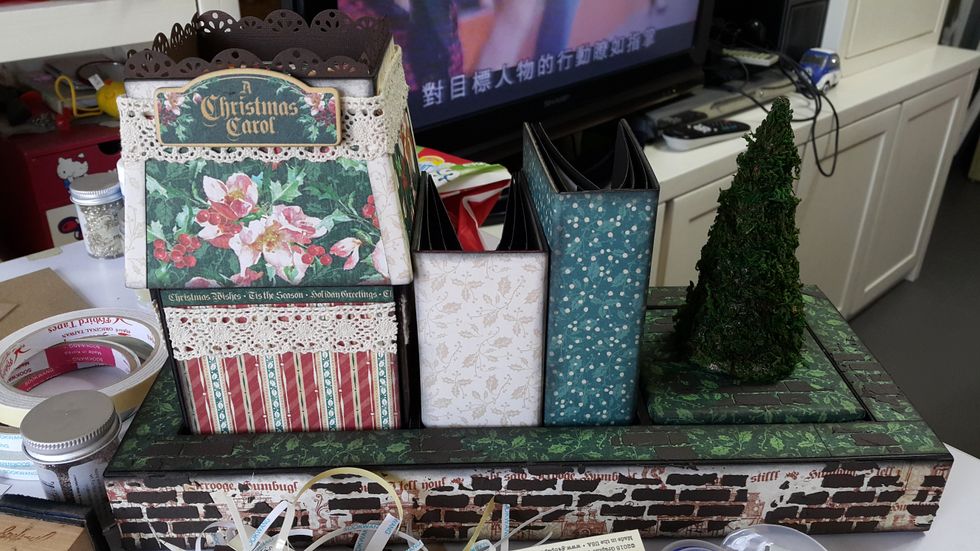
Use strong glue to adhere the tree on, you can then use the tree as handle to open the accordion album
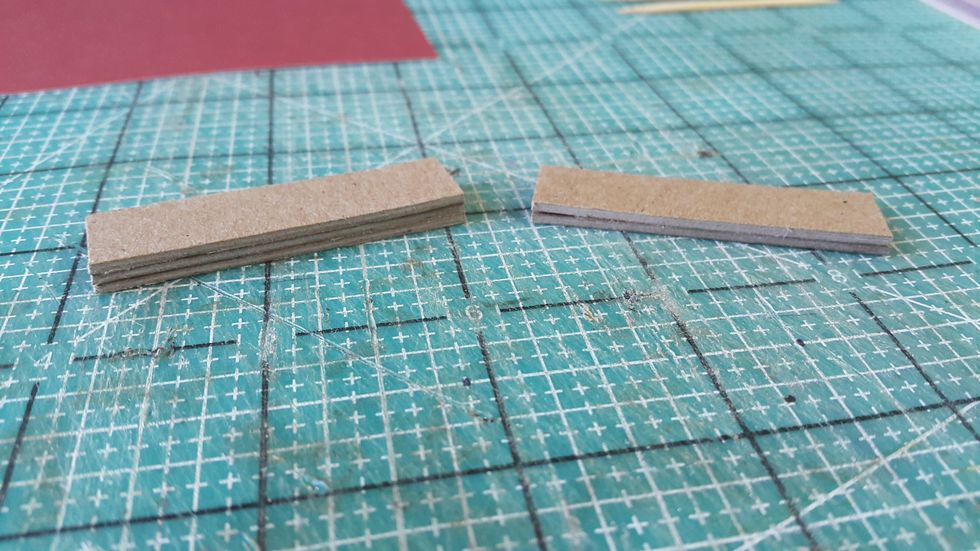
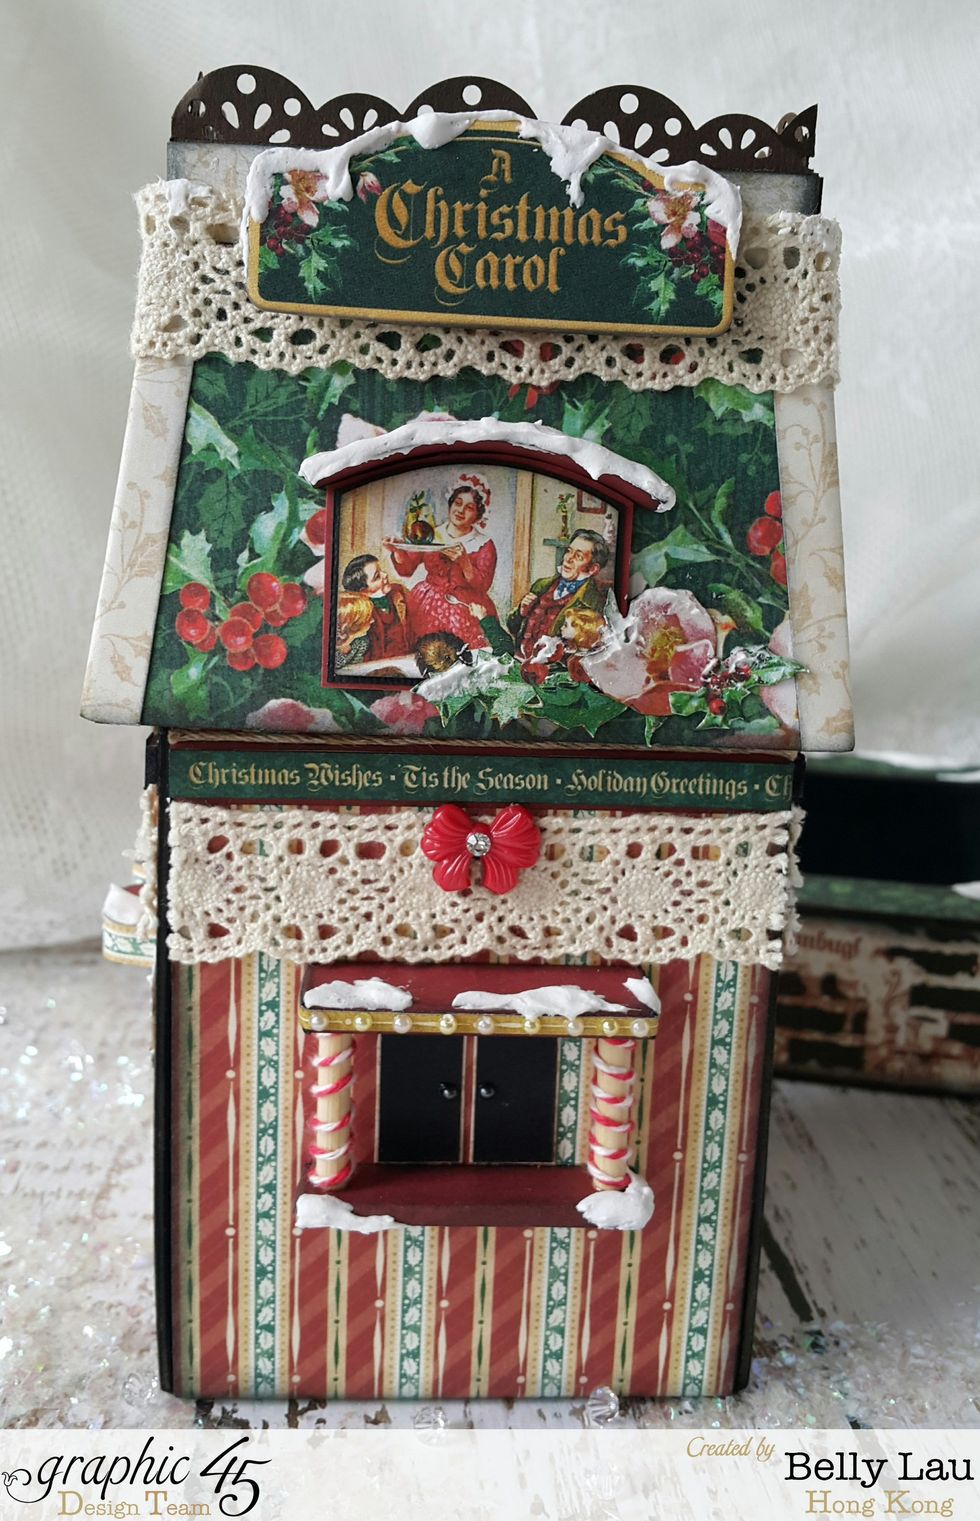
Decoration tips: For the explosion box house front door, cut few little strips of scrap chipboard, adhere together for thickness
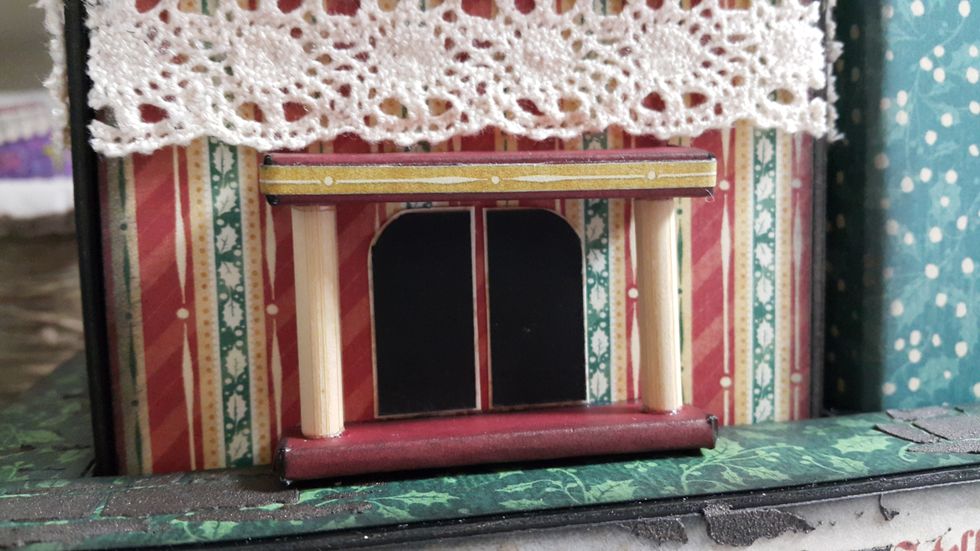
Wrap the chipboard with paper like a tiny gift, cut length of bamboo chopsticks, adhere all on the house using strong glue like Glossy Accents, you can add pattern paper strips for decorations
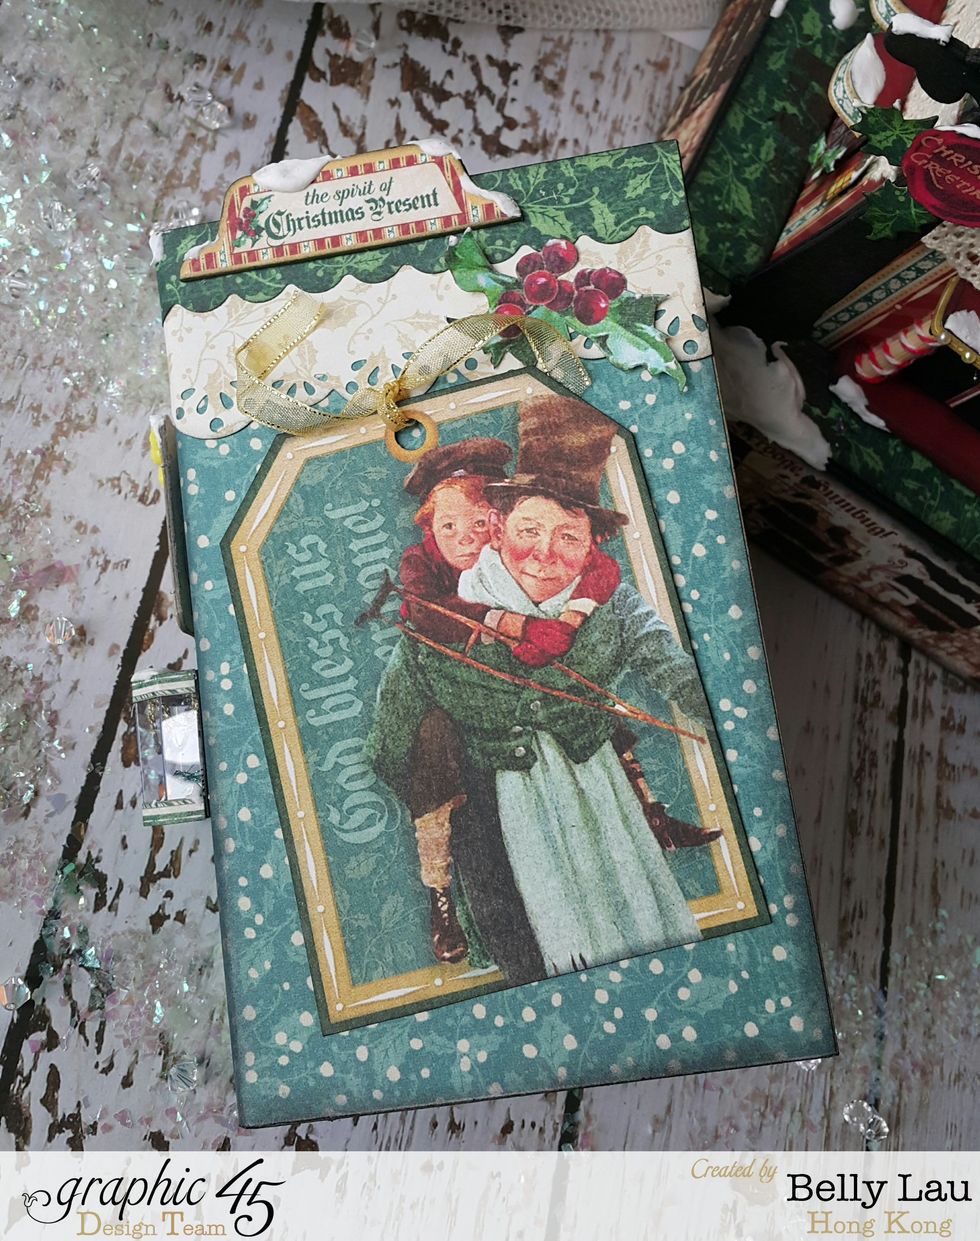
Decoration ideas: Cover of one of the chipboard mini album
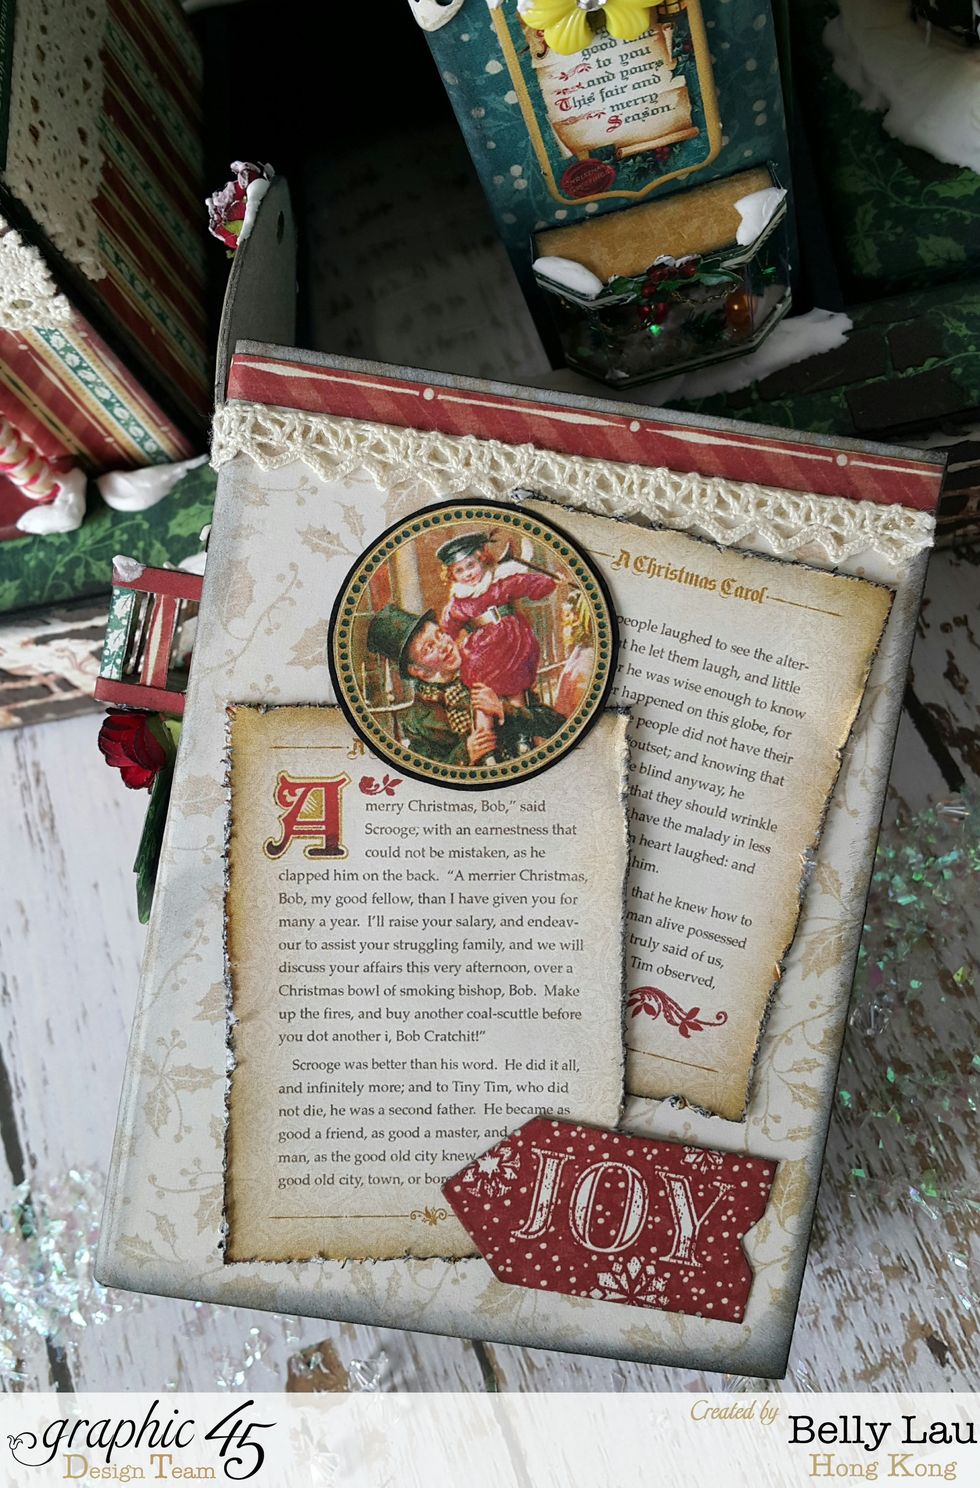
Decoration ideas: one of the mini album inside pages
Decoration ideas: one of the mini album inside pages
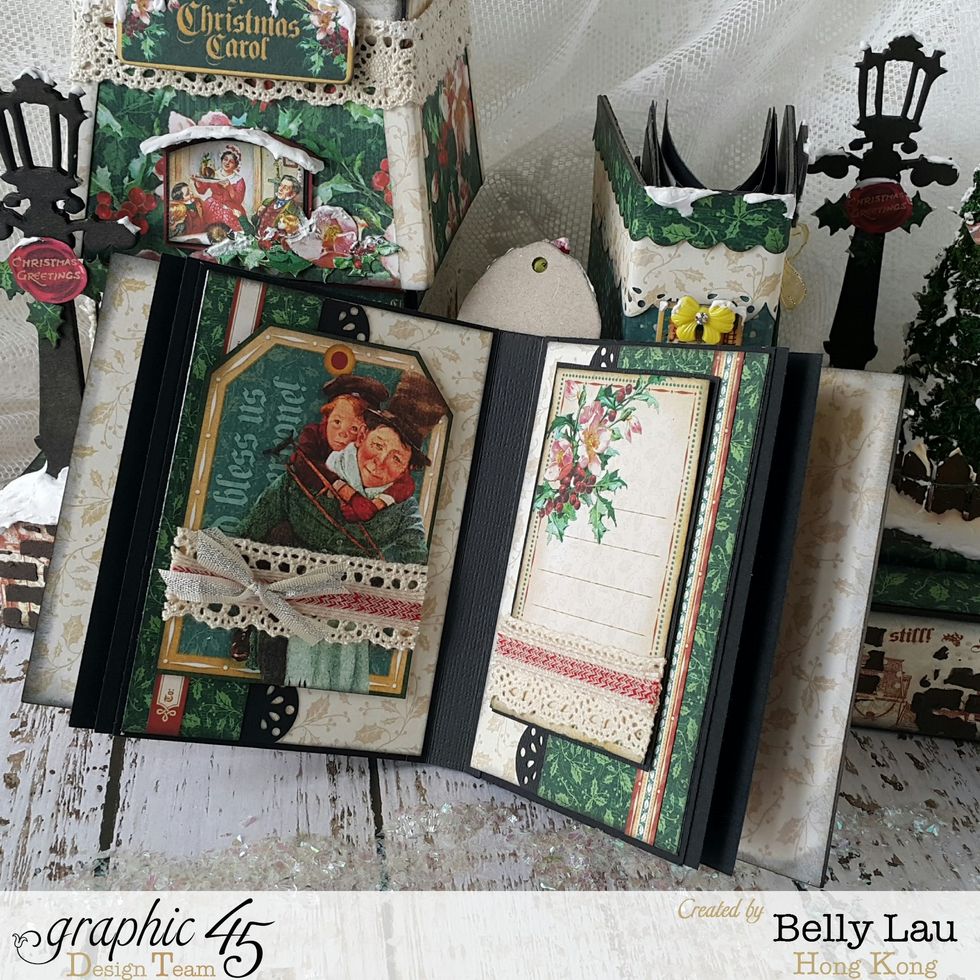
Decorating ideas: side decorations of one of the chipboard mini album
Decorating ideas: side decorations of one of the chipboard mini album
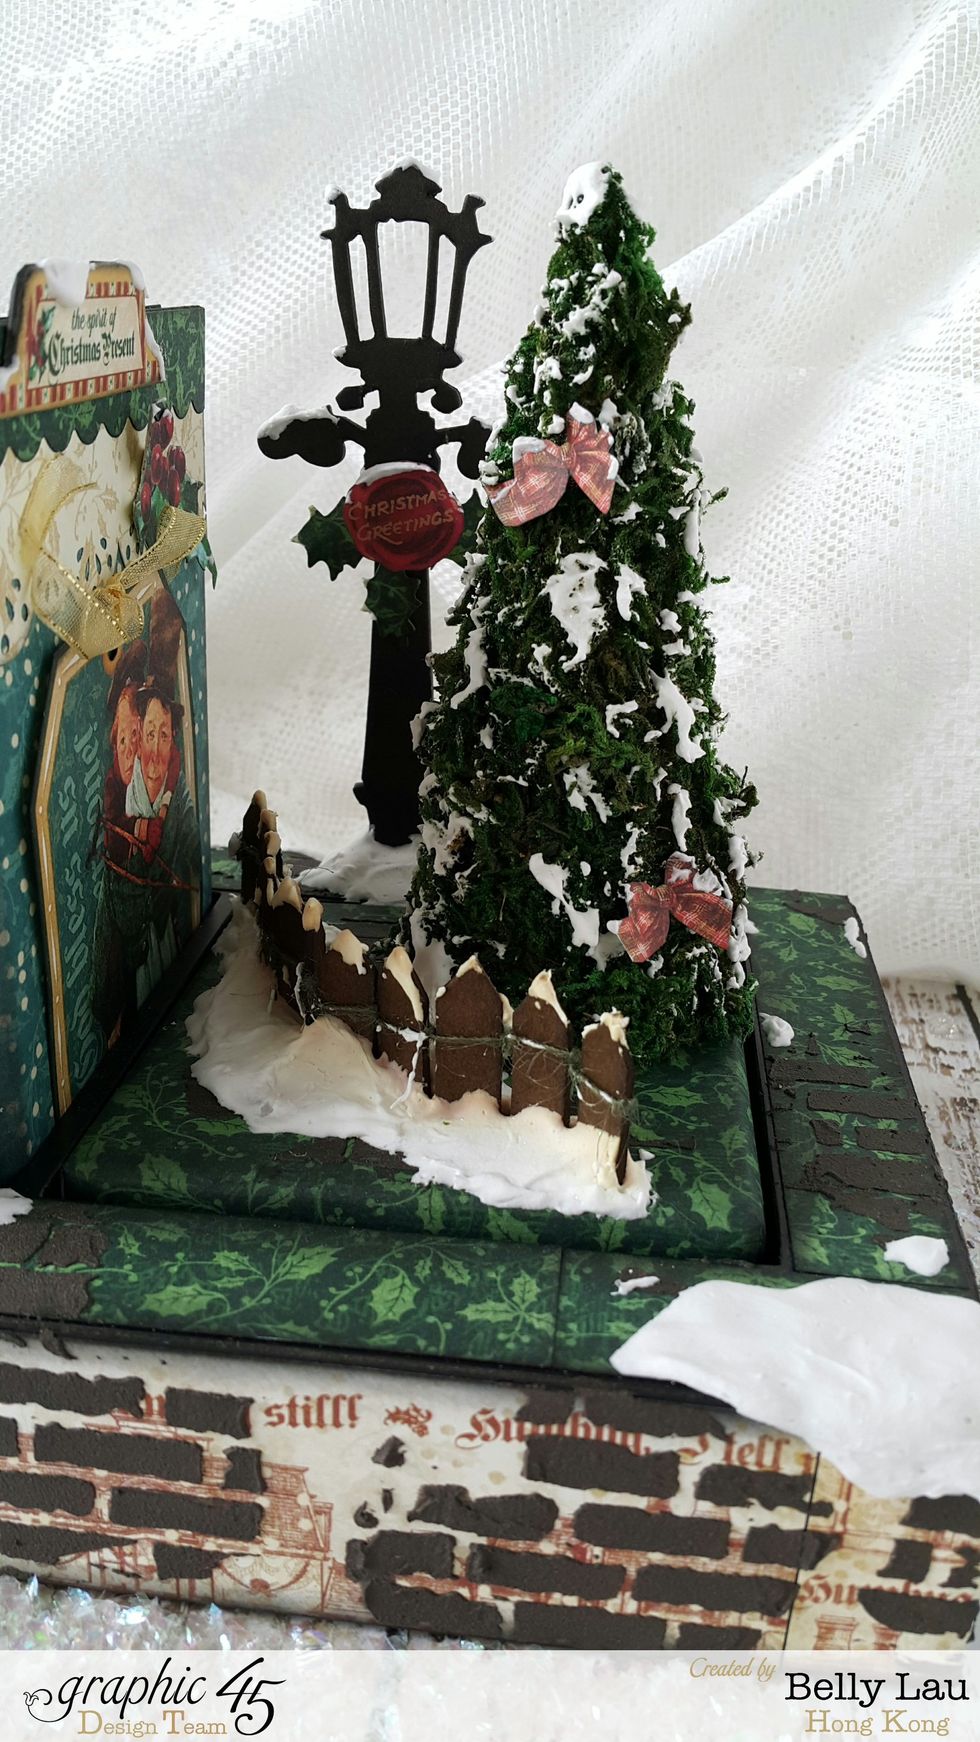
Decoration ideas: cut chipboard pieces for the fence, use twines to connect them together, use hot glue gun to adhere, then spread on the glitter snow paste, this can secure the fence as well as decor
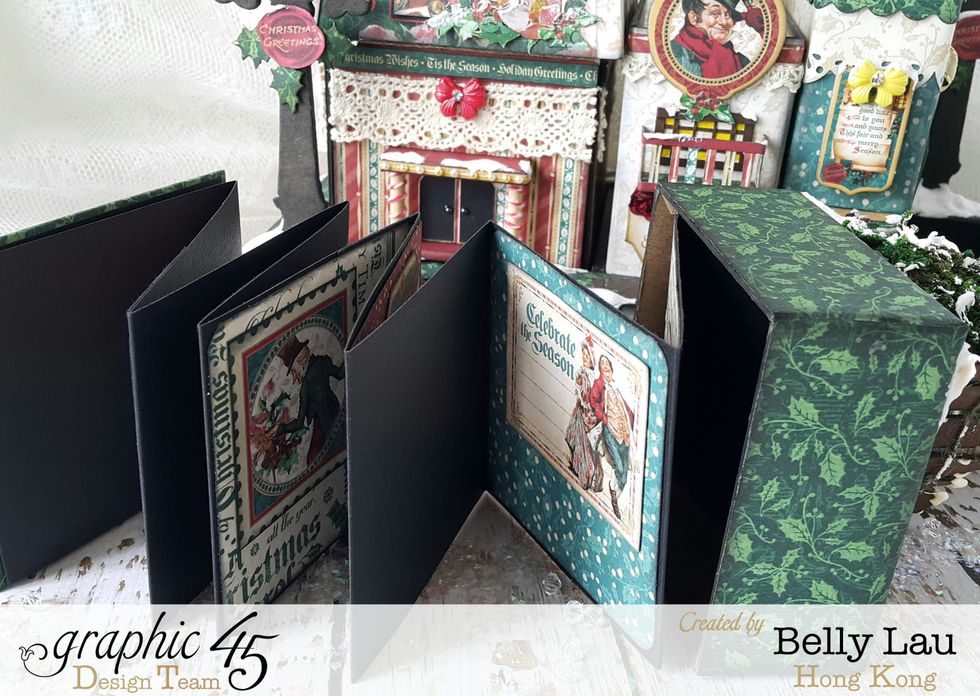
Decoration ideas: use pattern paper and fussy cuts to decorate in the inside of accordion album
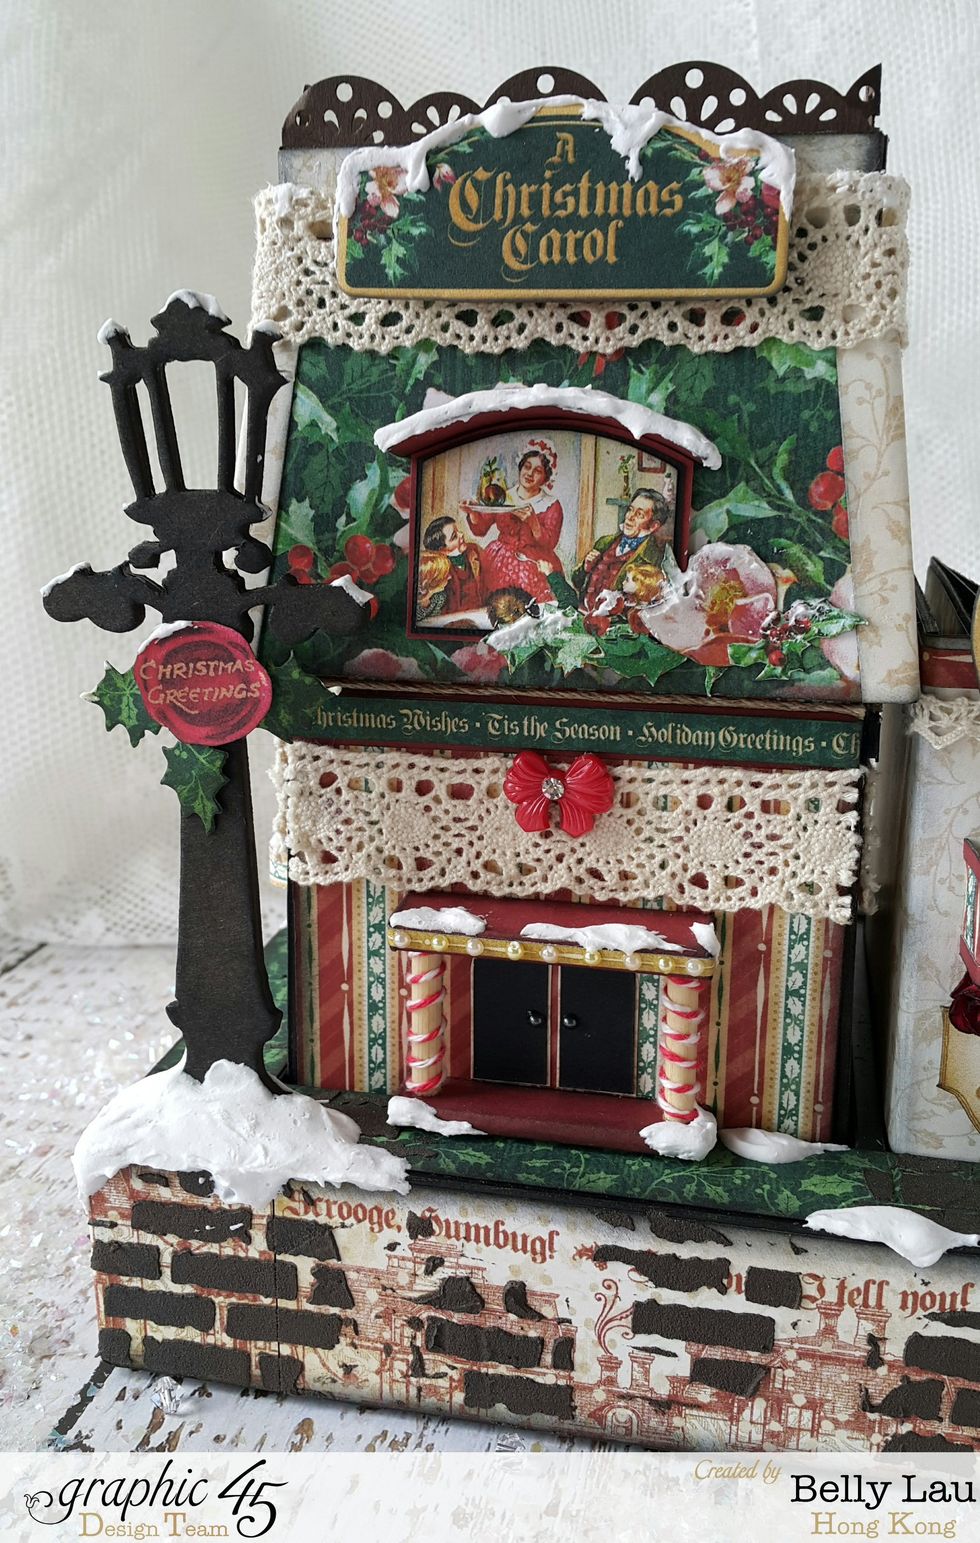
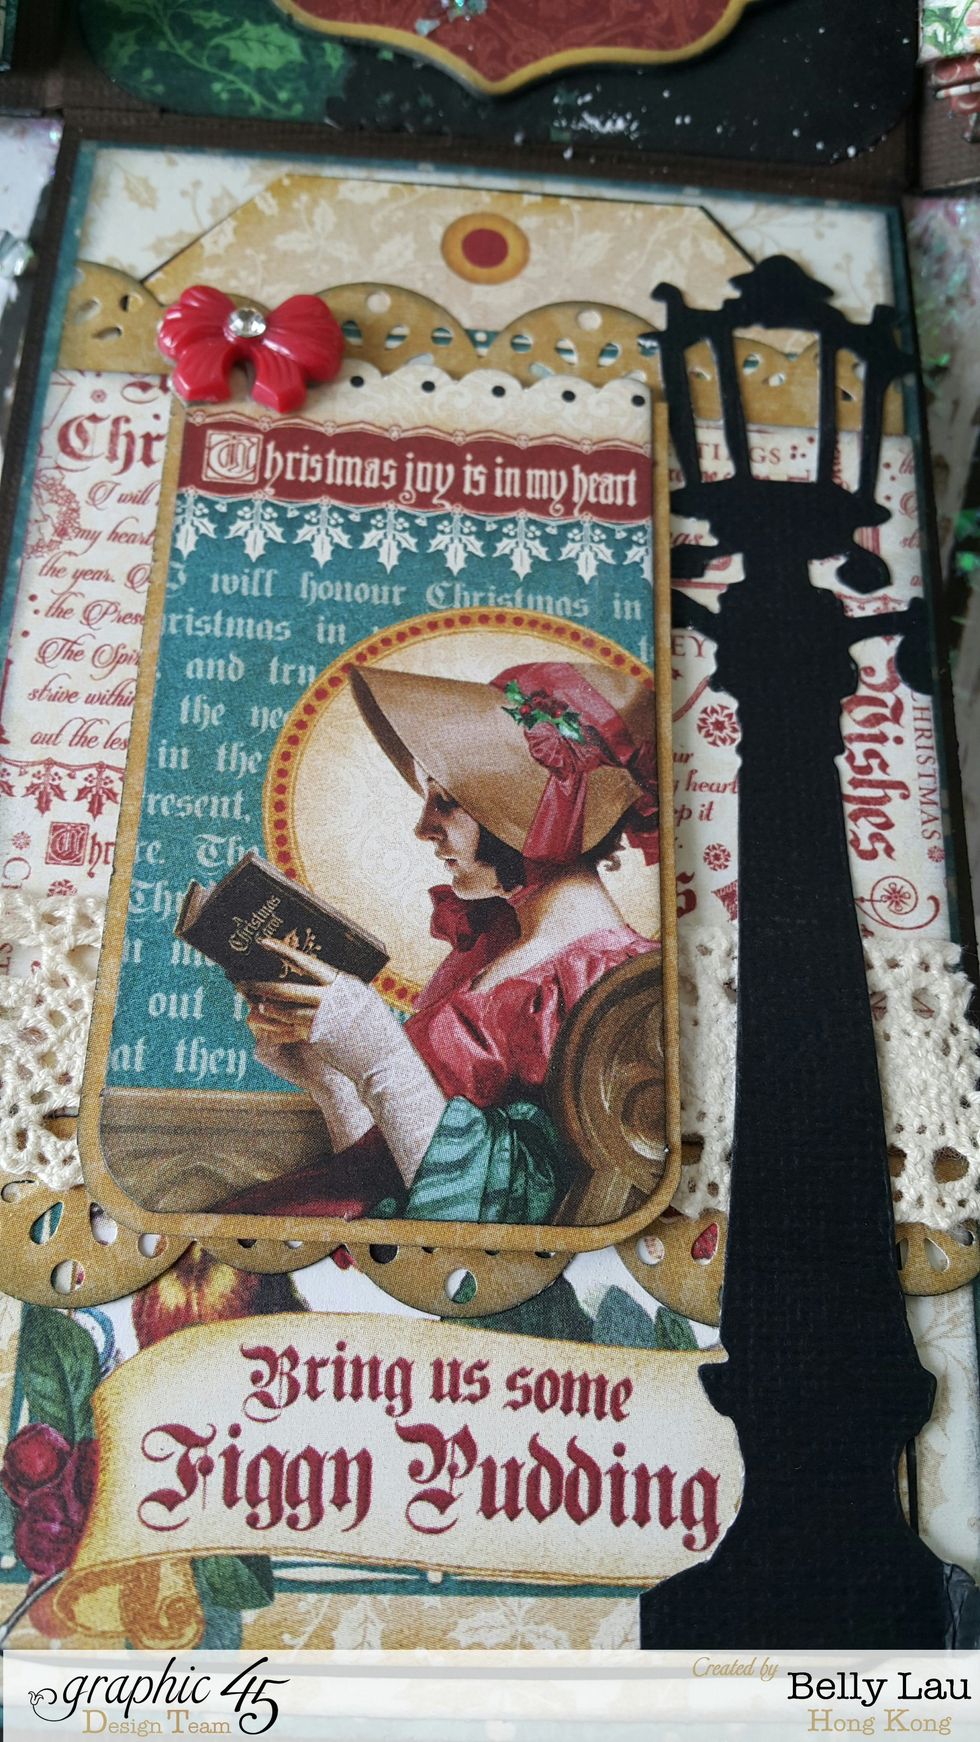
Decoration ideas: lamp post is a super cool decoration for Christmas theme, die-cut chipboard and simply apply Black Soot Distress Ink for result
Decoration ideas: twines, self-adhesive pearls, chipboard die-cuts or beads are all great decoration medias
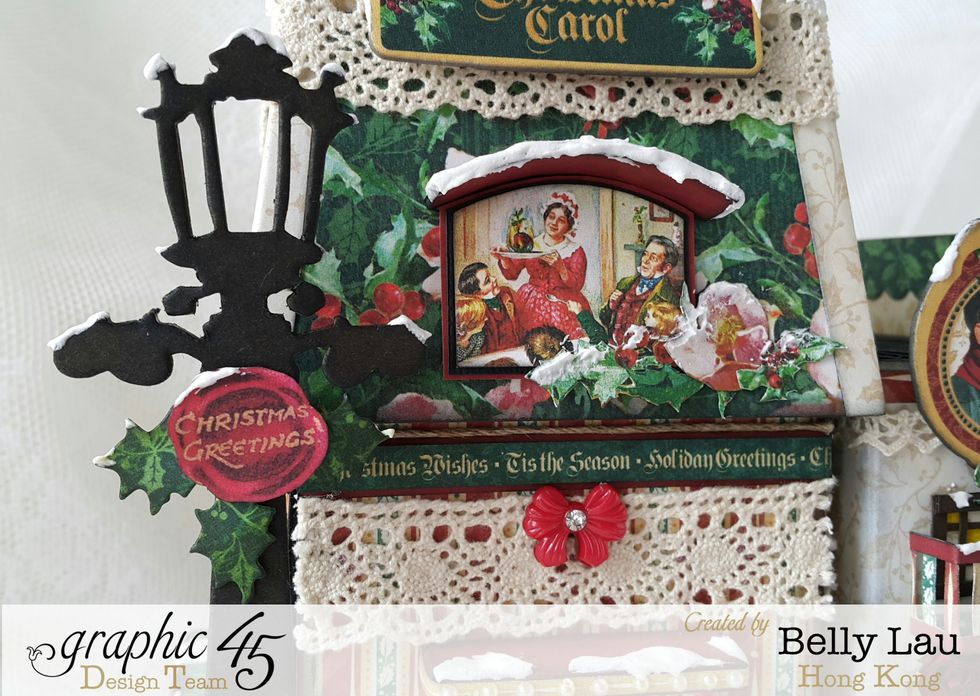
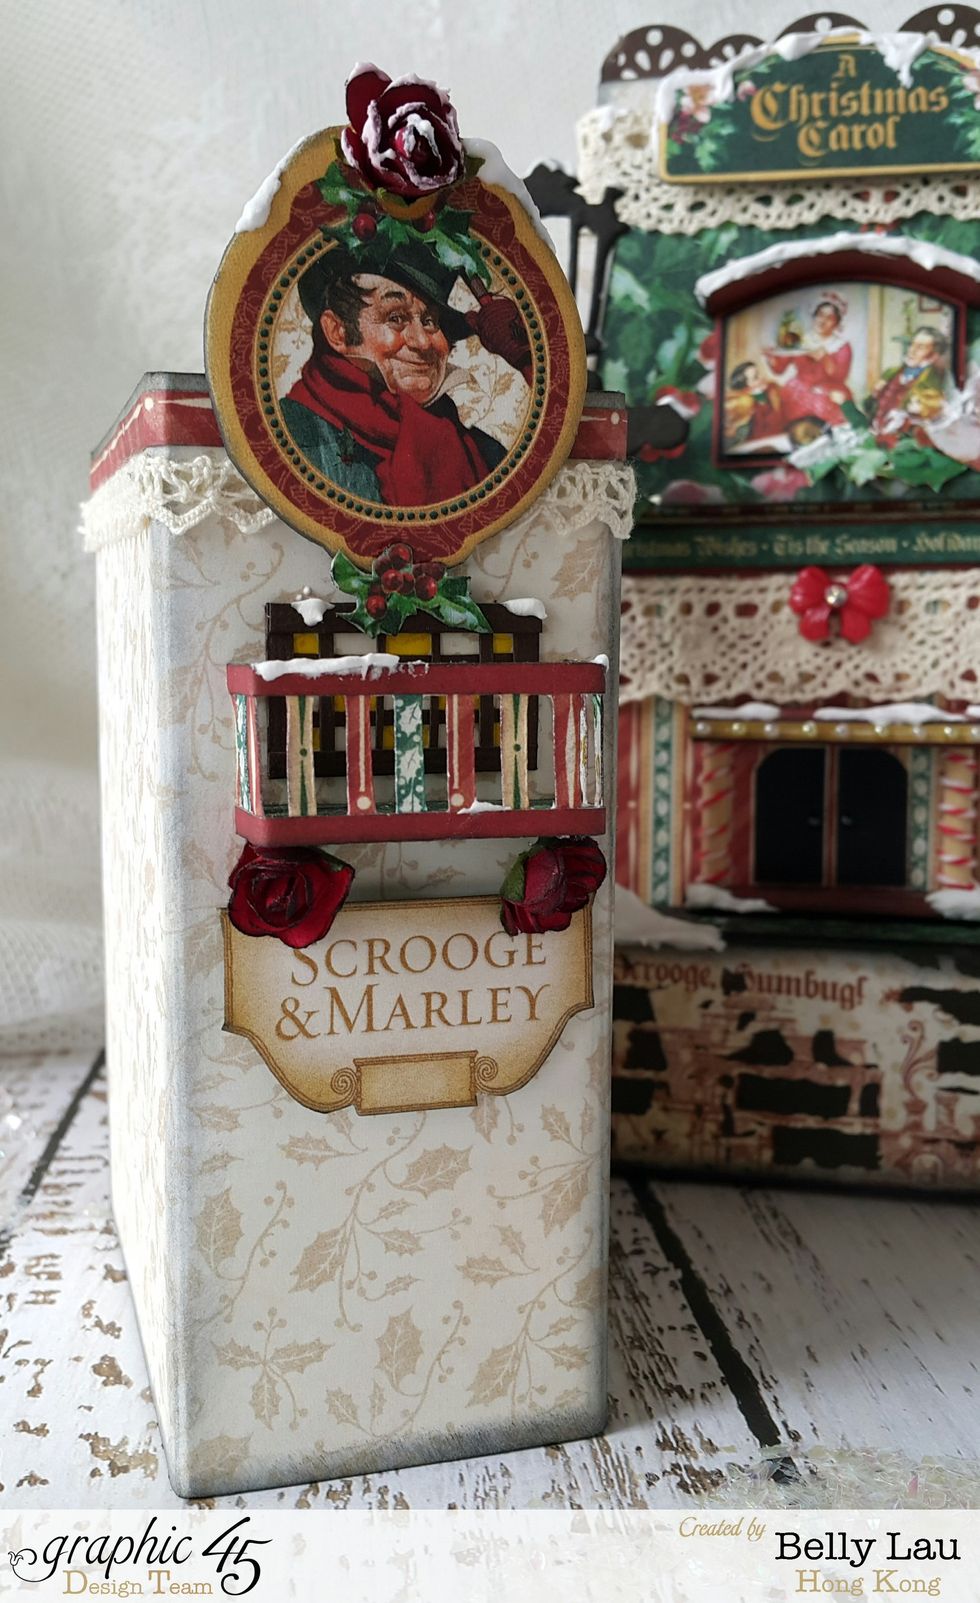
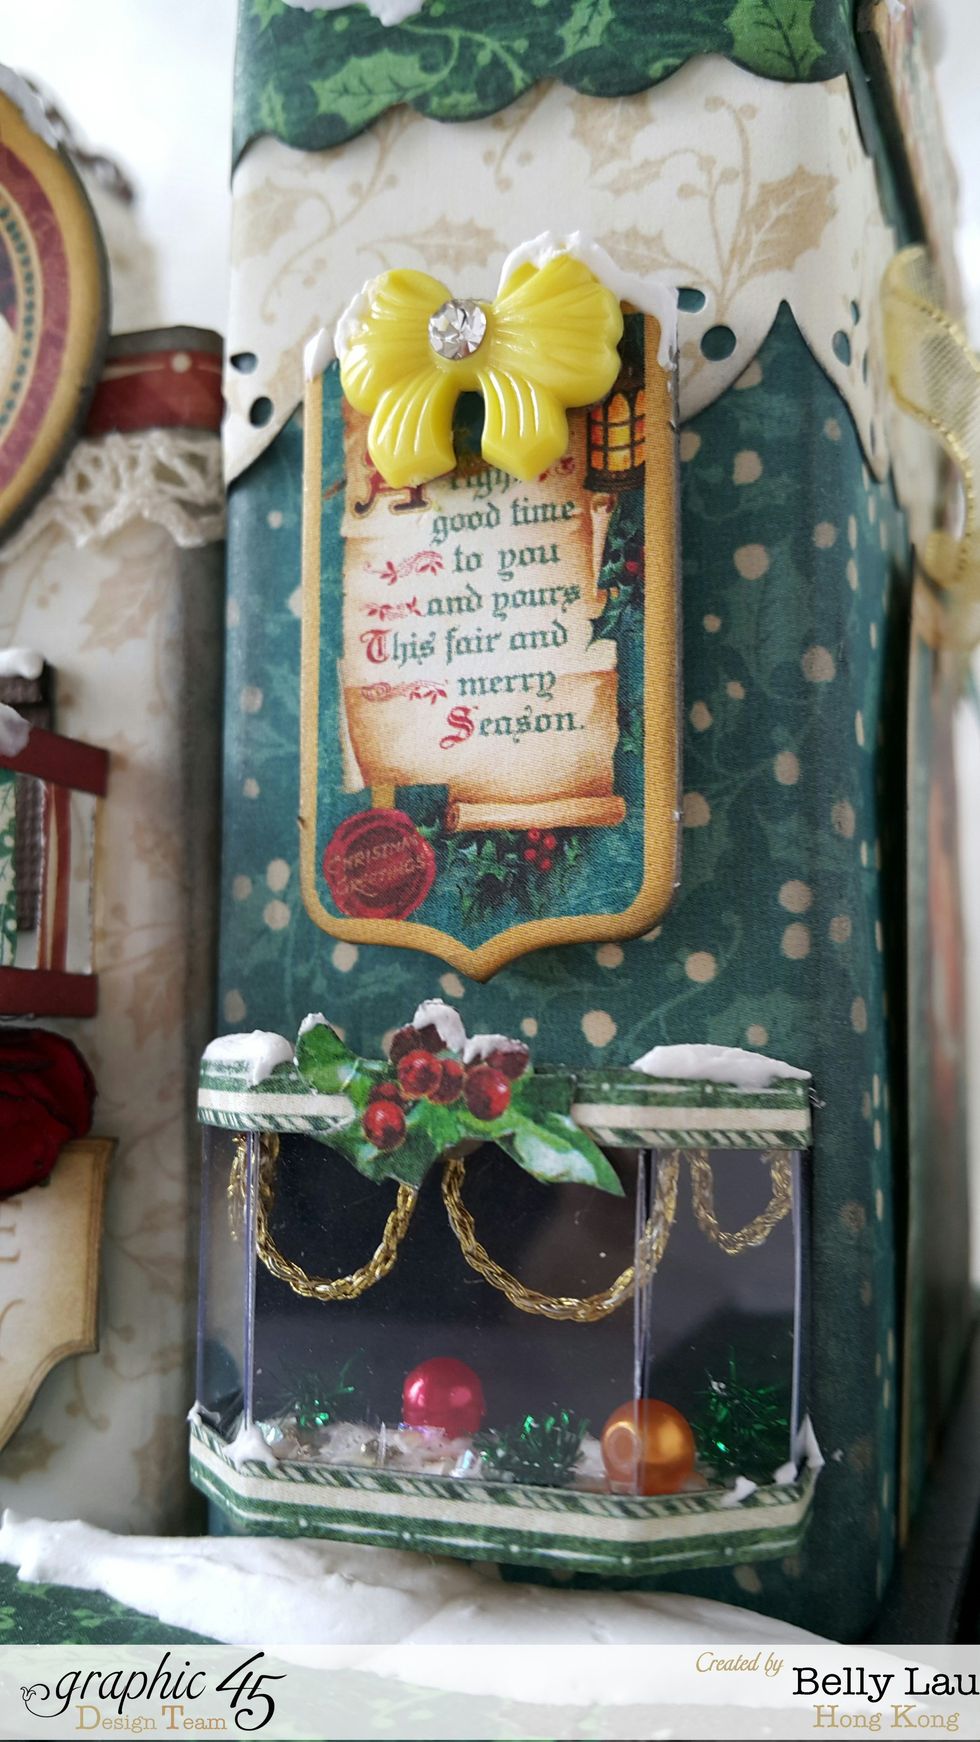
Decoration ideas: make a small piece of curve chipboard and cover with paper for the window, layer black and color cardstock to highlight
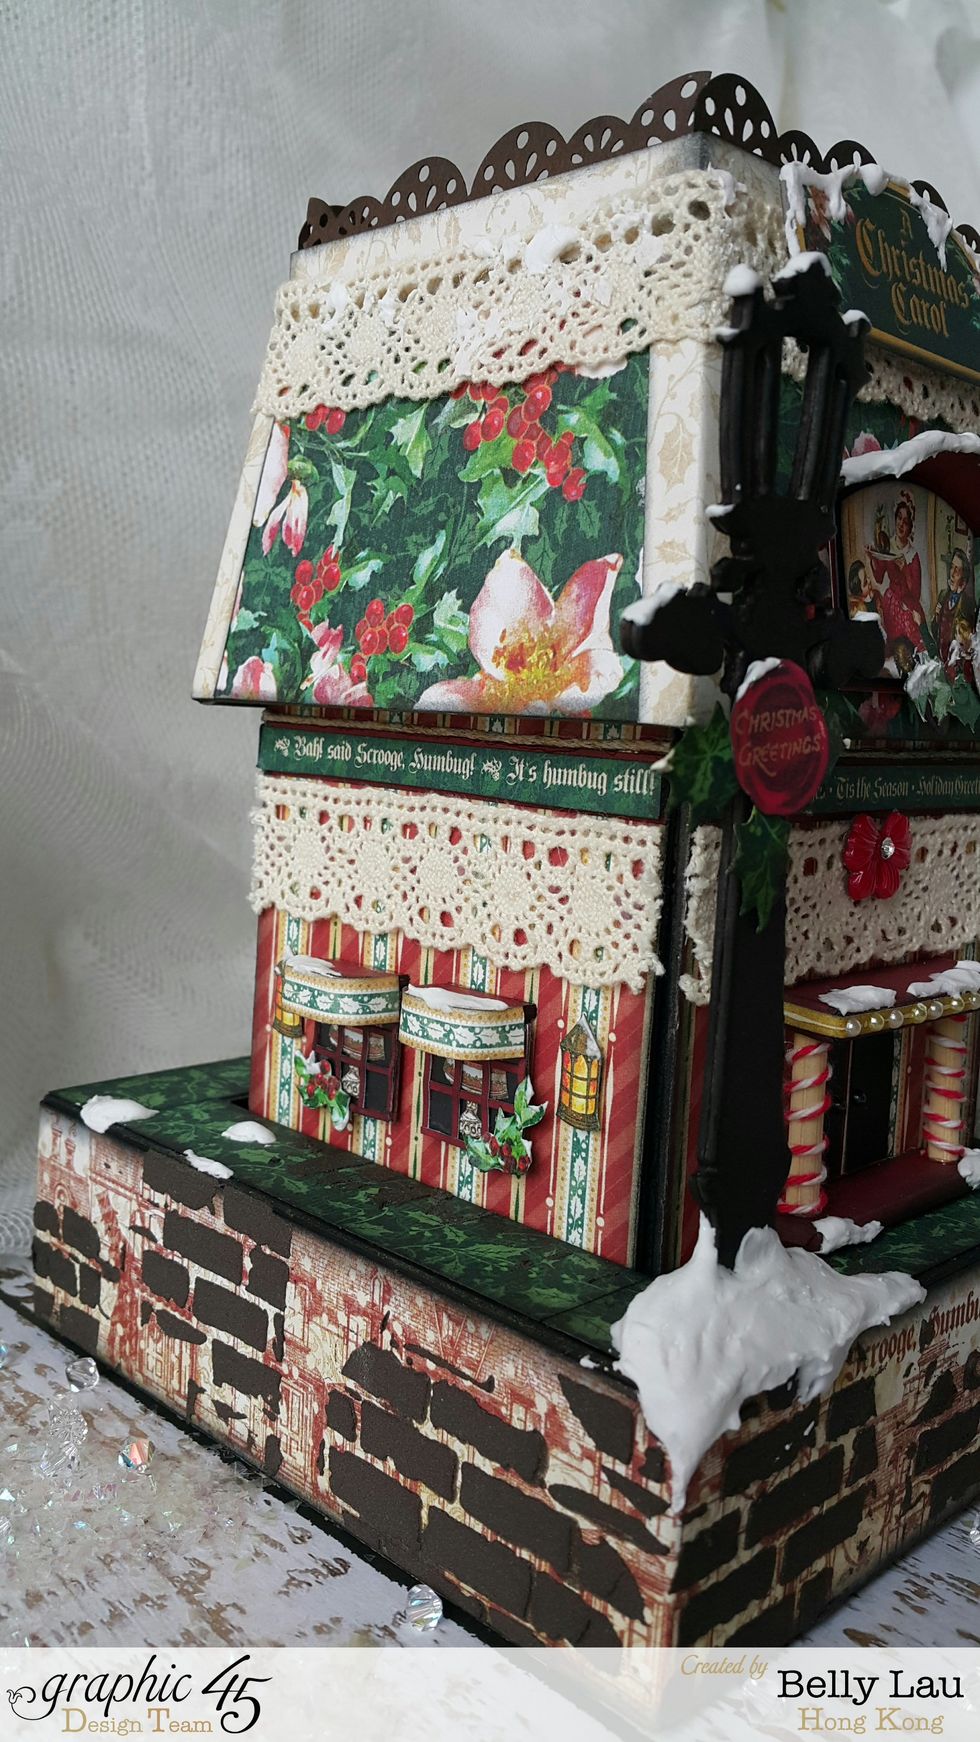
Decoration ideas: fussy cut the lamps from paper and adhere on the side, looks like it is on the street
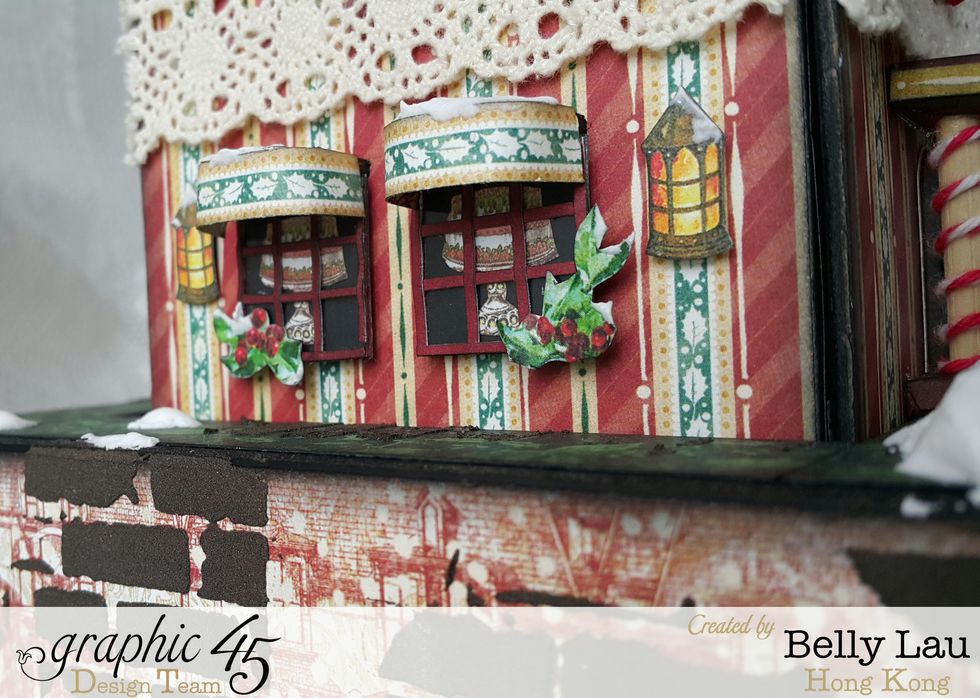
Decoration ideas: if you can't find suitable pattern for the window (like the cake of mine which is from another paper pad), you can even cut some from magazines

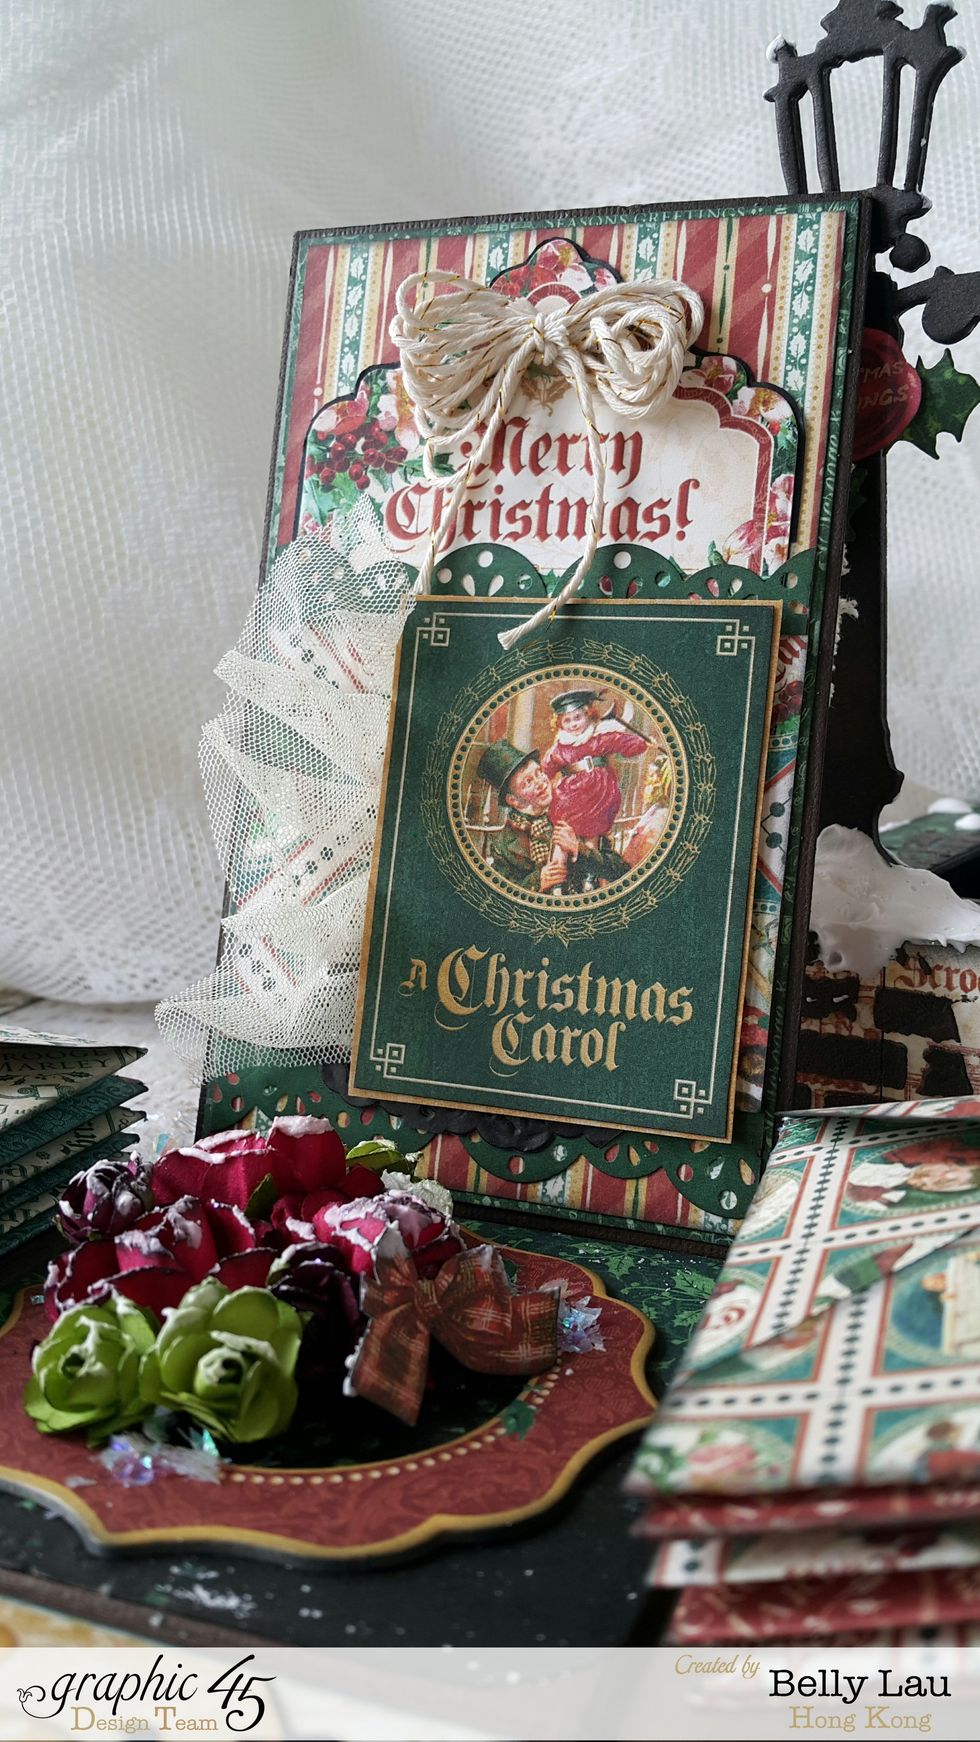
Decoration ideas: you can decorate two of the four sides like Christmas cards
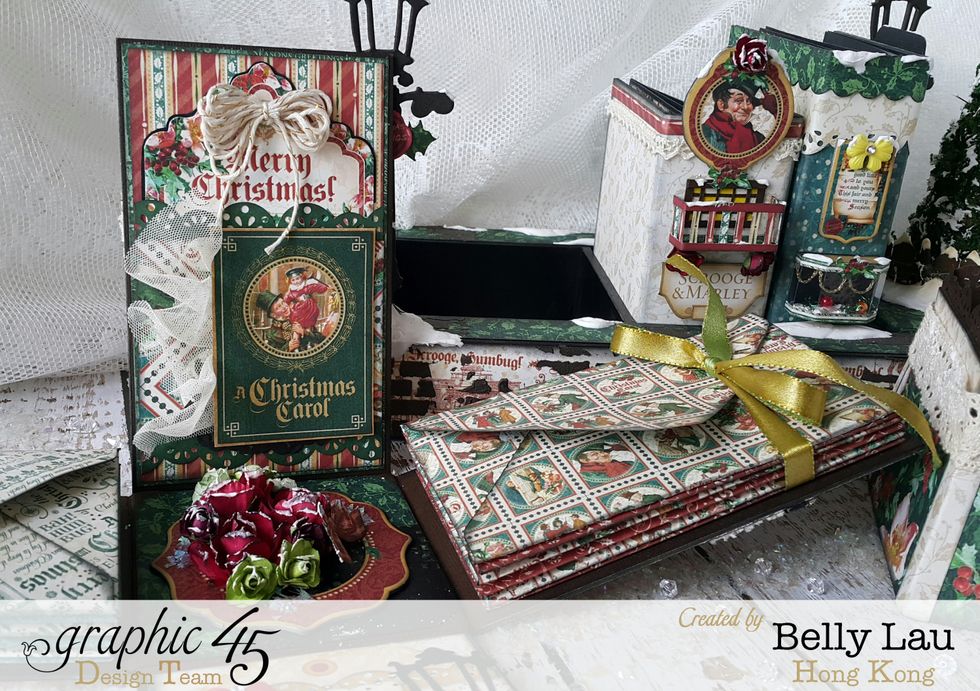
Decoration ideas: add some thickness decorations or album inside the explosion box, here I put pockets and envelopes
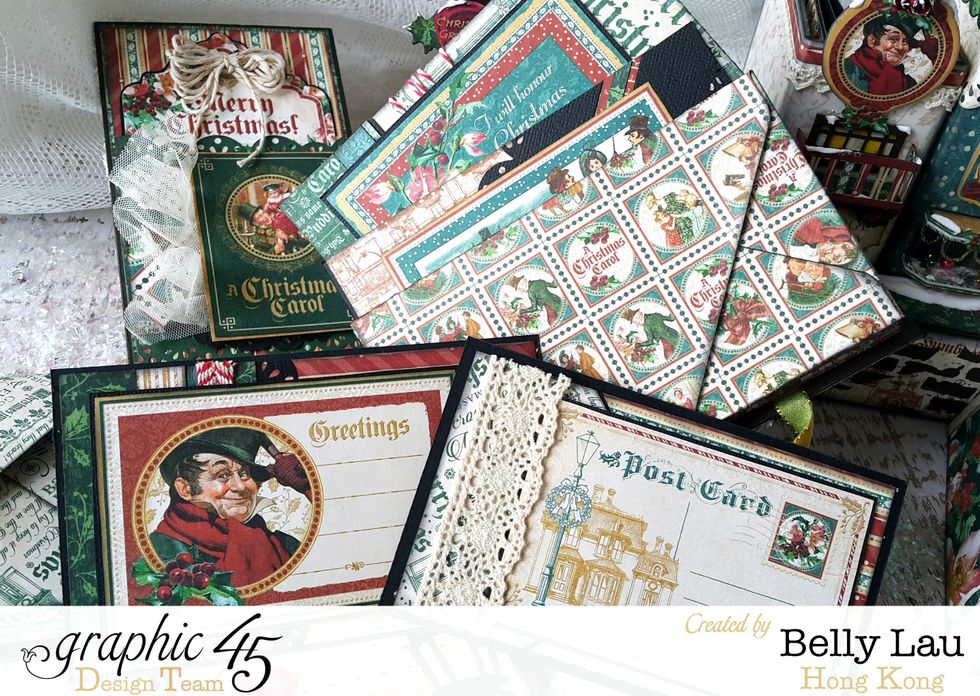
Decoration ideas: add some thickness decorations or album inside the explosion box, here I put pockets and envelopes
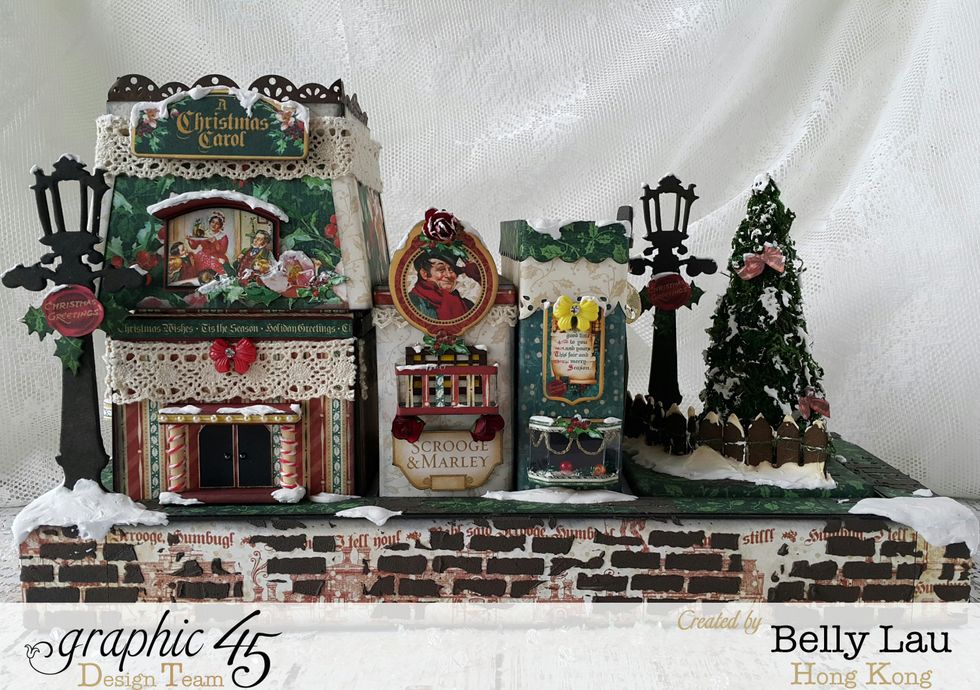
Thank you for watching, wish you a Happy Holiday!