The Conversation (0)
Sign Up
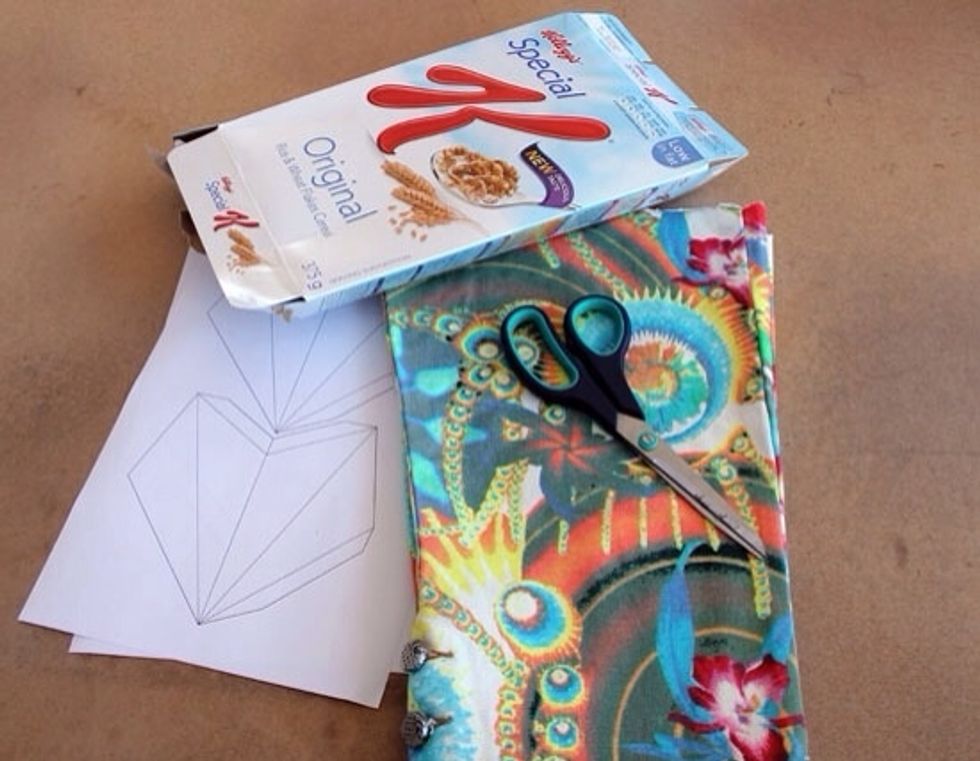
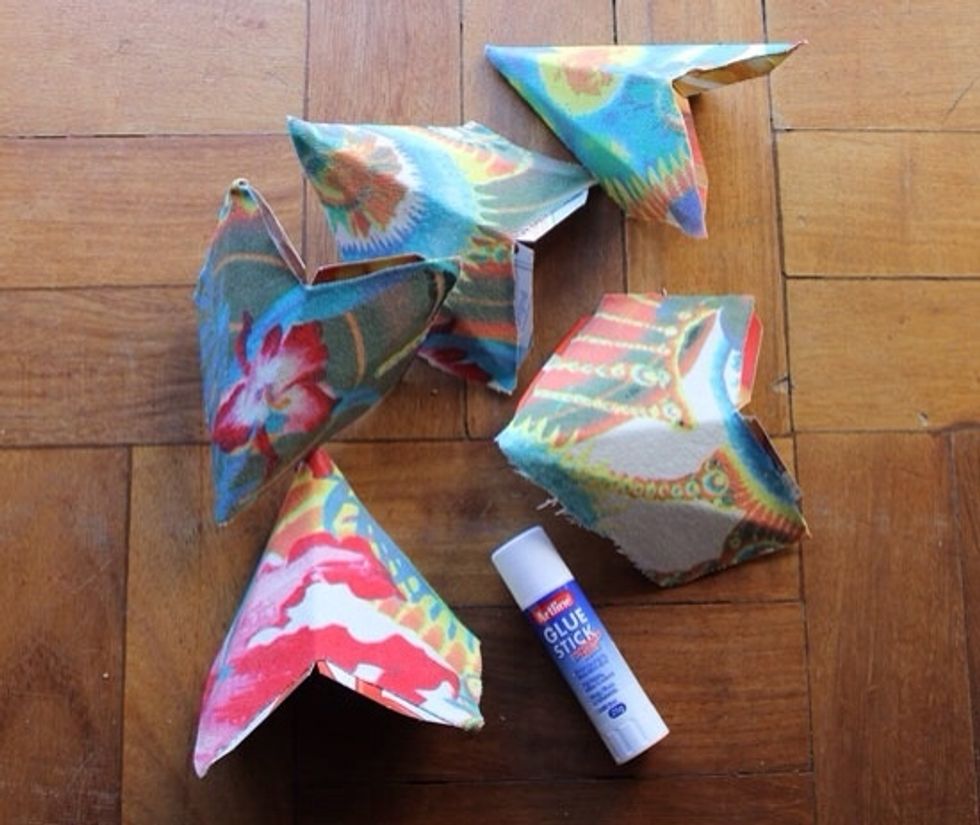
Gather your supplies. We used the leftover fabric from pants cut into shorts for our star.
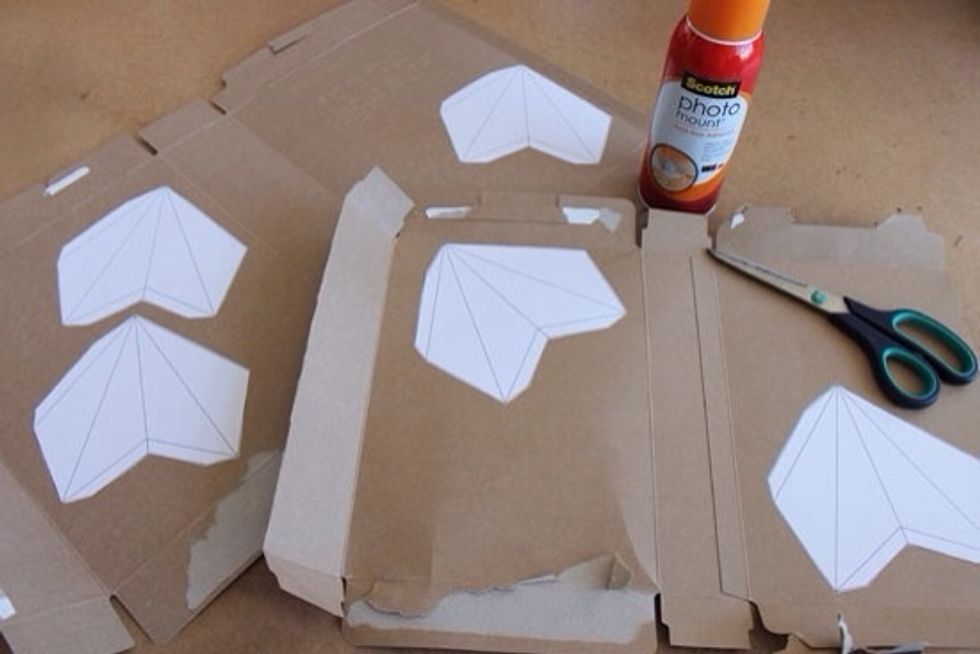
Cut out the star templates. (Download link on bit.ly/diy-star) Use your spray adhesive to glue the cut templates to your cereal box cardboard.
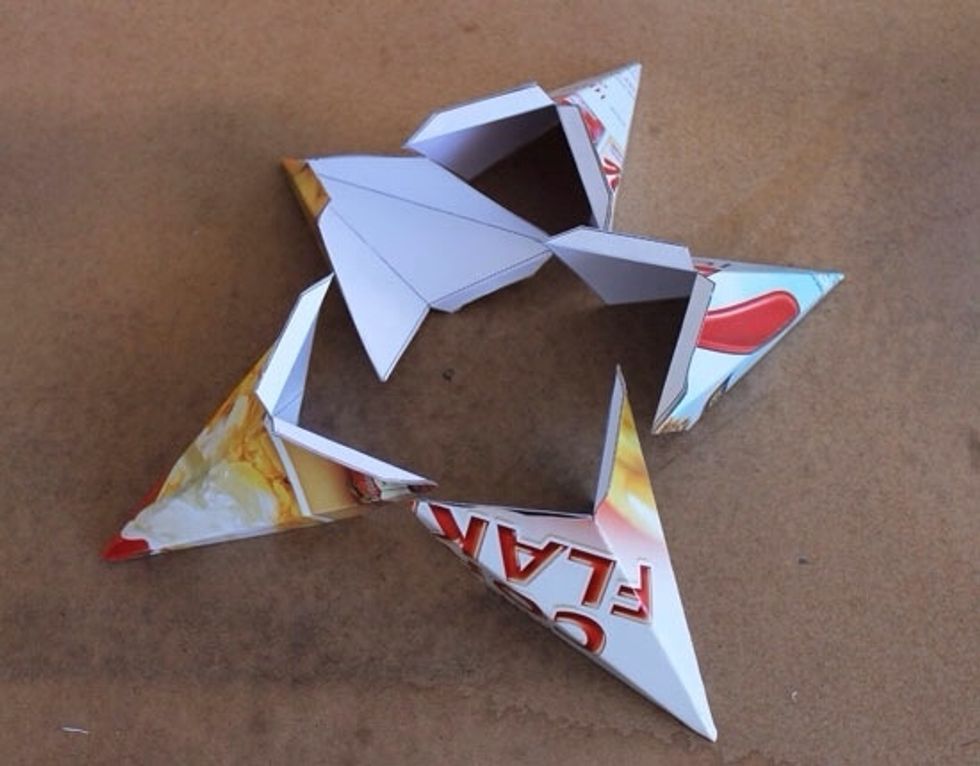
Cut around the borders of your templates. Now fold the templates according to the marked out lines. Be sure to fold the outer edges back. These will be used to attach the star points together.
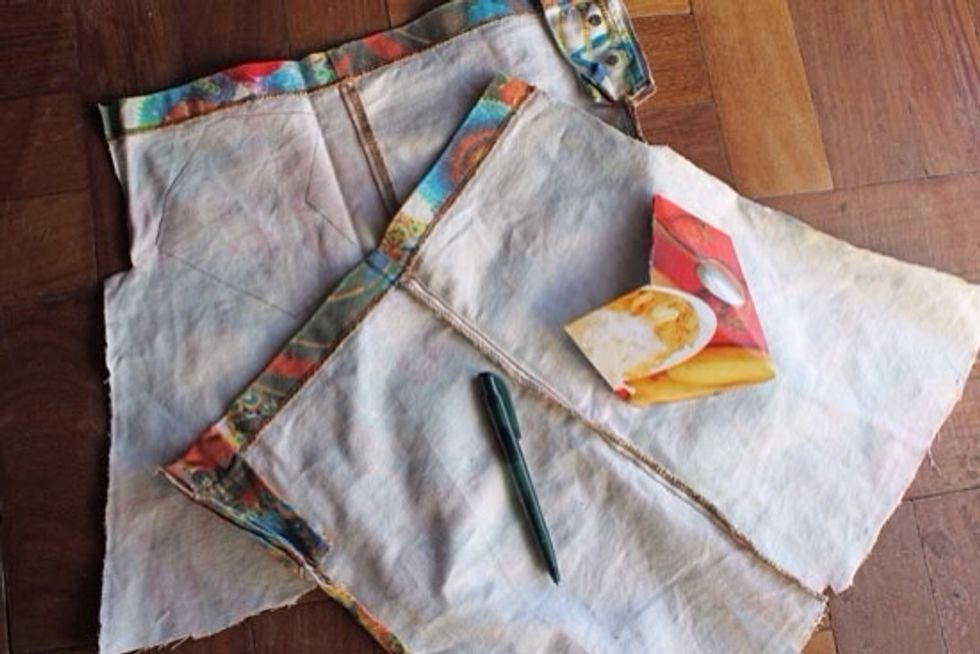
Trace your 5 star templates against your upcycled fabric. Cut the fabric according to the traced lines.
Glue your cut upcycled fabric to the star templates.
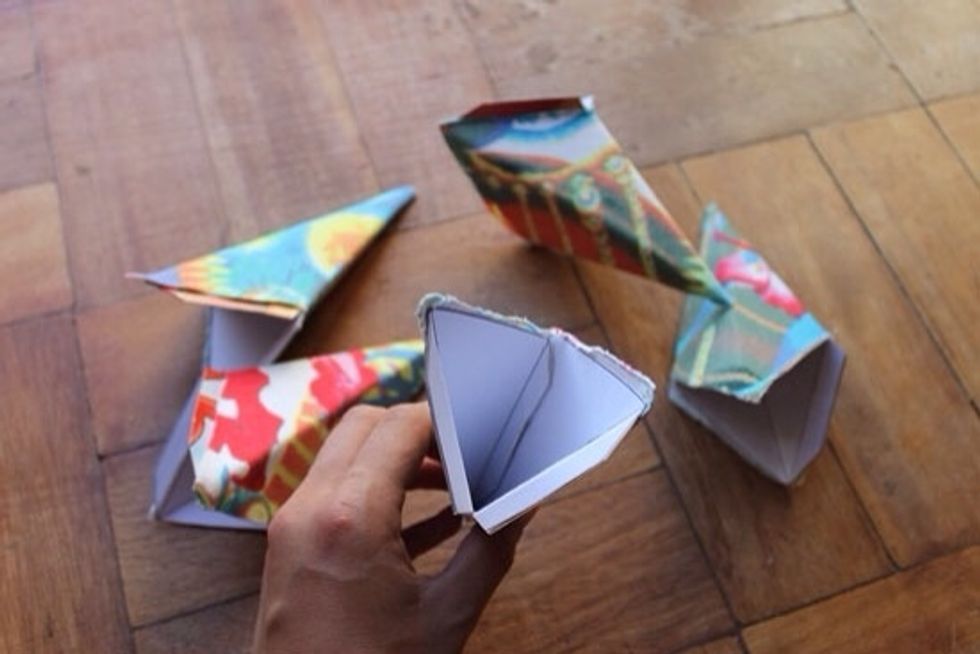
Glue the star templates shut by glueing the outside edge into the inside of the cone. You will now have 5 star points.
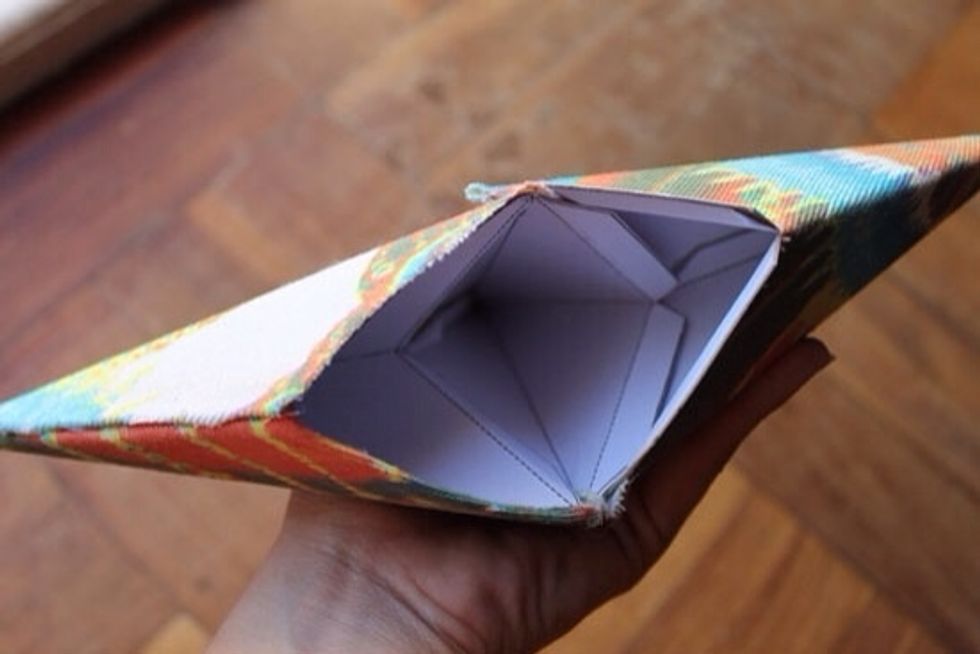
Overlap the outer edges of your star points and glue to secure.

Add your beautiful DIY Christmas star to the top of your Christmas tree!