The Conversation (0)
Sign Up
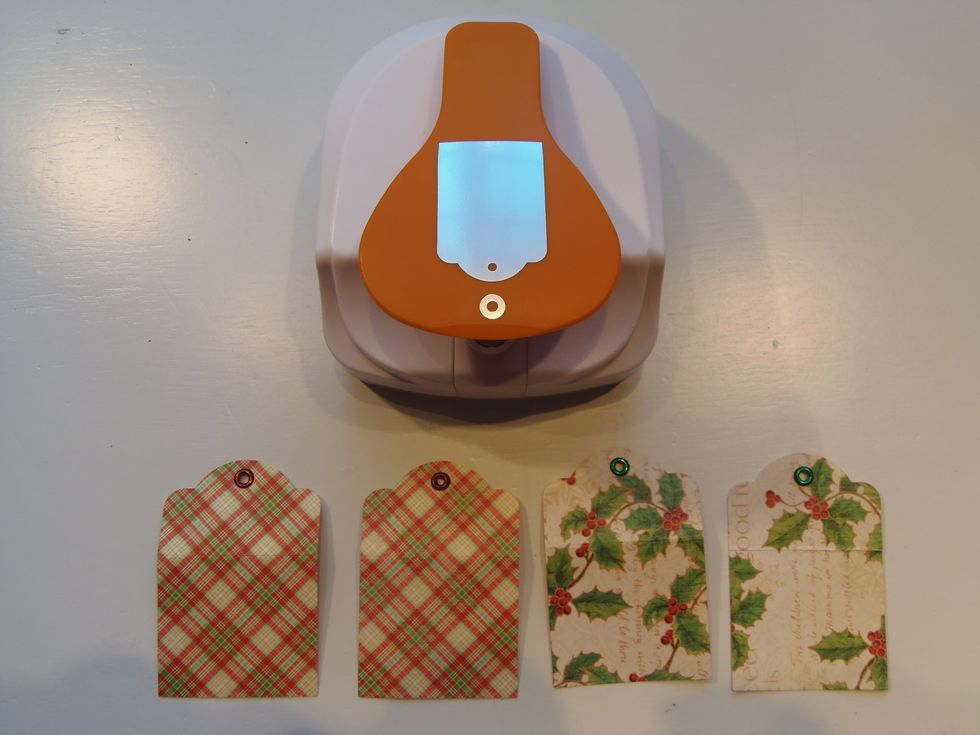
Make four tags using your favorite cardstock paper. To make the tags I used Fiskars tag maker or trace and cut from another tag.
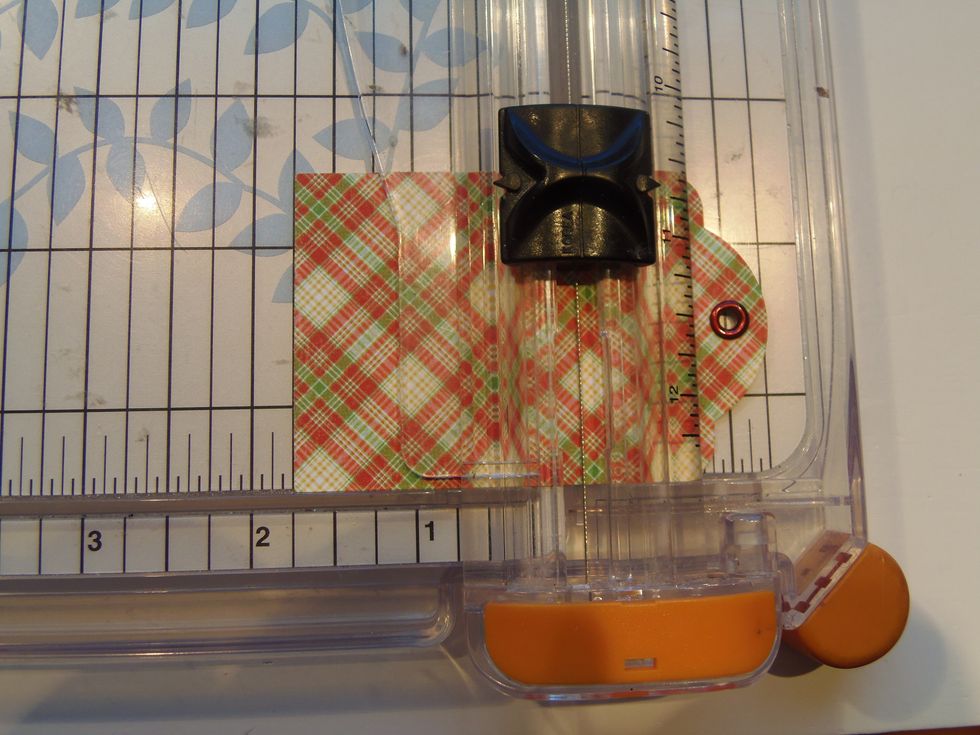
These tags measure 3" long by 2" wide. Score all four at 1 3/4"on the long side.
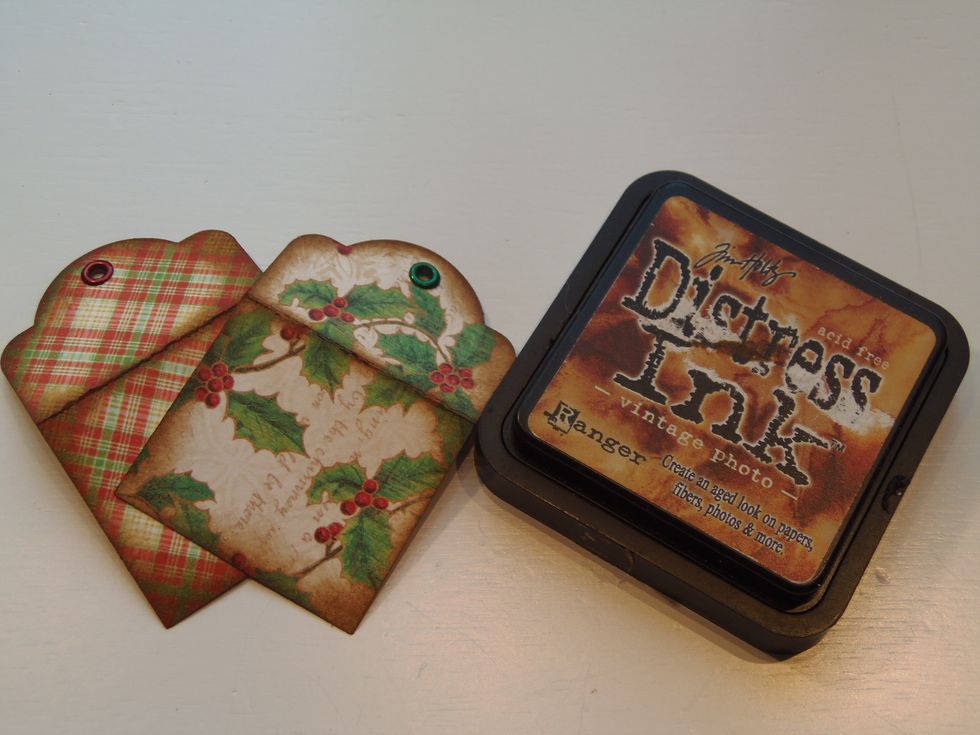
To give tags a vintage look you can ink the edges using distress ink. This technique brings out all the colors in the paper.
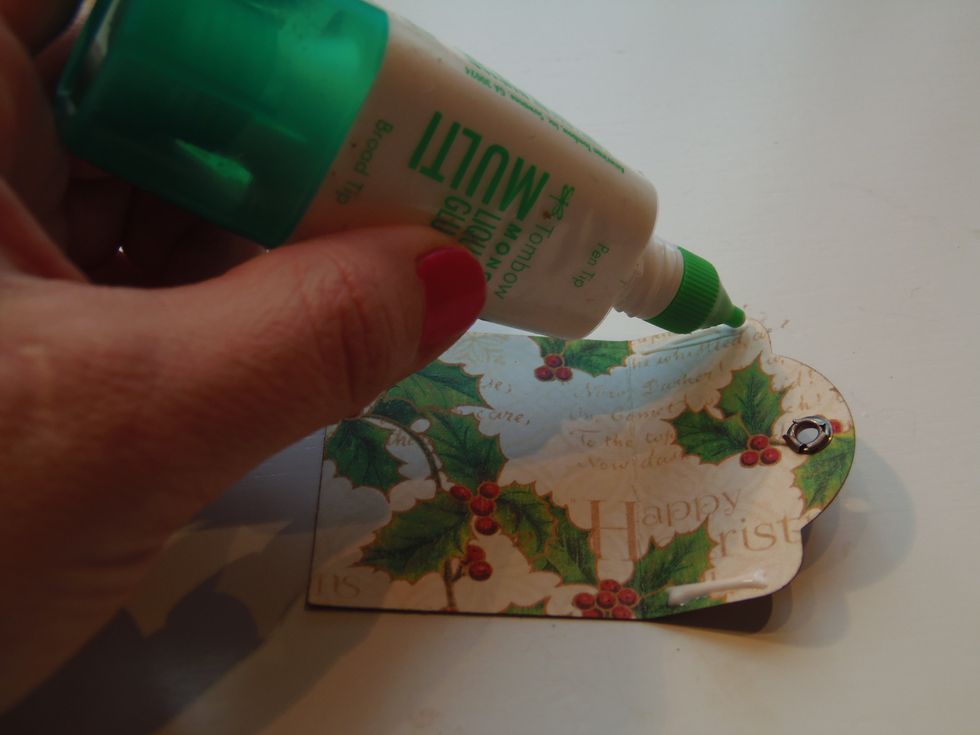
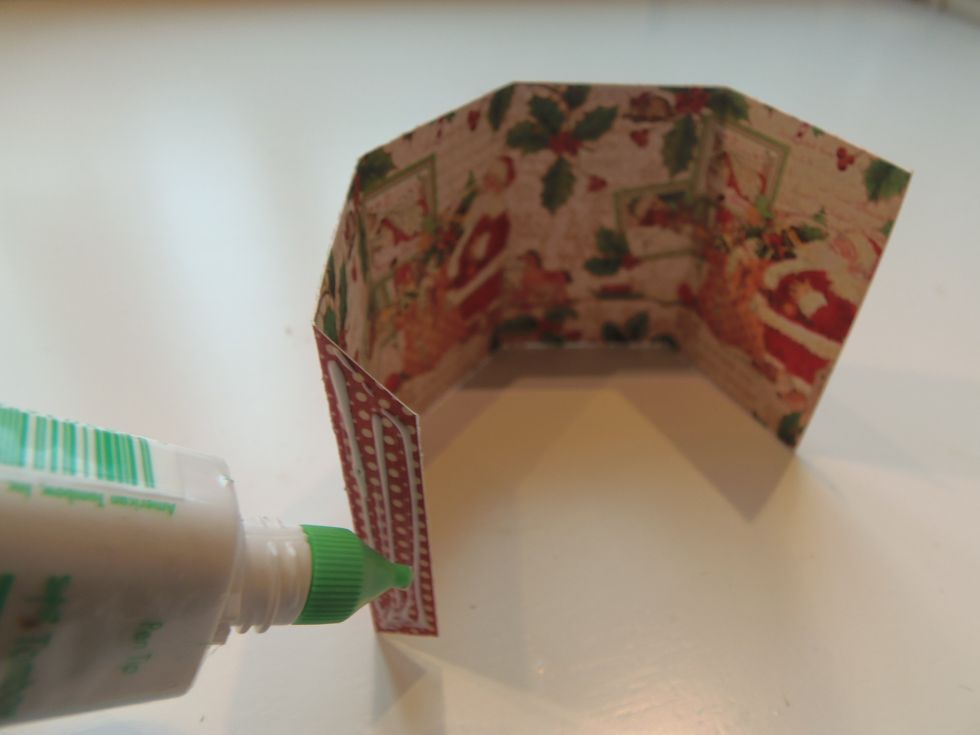
With the inked side of the paper facing down, apply some glue to the sides of the top part of the tag.
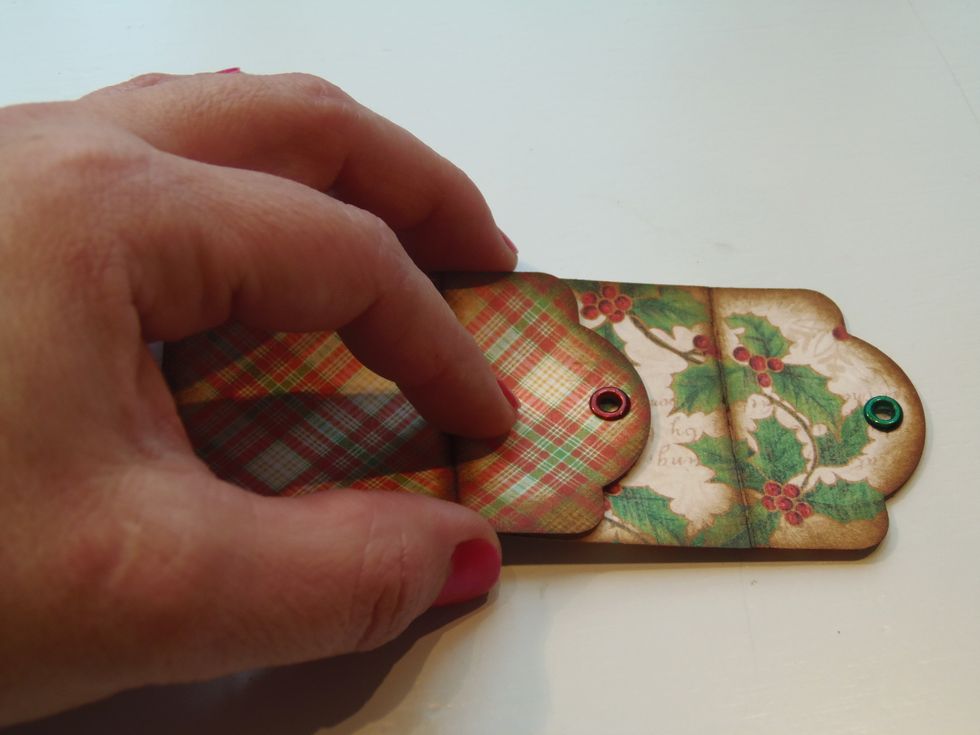
Glue the top part of the tag to the bottom part of another/new tag. This overlapping method will create "pockets" for your box.

Repeat this step with the rest of the tags.
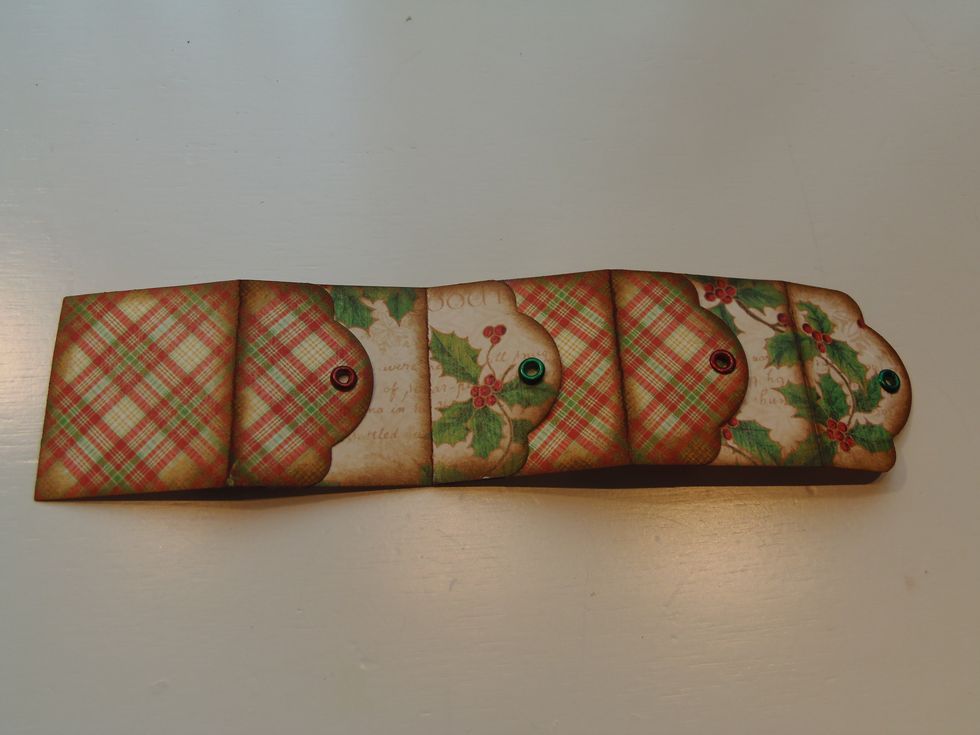
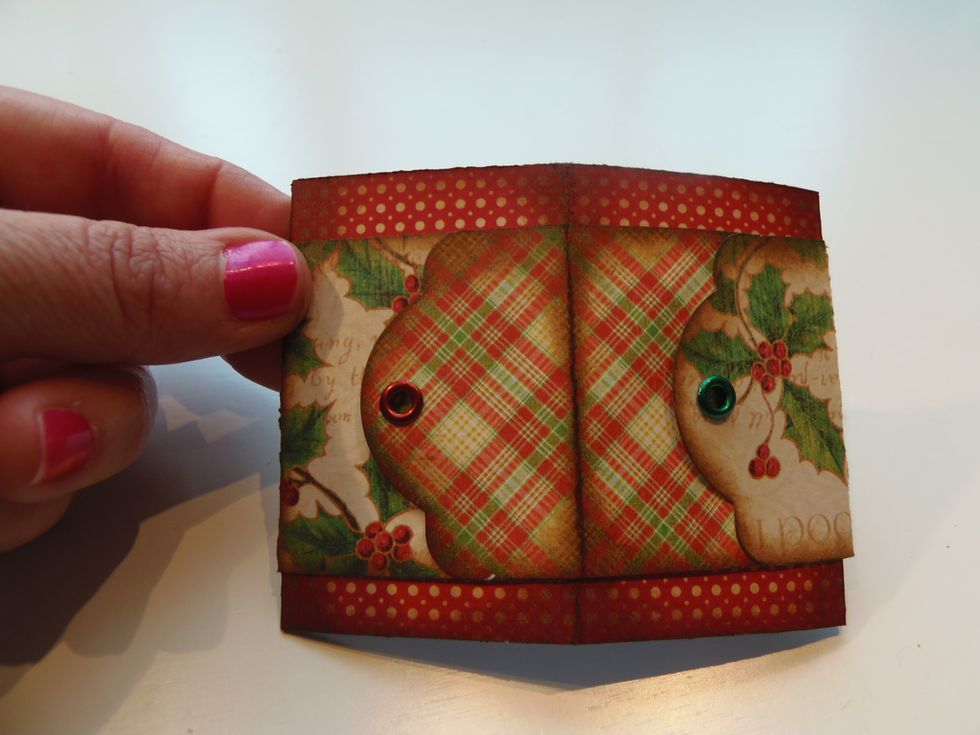
This is how it should look like. To shape into a box, glue the two ends together. Just like the rest, apply glue only to the top sides of the tag.

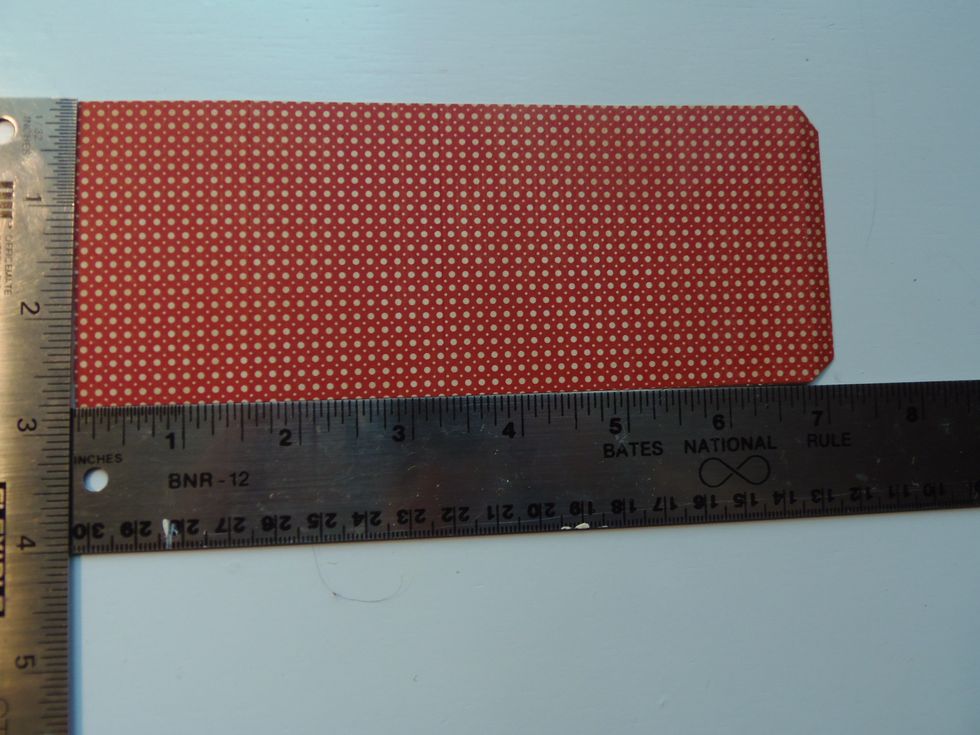
Cut a coordinating piece of cardstock that measures 2 3/4" by 7". On the longer side, score at 1/4", 2 1/4", 4" and 5 3/4".
Apply glue to the 1/4" tab and glue opposite sides together.

With both boxes folded flat, insert plain box inside tag box.

Shape back into a box. Add a little bit of glue between the boxes so everything stays in place.
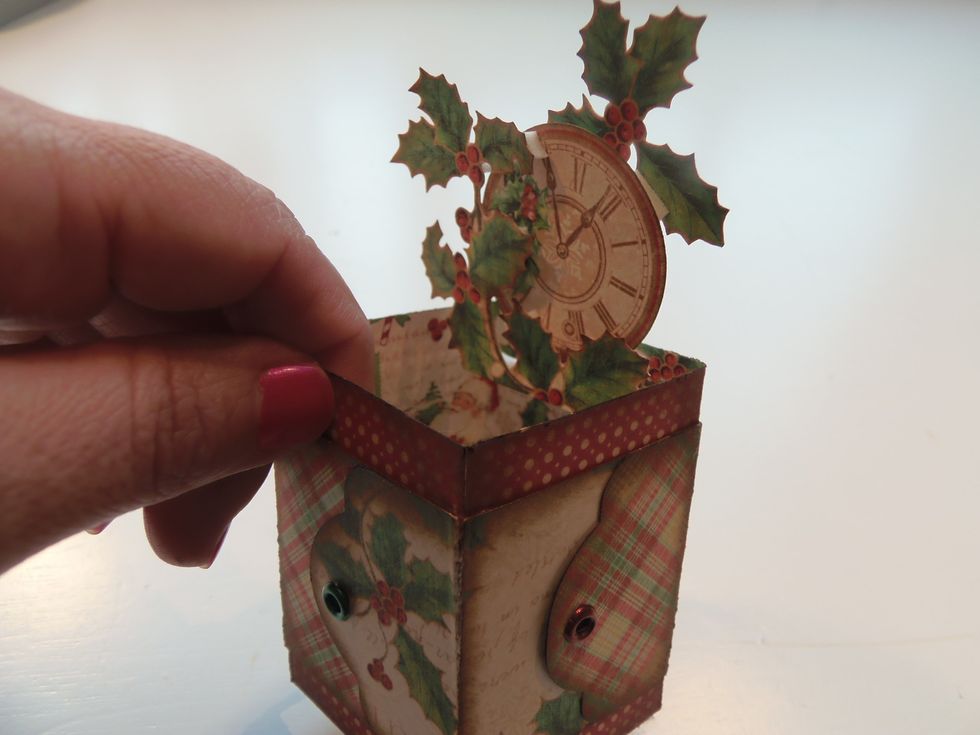
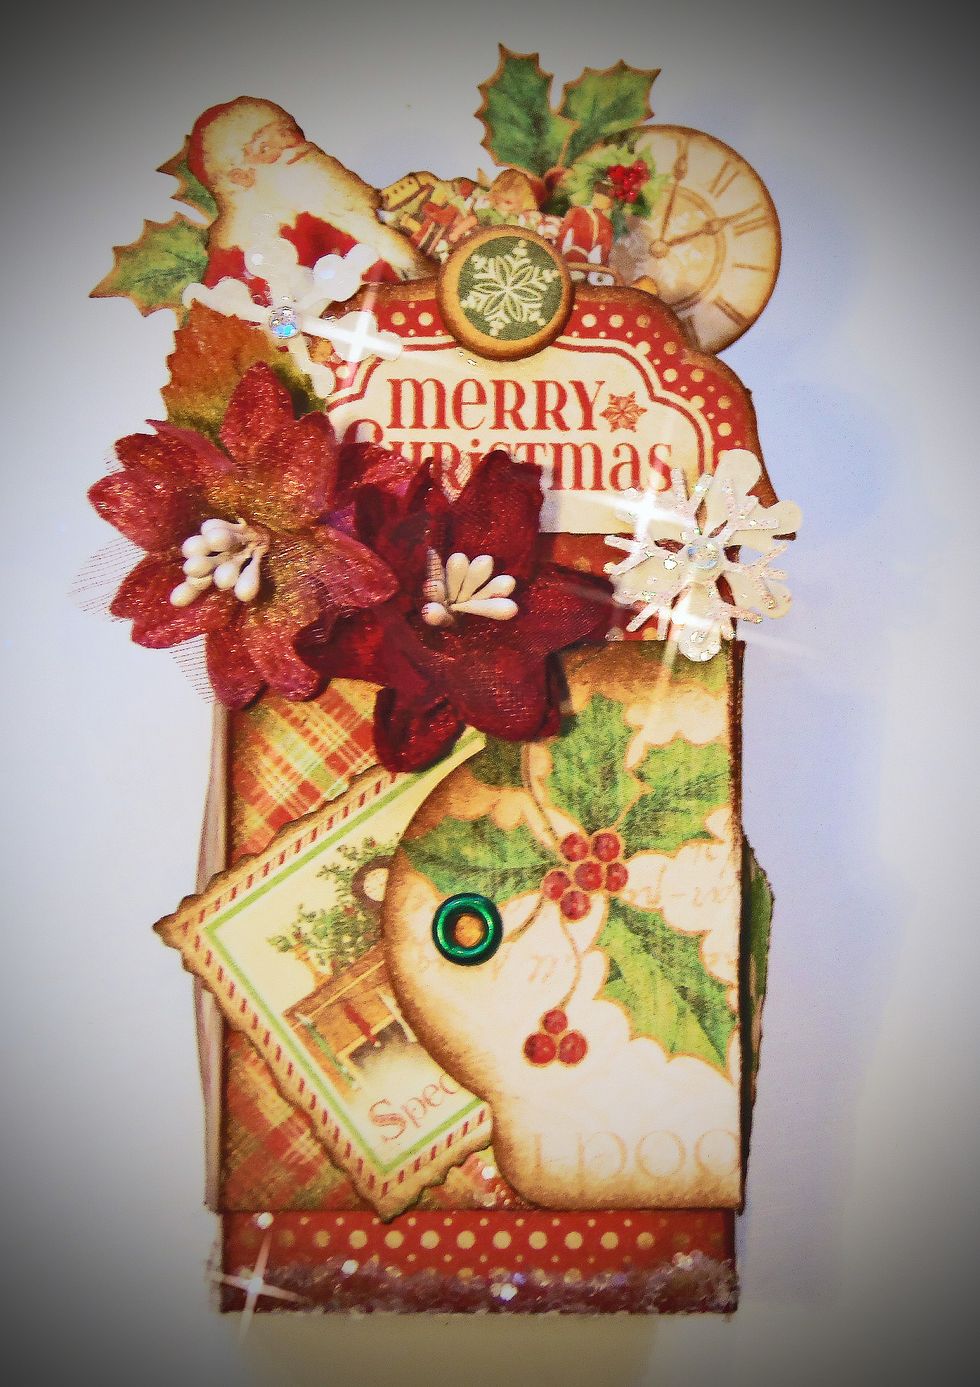
Use a lot of fussy cuttings. Use pop-up dots to add more dimension to your card-box.

Embellish it with flowers, tags, rhinestones or whatever you like. Possibilities are endless.

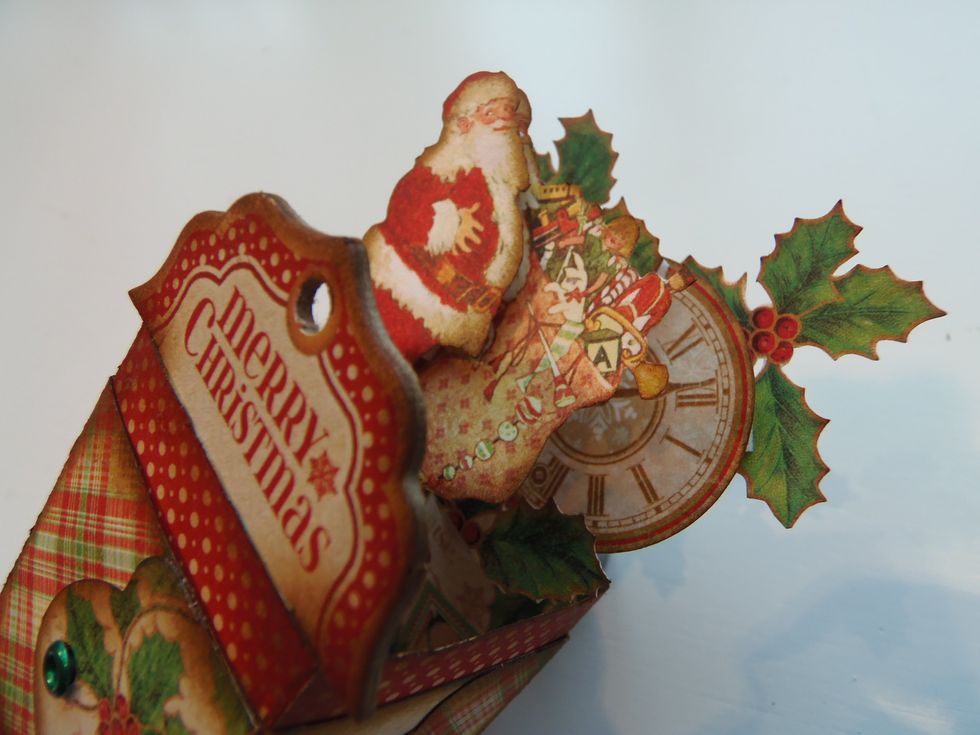
I cut out some stamps that will fit perfectly in the tag pockets.

This card folds somewhat flat, but if you plan to mail it, it would be a little bulky.