The Conversation (0)
Sign Up
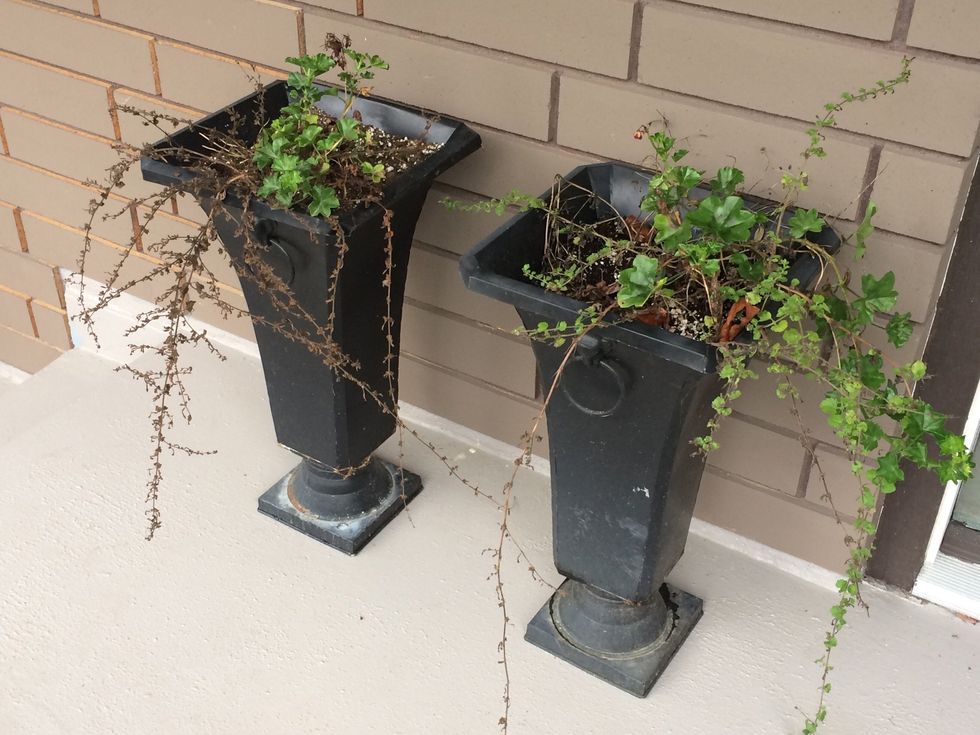
My planters have died back with only a geranium still alive, so I cut out all the dead material to prepare for the makeover.
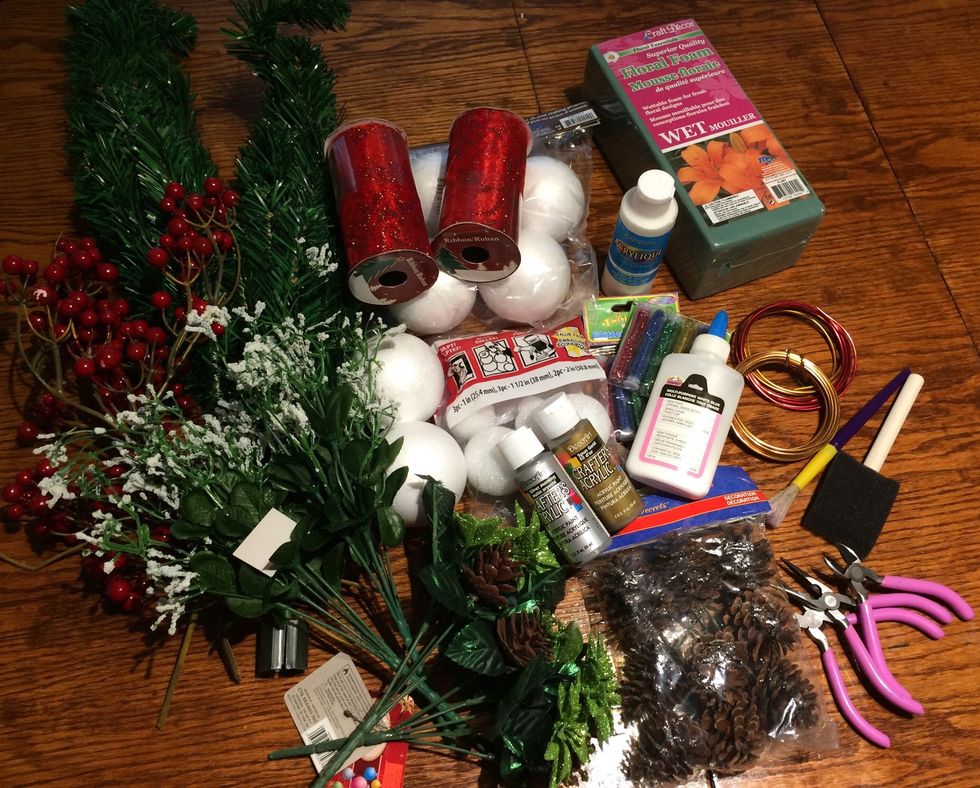
Collect your supplies. The plan is to add glitter to the styrofoam balls and paint the pine cones. These two parts can be done a day in advance or buy glittered balls and painted pine cones.

Unroll the thick floral wire and cut it into 20cm lengths, one for each styrofoam ball. Poke the wire into the floral foam. I may use this block later for a flower arrangement so left the plastic on.
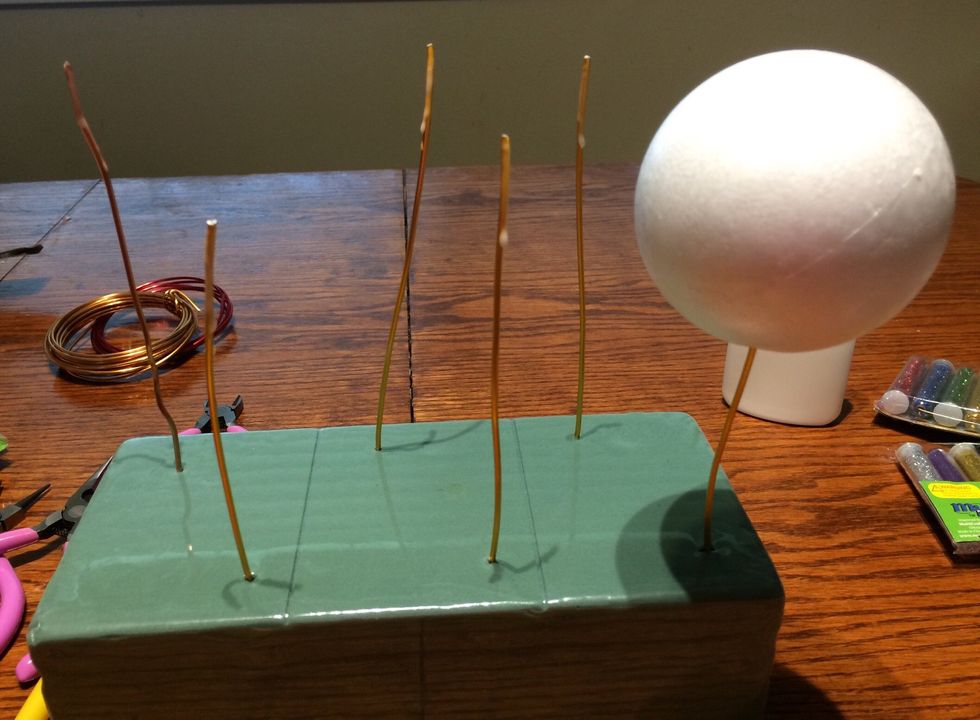
Put glue on the ends of the wires before putting the styrofoam balls onto them. Push the wire into the ball about half way, then put the wire and ball back into the foam block.

Ready for glittering.
Line a cookie sheet with foil, wax paper, or parchment paper. Work over this when applying glitter.
Pour white glue into a bowl and apply a thin layer to the styrofoam ball. Note that the glue and styrofoam are like oil and water, so you have to work quickly or bare spots may appear.

Sprinkle the glitter onto the glue, holding the ball over the cookie sheet to catch the spillage.
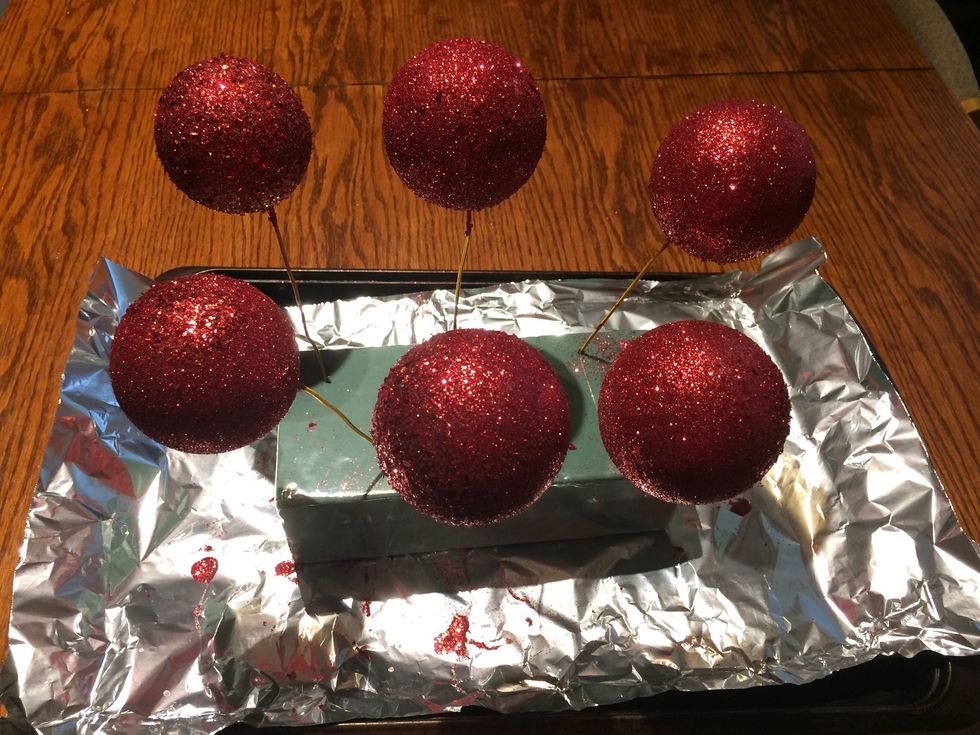
Rest the glittered balls back in the foam block.
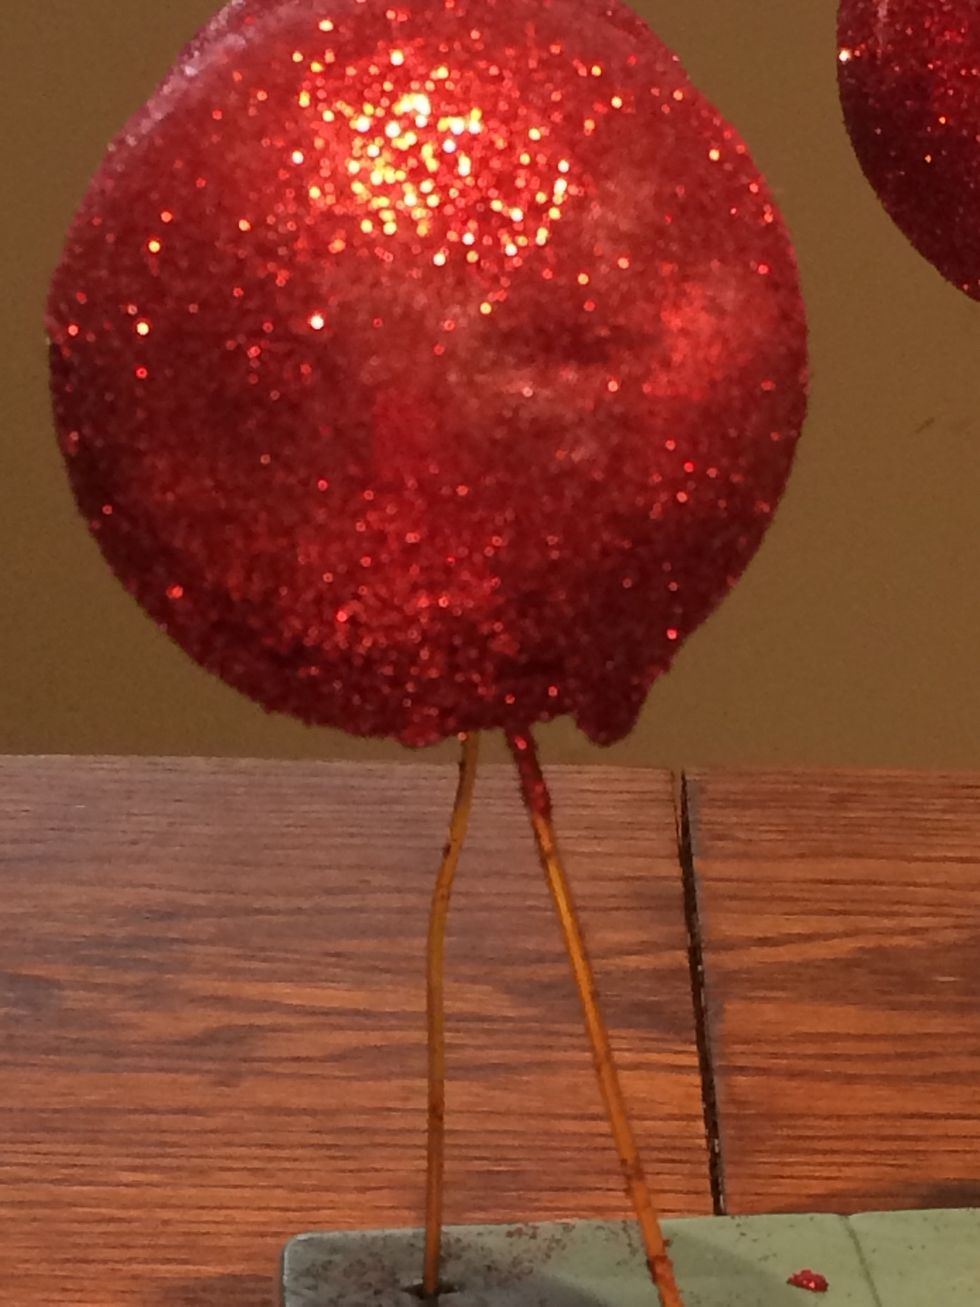
When applying glue, be careful to apply a thin coating. If you use too much it will drip like this. Don't panic... carefully press the drop back onto the ball and sprinkle more glitter onto the spot.
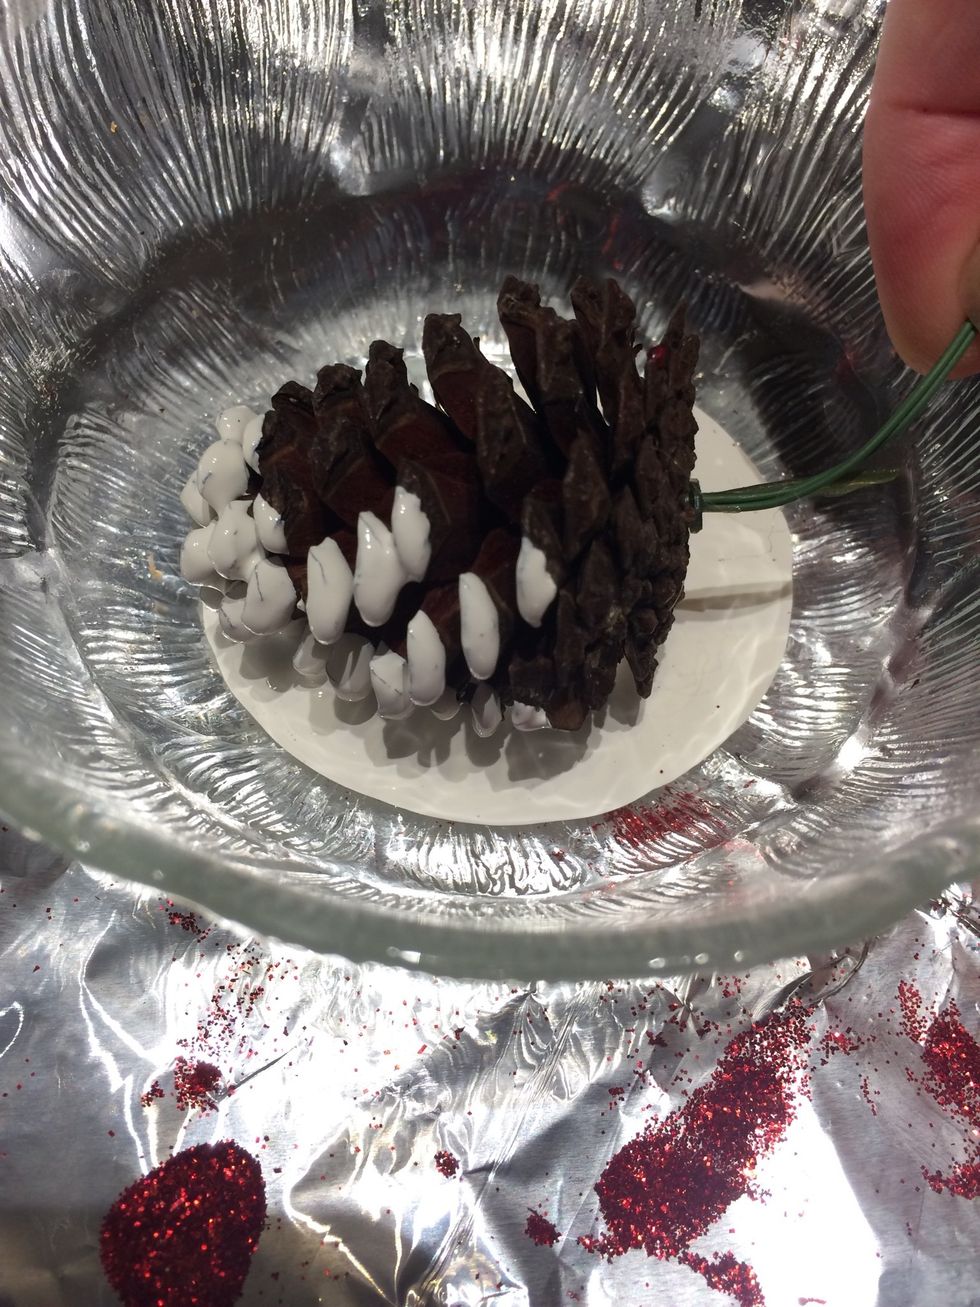
Pour the white acrylic paint into a bowl. You can either roll the pine cone in the paint or apply the paint with a brush. I prefer using a brush.
Hold the cone upside down and paint the bottom. Then brush the paint on the undersides of the scales.
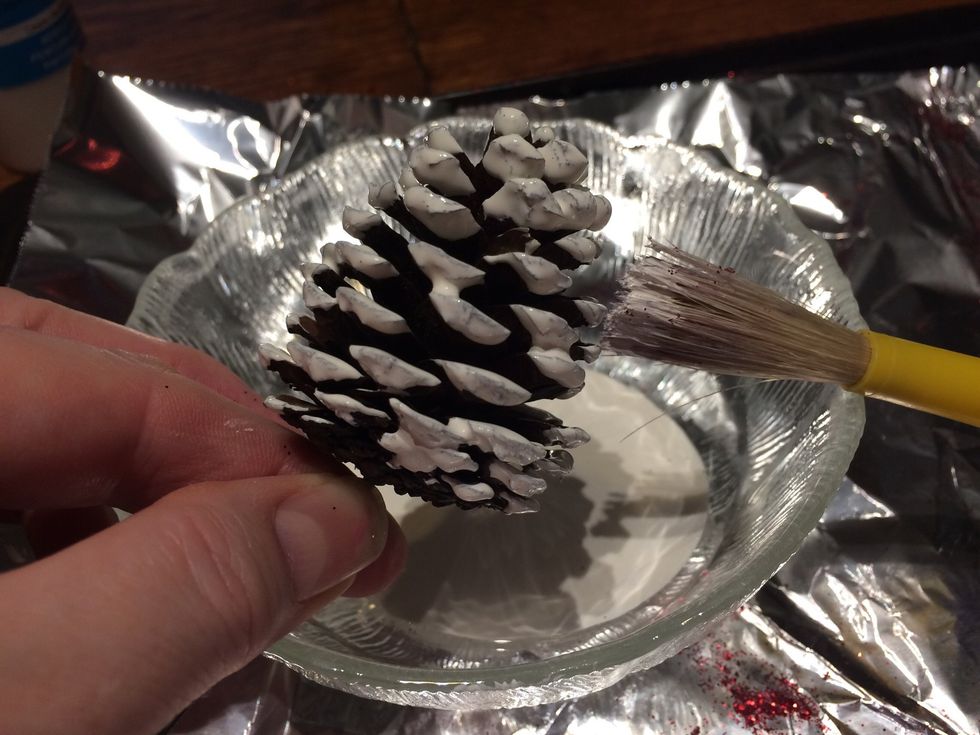
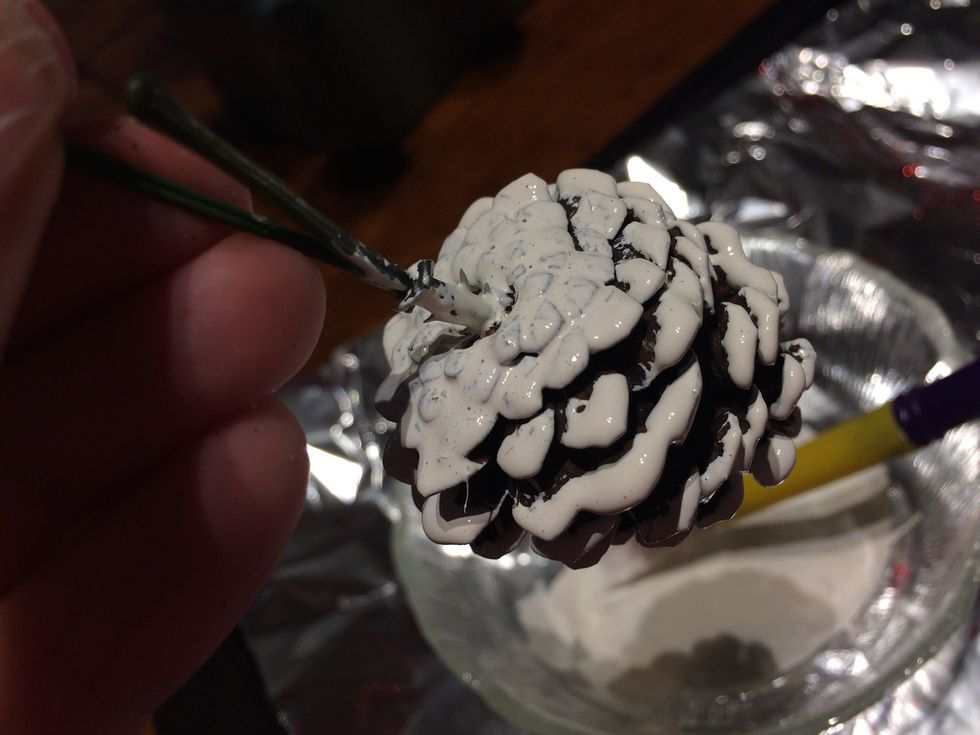
Flip the cone over and brush the paint down the tops of the scales. You want to use enough paint so it balls up a bit, but not enough where it drips.
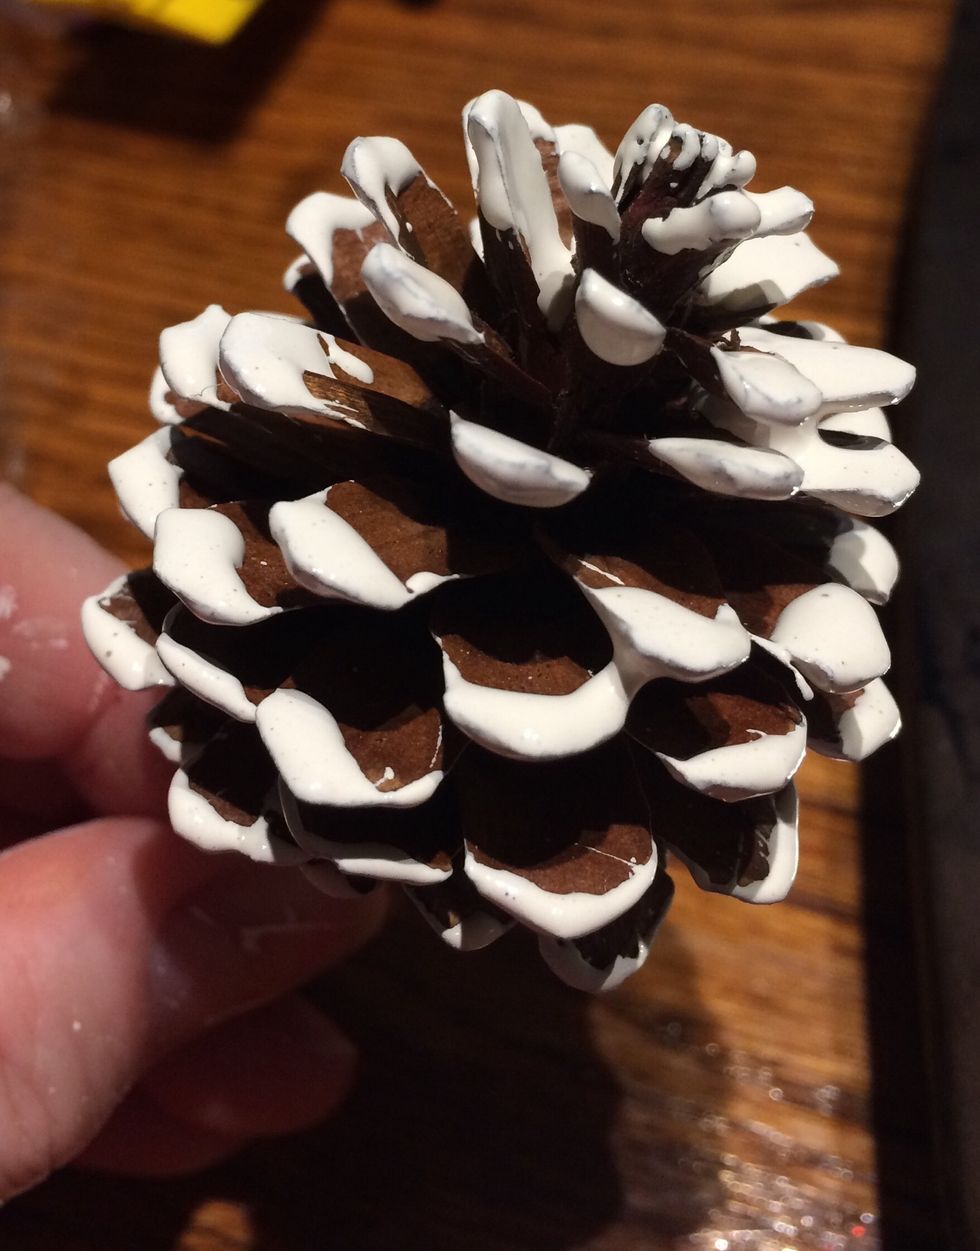
The rounded tips look nice but will take some time to dry.
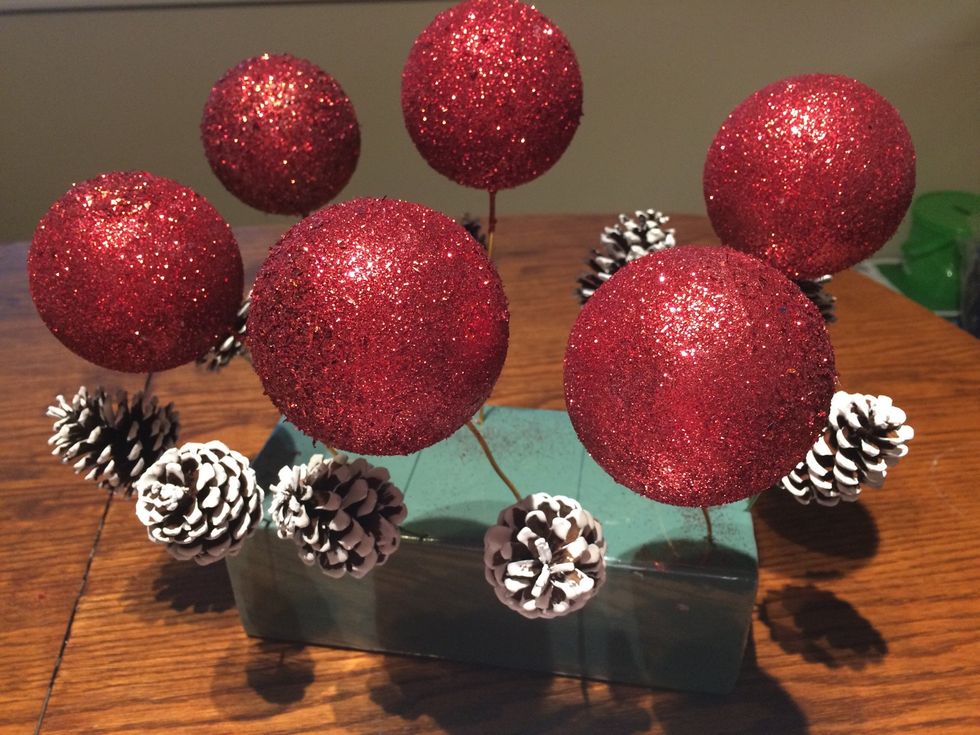
Poke the wire of the painted cones into the floral block and leave them to dry. Another option if you don't want to do the glittering and painting is to buy them already finished.
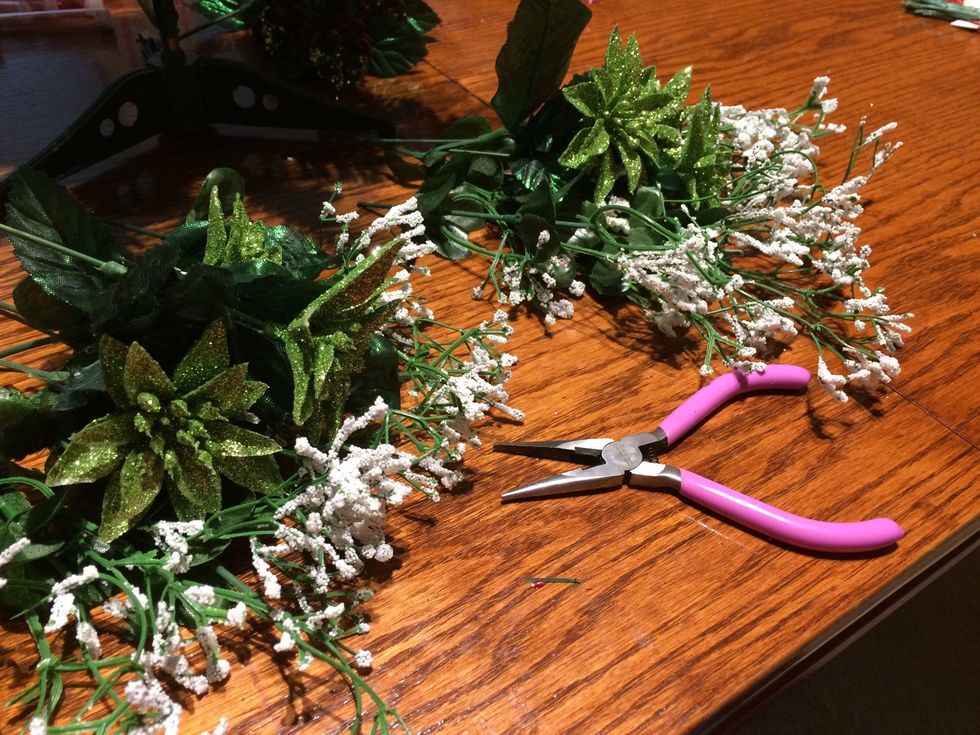
While the glue and paint dries, separate the flower spike stems by cutting with wire cutters.

When the glittered balls are dry, spray with hairspray or lacquer to help the glitter stay.
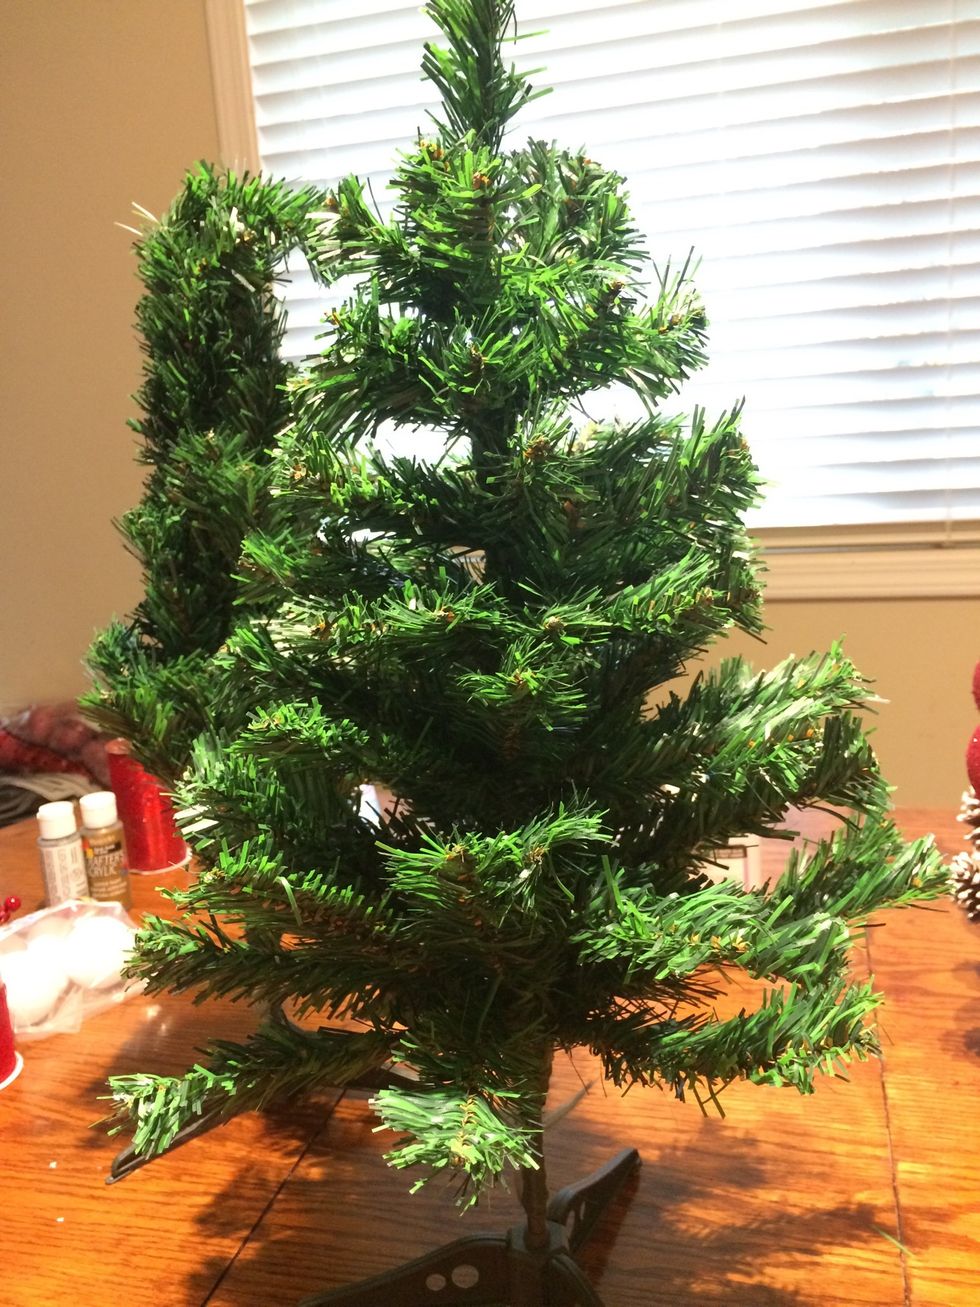
If you purchased fake trees, open up the branches and fluff the tree.
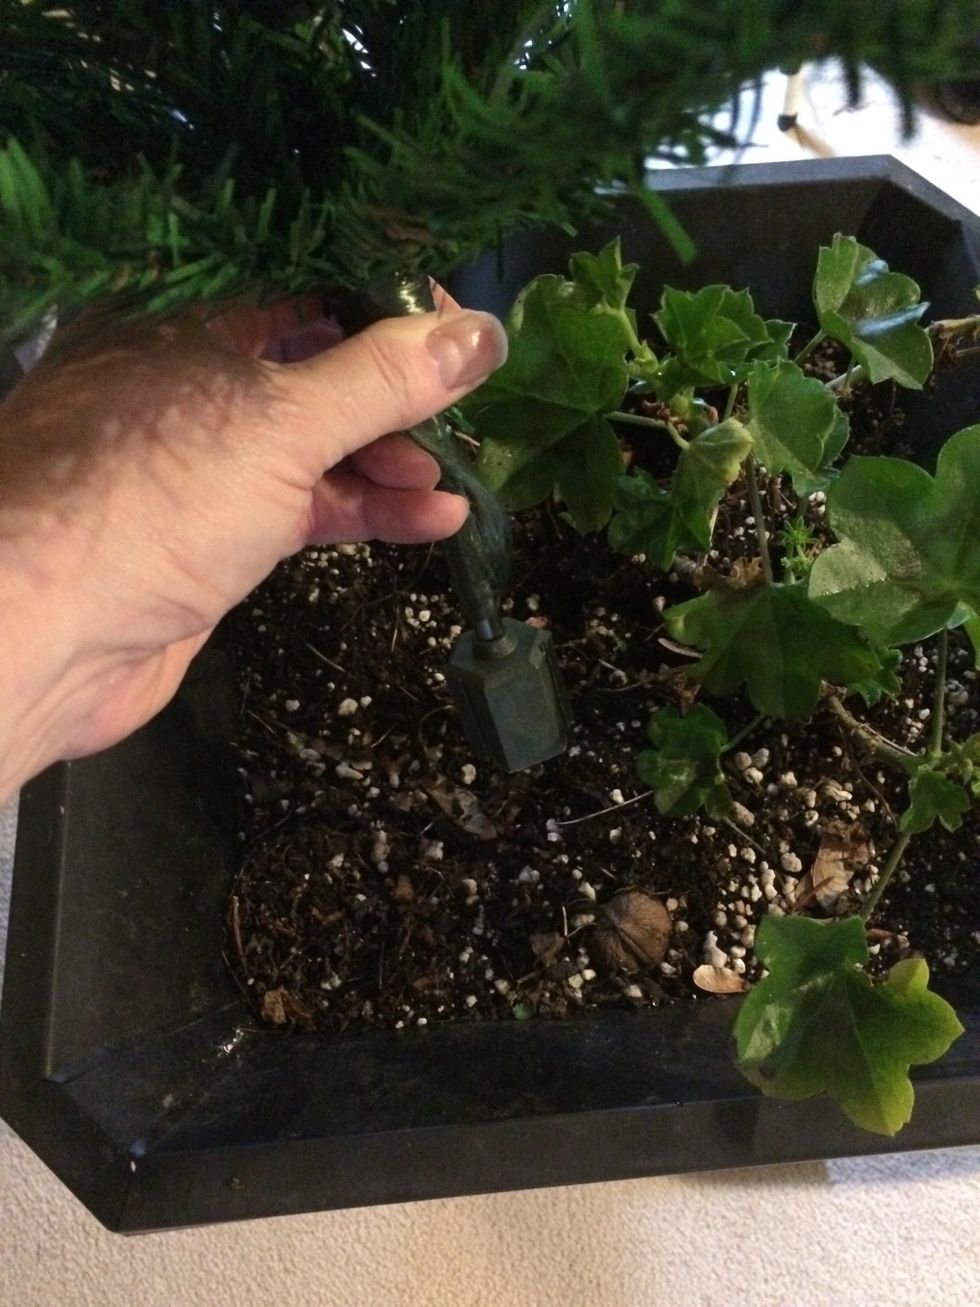
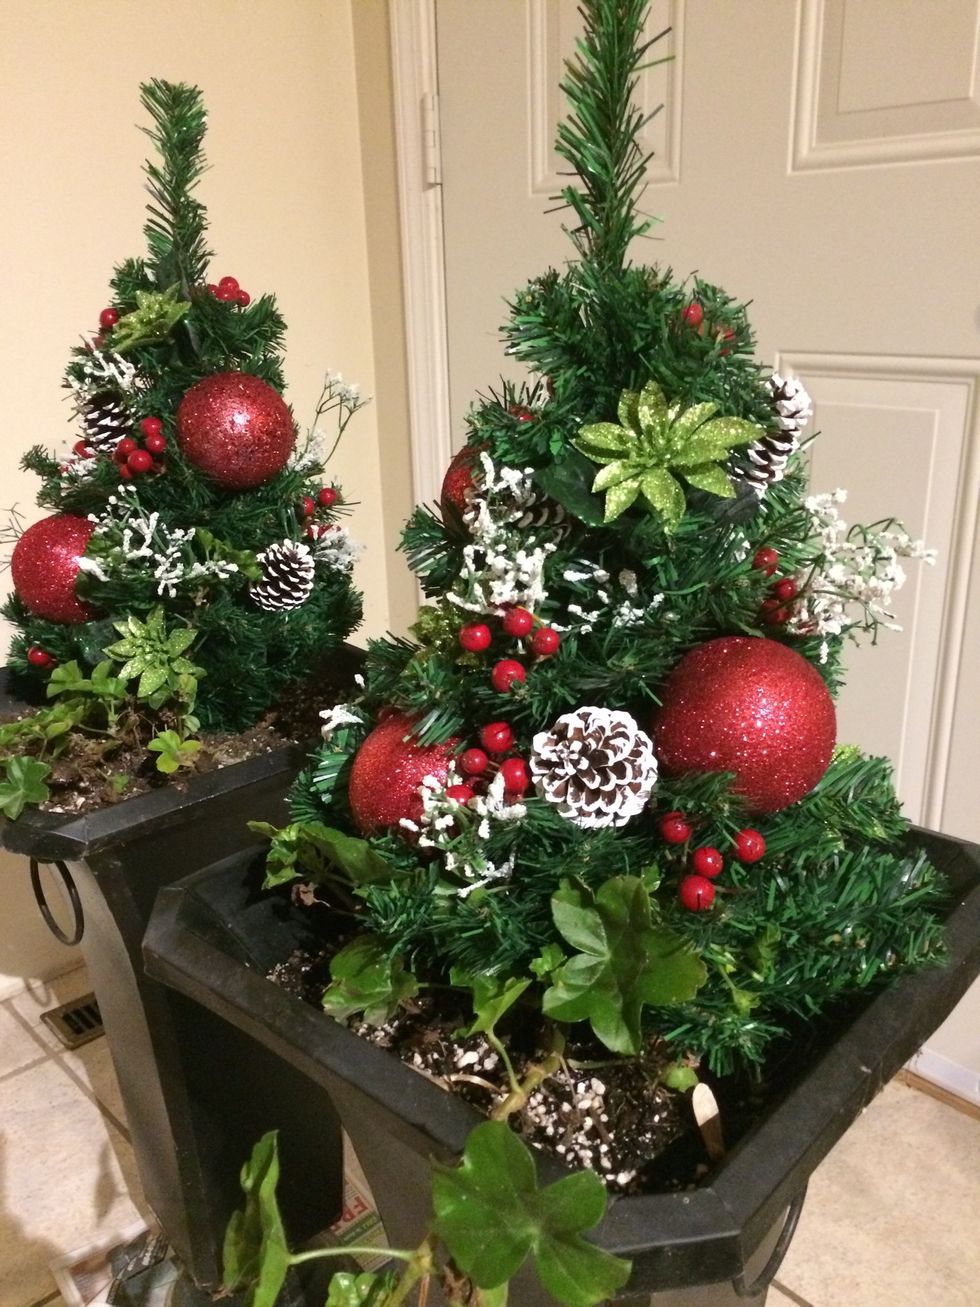
Remove the feet from the tree base and poke the stem into the dirt in the planter. See the walnut? The squirrels have been busy getting ready for Christmas, too.

Both trees "planted" and ready to be decorated.
Now it's time to put it together. For each tree I used 3 balls, 4 pine cones, one "snow" tipped greenery spike, one glitter poinsettia spike, one berry spike, and one roll of ribbon.
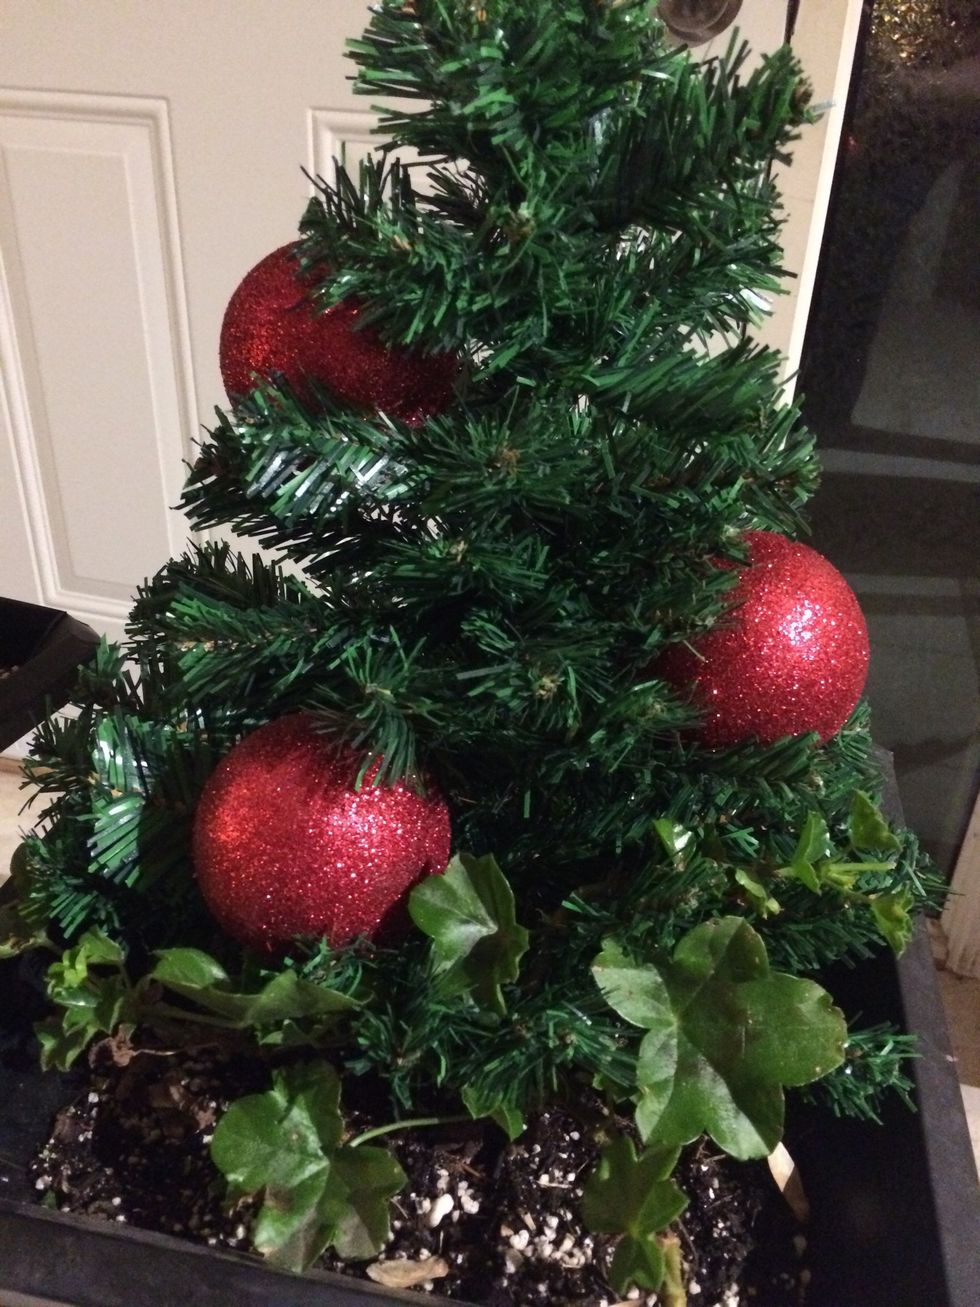
Start with the largest item and use an odd number spaced to be aesthetically pleasing. Gently wrap the wire around the tree trunk to secure it. If you are adding battery op lights, put them on first.
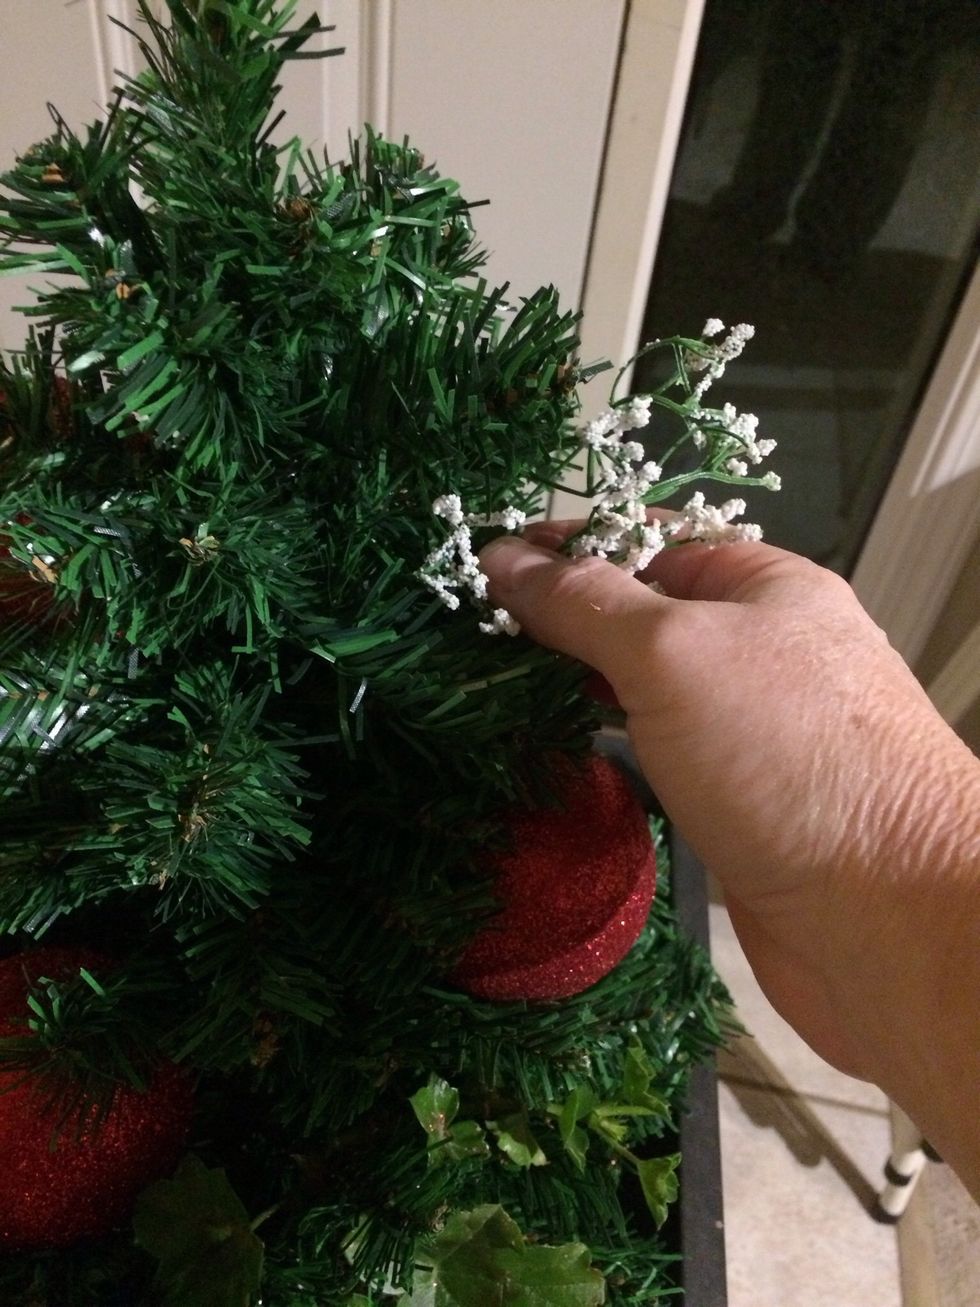
Next I added the snow tipped greenery. As a background filler it might have made more sense to add those first, but I don't think it really matters. Just slide them in stem first.
I use a triangular style of placement with an odd number of pieces to balance the weight. I'm no pro by any means, but if I can make it look good so can you.

I then added the pine cones and the green glitter poinsettias.
And then add berries. The stems had a lot of clusters on them so I kept adding until there weren't any obvious bare spots.
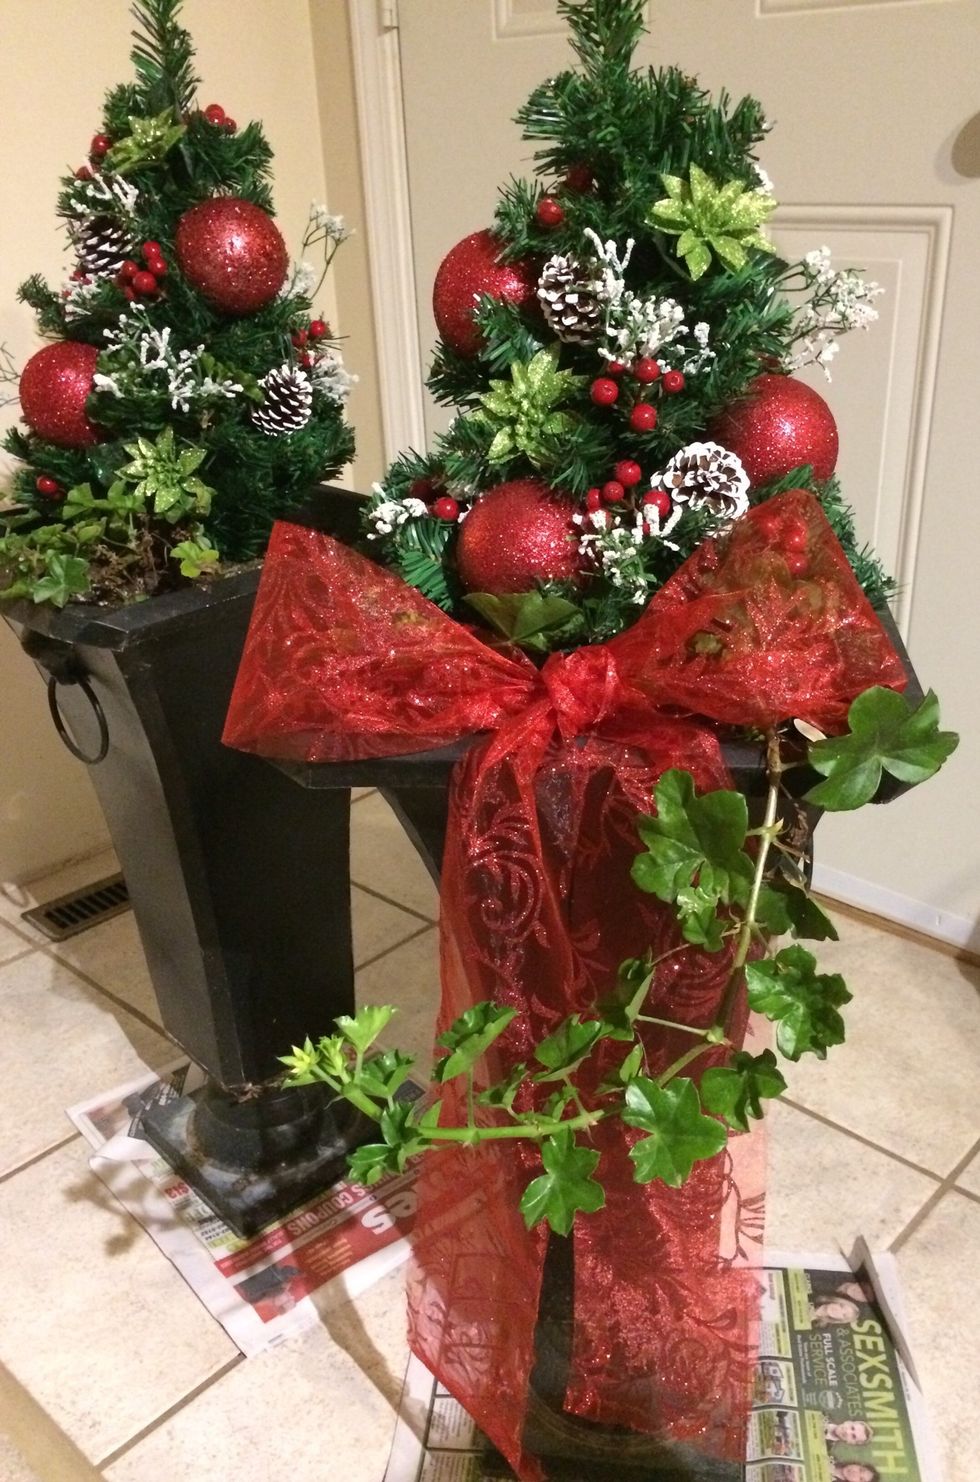
Unroll the ribbon and wrap it around the base, then tie a bow. Fluff/twist until your satisfied. I tie using two loops, not the method where you make a single loop then wrap the other piece around it.
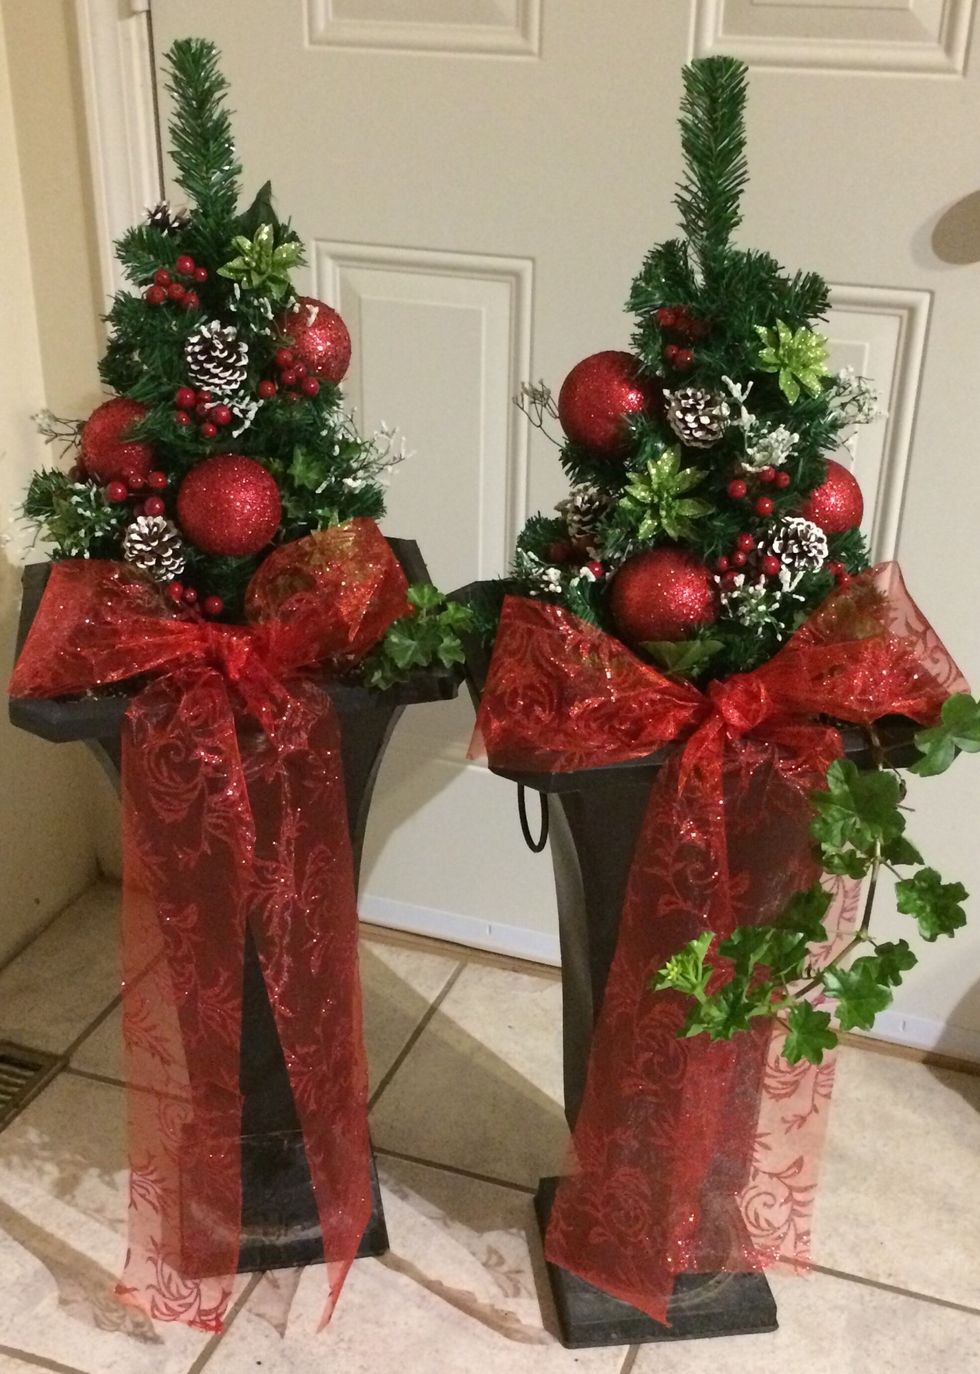
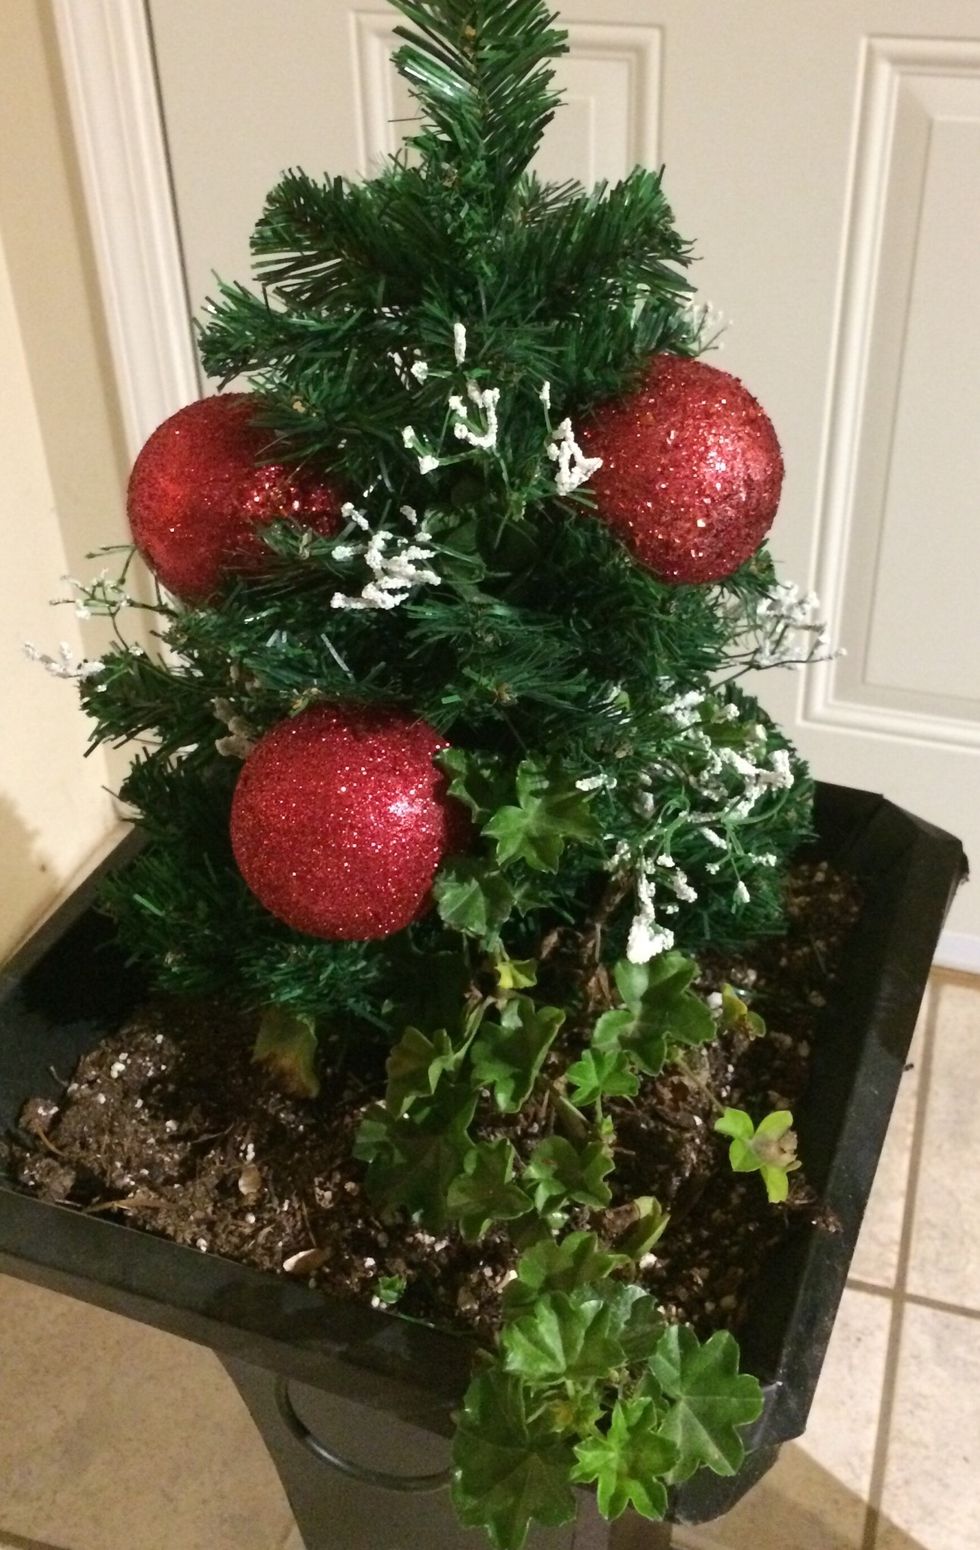
The end result. I thought of adding some smaller balls, but I'm happy with the way it turned out.

Merry Christmas!