The Conversation (0)
Sign Up
Things to know before you start- Cut off all zip strips before cutting any paper. You will be using some of them to embellish. A zip strip is the top piece of the paper with the design on it.
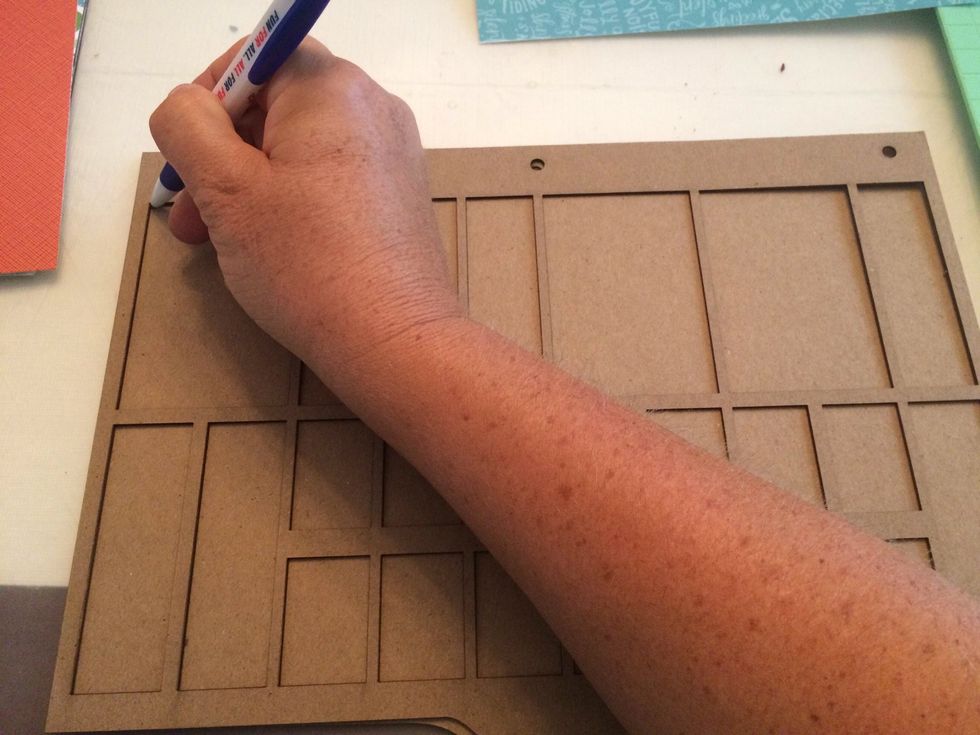
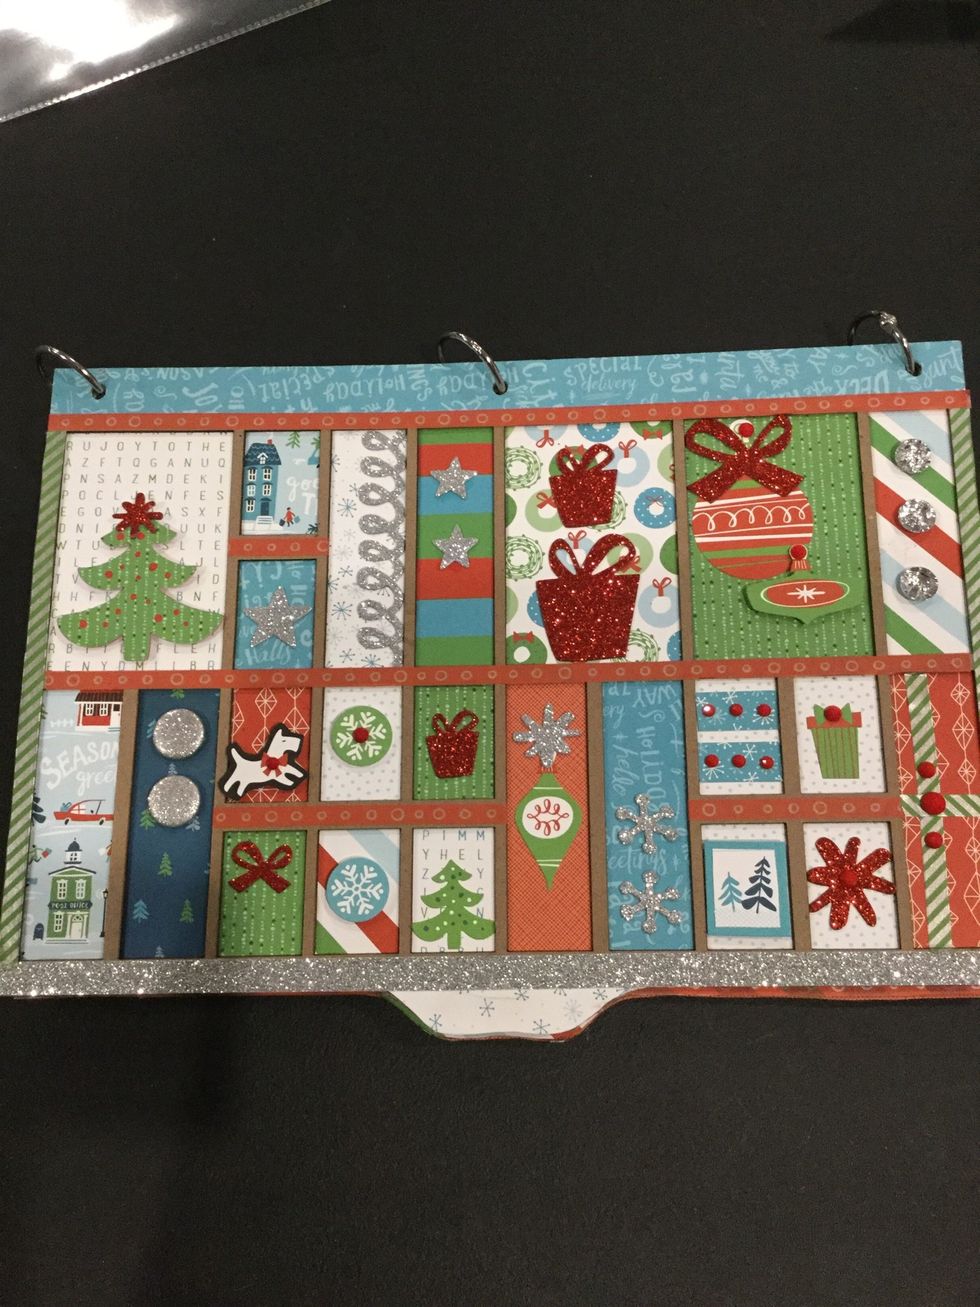
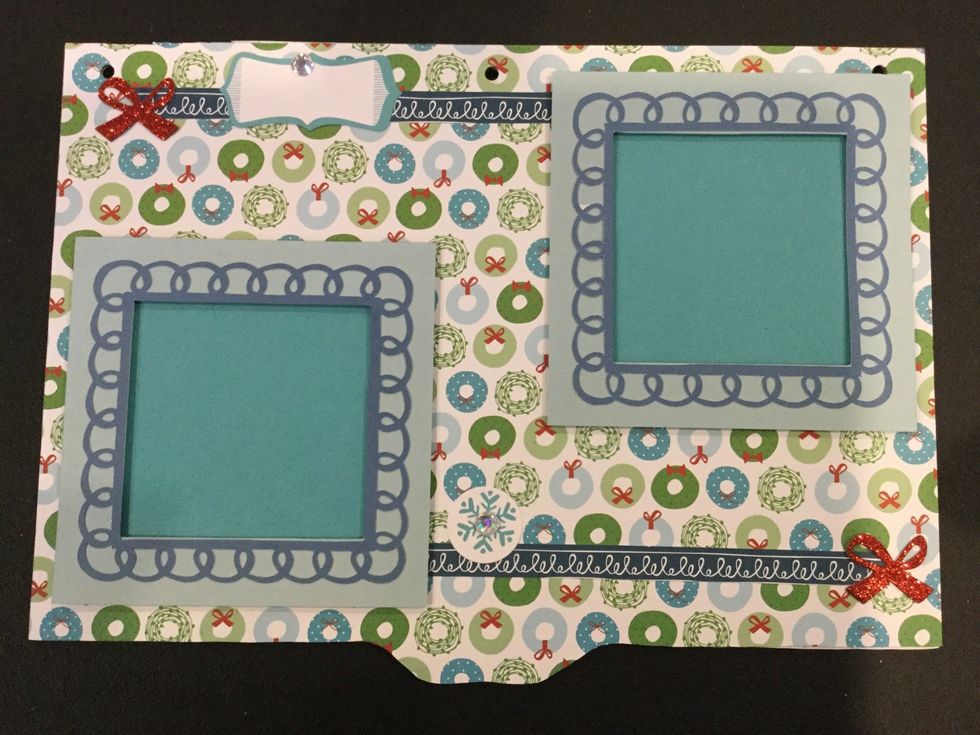
Trace window panes on first page of album.
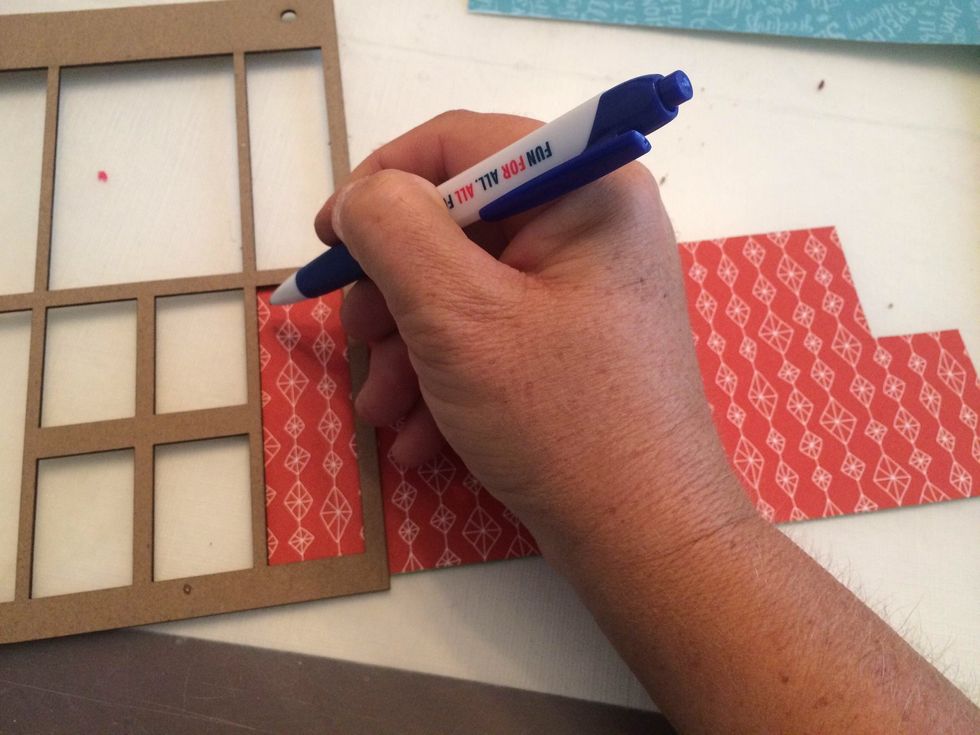
Trace papers on the back side of paper you wAnt to show. Cut out a little larger then traced!
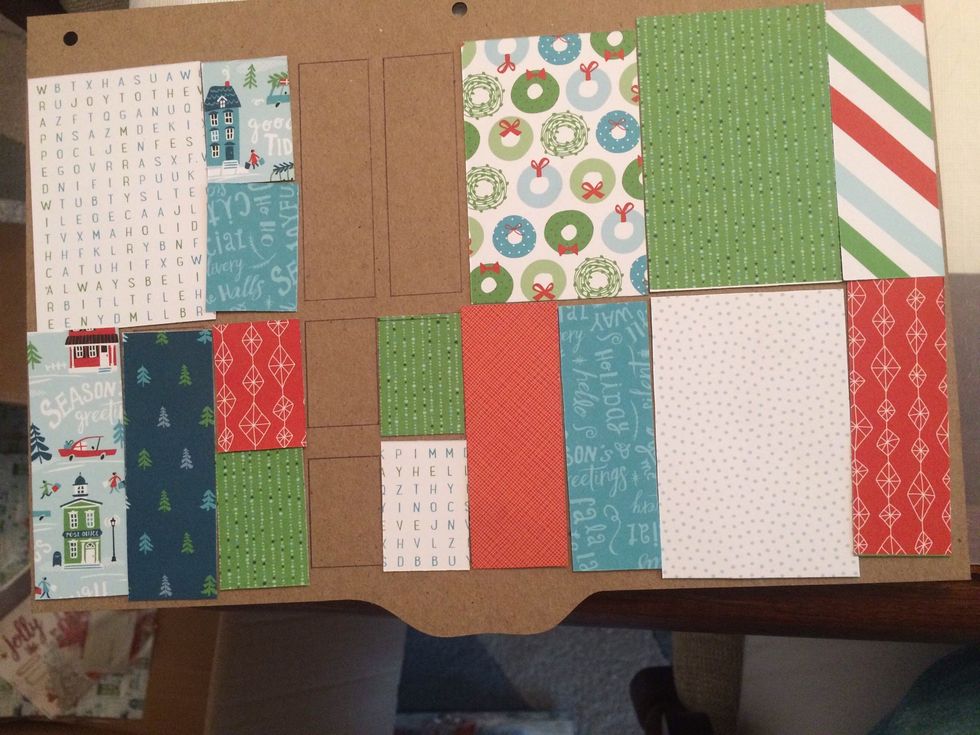
Glue paper over squares. When finished glue window frame on top. Use washi tape and shimmer tape to finish front. Decorate with compliments later.
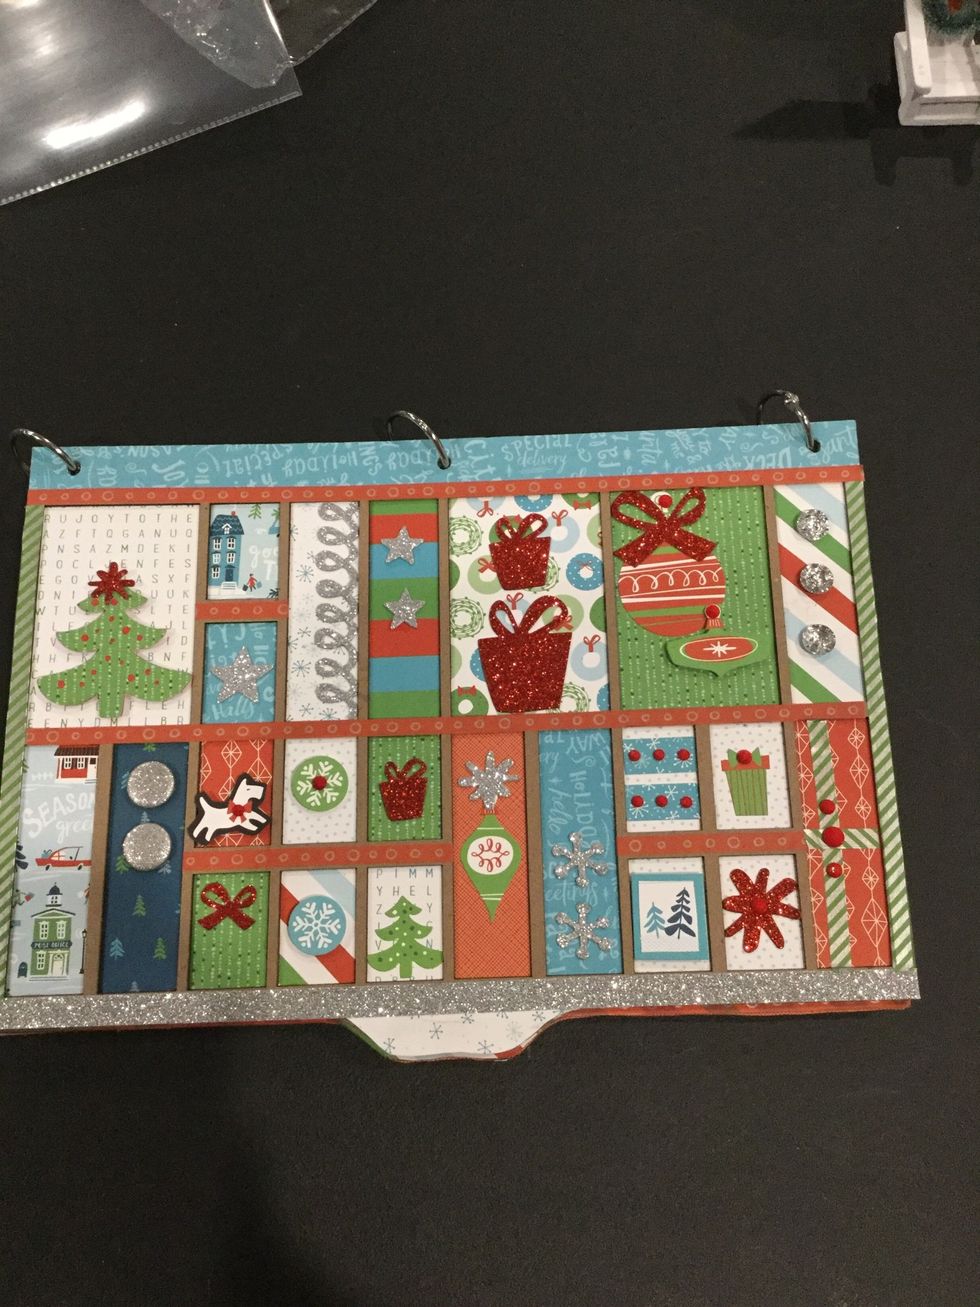
The first step is to cover all your cardboard pages first. Trace design on back of your paper. Make sure you pay attention and do not glue the wrong pattern to the wrong side
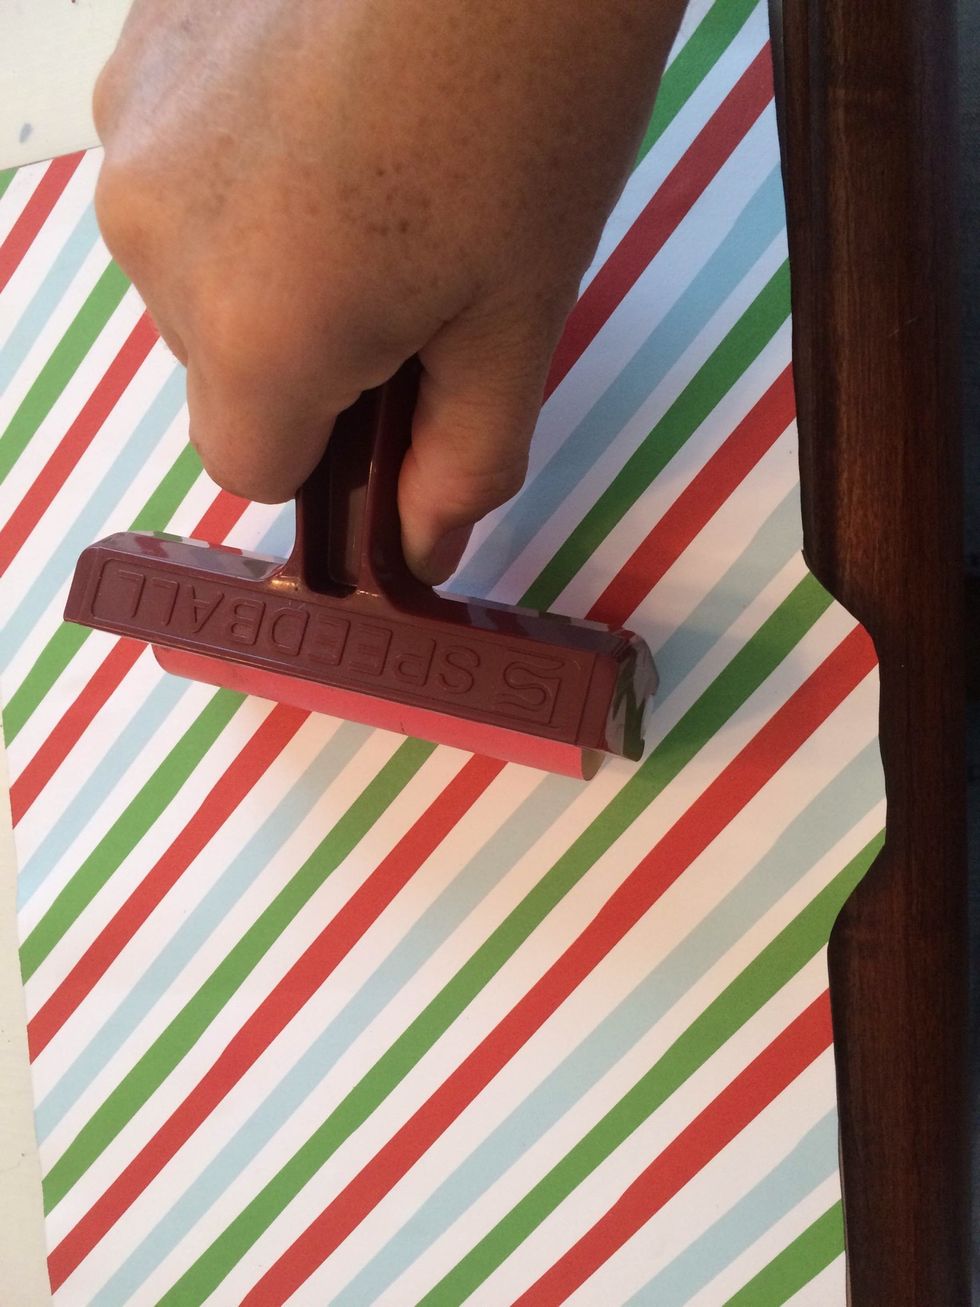
I use bonding memories glue for gluing down the edges. It will not wrinkle your pages. Be sure to put the glue on the edges of your paper especially around the punched holes. Use a brayer to flatten.
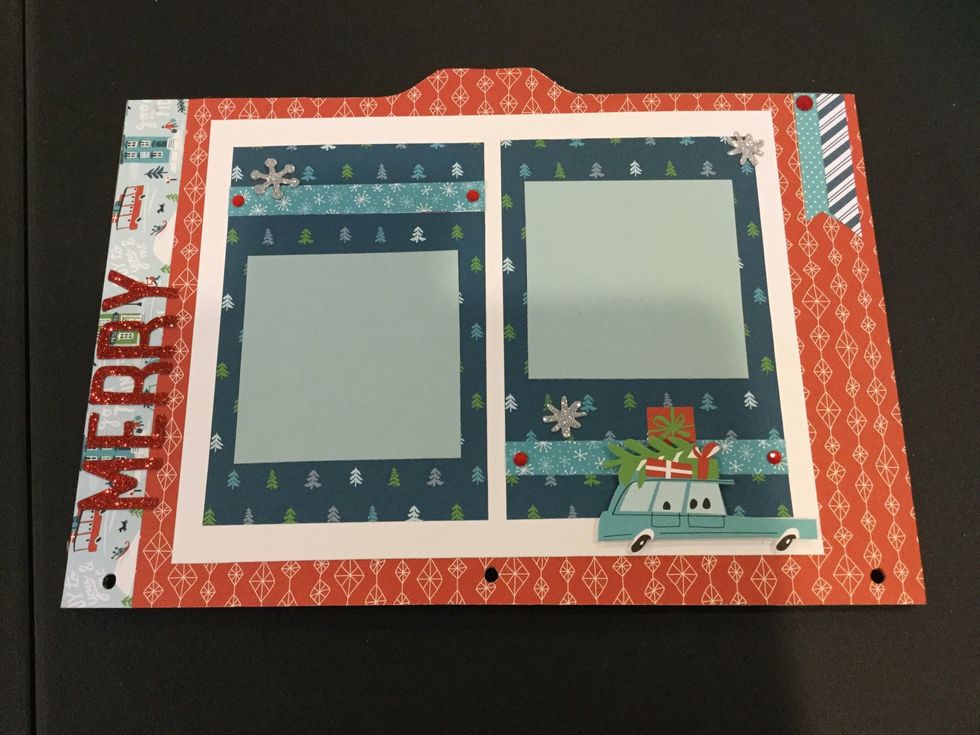
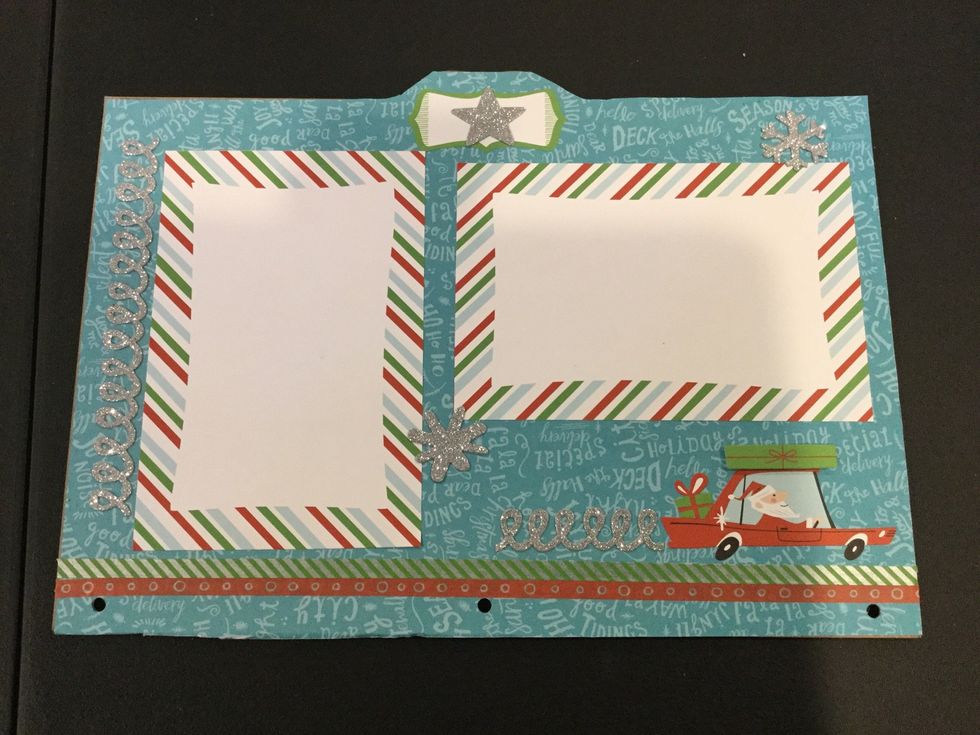
Cover base with red diamond. Glue paper is 1 X 8. White mat is 9 X 7. Blue Christmas Tree mats cut 2- 4 X 6. Light blue mats 3 X 3, decorate as shown. Car is popped up. Blue strips are a zip strip!
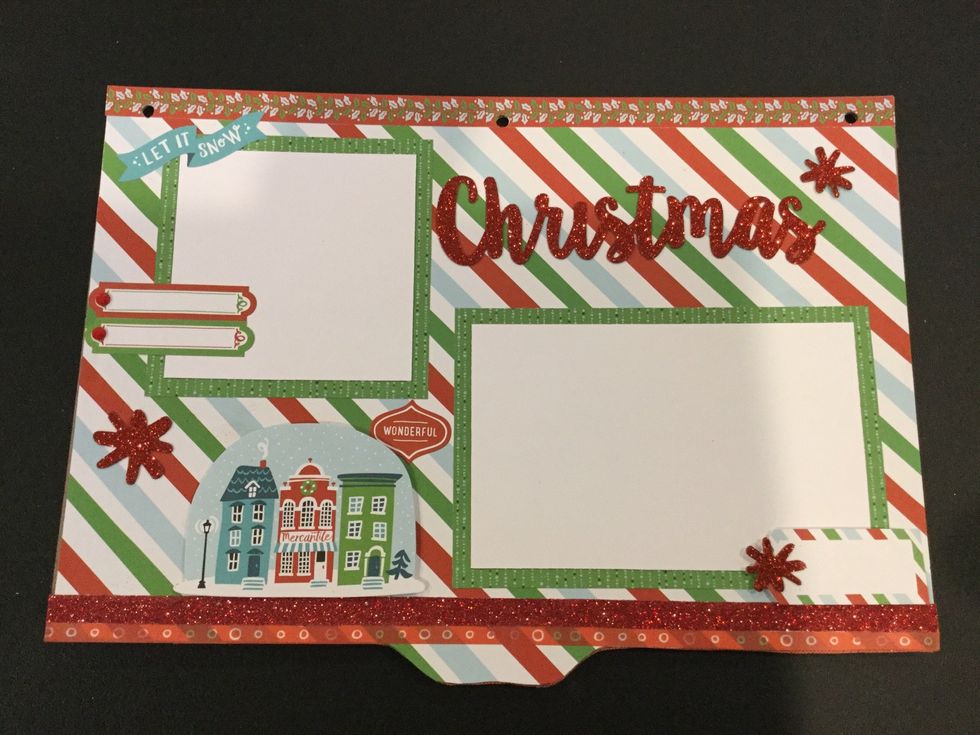
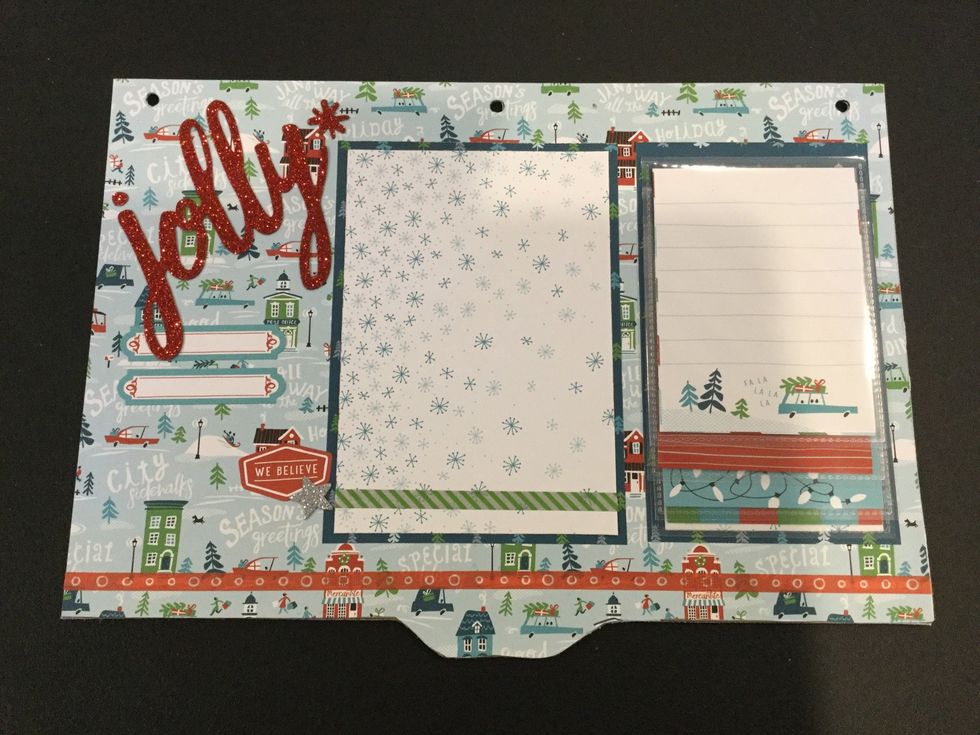
Decorate as shown. Green mats- 4 x6 and 4 X 4. White mats is 3 1/2 X 3 1/2 and 5 1/2 X 3 1/2.

Red mats- 3 X 4.
Cut blue mats 4 X 4. Other mat pieces were pre cut with the cricut.
Mats are cards from kit!
Blue Christmas Tree Mat- 4 X 6, Blue Snowflake- 3 3/4 X 5 3/4. Blue Christmas Tree- 3 1/2 X 6, layer flip flaps with cards and left over paper!
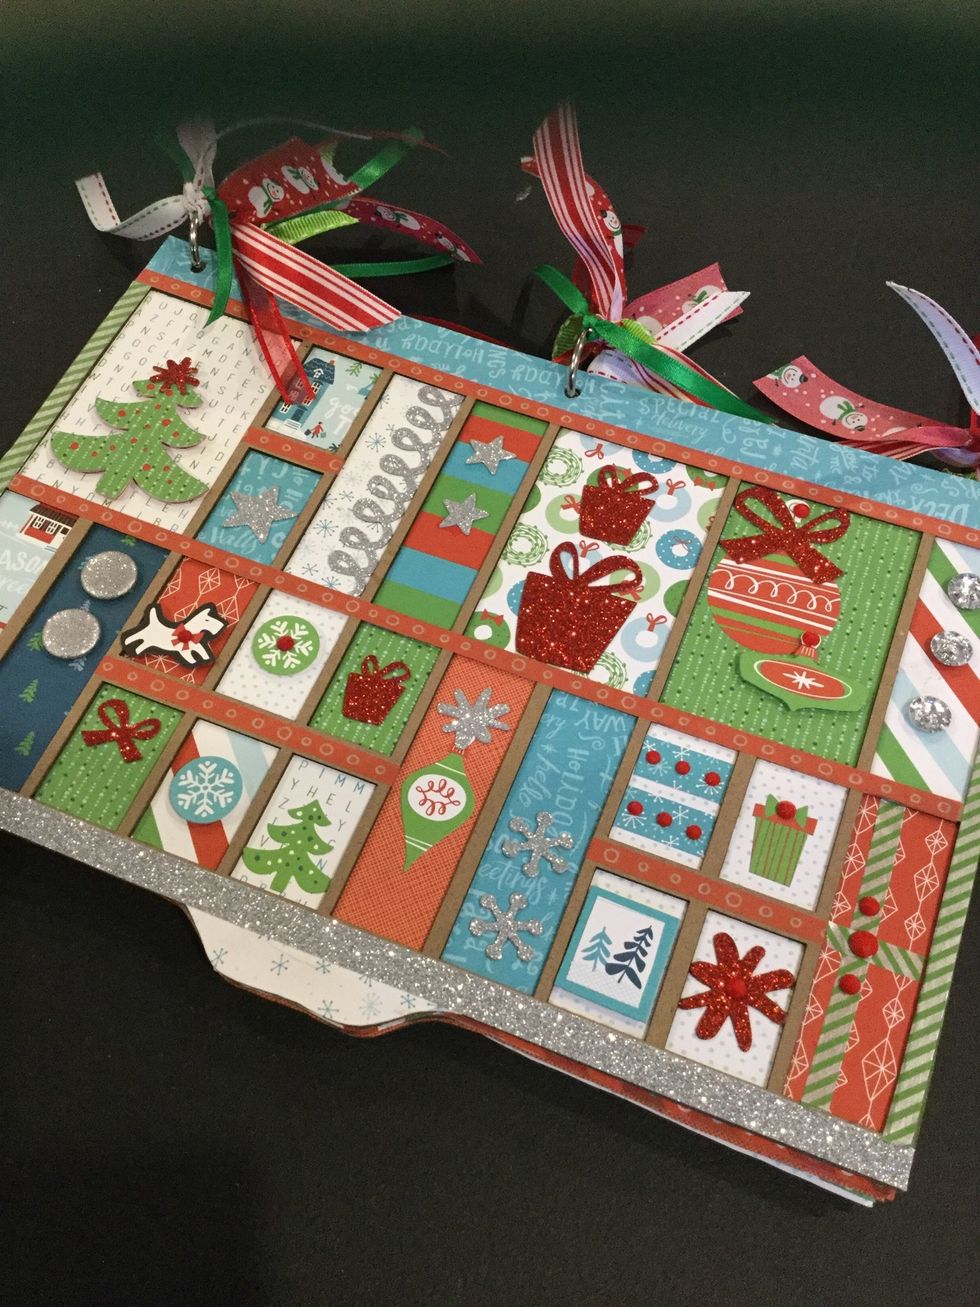
Add different scraps of ribbon if you wish! Enjoy your album!