The Conversation (0)
Sign Up
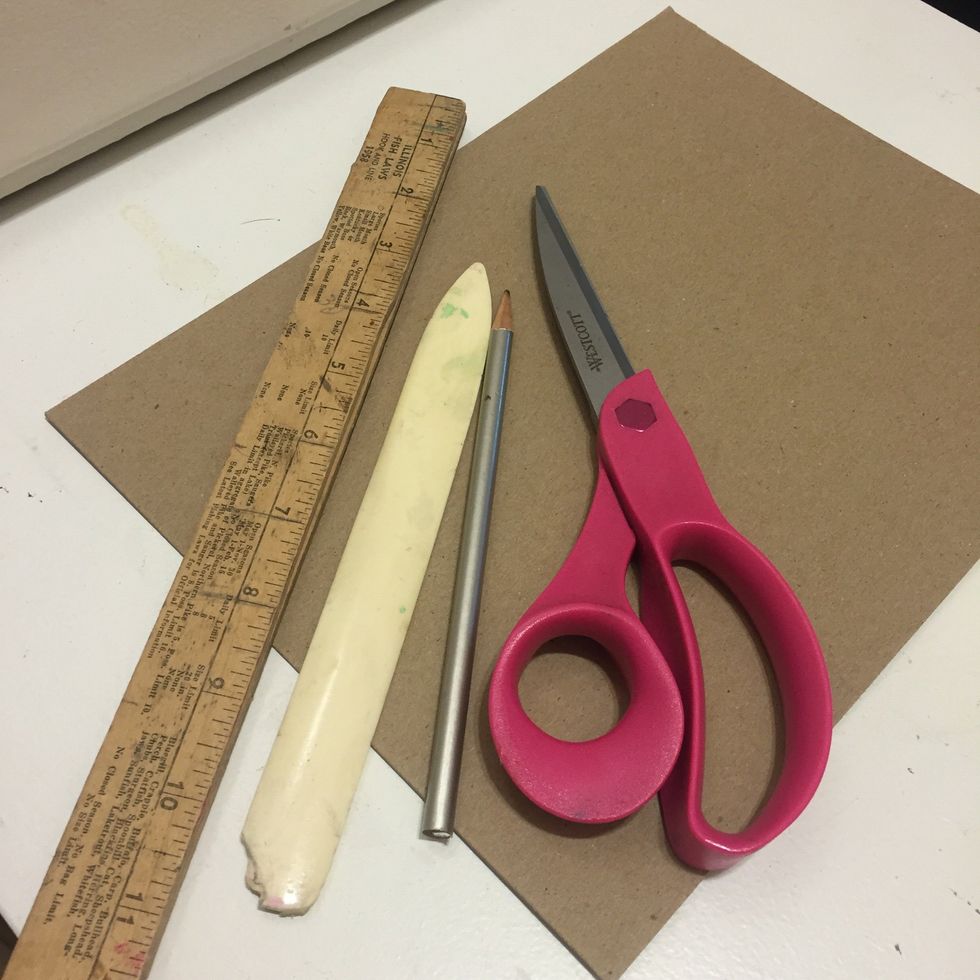
Gather your supplies! You can actually make this shadow box any size, just follow my measuring rules
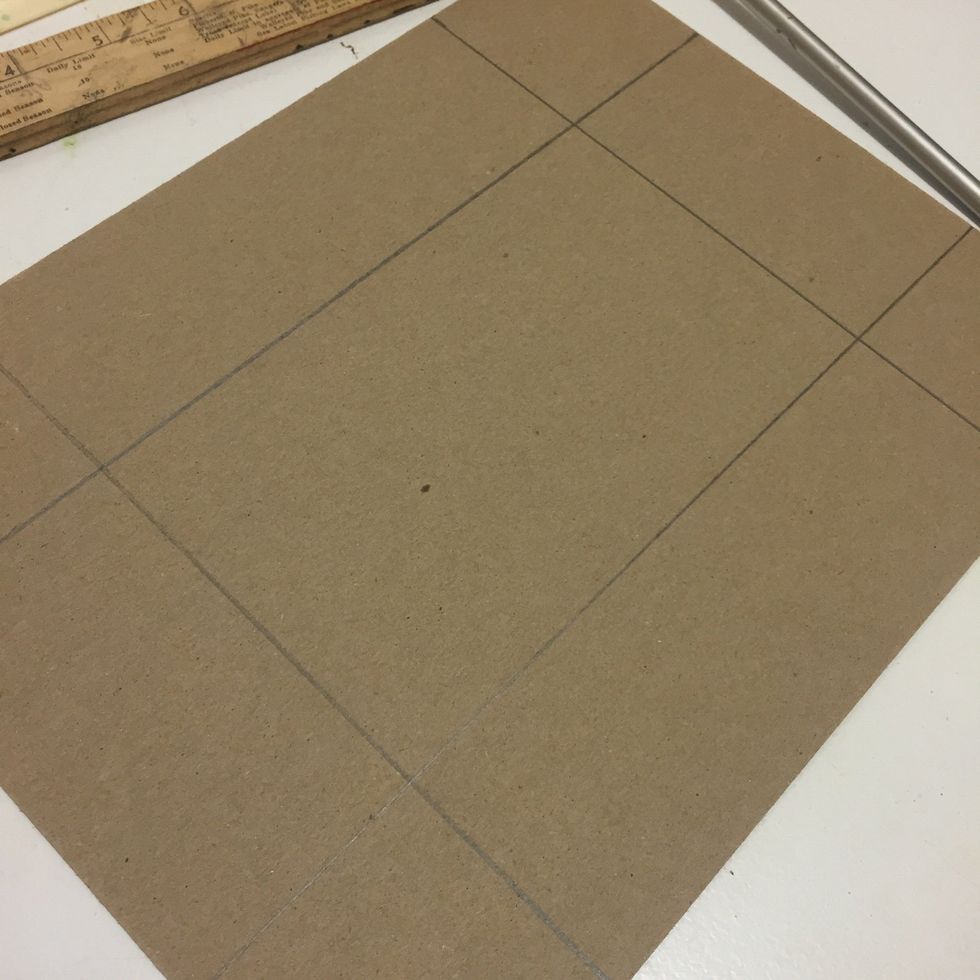
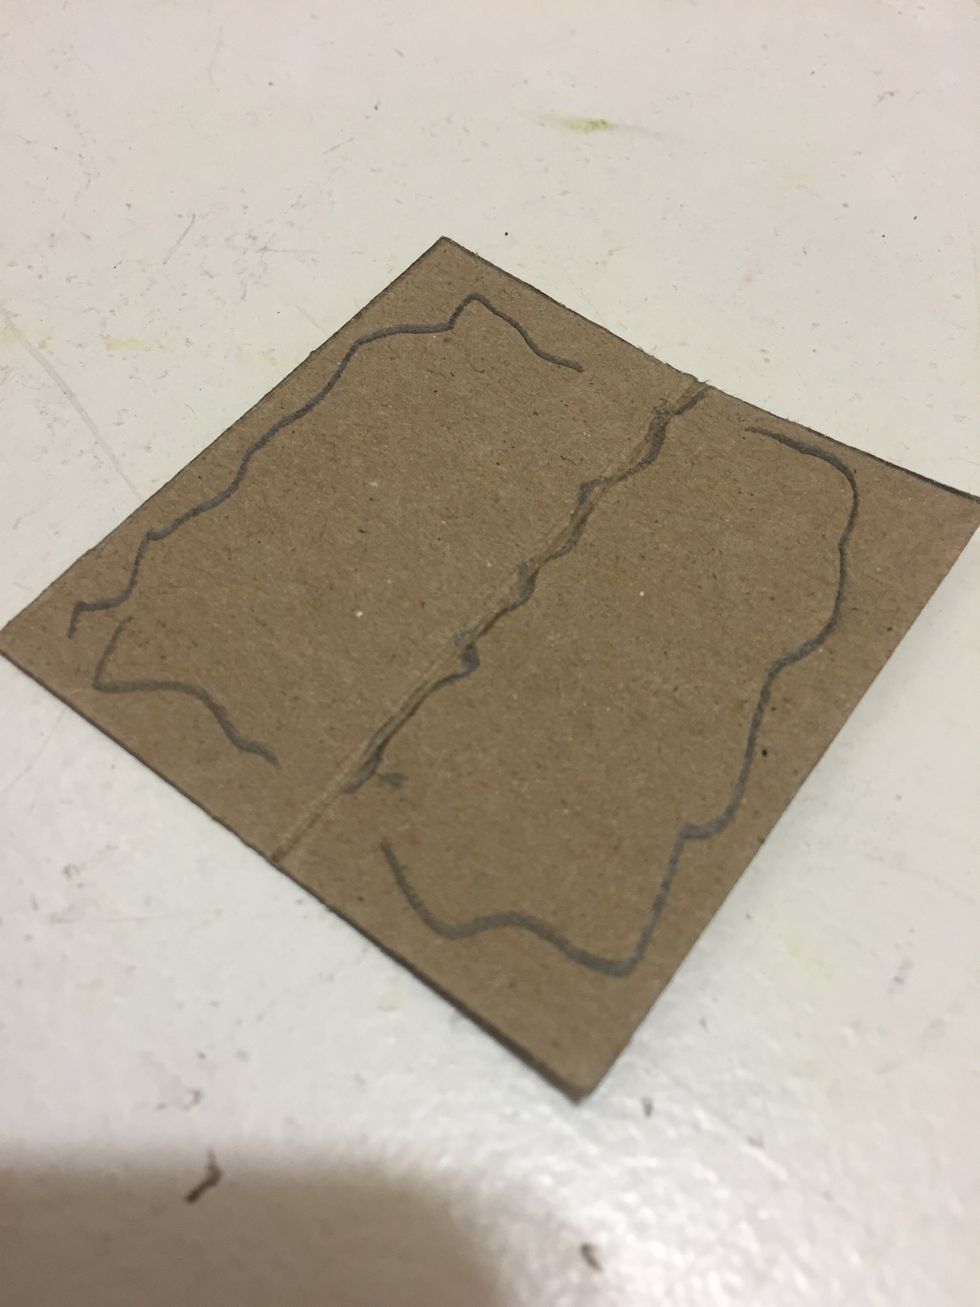
For this 8.5x11 inch piece, I measured in a drew a line 2 inches in from each edge. As long as you measure in equal distance on each side this technique will work
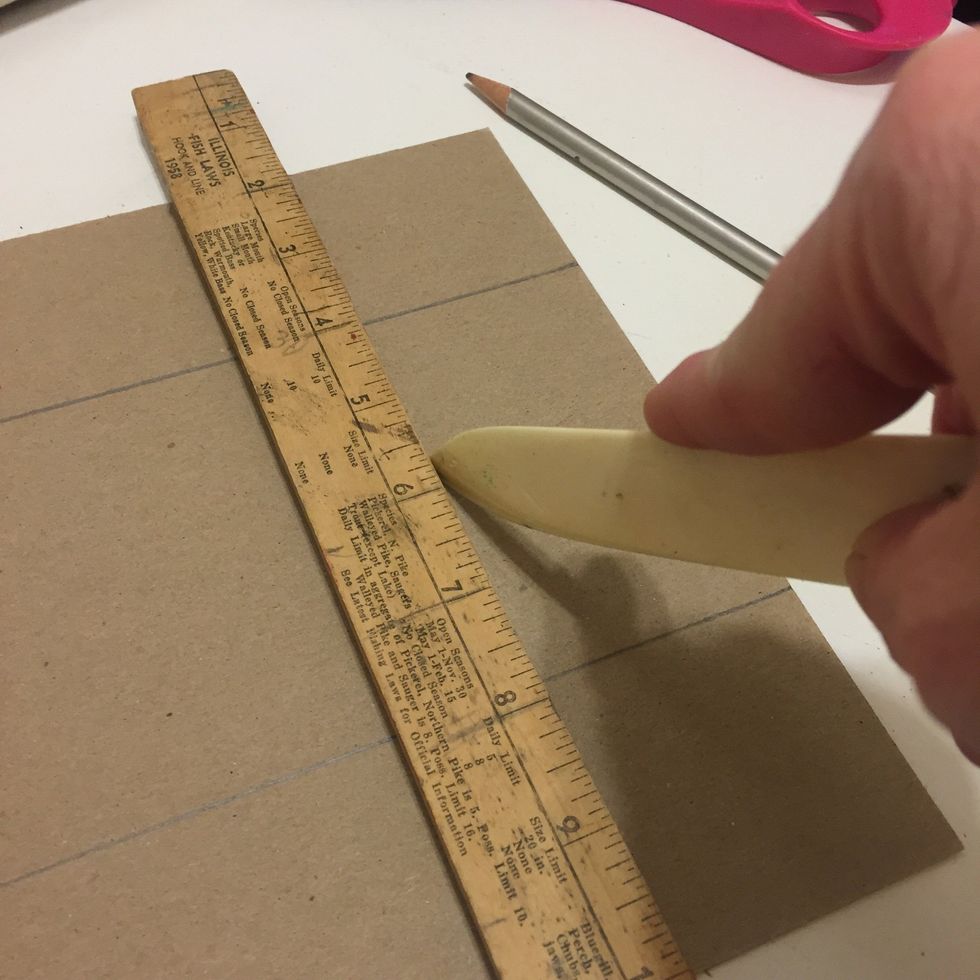
Now go over your lines with a bone folder, or the smooth edge of a butter knife- press HARD
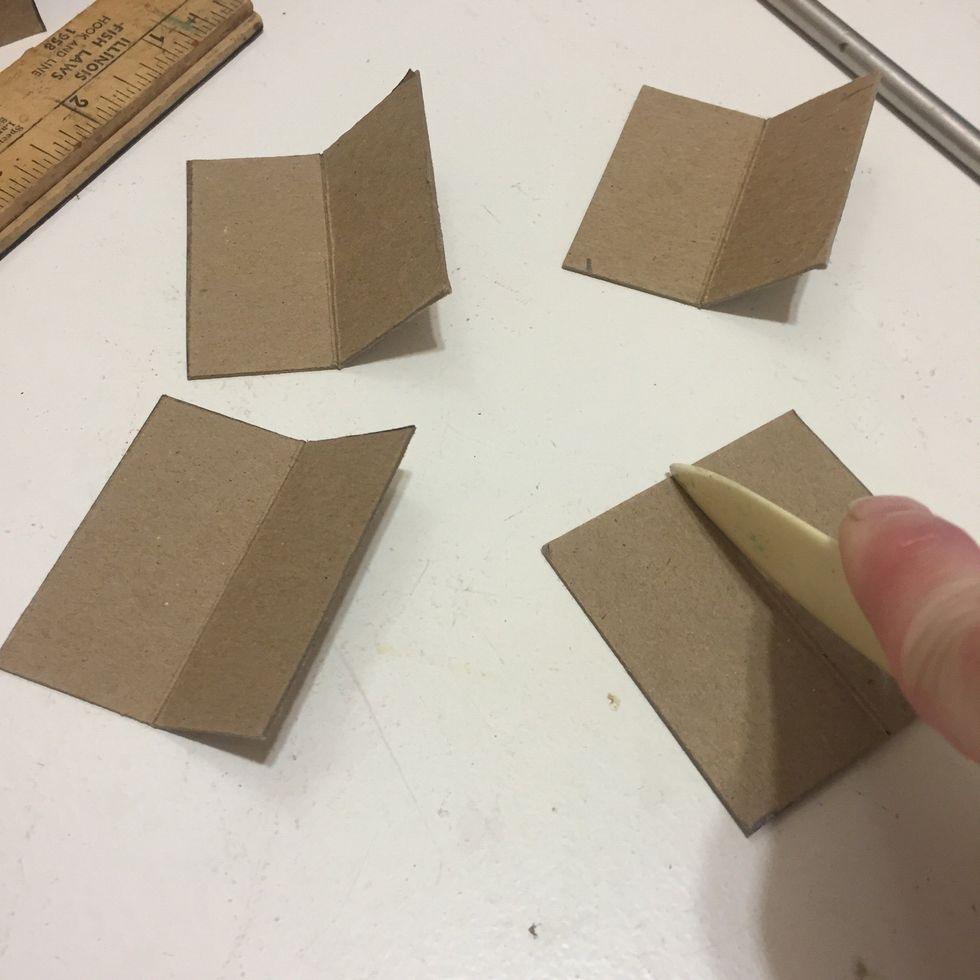
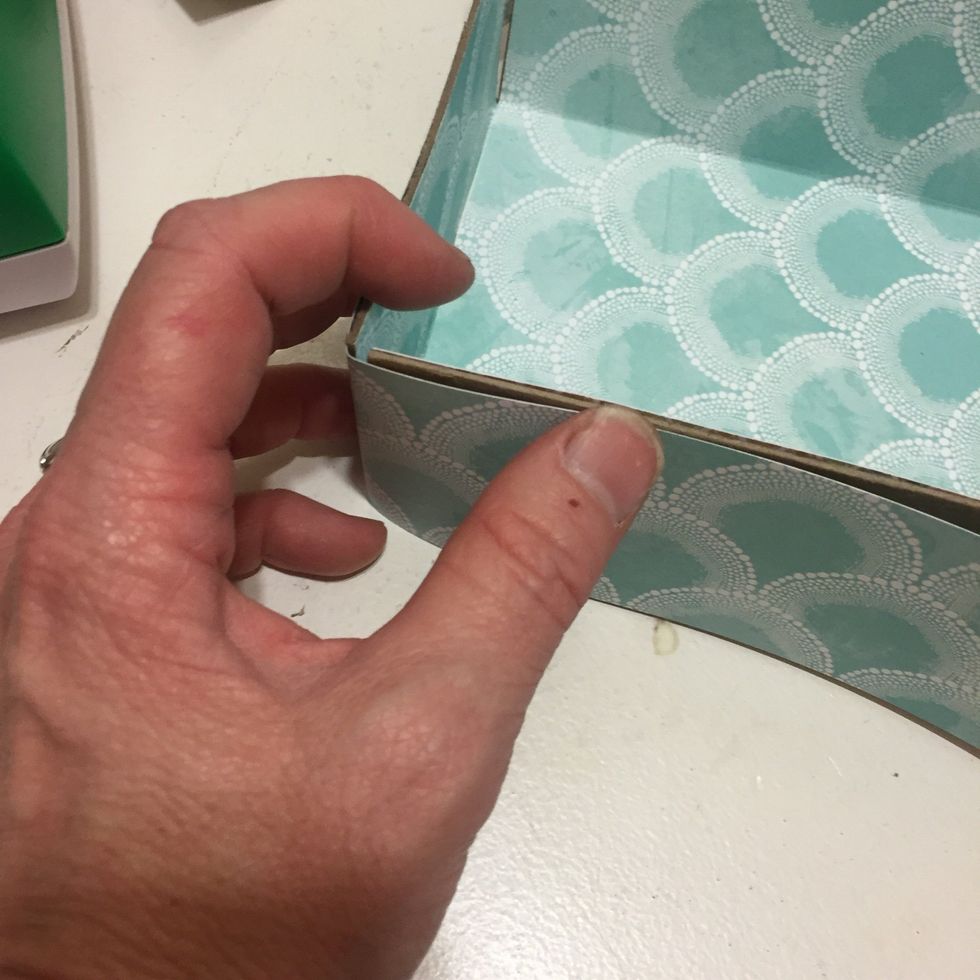
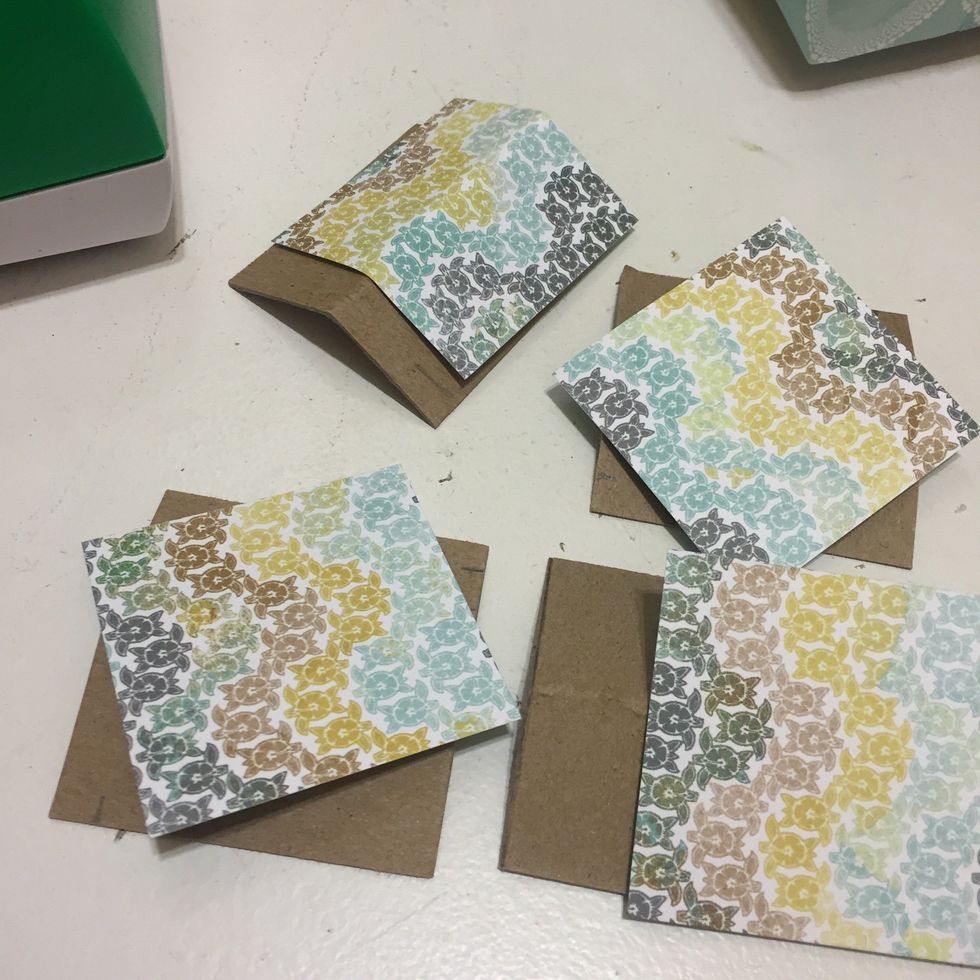
Snip out all 4 corners, and then score them in the middle, set aside

now fold up the edges of your main piece, and trace out the back piece and flaps onto your piece of scrapbook paper. I am using the Utopia Collection from Authentique

Take the piece you cut out and fold it into the interior of your box, but don't glue on yet!
you are going to add two flap pieces to the top and bottom flap, make them a little longer than the 2 inches of width so that they underlap the bigger piece
Like this!
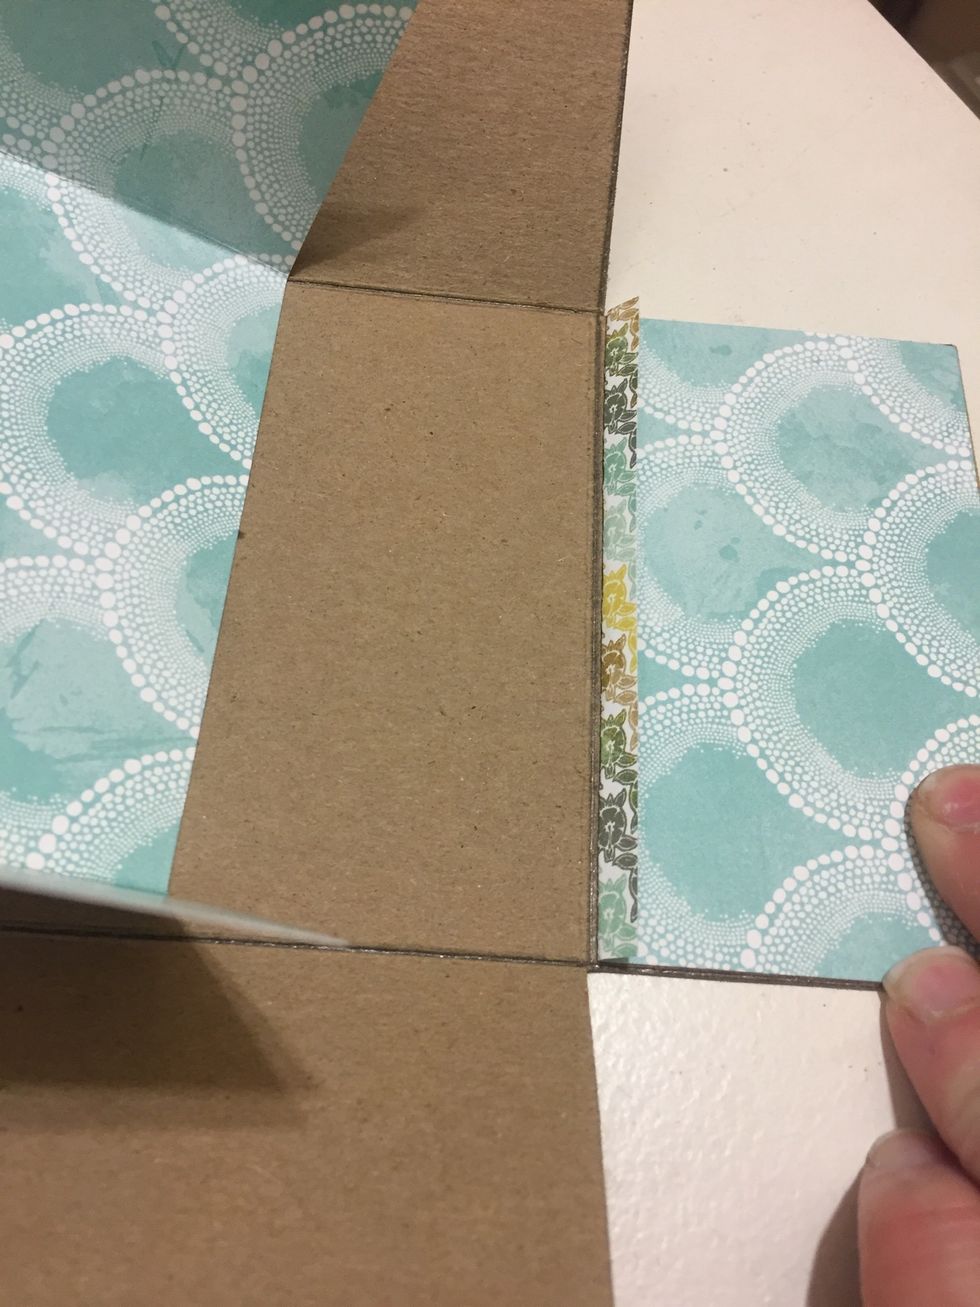
glue down these pieces with white glue, then lay the bigger top over both end and glue down
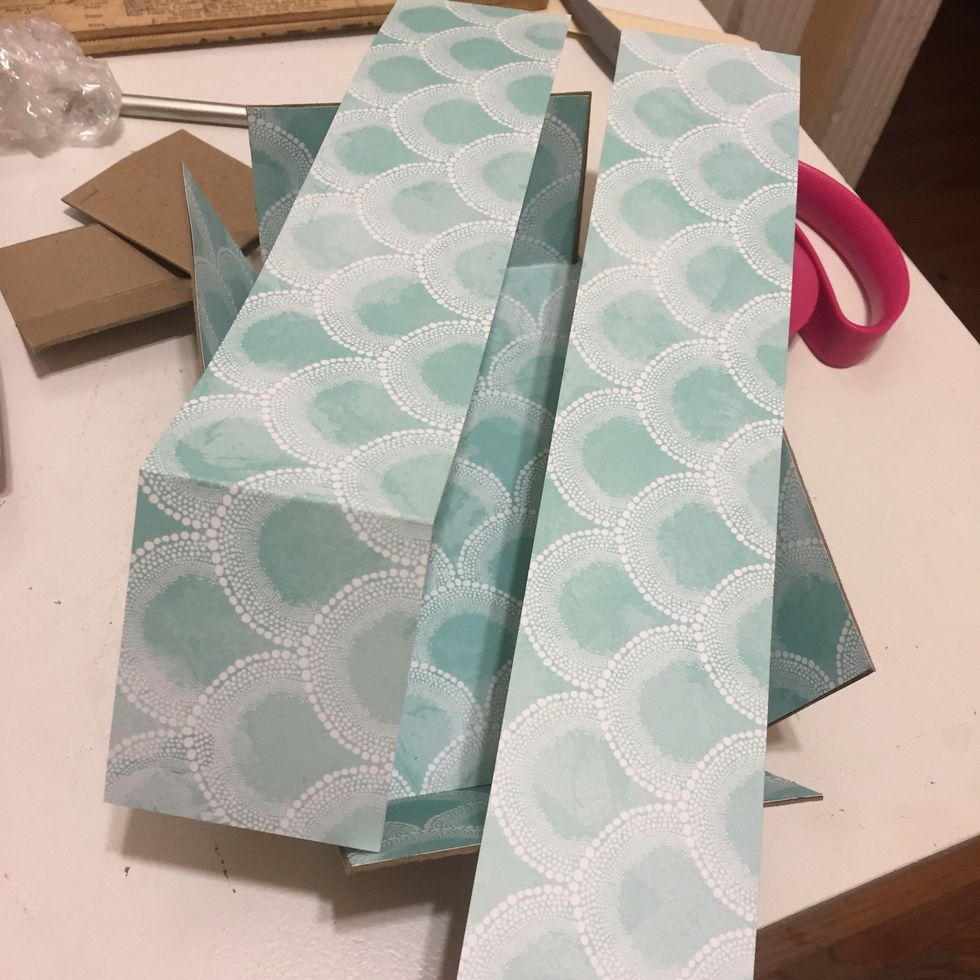
you can see the inside is completely covered now (way in the back there!) now cut two 2 inch wide strips to go on the outer edge
fold them around the corners for sizing then...

make to corner folds sharp! Wrap around and glue to outside
my glue was not coming out so, I had to use a stick to spread it out- but you get the idea!
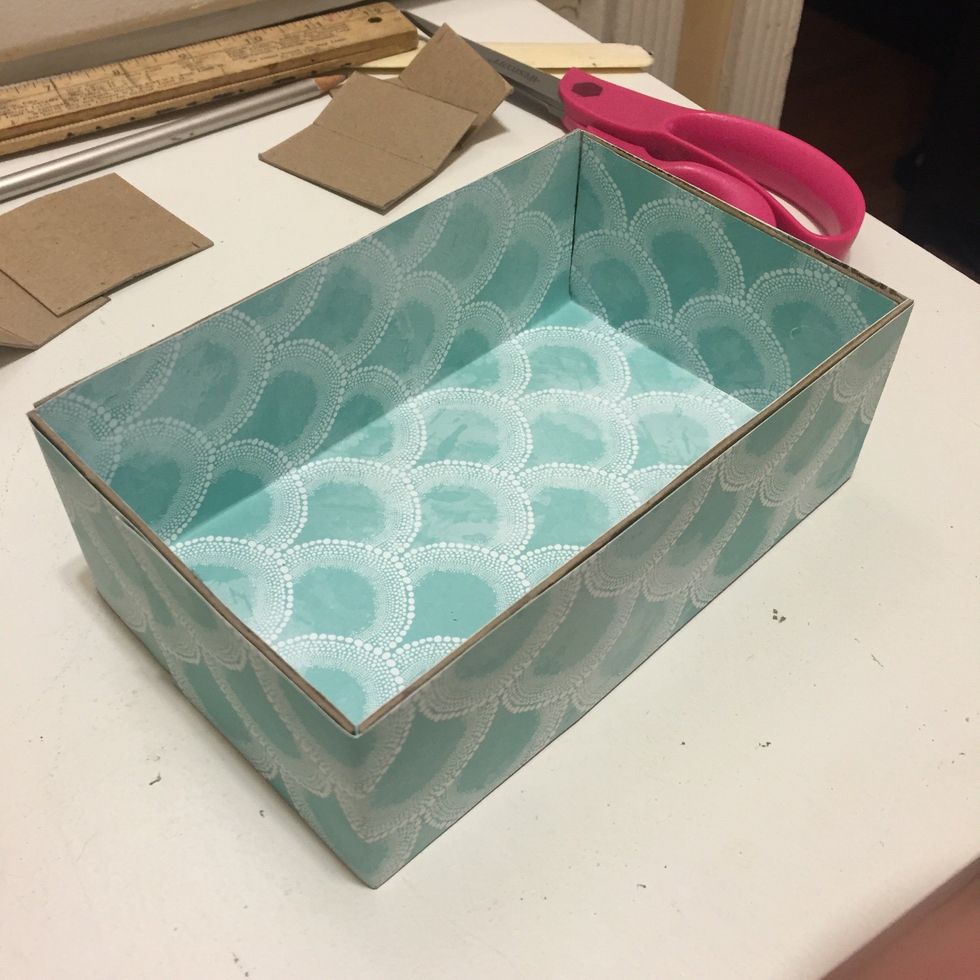
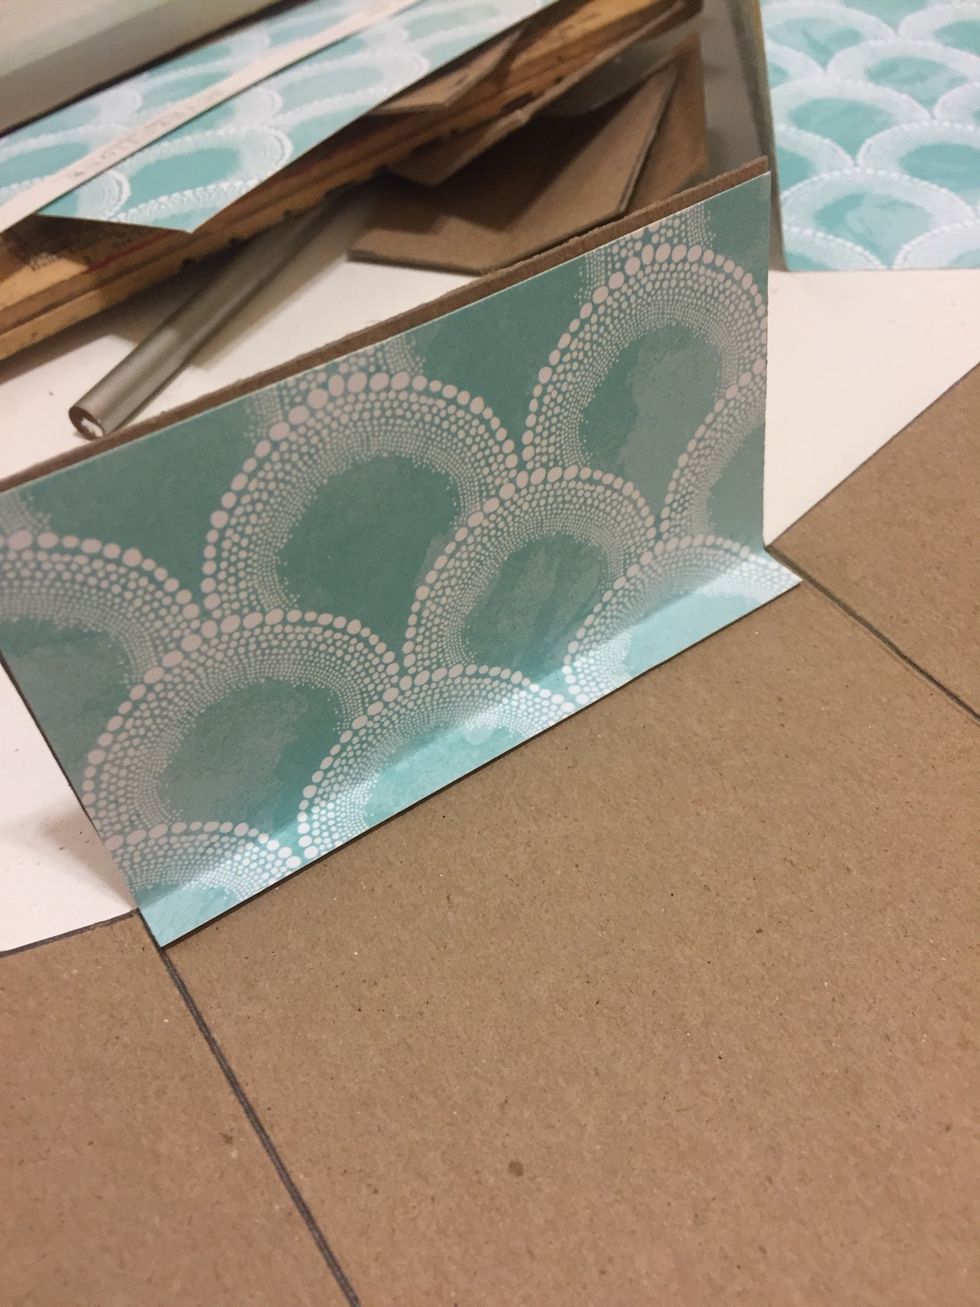
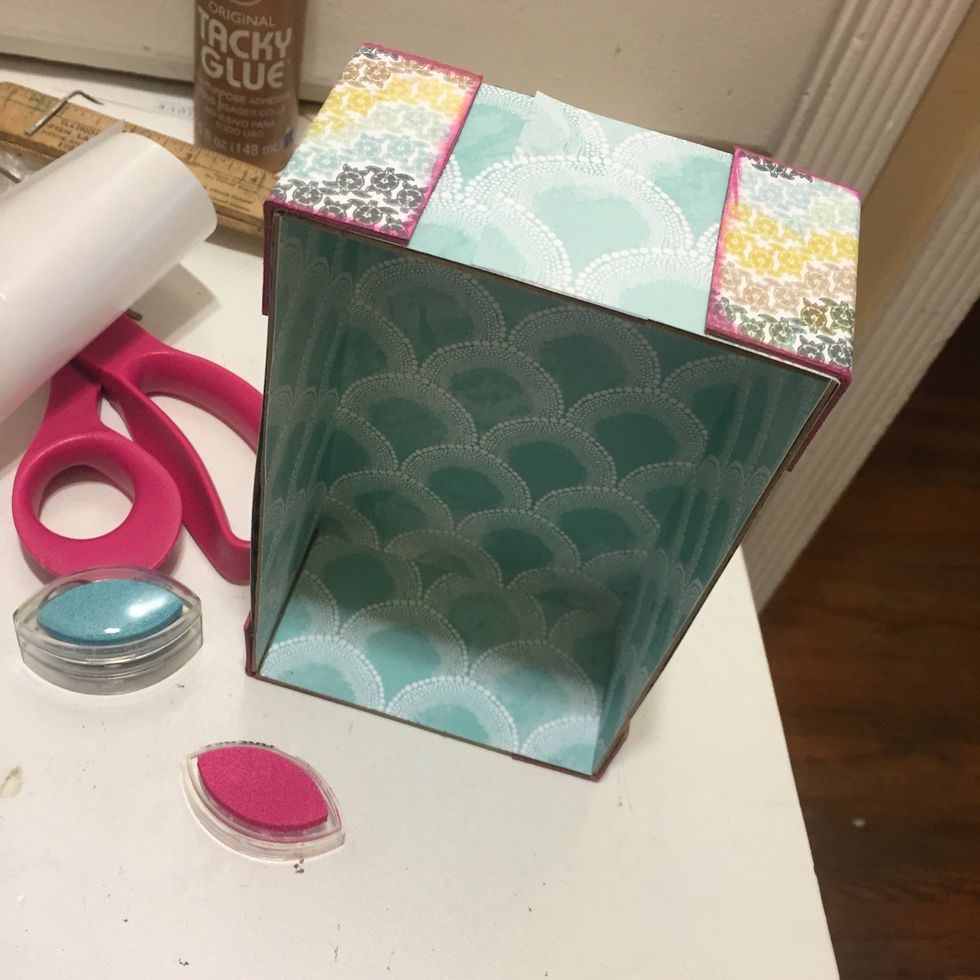
Now your outside is all done. I never worry about that ugly front edge because I always cover it up with some kind of trim treatment
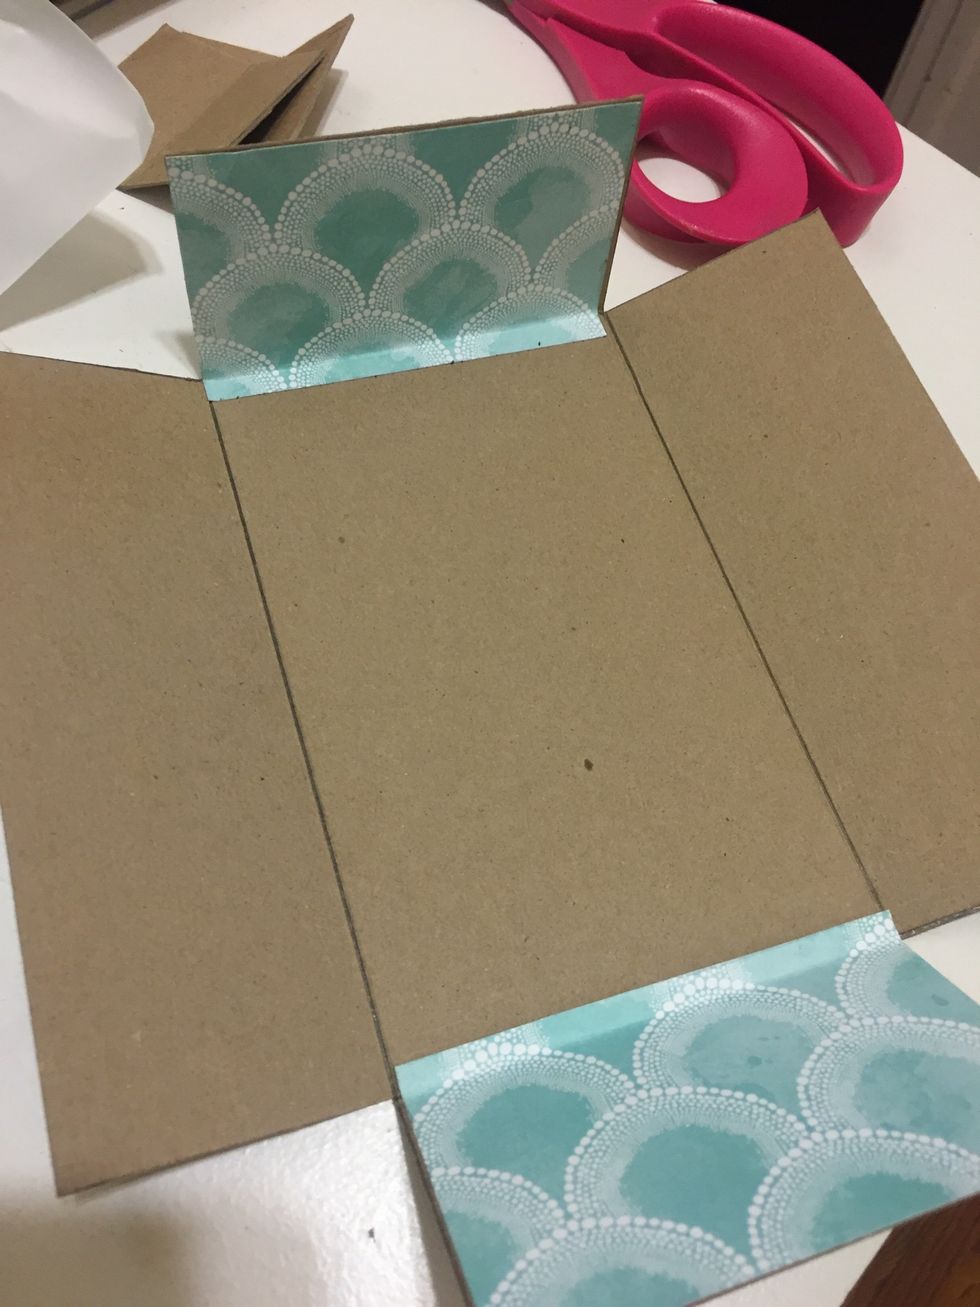
oh yes, one for the back while your at it!
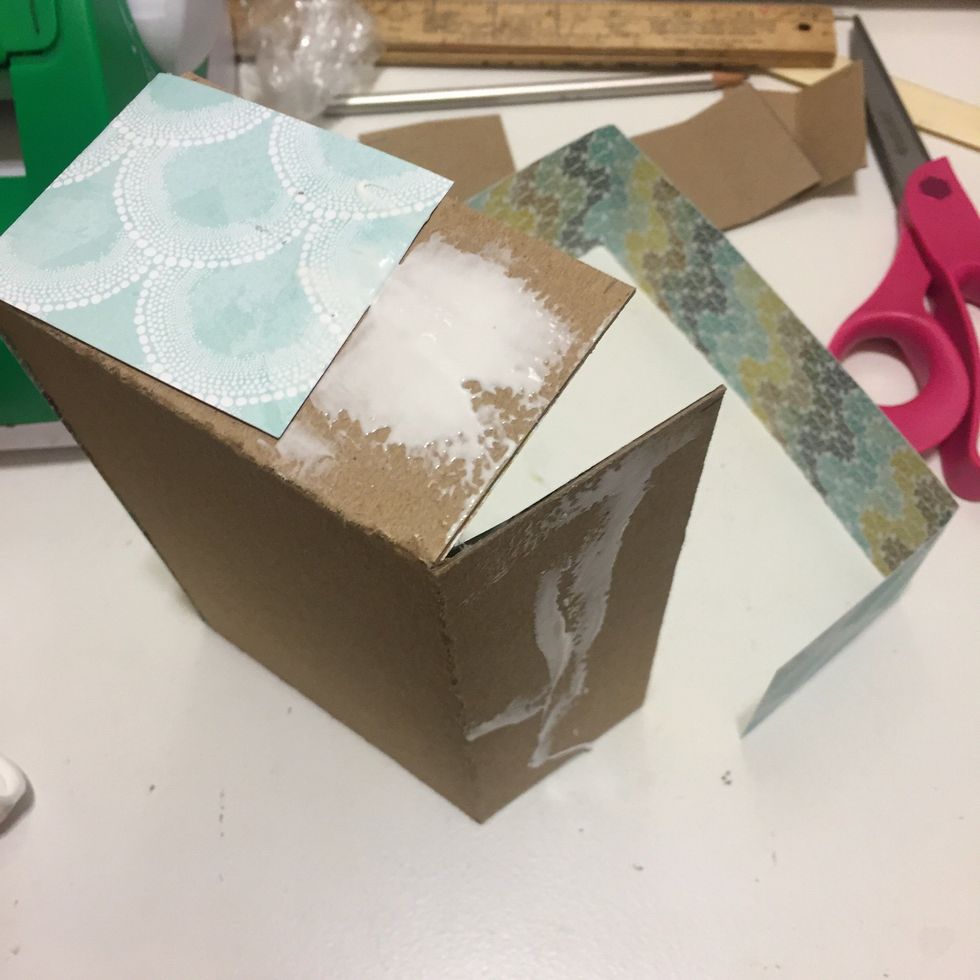
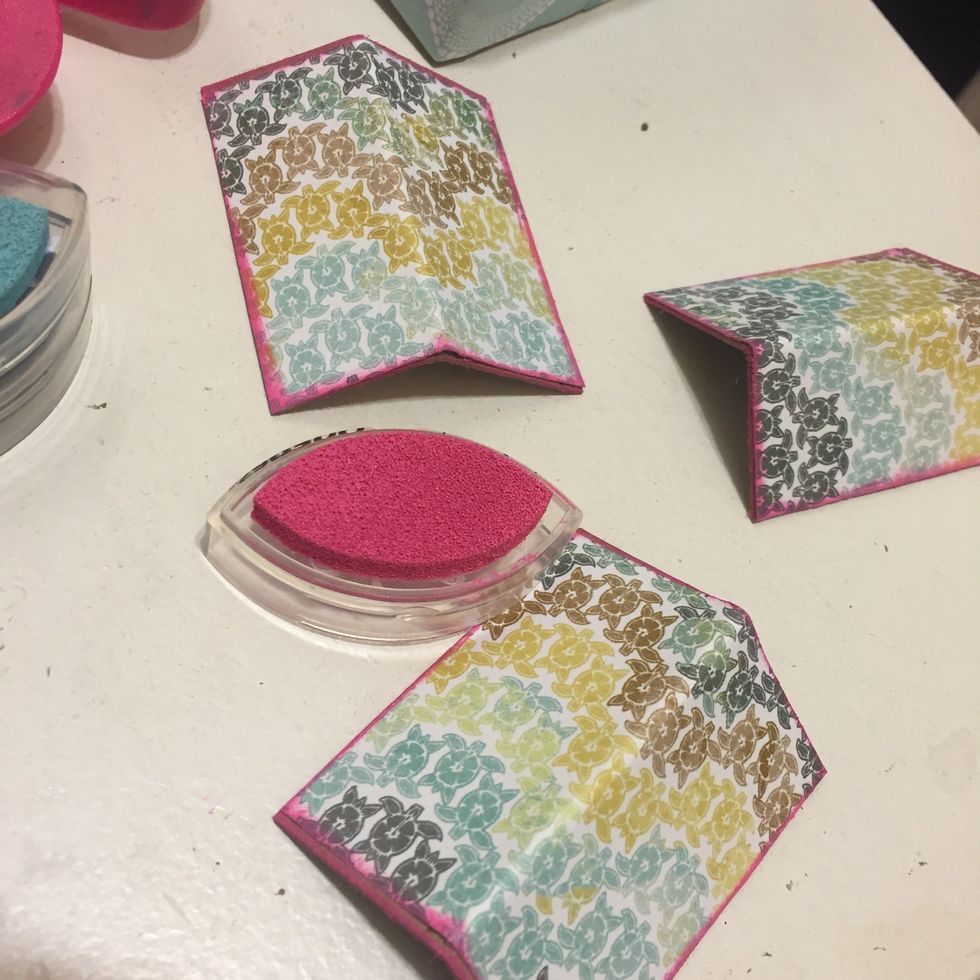
Now over those 4 corners you but out with contrasting paper, and glue down, right after you glue, bend that fold into it so the paper dried in the 90 degree angle shape
run hot glue as shown onto the back of the corners
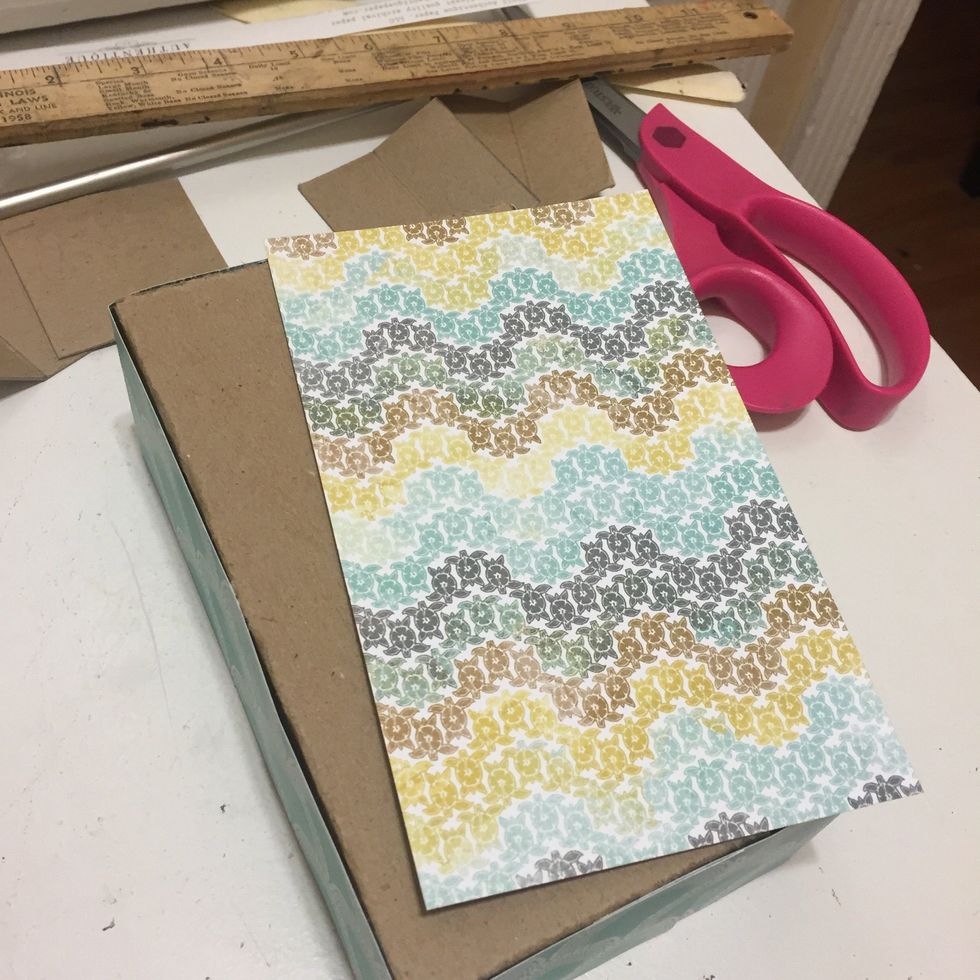
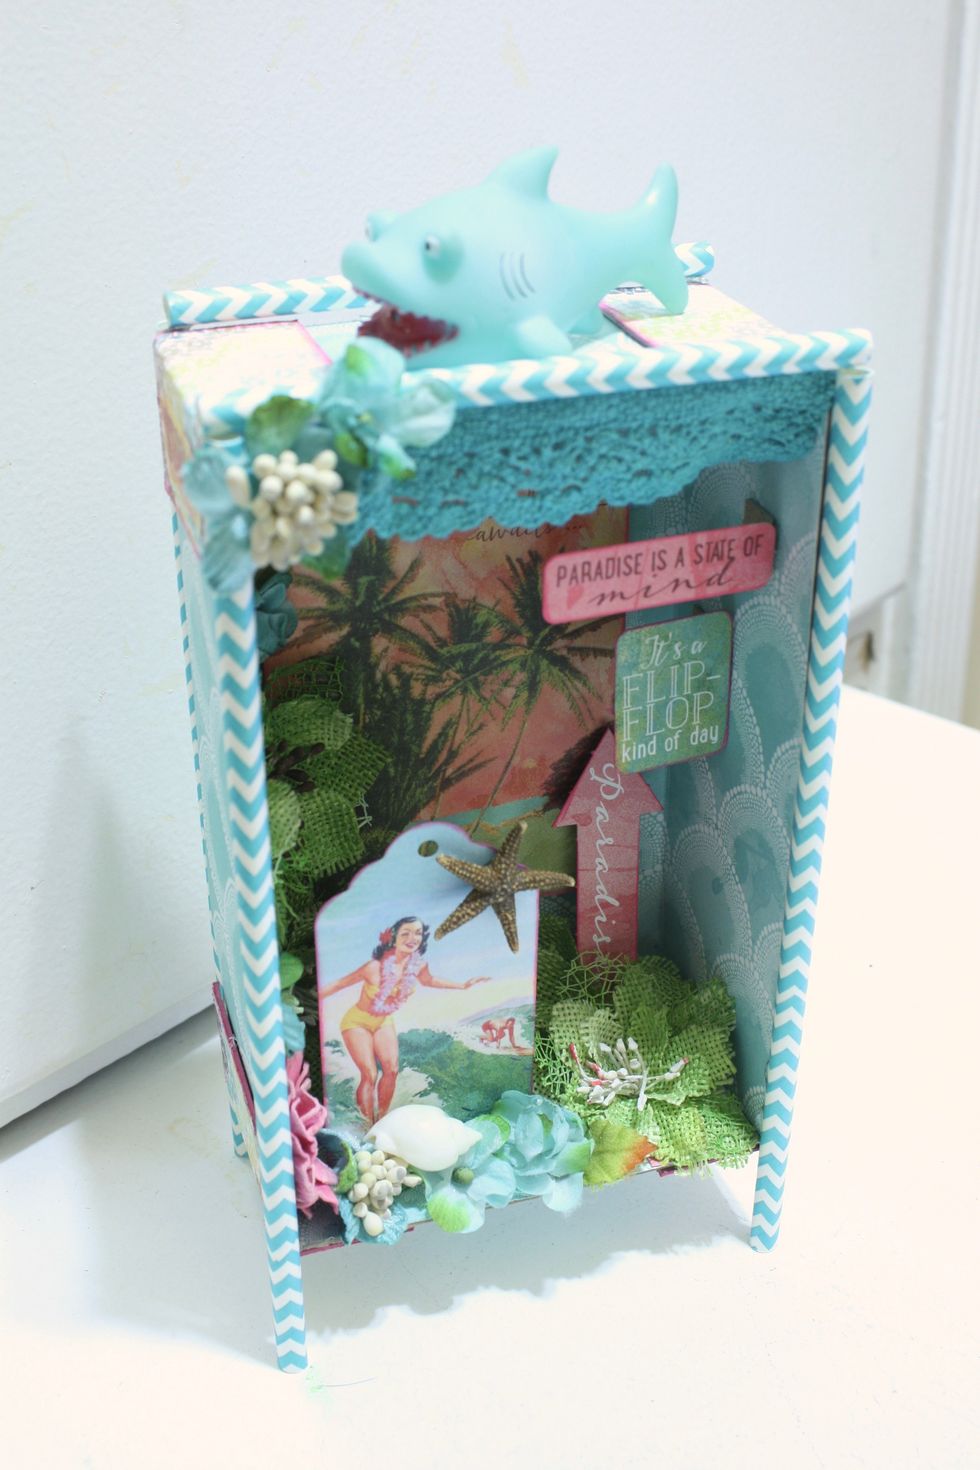
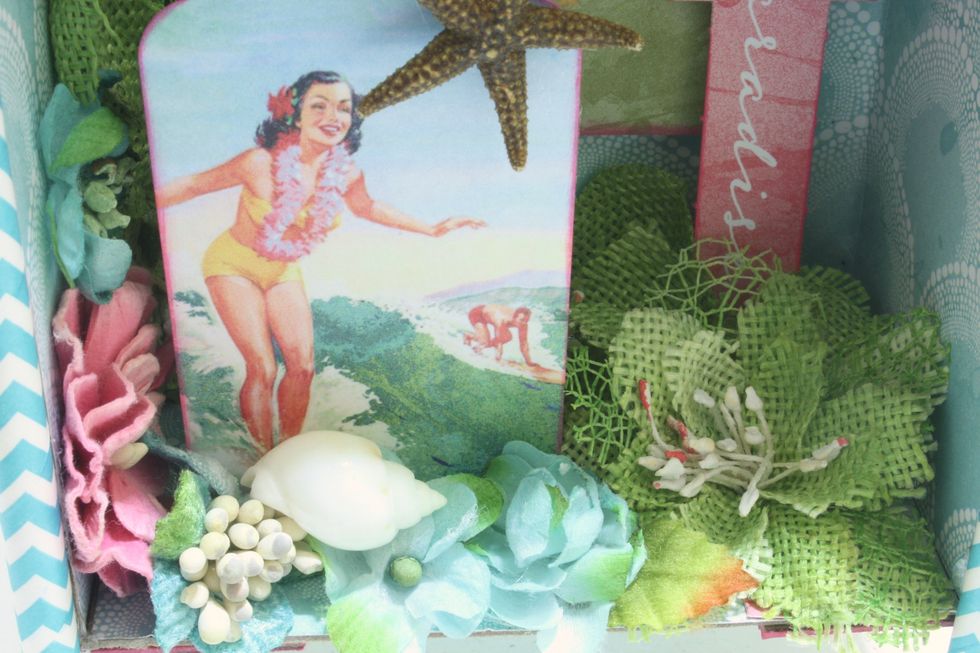
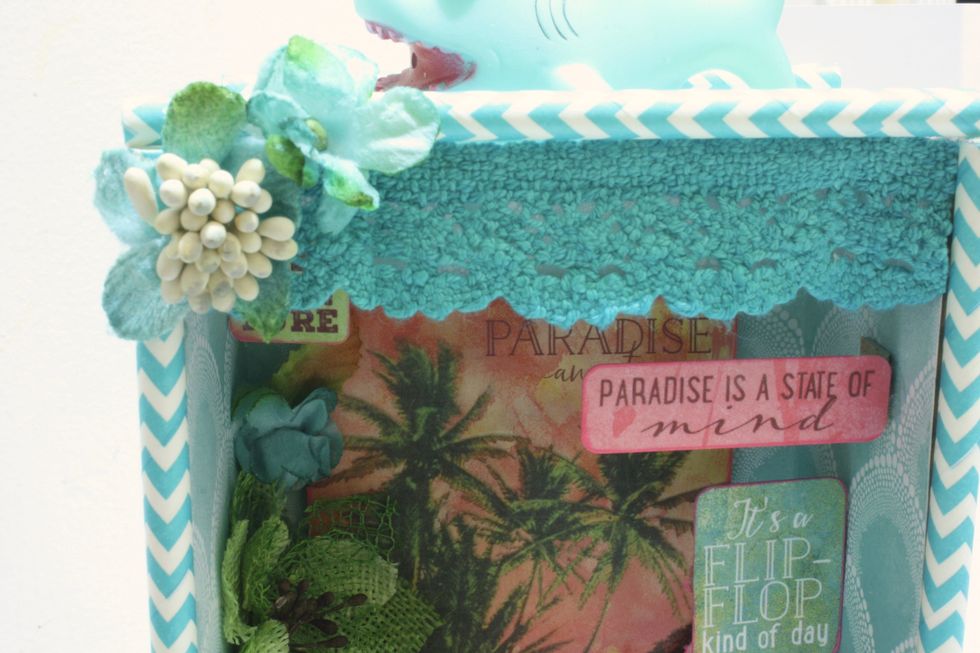
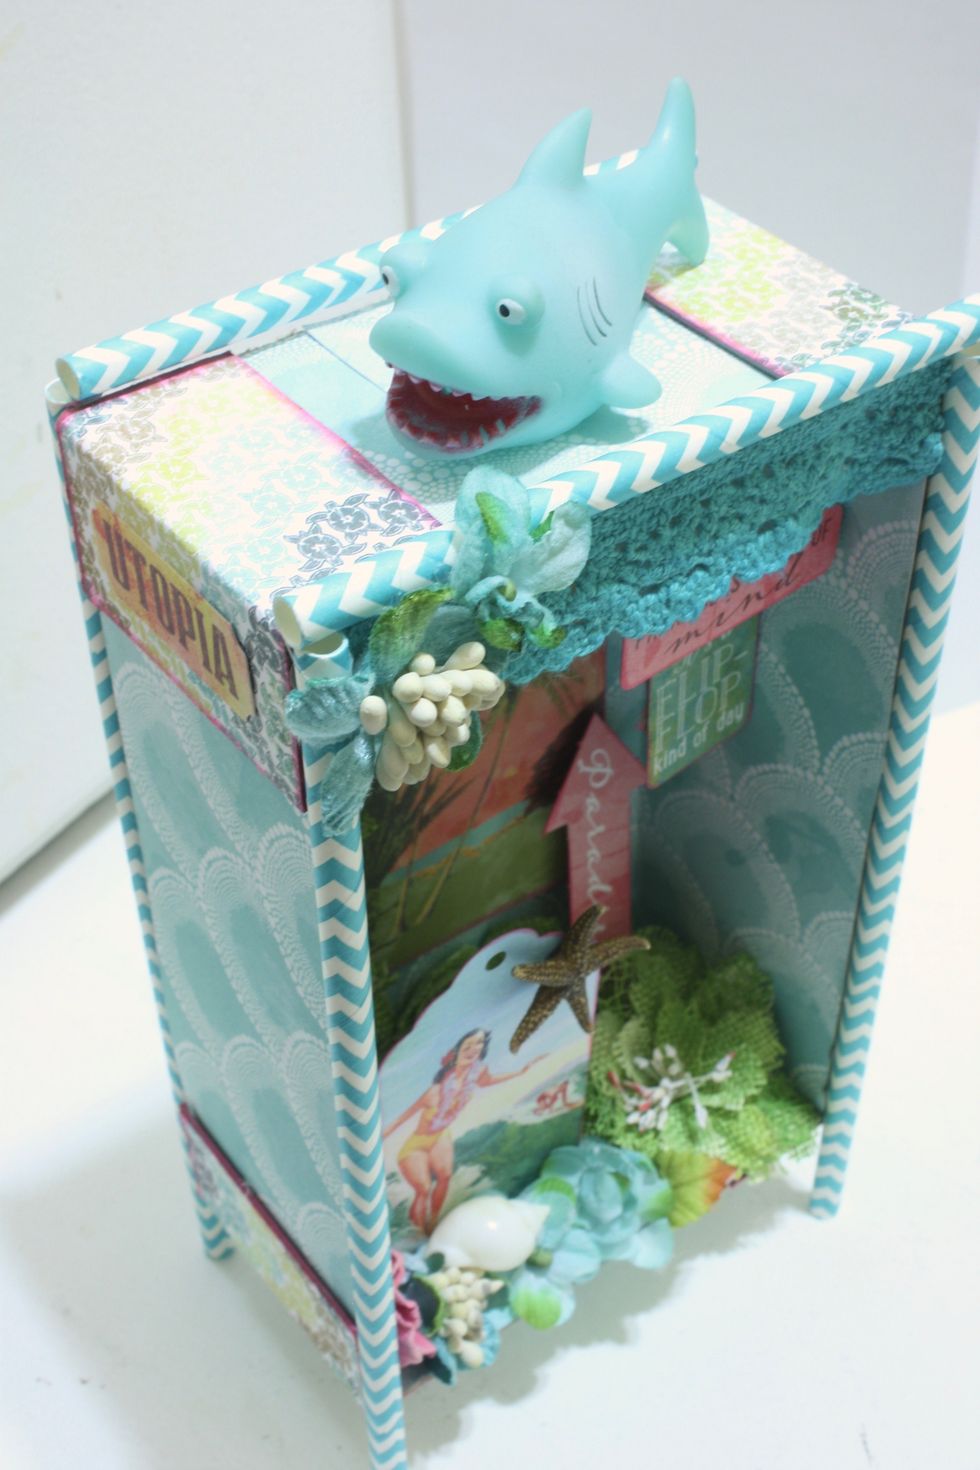
Now hot glue those babies on to sturdy your box! Now the fun part!!Decorate away! I used a paper kit collection from Authentique and Petaloo Flowers
I used more chip board to create tabs to stick the sticker on, then glued the tab to the edges of the box
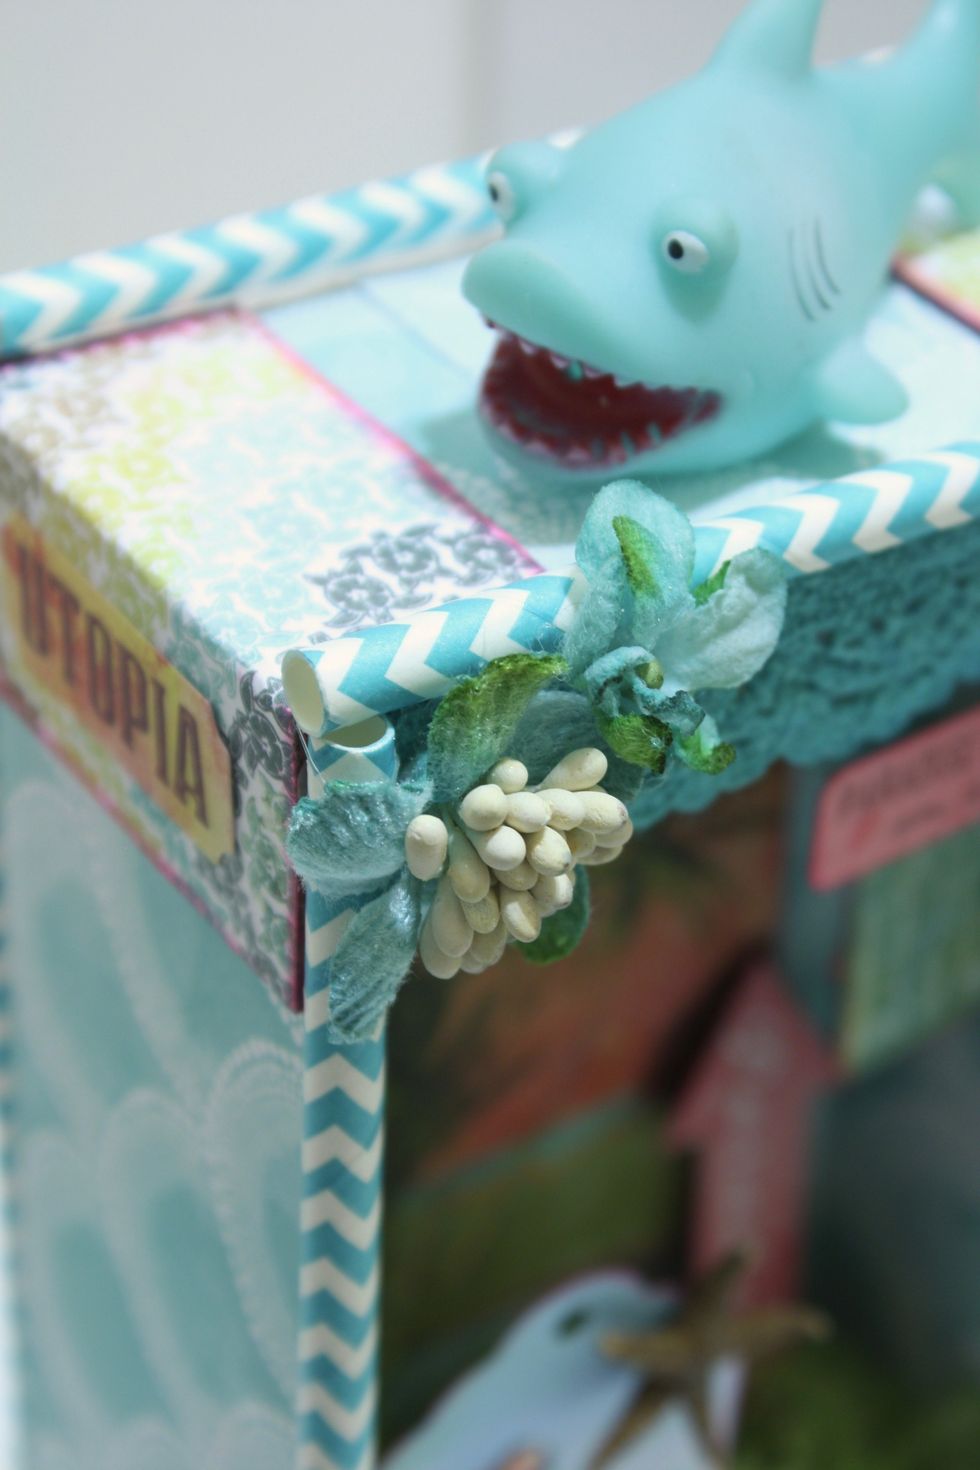
Petaloo flowers are amazing and come in all different shapes and sizes. And how about that little shark!! It's a kids water toy squirter!
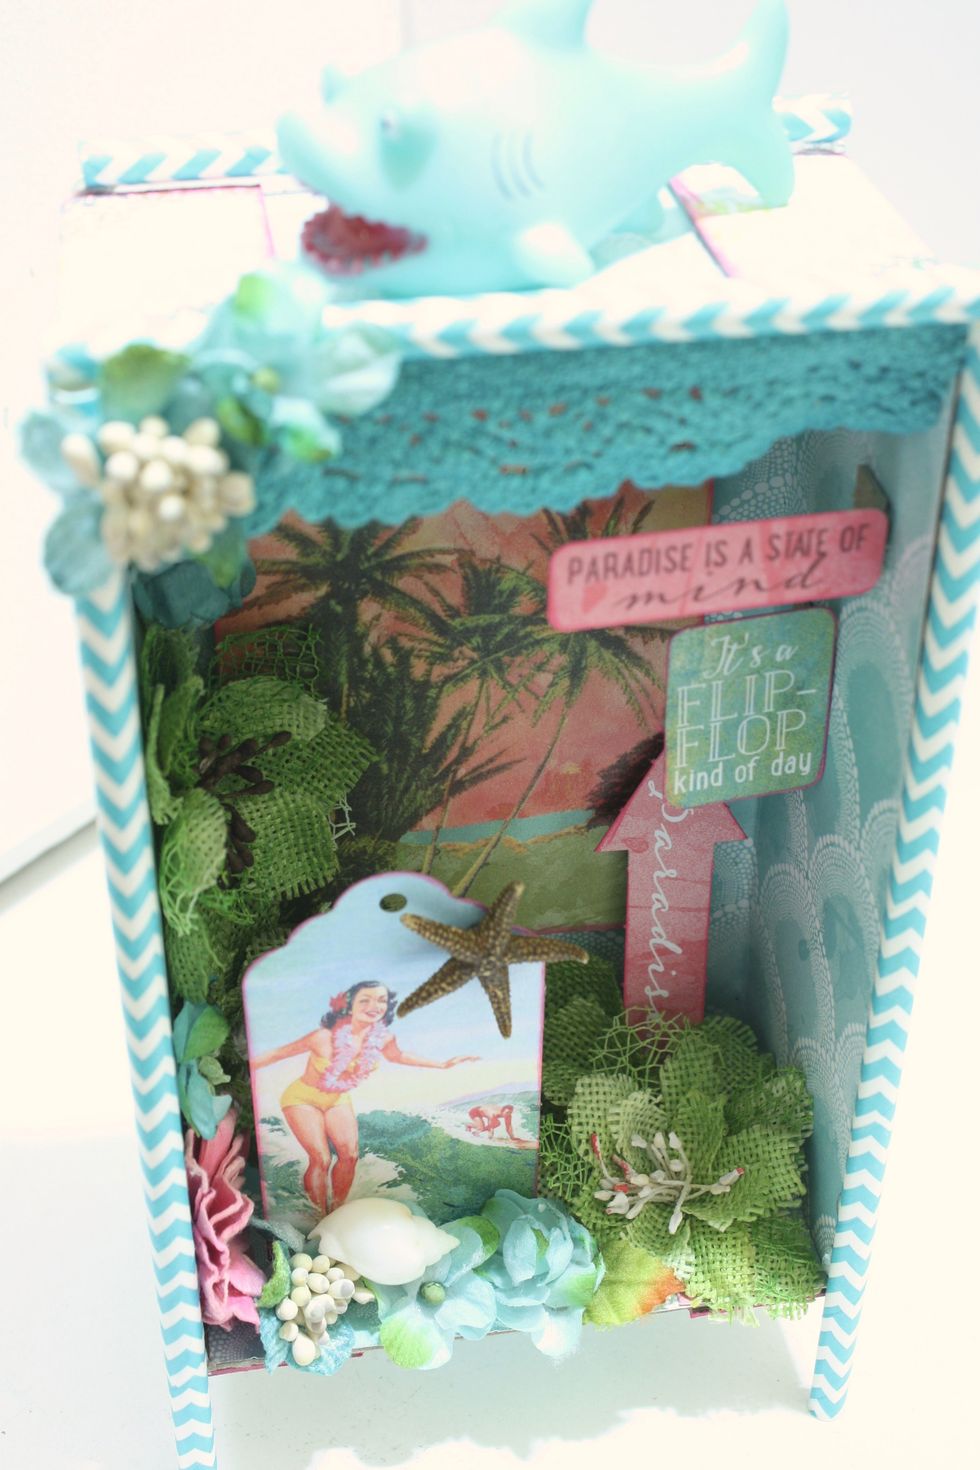
I used Petaloo Textured Elements and Botanicas in teal and green and Petaloo Darjeeling Flowers in Pink
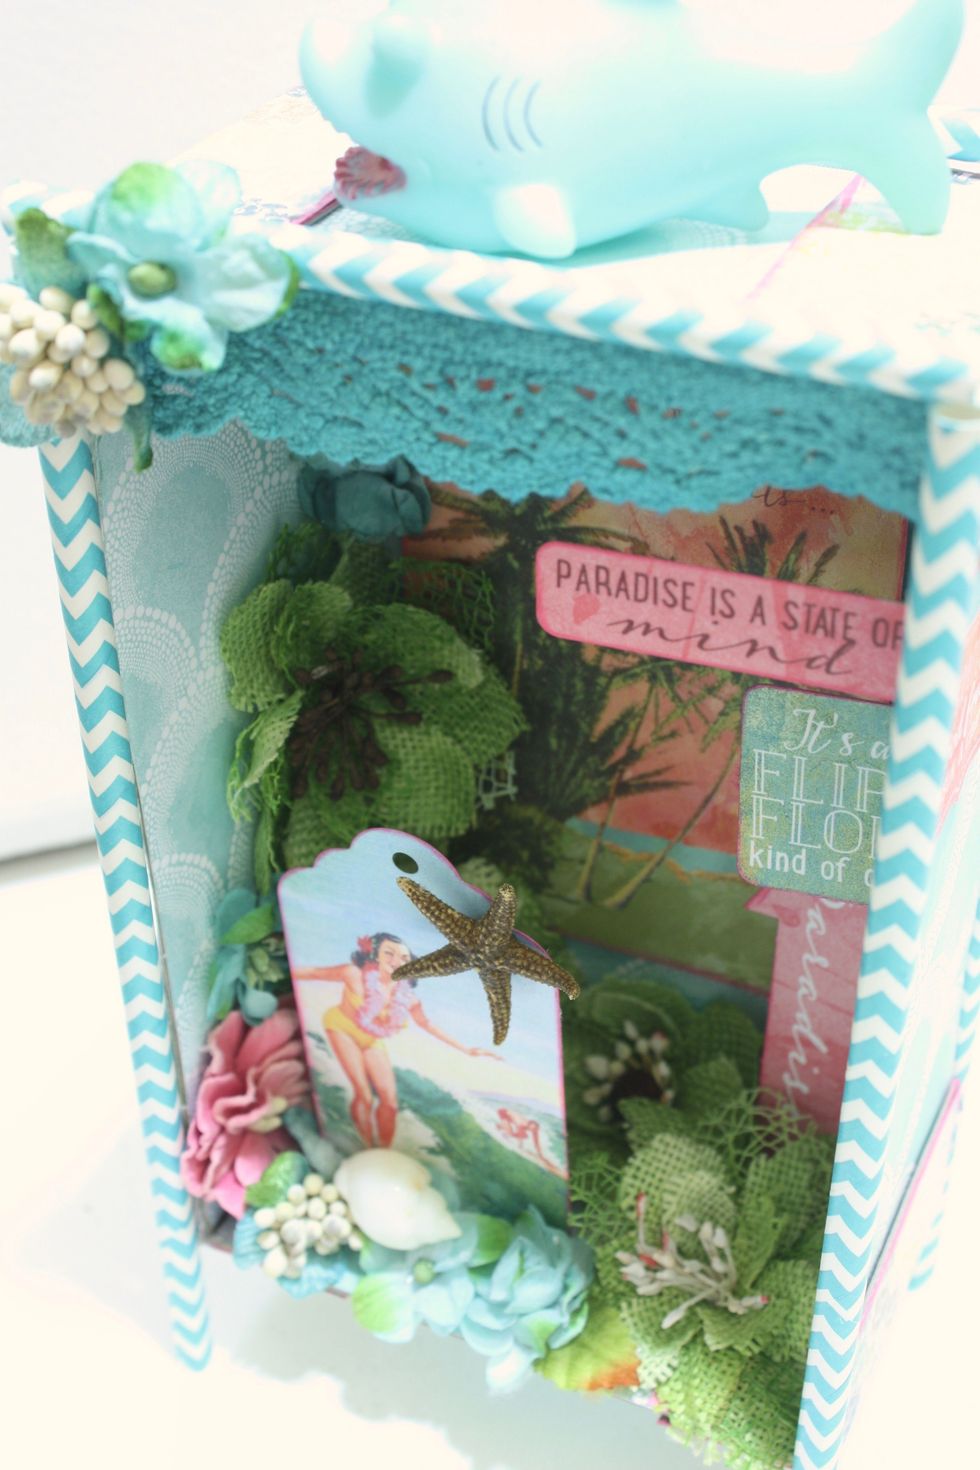
the top is crocheted lace from Petaloo trims, the paper straws from Michaels
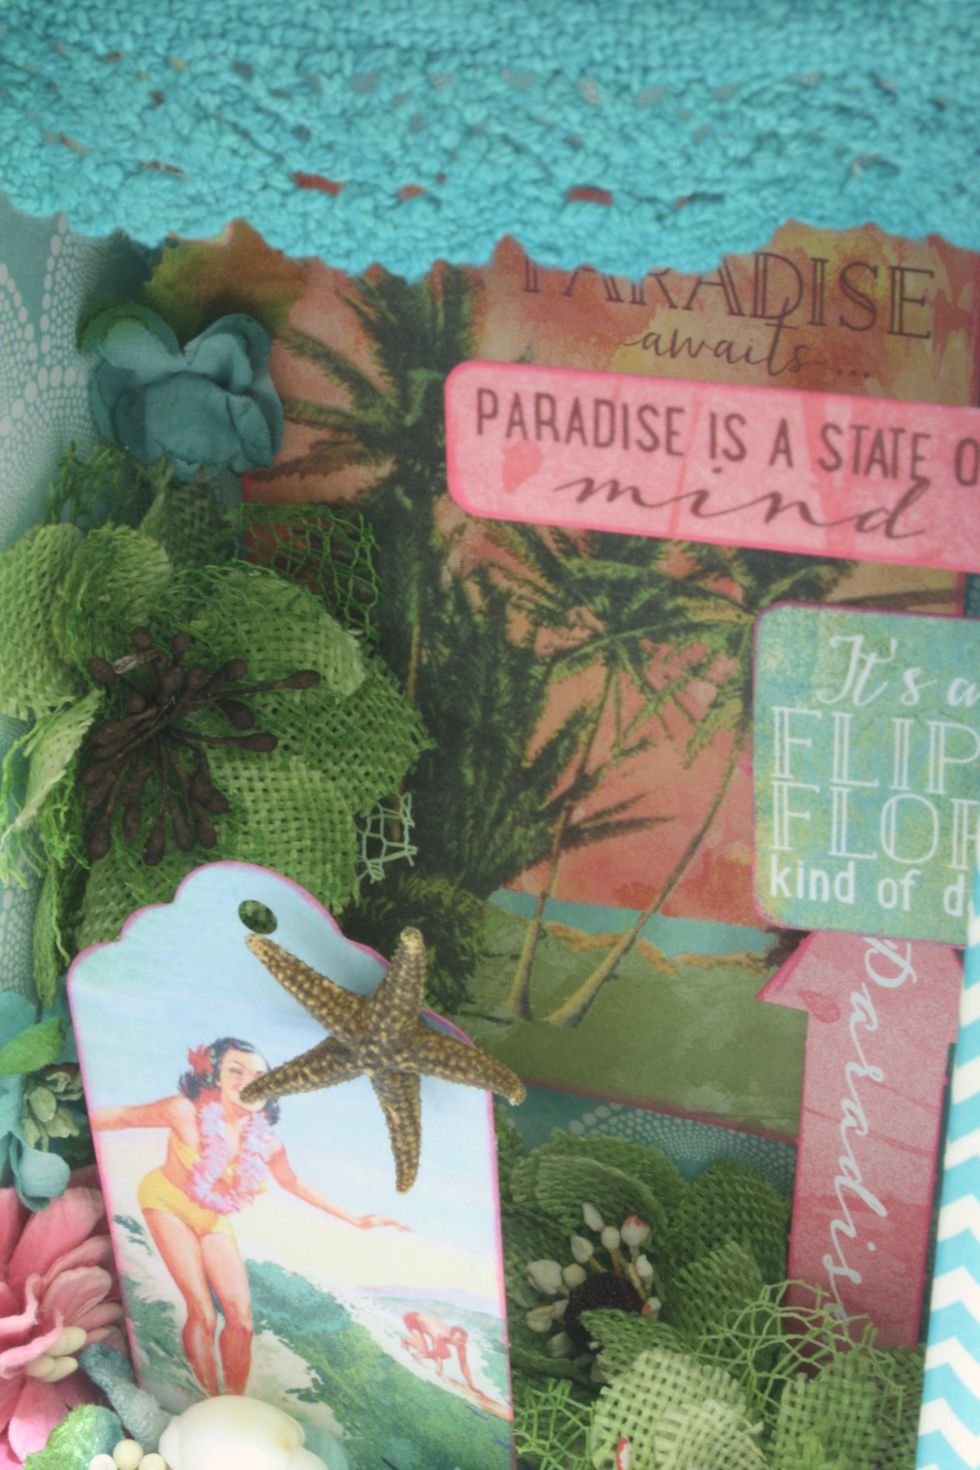
I added a little dried starfish for a natural element
thanks for looking. My name is Denise Hahn, I design for Petaloo International. My blog is inmyblueroom.blogspot.com. PETALOO AND AUTHENTIQUE can be found on online retailers.