The Conversation (0)
Sign Up
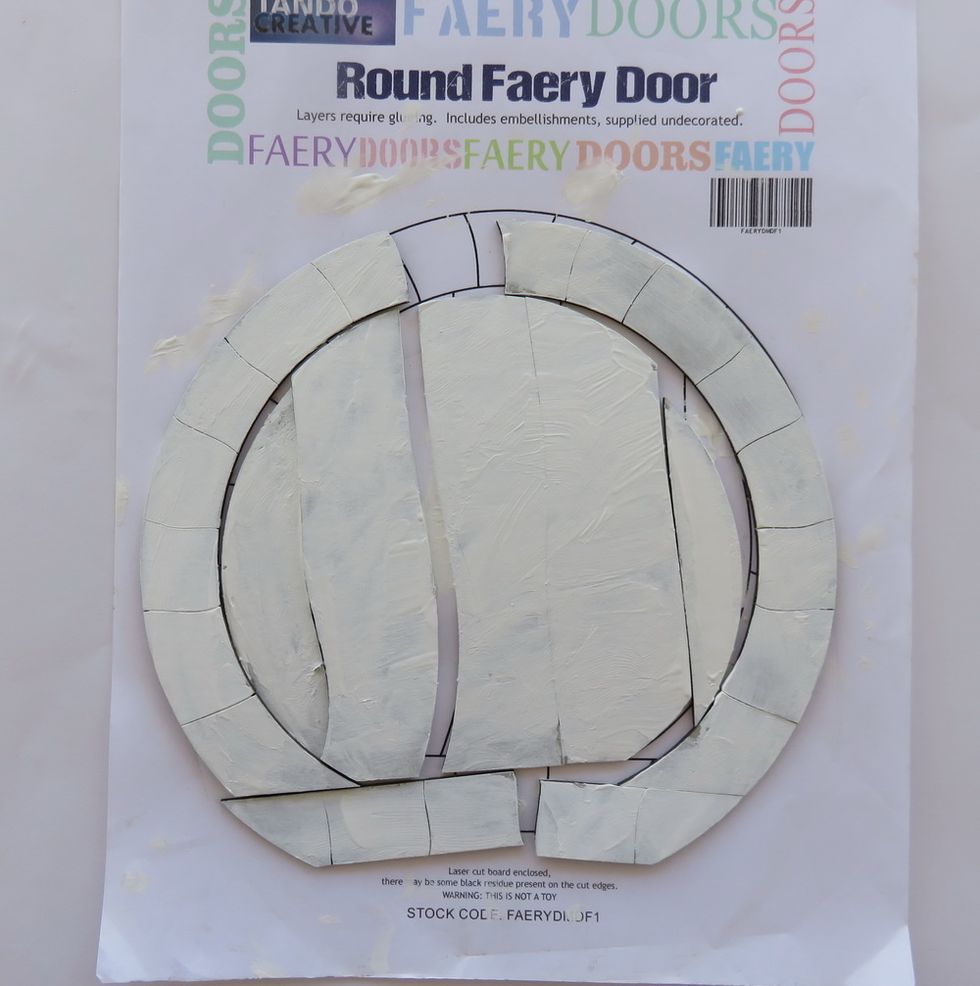
Cover the chipoard door and the door frame with white gesso and let it dry. It's brown chipboard and gesso helps to show the real paint colors in the better way.
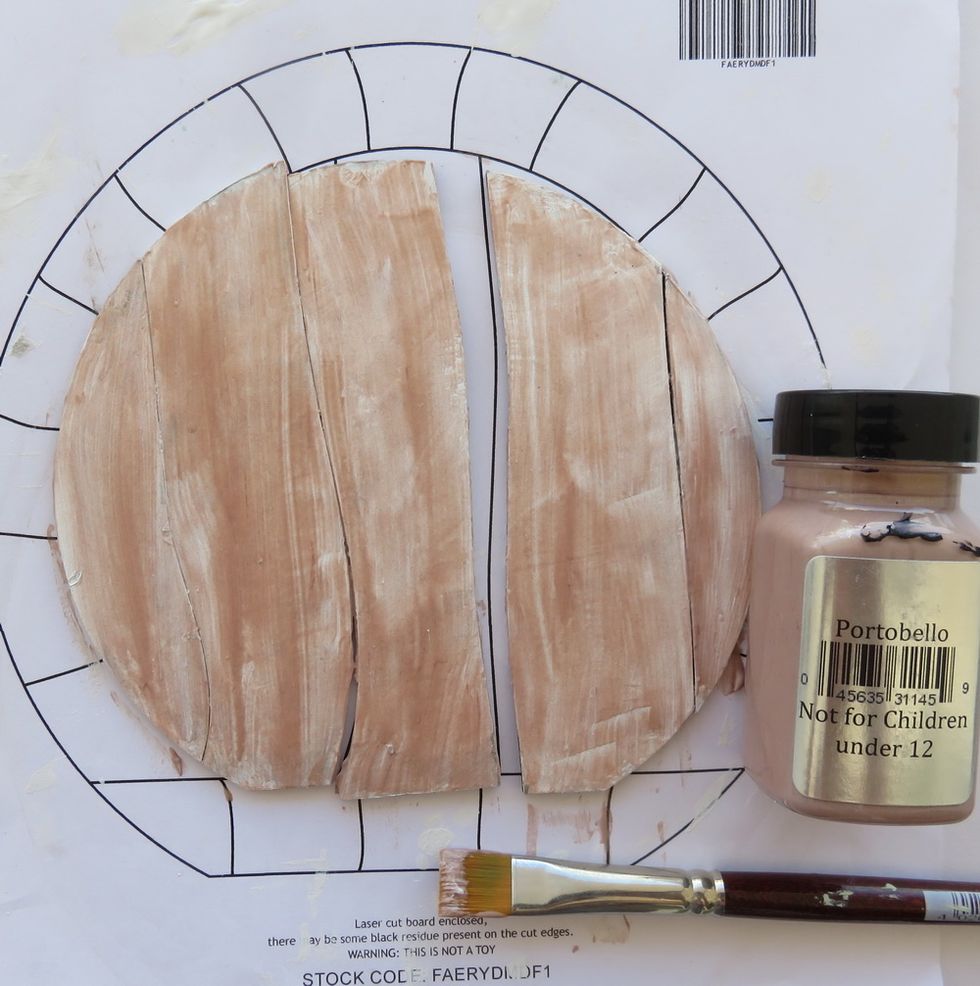
Cover the inner door pieces with Portobello Velvet paint and let it dry.
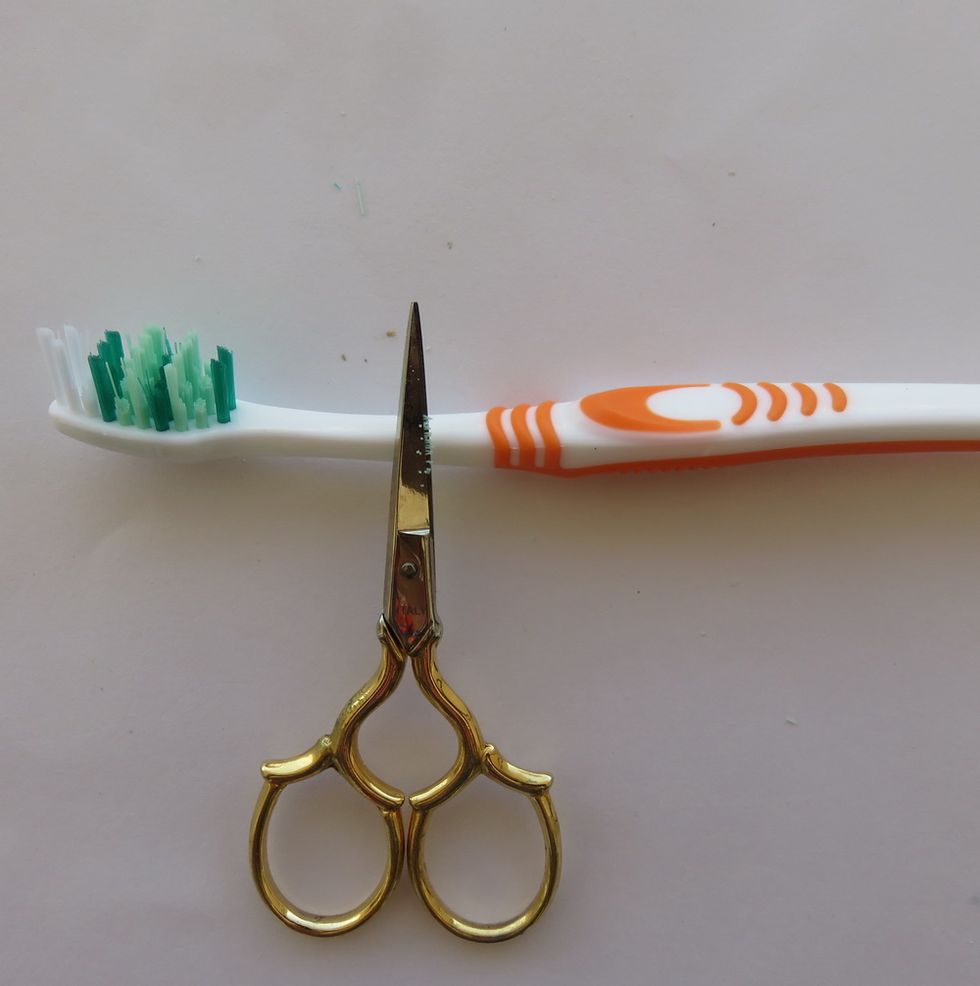
Make your own painting tool from the old tooth brush. Cut each second row inside the brush with fine scissors.

Add a thick layer of Dazzle paint over the first layer.Use your tooth brush tool to make the wood imitation- lines and circles. You get this marble effect. Let the paint dry for quite a long time.

Mist over the dry paint with Timeless Colorations spray and let it dry.
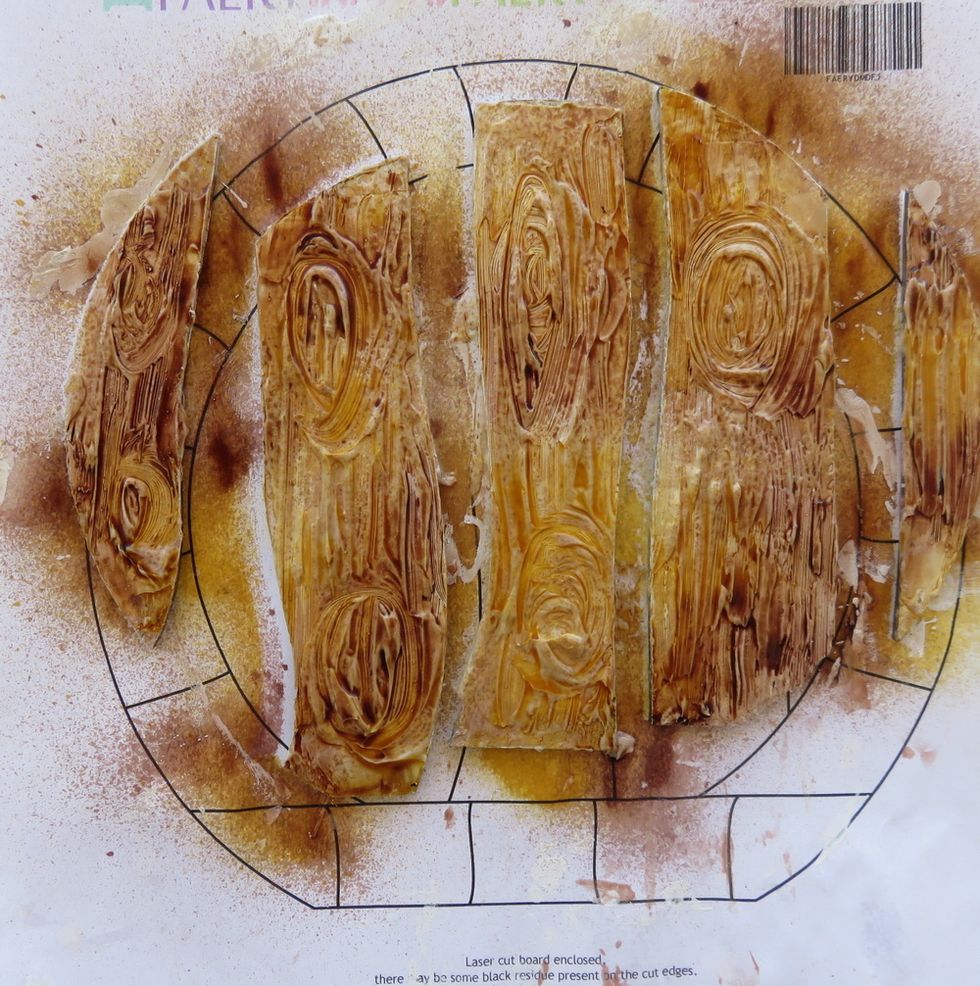
Now I needed some deep brown mist and there was no such color in my stash. So I made a strong black tea and used it with mister as a paint. And yes, black tea is not so black, but mostly dark brown.

Cover the door frame with Sandstone Stone effects paint.
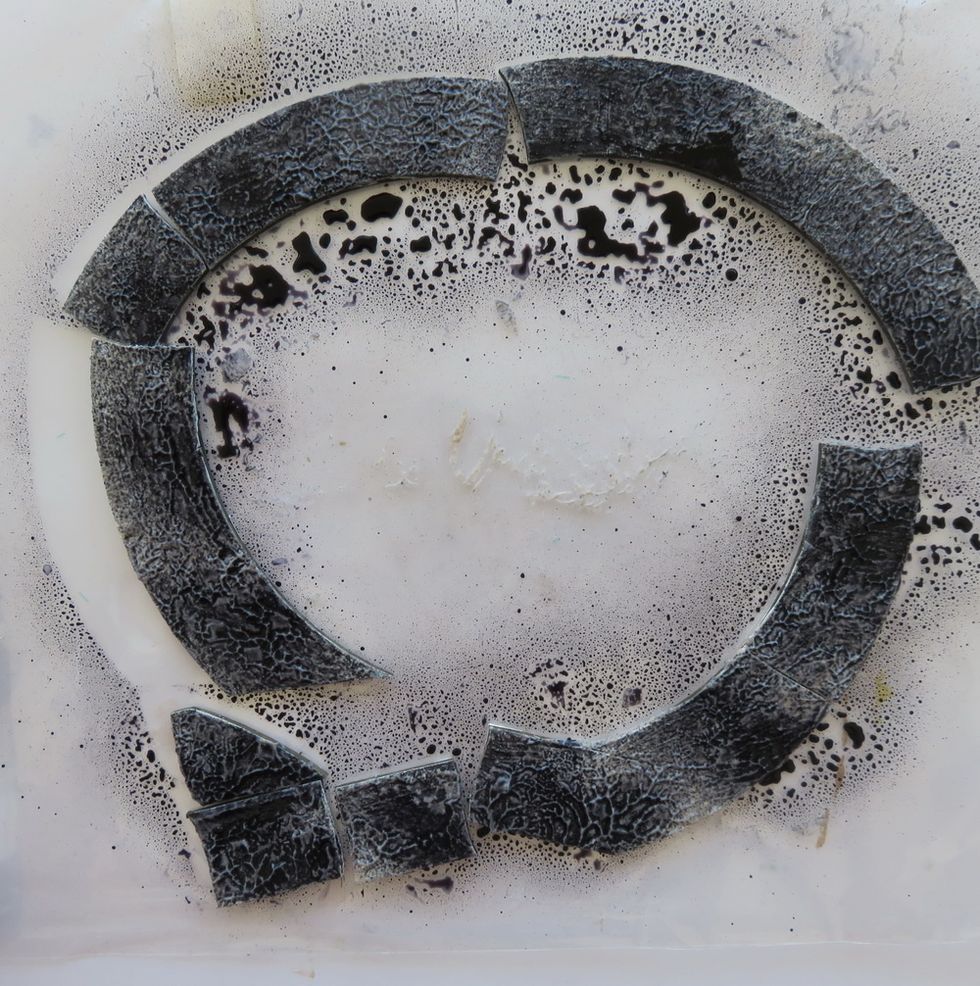
Toch the Sanstone wet paint with plastic wrap to get the texture you see here. Spray with Raider Spray and let it dry.
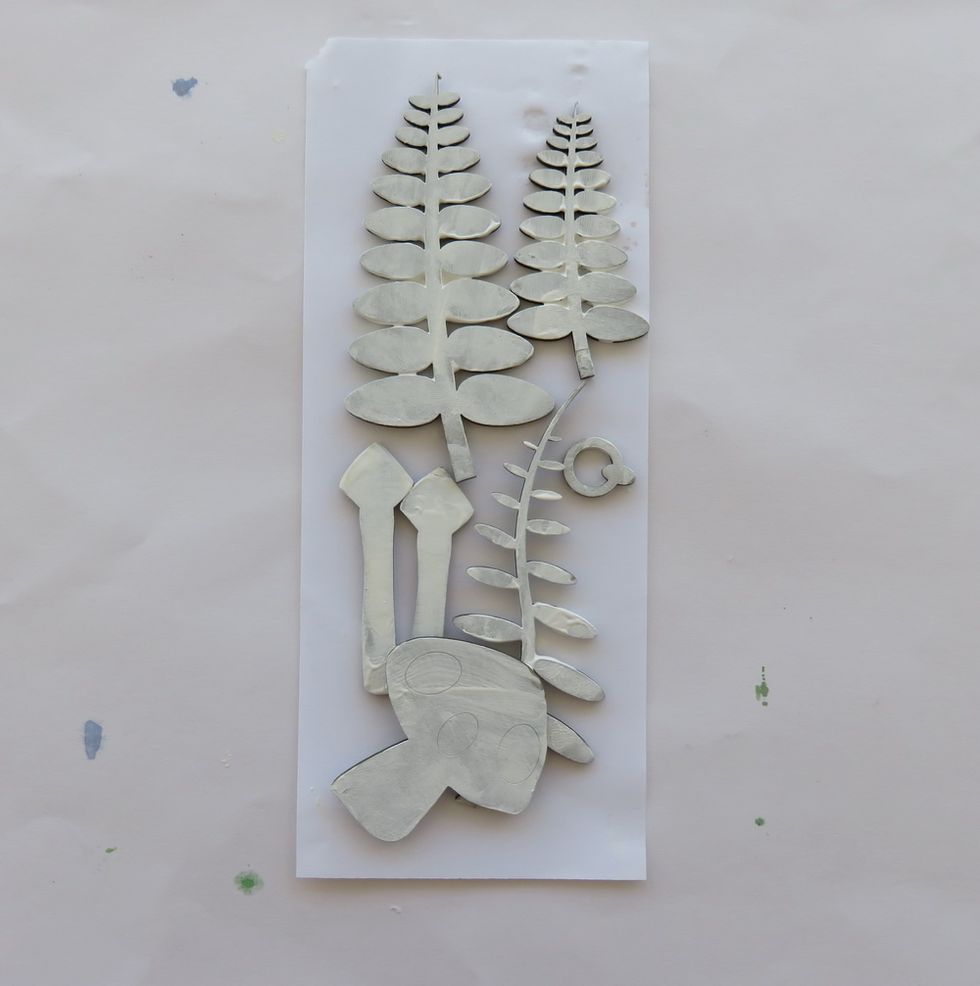
Cover all small chipboard shapes with a thin layer of white gesso.
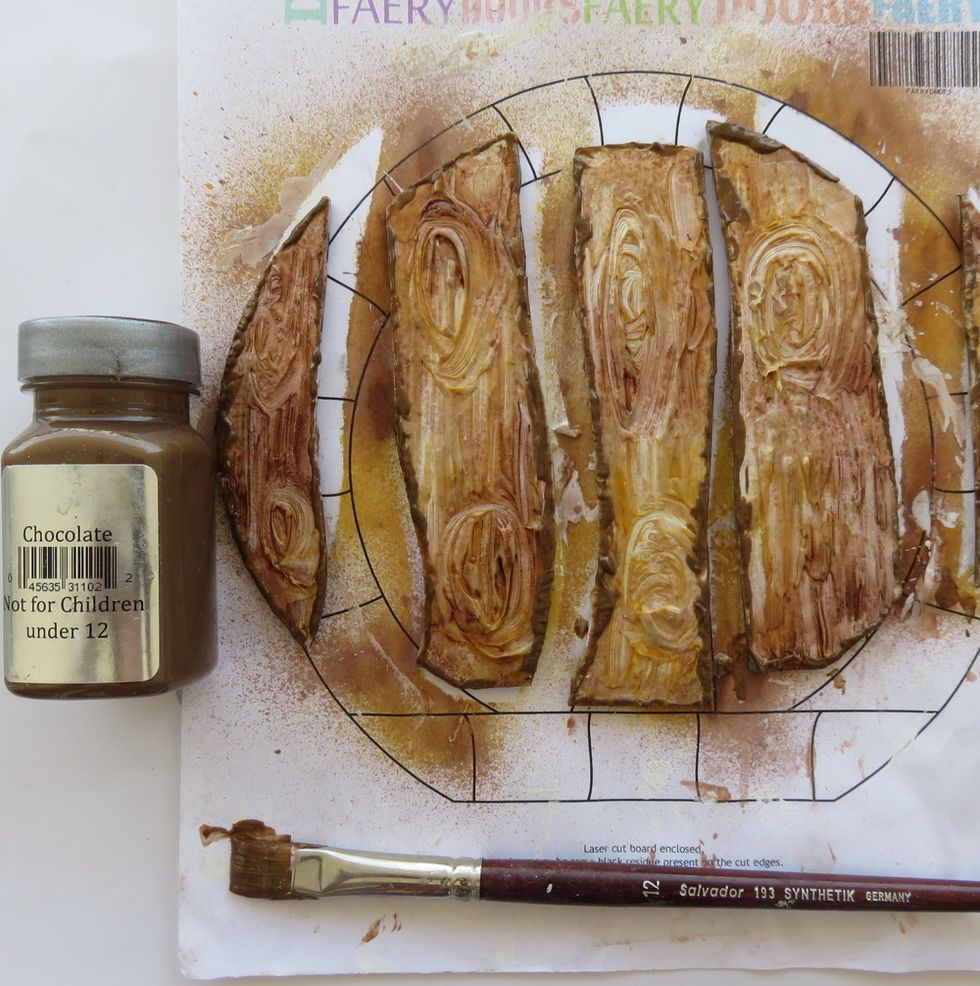
Paint around the edges of the " wooden" pieces with Chocolate paint. You can use a brush or even better- your fingers.

Paint the leaves with Leaf paint and don't try to make it thin as we want this texture after all.
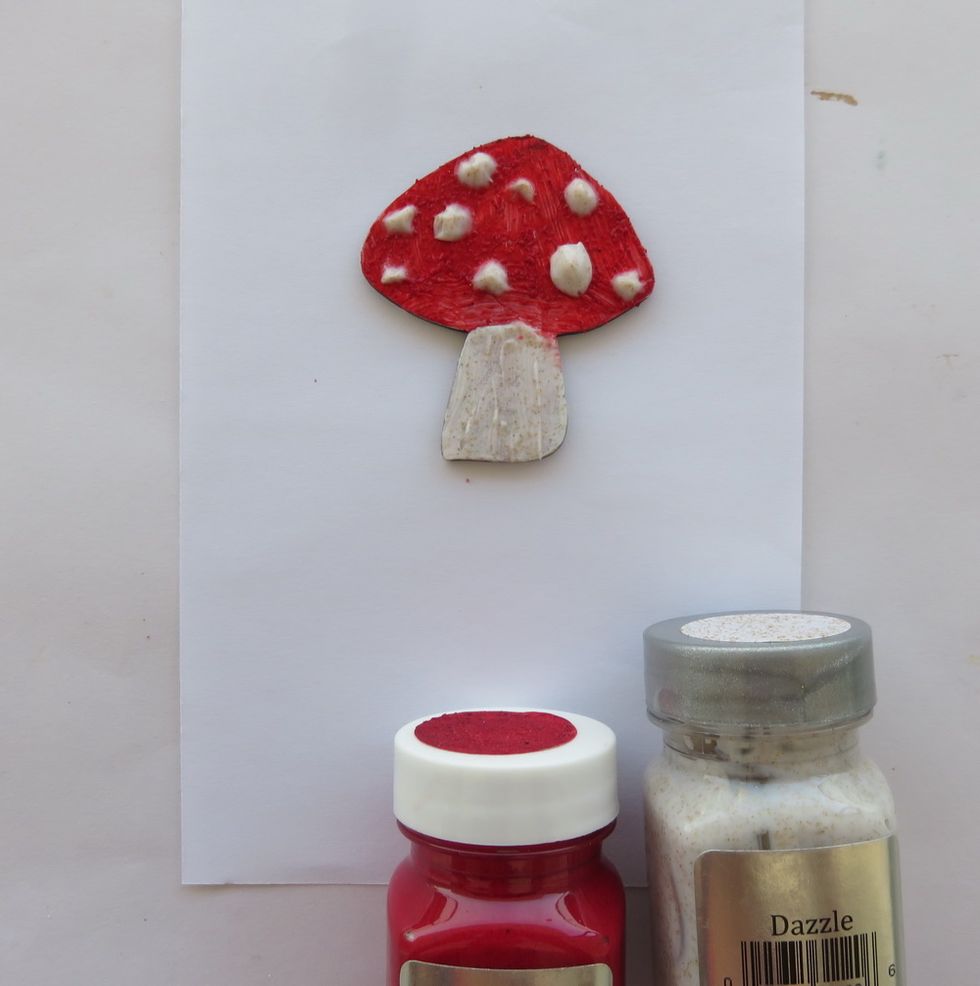
Paint the mushroom with Brick paint on the top and Dazzle paint over and for the bottom part. Make the dots over the top heave 3d.

Paint the door handle and the hinges with Gold and Bronze Metal effects paint, mixing both of them together.I added some texture with Retro Circles stencil, but it's not much seen after all.

Arrange the dppr frame and the door pieces as shown and glue them over MDF base that is a part of the kit.
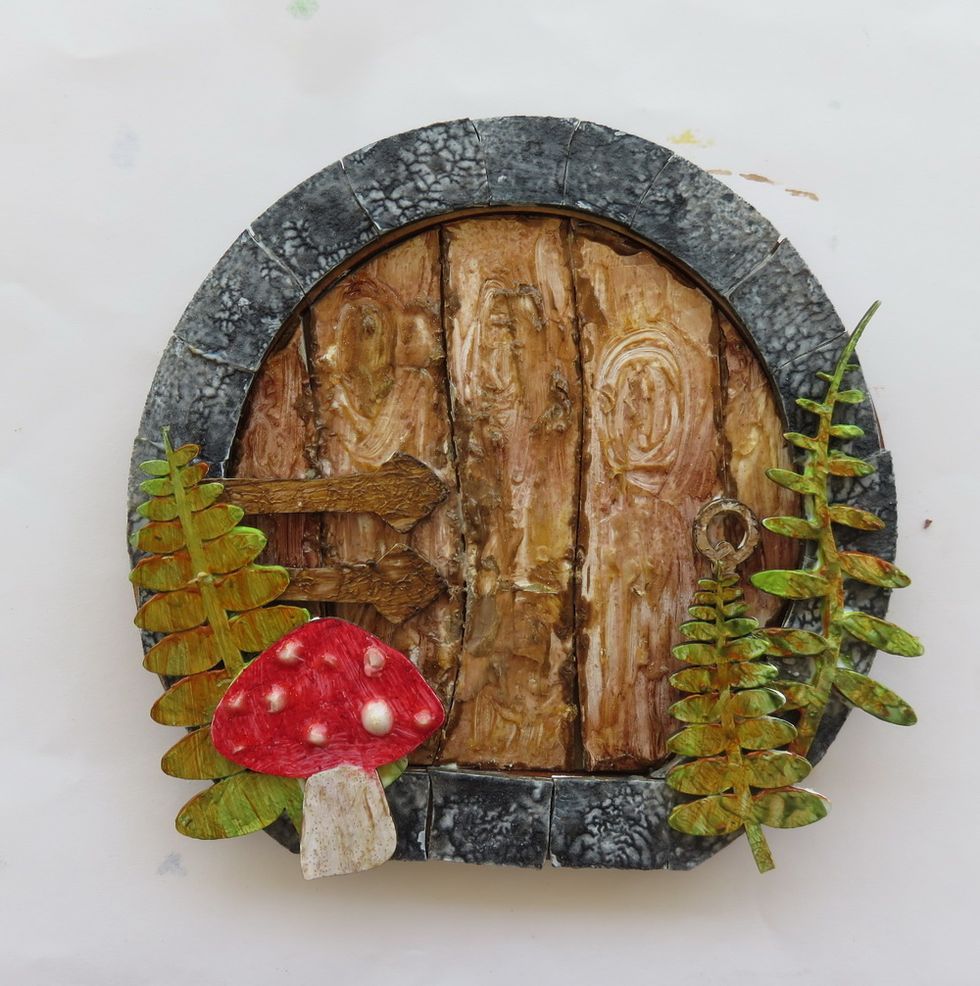
Glue the door hanger, the hinges, the leaves and the mushroom. I added a bit of Red Velvet Sorbet paint over the leaves.
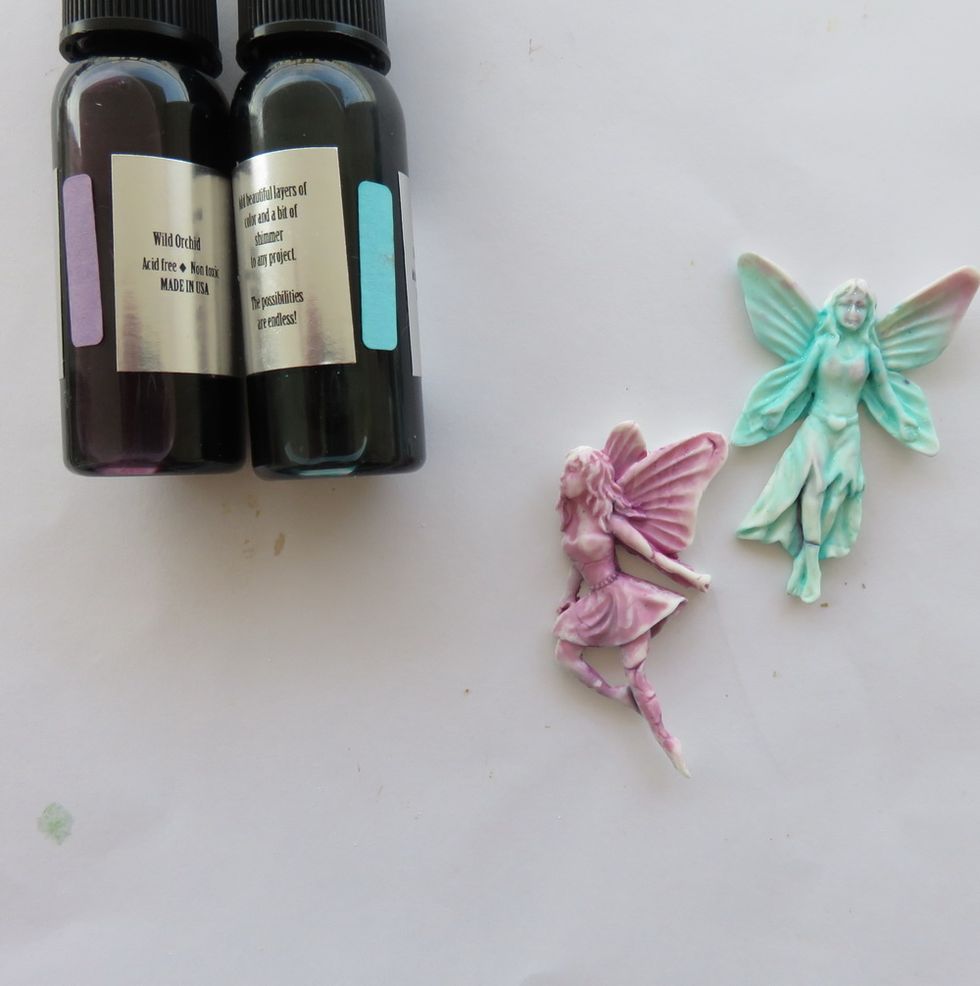
Make two fairies from air dry Makin's Clay polymer clay in molds (sorry, no brand for the molds to share). Use natural clay and spray with
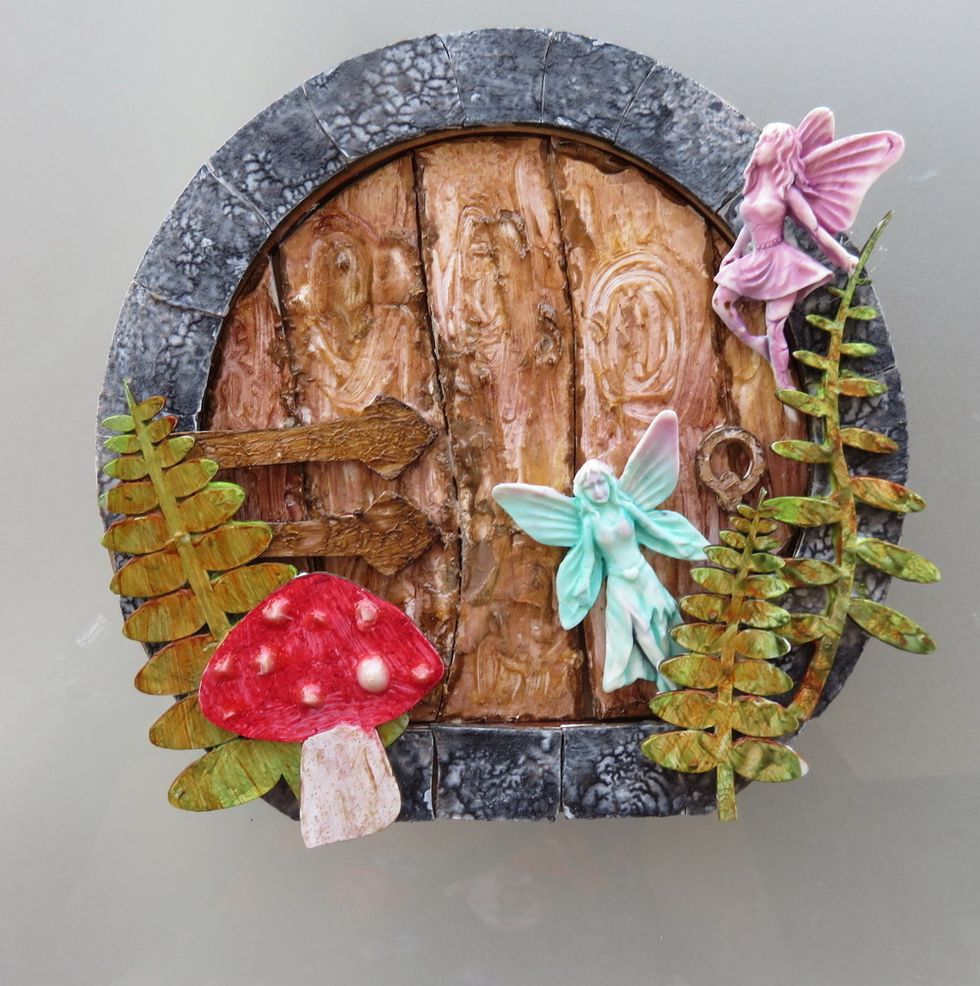
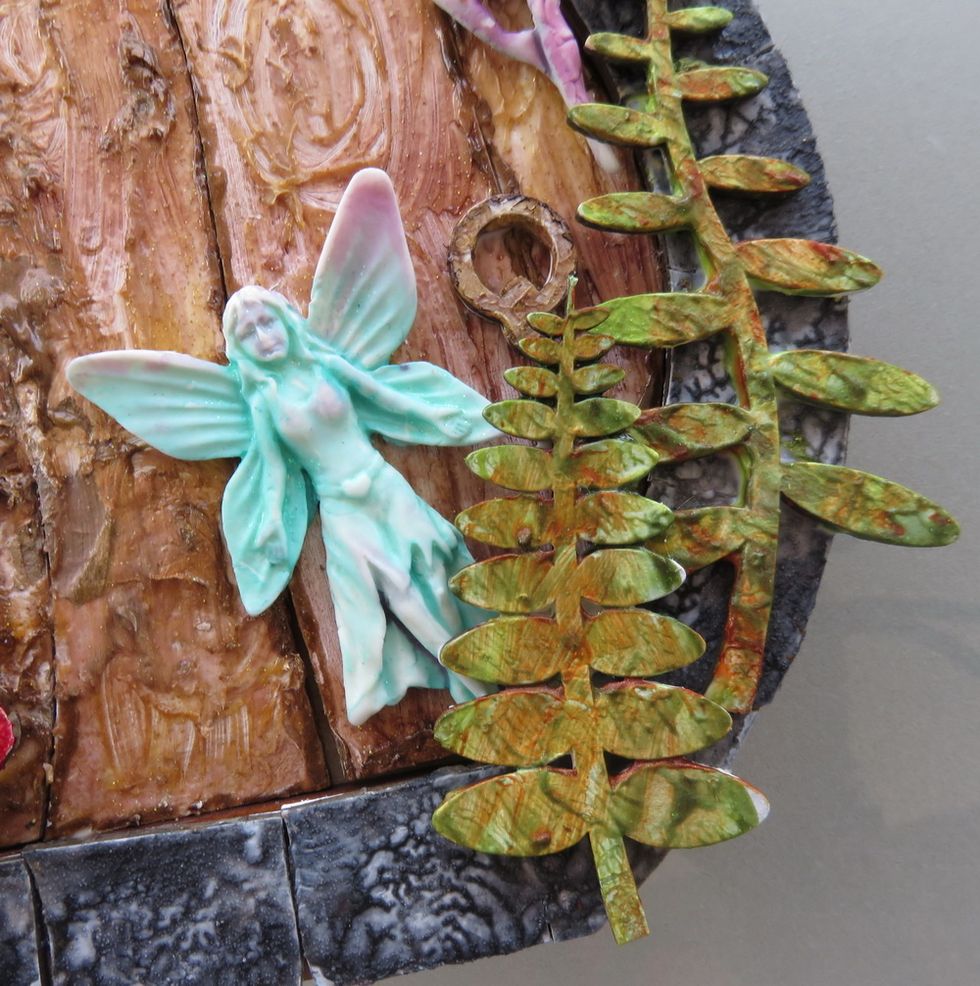
Glue colored fairies over the door as shown.
Here how it looks: stone effect, wood effect, painted leaves and a misted fairy all together.
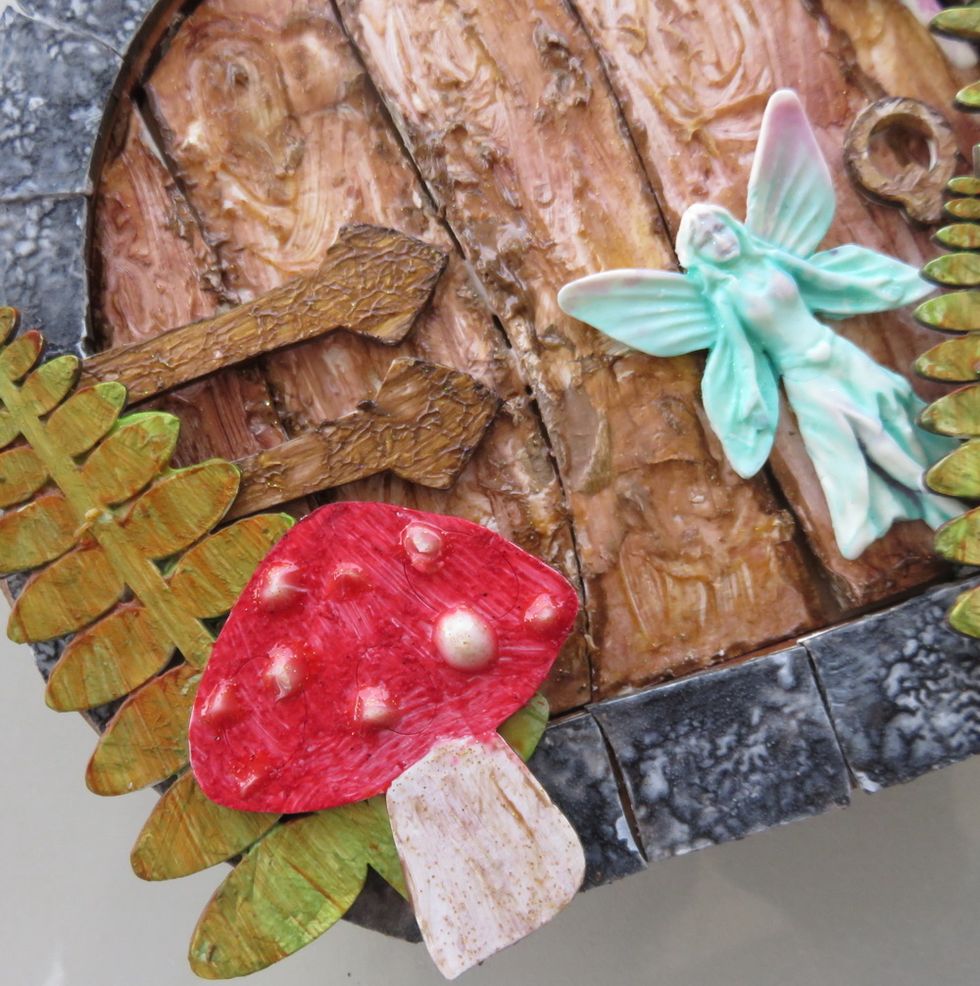
More close- up to the mushroom, the " metal" hinges and all other effects.
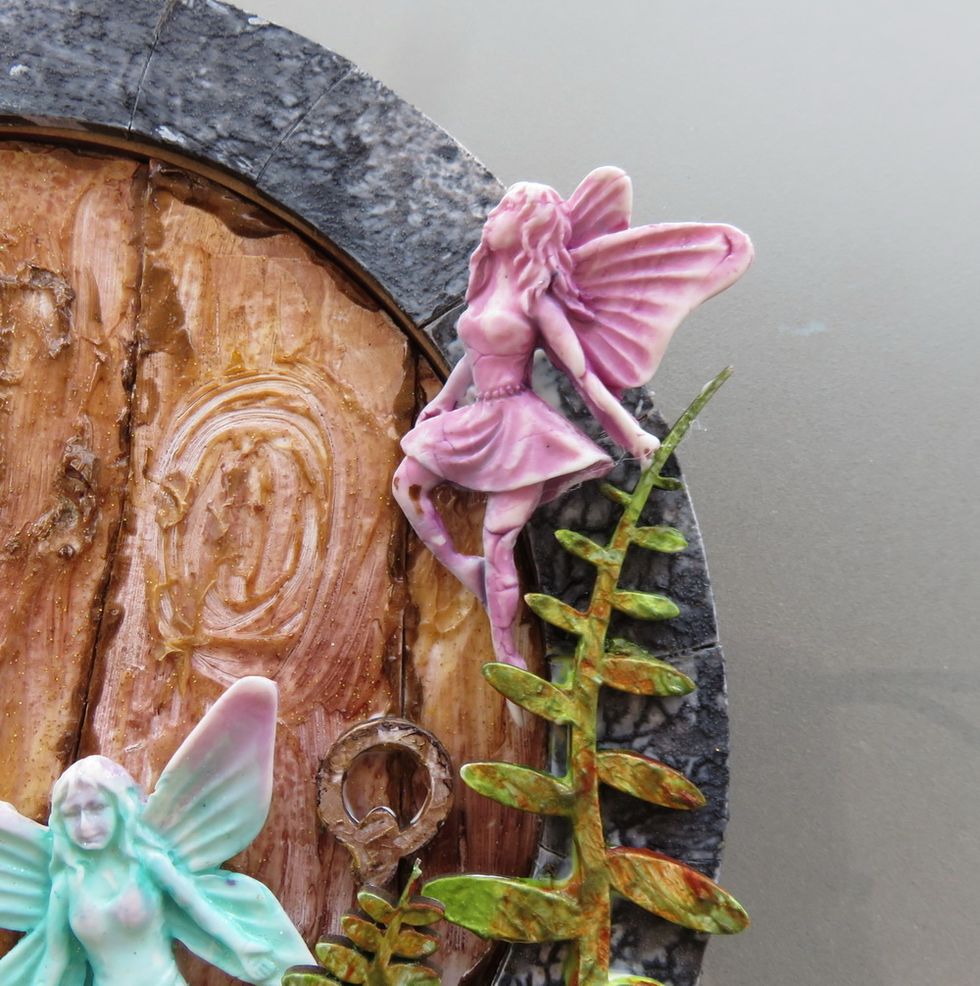
Purple fairy on the top of the door.

Side look to the texture and the depth of this project.