How to make a chinese staircase on your headphones
Make a Chinese Staircase on Your Headphones
670
STEPS
TOOLS
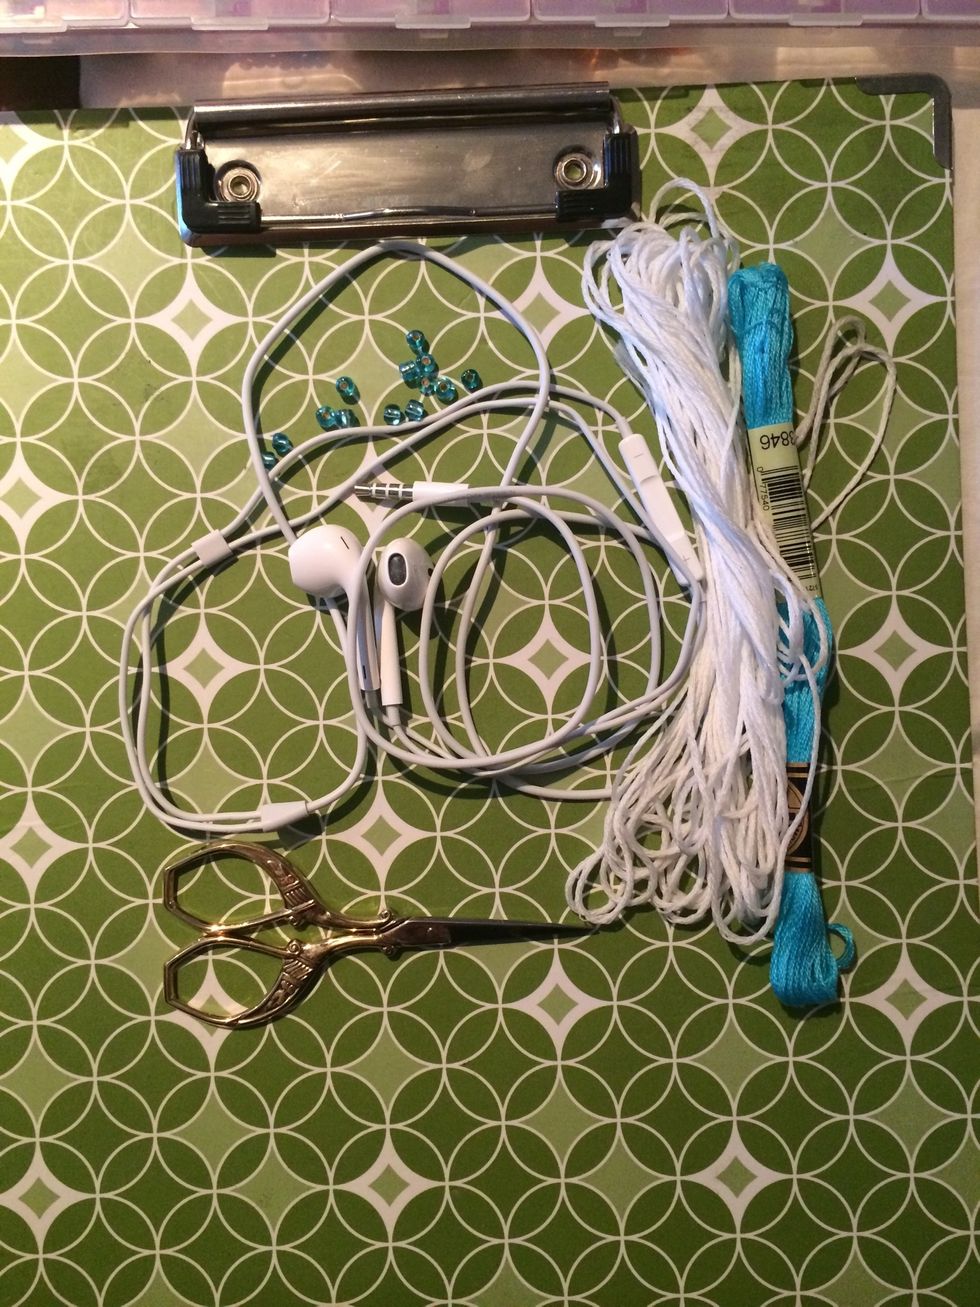
Here is all you will need. Your headphones, some floss, a few beads and a pair of scissors. Let's get started :D You can choose as many colors as you like.
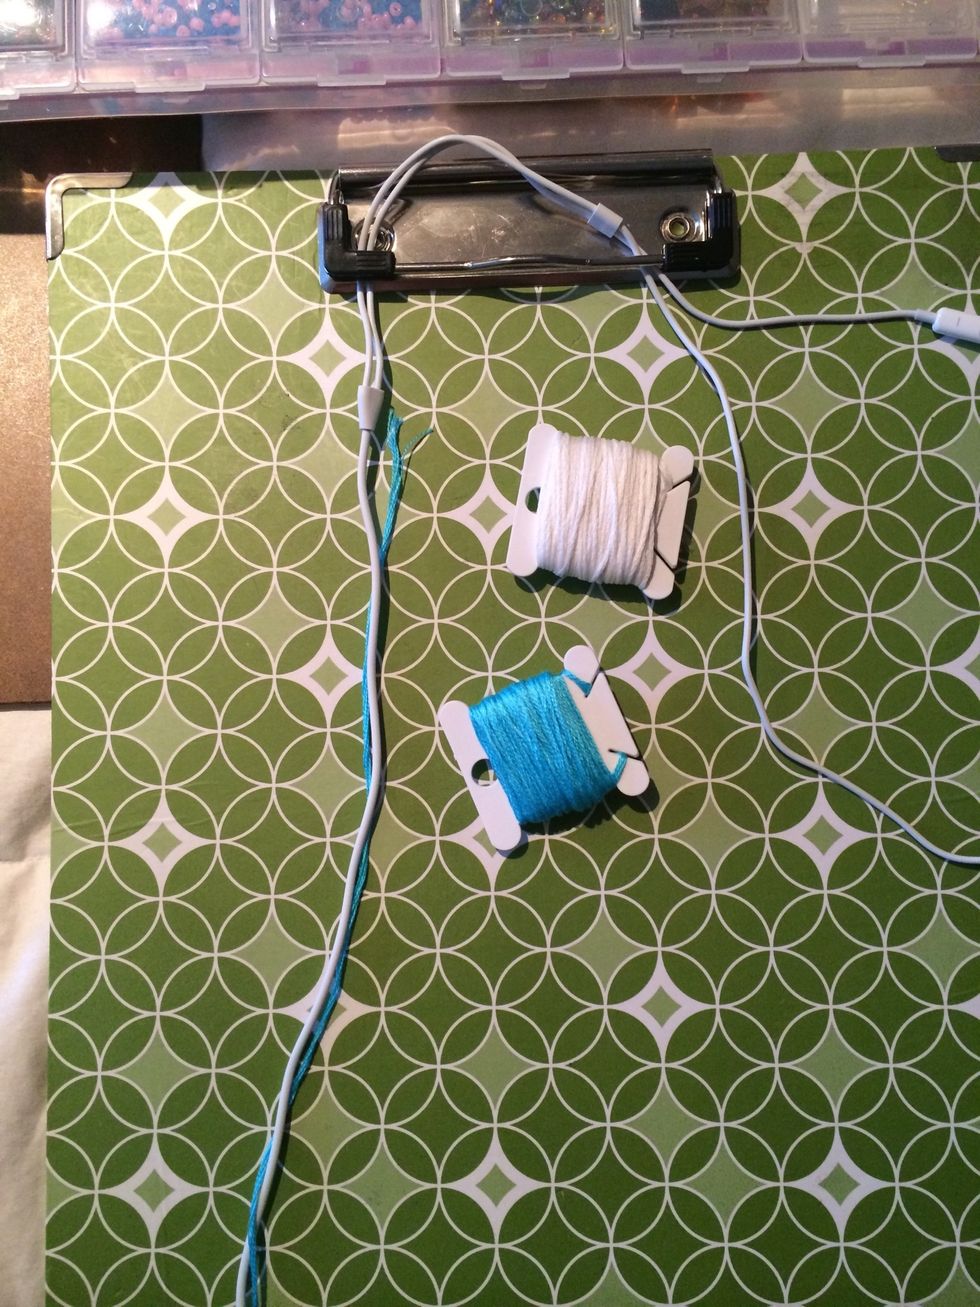
Cut one piece of string the length of your headphone cord. This will help with thickness of the Chinese Staircase. Put the rest of your floss around some bobbins, this will help prevent tangles.
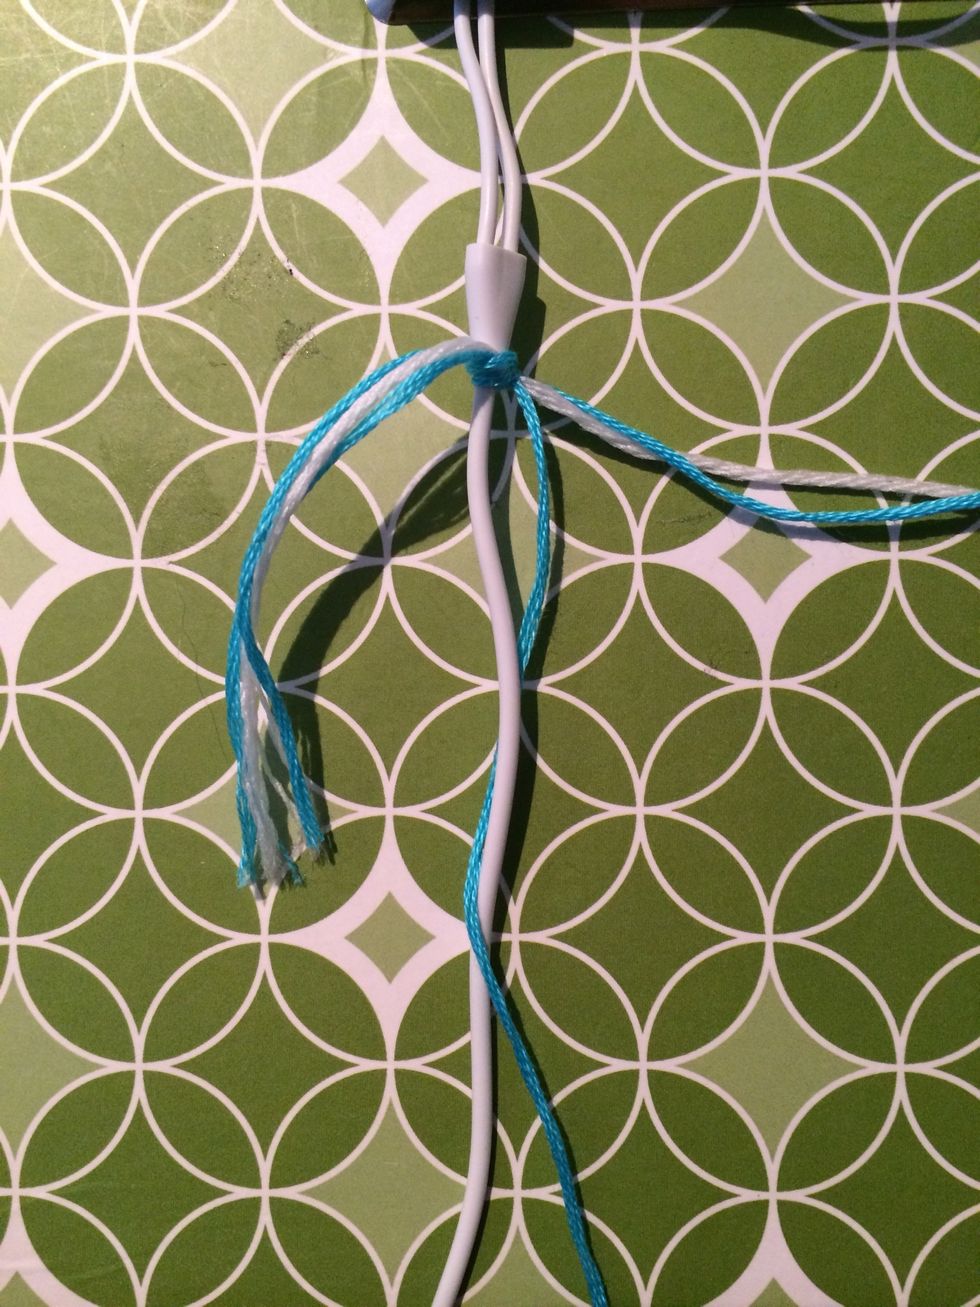
Take all of your string and make a knot at the very beginning of the cord. Leave a small tail. We will be knotting over this so it will hide the extra string and we won't have to use any glue.
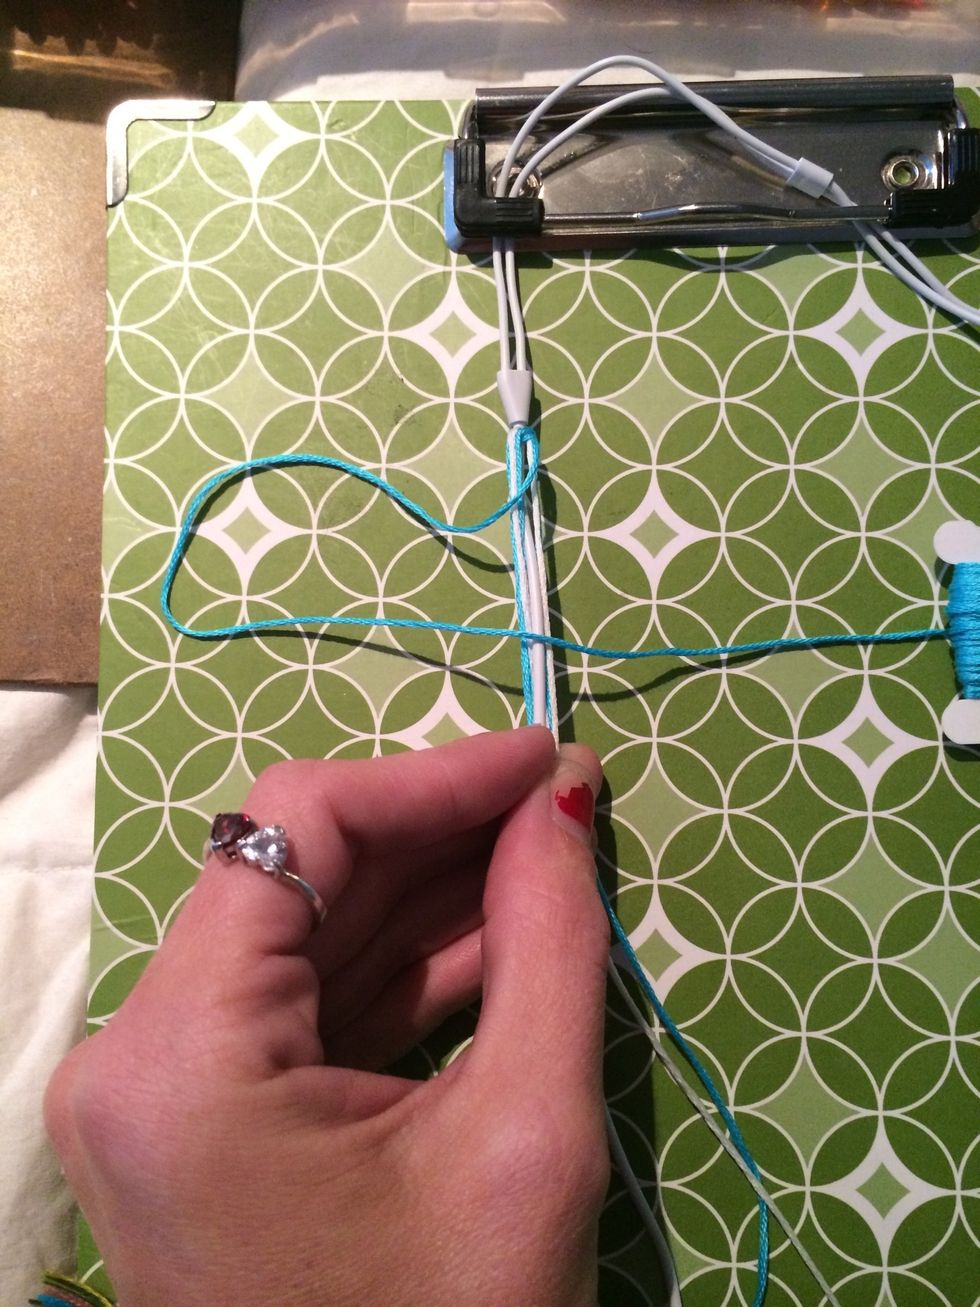
Take your first piece of string and make a 4.
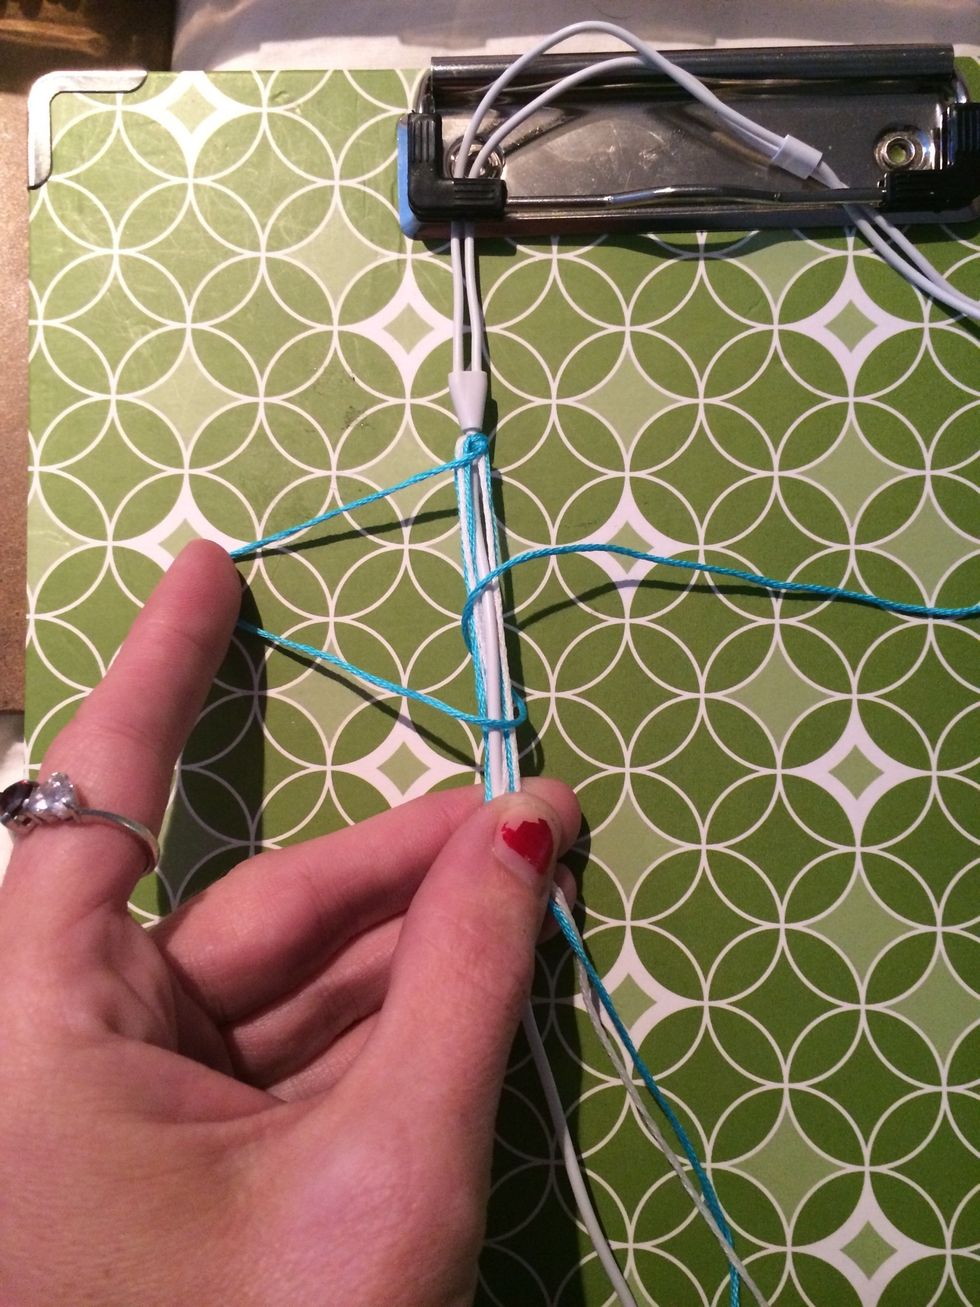
Put your bobbin under the cord and through the loop of the 4.
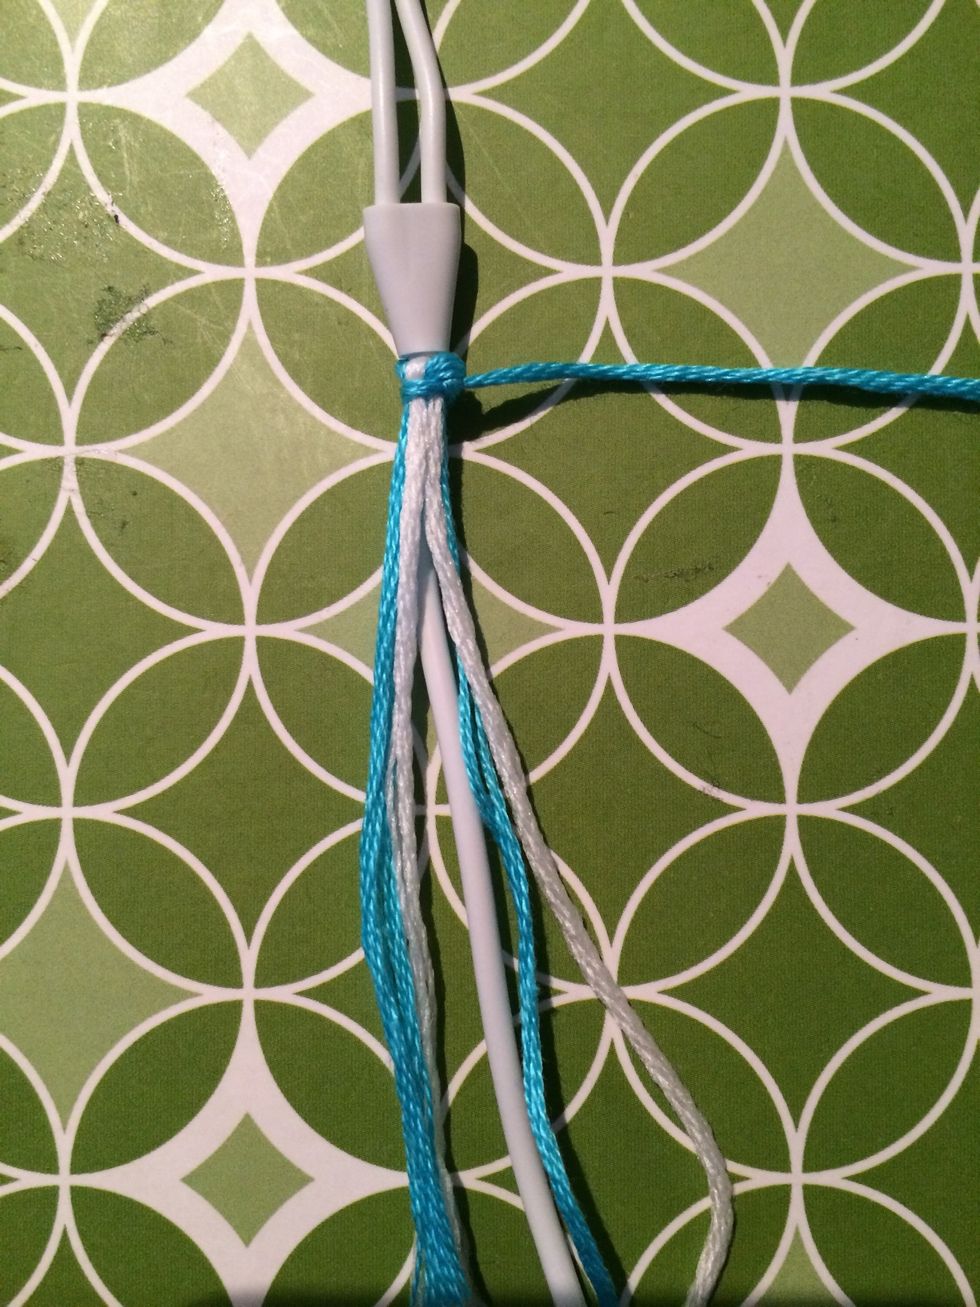
Pull the string all the way to the top. You won't be able to see the first few knots because of the first knot we made at the beginning.
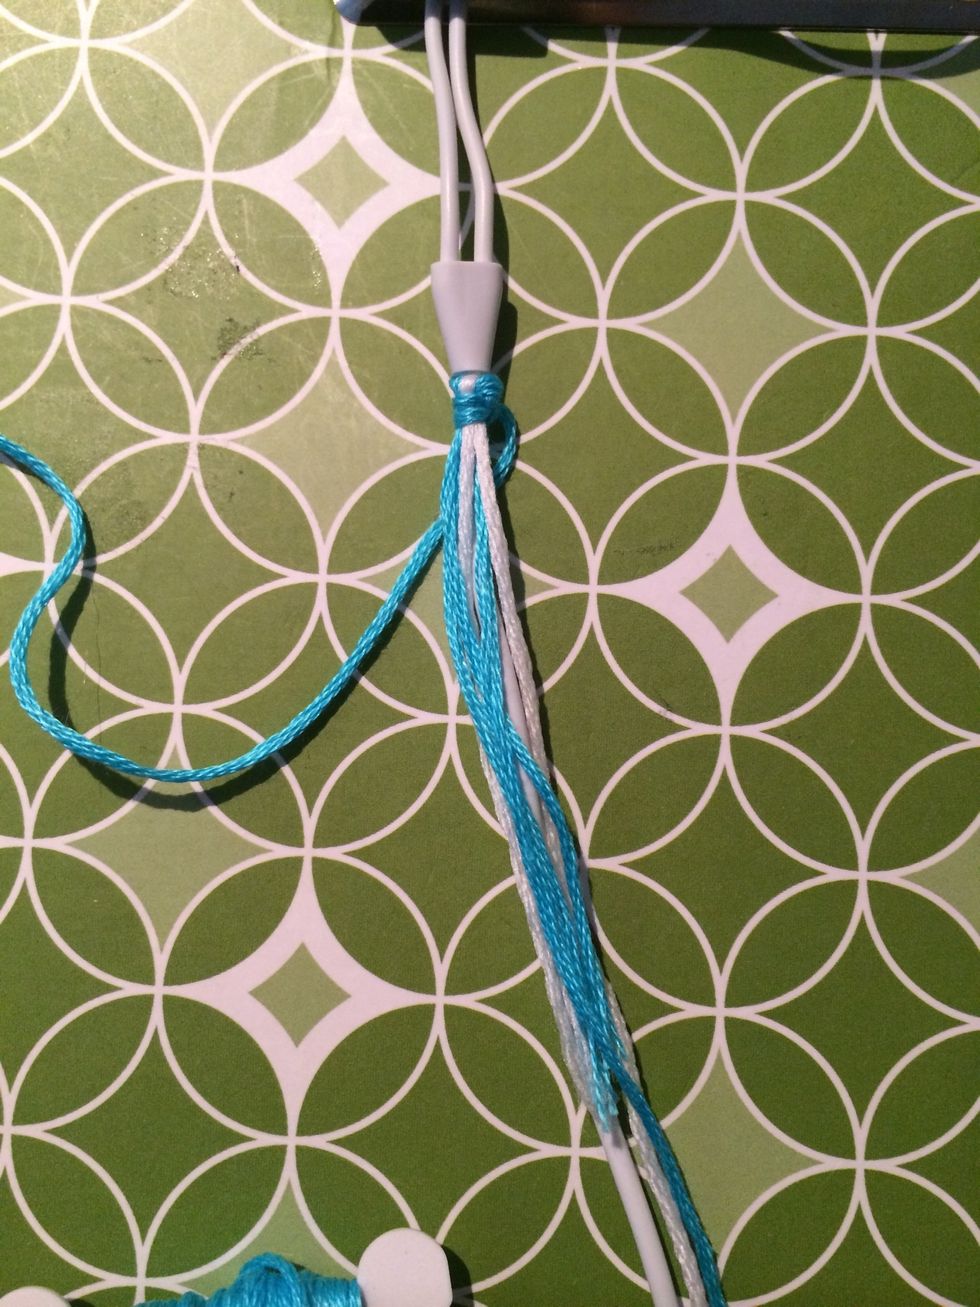
After my 2nd knot my string was all the way to the right so it's time to put your string under the cord and to the left. And make some more knots.
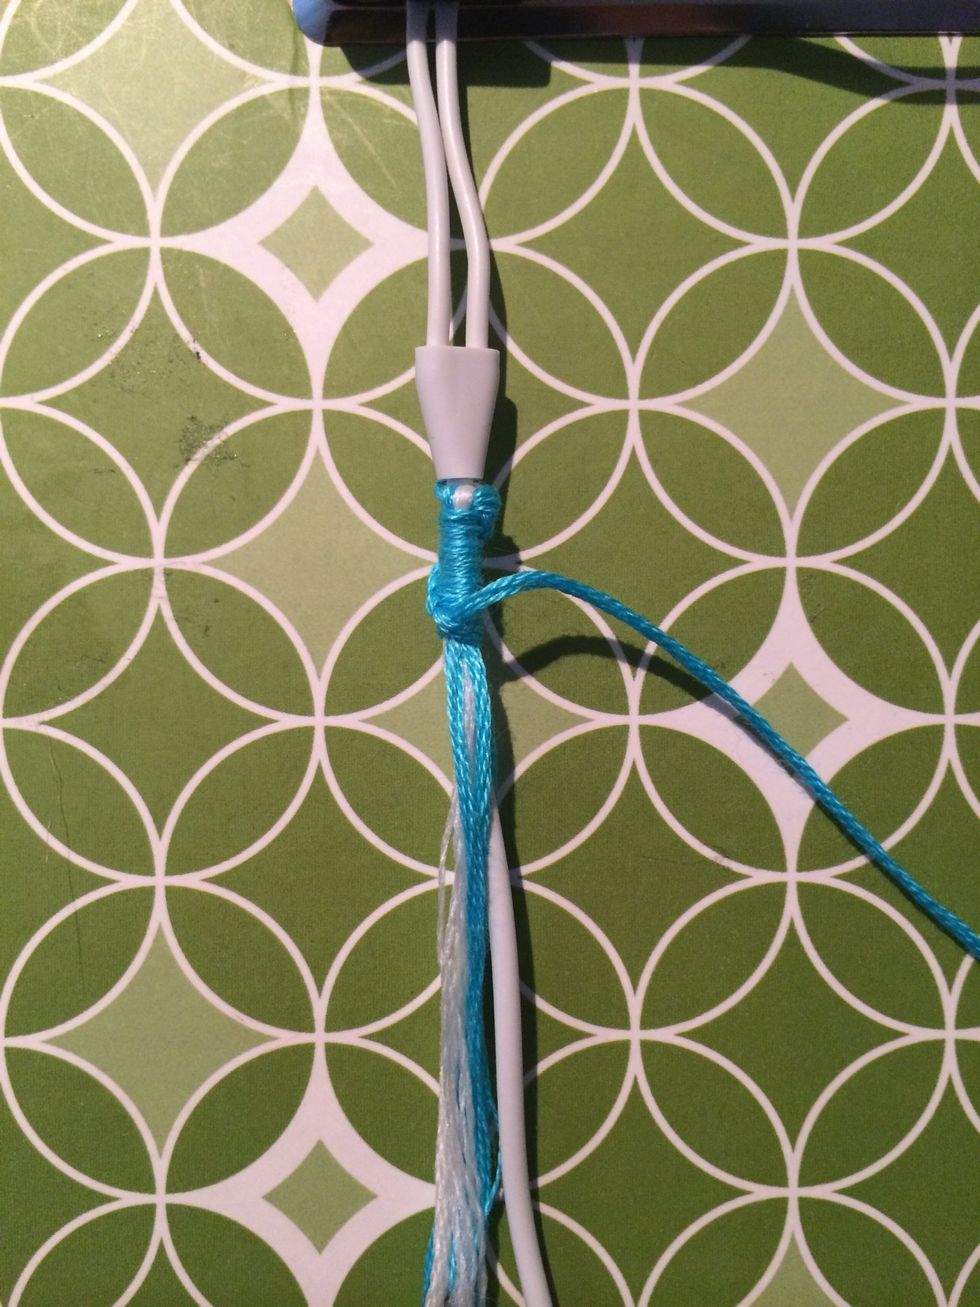
As you are making your first sets of knots you will want to make sure you are knotting over all of the string. So this is what it looks like after about 8-10 knots.
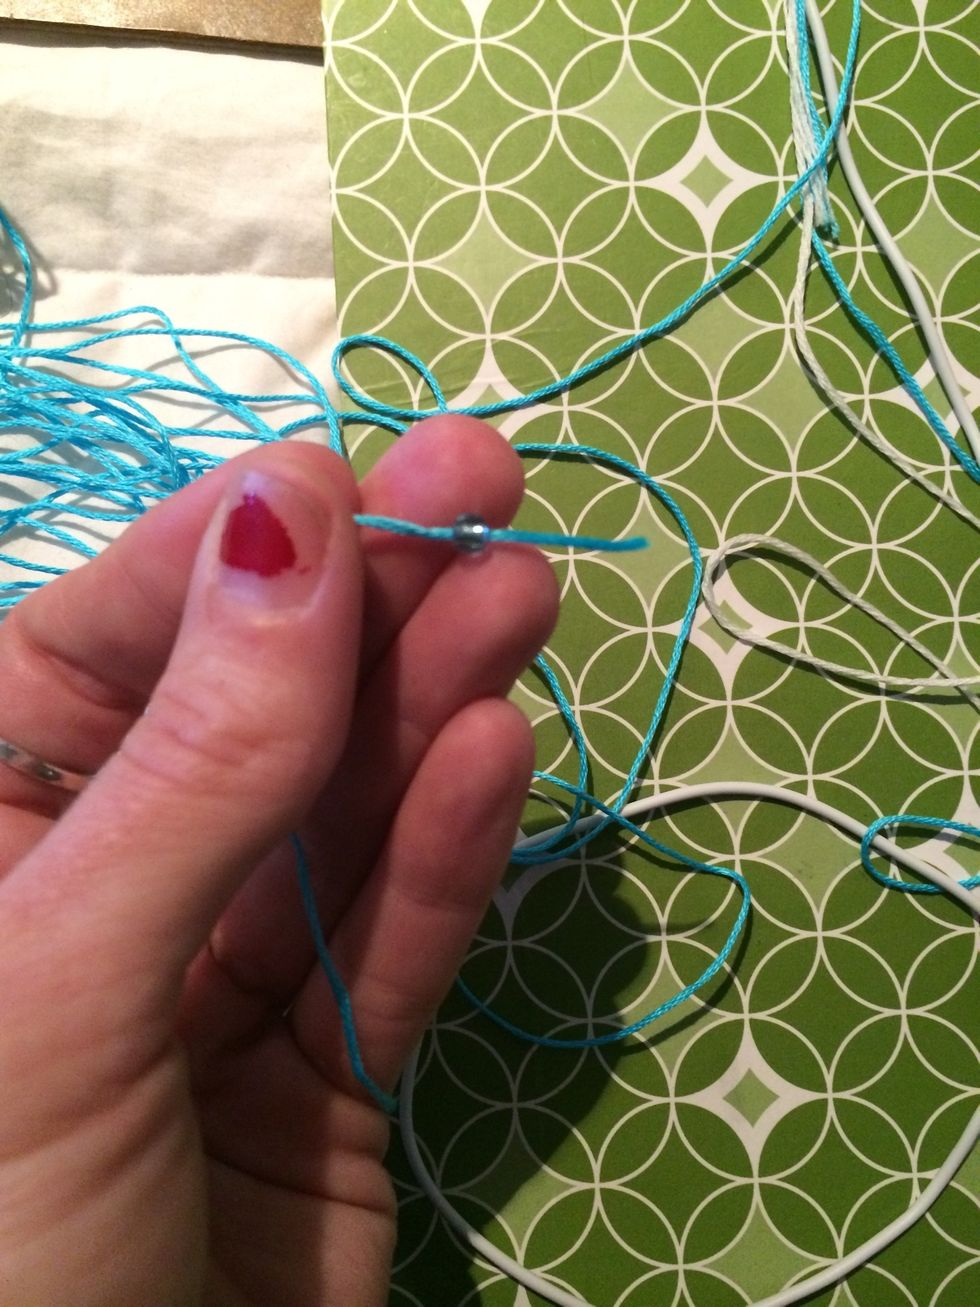
Now it's time to add a bead if you would like. I had to unwind my string from the bobbin to put the bead on but that's ok.
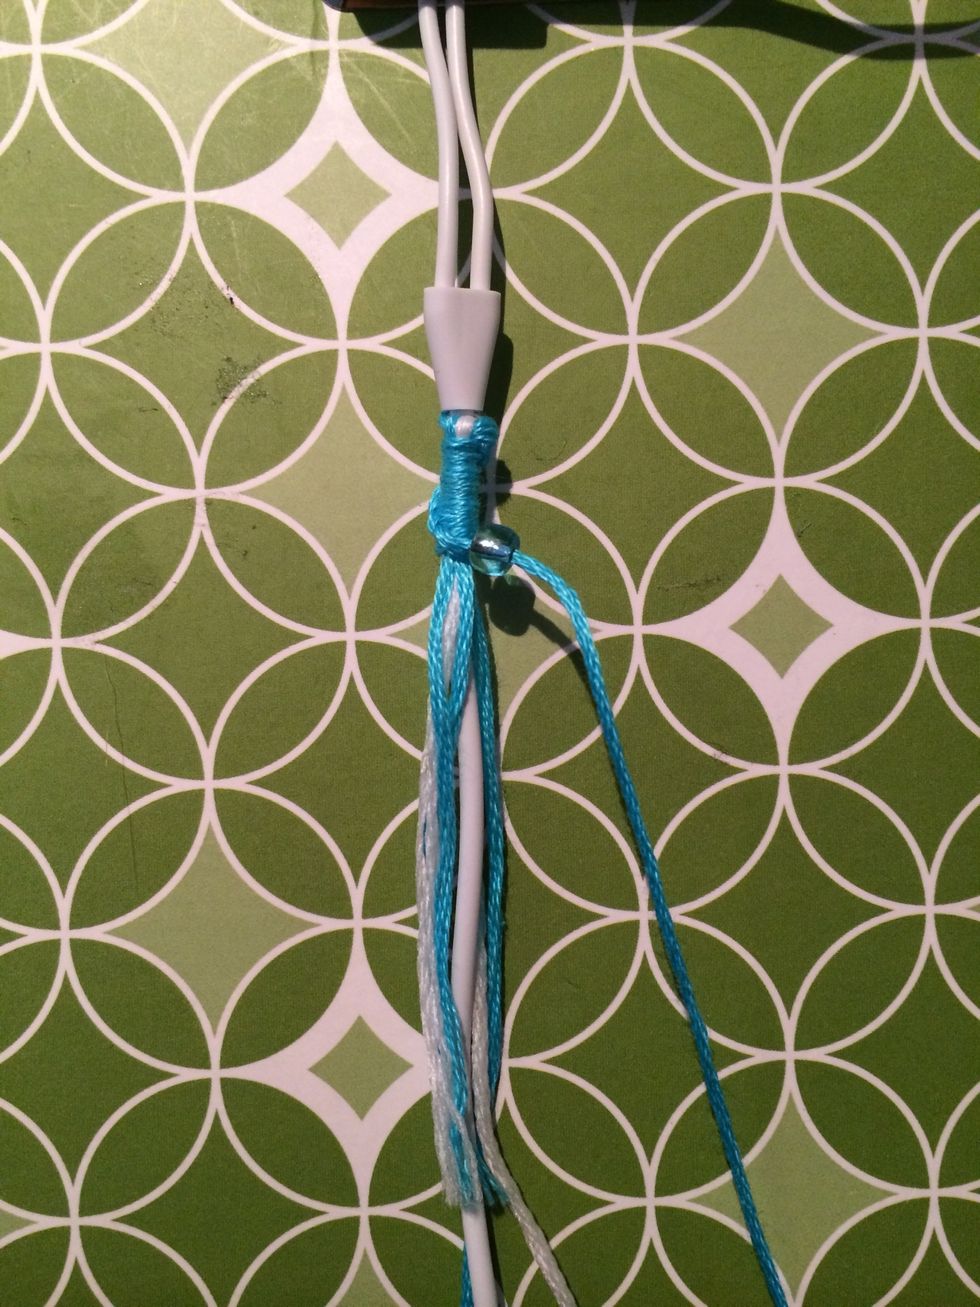
Here is the bead all the to the top. Now it's time to keep making knots and continue our Chinese Staircase.
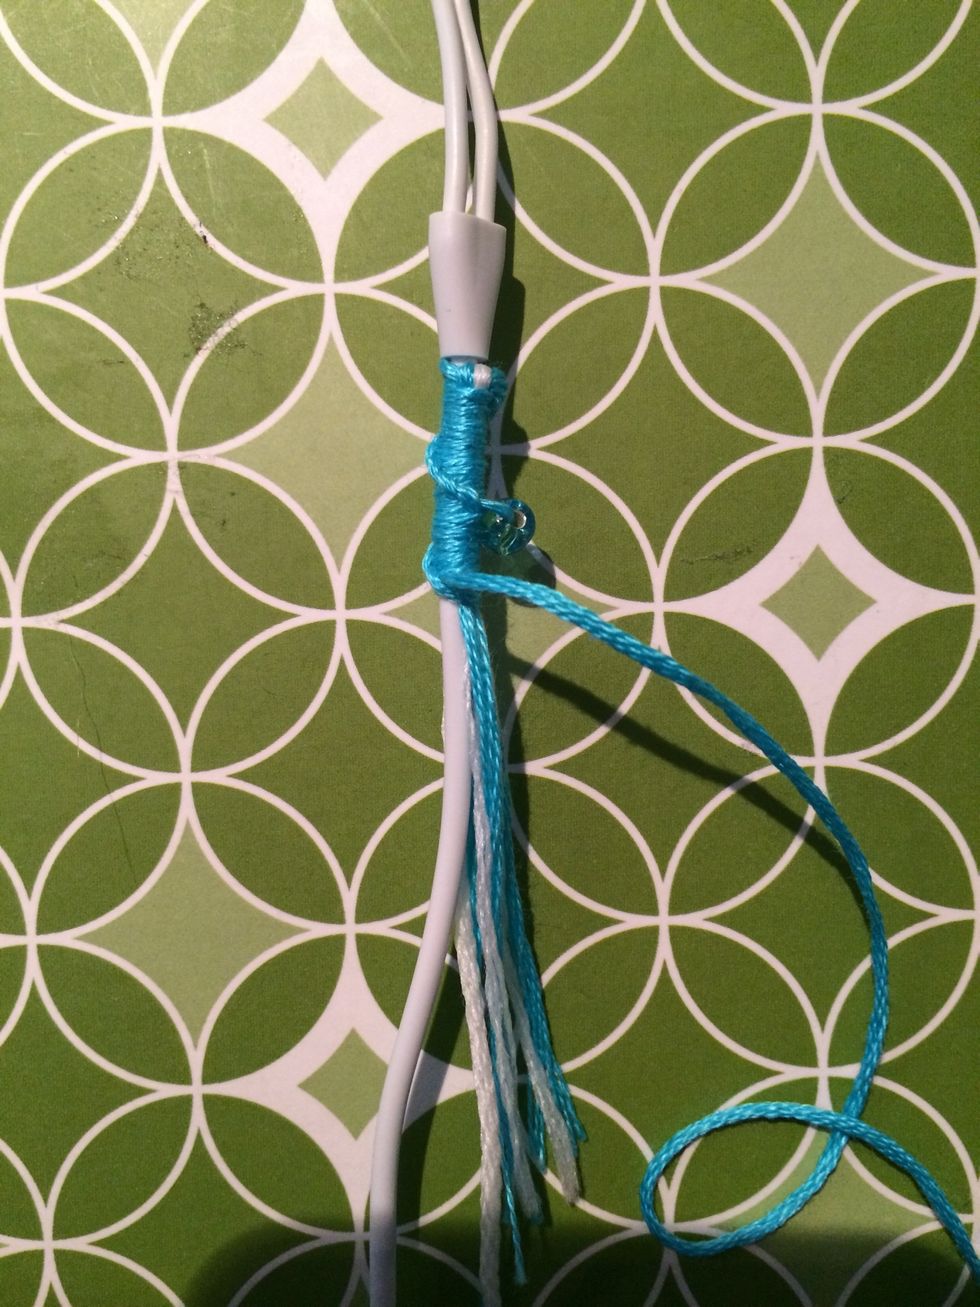
A few more knots and it's starting to look like a staircase.
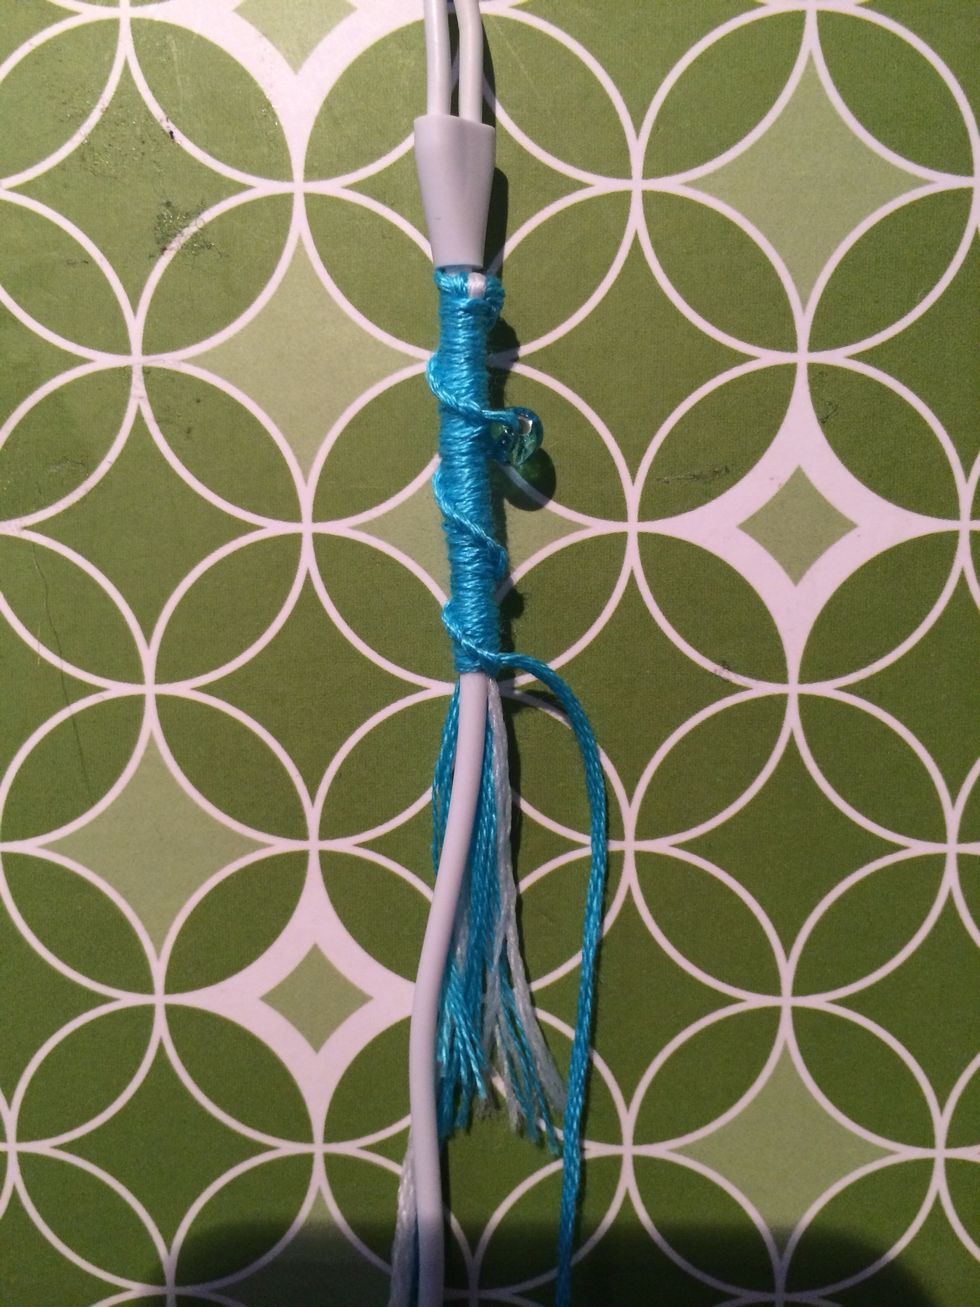
About an inch of knots and it's time to change to the next color. You can do this whenever you like.
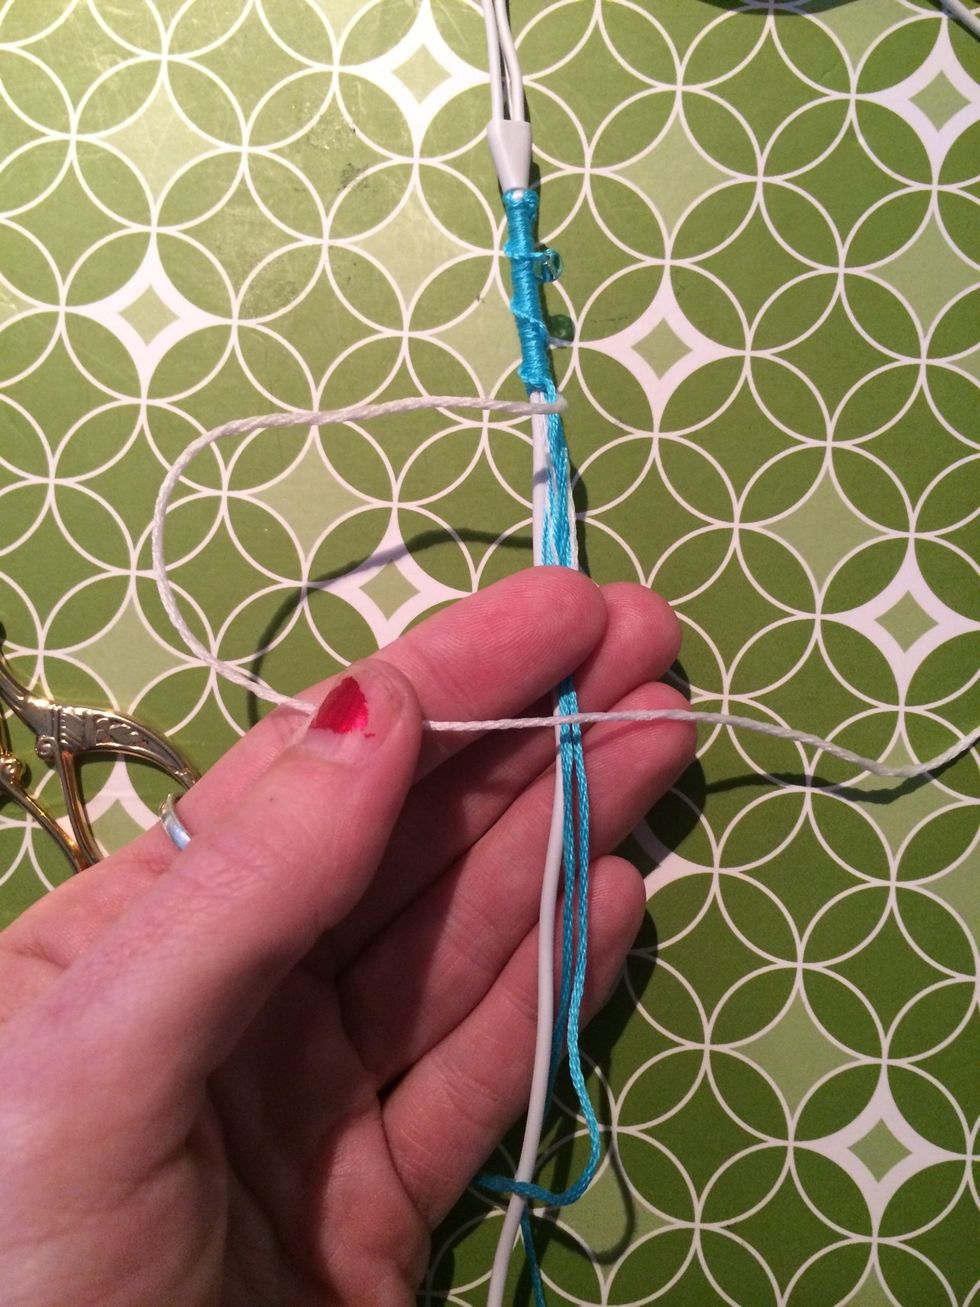
Make a 4 with your next color. And keep going. In this one I am using glow-in-the-dark string as my friend requested.
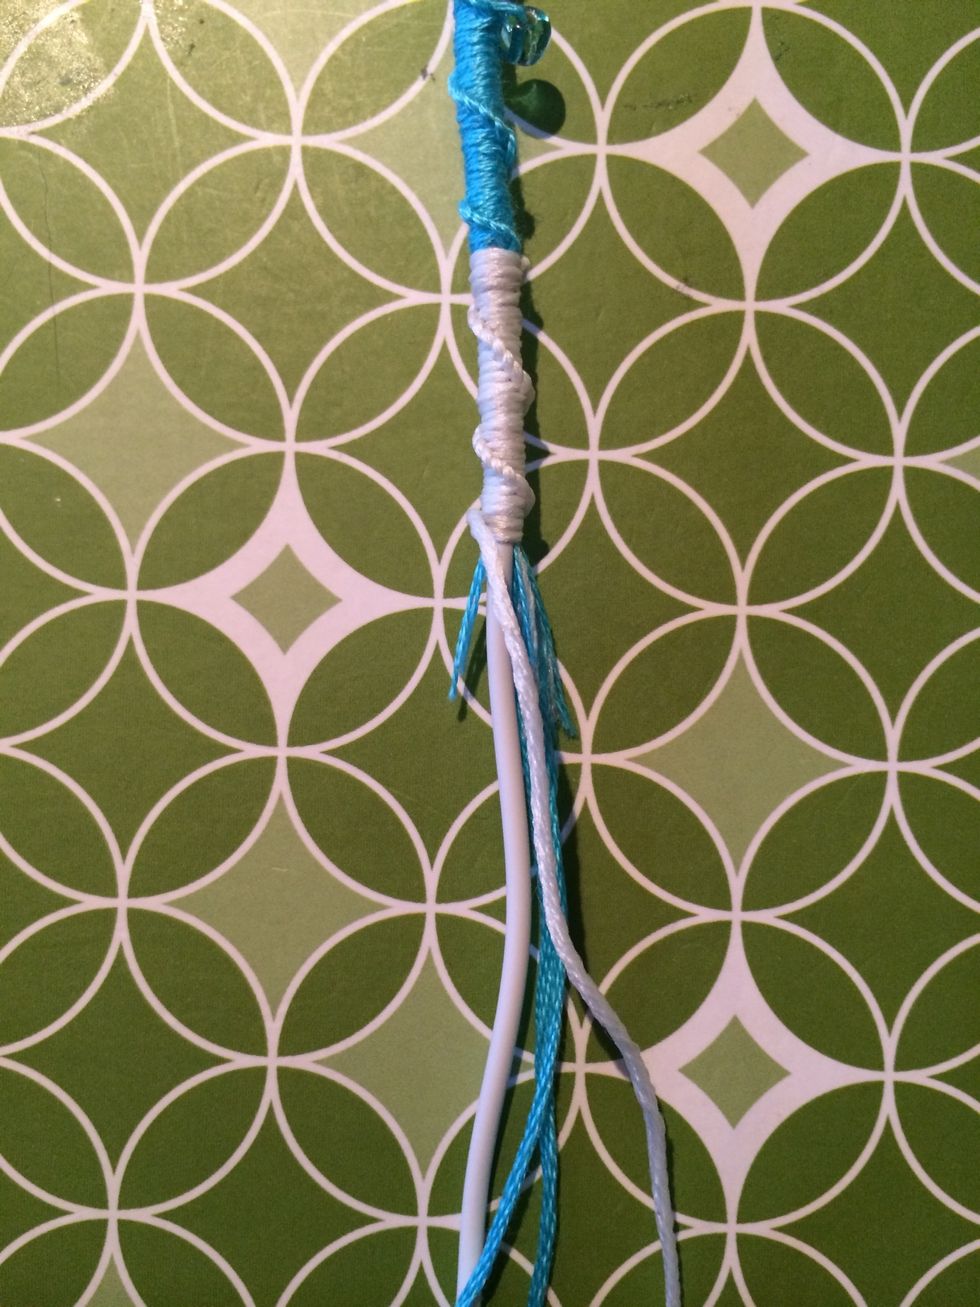
With another set done it's starting to look really nice. I am also reaching the end of my tail. You want to be careful and make sure you knot over all the strings so we hide what we don't want to see.
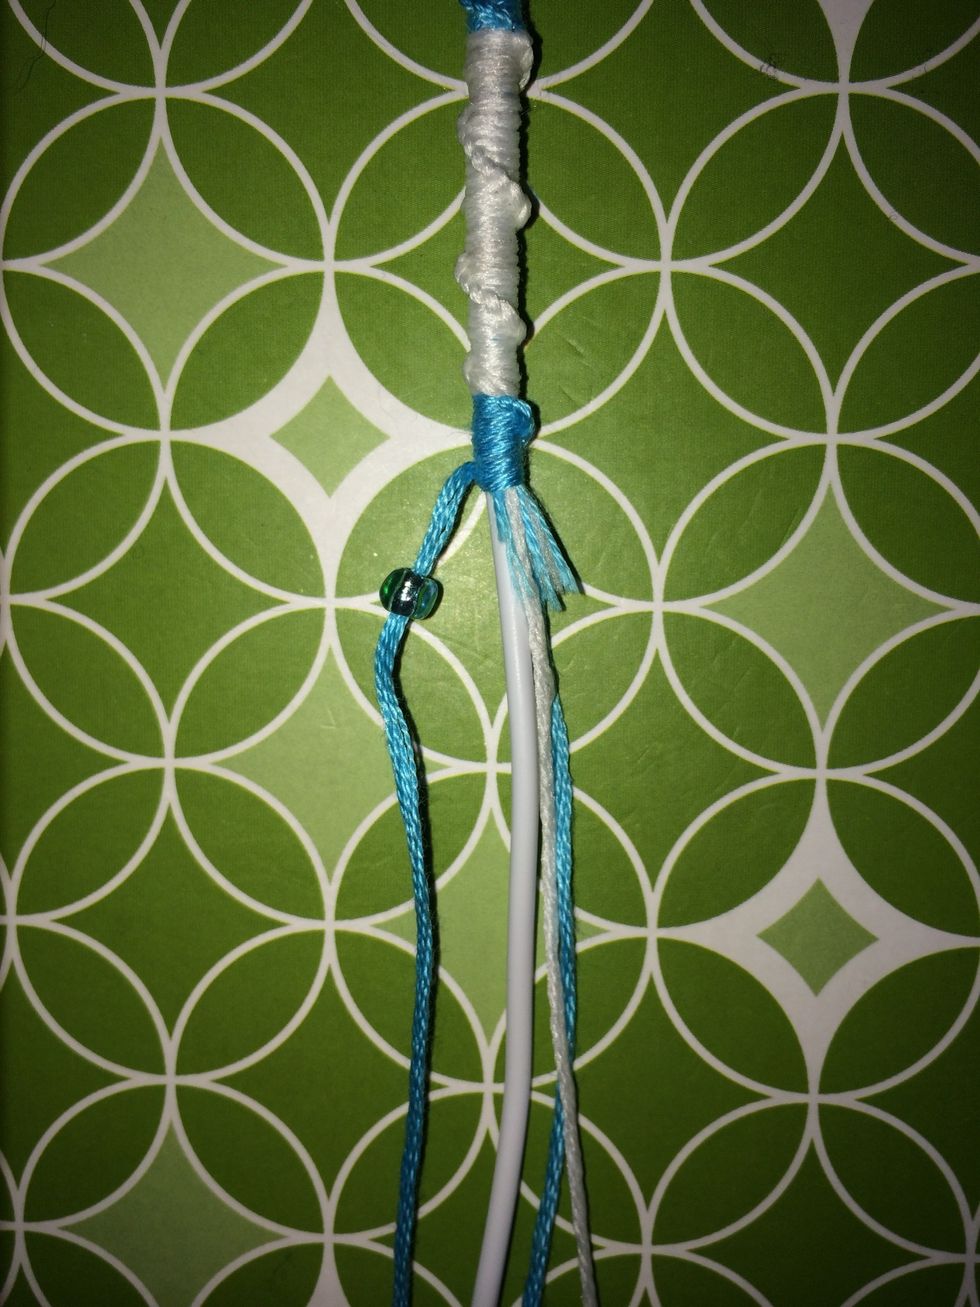
Let's add another bead :D
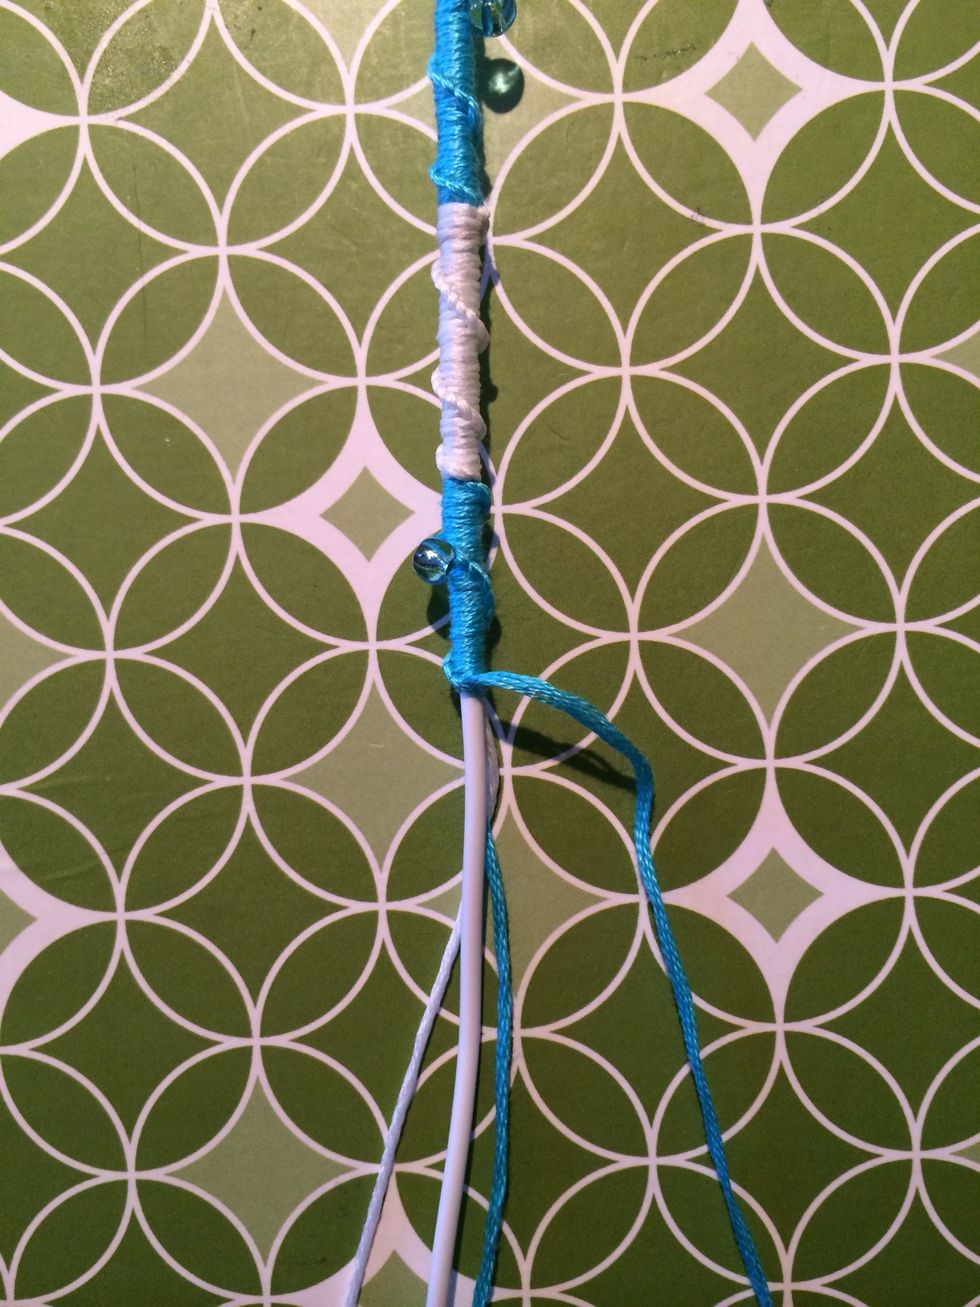
Now that the tail strings are all covered this will move a quicker.
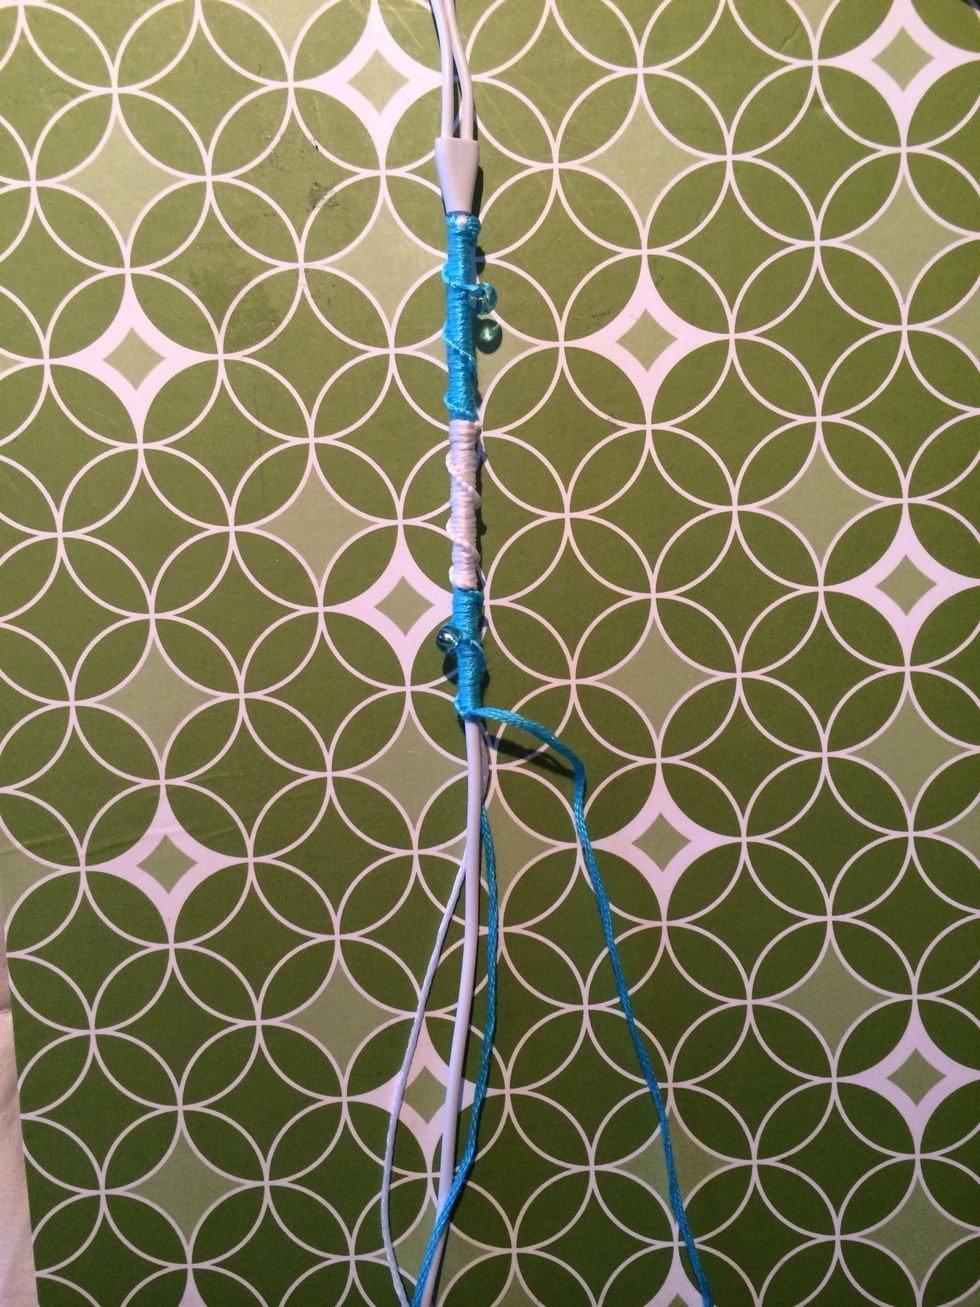
Here is a farther away picture to see how far along it is. Let's keep making knots and alternating colors and beads as you go along.
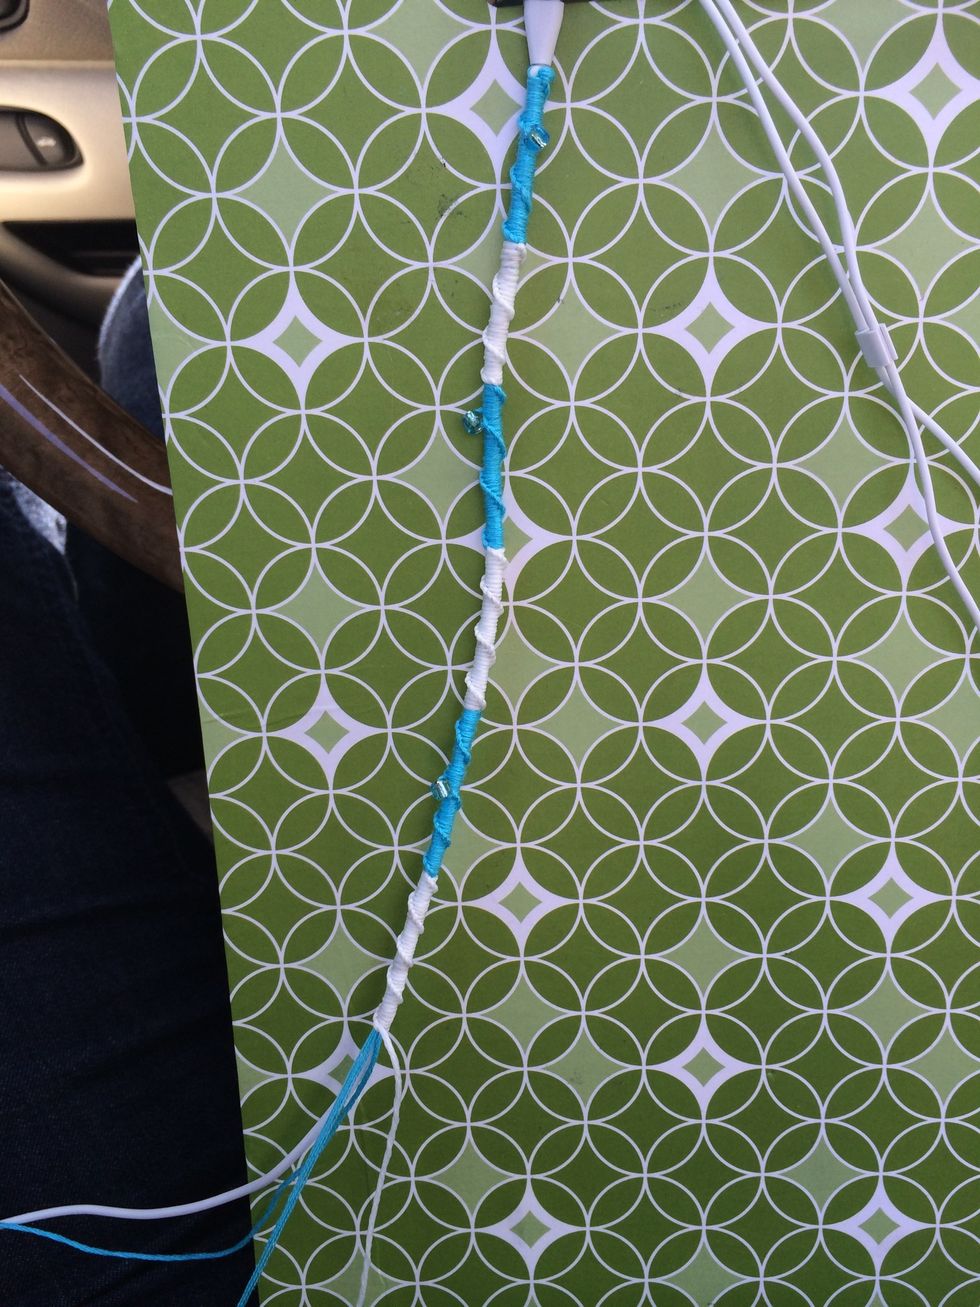
Two more white sections and a blue. Still knotting on, lol
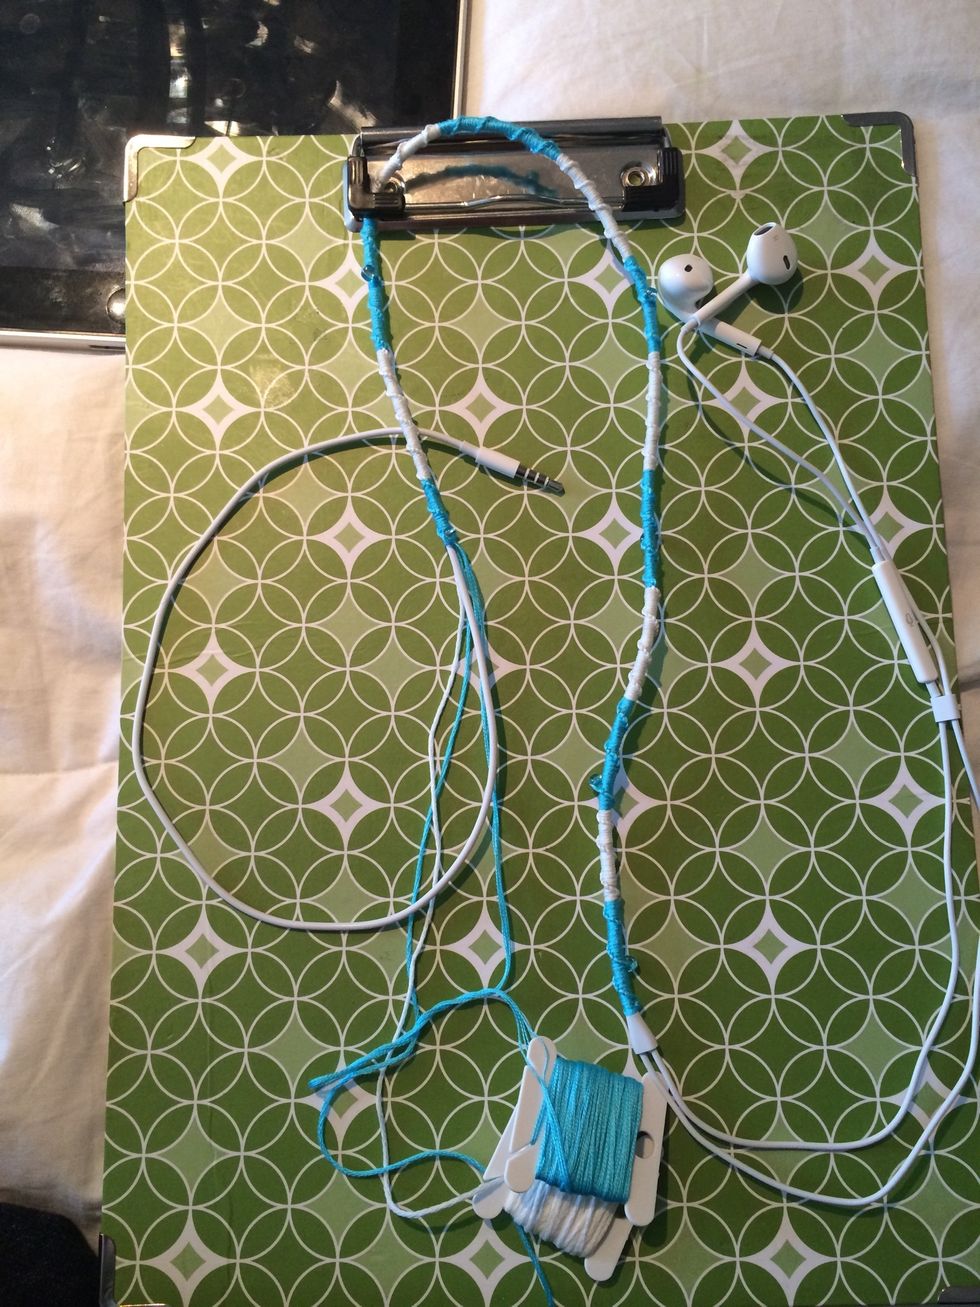
I am now about 3/4 of the way done only a little bit longer to go.
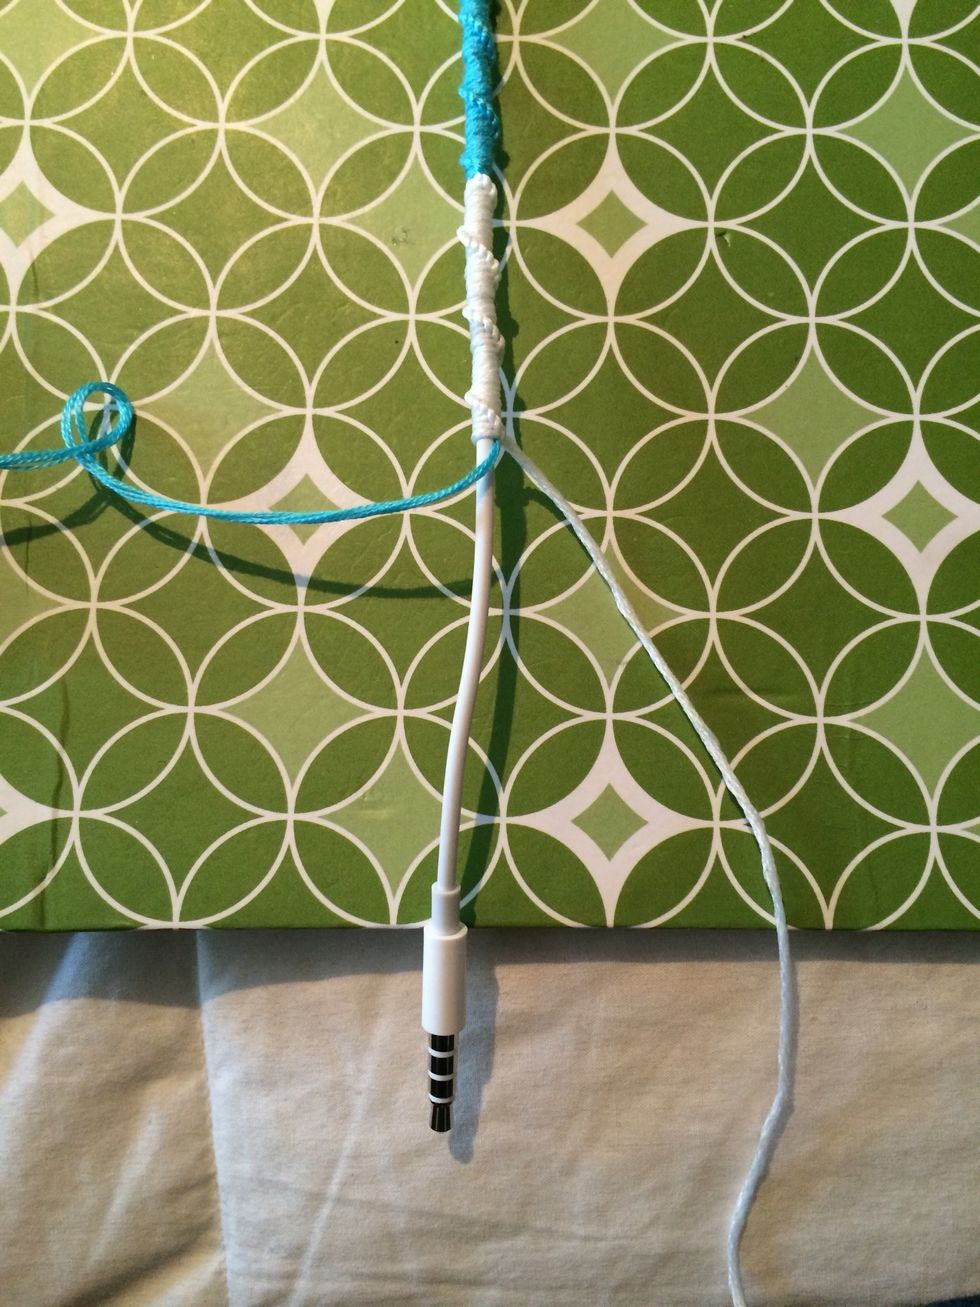
I am finally reaching the end. I am going to do one last set of blue.
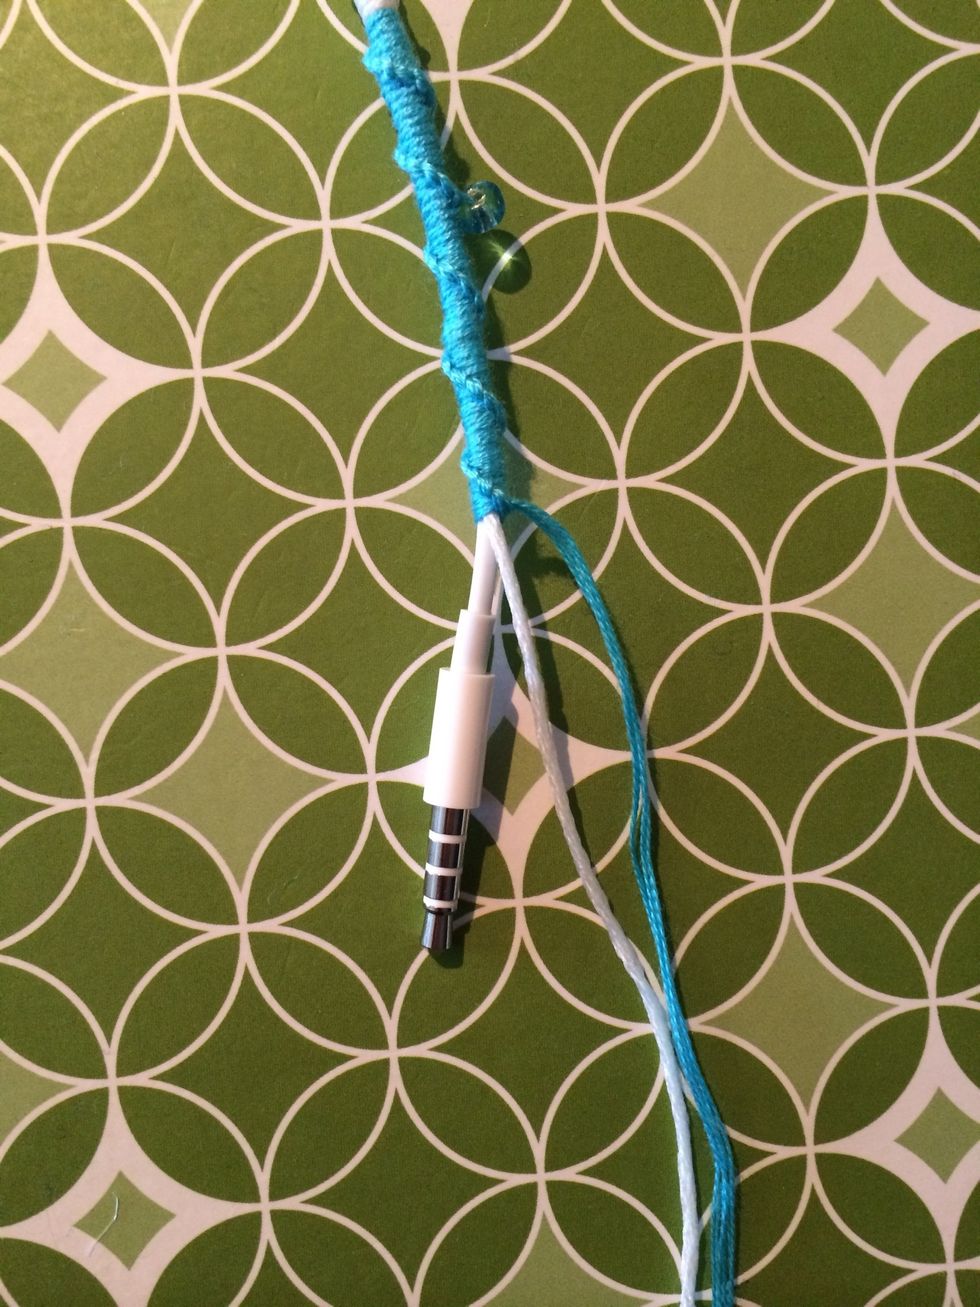
Ok I think I am done now, lol. Let's make a few knots with all your string to secure the ending.
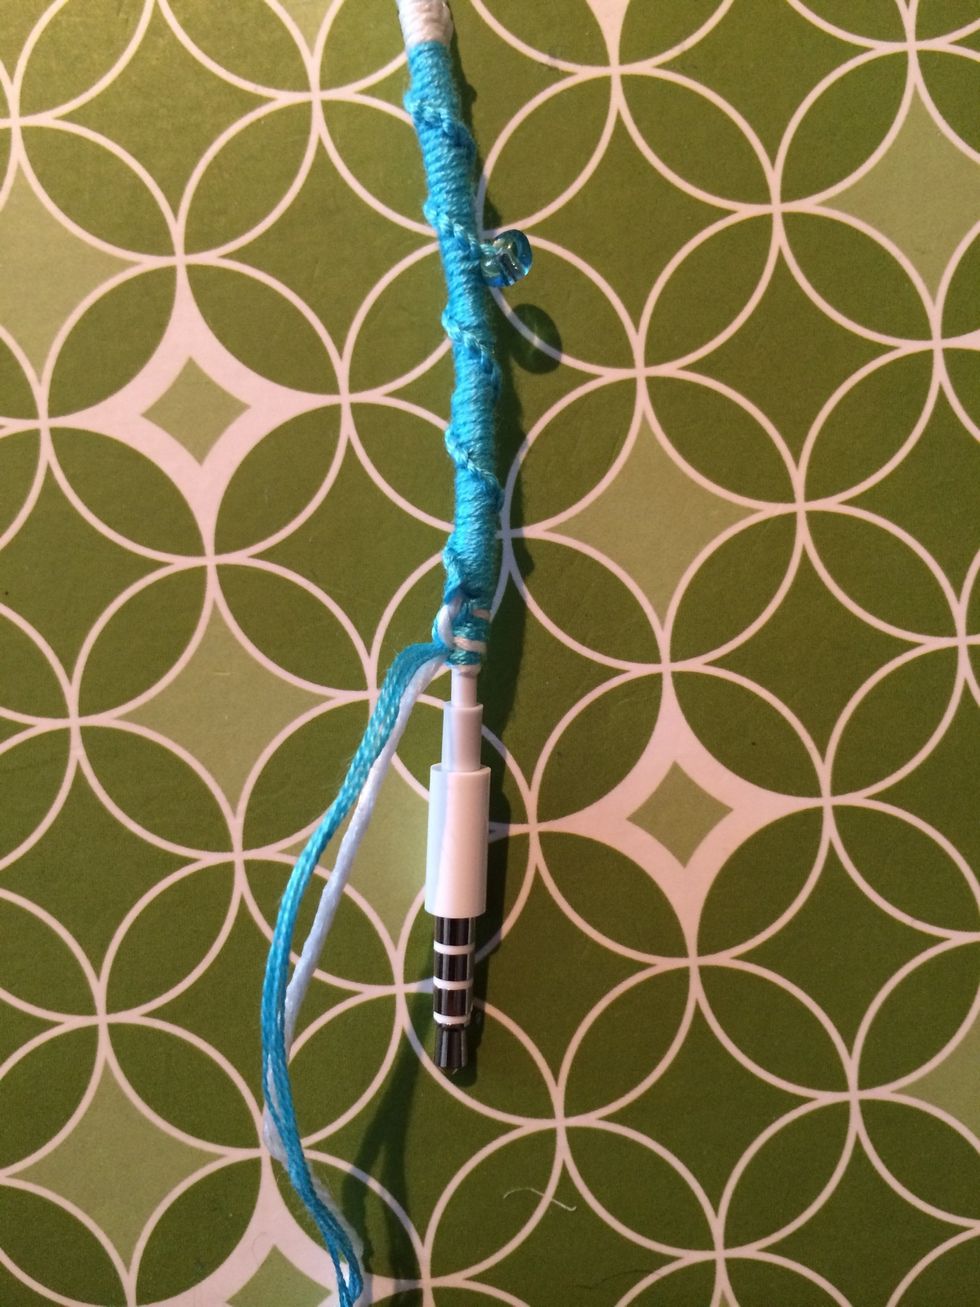
After a few ending knots let's cut the extra string off and add a little bit if glue to finish this off.
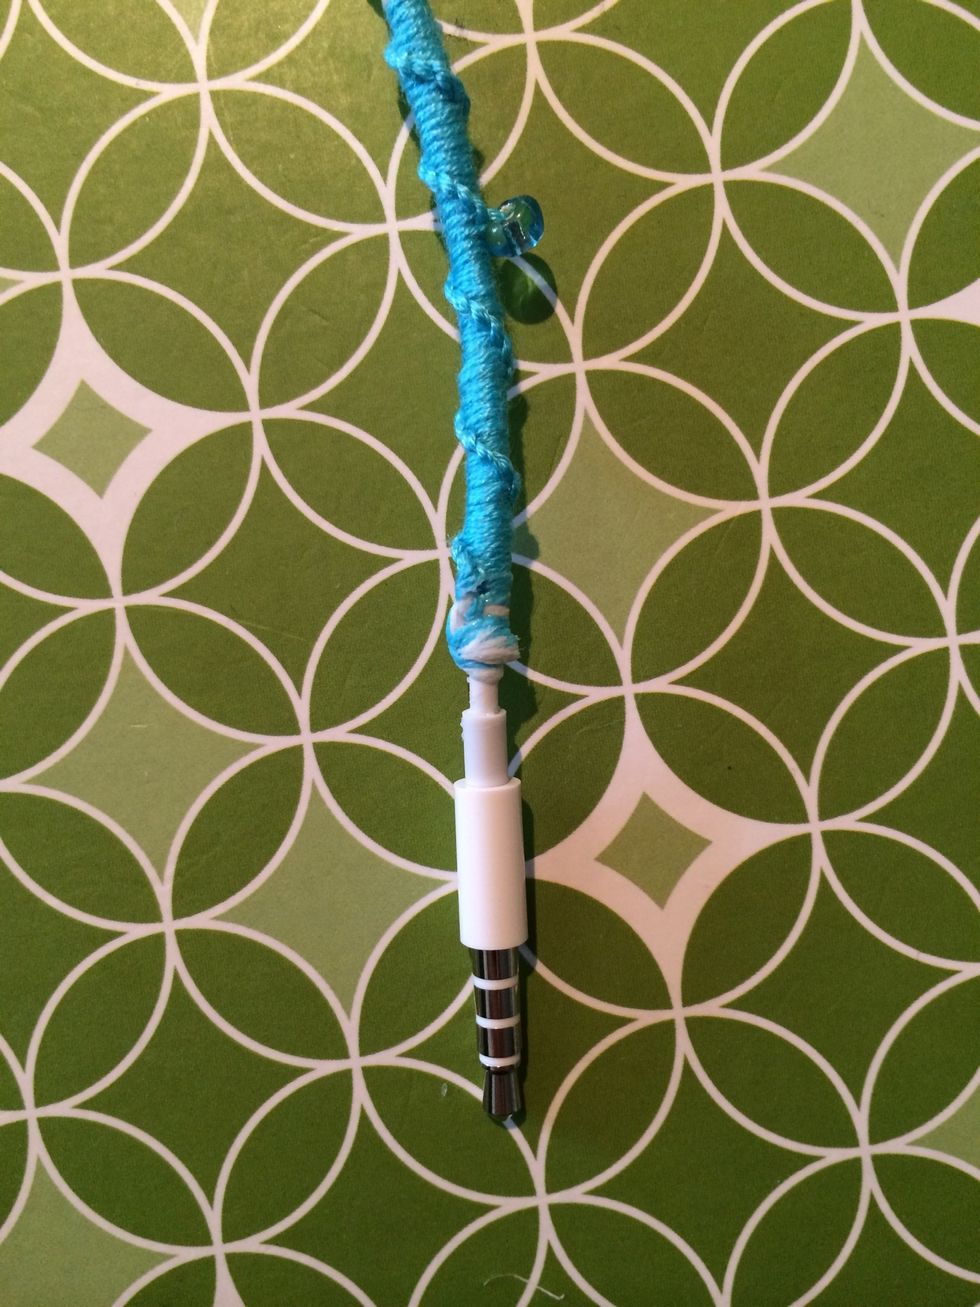
Depending on the glue you used (I did Tacky glue) it shouldn't take that long to dry.
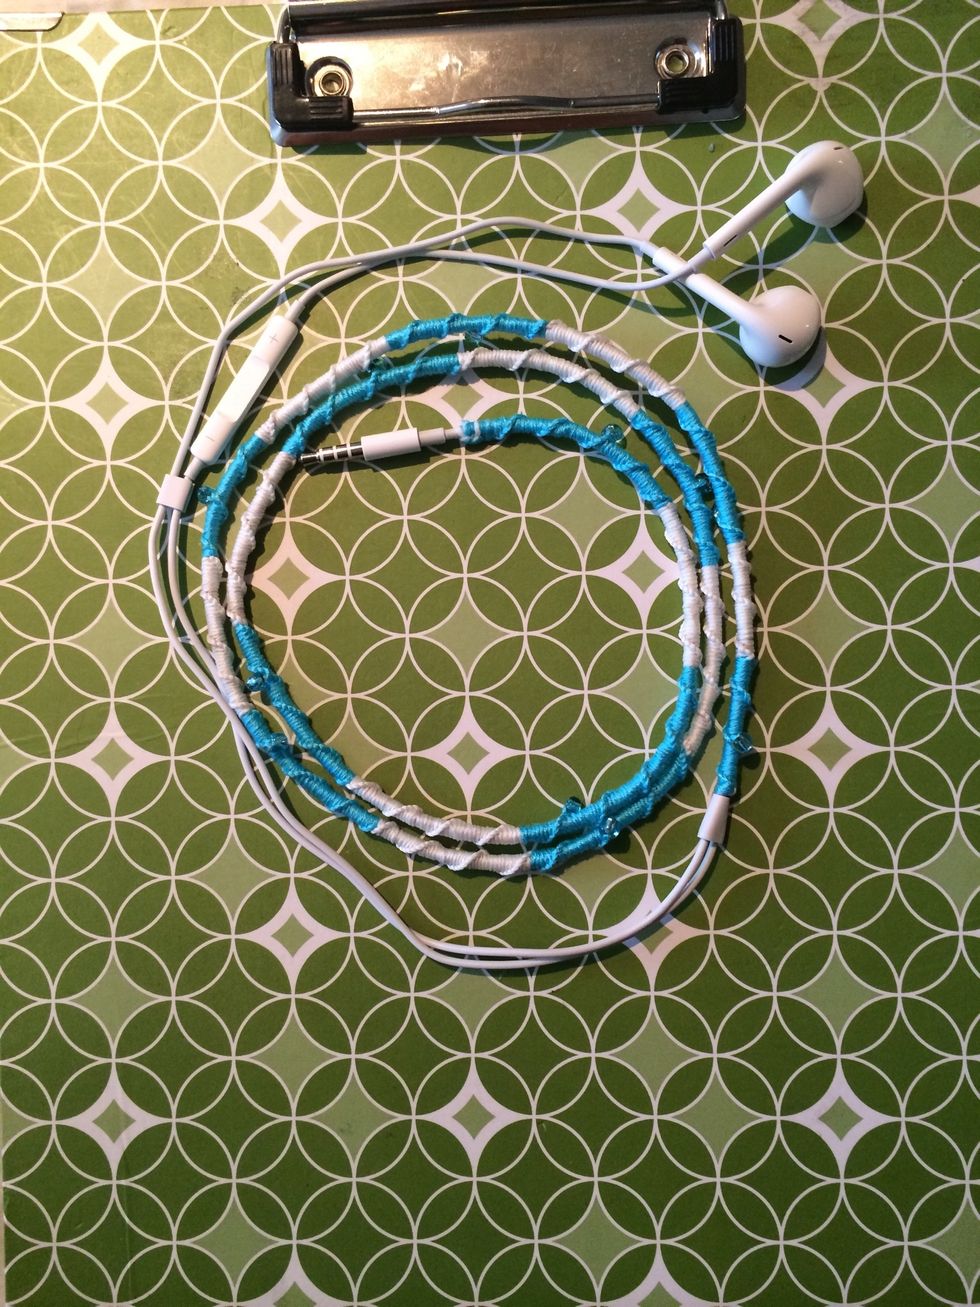
And there you have it everyone. Sprucing up your headphones with a few beads and a little floss.
I hope you all enjoyed this guide. Thanks for liking my guides, following me and making request. See you again soon :D
- Headphones or charger cord
- Floss/string
- Scissors
- And beads if you like
Tiffany Dahl
I am a mother of 3 and a crafter by nature. I love making bracelets, earrings and working this soda tabs!
Bay Area, California
The Conversation (0)
Sign Up