The Conversation (0)
Sign Up

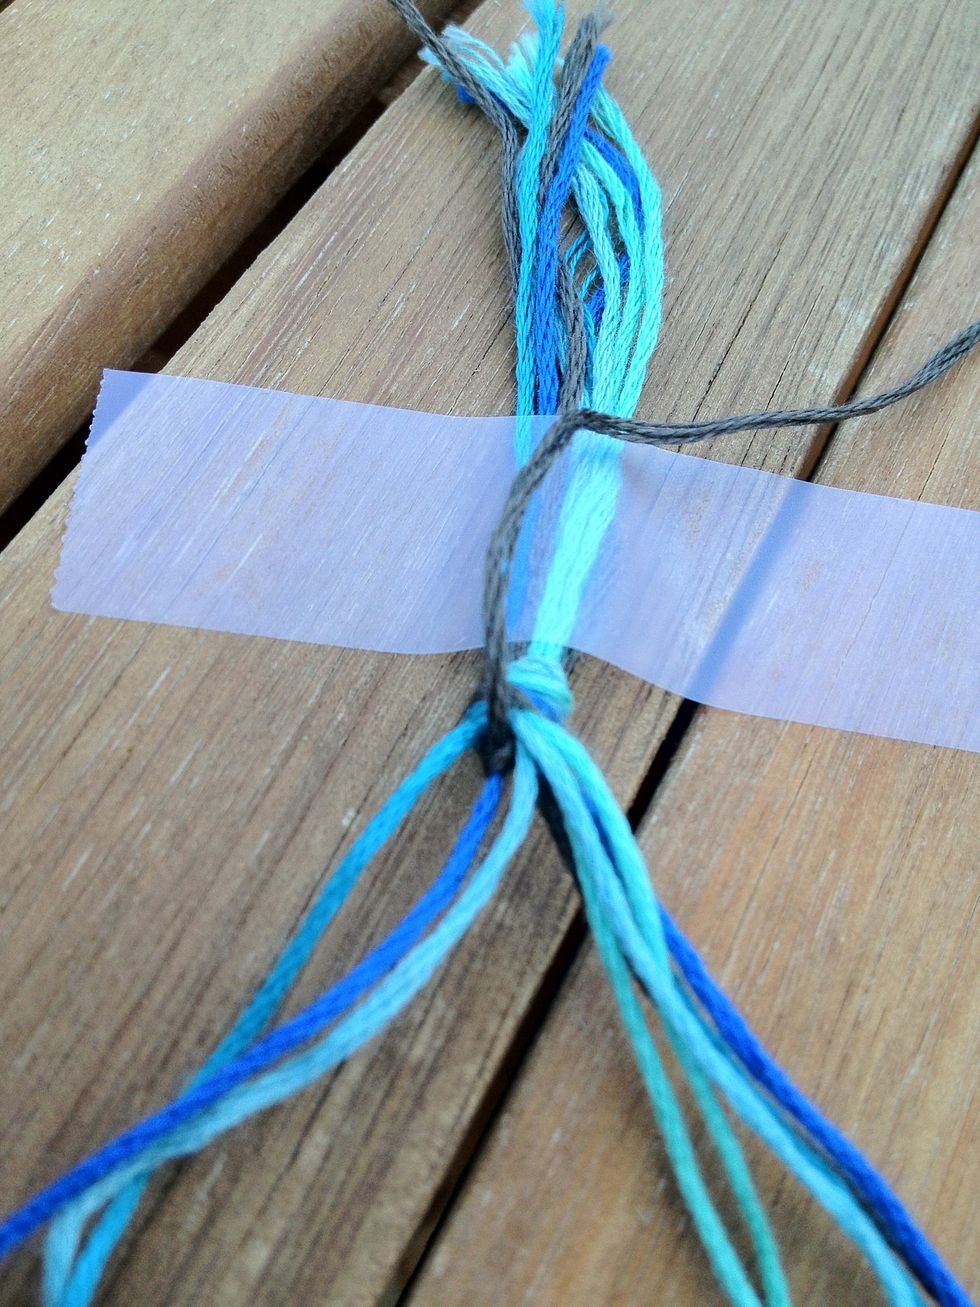
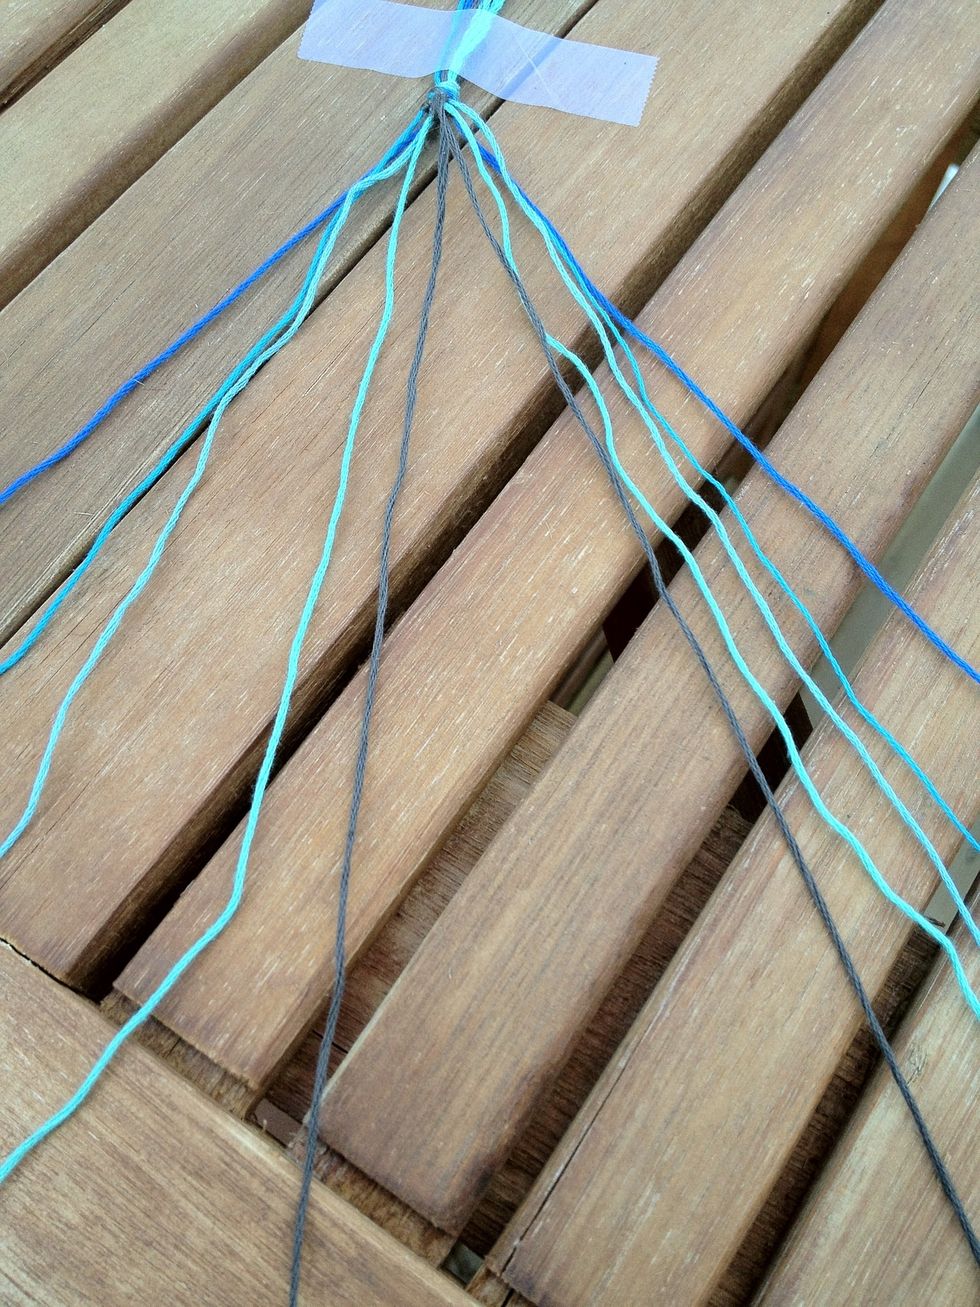
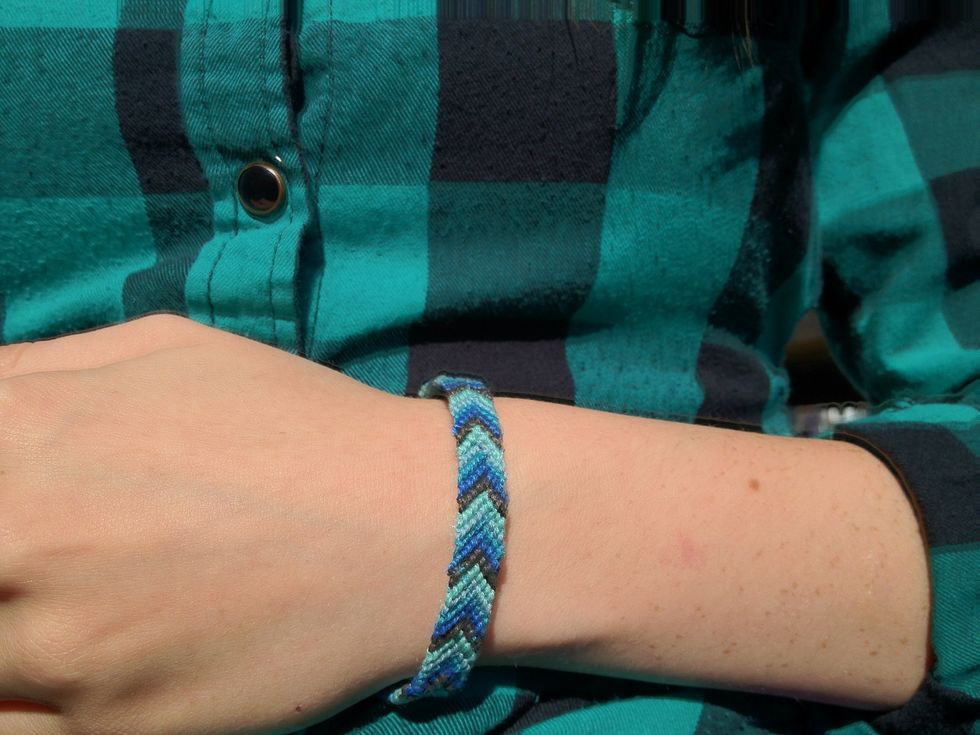
I chose these colors for my bracelet because I'm going for an ombré effect, but you can use whatever colors you want.
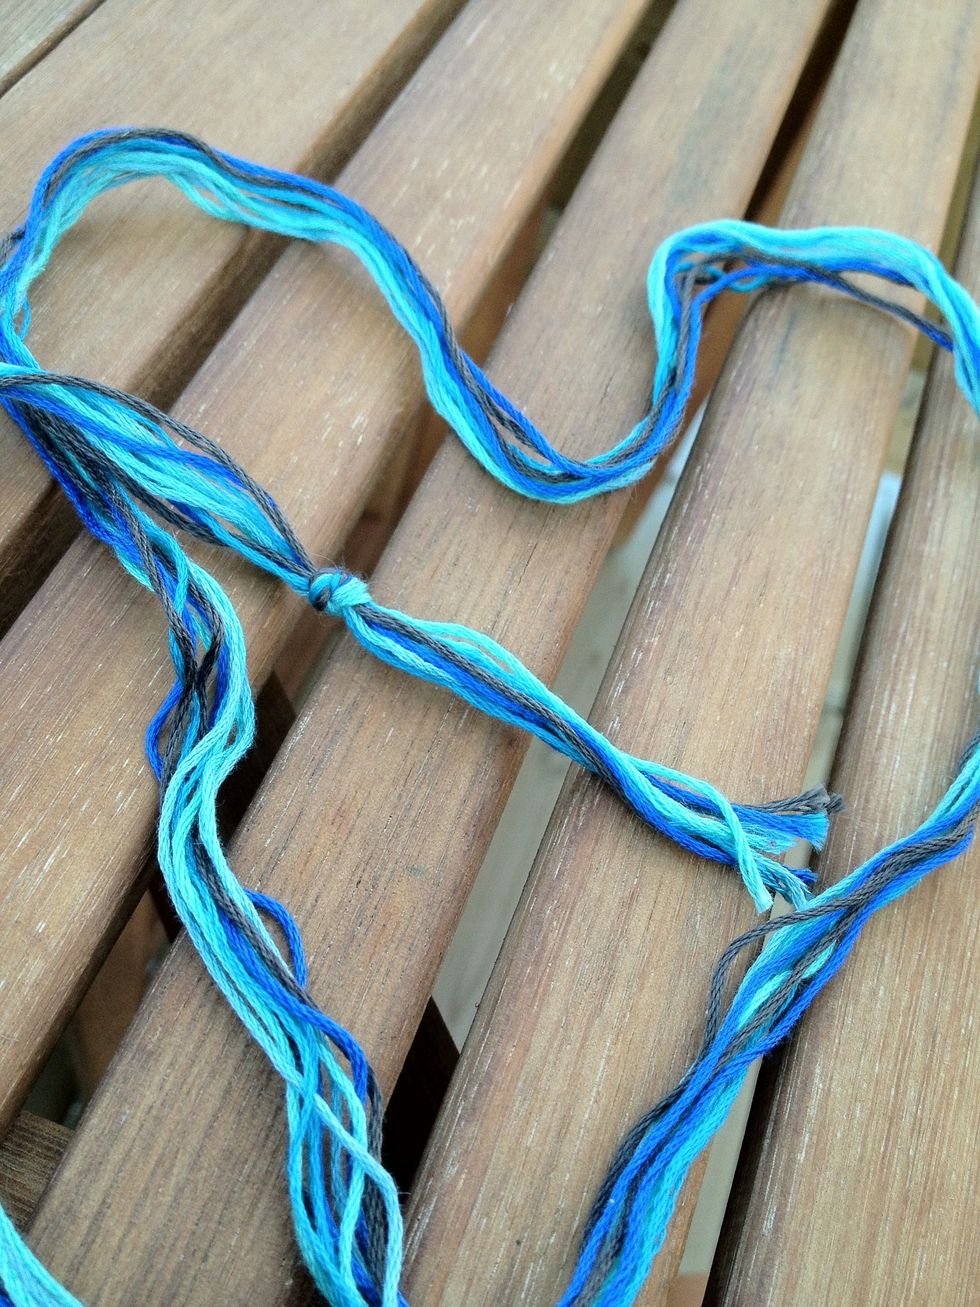
Bunch your strings together and tie a knot at one end. You could also double the length of the strings and fold in half, tying in a loop knot instead. So you would have 3 strings, 1 of each color.
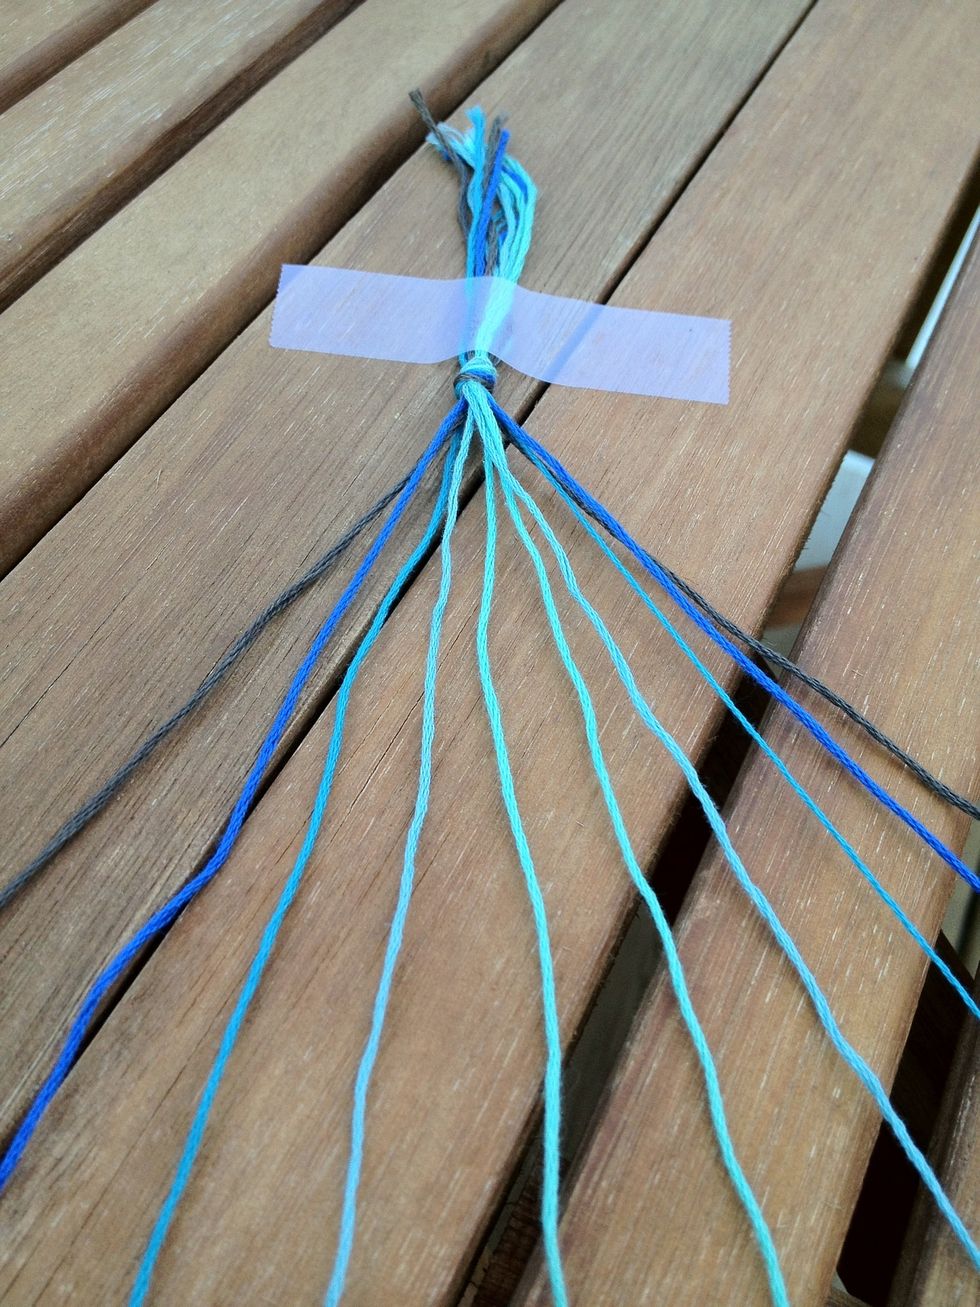
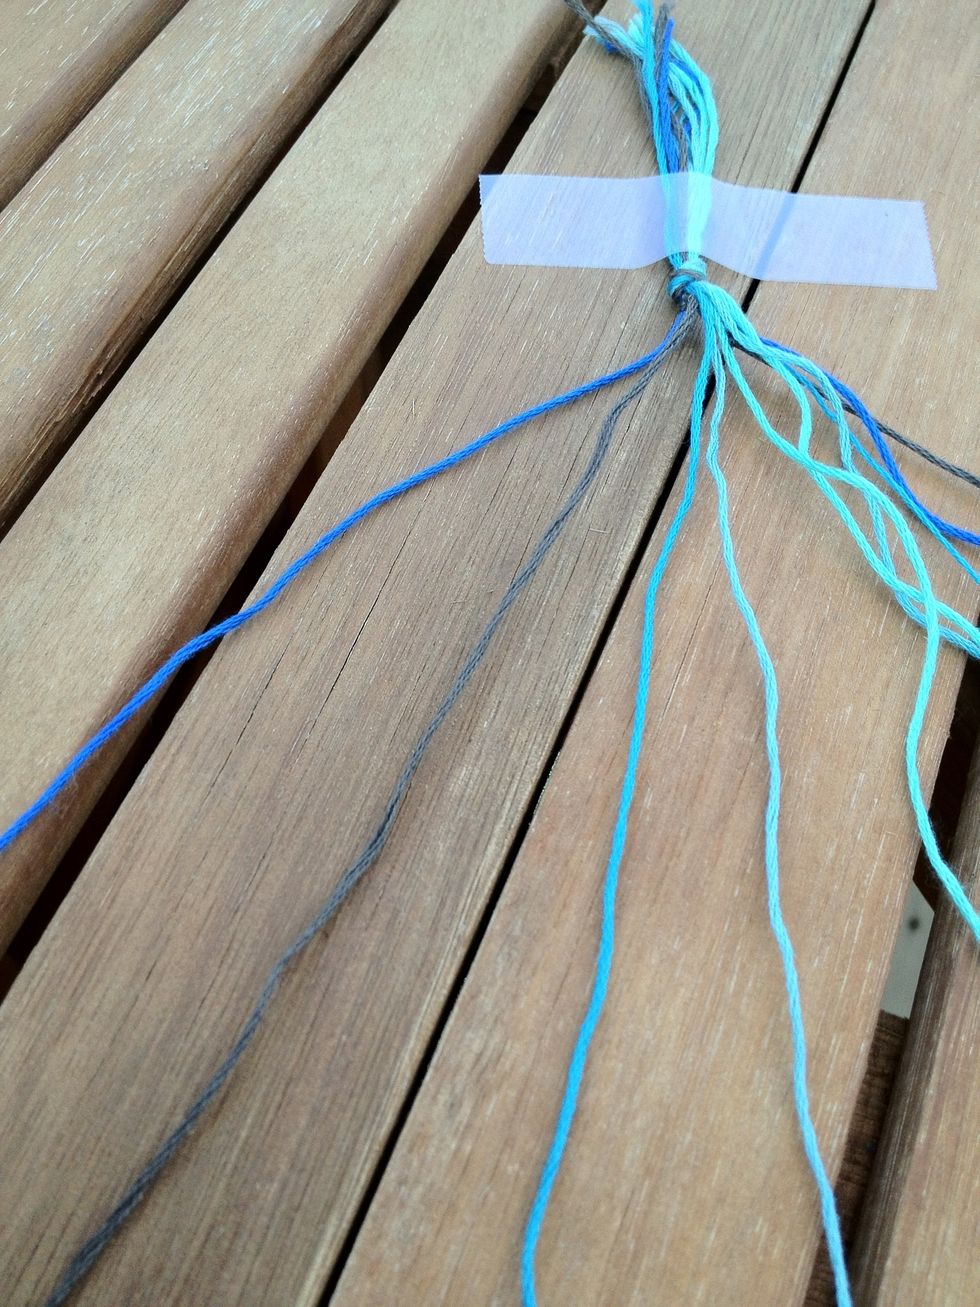
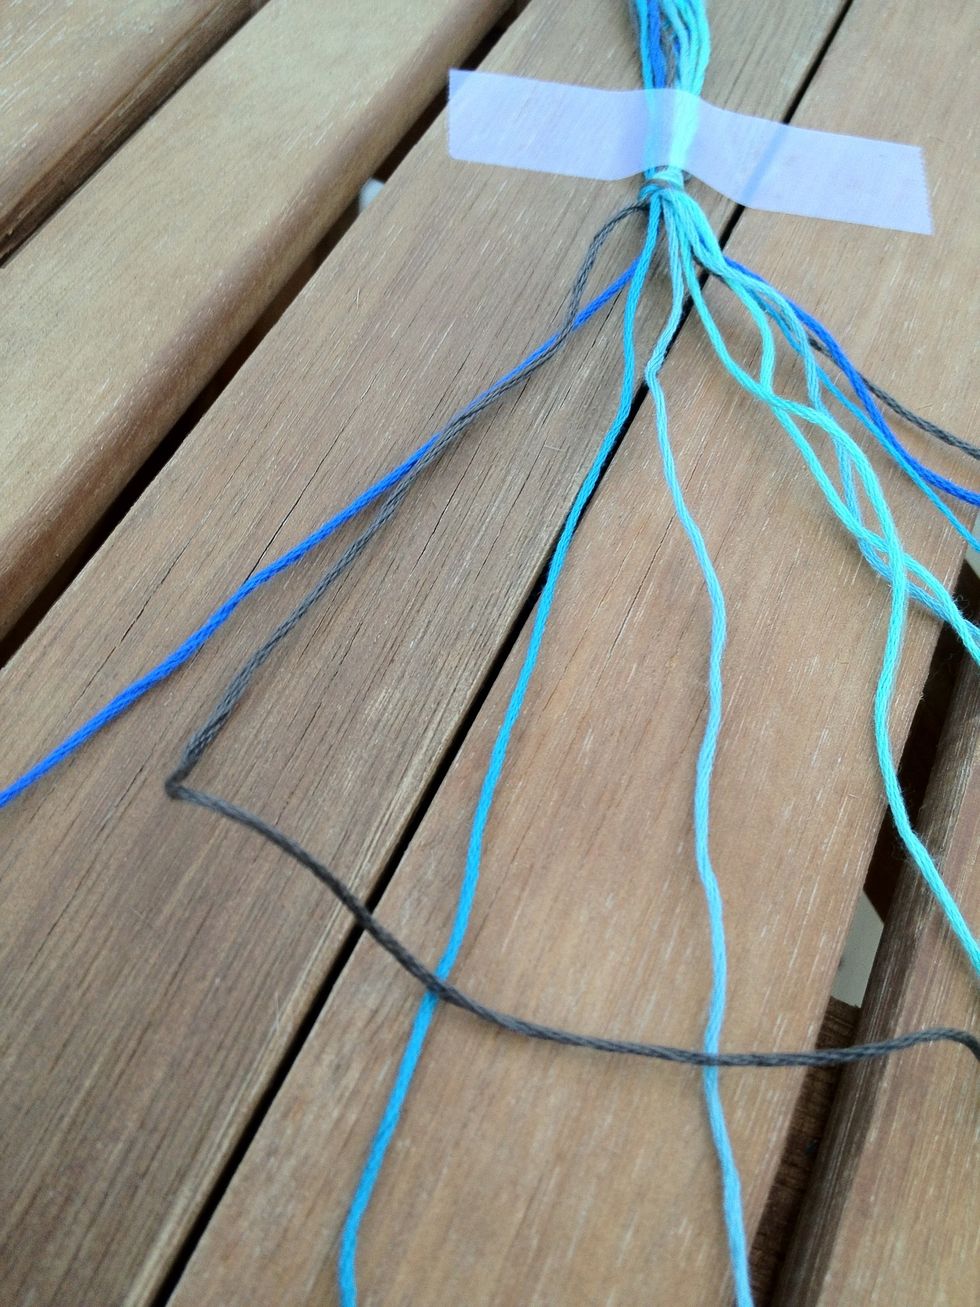
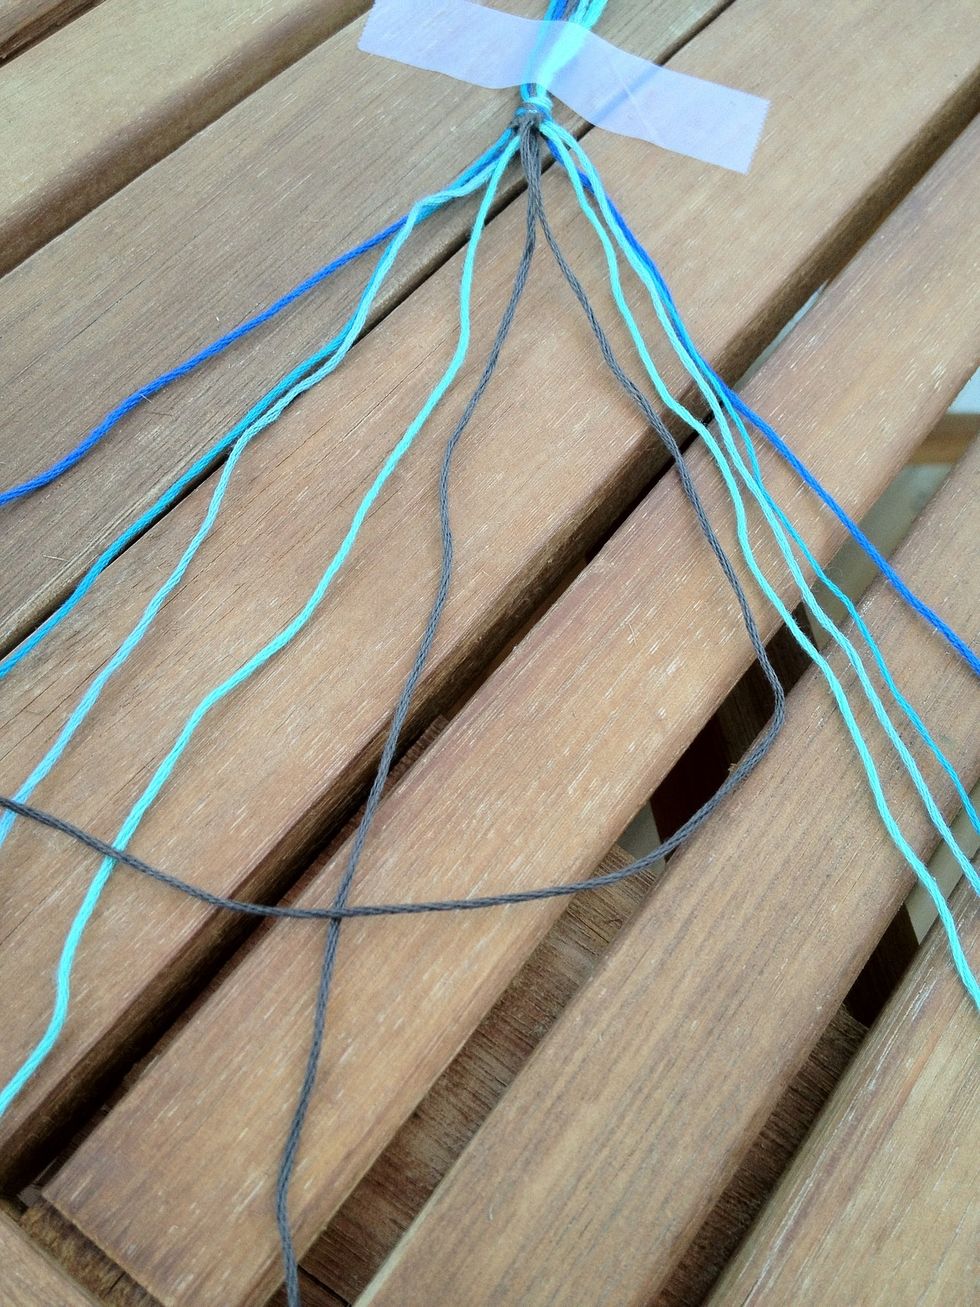
Tape the group of strings to a flat surface, or pin them to your pants, whatever works best for you. Line the strings in the order you want them and mirror them on the other side.
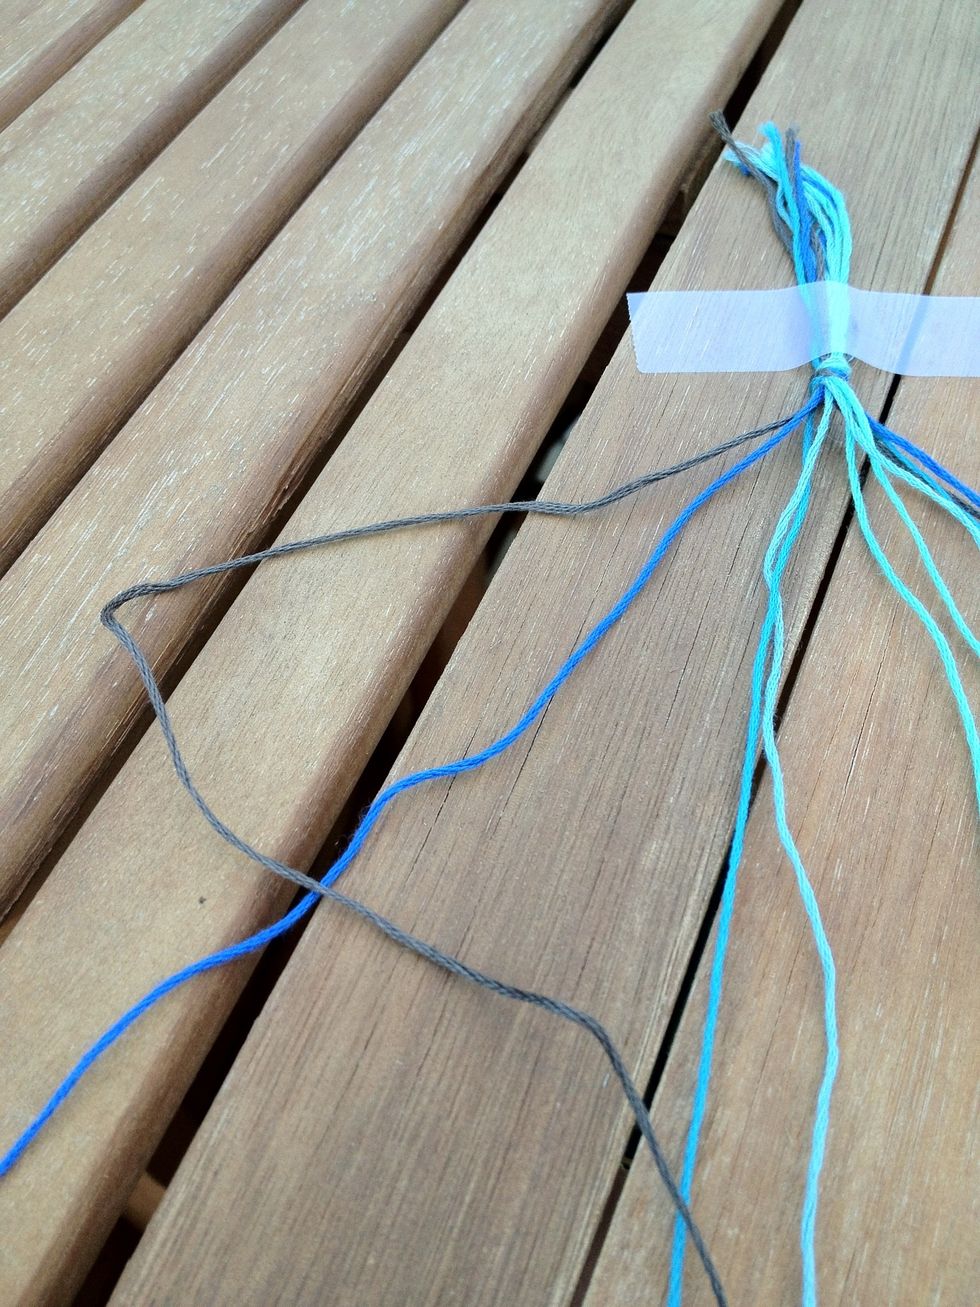
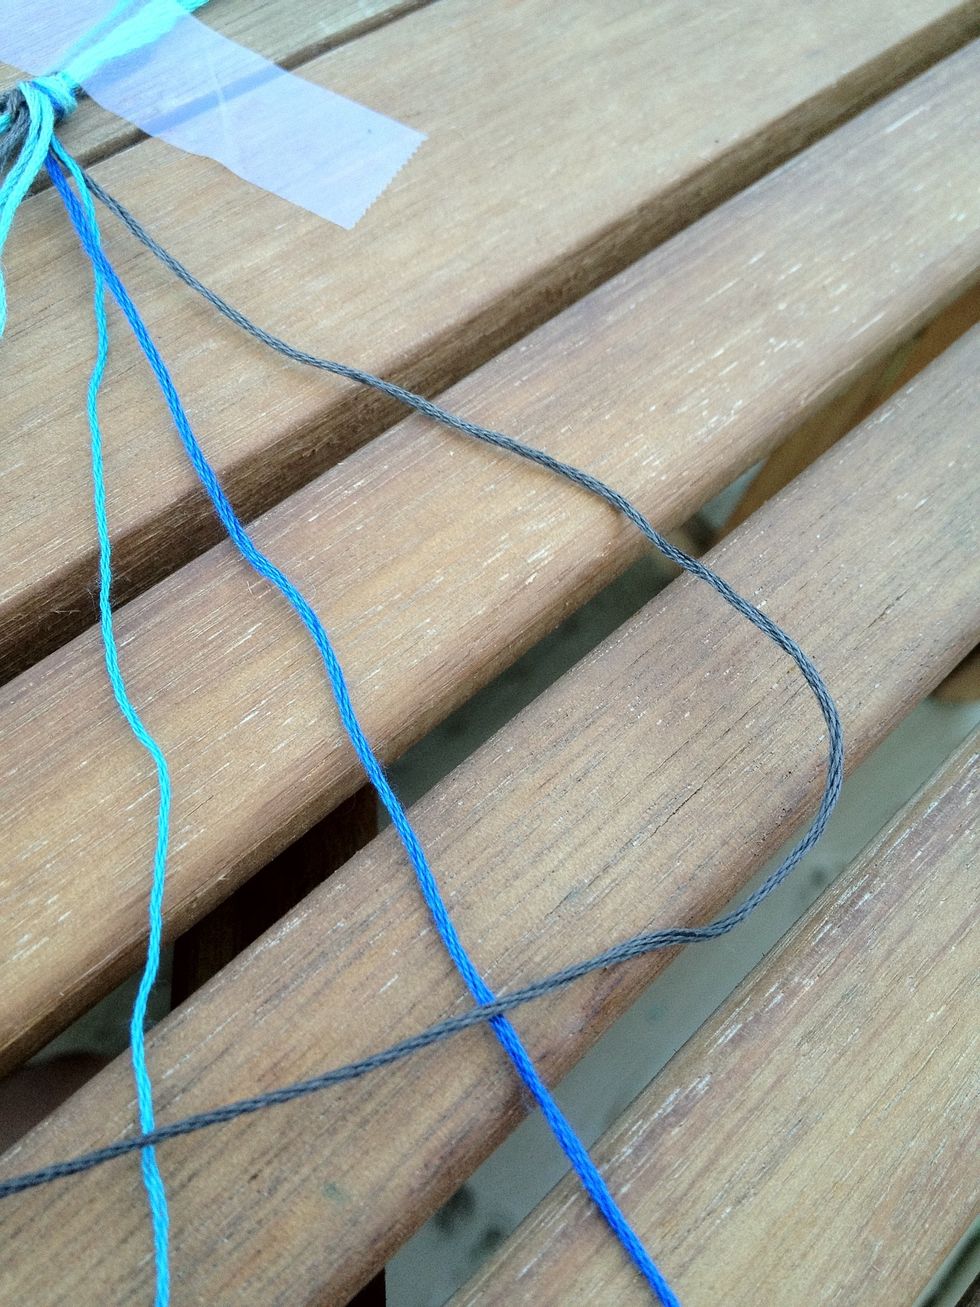
Basically all you're gonna do is make a bunch of knots. Cross the first string on the left side over the second string, like so.
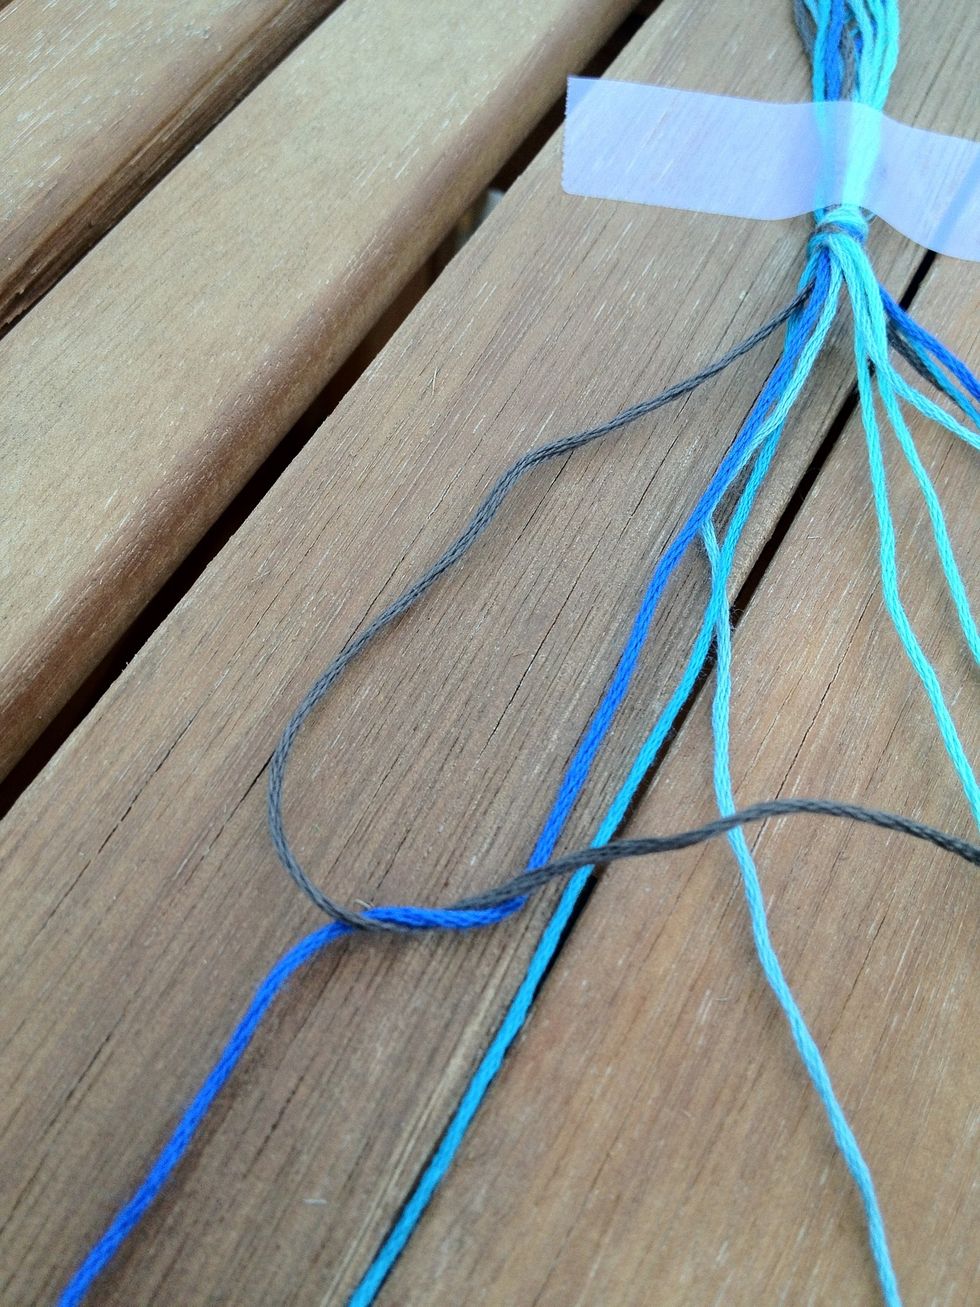
Push the first string underneath the second and pull. In other words, create a left hand knot. It's very important that you cross the first string over the second when you knot, or else it won't work.
Knot each string twice. This is what it should look like after the first and second string is knotted twice.
The first sting and the second string should now have switched places.
Continue the process of knotting until you have finished the first half.

This is what the first side should look like when you have finished knotting. Each string should've moved over 1 spot so the first string is now in the center and the second string is on the outside.
Now you do the same thing on the opposite side, only mirrored. Cross the first string over the second and finish knotting. This is a right hand knot. Continue until you reach the center.
This is what it should look like when you've finished both sides. Again, the strings will have shuffled over one spot.
Now knot the 2 middle strings together. These should be the first strings from either side before. It doesn't matter which direction you knot them. I personally did the right hand knot.
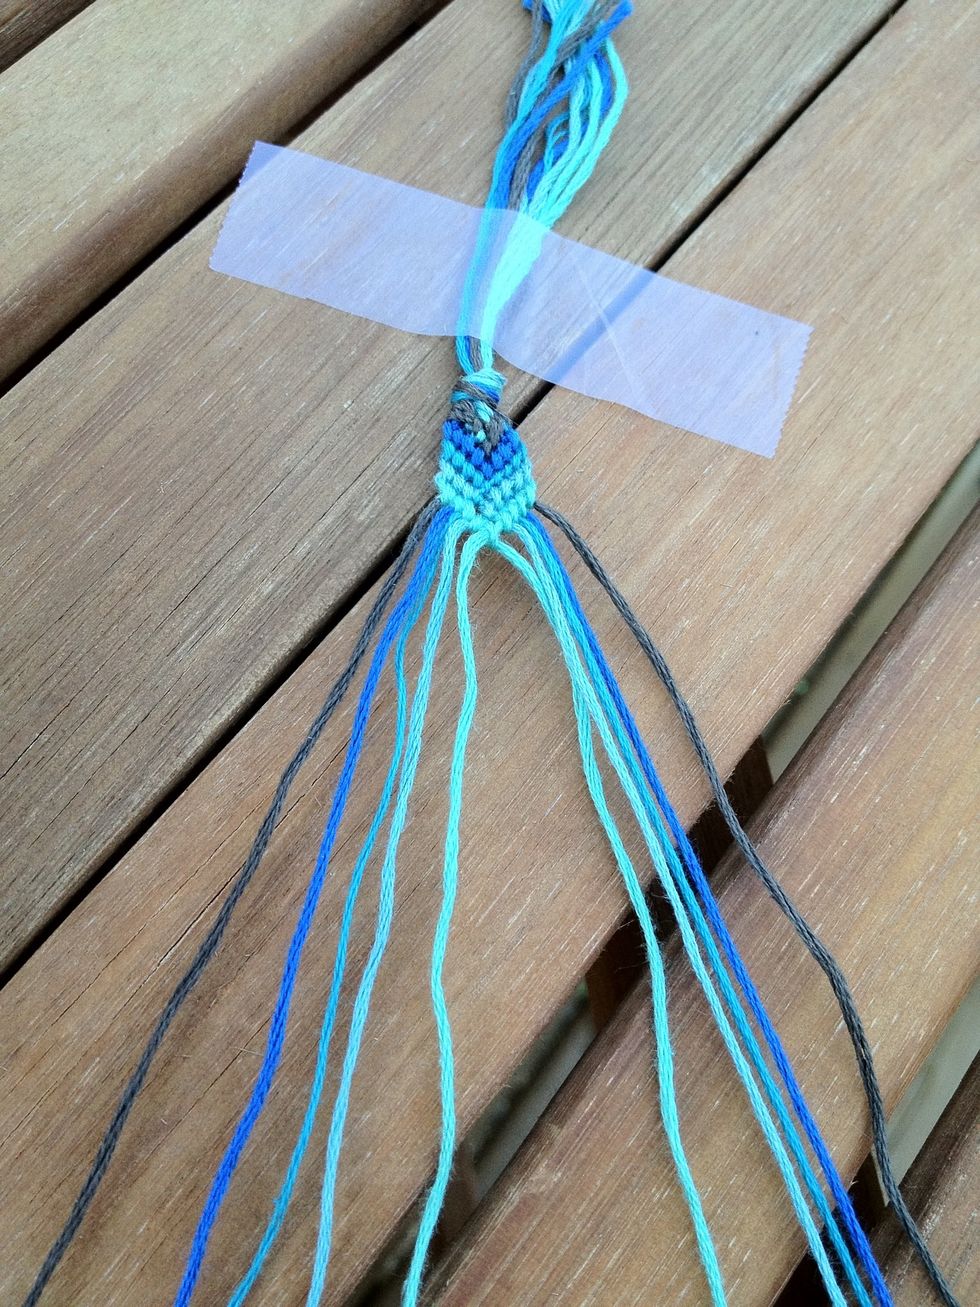
When you have finished knotting with each string, it should look like this. Each thread has returned to its original place. Continue until you've reached your desired length.
This bracelet will take time and patience to complete. It doesn't matter how many different colors of strings your use, as long as you follow these steps. The more colors, the thicker the bracelet.
It is crucial that you knot in the right direction. If you don't, the knot will be messed up and it's not easy undoing a knot. Trust me, I learned the hard way. Just relax and take your time.
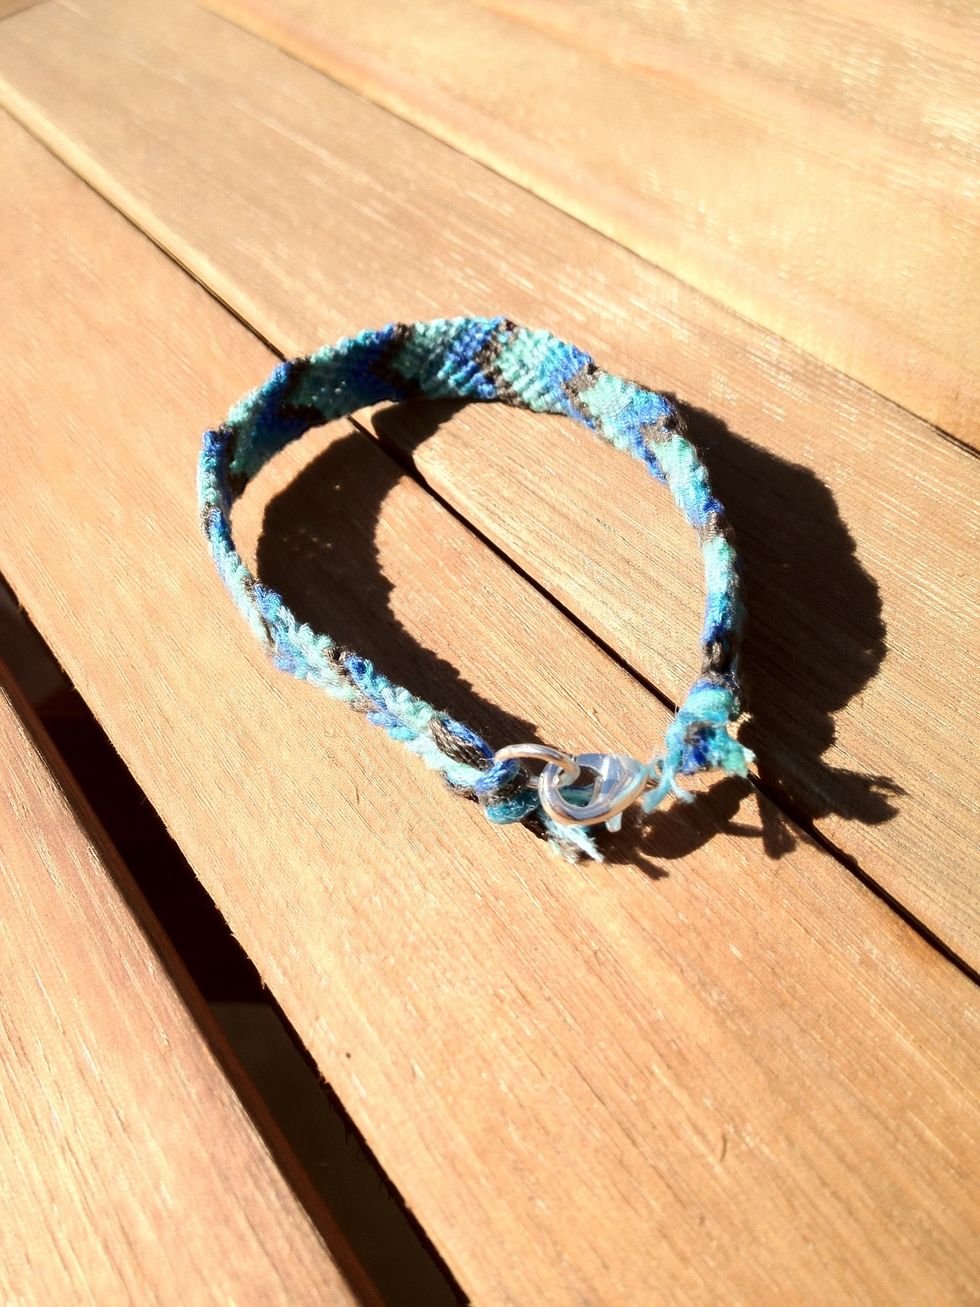
When you're finished, either tie it around your wrist or add a jewelry clasp like I did here. I also coated the ends with a matte nail polish top coat to help prevent it from fraying.
And you're done! Let me know if you want me to do a guide on how to attach a jewelry clasp or if you have any questions or suggestions :) have fun!