The Conversation (0)
Sign Up
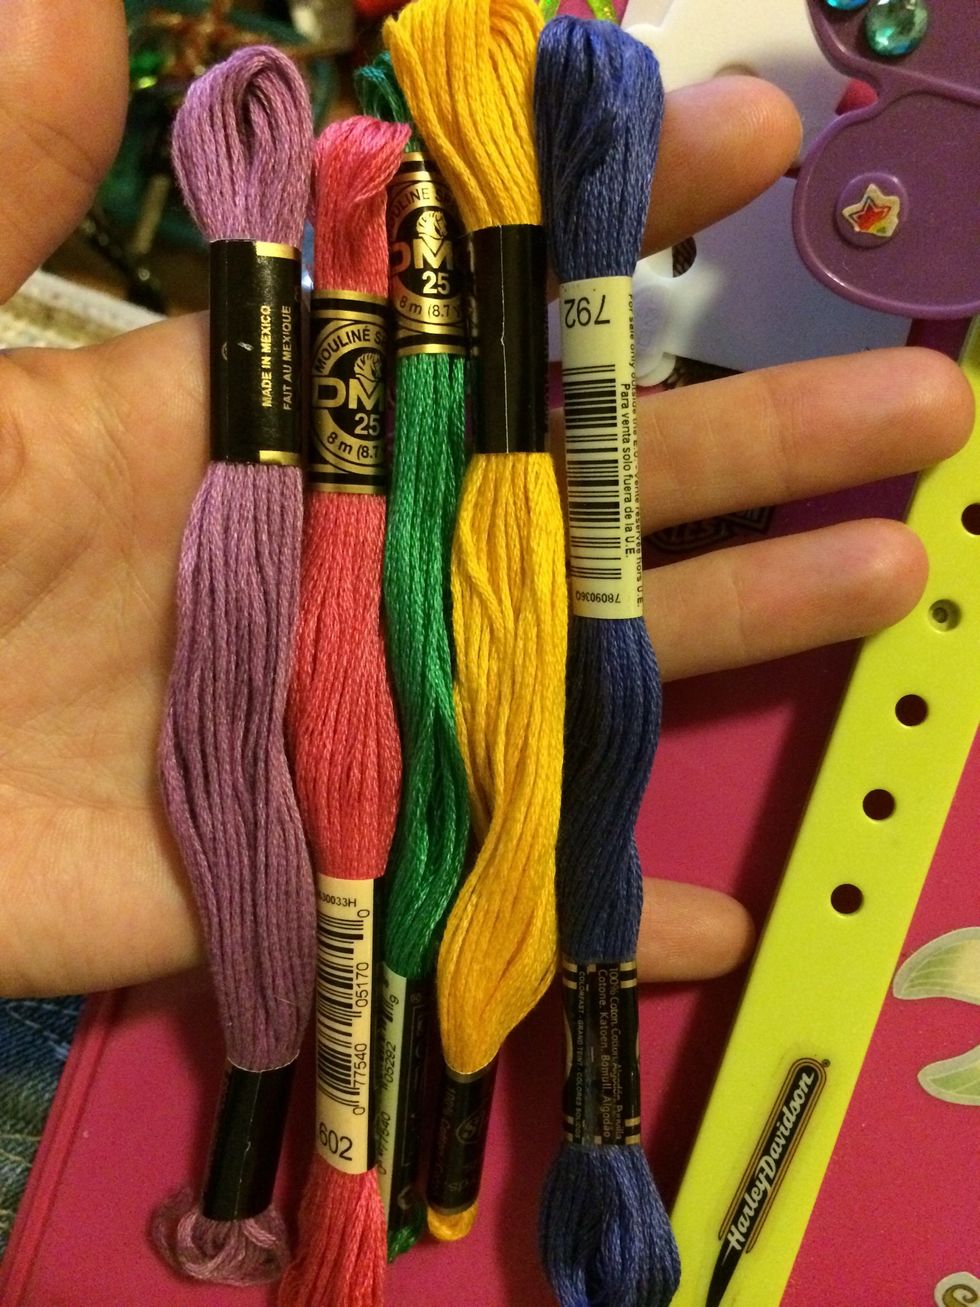
Pick out your colors. I will be using five today. The more colors you use the less your bracelet will curl.

I put my floss on bobbins. It's a lot easier to work with when they are on them.

Cut your floss. I use my arm span which is around 61 inches. I always like to have a little extra at the ends.

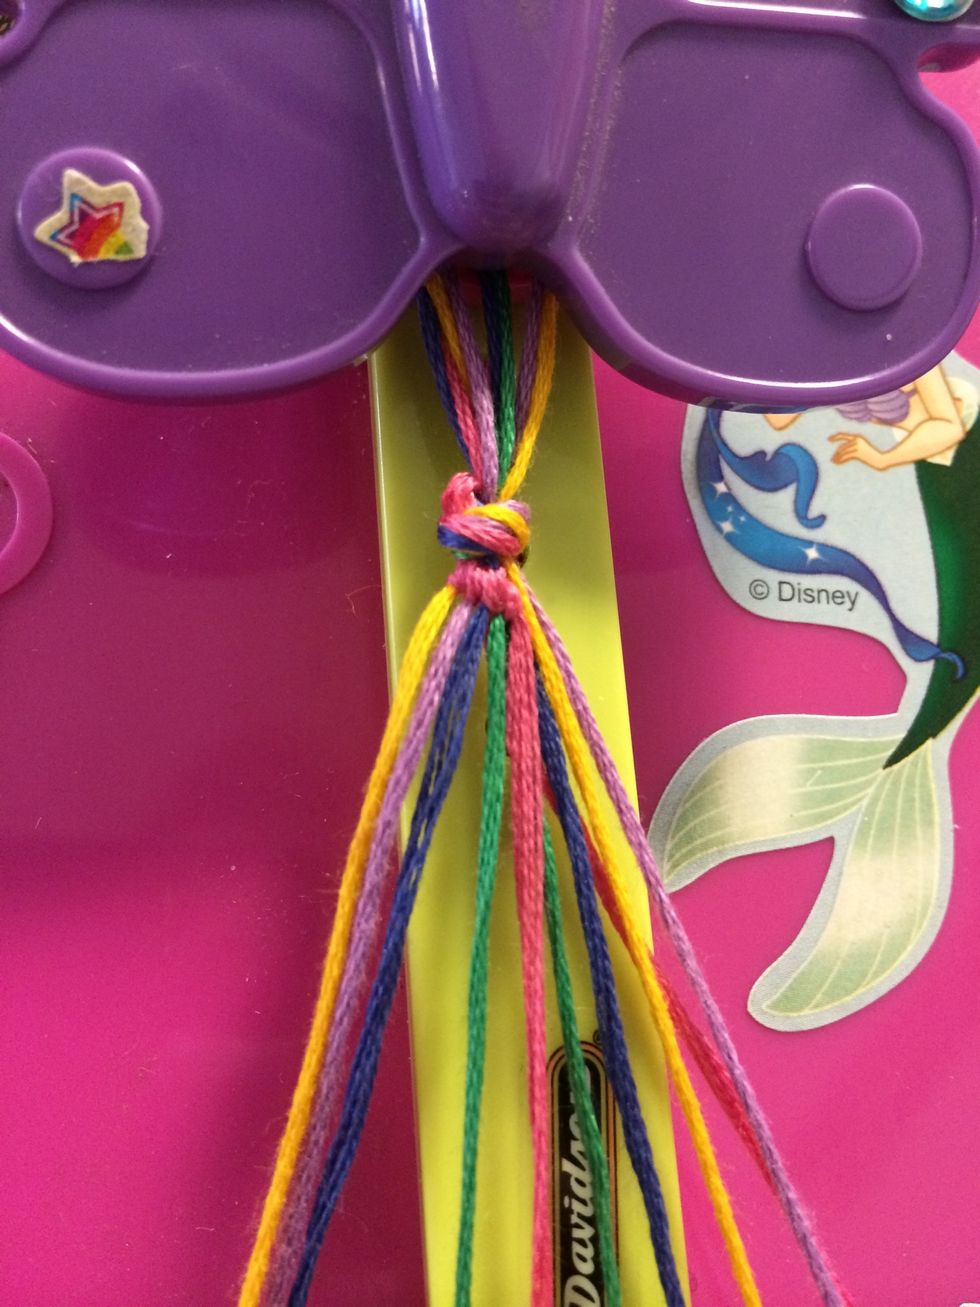
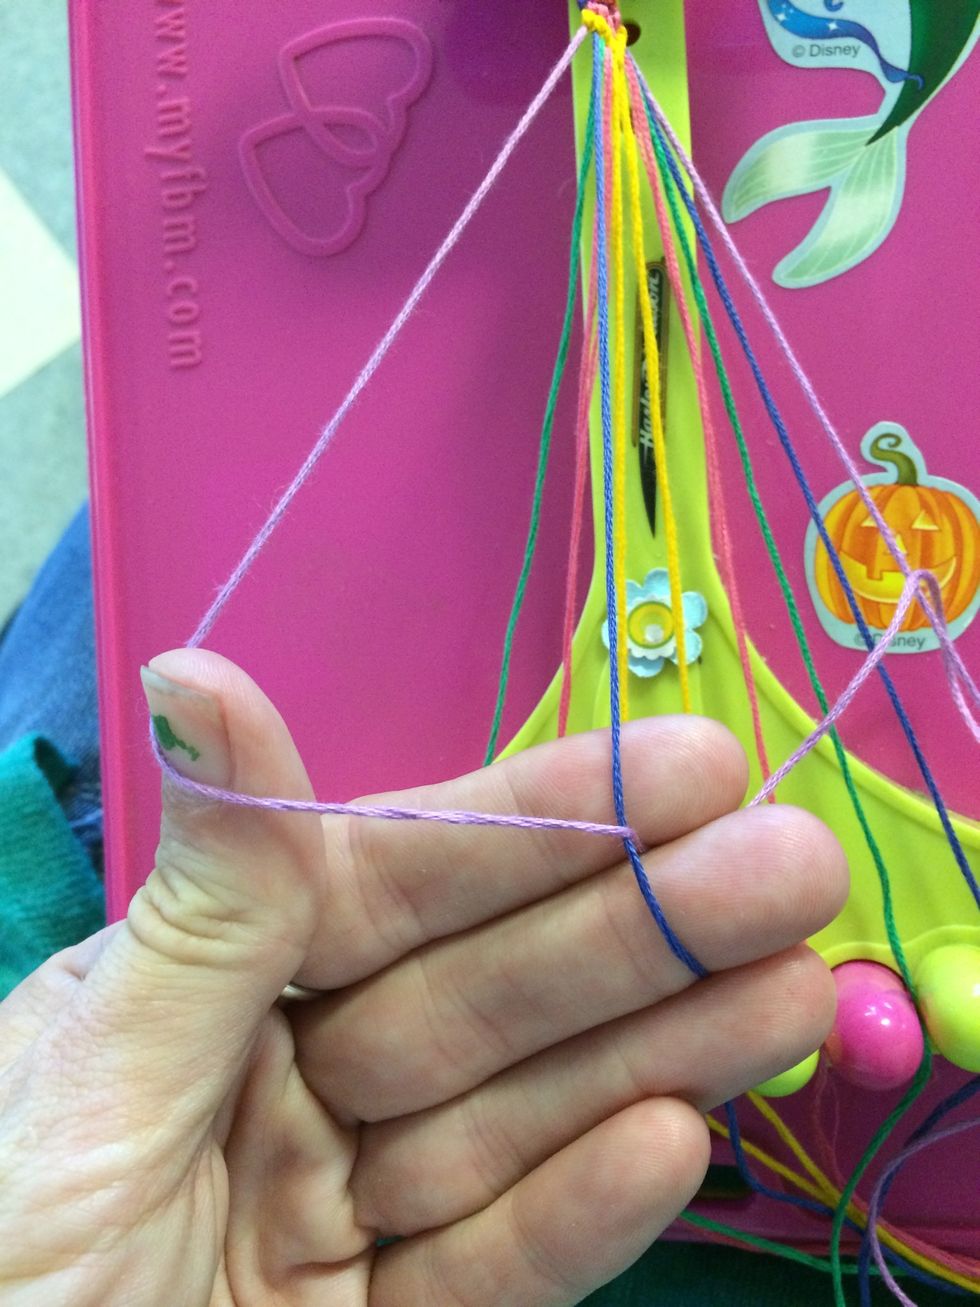
Fold your strings in half and tie a knot. Leave a loop at the beginning.
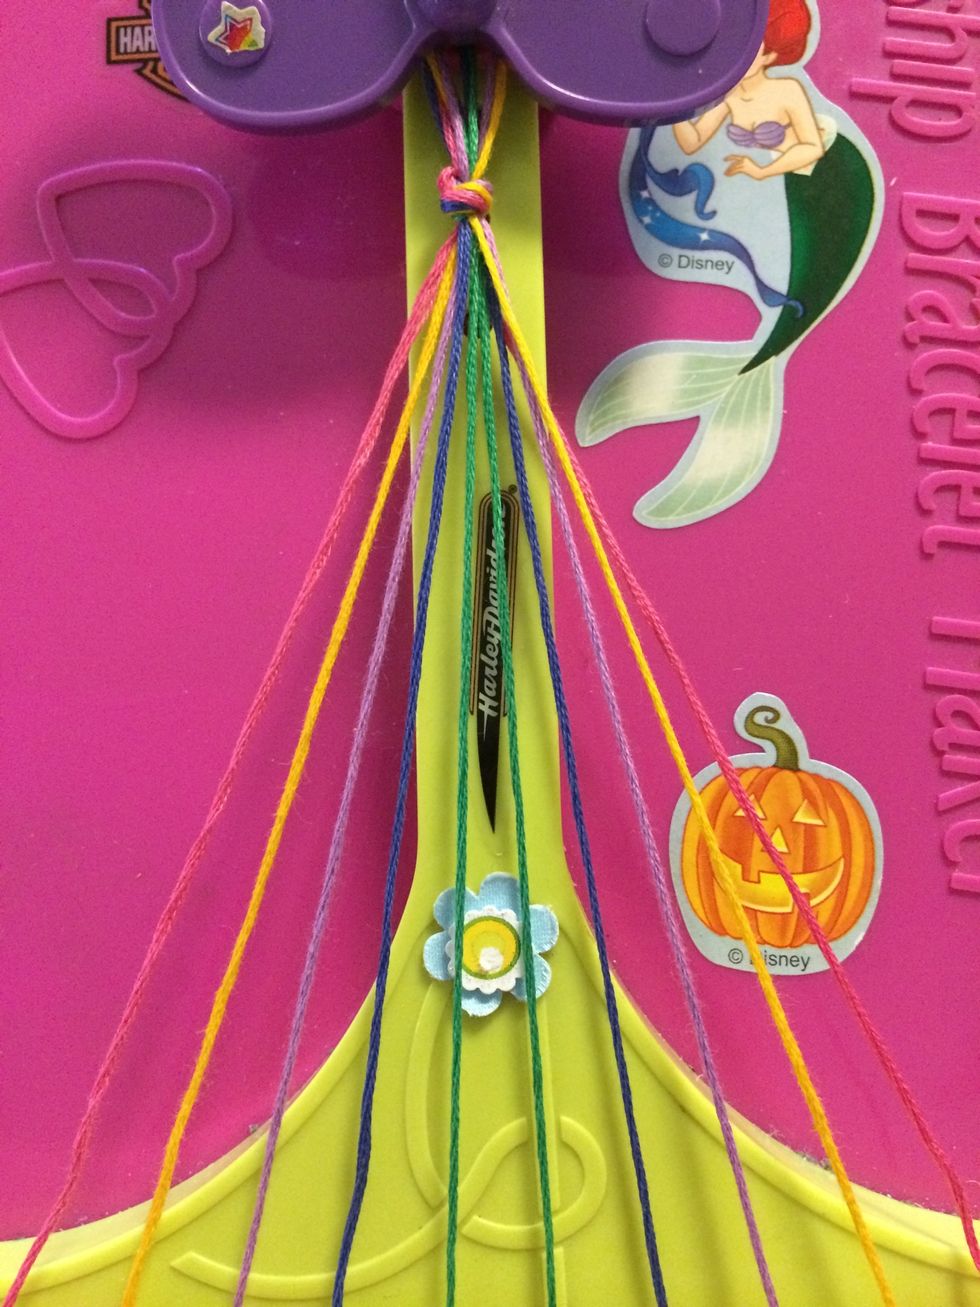
Separate your strings. I will be doing pink/yellow/purple/blue/green/green/blue/purple/yellow/pink.
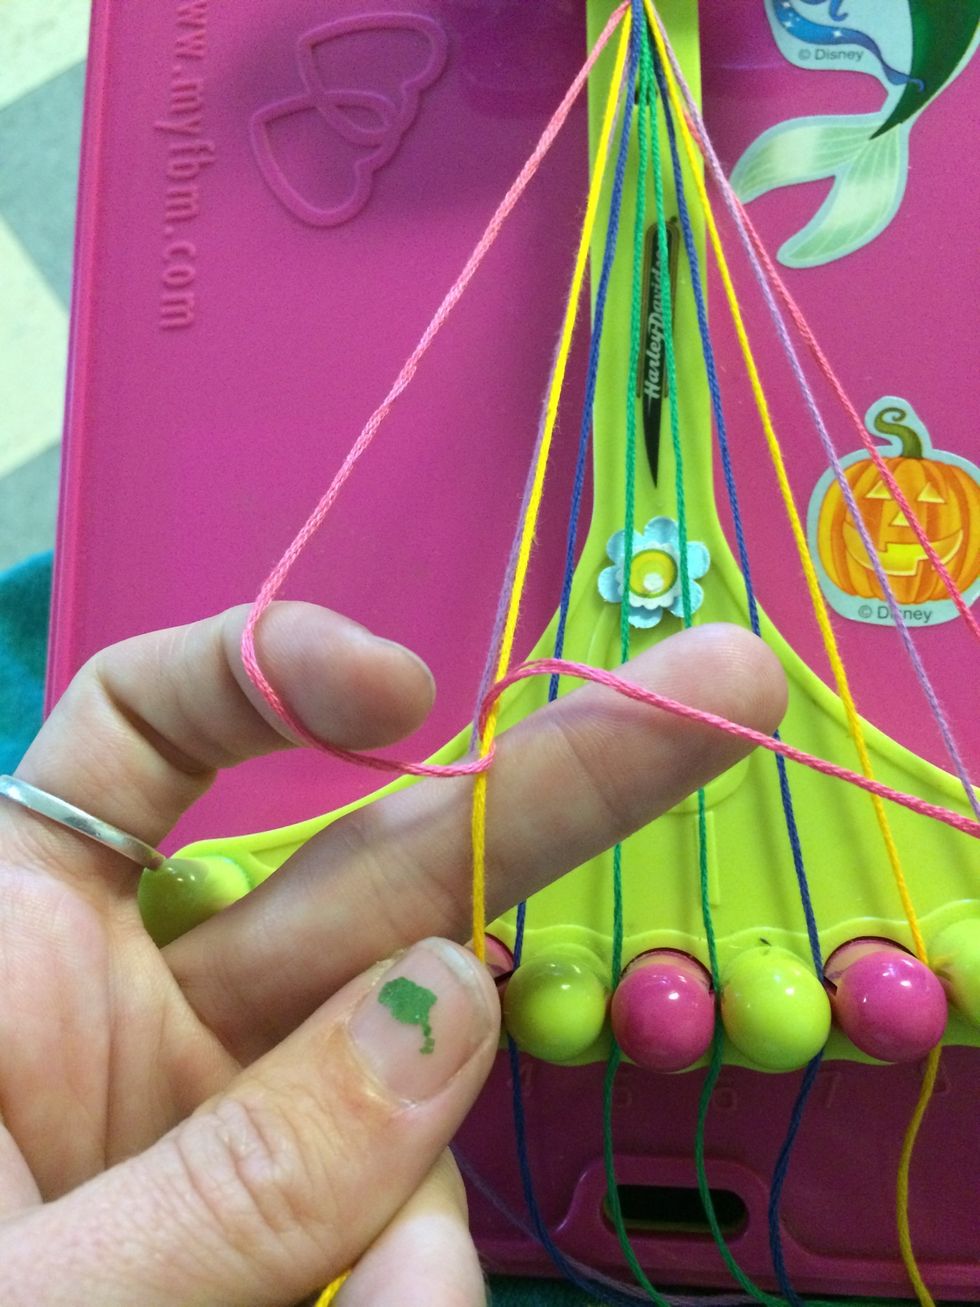
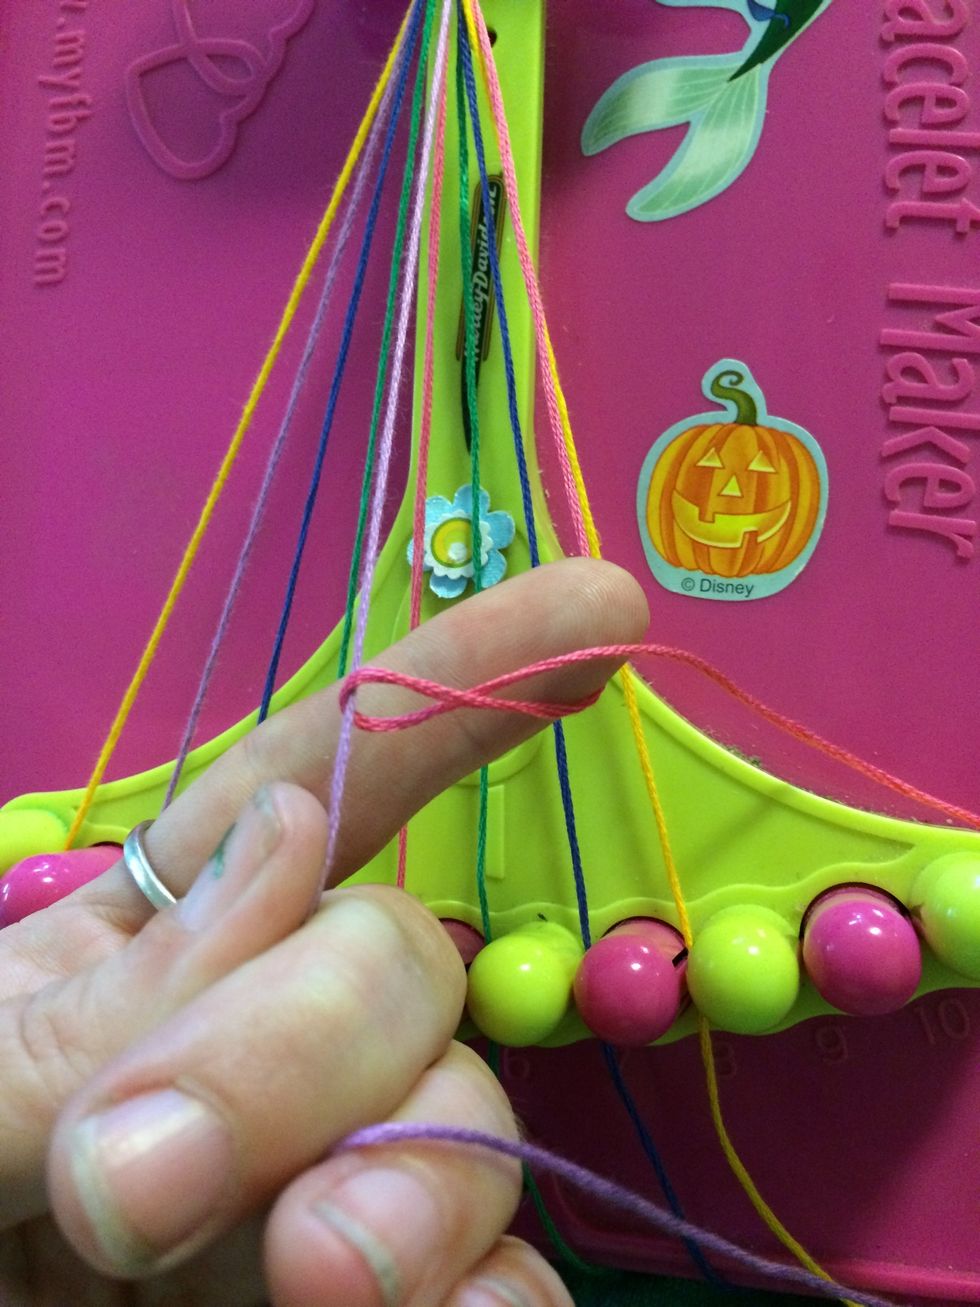
Start with your first color, mine is pink and make your first forwards knot. 2 knots equal one forwards knot.

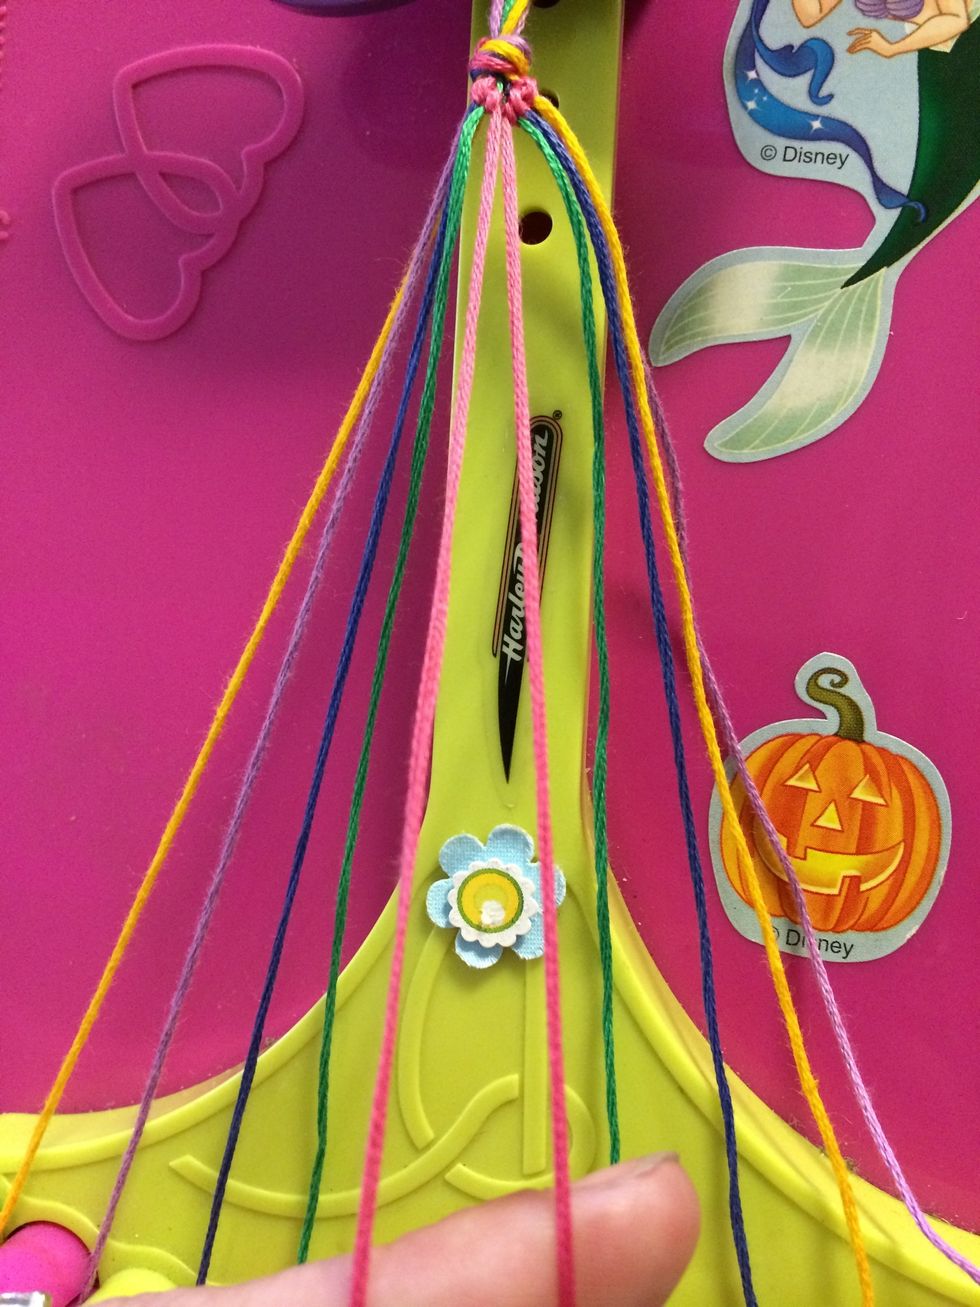
One knot down. Let's do 3 more knots on the next few strings of floss. Stop at the green one.
Four knots done. It's time to work on the other side.
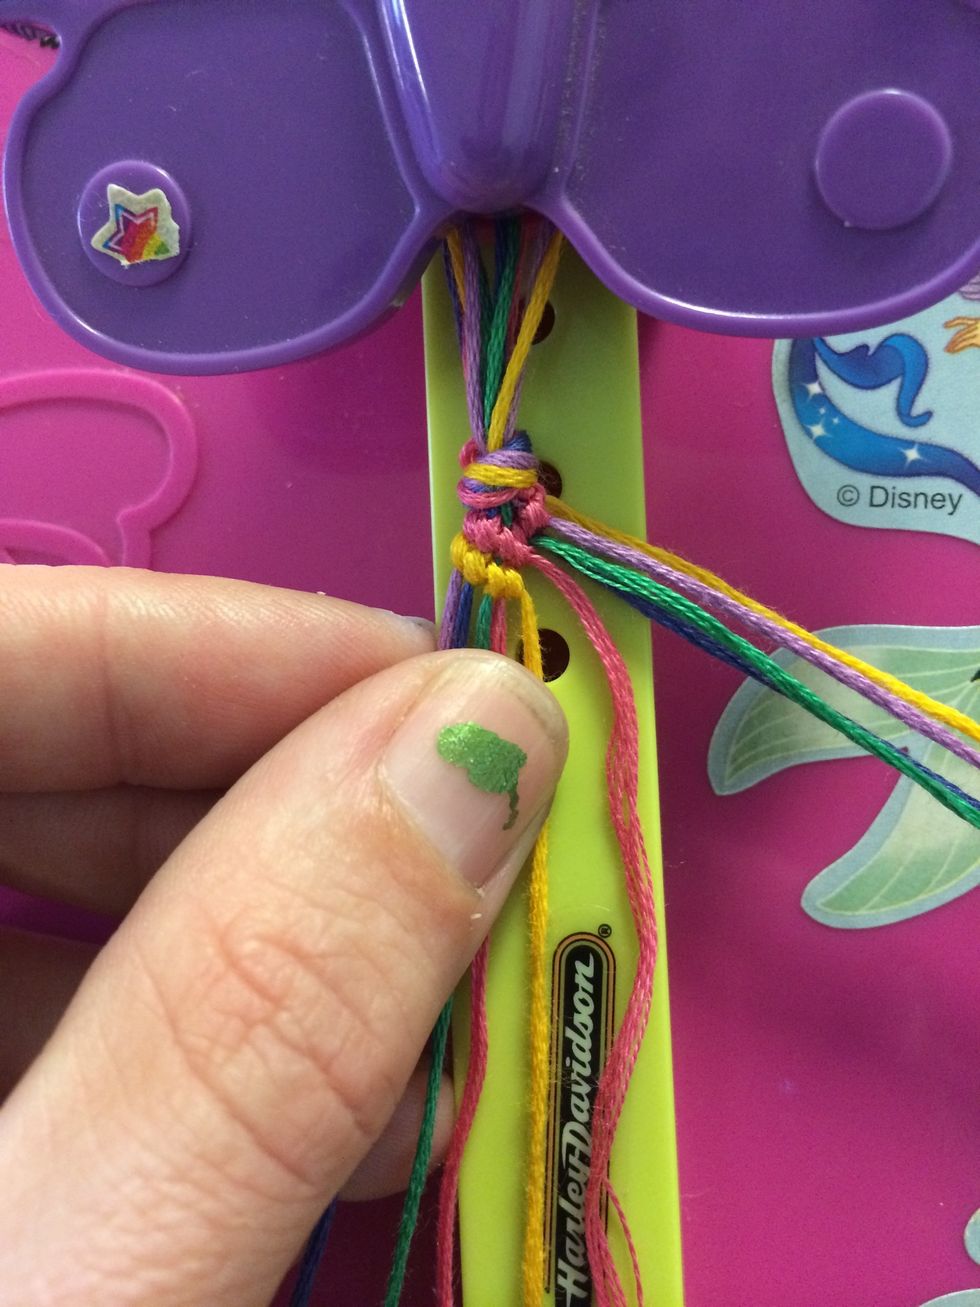
For the right side of our bracelet we will be doing backwards knots. Pick of the pink string and make a backwards knot.

I know it shows me making a knot over the purple string but the yellow should have been there. I had to undo my knots and start again. Now that we have the first knot done let's make the other 3.
Continue making backwards knots until you get to the pink string. Grab both pink strings and make a forwards knot starting with the one on the left.
Now we have our first chevron done. It's not going to look the prettiest because it's so close to the knot. Now let's repeat those steps with the next color.
I started with yellow and made 4 knots across the strings. Let's do the other side.
Now I have both yellow strings in the middle. Let's do a forwards knot to finish the next chevron.
Our next chevron looks a lot better. Let's do the next color.
Grab your next string and make 4 forwards knots. Go to the right side and make 4 backwards knots.
After you connect your colors with a forwards knot you will have completed another chevron. Go ahead and do the next color.
Here is the blue chevron all complete. One more color to go :D
And we are done with the green chevron. Our 1st set of chevrons look pretty good. And here is were the fun starts, we get to repeat what we just did again. I won't be doing so many steps as we go on.
A pink chevron completed
A yellow chevron completed
A purple chevron completed
A blue chevron completed
And a green chevron completed. So with your 2nd chevron complete all you have to do is continue making more chevrons.
Chevrons can be a lot of fun to do. The biggest one I made was with 10 colors so that was 20 strings total. They get repetitive after the first set but they are worth it.
Another chevron set done
Four chevron sets complete. Keep knotting until you have the length that you want.
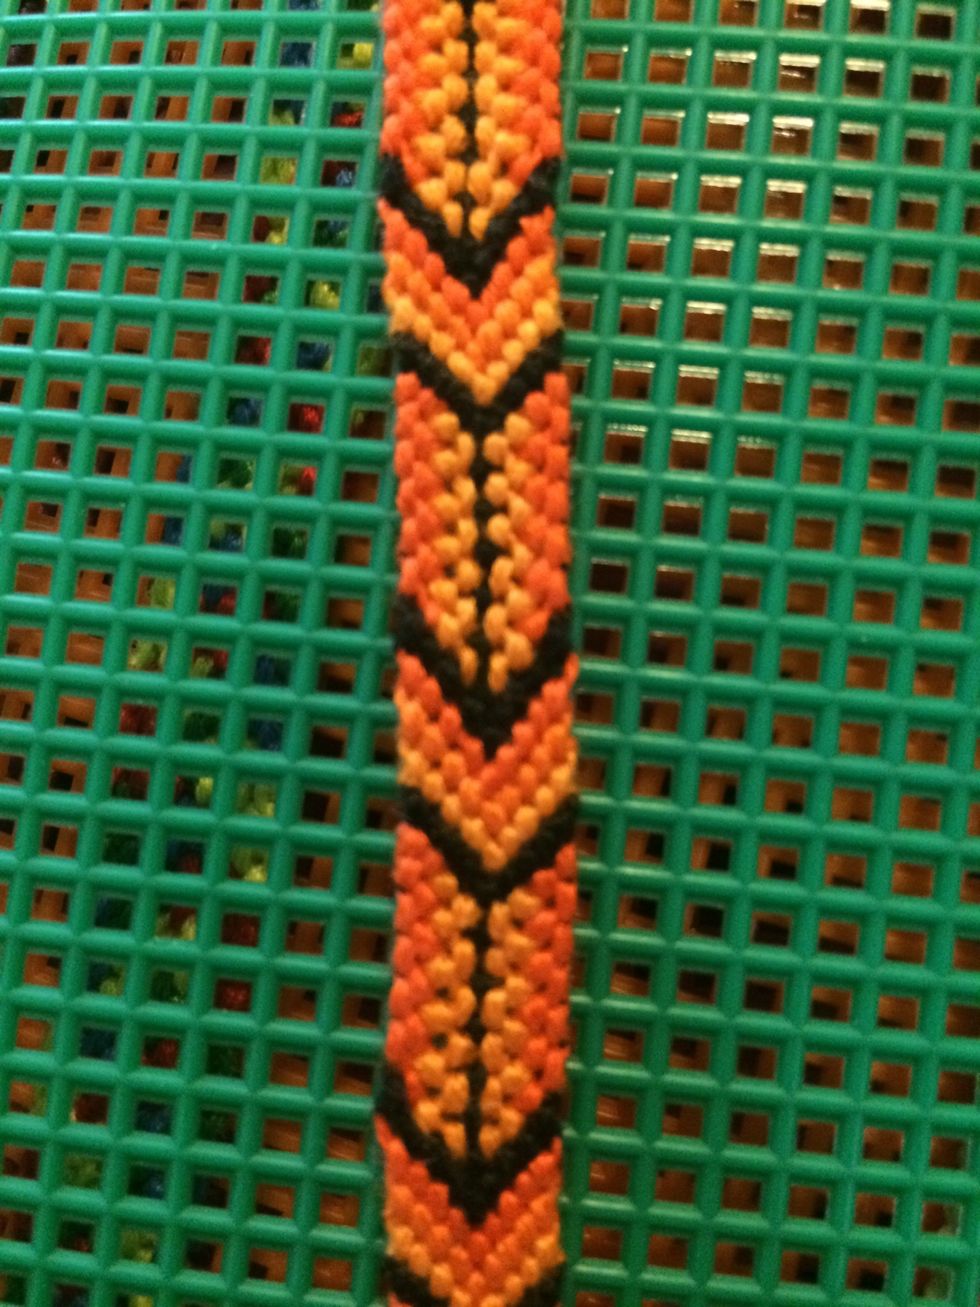
After a special bubble in the middle and 4 more sets of chevrons my bracelet is complete. Separate the 2 sides and braid the strings.
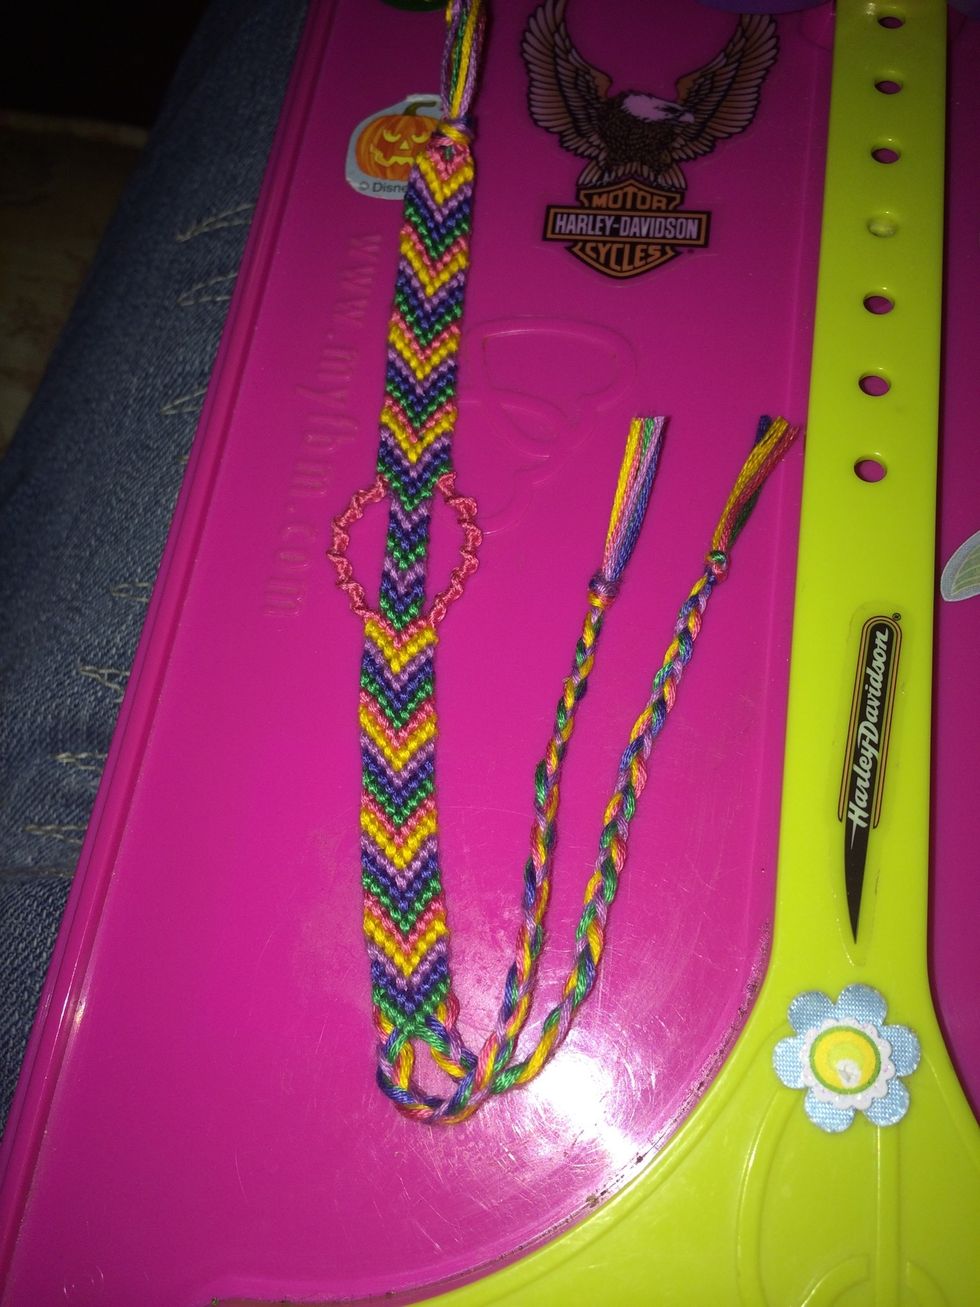
After you finish your braids tie a knot at each end. Cut off the excess strings and your bracelet is finished.
I hope you have enjoyed my chevron guide and it helps you knot another bracelet. I will show you how to make the middle part of my bracelet in an upcoming guide. Thank you for looking at my guide :D
Here are two other bracelets that have a base of a chevron. I will show more bracelets like these as I make them :D
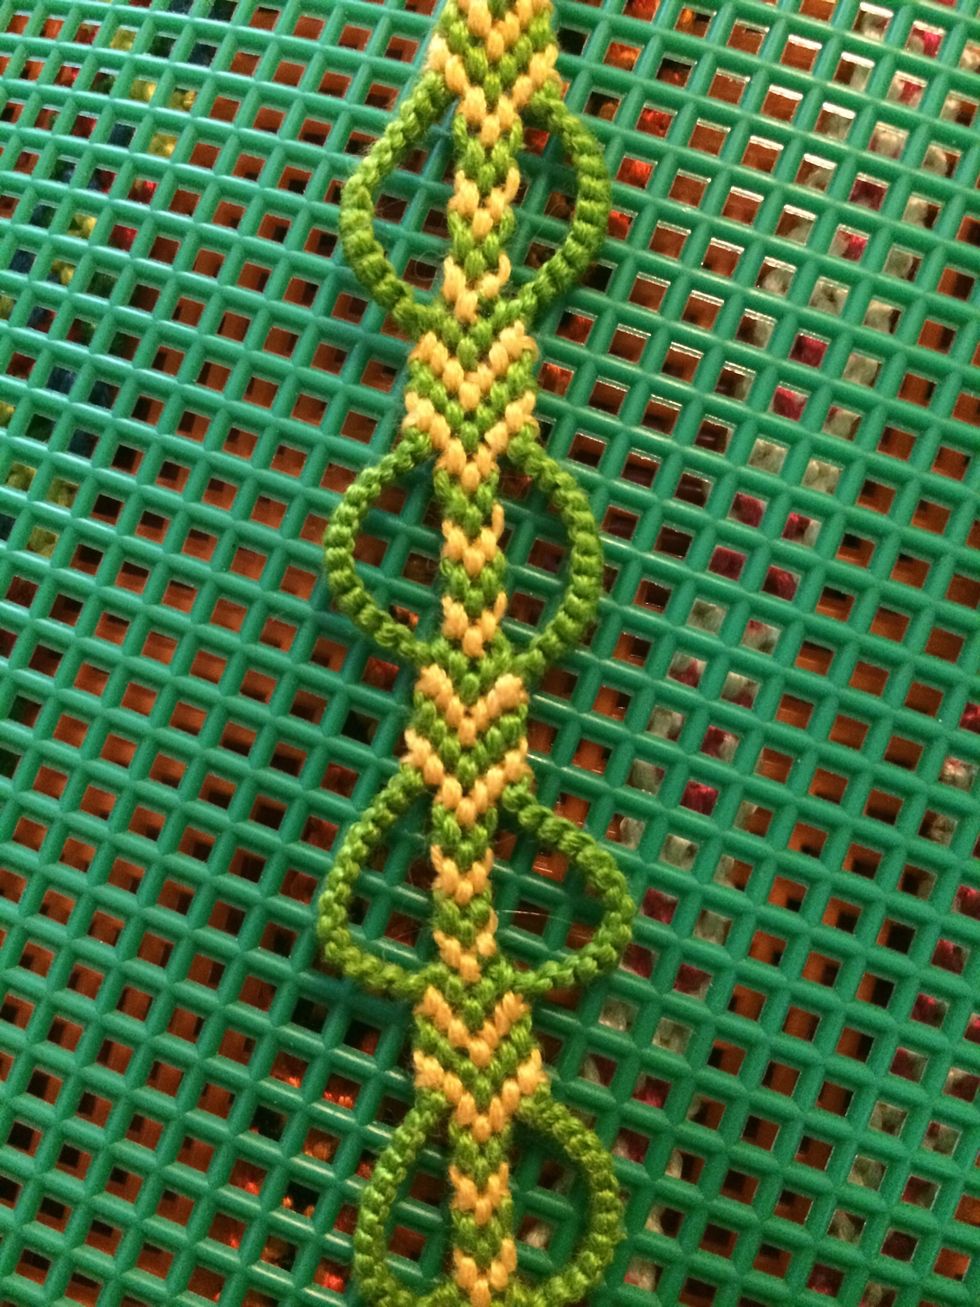
The Bubble bracelet