How to make a chevron (arrow) friendship bracelet
Make a Chevron (Arrow) Friendship Bracelet
5608
STEPS
TOOLS
It takes practice to get the knot tension correct. Don't worry if your first bracelet is a little lopsided, it will just look handmade.
I use 8-12 strands for this pattern (4-6 doubled strands). I generally cut about 80" for each strand, but the length depends on the wrist size, how many strands, knot tension, etc.
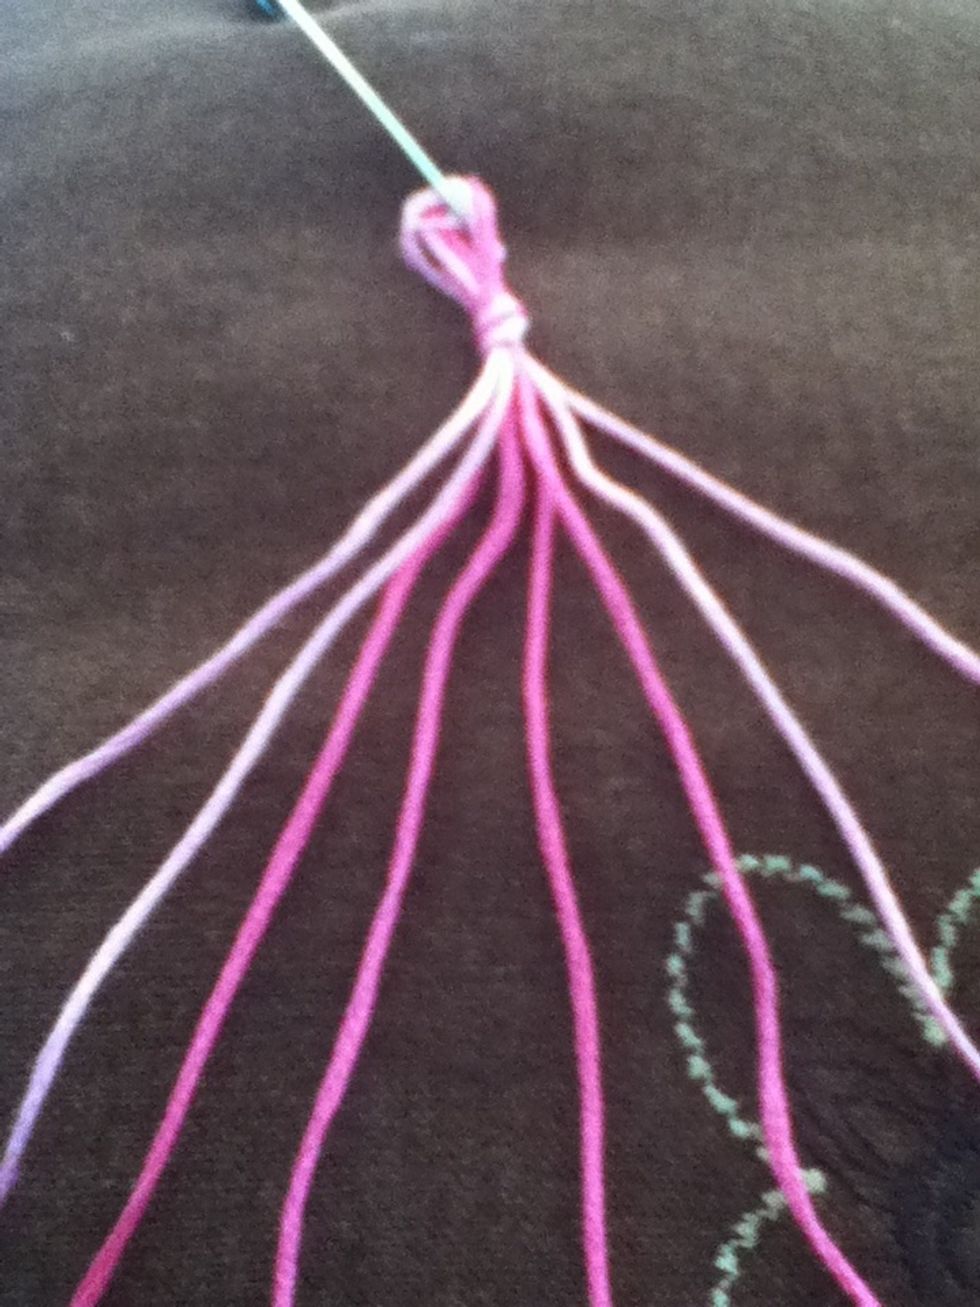
Double your strands, tie a knot leaving a loop, and safety pin it to your work surface.
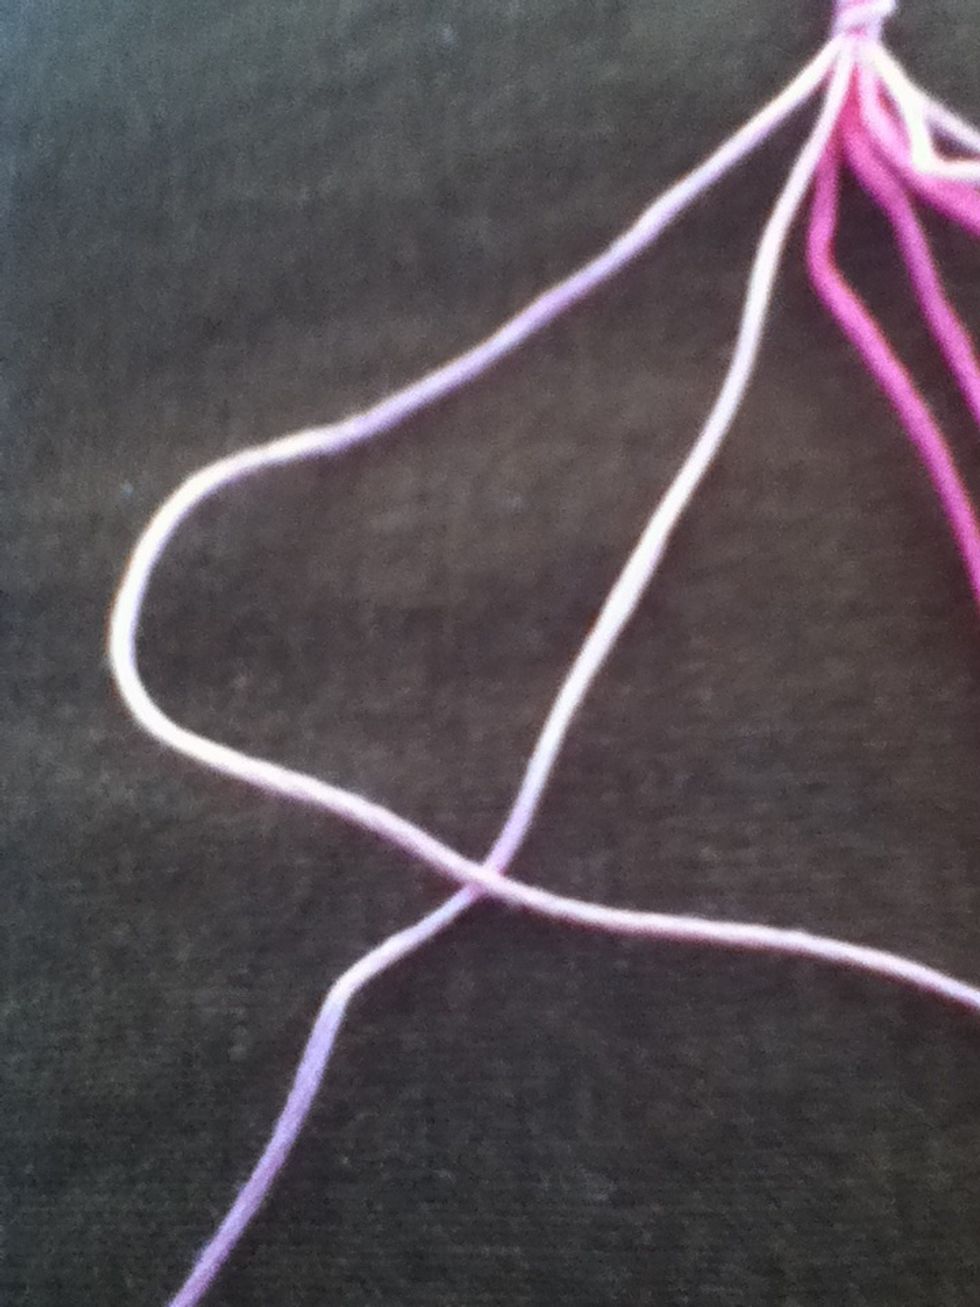
Make a "4" with the two leftmost strands .
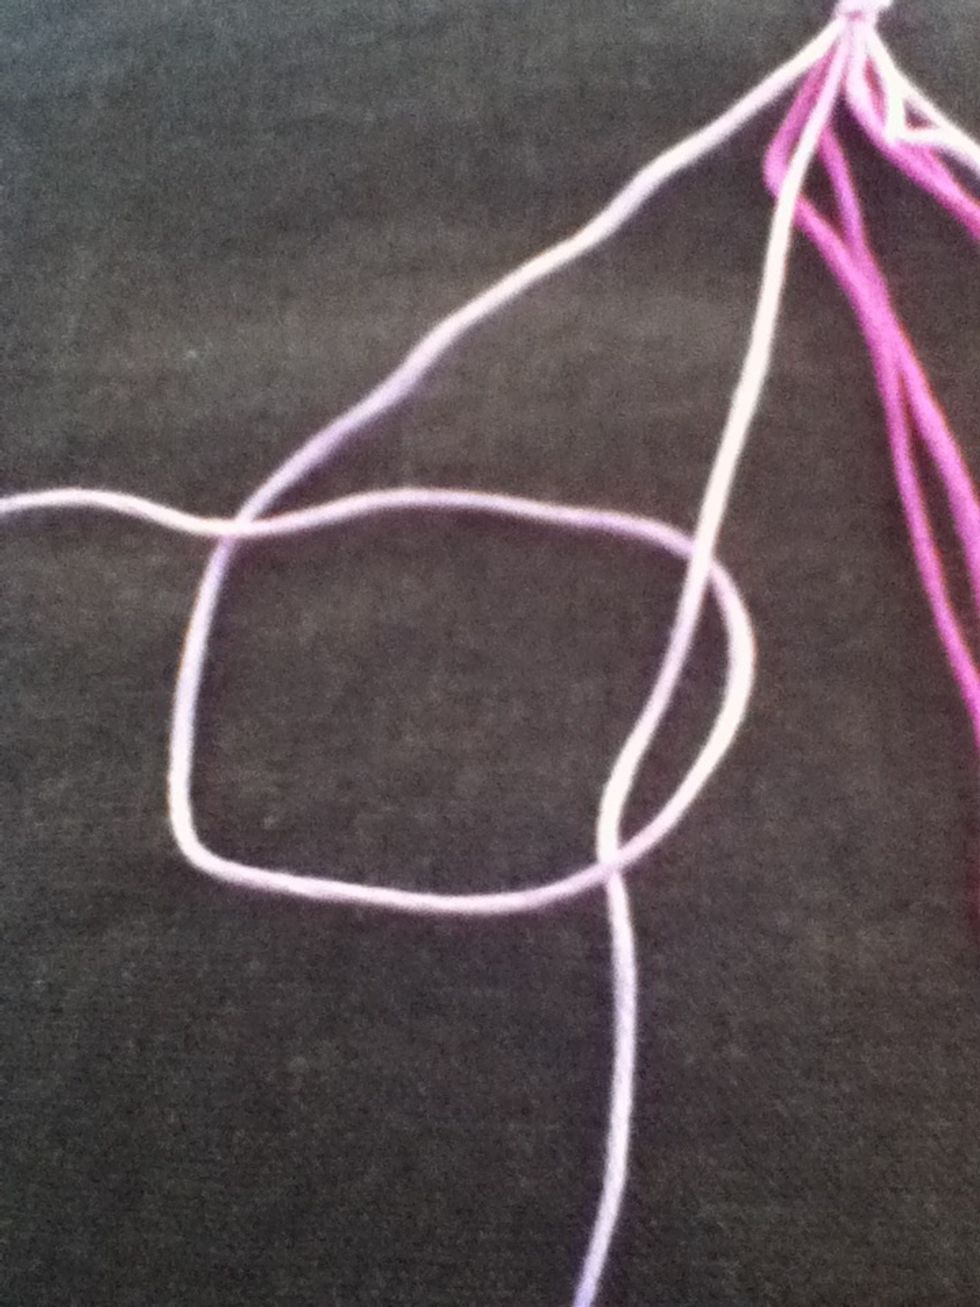
Bring the leftmost strand around the next strand and then back over itself. Bring knot to top of threads. This is a forward knot. Repeat using same two strands.
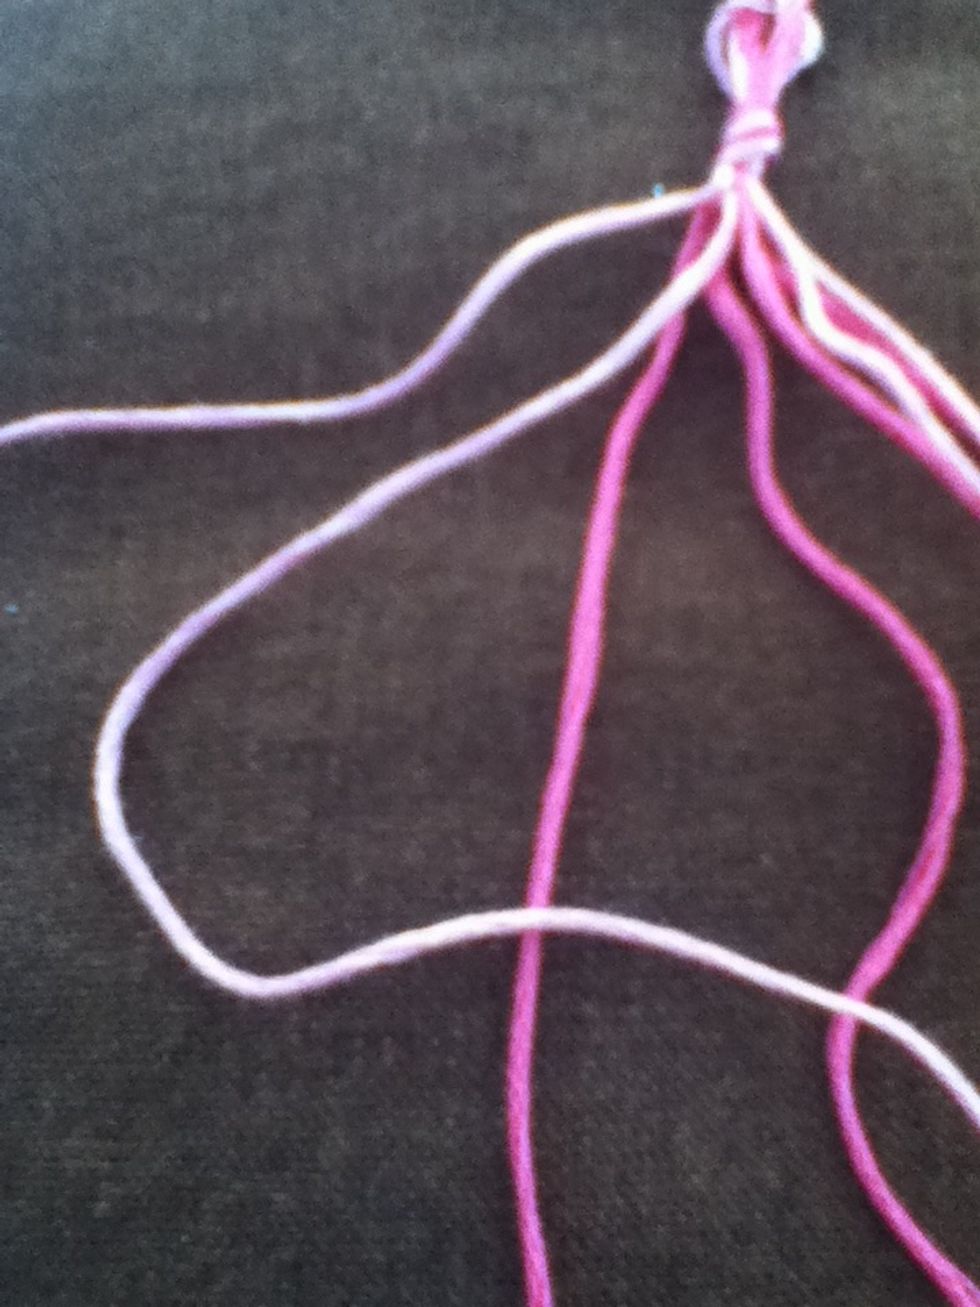
Your starting strand will have moved to the right. Make two forward knots with the strand.
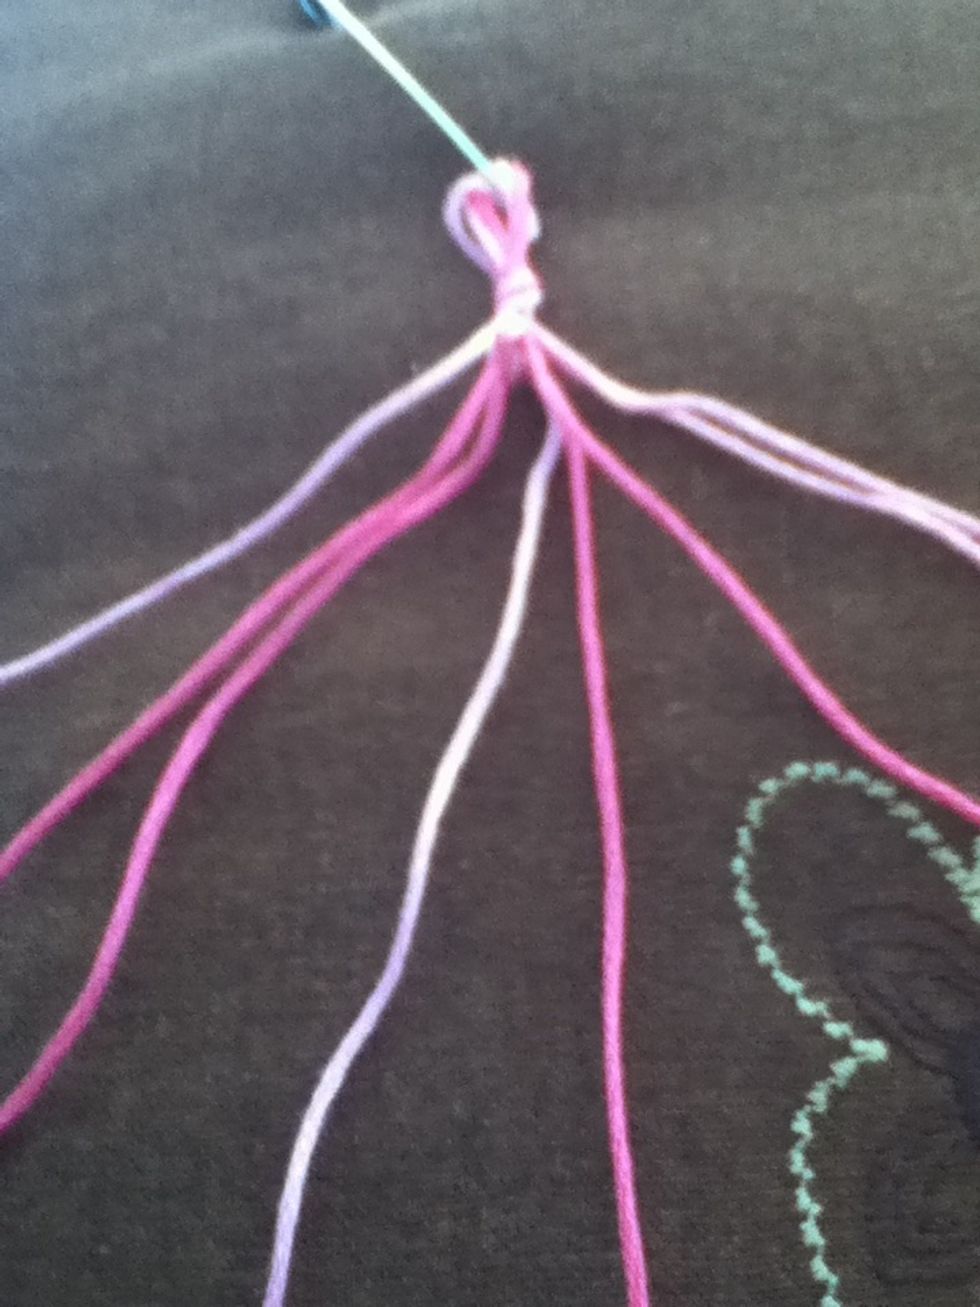
Repeat until your starting strand reaches the center.
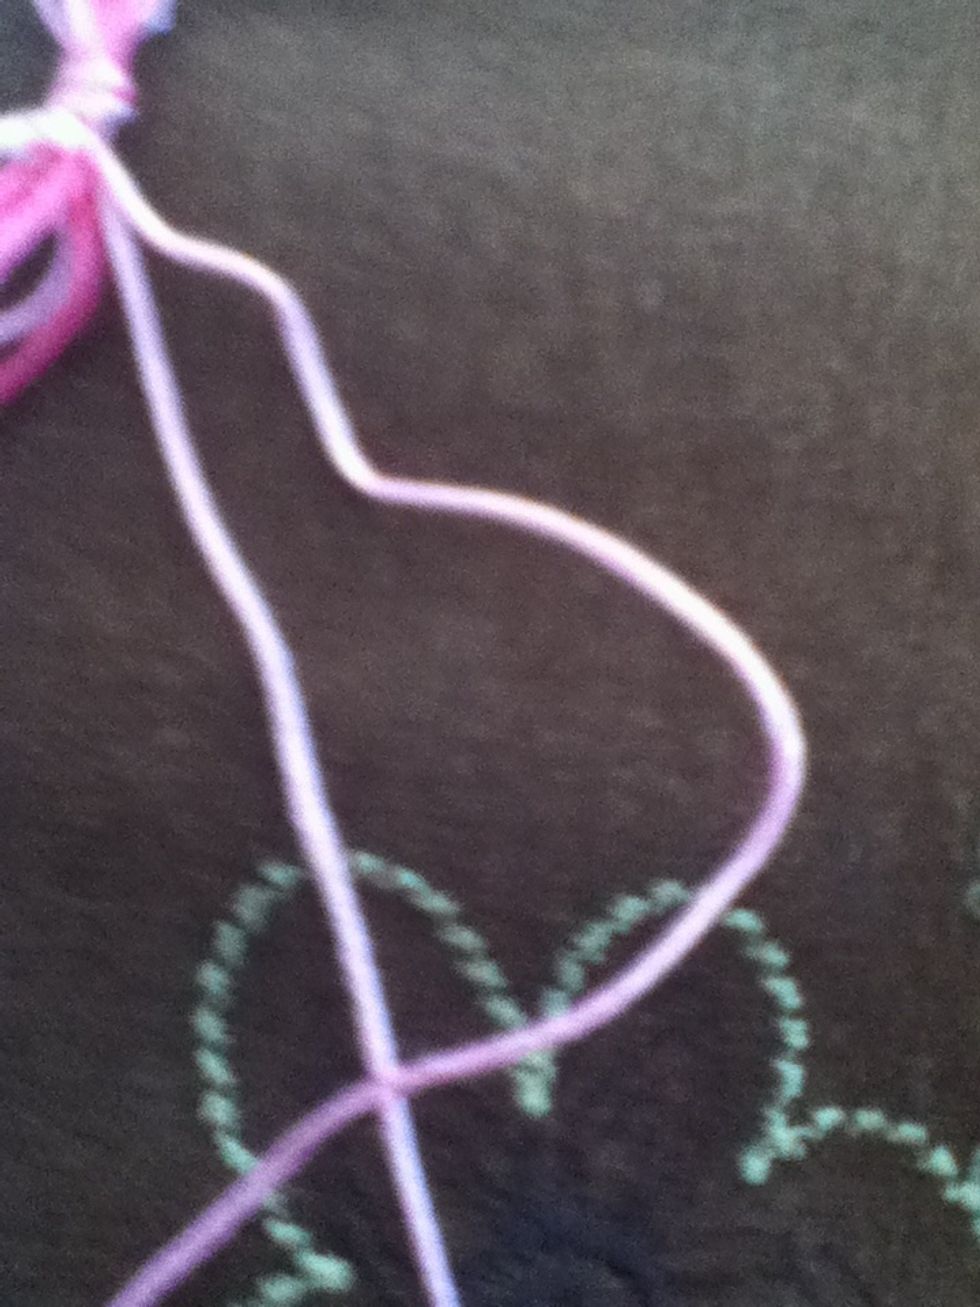
Make a "p" with your rightmost strands.
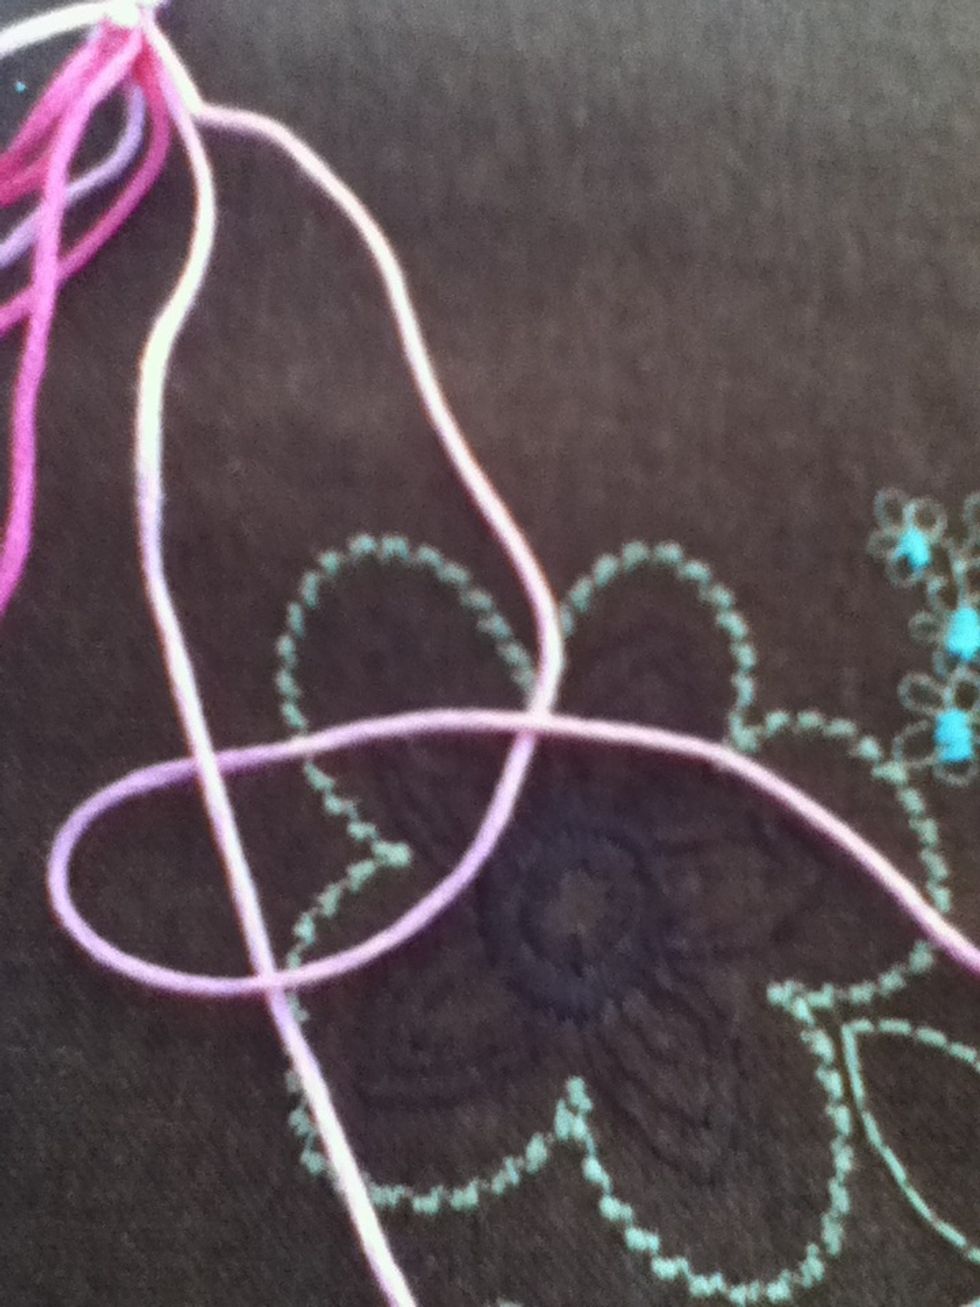
Bring rightmost strand around the next strand and back over itself. Bring knot to top of strands. This is a backwards/reverse knot. Repeat using same two threads.
Your starting strand will have moved to the left. Repeat two reverse knots until starting strand reaches center and then do two reverse knots using the two strands you have brought to the center.
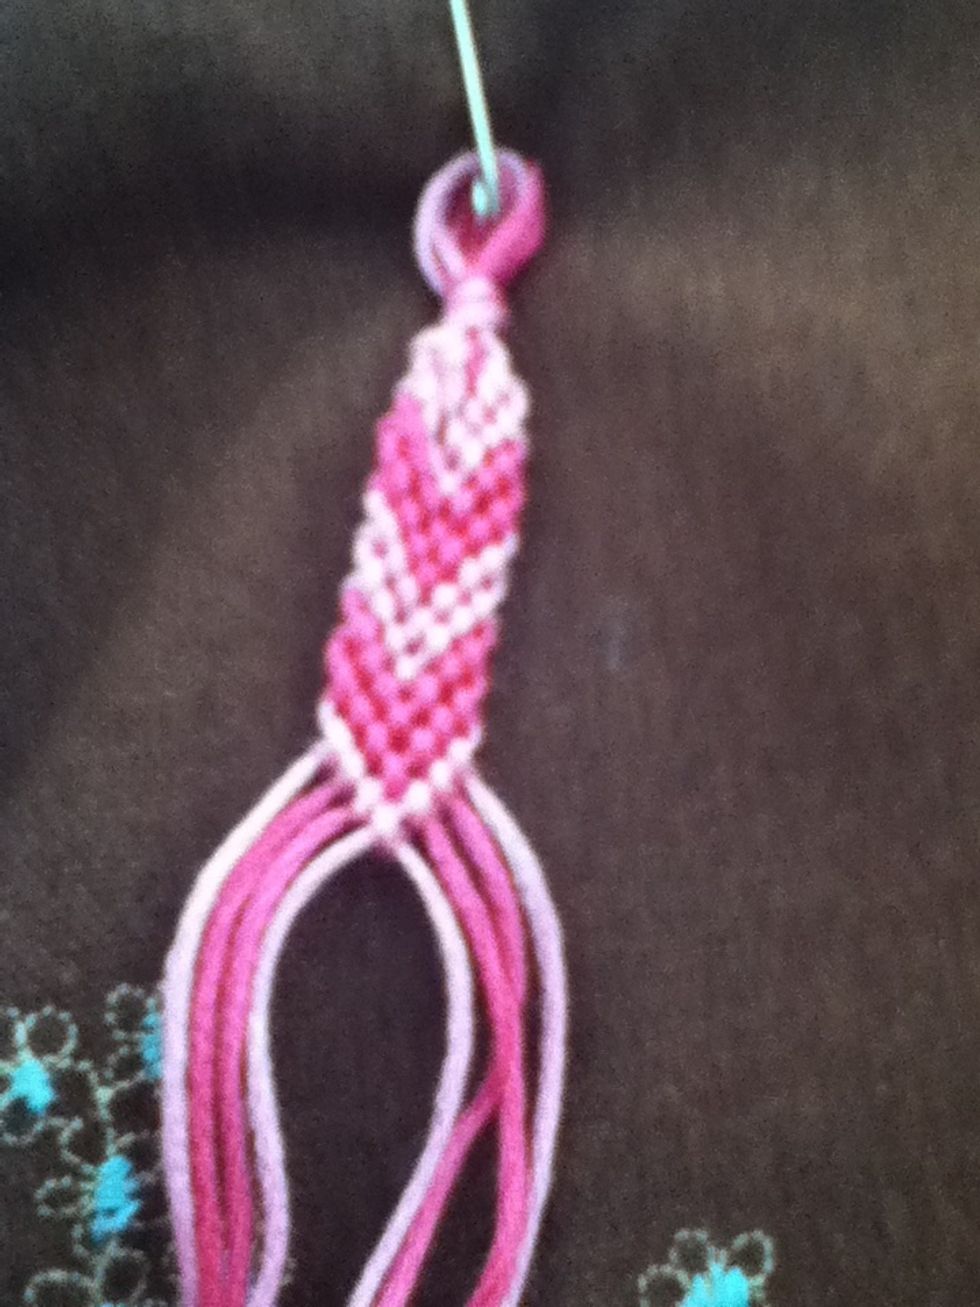
After a few rows, you will see the chevron pattern.
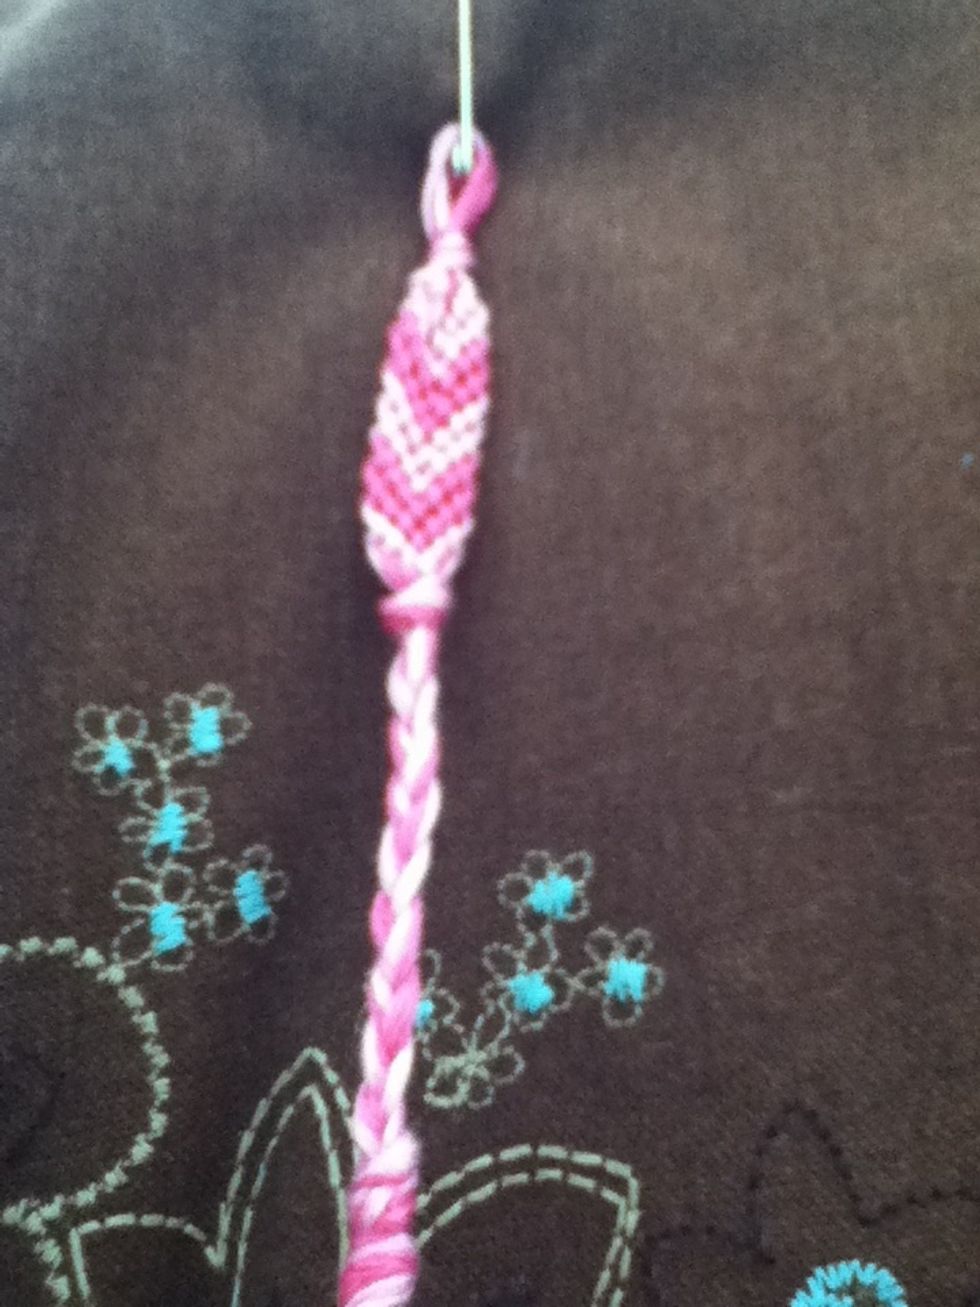
When bracelet is desired length, tie a knot. The either braid a few inches and tie off or thread on the button.
To wear bracelet, thread button through loop or thread braid through loop and tie a knot.
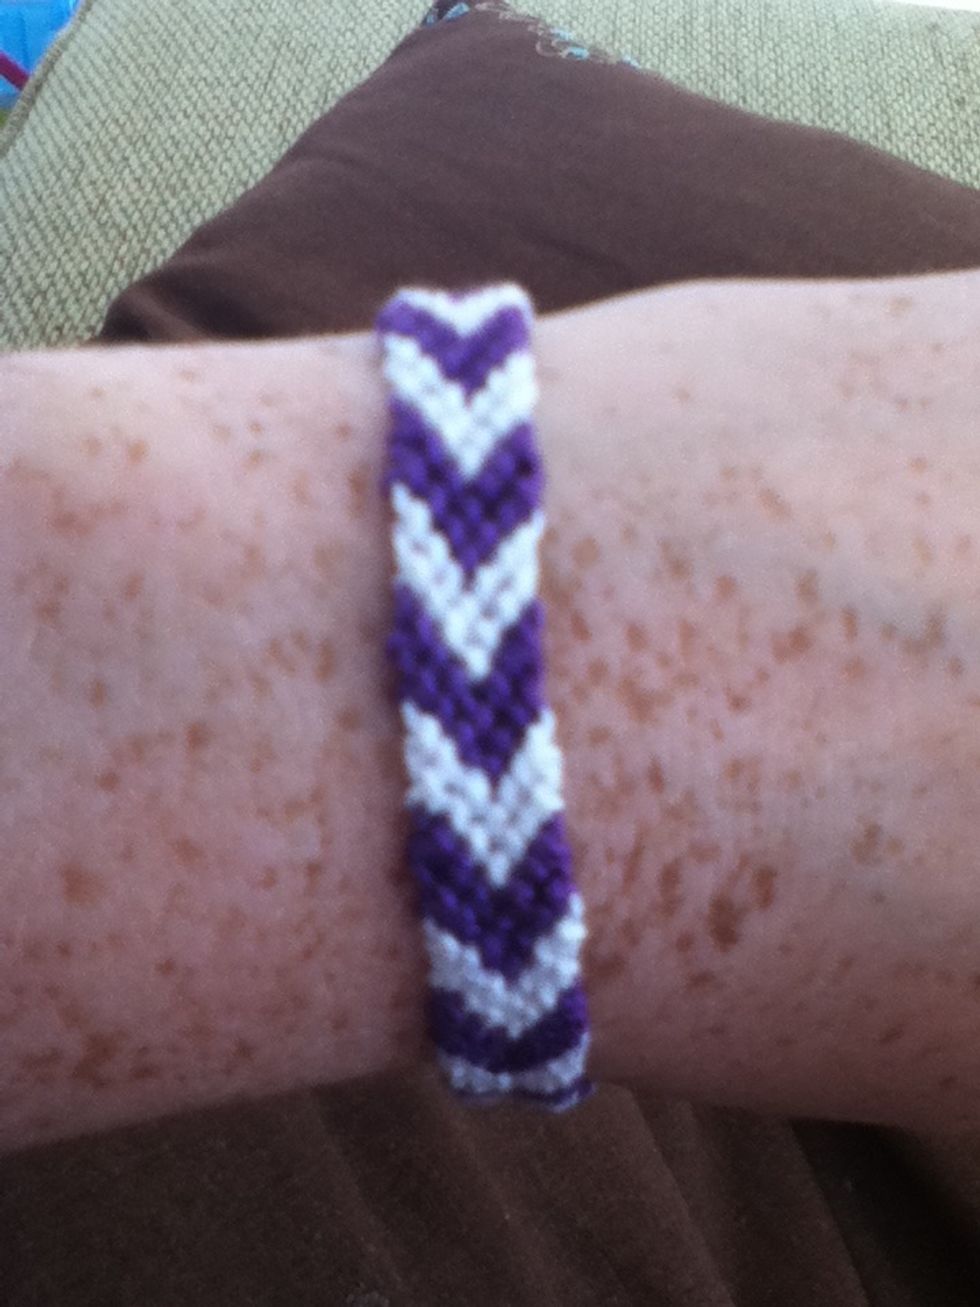
Enjoy.
- Embroidery floss or craft thread
- Safety pin
- Scissors
- Button or toggle (optional)