The Conversation (0)
Sign Up
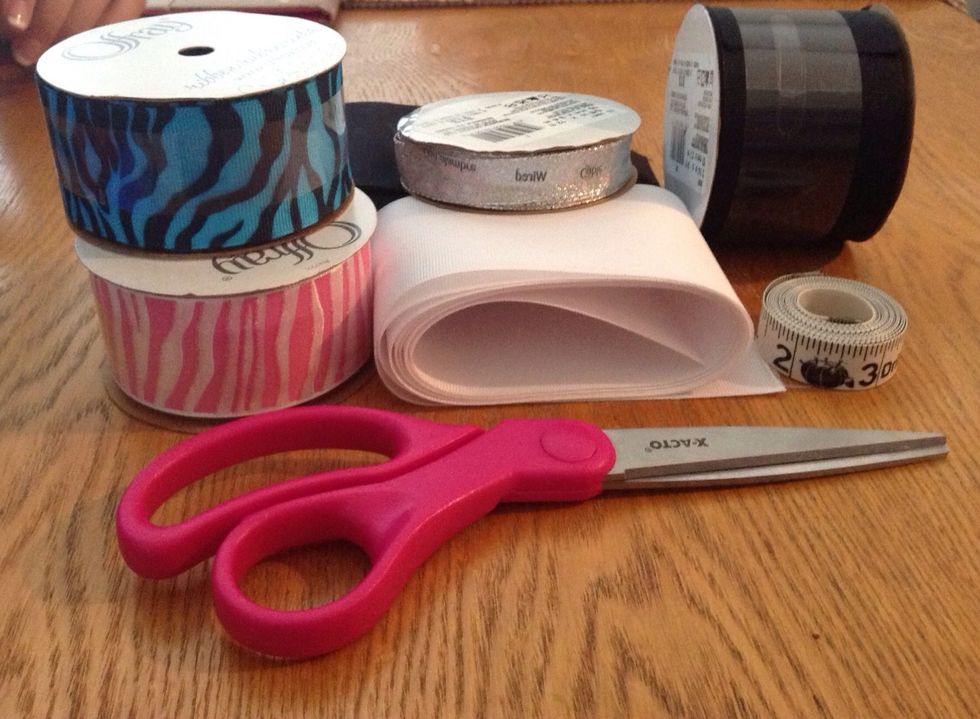
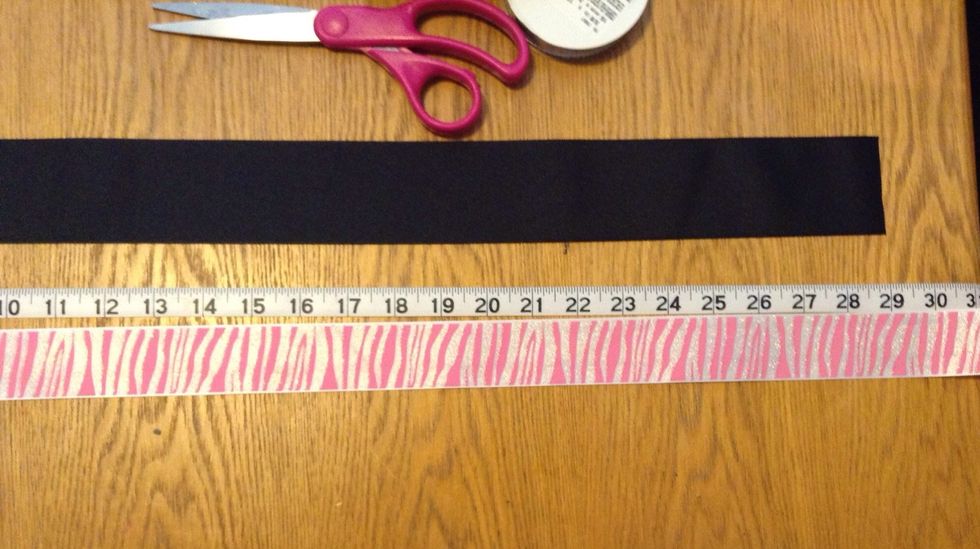
Gather all the supplies needed. This includes the ribbon, one 3in or larger and one 1 1/2 in. A nice sharp pair of scissors is rcommended as well. To measure use a yard stick or measuring tape.
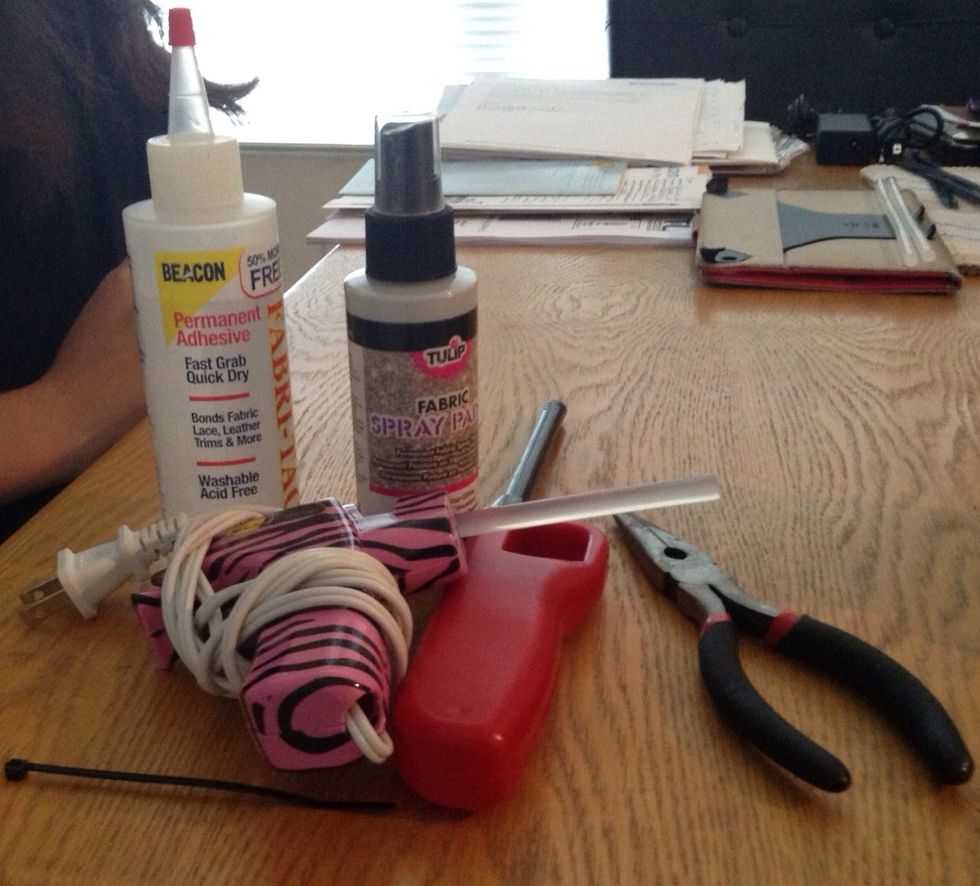
You will also need fabric tac glue, tulip fabric glitter spray, a hair tie, hot glue gun, a lighter, pliers, and a zip tie.
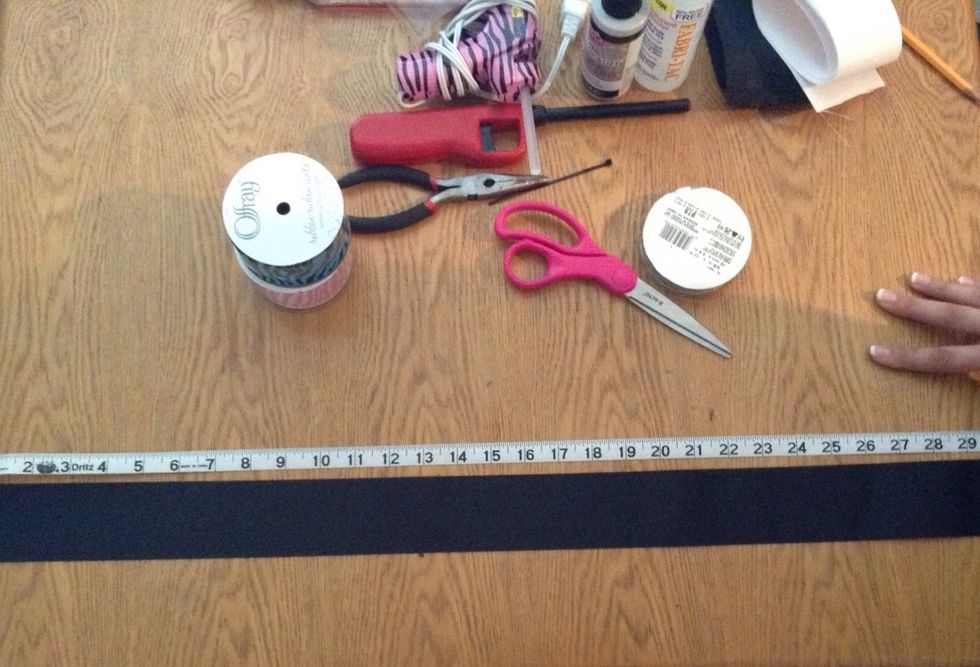
Measure the larger ribbon at 30 inches.
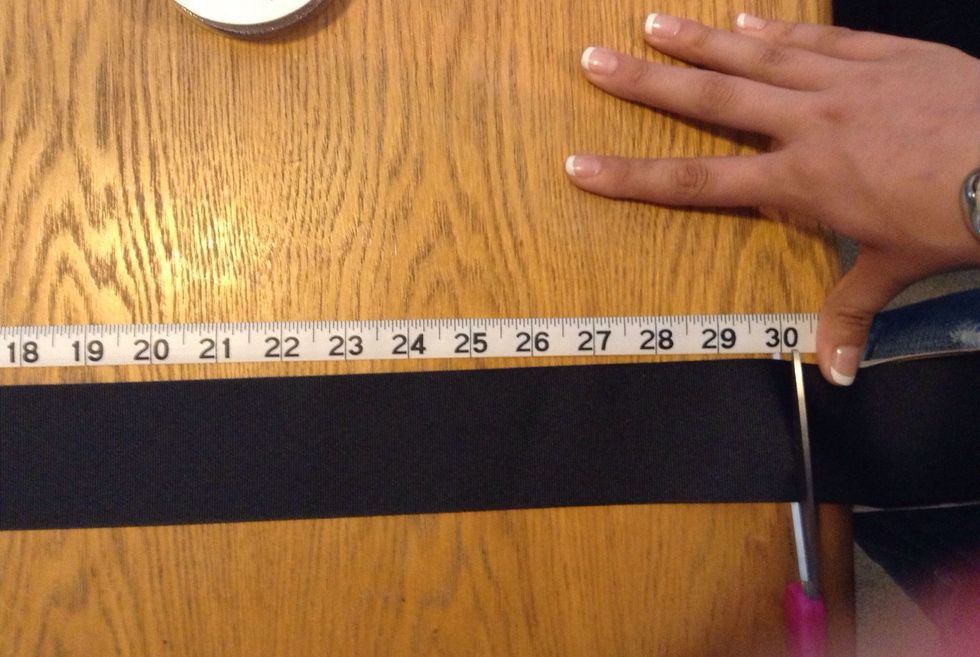
Line the ribbon up as evenly as possible with the measuring tape for accuracy and cut.
Next measure the smaller ribbon 30 inches as well.
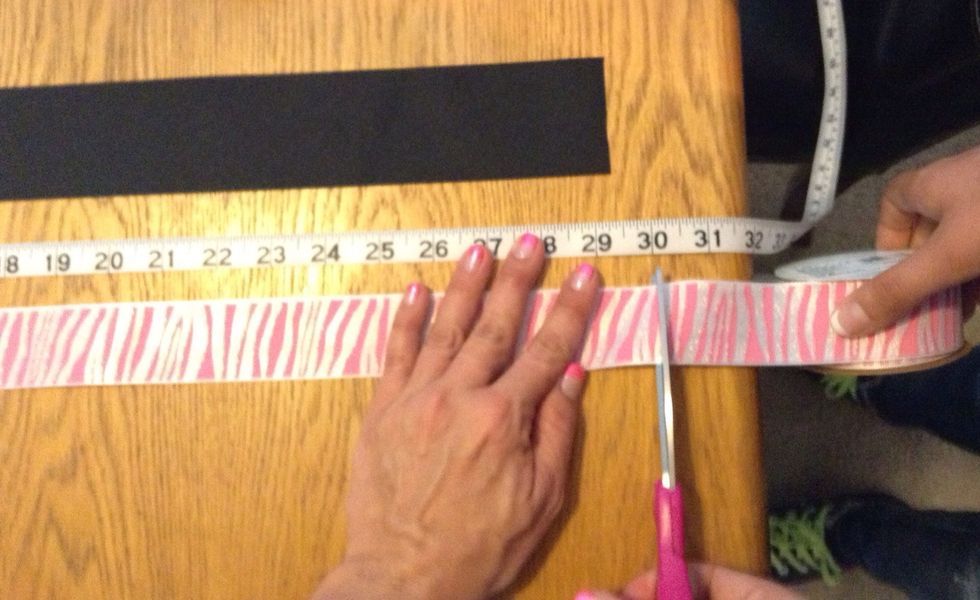
Line it up and cut.
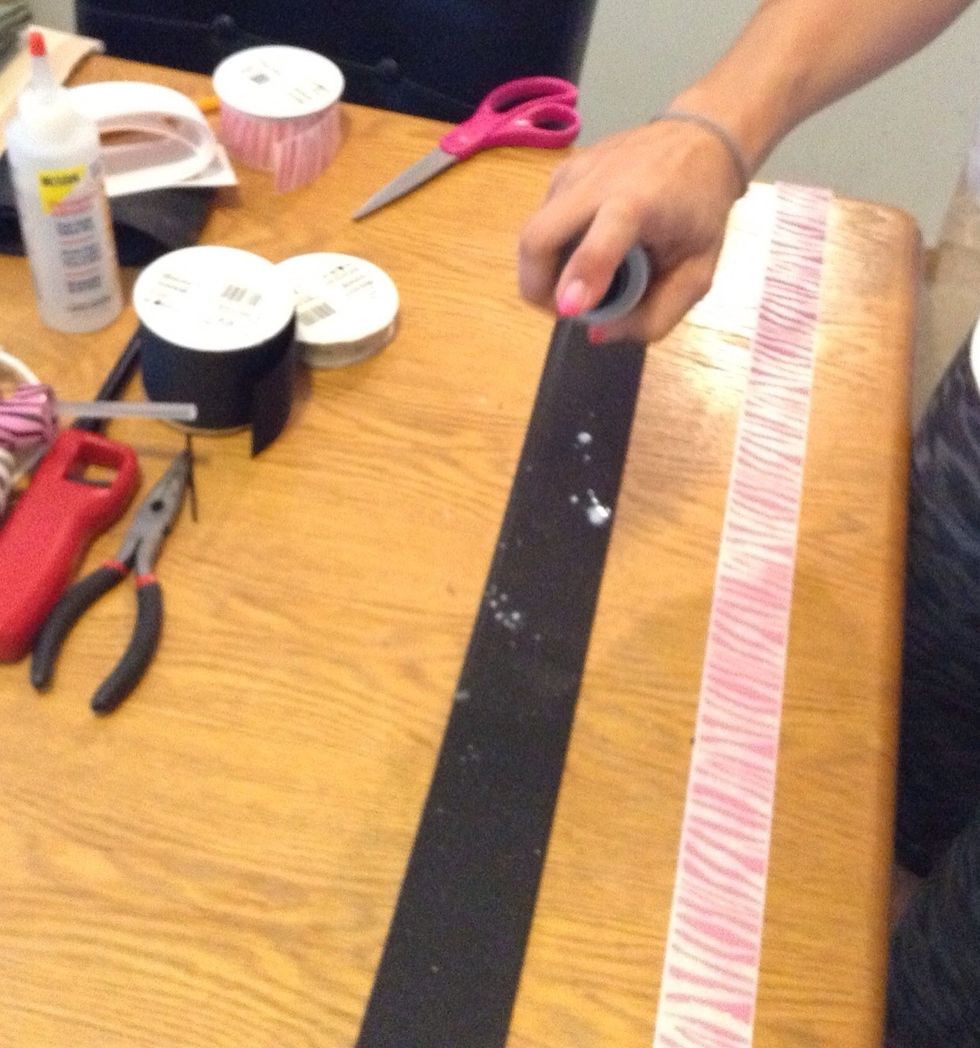
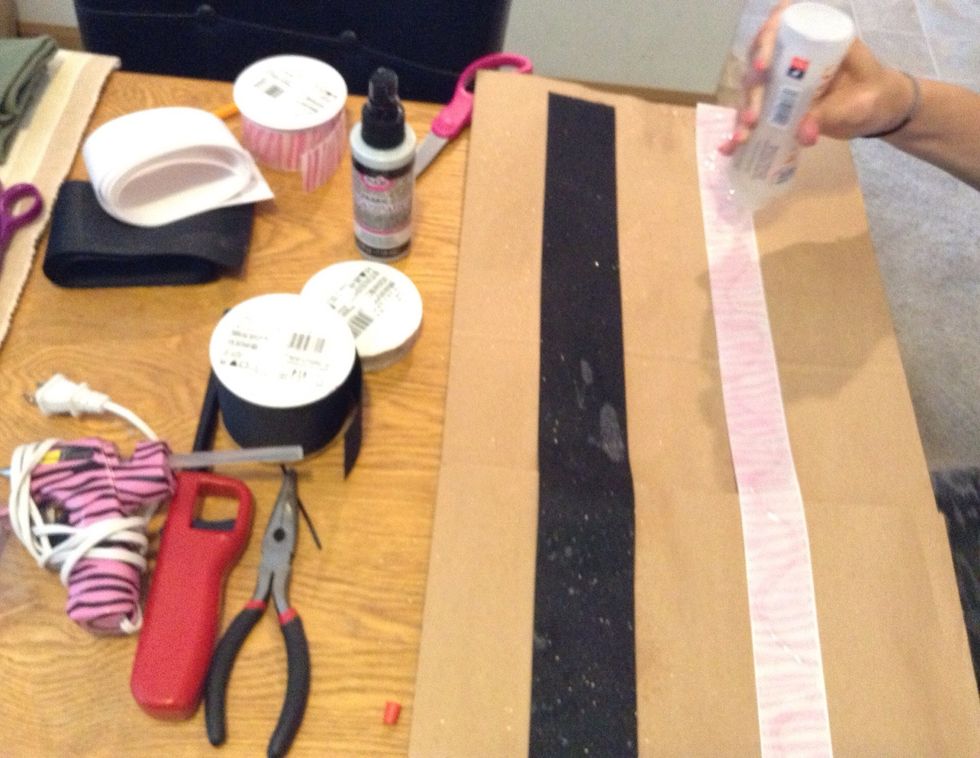
Use the tulip spray glitter and saturate the larger ribbon as desired.
If there is any large drops of glitter smooth them out with your fingertips.
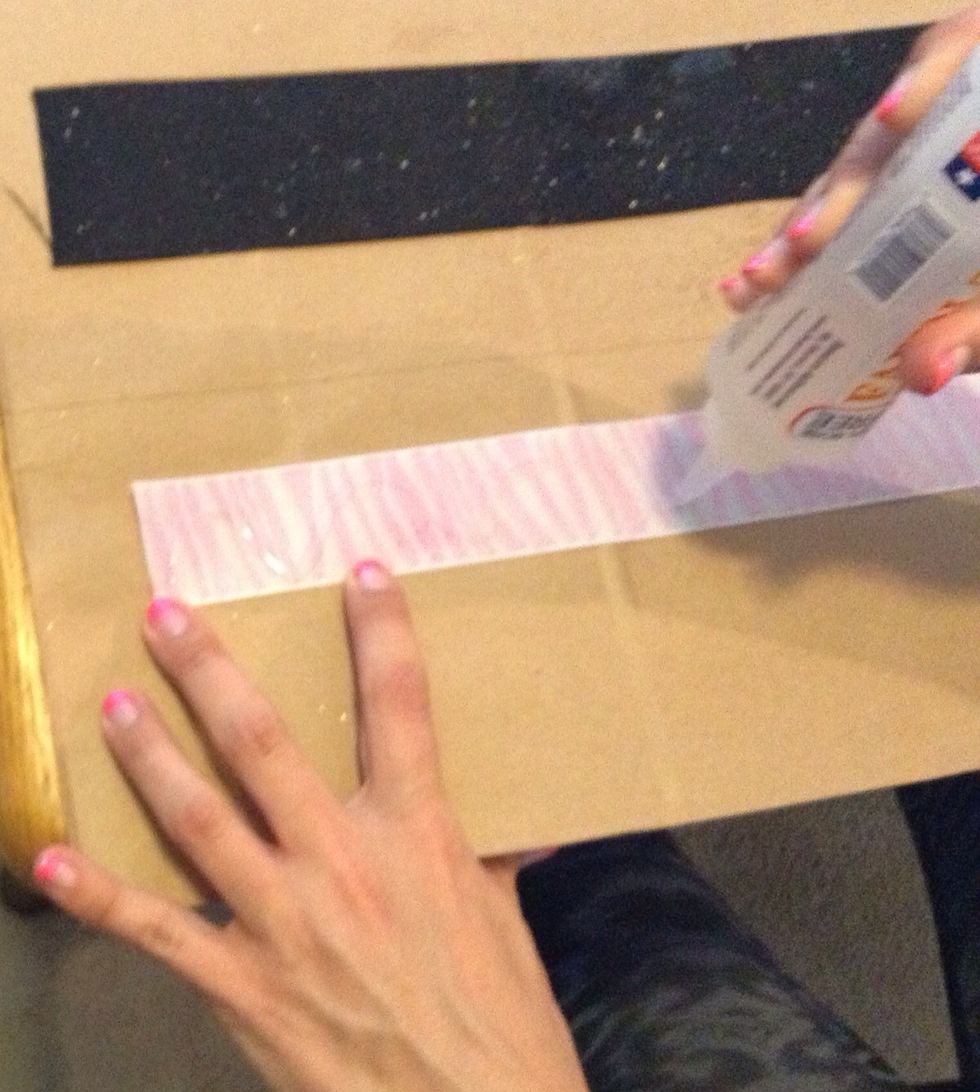
Let the glitter dry and apply the fabric tac glue to the backside of the smaller ribbon.

Use wavy lines when applying the glue, going down the ribbon left to right and then come back overlapping with another wavy line.
This ensures that it will be distributed more evenly.
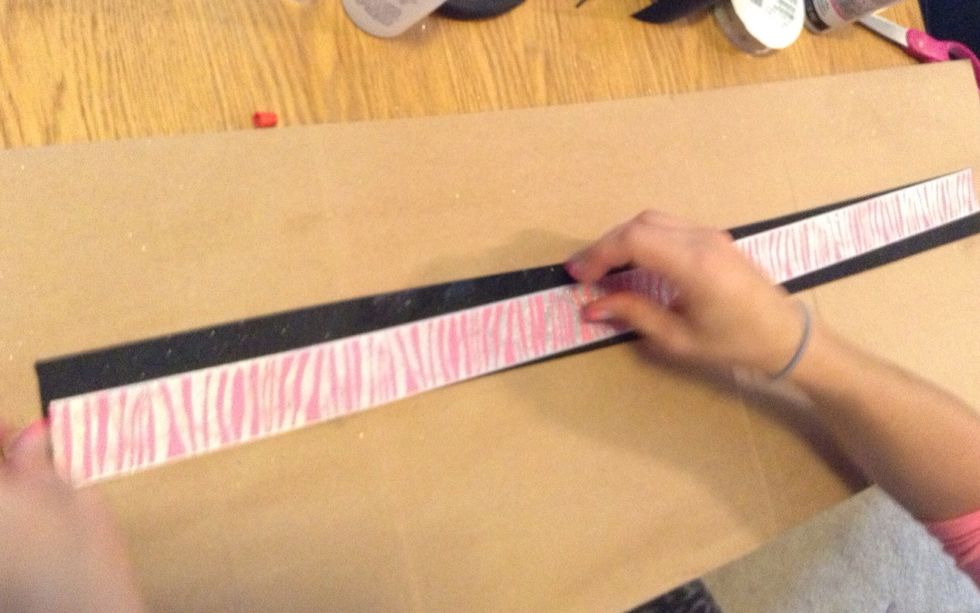
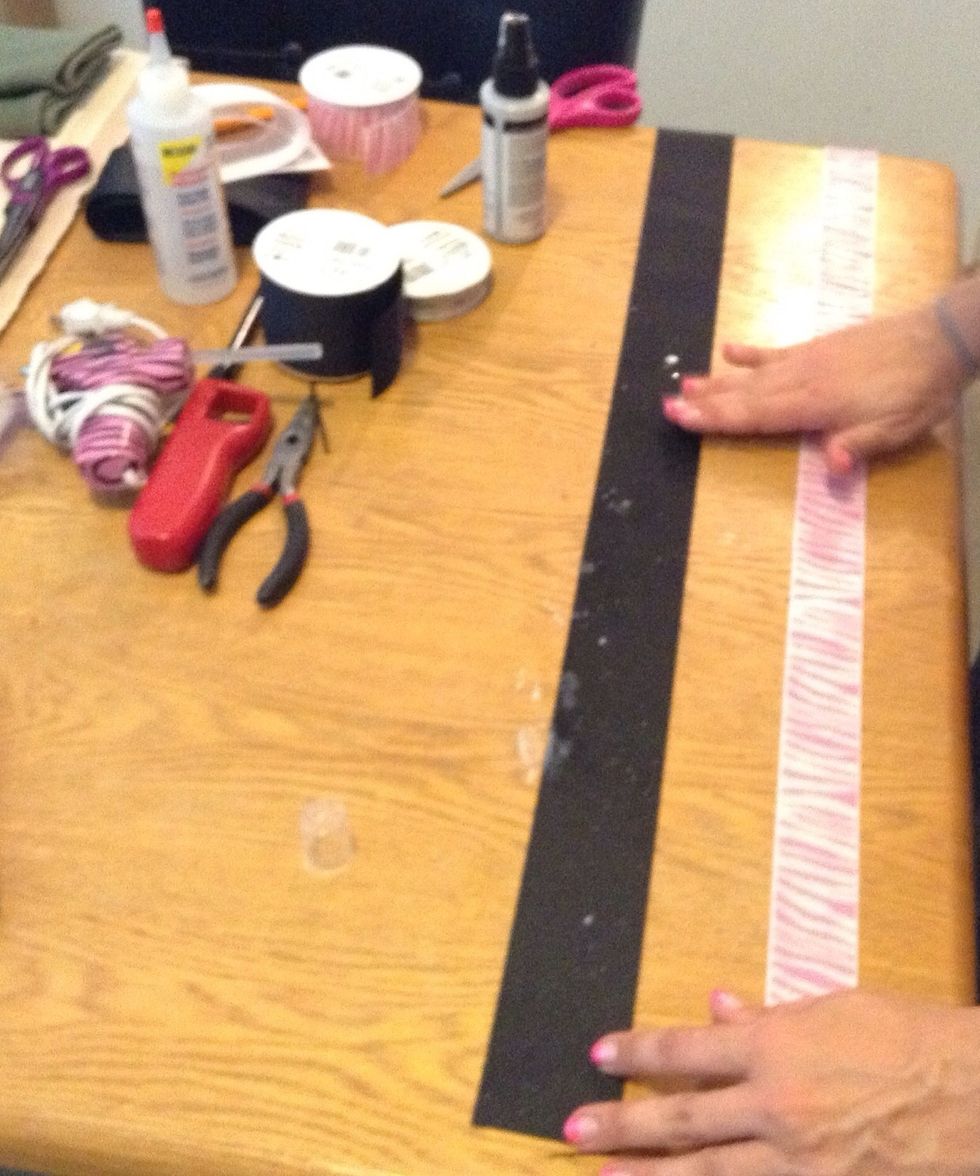
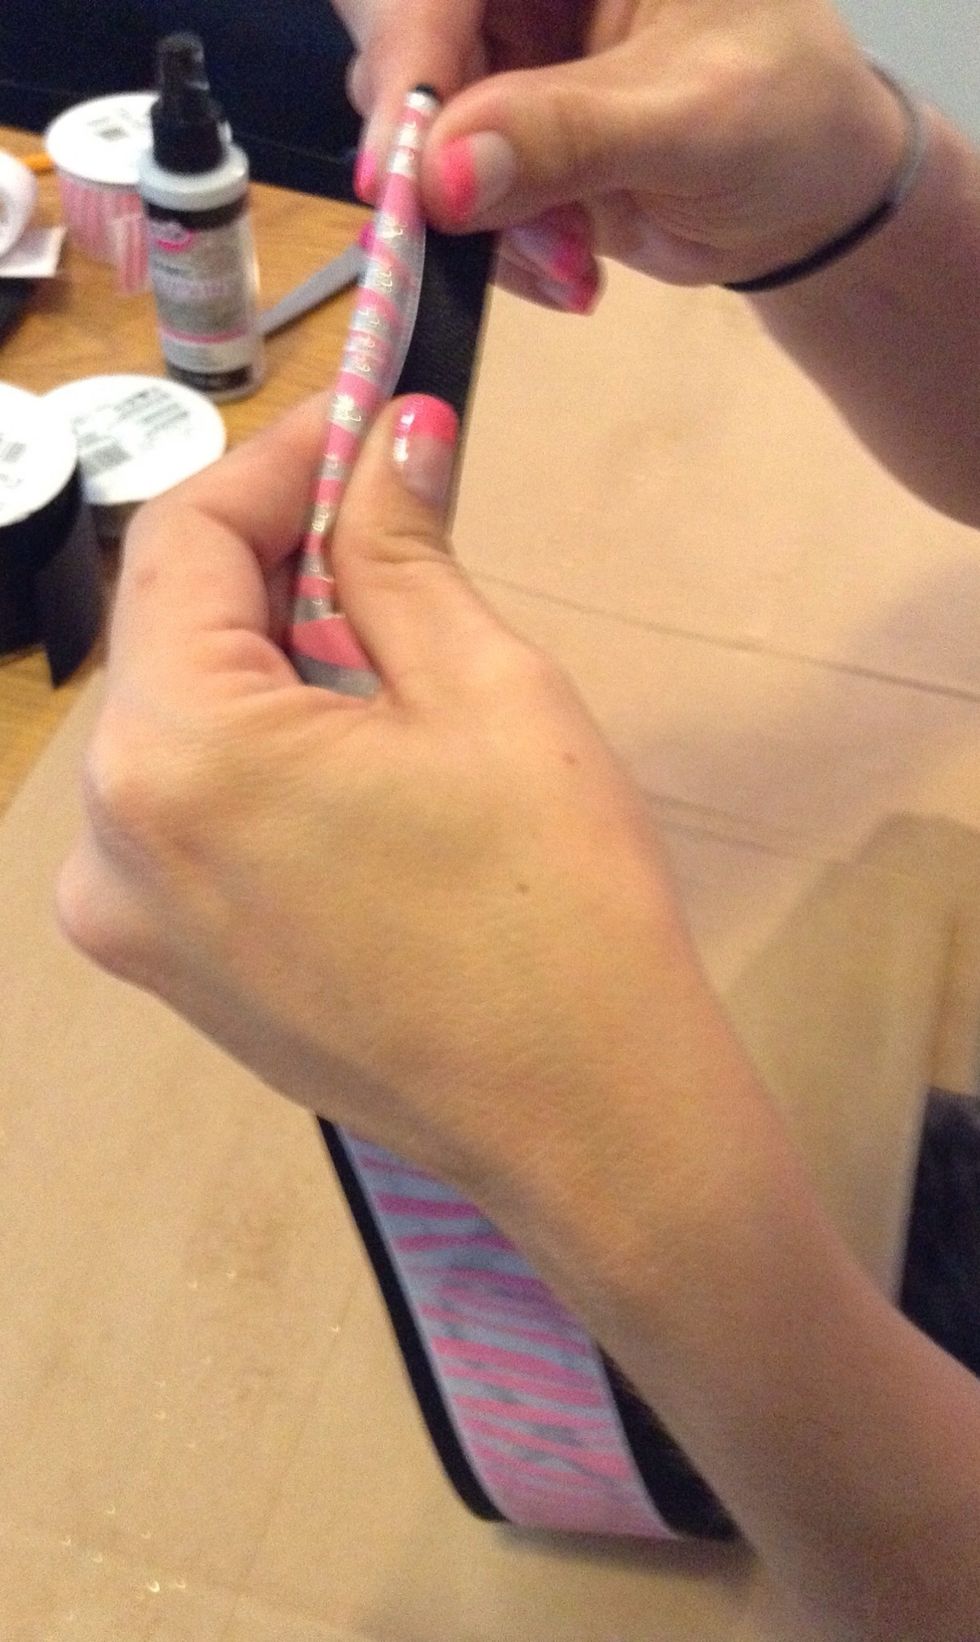
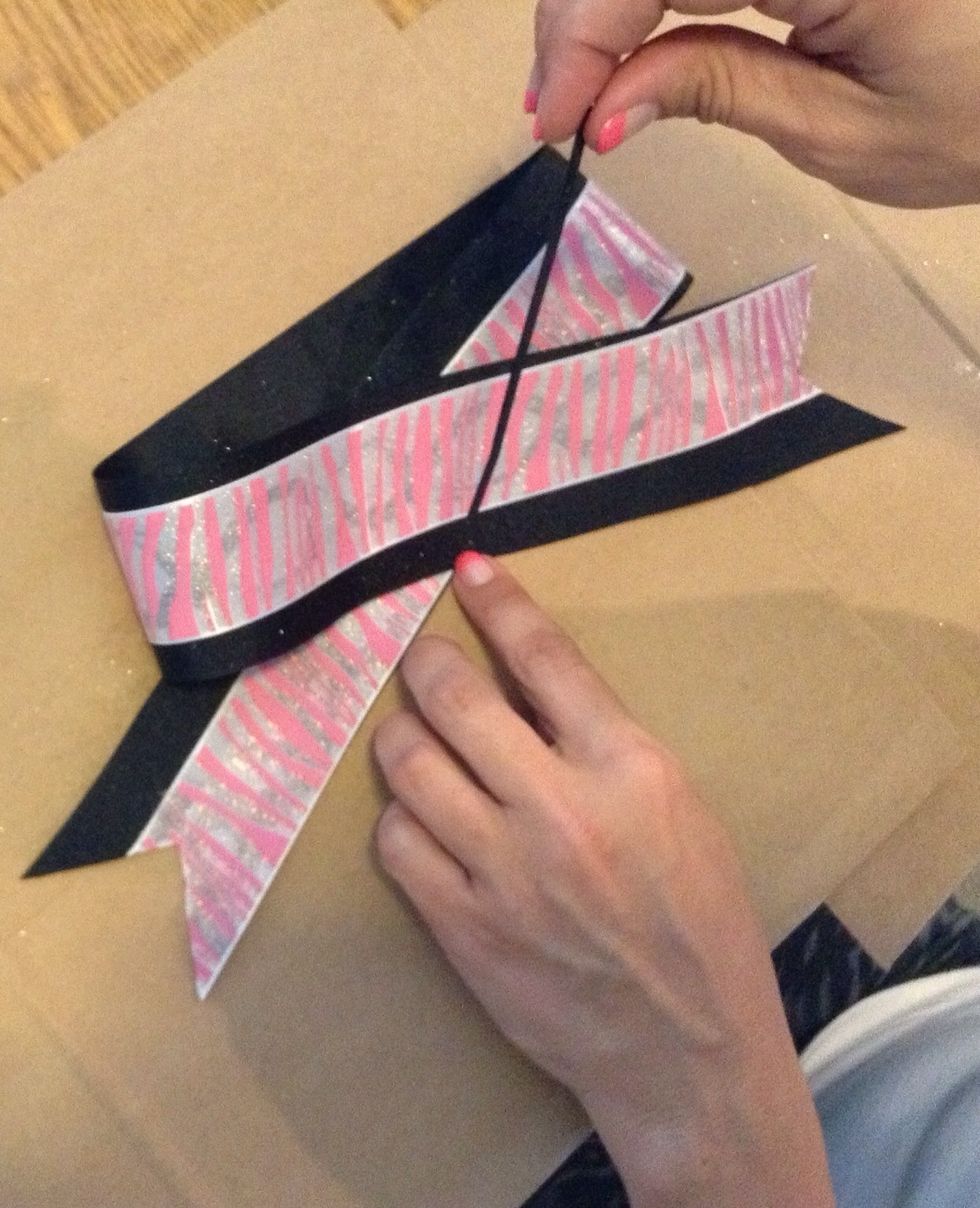
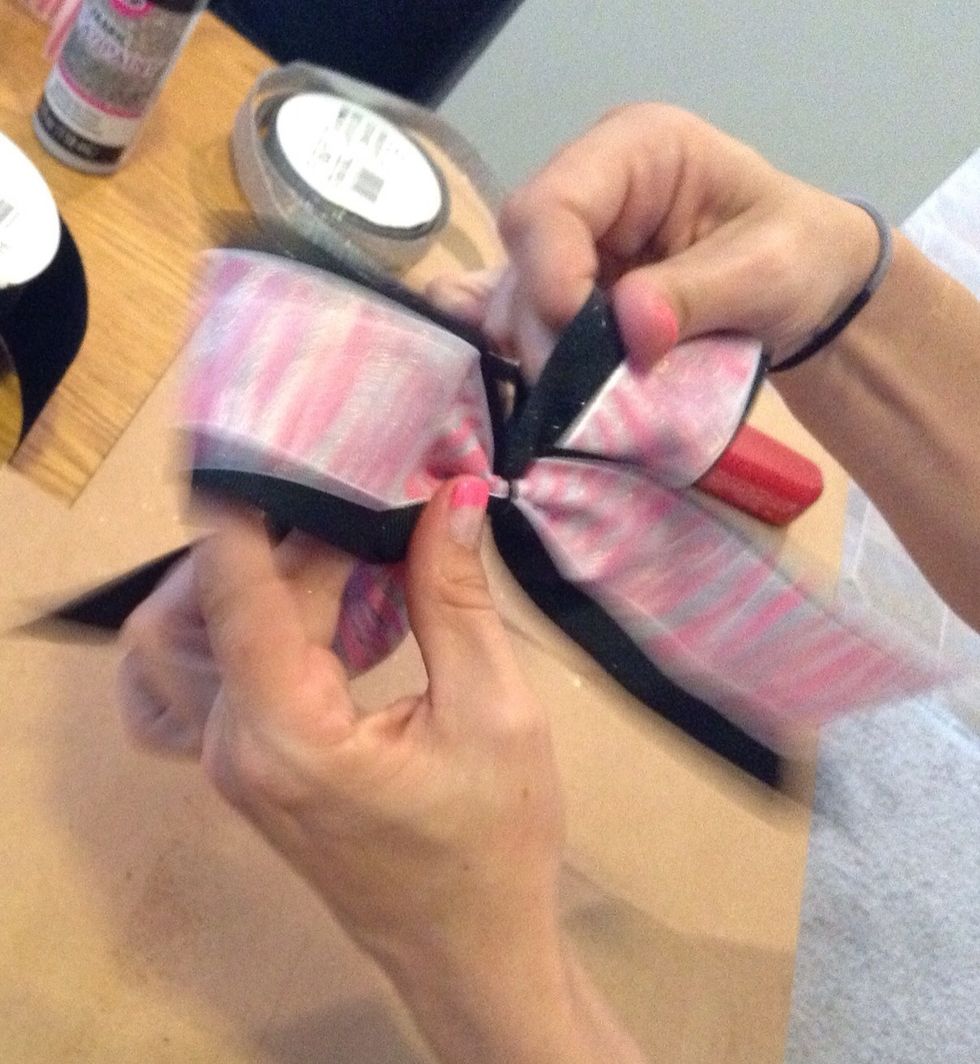
Place the smaller ribbon on top of the larger one with the end of the small ribbon at the bottom left corner and take it diagonal to the top of the right corner.
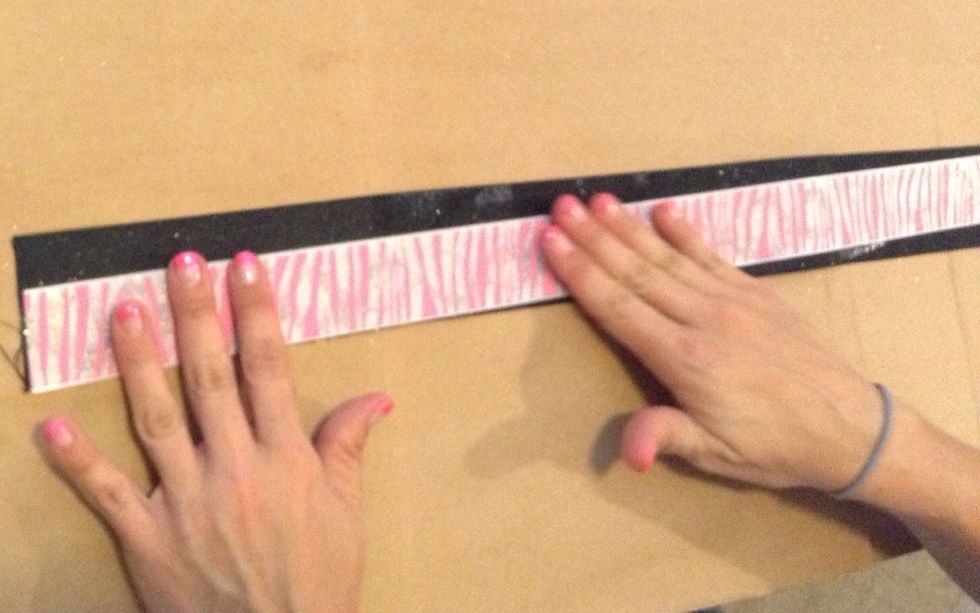
Smooth out the ribbon with the fingertips making sure not to press to firmly allowing the glue to squirt out. Let it dry.
Fold the ribbon in half joining the 2 ends firmly an then folding the in half lengthwise at the ends.
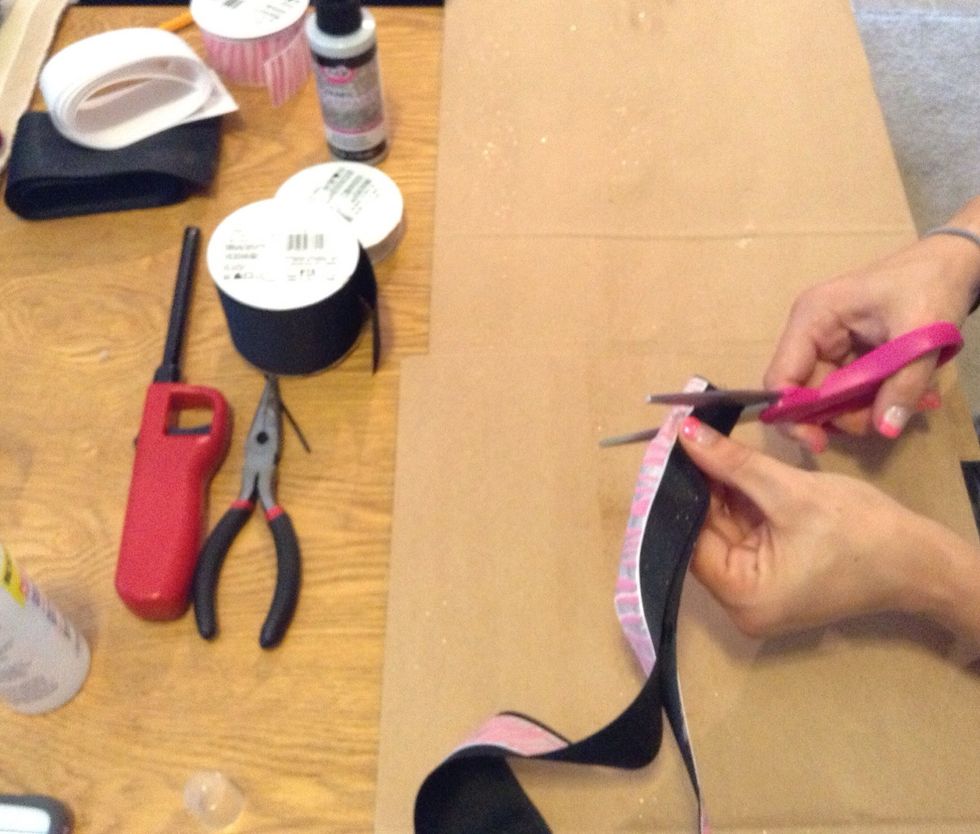
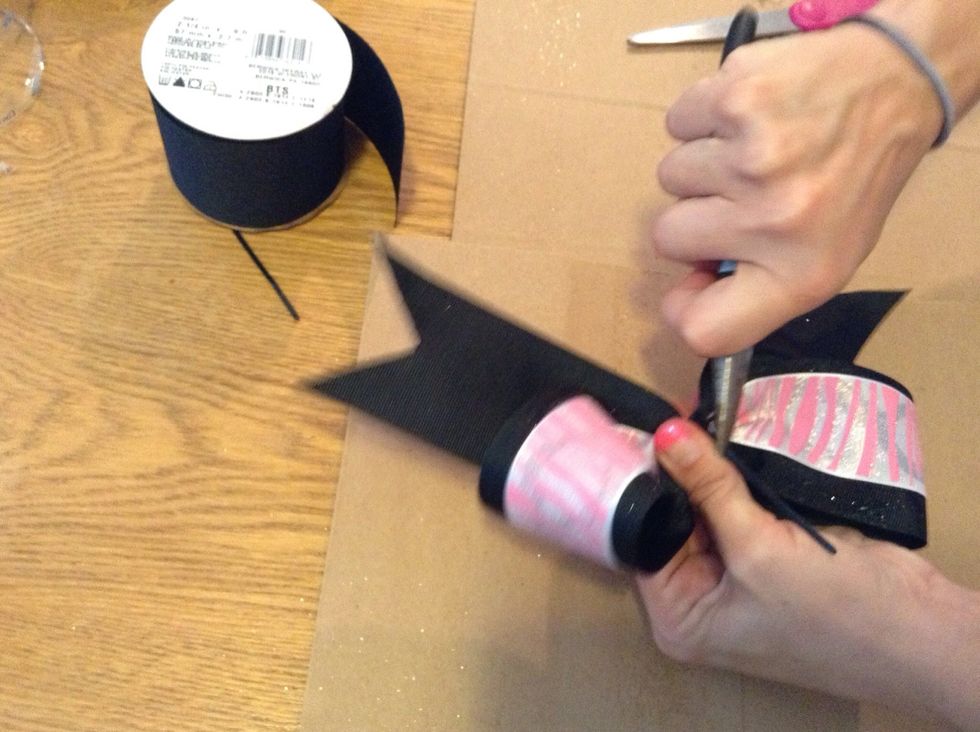
Take the scissors and start at the corner of the end of the ribbon and cut diagonal toward the middle.
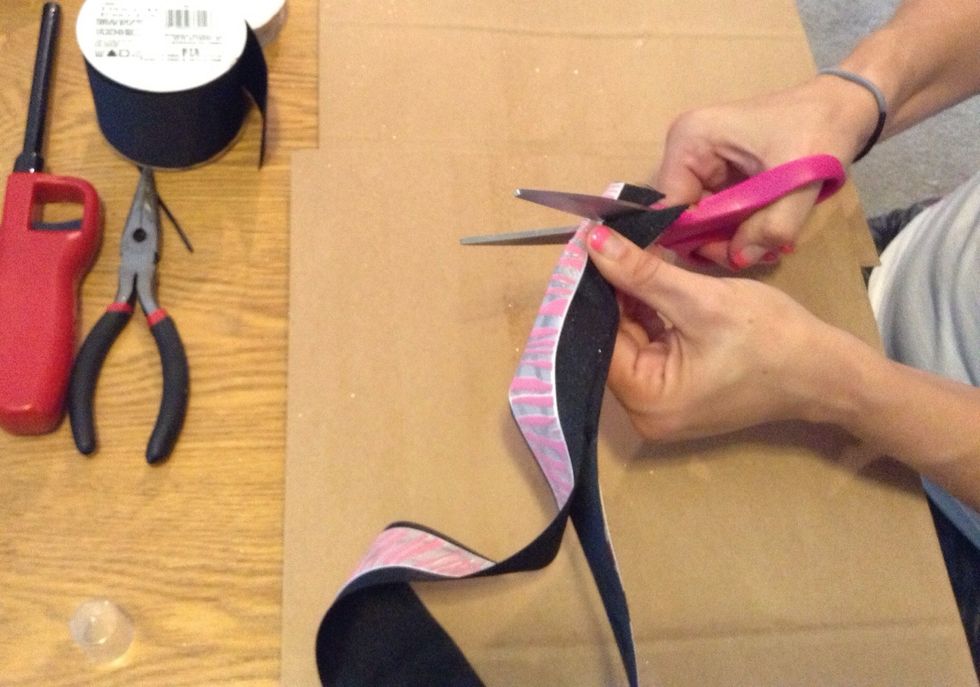
Cut as wide or narrow an angle as is desired for a fishtail.
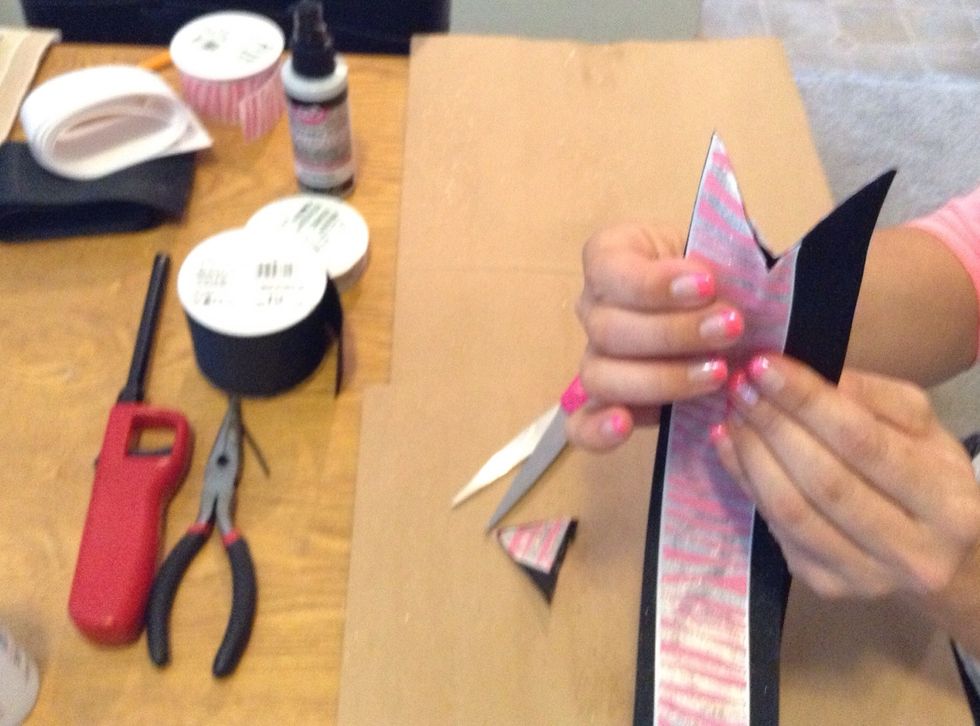
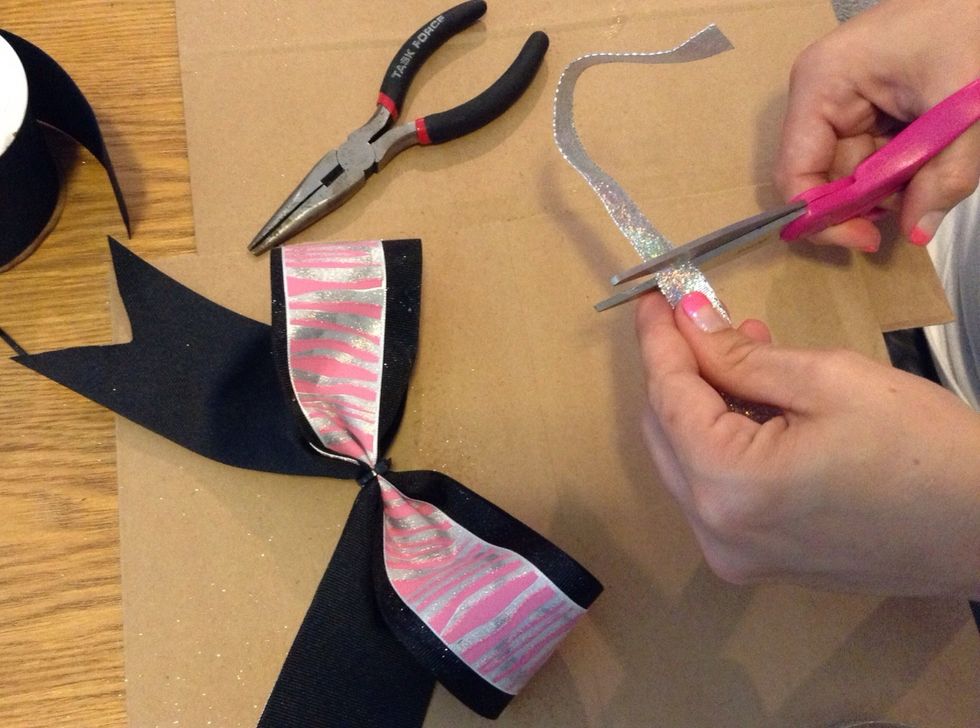
Open the ribbon back up to display the fishtail.
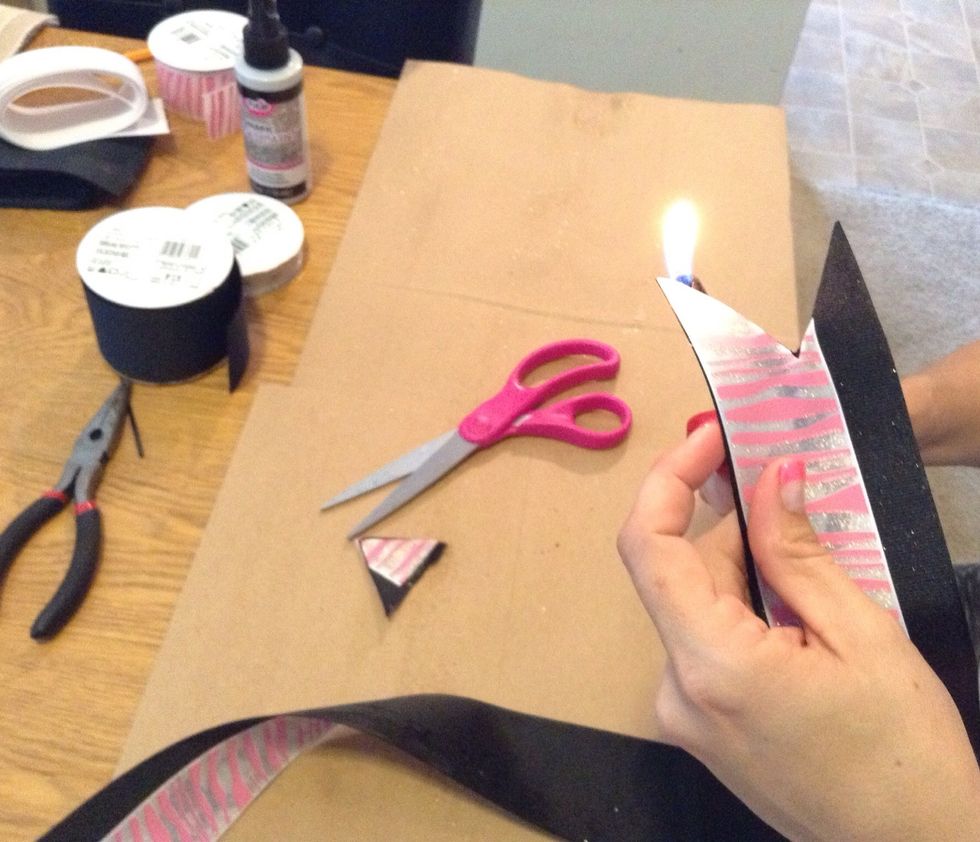
Use the lighter to seal the ribbon and prevent fraying.
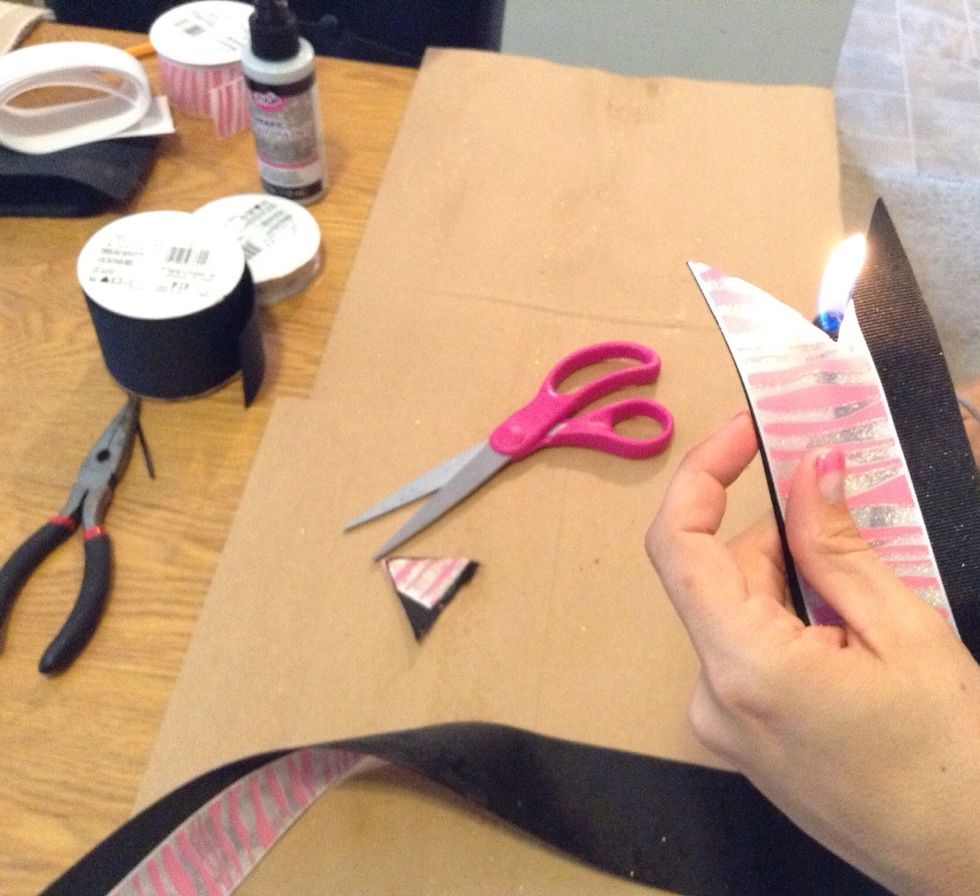
Move the lighter from one side of the ribbon to the other and do not linger in one area too long otherwise it will burn the ribbon.
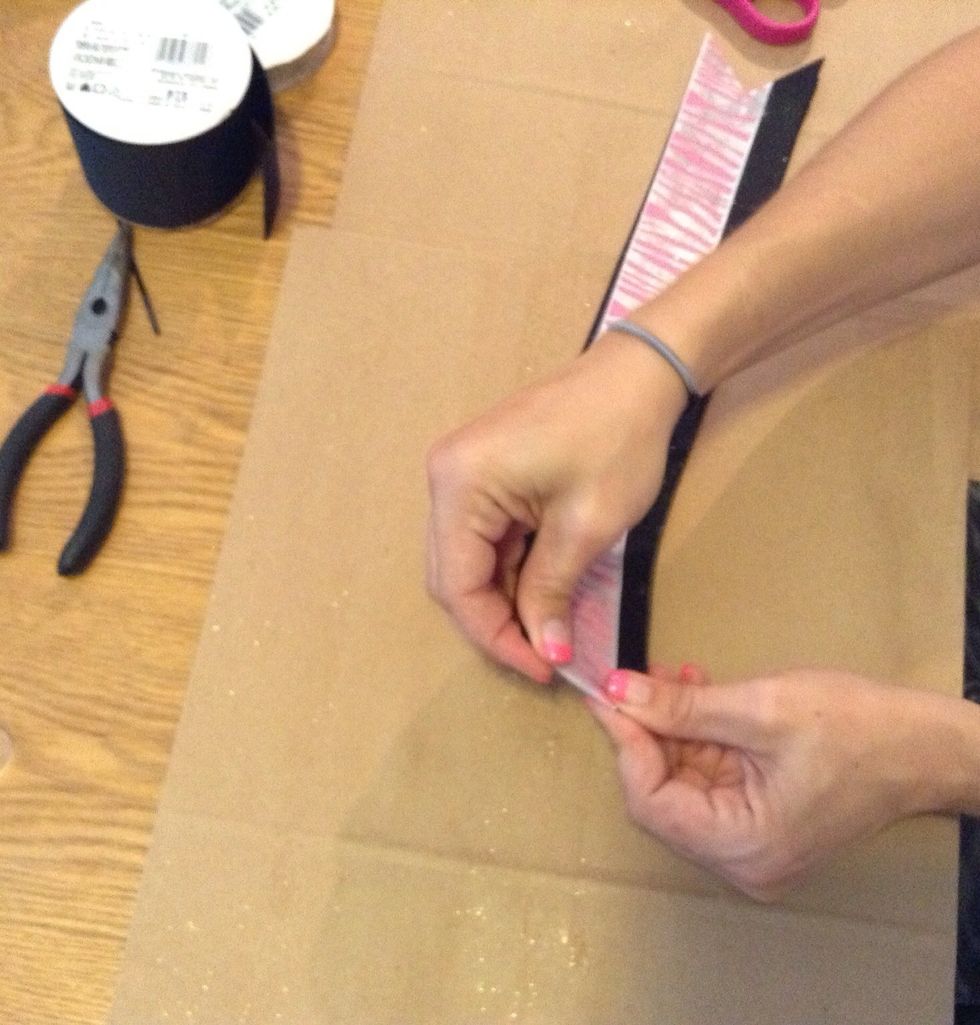
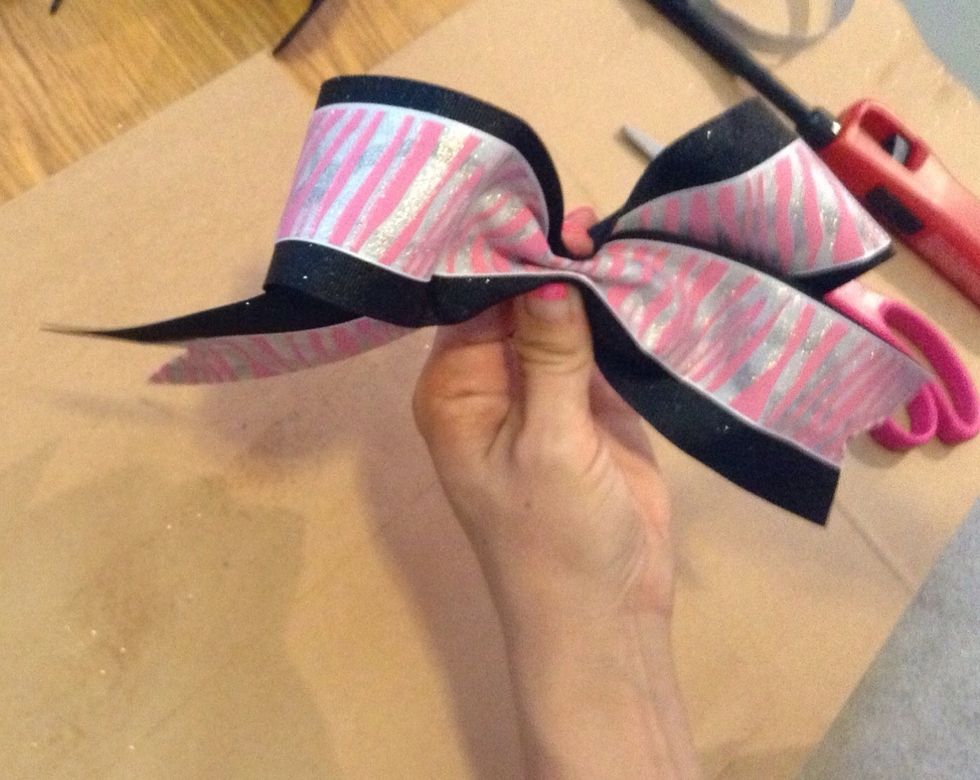
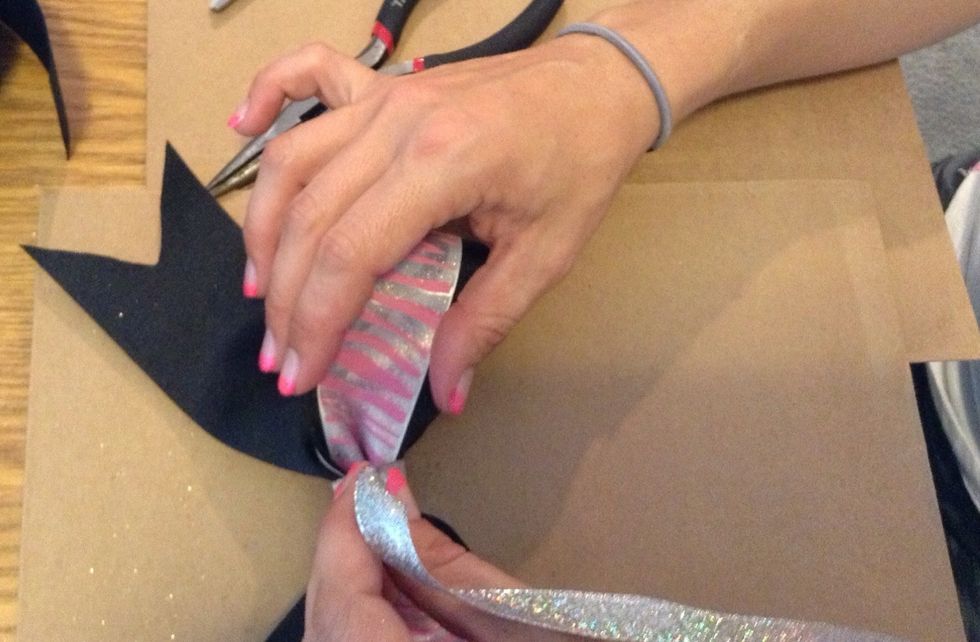
Fold the ribbon in half making a prominent crease in the middle of the ribbon.
This crease will act as a guide for the rest of the process.

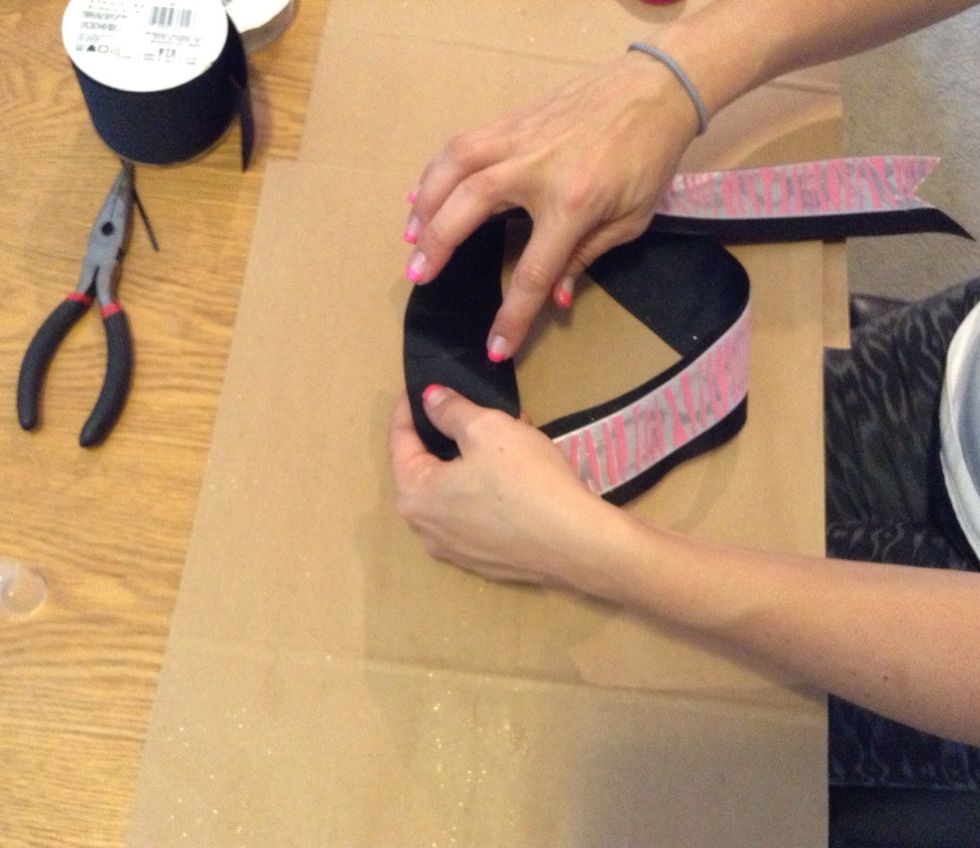
Fold the other pieces of ribbon overtop the crease guide so that there is an even ammount of desired ribbon on each side.
Grab the zip tie so it can be used to keep the ribbon in place.
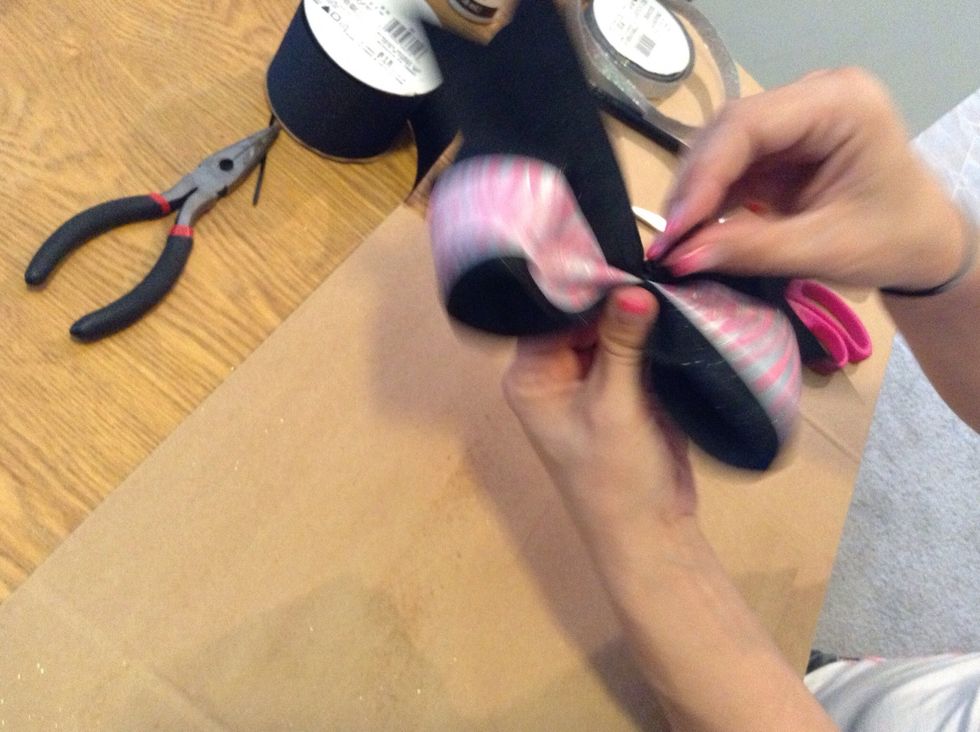
Make an accordian like fold from top to bottom so that you have your desired look.
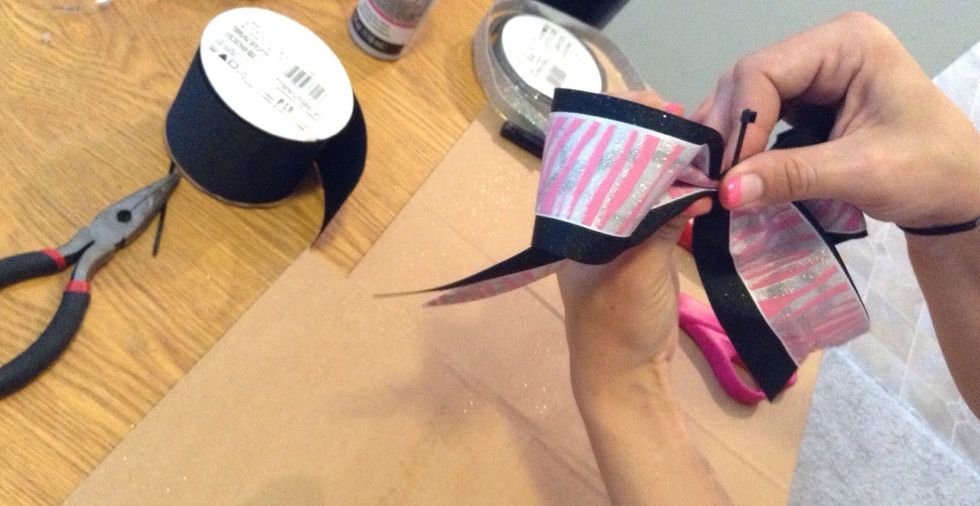
Wrap the zip tie around the center and pull tight.
Make sure the zip tie closure is on the backside of the bow.
Adjust the bow and form it to look as desired.

Now use the pliers to secure the zip tie as tightly as possible so the bow does not move.
Pull upwards on the excess piece of zip tie to ensure no more movement.

Now use the scissors to cut the excess zip tie off and discard.
Now measure the piece of material or ribbon to use for the middle of the bow.
Cut with the piece with the scissors
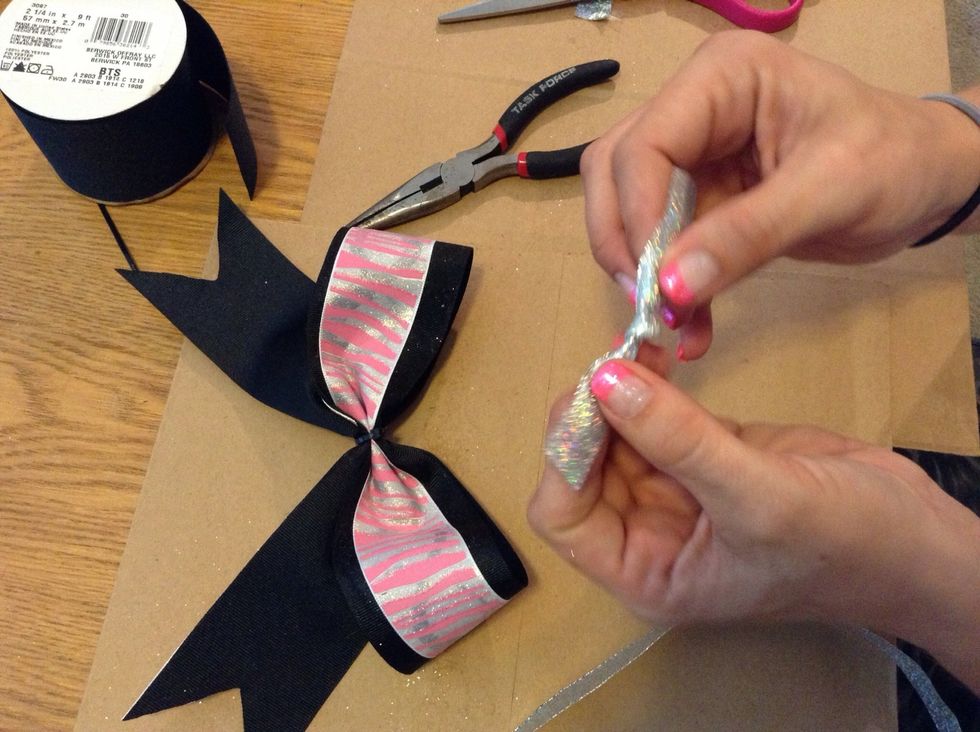
Tie a knot in the center of the fabric/ribbon for the middle of bow. Set aside.
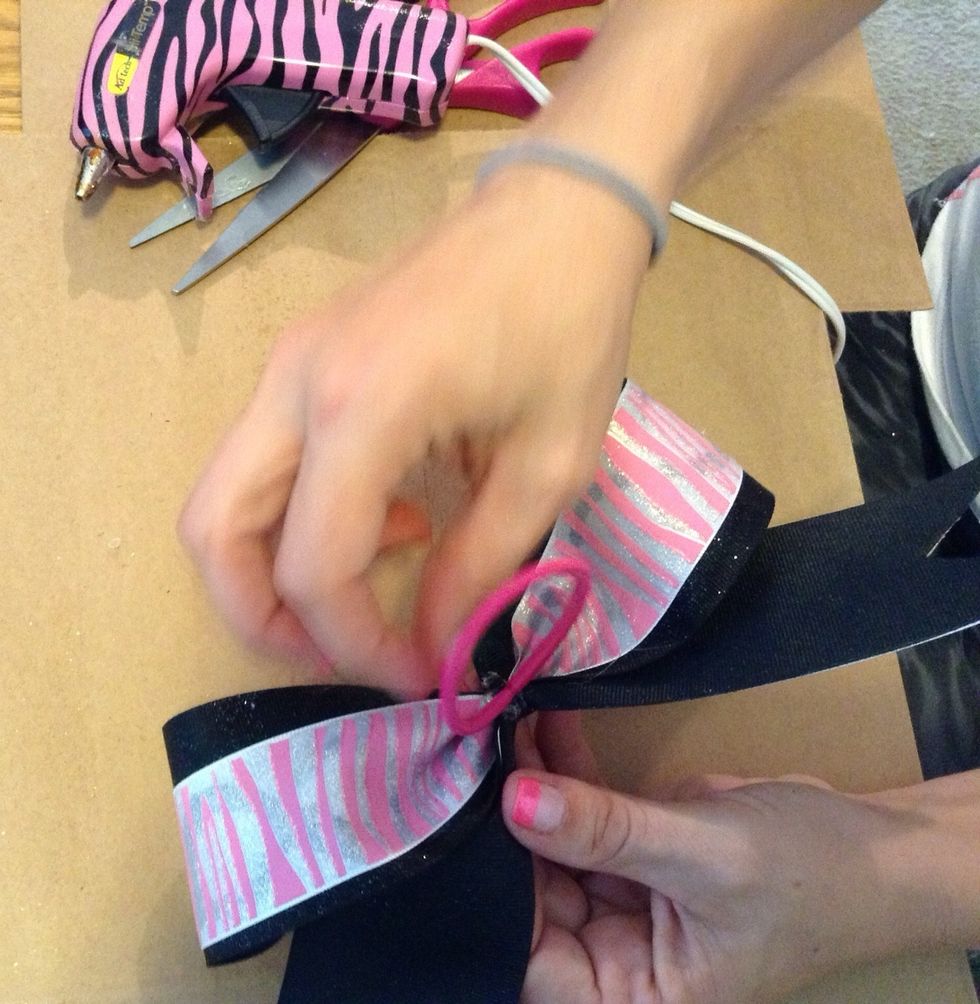
Place a dolop of hot glue on the zip tie and press the hair tie down in place.
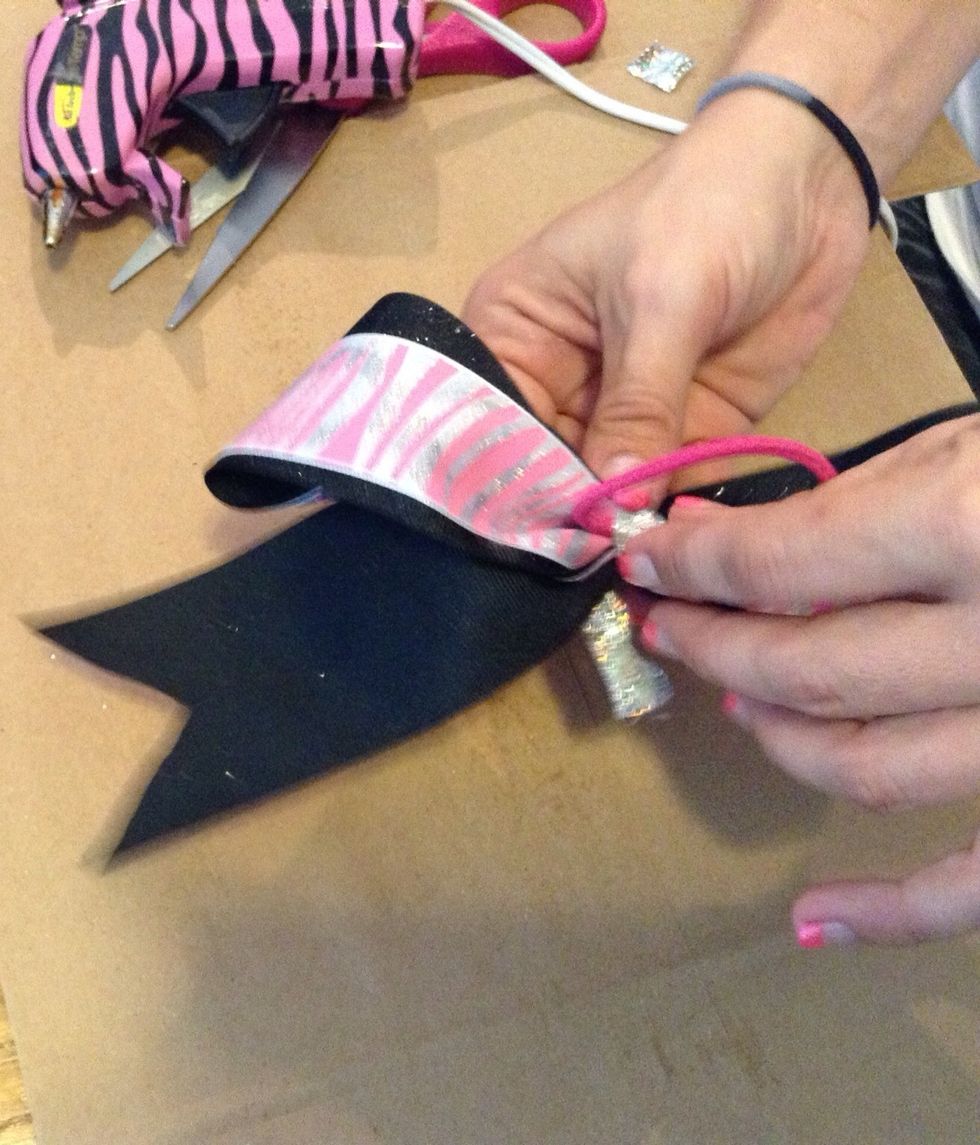
Put another dab of hot glue on the hair tie and wrap the piece of ribbon/fabric around the middle of the bow and secure one end.
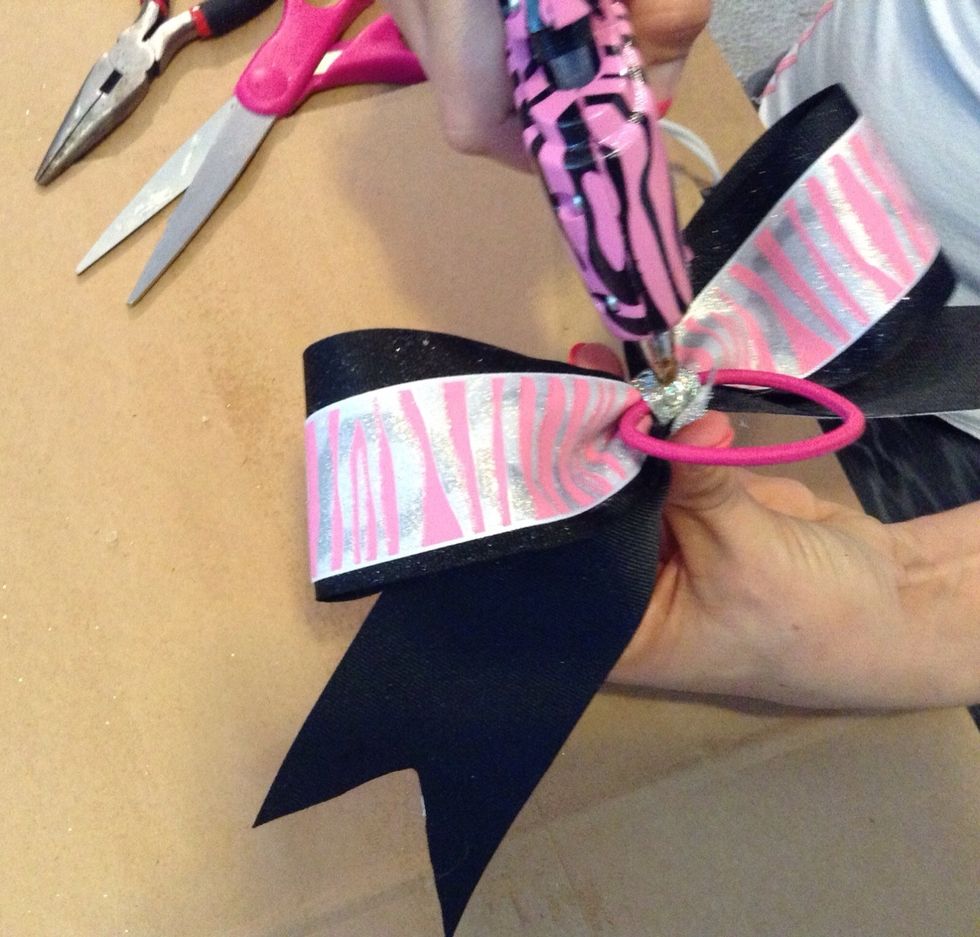
Then place another smidge of hot glue on the ribbon/fabric and secure the other end.
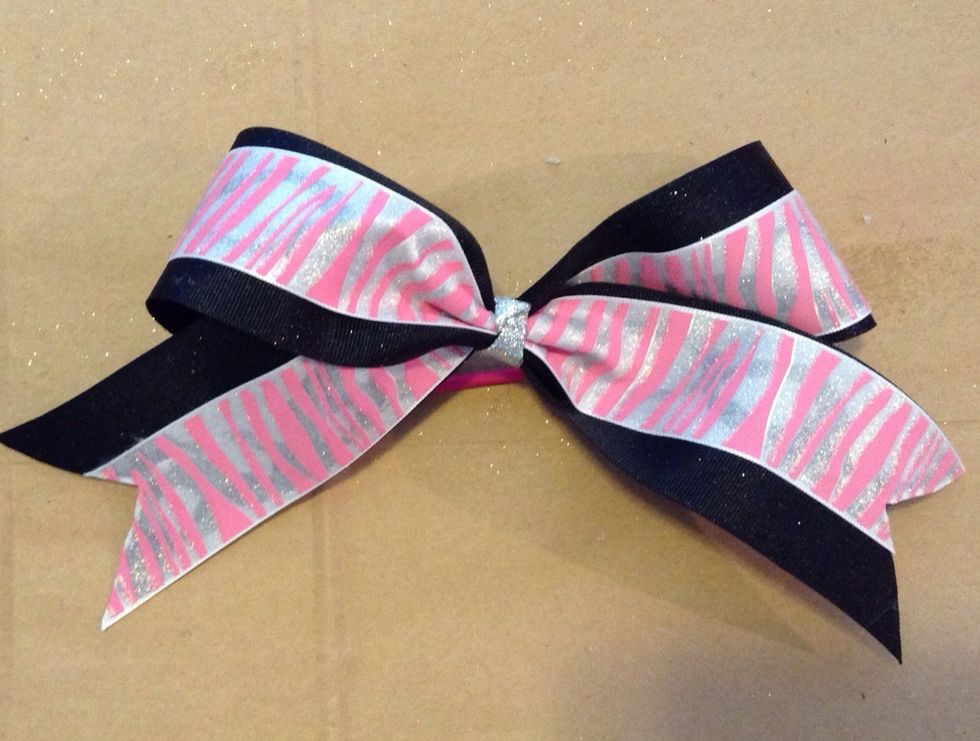
Now the Cheer Bow is complete!
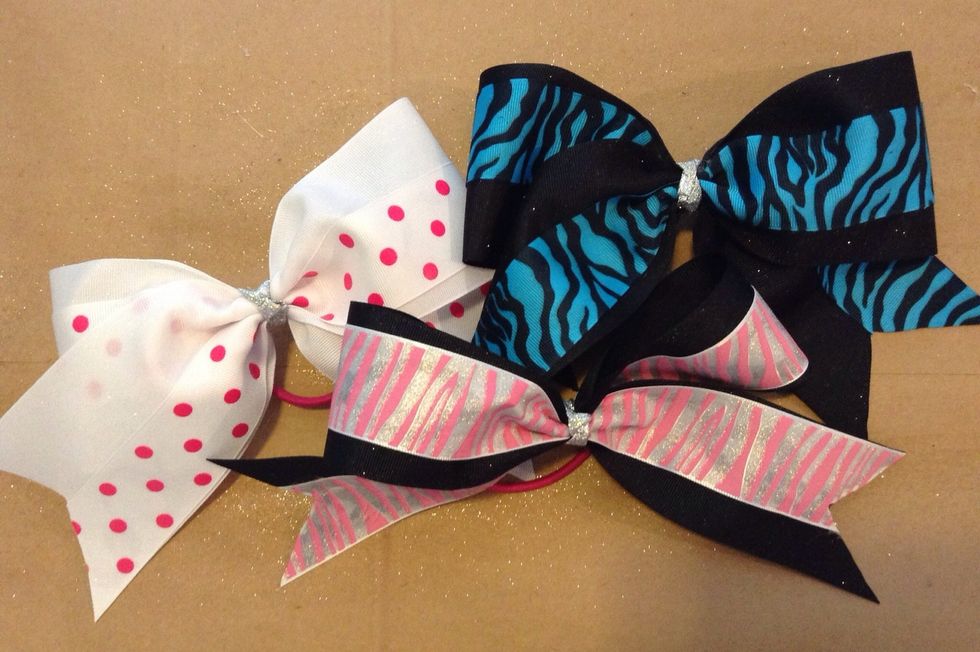
Enjoy and keep creating all different styles, designs, and sizes.