The Conversation (0)
Sign Up

Start by attaching the paper towel holder to the top of your crate with four zip ties. Trim the ties before moving on.

Suspend a cooling rack near the top of your crate with at least three zip ties. This rack will hold plates.

Suspend another cooling rack beneath the first one with at least three zip ties. This rack will hold utensils. You'll need to estimate the space between racks in order to adequately fit your utensils.
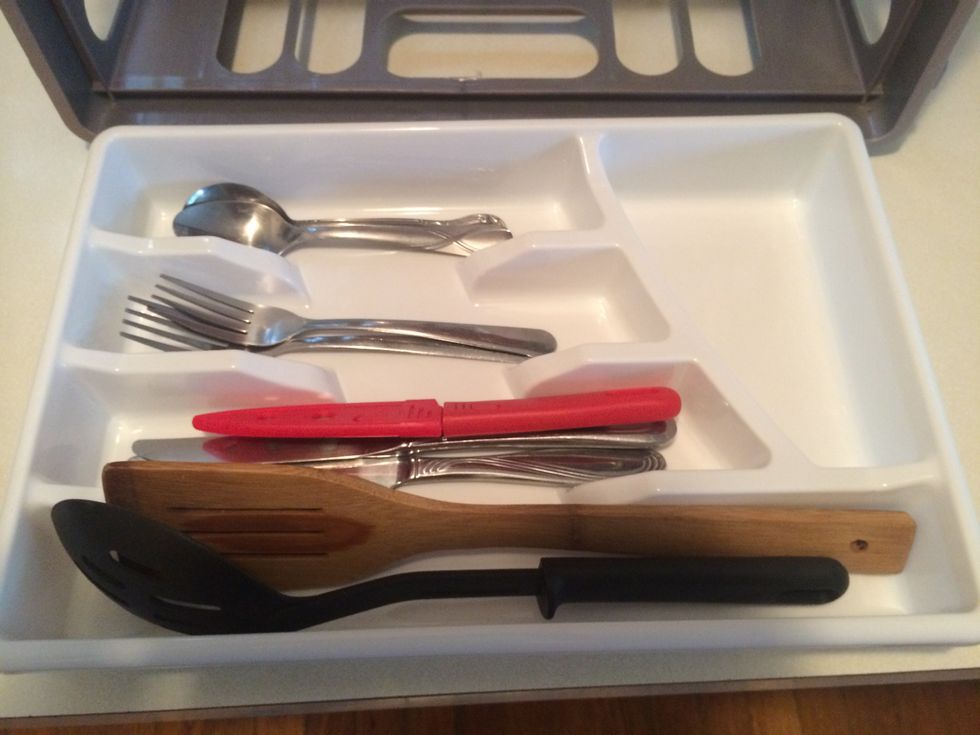
Arrange your utensils in the organizer.

Slide utensils onto the second cooling rack.

Line the bottom of the crate with a flexible cutting board. You may need to trim it to size first.

Load the crate with the rest of your kitchen ware: pots, pans, cups, bowls, dish soap, sponge, etc. You may choose to add a step: Create a fold down-lid using a piano hinge and sturdy cutting board.