The Conversation (0)
Sign Up

Most of the supplies. Don't forget safety!! Wear your protective eyewear and gloves if needed.
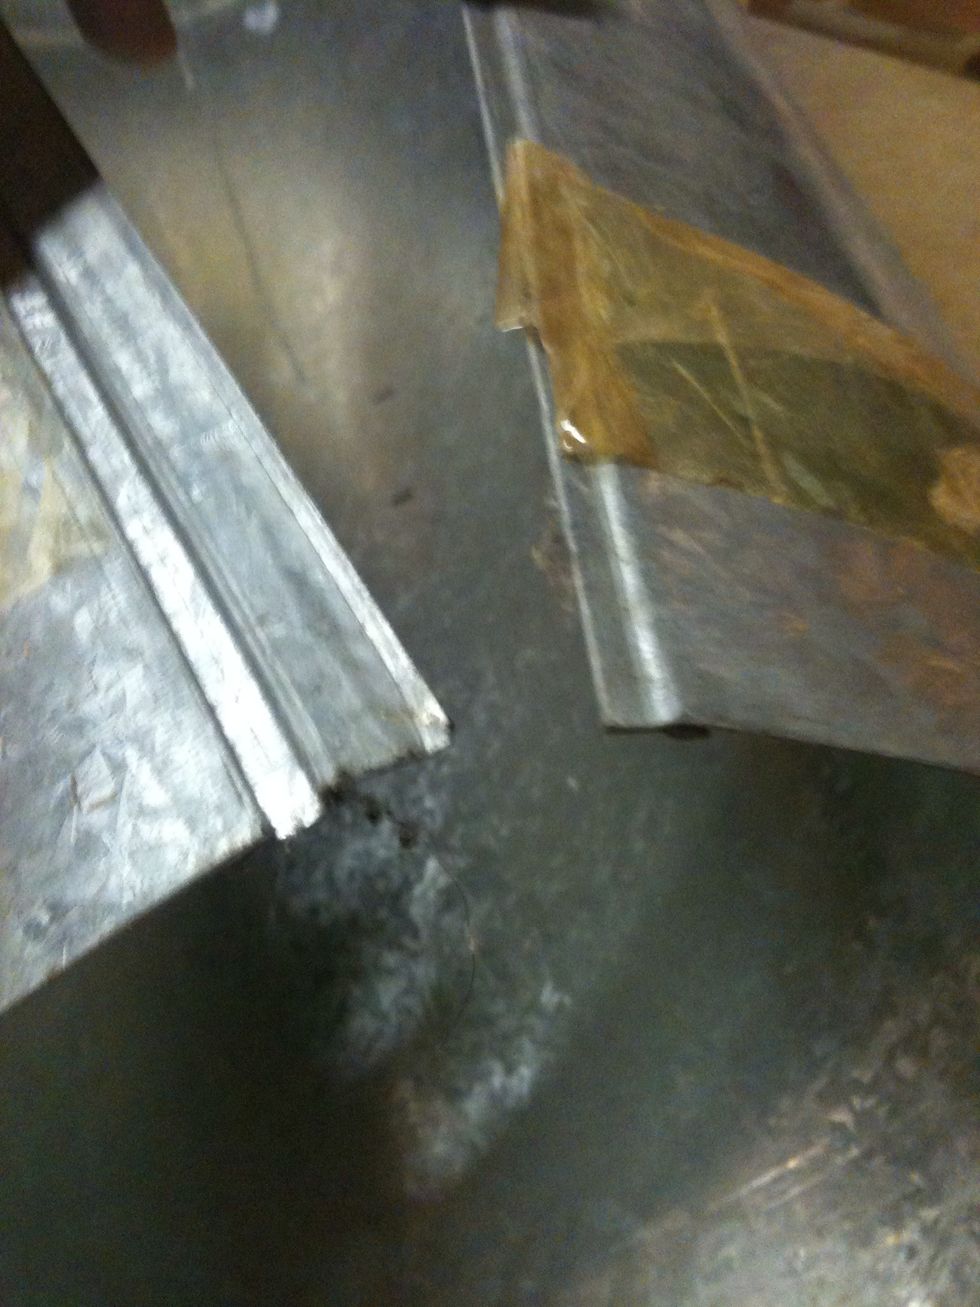
The piece of tin was 9" snap-lock venting 30" long.
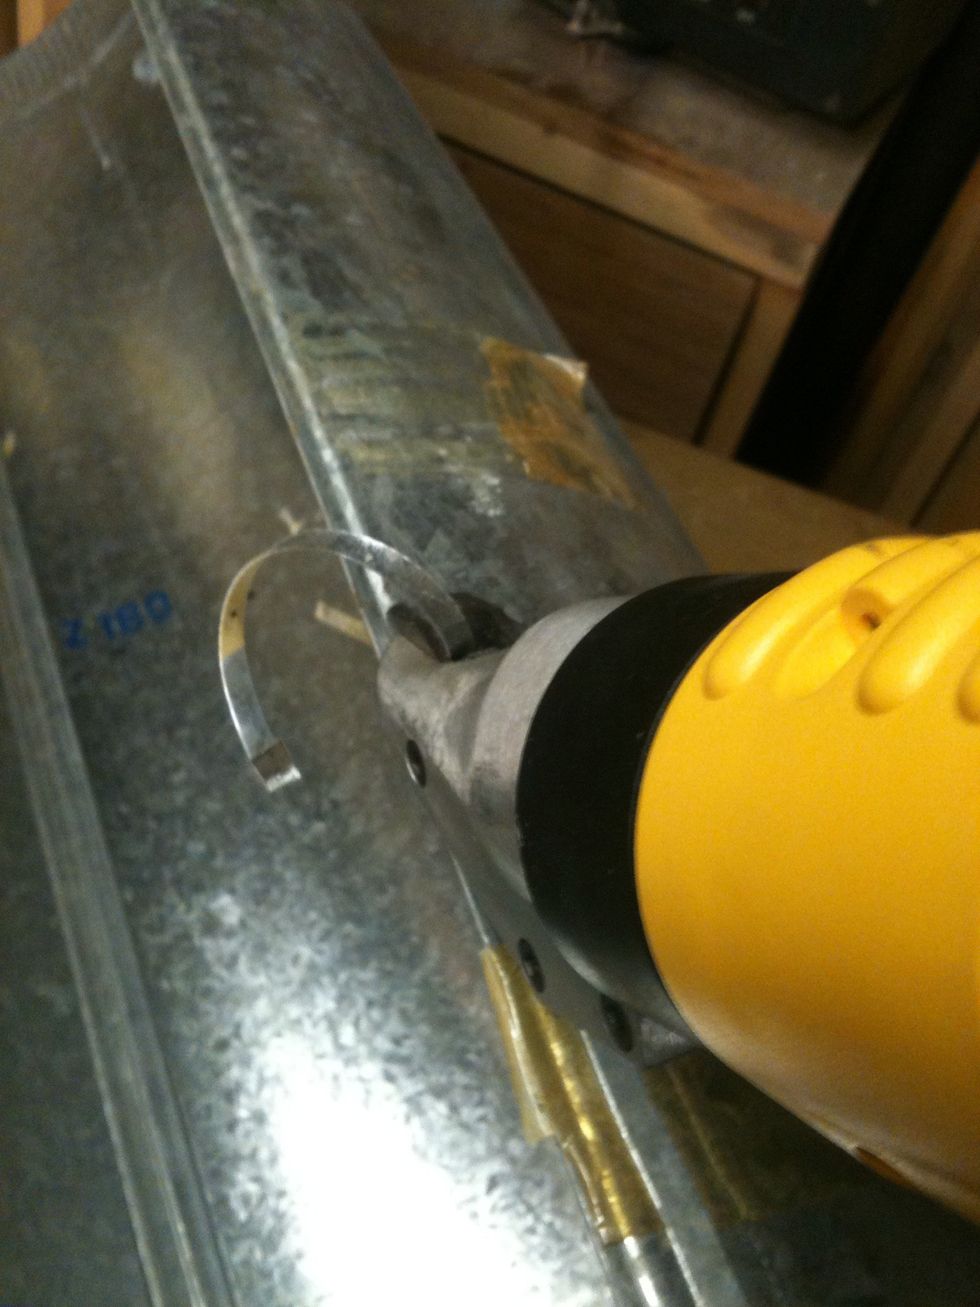
I decided to take the snap lock edges off. Having a power tin snips comes in handy.
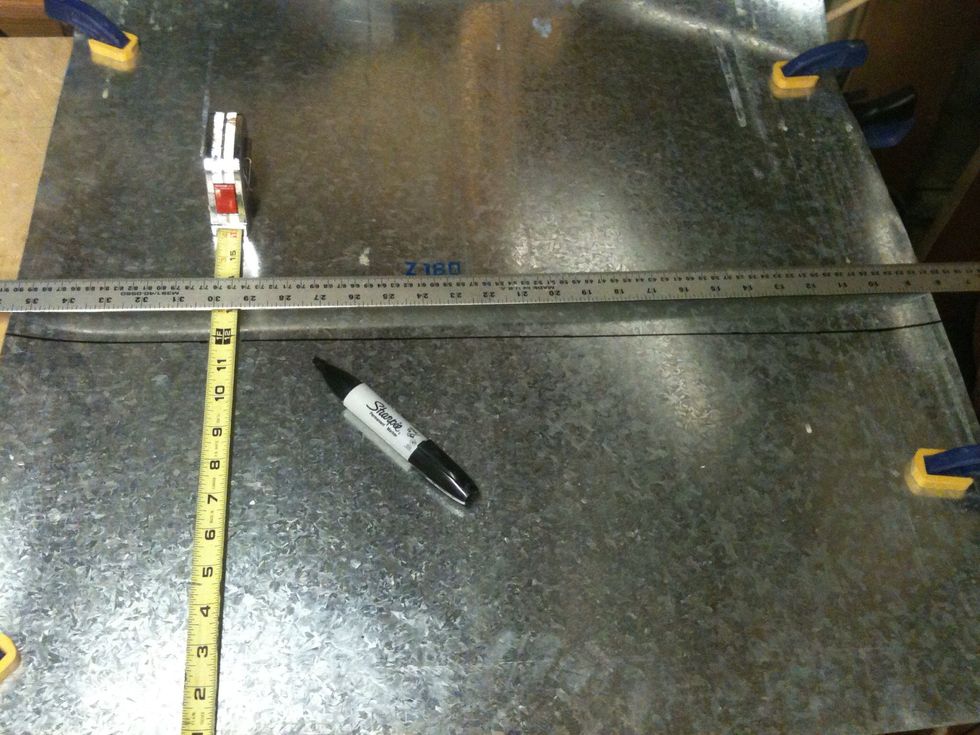
I measured and cut the tin so I would have a piece 12" by 27". When finished it will stand 12" tall. It was 27" because that's what I ended up with after cutting off the snap lock grooves
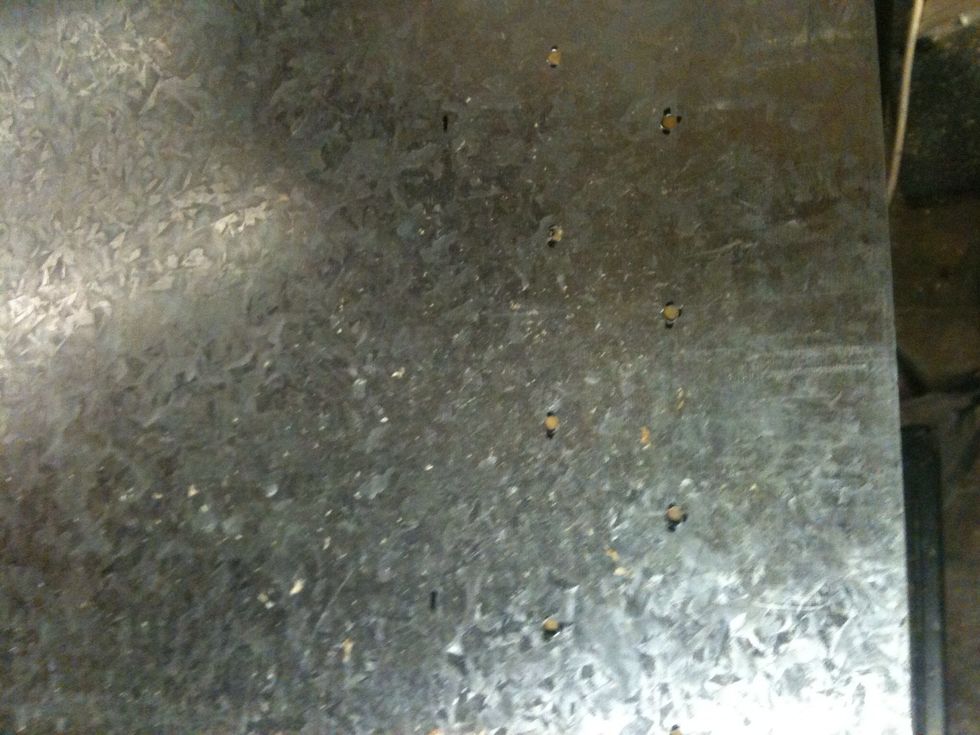
I made the vent holes 2" apart and about 3.25" from the bottom. The next row of vent holes are 2.25" from the bottom and offset set 1". In the pic you can see small holes those are my centers(vents).
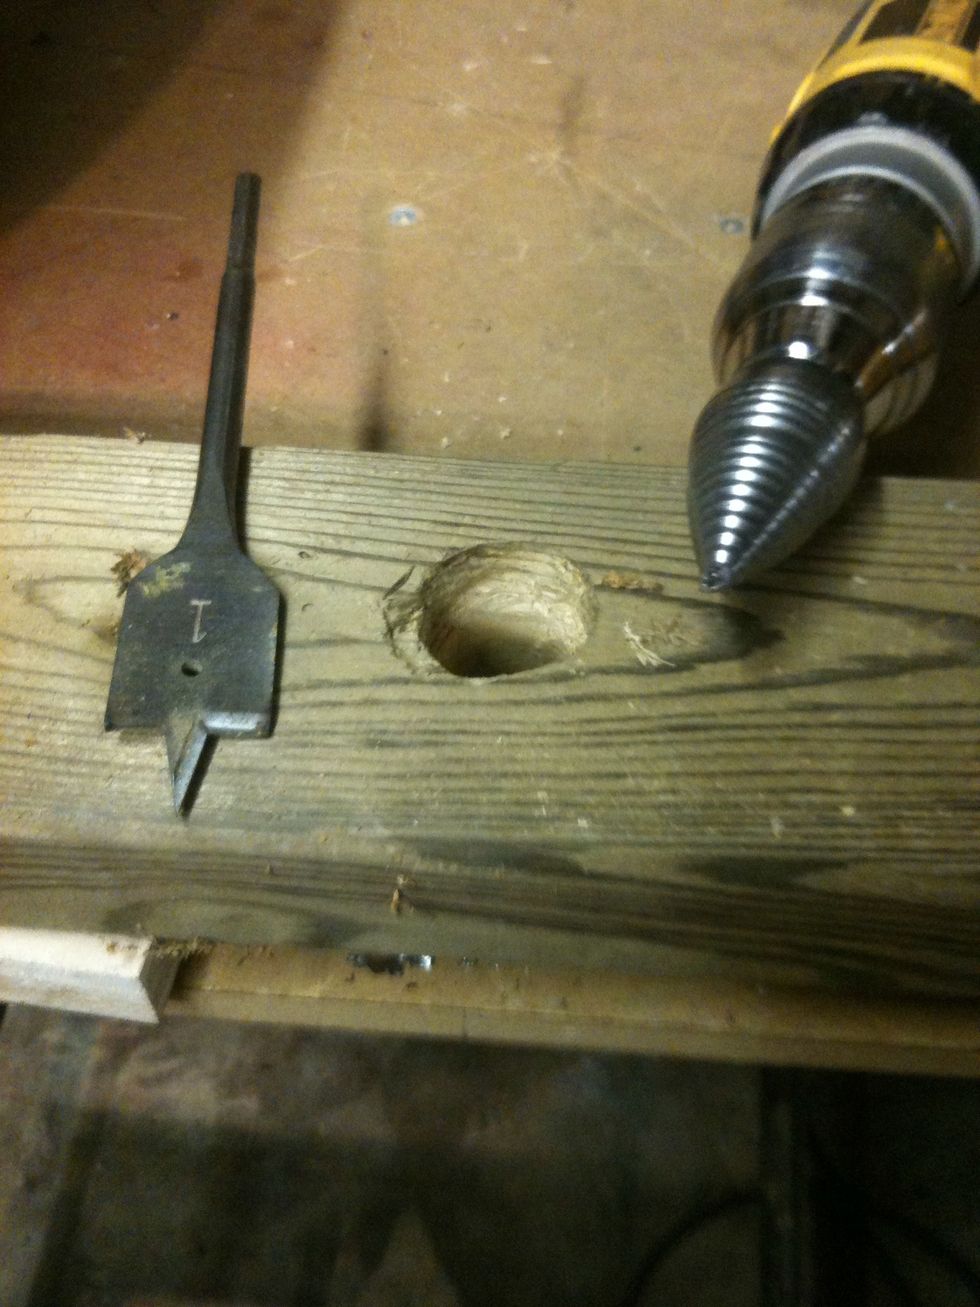
I used a spade bit (1") to drill a hole in a piece of 2X4 so that the step bit has somewhere to go. Also stops from making too big of hole.
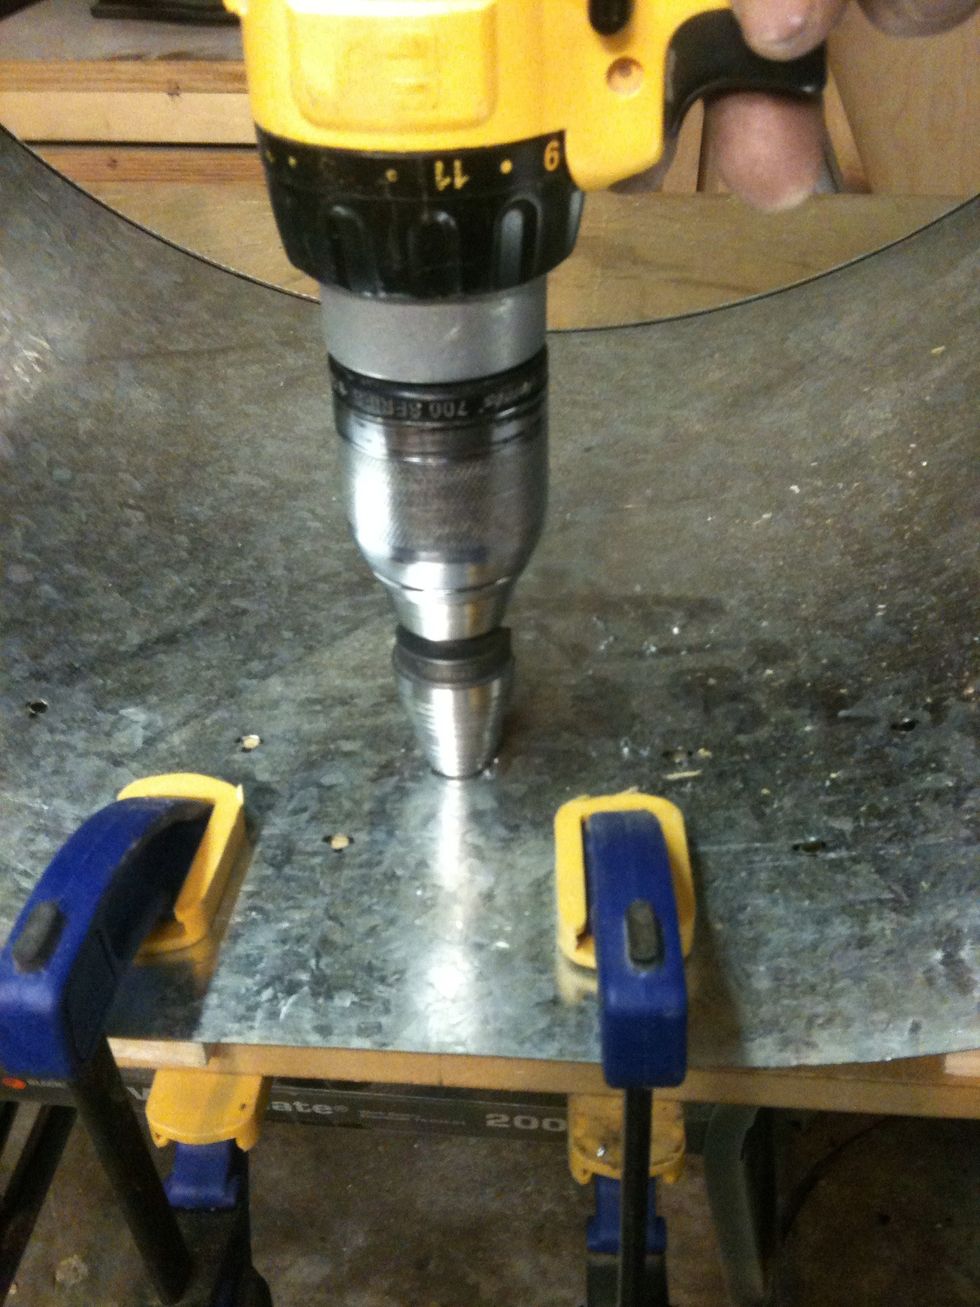
I clamped the tin down over the hole and drilled using the step bit. I would drill about a half inch hole and then re-center over the hole. Drill till you are happy with the size of vent hole.
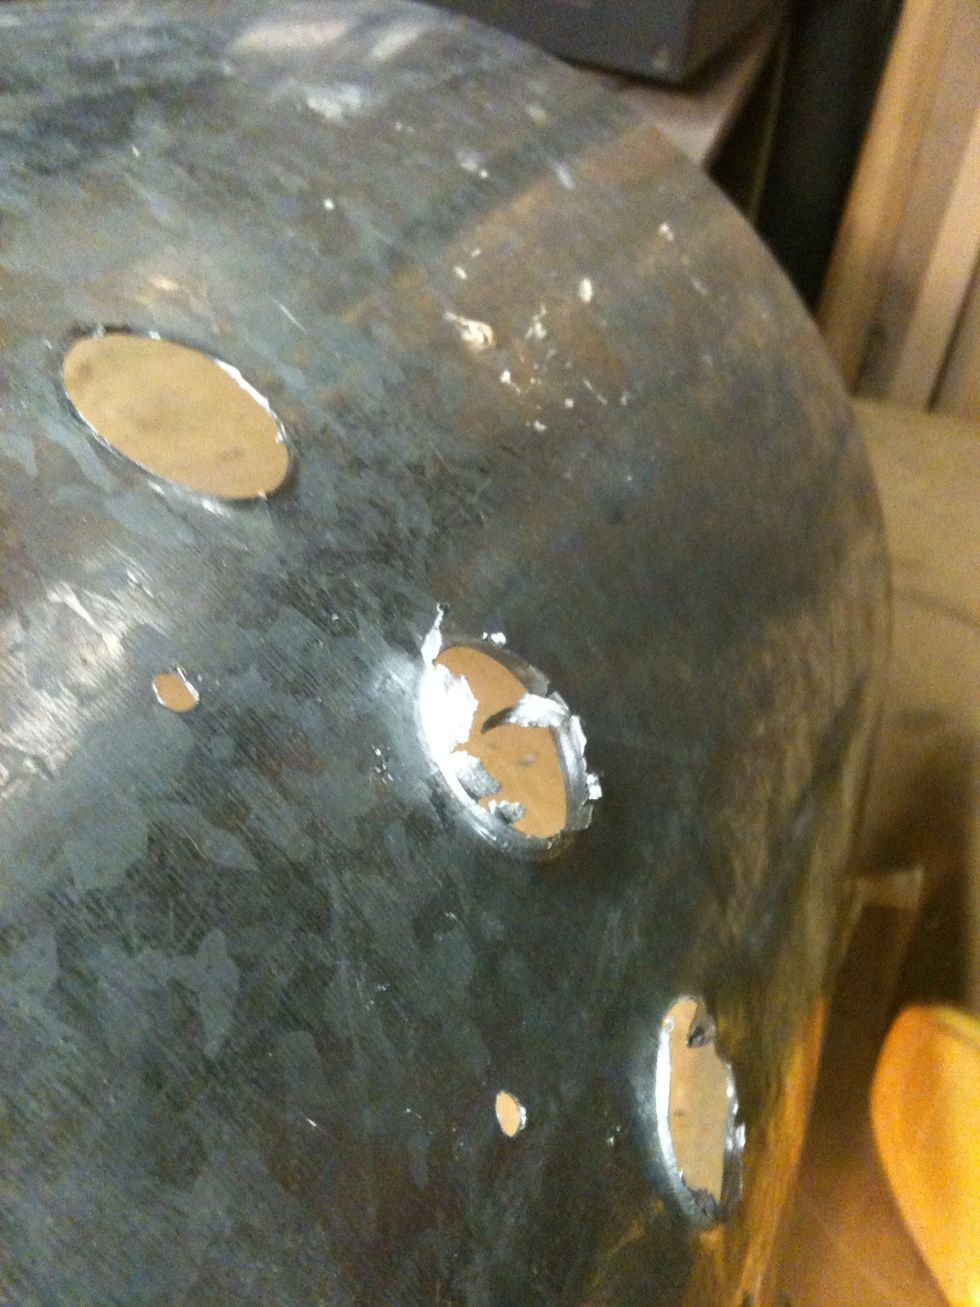
My holes are about an inch big. After using the step bit, it leaves the opposite side with some sharp edges.
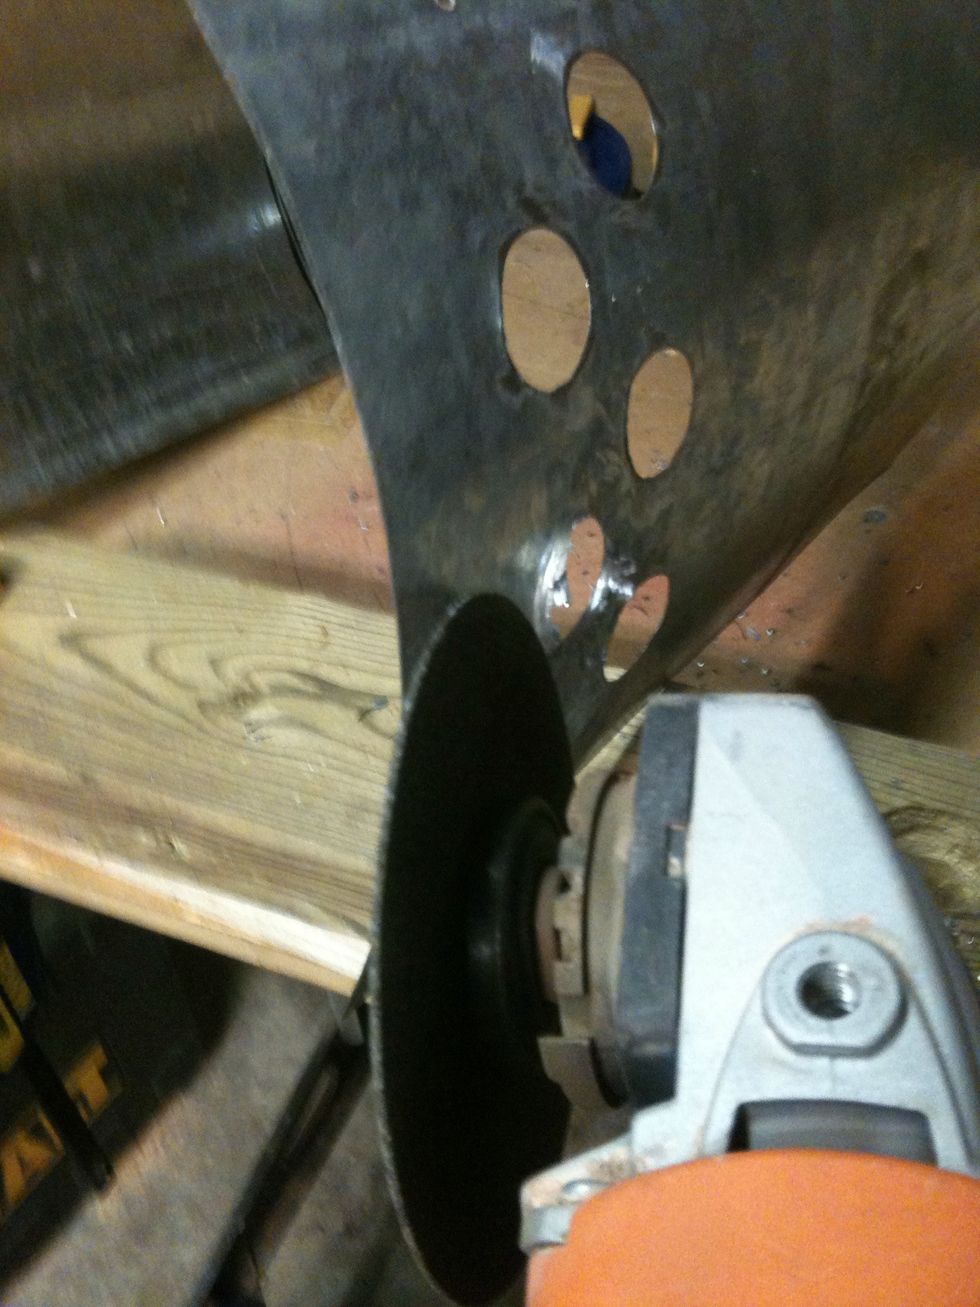
Once you drilled all your holes, use a grinder to take off the sharp pieces and smooth off the tin.
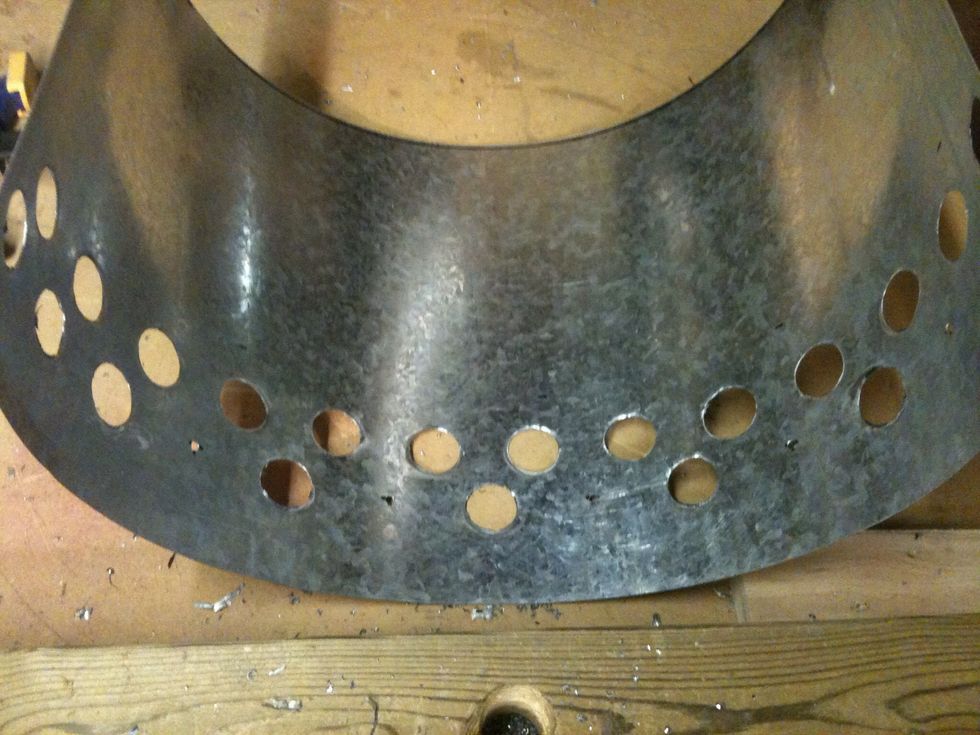
The holes are done. The bottom row I decided to drill every other hole. After I finished I realized that I should have put another row of holes at the bottom. Centers would be 1.25 from the bottom.
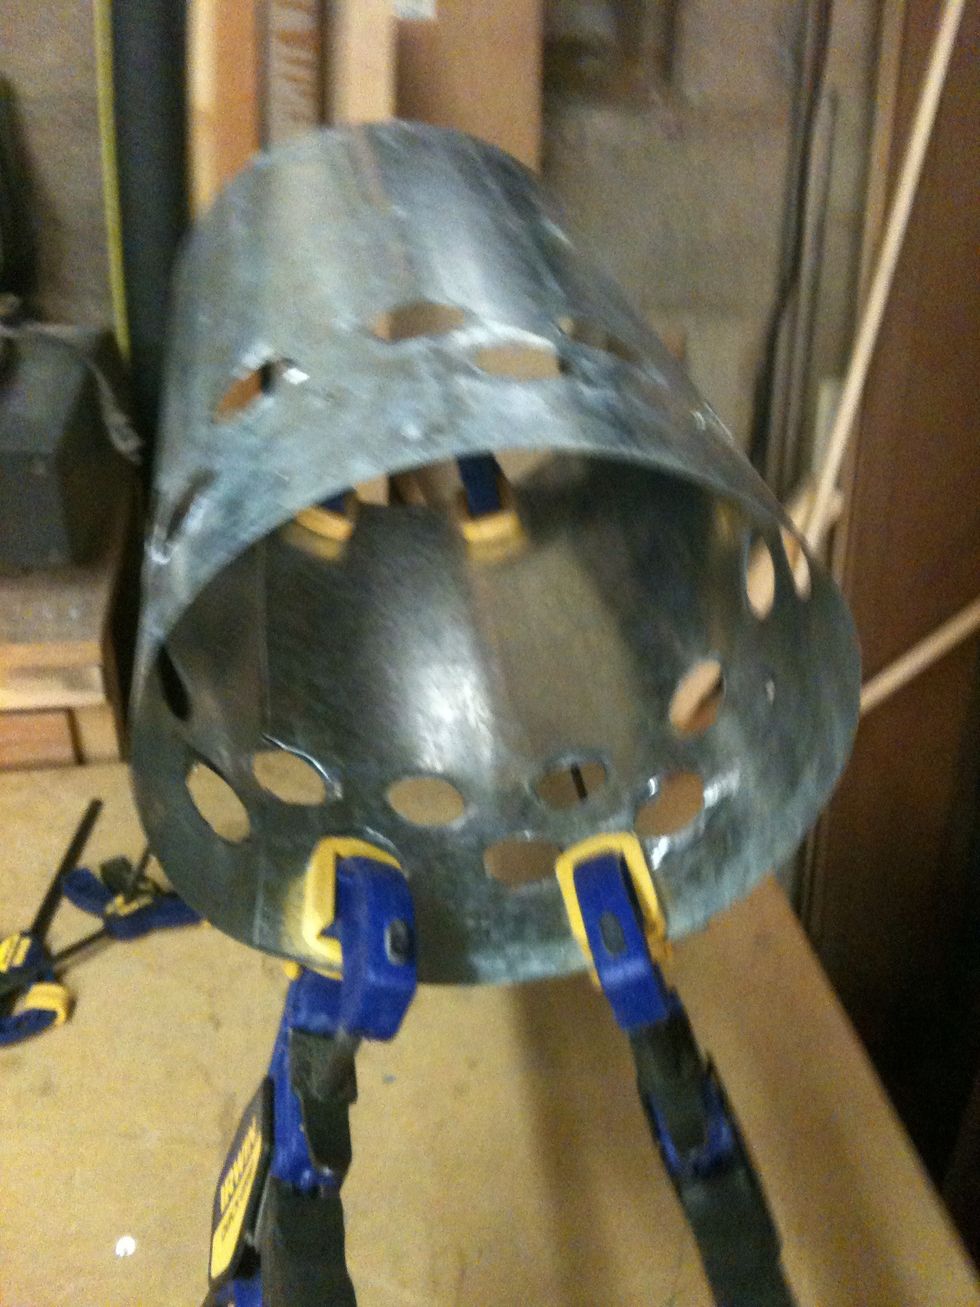
Now roll the tin to your desired size. I went with about a 7" chimney. The first one I made was a 5" diameter and I found it was too small.

I marked and drilled holes for the rivets. I ended up putting in about six rivets on one side of the overlap and six on the other side of overlap.
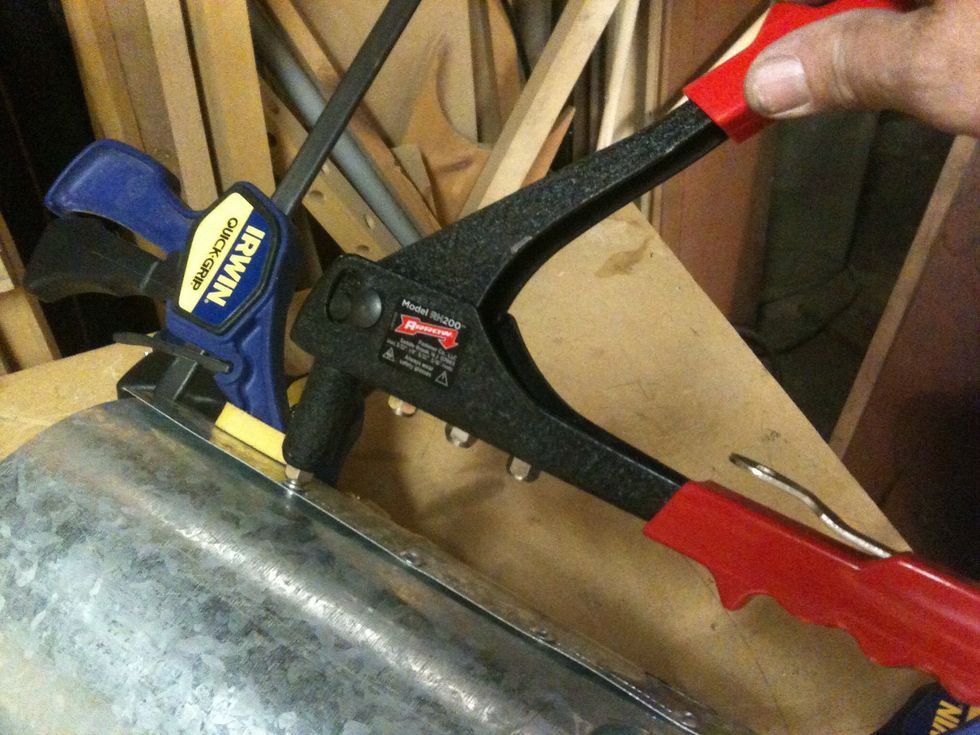
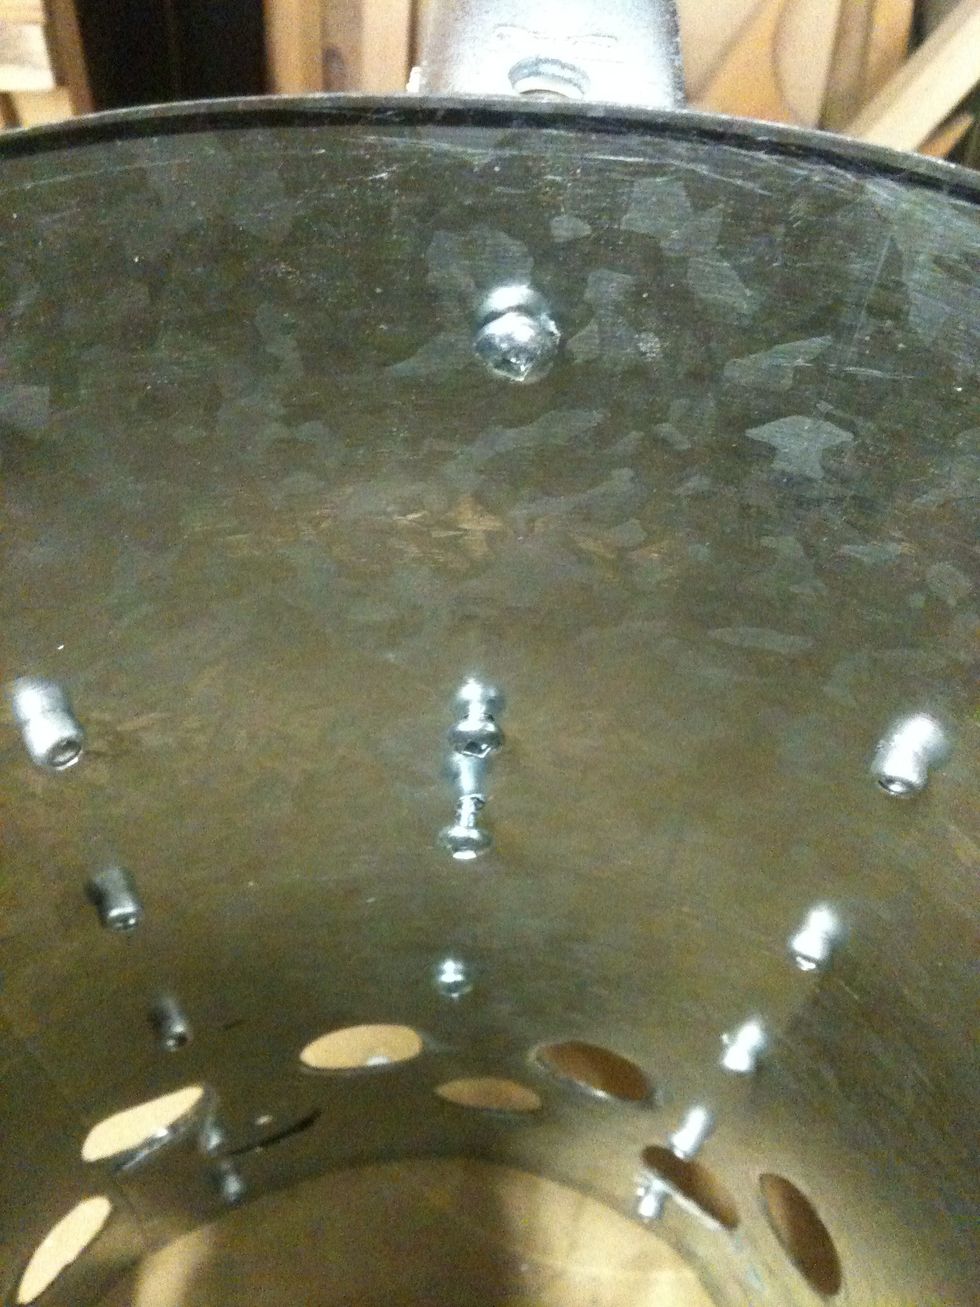
Putting in the rivets.
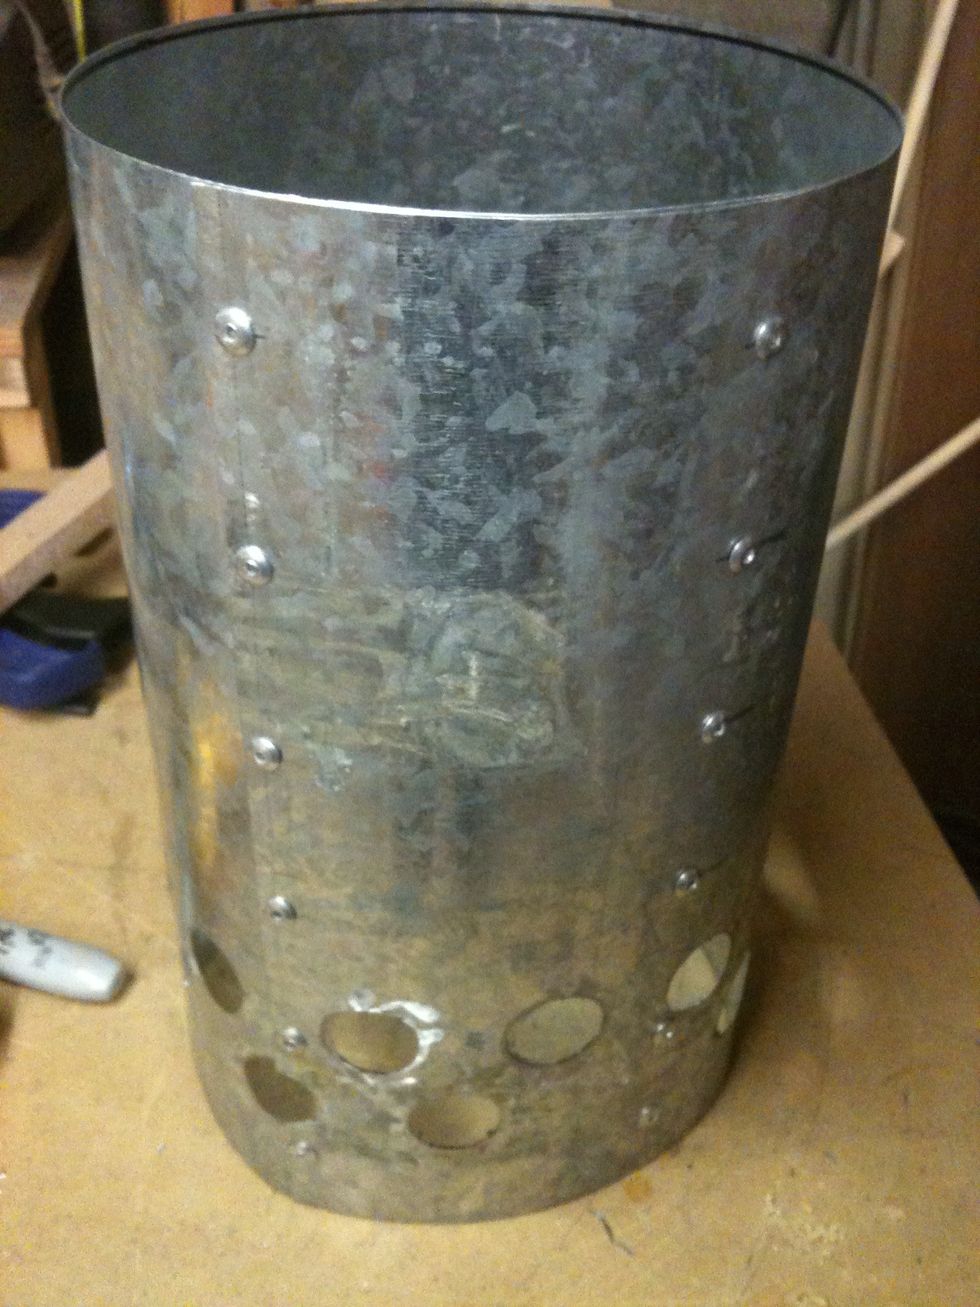
The rivets are done.
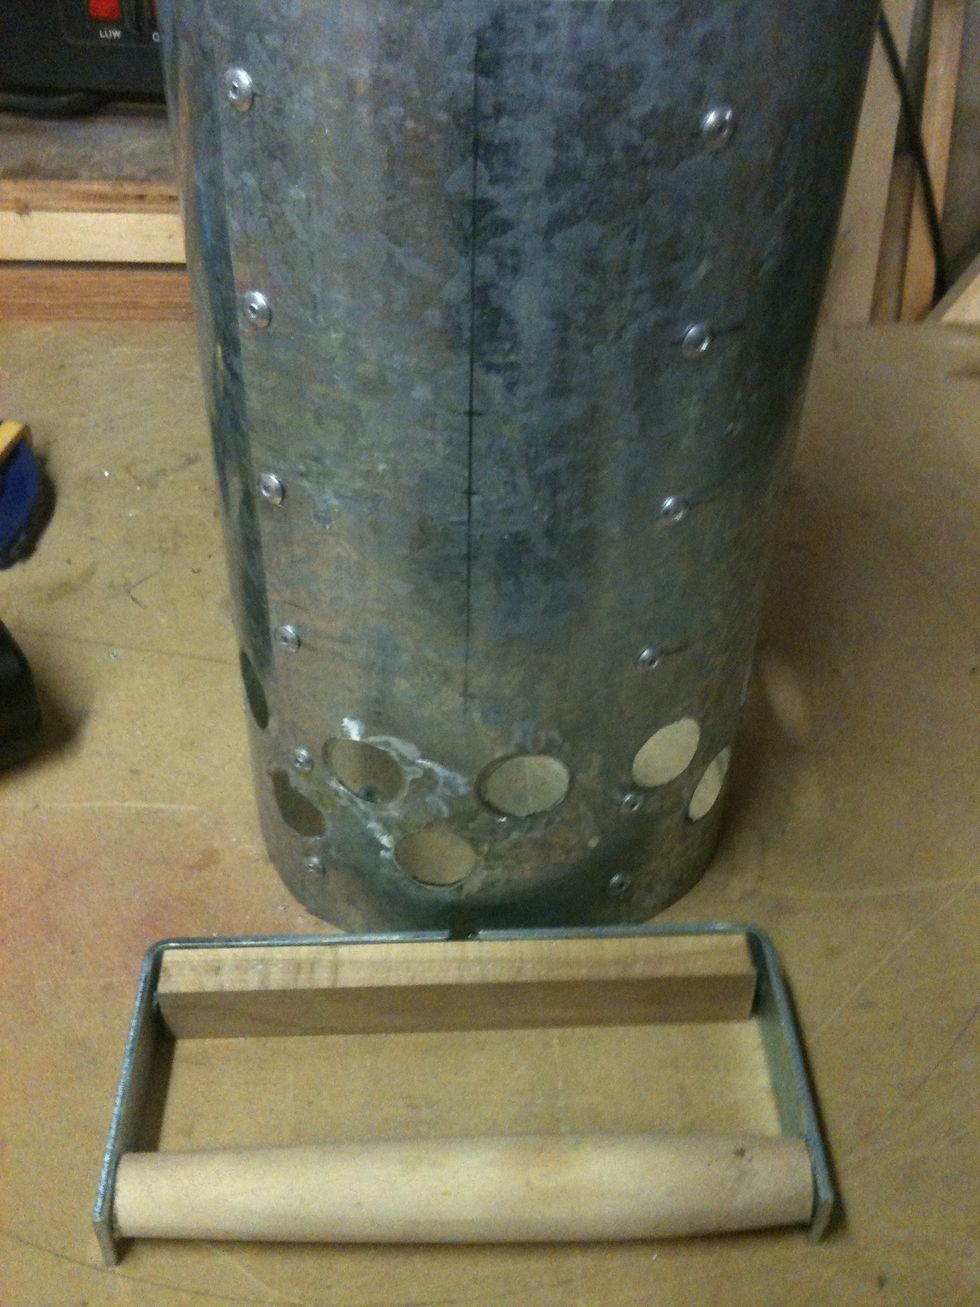
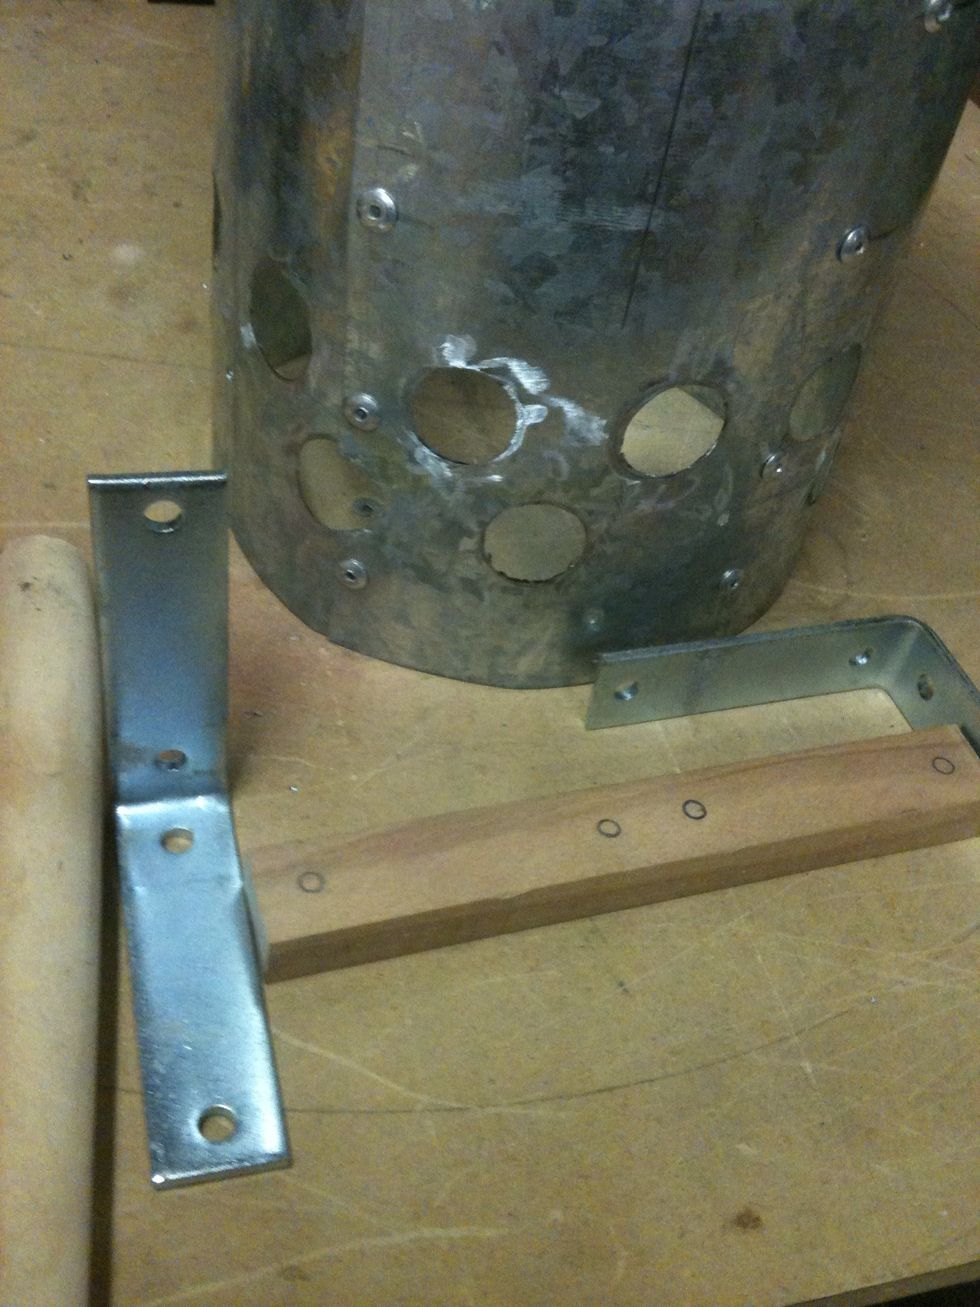
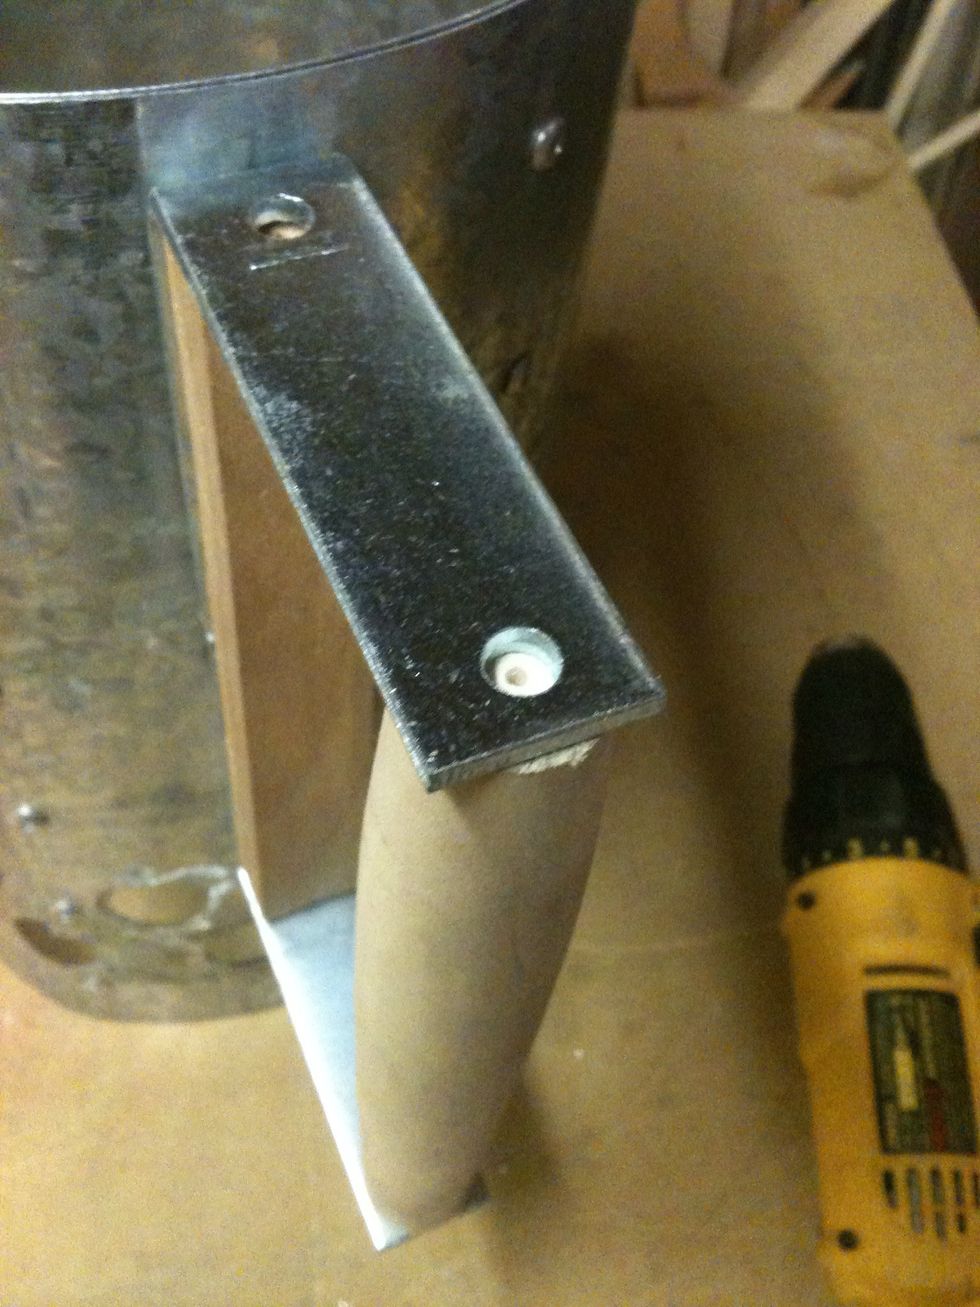
Now the handle. The brackets already has holes in the right spots. The brackets butt up like that in pic makes a good size handle. Dowel and wood cut to size.
I marked the holes of the bracket to the piece of wood. I also marked the chimney where those holes go. I predrilled the piece of wood so it won't split and drill the holes in the chimney.
I used screws to hold the handle on. #8 5/8 pan head screws.
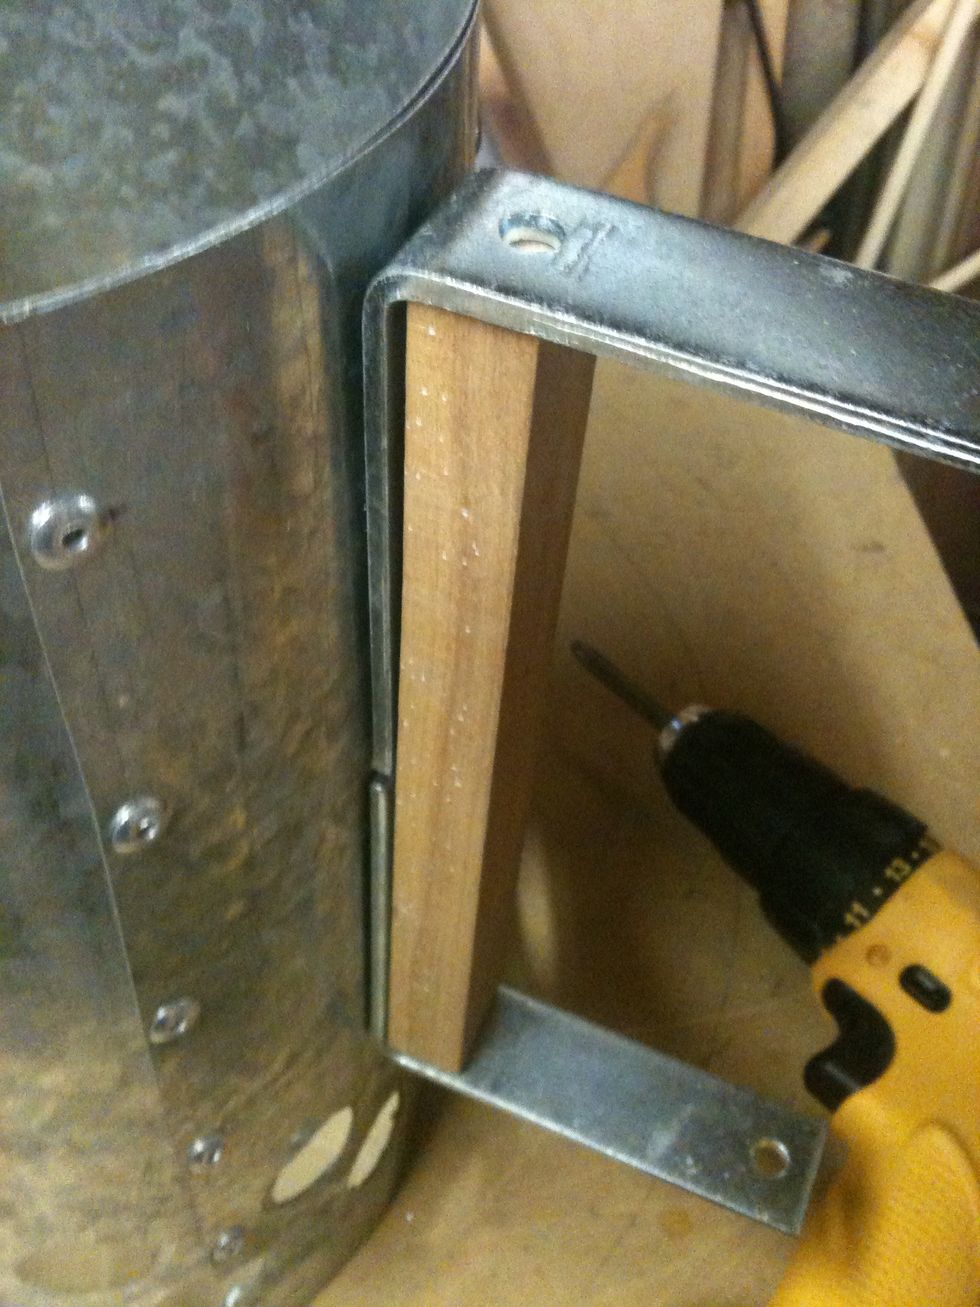
Make sure they are nice and tight.
I predrilled the dowel, again so the wood won't split. Then I screwed the dowel to the brackets.
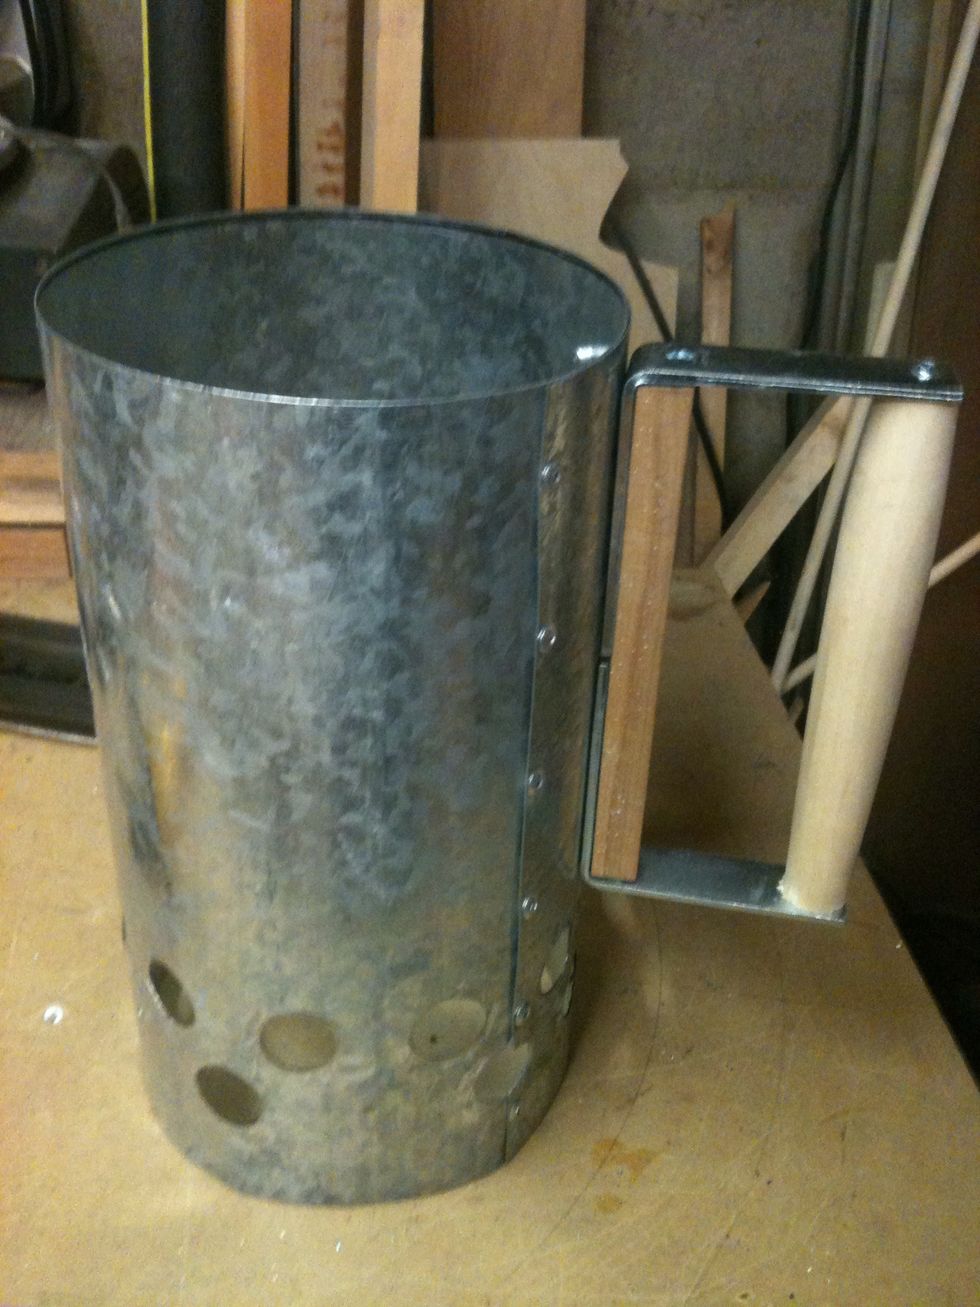
There the chimney is done with the handle. Now we need a screen to hold the charcoal. This is where the coat hangers come in. Straighten all the hangers.
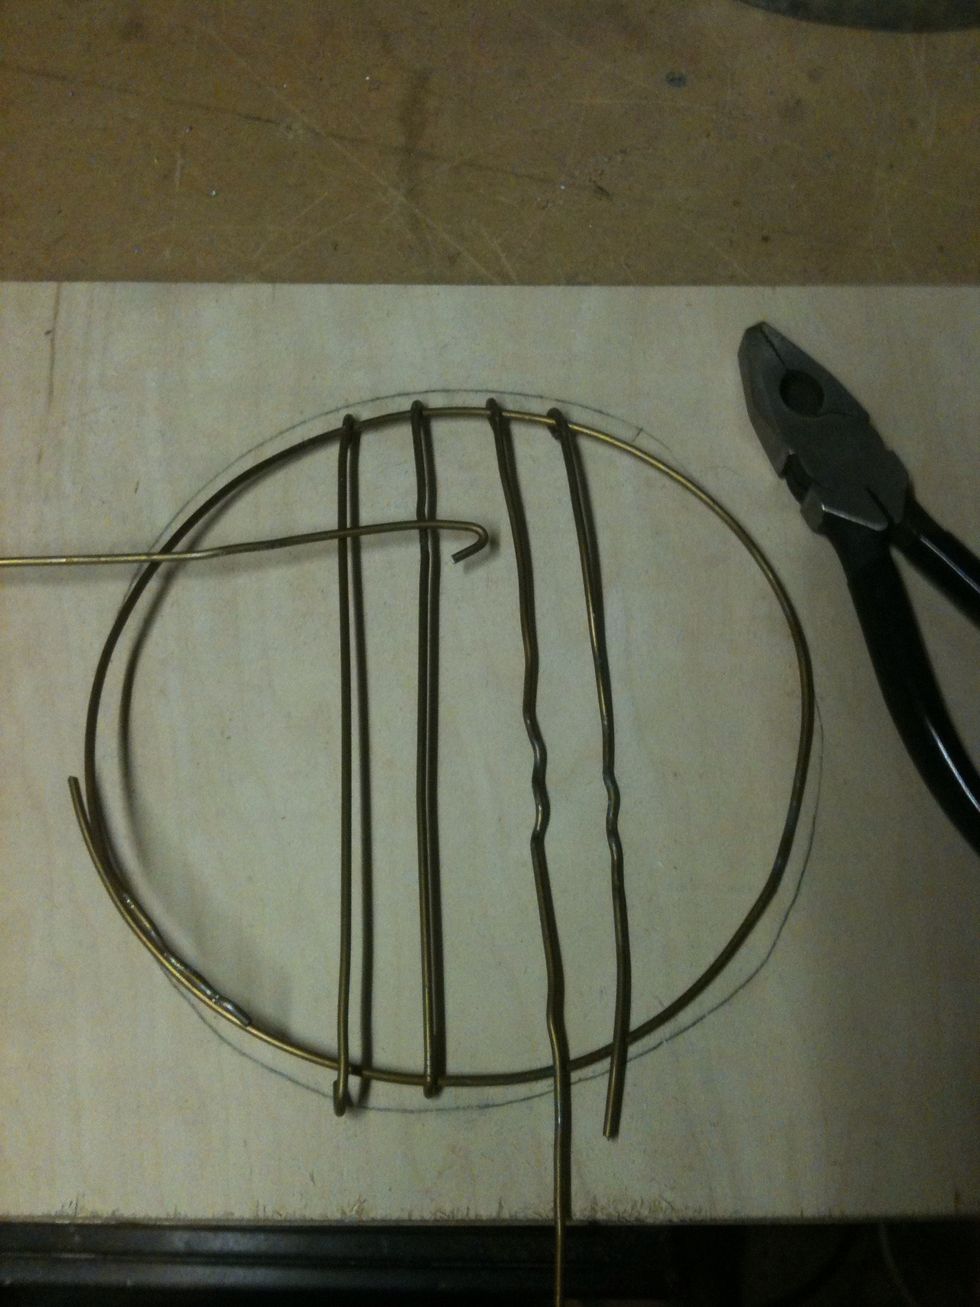
I drew a 7" circle and bent the hanger around the circle. Then start wrapping wire around the circle in strips hooking one side first.
I hooked the wire around the circle as shown. I spaced them about 5/8"-3/4". Once I did one side I started hooking the other side trying to keep a 7" circle.

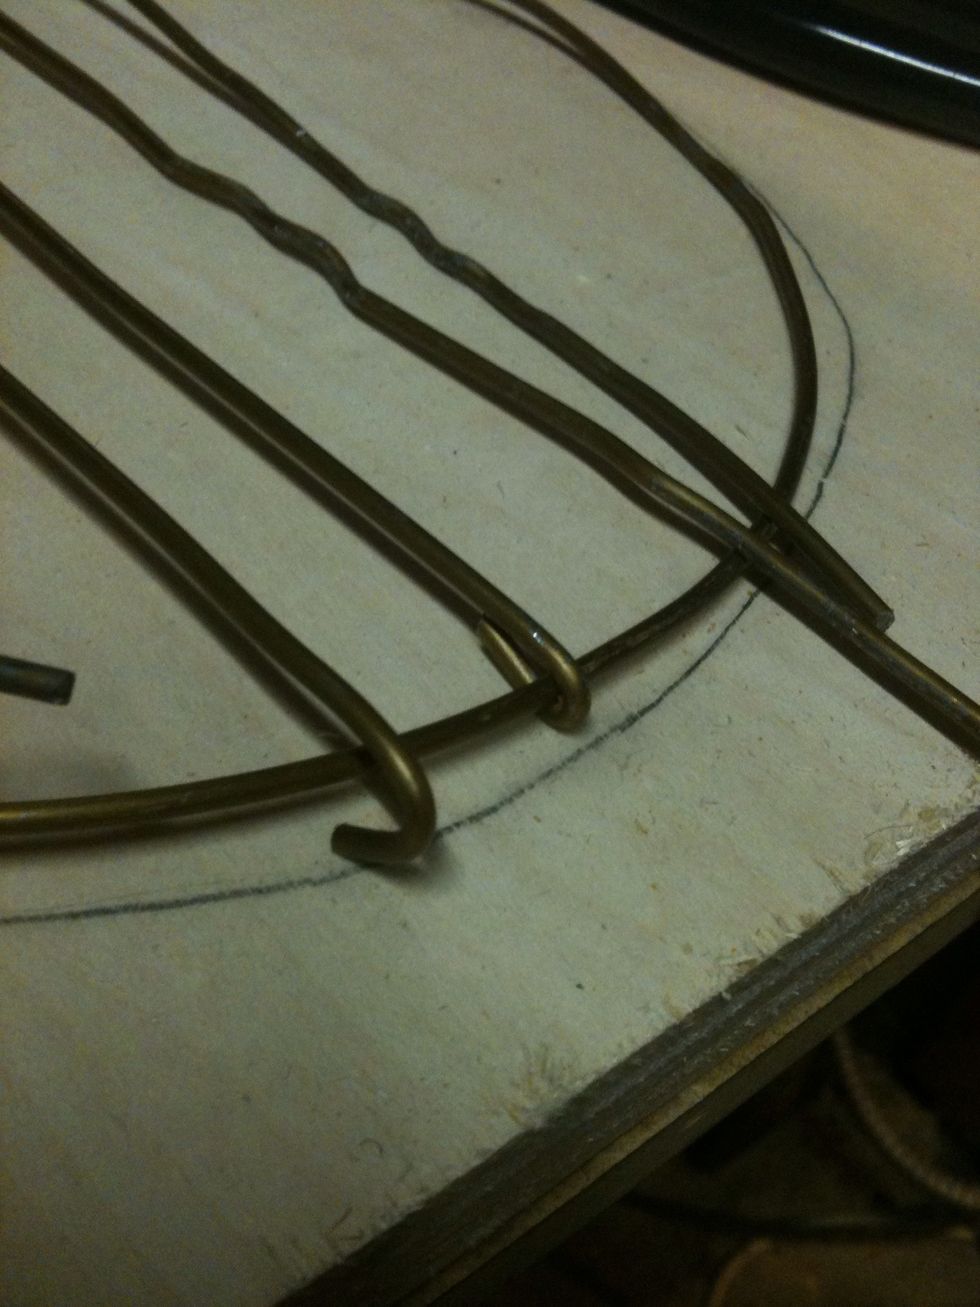
Done the first bit. Now I started to weave the wire the opposite way.

The first few strips are fairly easy to put in. It was the fifth, sixth and seventh strip was a lot harder to weave through.

The screen is done.
Test fit.
Figure out where you want to put the screen. I put mine about 5" from the bottom. I drilled three holes on either side so I could support the shelf. The holes have wire in them so you can see them.
Stick hanger through the outer holes and bend the ends. This is going to support your screen. Place the screen in chimney.

With the center hole stick hanger though over the screen and try to get into opposite hole. This wire holds the screen down and in place.
The 5" and the new 7" chimney stater. How to use the chimney is in the next step.
It looks like Alex already made a guide on how to light charcoal in a chimney. He makes it look easy, cause it is. Enjoy some grilling!!