The Conversation (0)
Sign Up
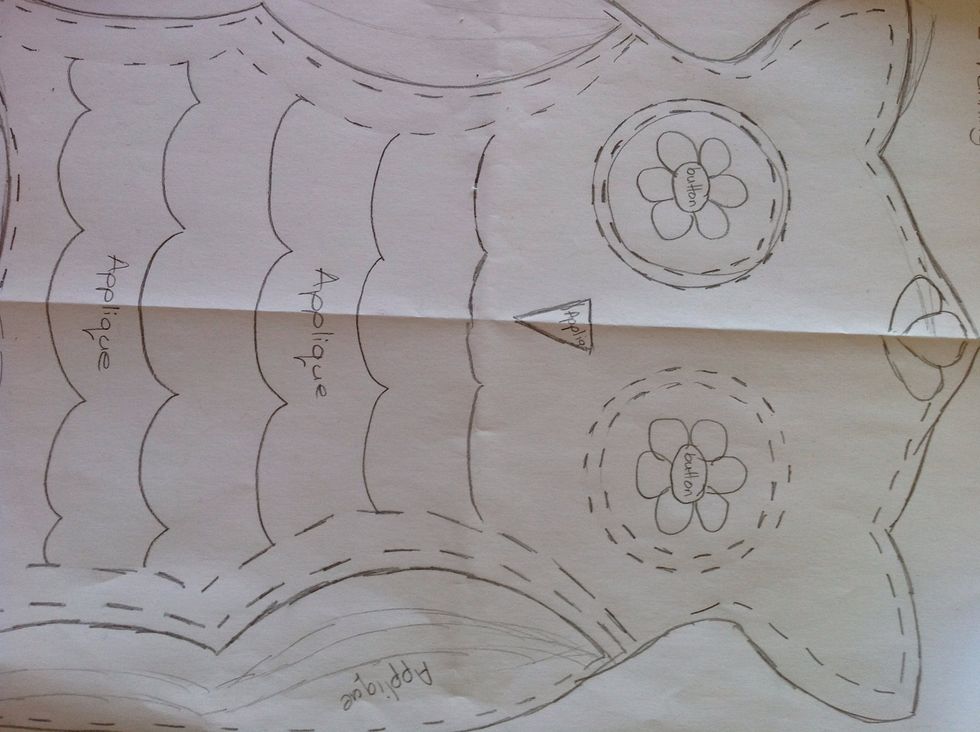
Create your design. Produce a detailed drawing showing all the features you want to have on your cushion. Your drawing MUST be the actual size of your finished piece of work.
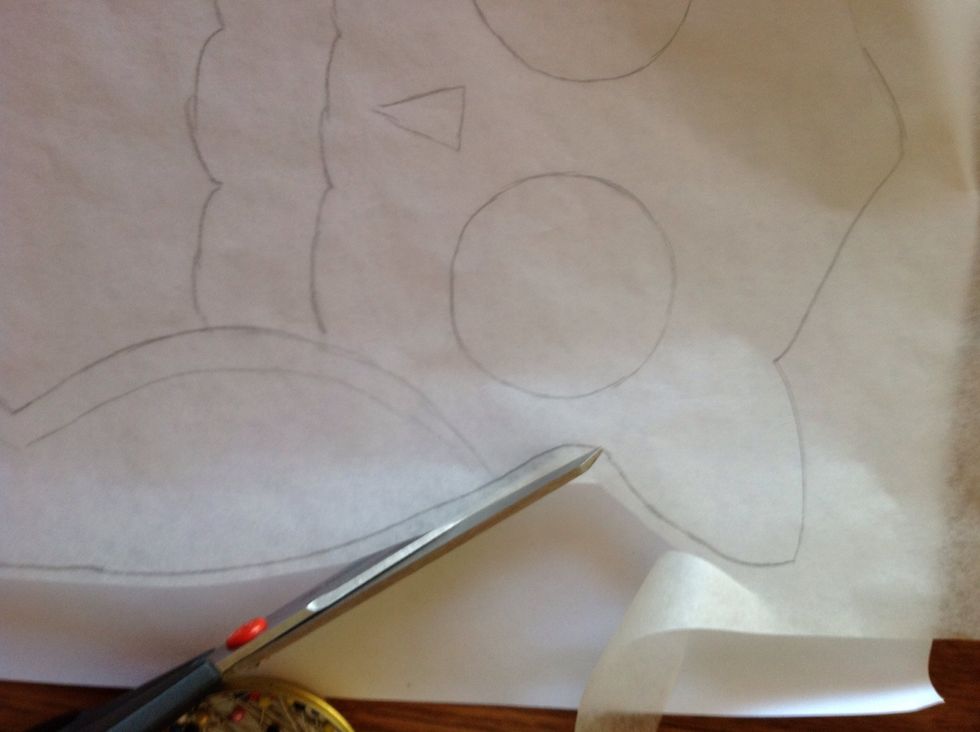
Using a piece of tissue paper you need to trace around the different shapes in your design. You will need to add ALLOWANCES for where your pattern pieces overlap.
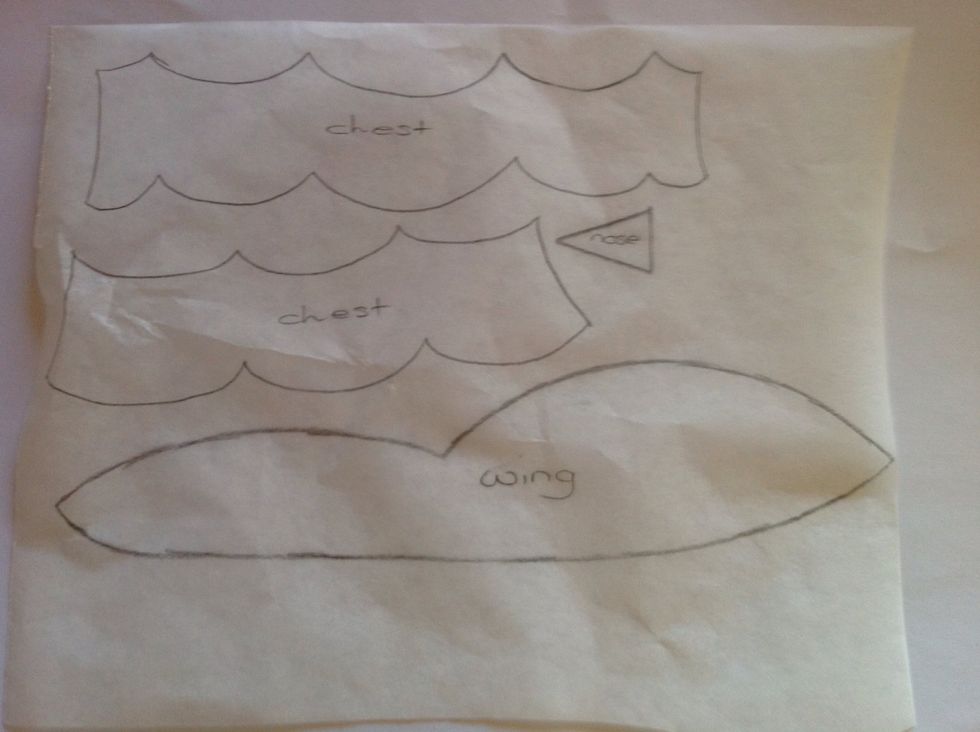
Label the individual parts to your design.
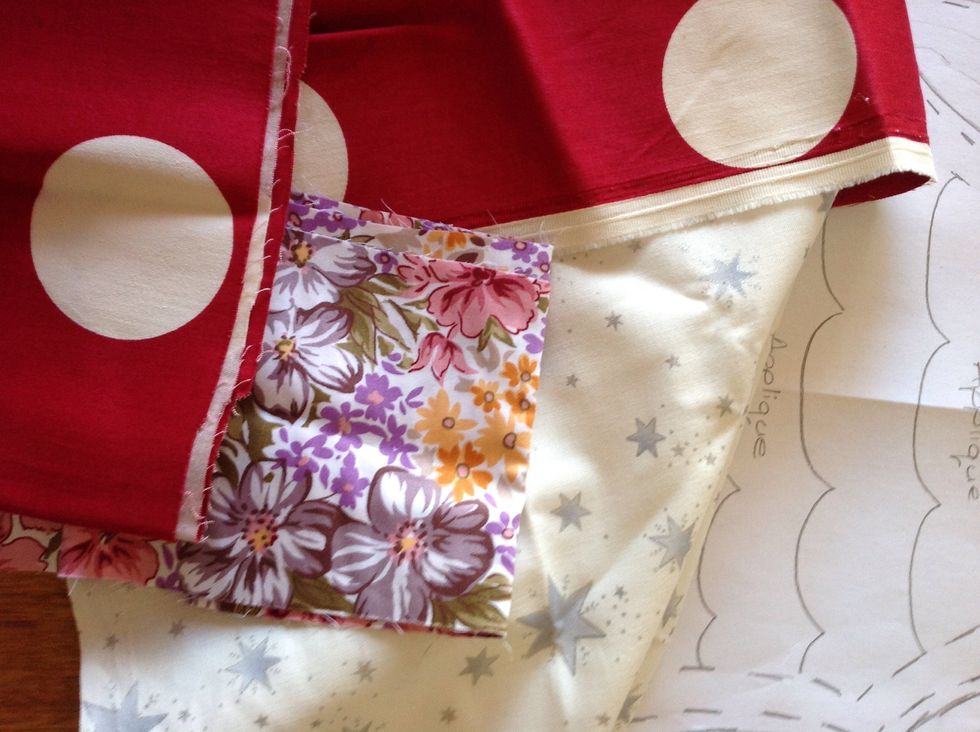
Select the fabric you are going to use.
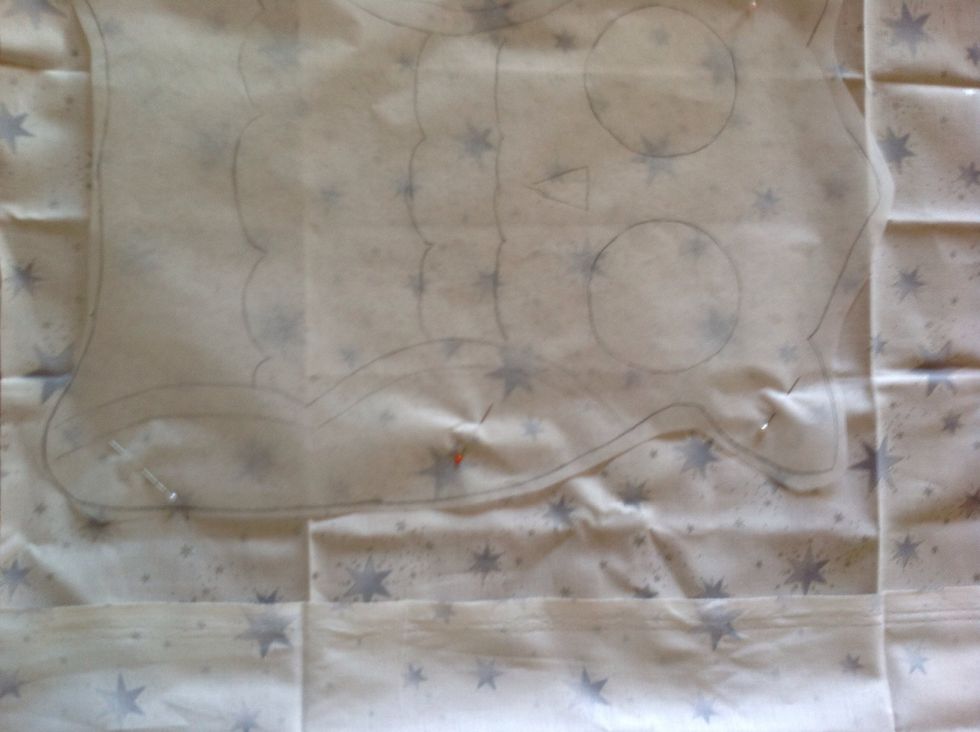
Pin your character cushion outline on to your fabric. Ask the teacher to check that it is correct.
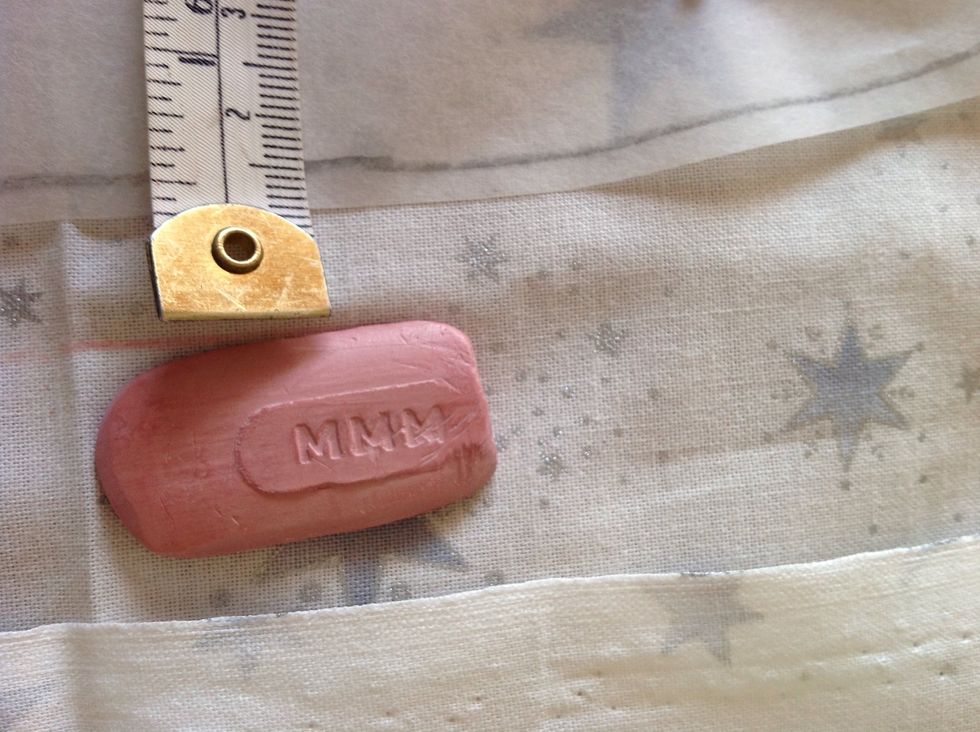
Use tailor's chalk and a tape measure, measure and mark 1.5cm from the outside edge of your design. This will become your cutting line.

Using fabric scissors cut around the cutting line.
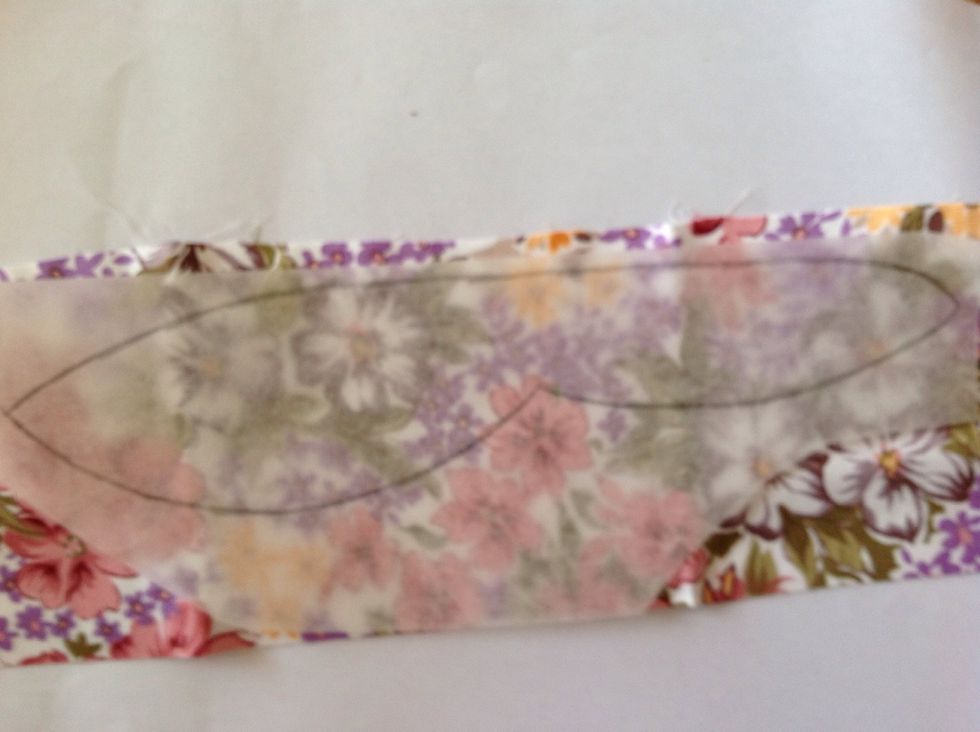
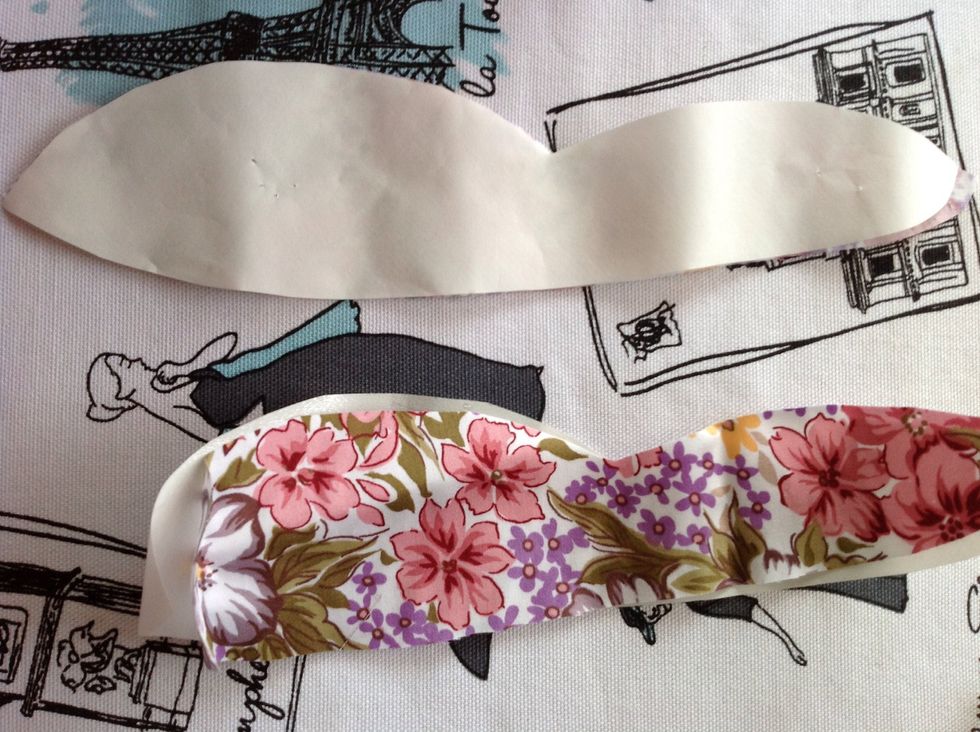
Select the fabric you are going to use to apply the picture to your backing fabric. Place pattern piece on to good side of fabric and roughly cut around the shape.

Place fabric on to rough side of the double sided interfacing.
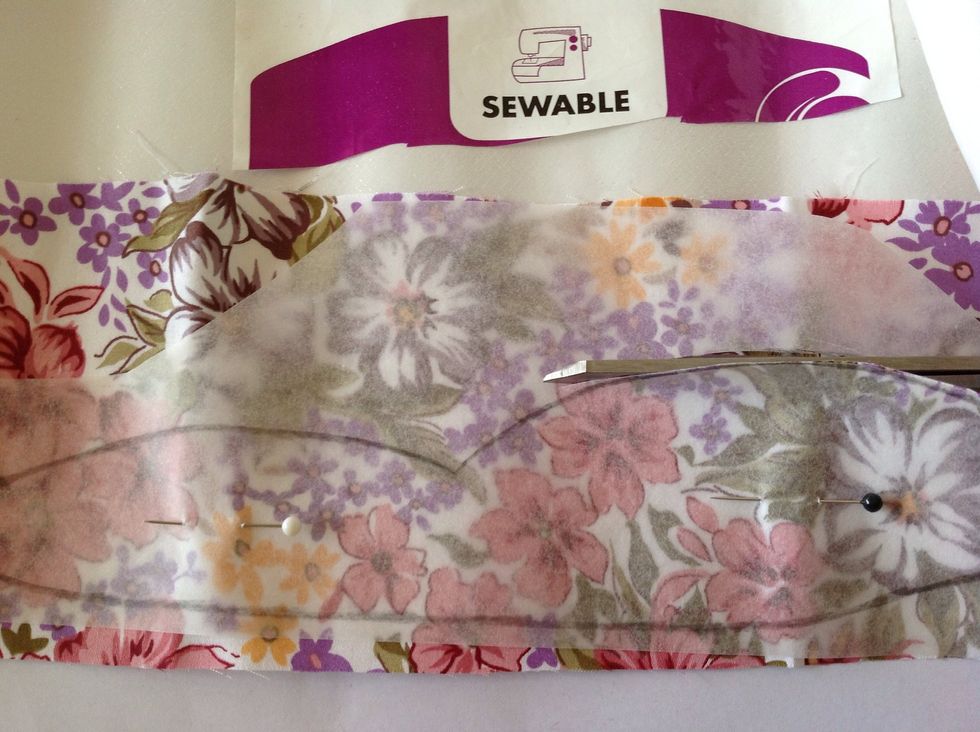
Pin pattern piece through the fabric and the interfacing. Cut exactly on the solid line.

Continue this process with all the other parts of your design.
Iron the rough side of the interfacing on to the wrong side of your fabric shape. You need to make sure you are ironing the PAPER side of the interfacing. You need to use a HOT iron.
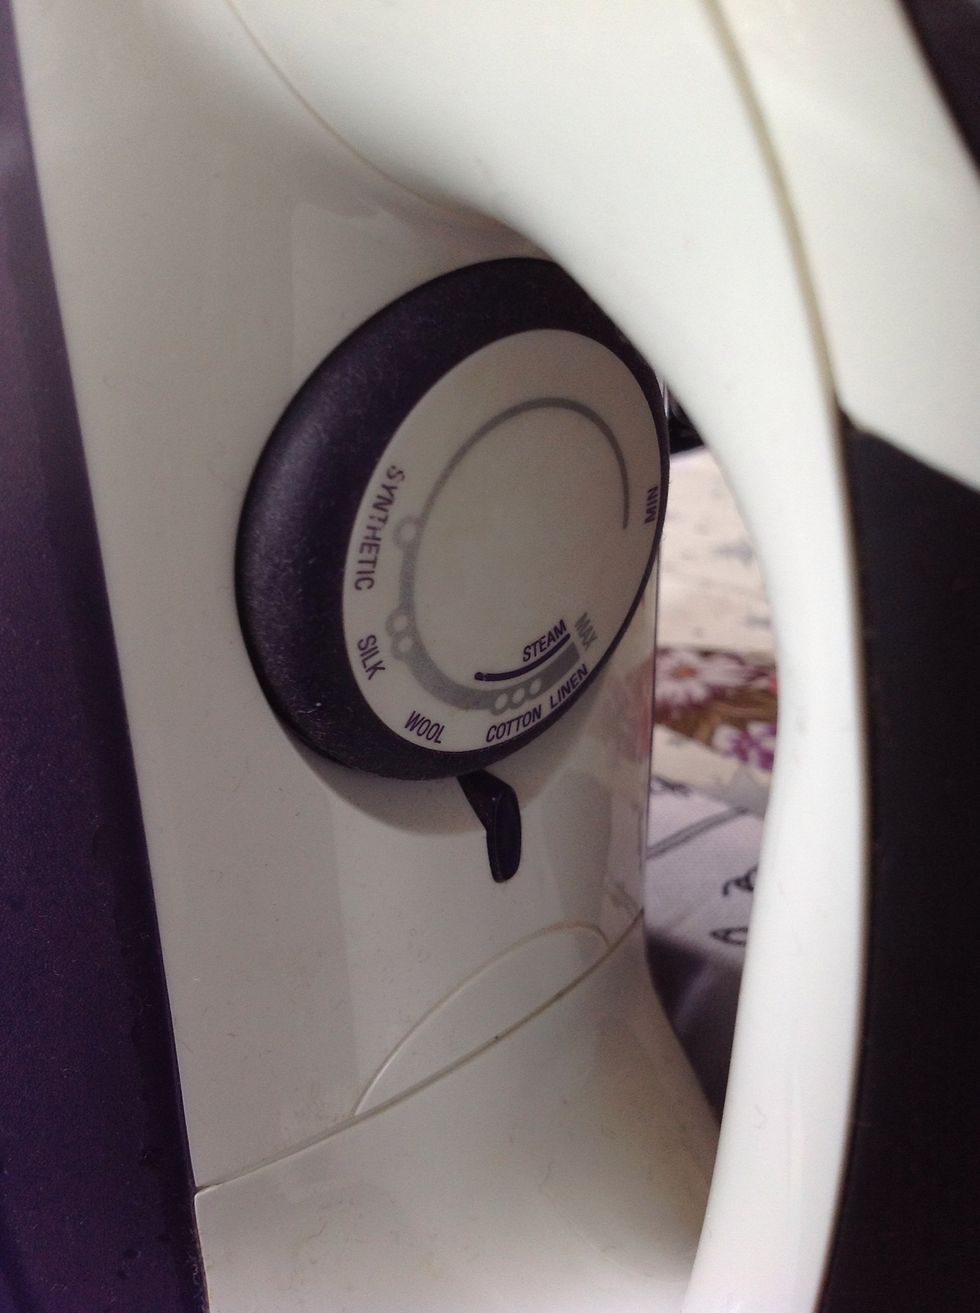
Heat setting. *** cotton
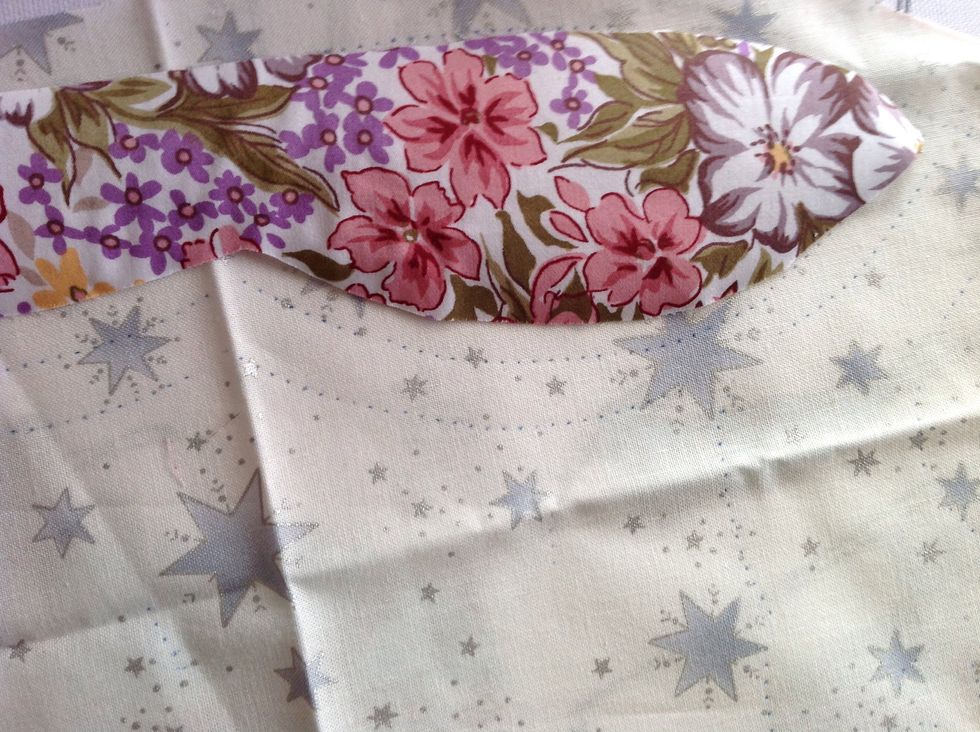
Peel the paper off of the interfacing and place it in the correct position on the backing fabric.
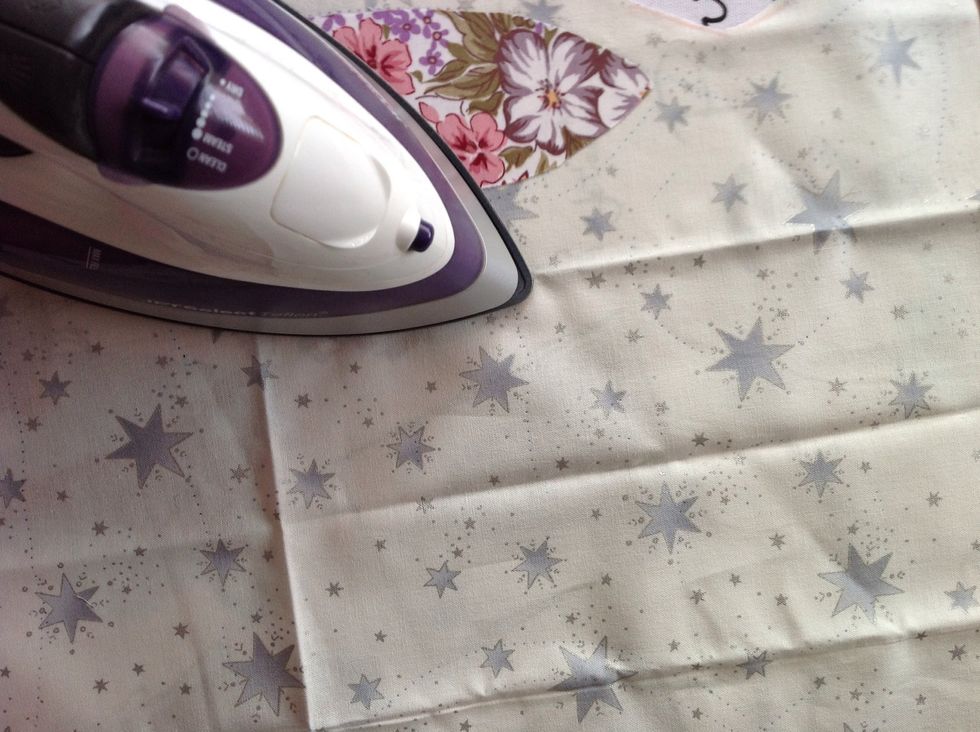
Iron fabric in to place. Make sure you check it is in the correct spot before ironing it!
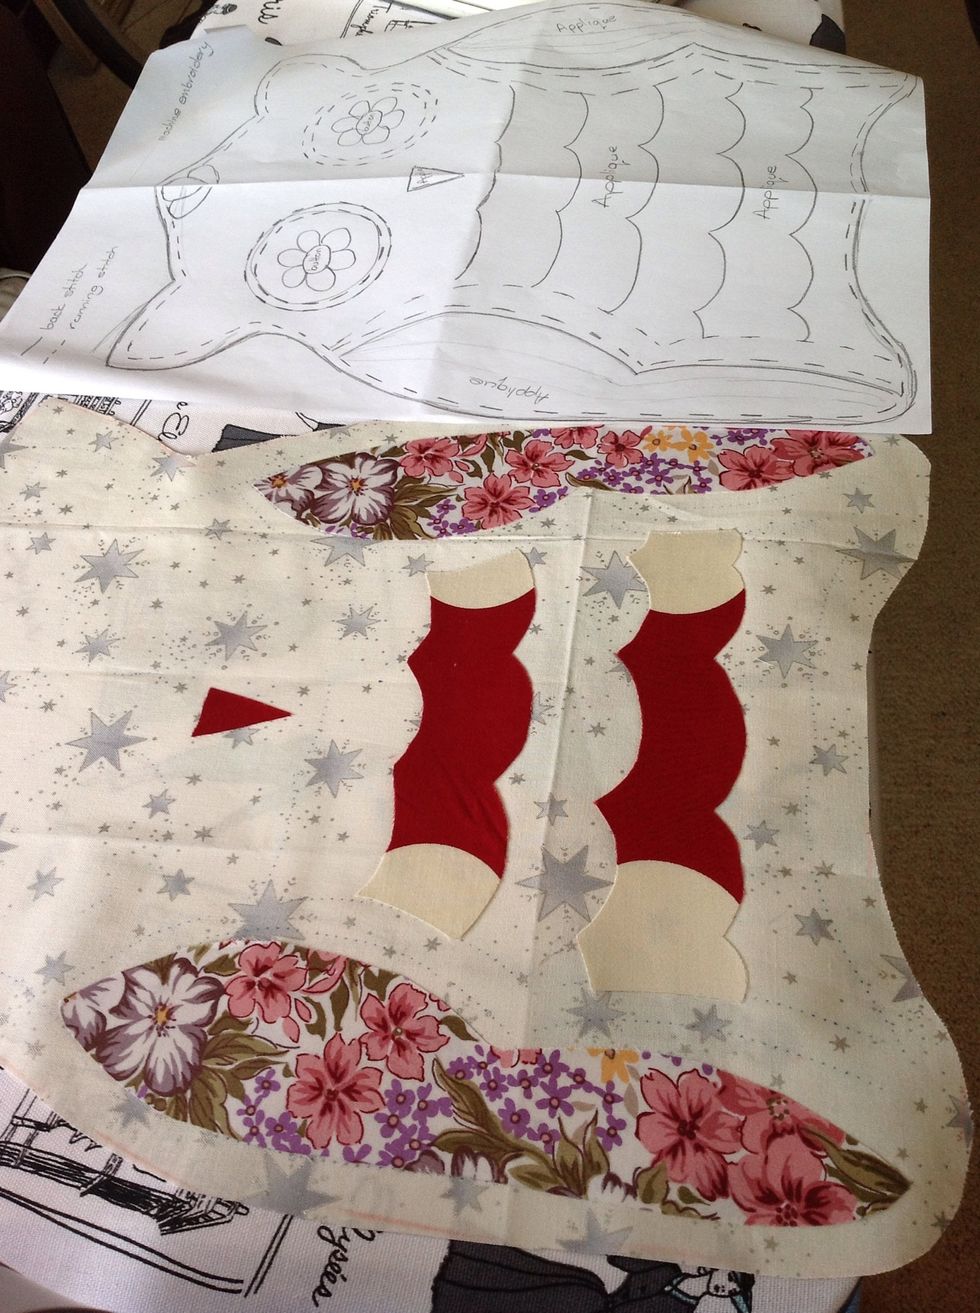
Check your original design to make sure you are placing your fabric in the correct spot.
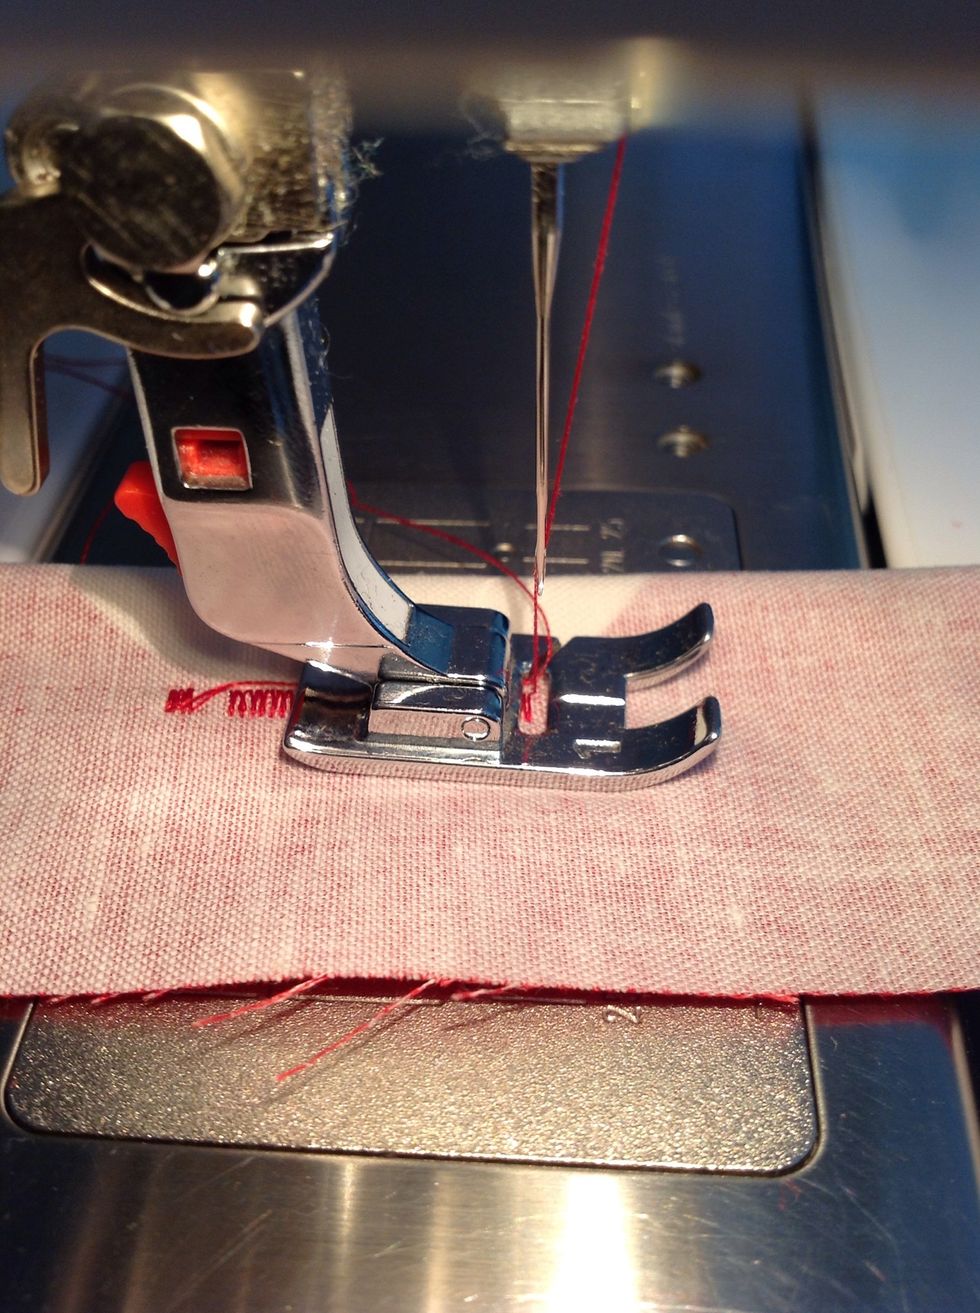
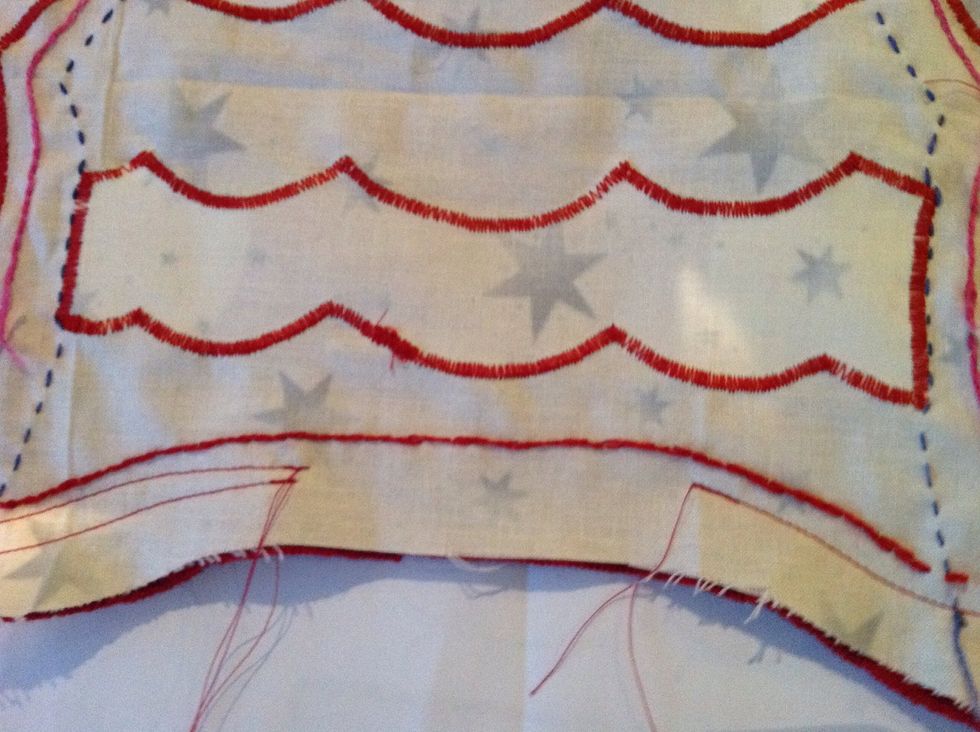
Set your machine to a SATIN STITCH. Stitch width 2-3, stitch length 0.5, zig zag pattern. Check it on scrap fabric.

You are going to machine along the edge if your fabric.
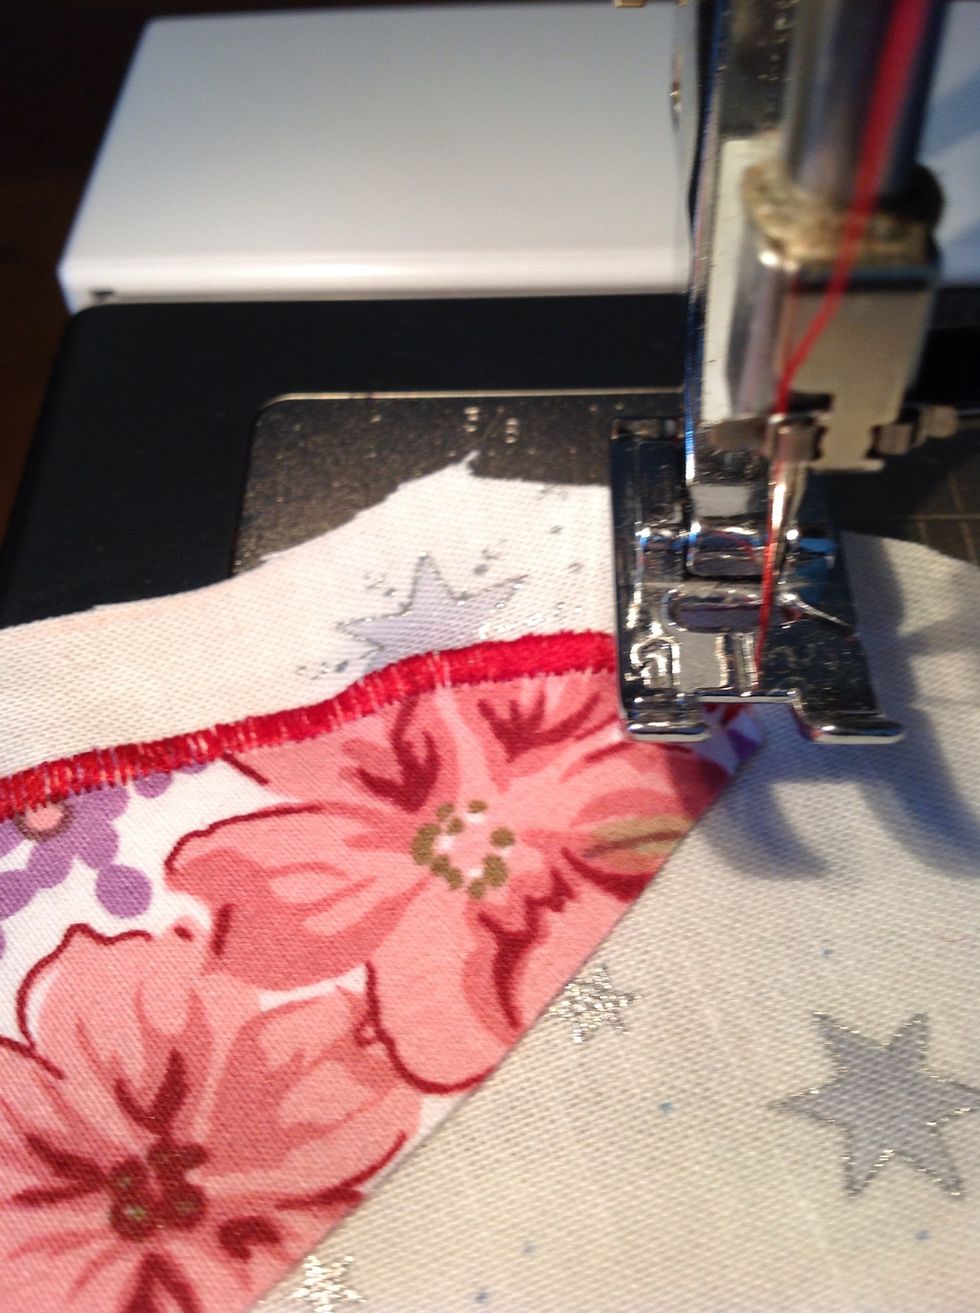
When turning a corner make sure you leave the needle in the fabric and raise the presser foot.
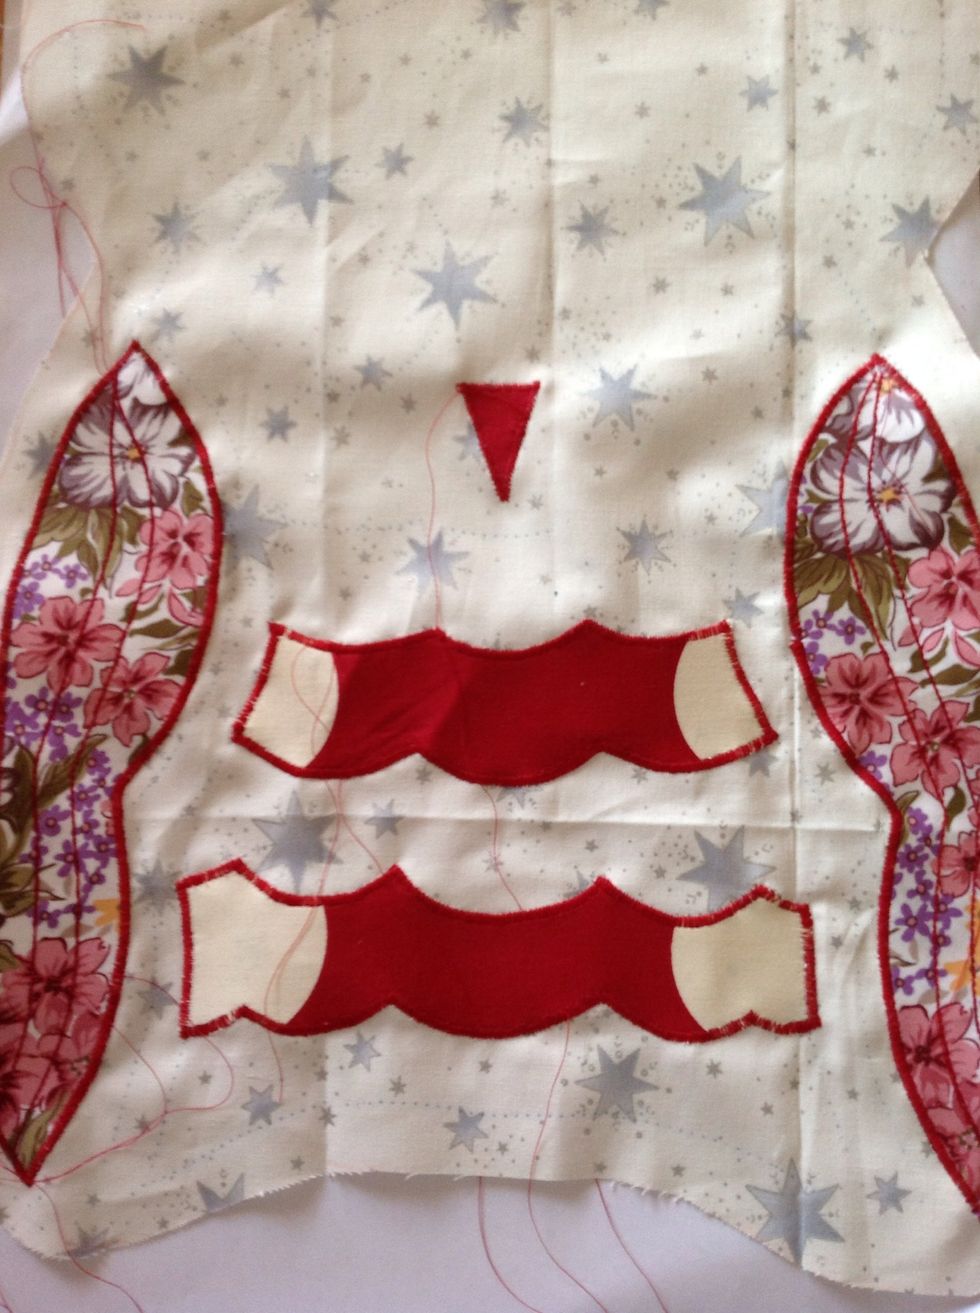
Machine around all of the APPLIQUÉ pieces.
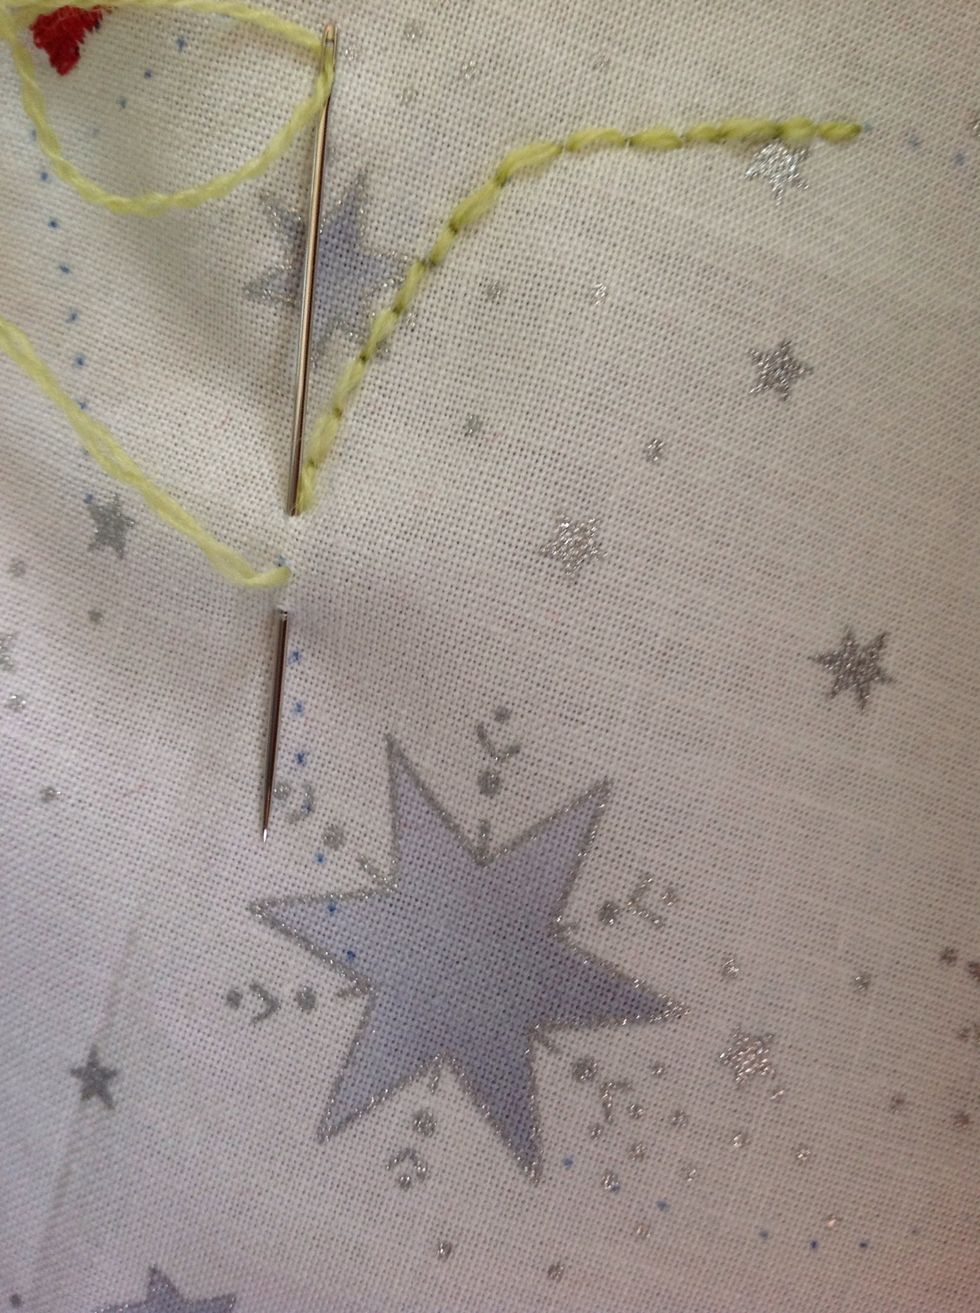
Complete any hand embroidery or other decorative features.
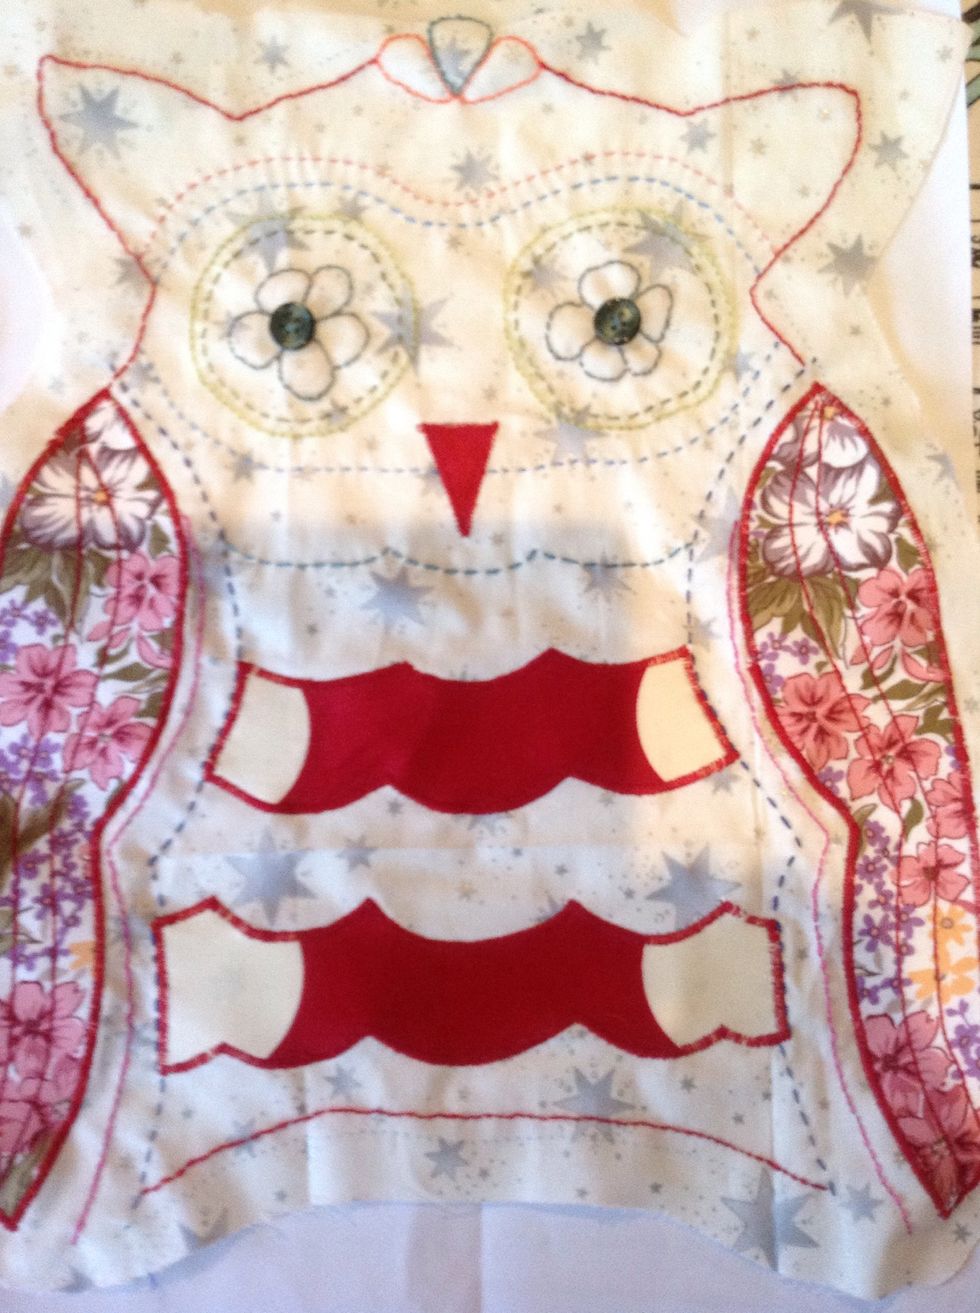
Nearly finished.
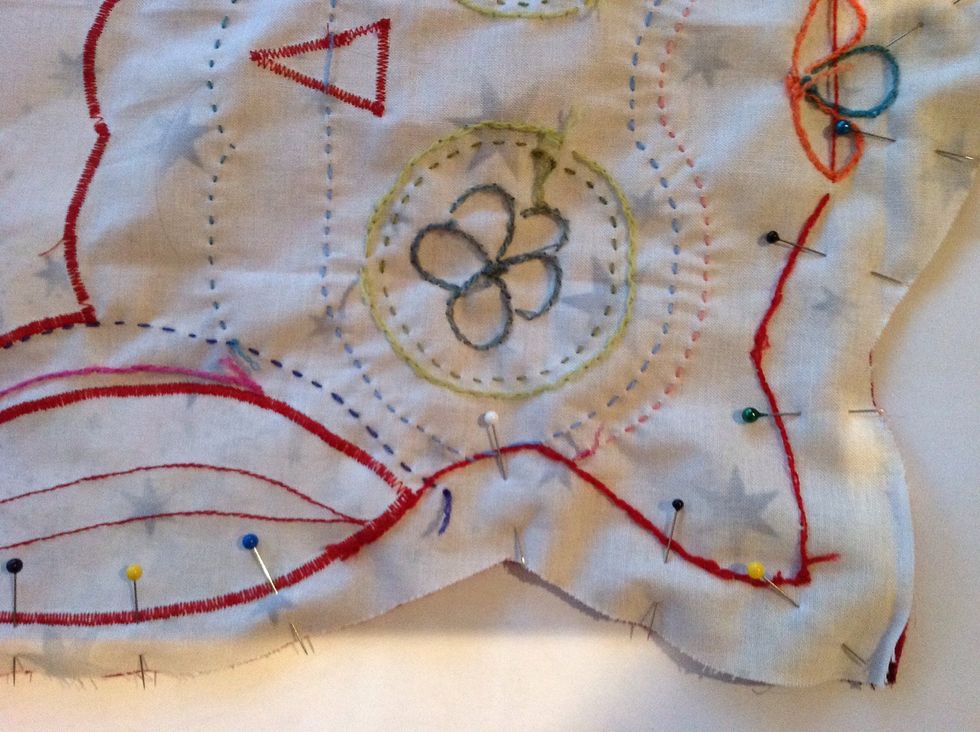
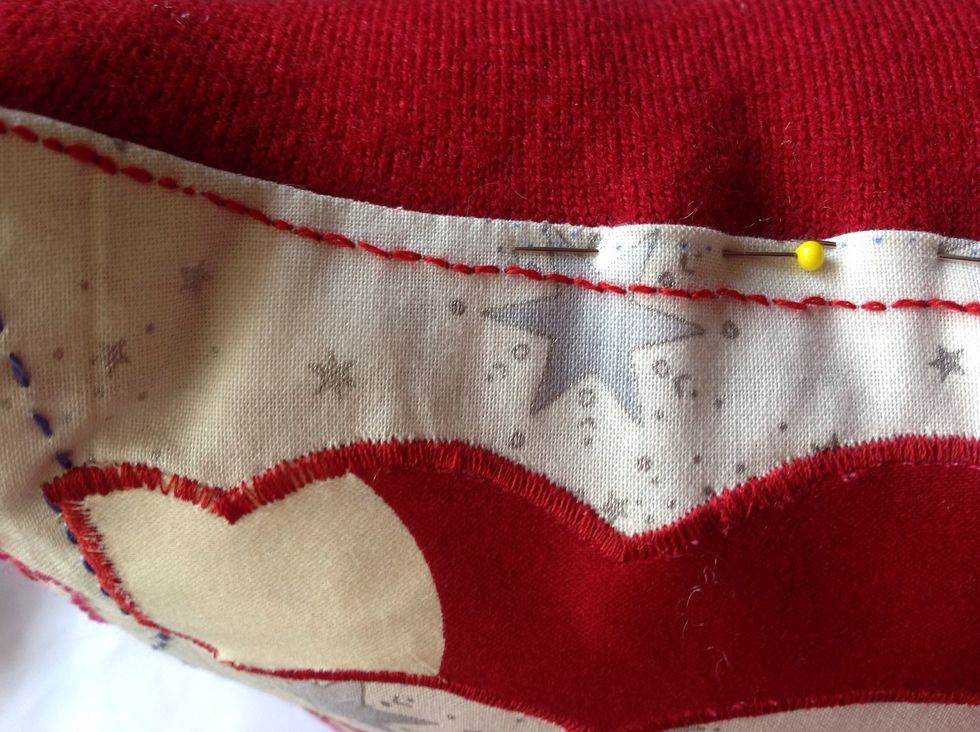
Cut out fabric for the back of your cushion. Ask your teacher for assistance with this. Place good side of decorated fabric and good side of back cushion fabric together. Pin in place.
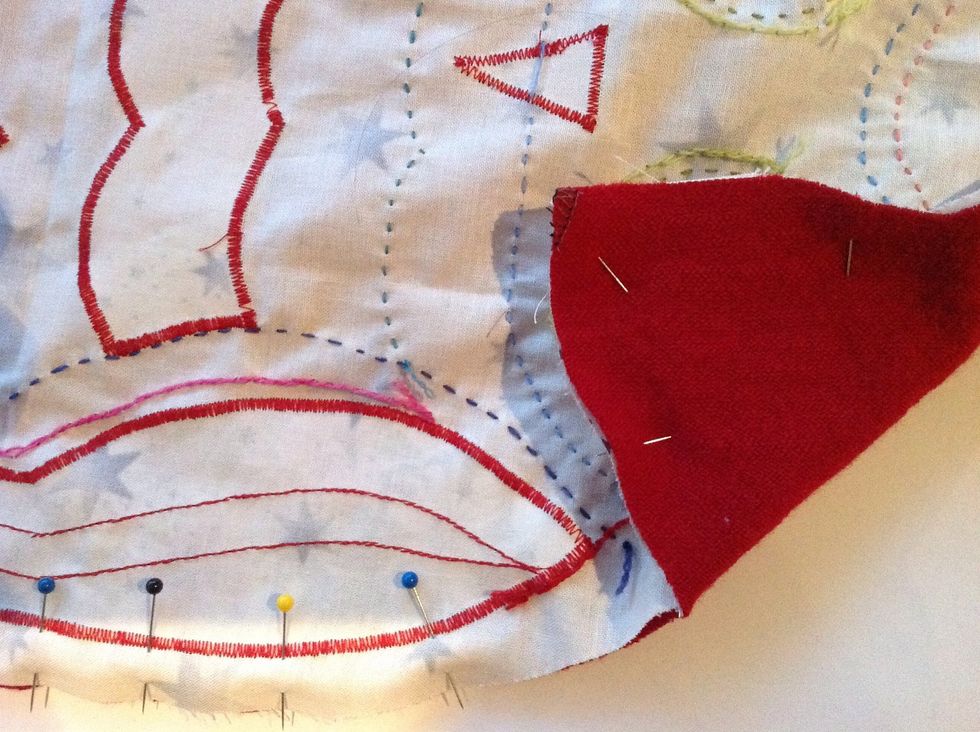
Pinned in to place.
Measure 1.5cm from stitching line. Mark with tailor's chalk. Machine. You must remember to leave a space approximately 5cm long to allow you to turn the cushion the correct way out.
Turn cushion right side out. Stuff firmly. Pin open edges closed. Using a small slip stitch, hand stitch the closure. You ahold not be able to see your stitching.