The Conversation (0)
Sign Up
Start off by figuring out where you want to place your stencils. (I love these adhesive stencils because they’re reusable and easy to apply and peel off.)
Place stencils on the bottle. Make sure you smooth out the stencils so that there are no air bubbles.
I did the top stencil first and then waited for it to dry before I applied the stencil right below as I didn’t want too much space between the stencil decor.
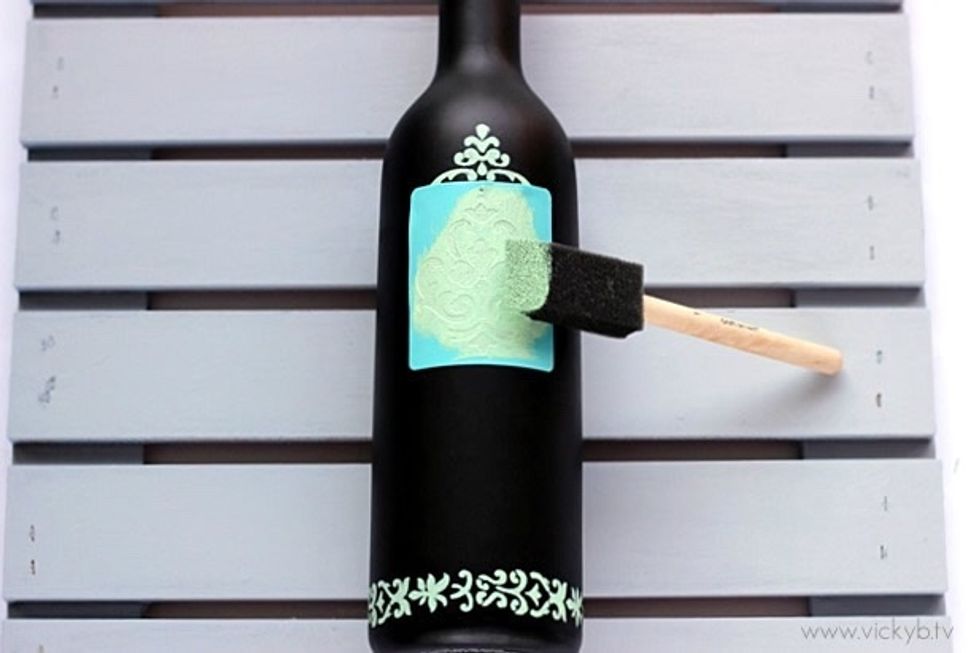
Apply paint to the stencil using your sponge brush. The best way to apply the paint is by dabbing it on with the sponge.
Once you finish painting the stencil on, wait for one minute and peel the stencil off gently.
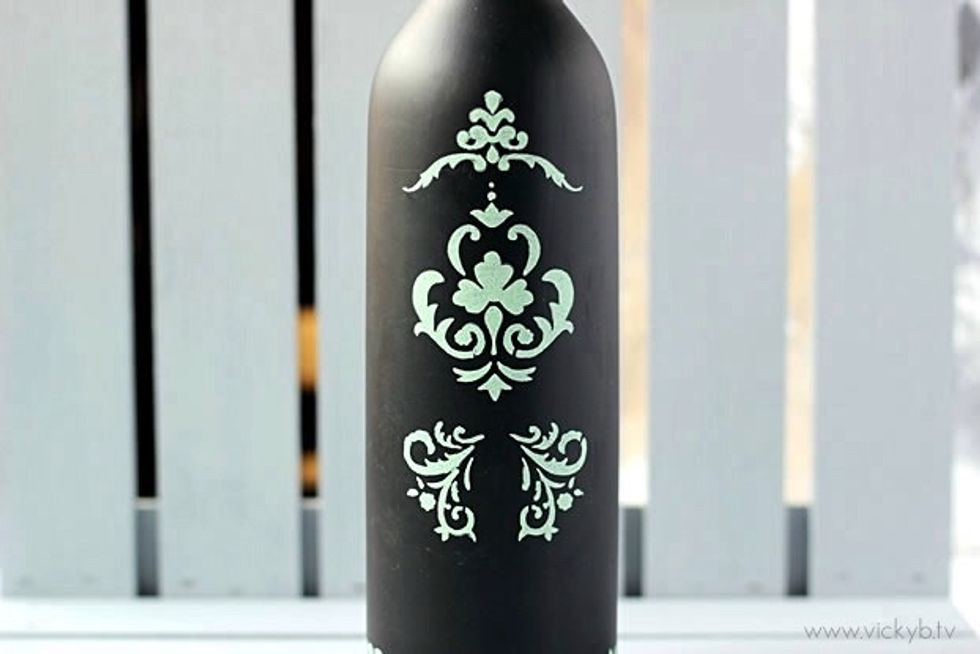
Continue stencilling the vase to your liking. Once done, wait for the paint to completely dry. Now you're ready to use your new vase!
For more DIY tutorials, beauty, fashion and lifestyle posts, check out my blog ➡️ www.vickyb.tv ❤️