The Conversation (0)
Sign Up
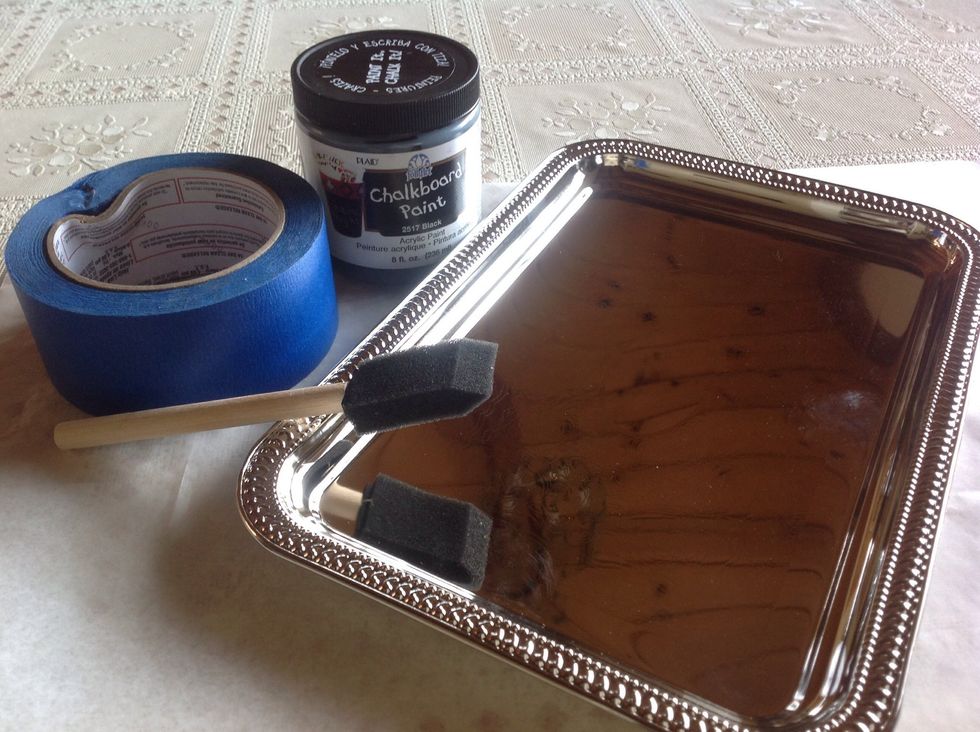
Gather supplies. (I only had wide painters tape, but I tore it in half long ways and was able to use less and it fit better on this narrow edged tray.)
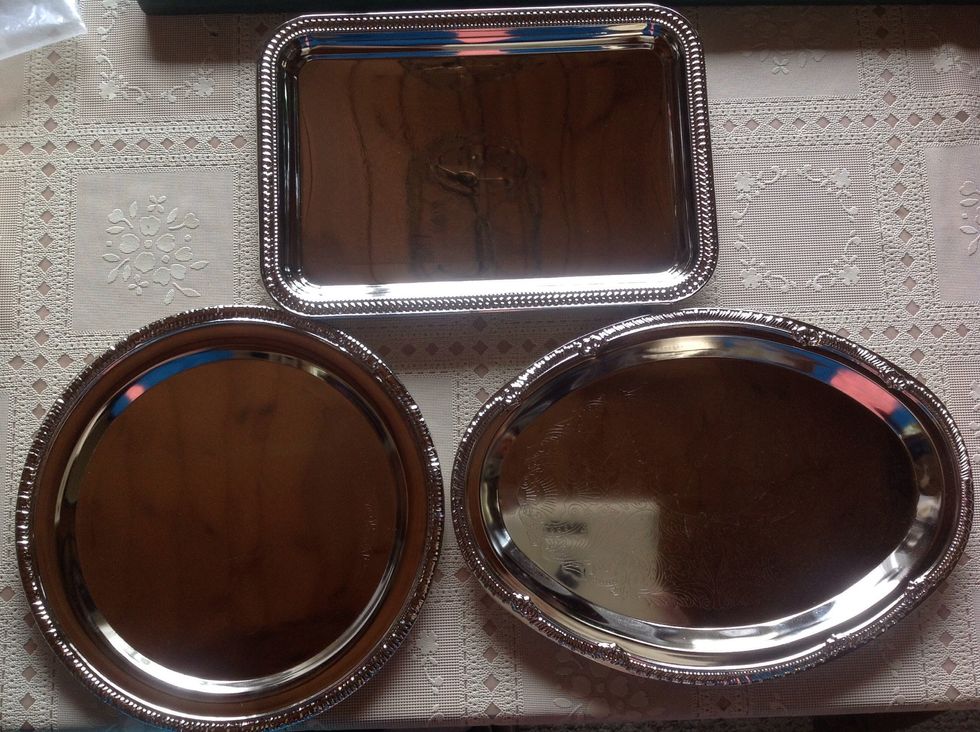
I found these metal trays at the Dollar store. You can also use wood or plastic.
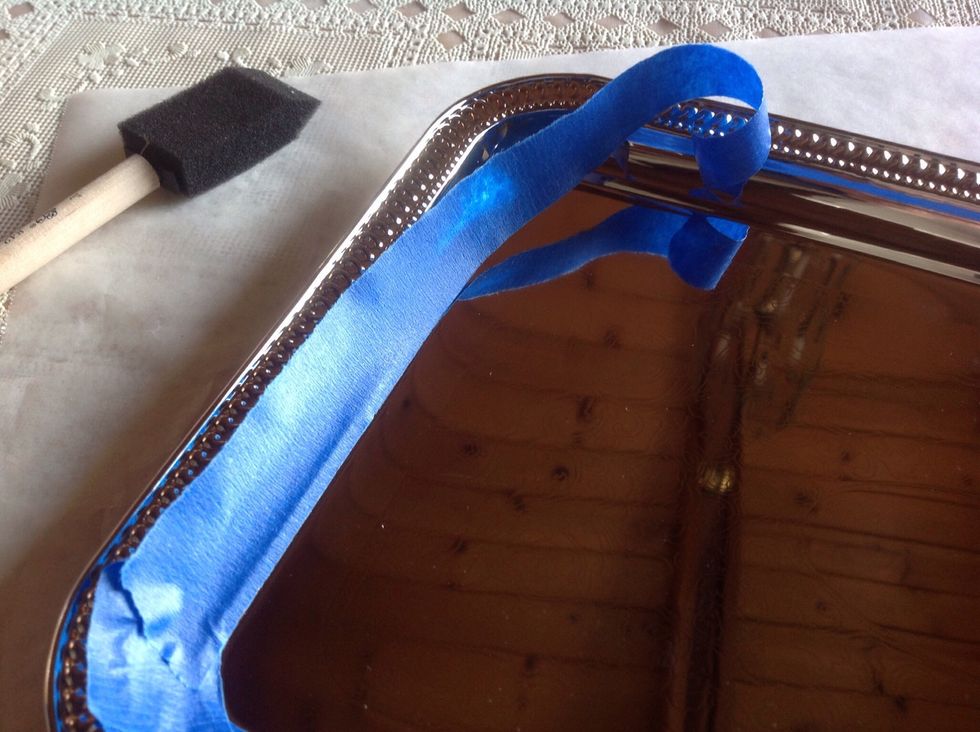
Tape down the perimeter of your tray. Be very careful to keep the tape straight. Firmly rub tape down, you do not want any paint seeping underneath.
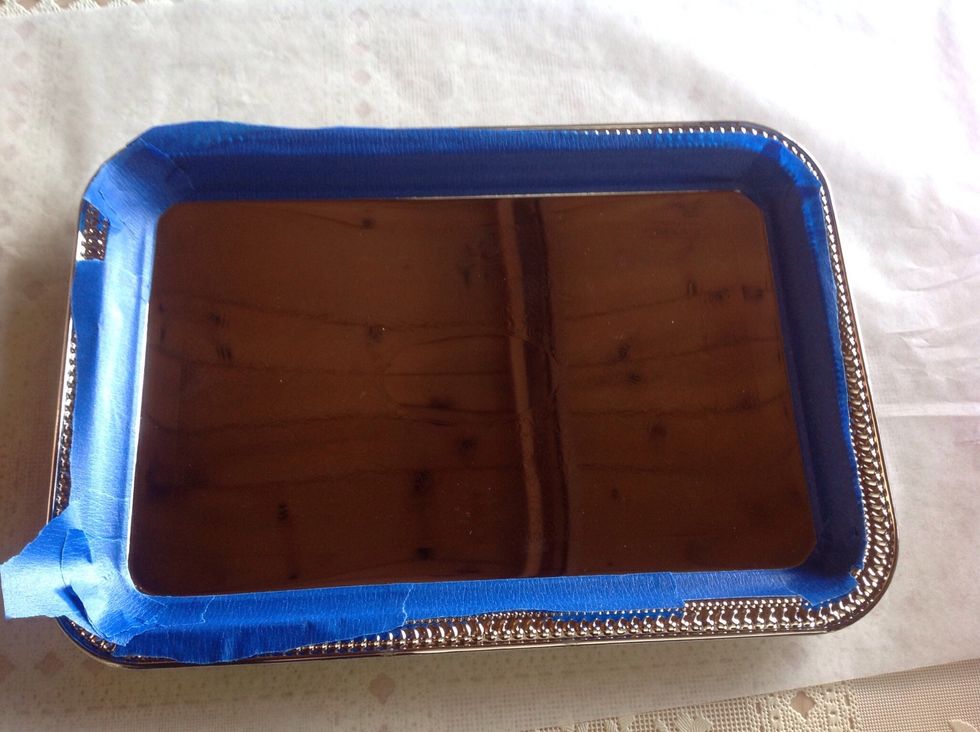
Ready to paint.

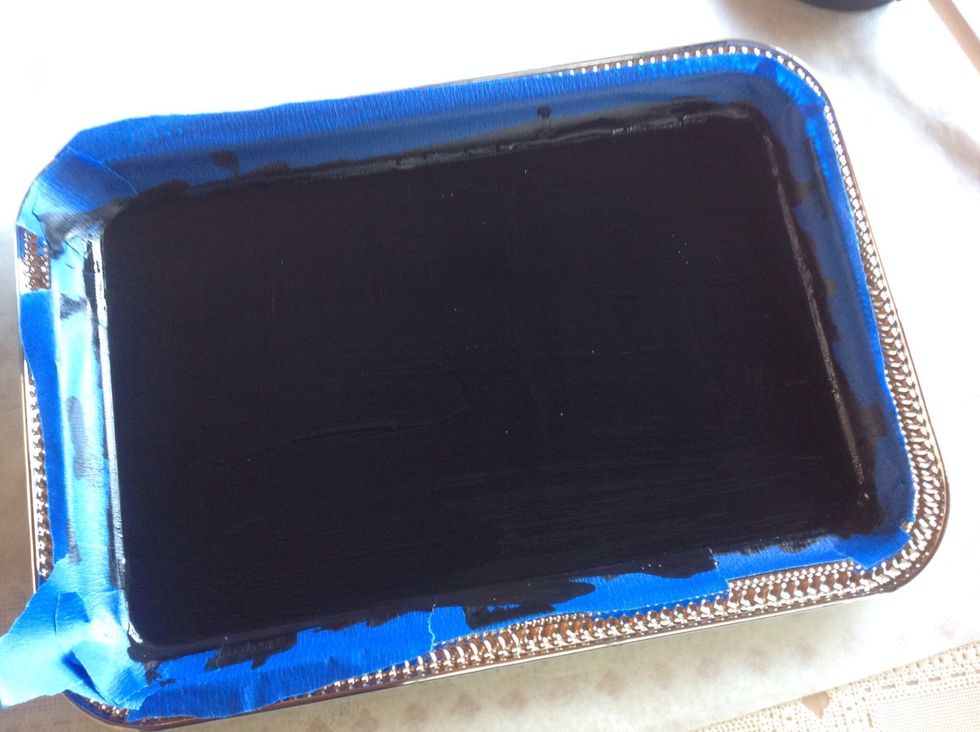
First layer: Paint an even layer of paint on tray. Not too thick.

Set aside to dry one hour.
Second layer: paint an even layer, again, not too thick. Allow an hour to dry.
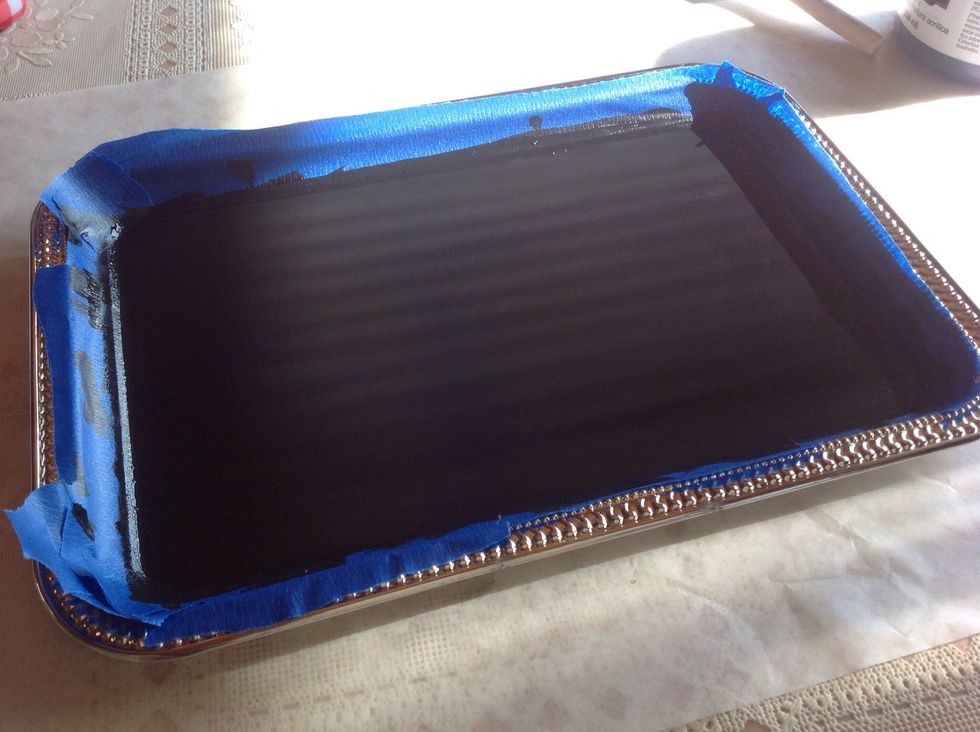
Third layer & final layer: paint evenly, brush strokes going one way. Allow to dry, and sit aside for 24 hours.
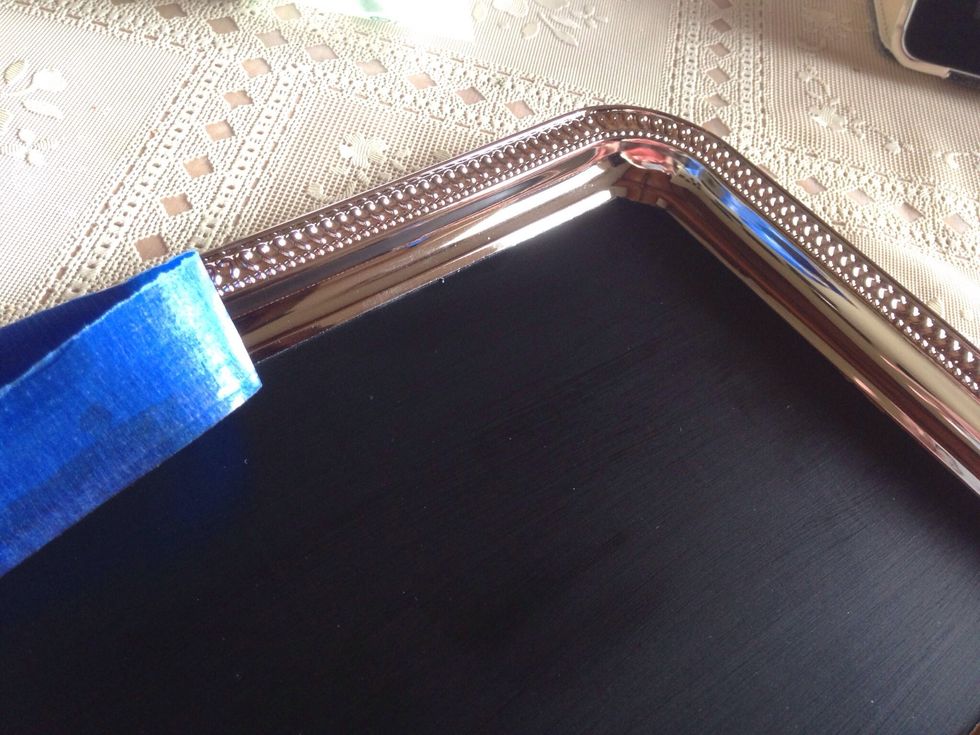
Carefully pull up and remove tape.


To 'season' your chalkboard, rub chalk over the tray.

Using a cloth, wipe chalk off. That's it, your chalkboard tray is ready.
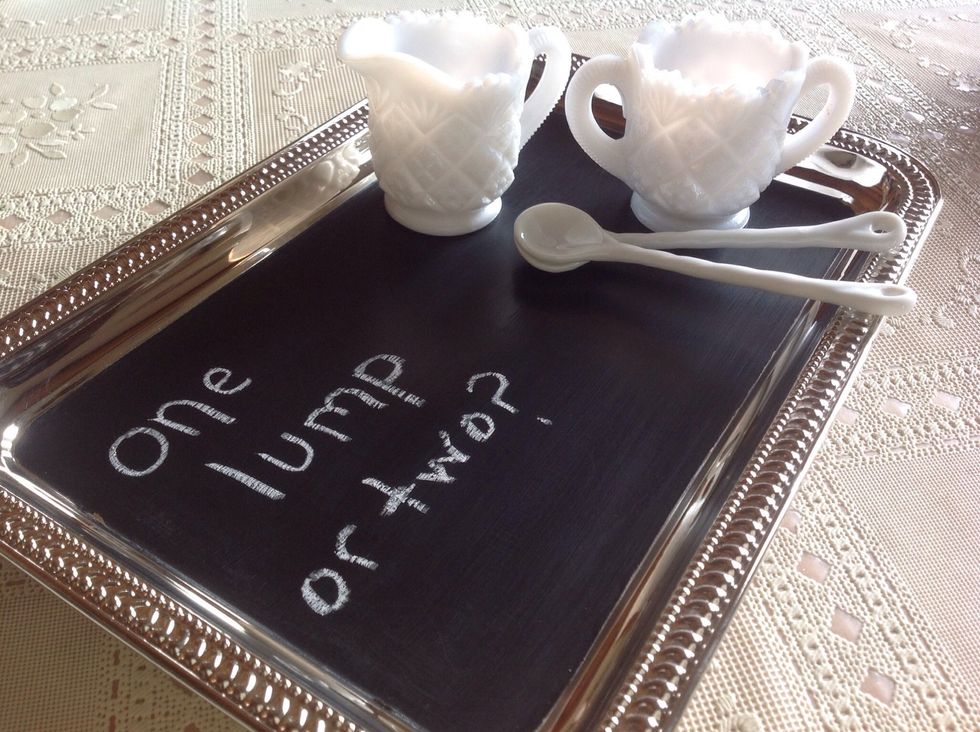
Makes a nice gift...just be sure to enclose chalk!