The Conversation (0)
Sign Up
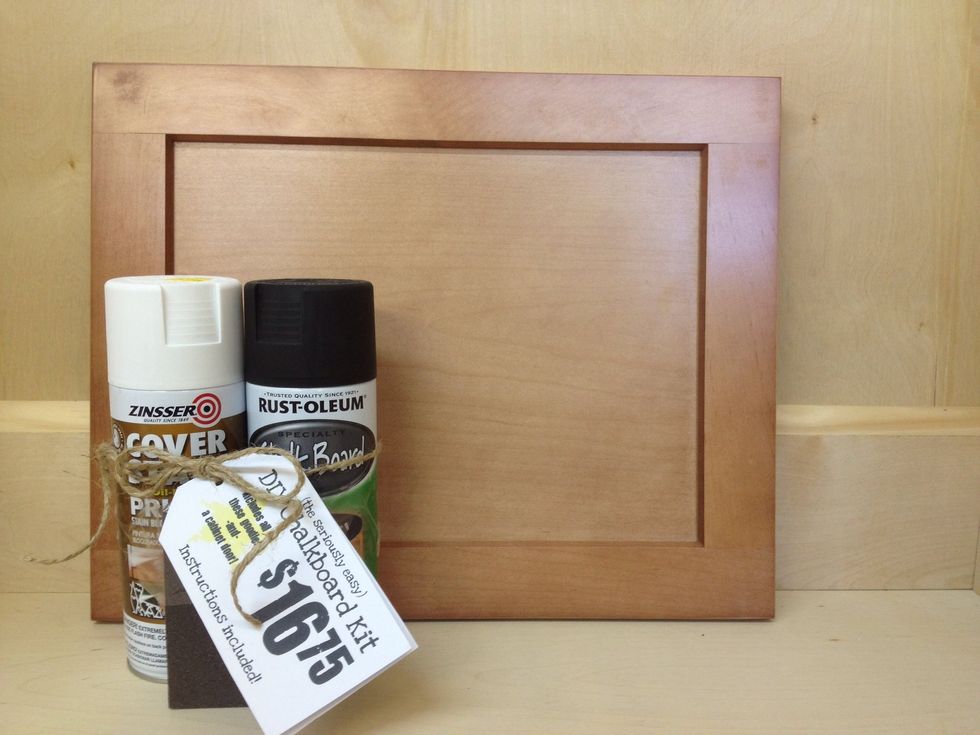
Supplies: Have you purchased a kit from our cabinet shop? If so, you'll have your cabinet door, primer, chalkboard paint and sanding sponge from your kit! If not, head to your local hardware store!
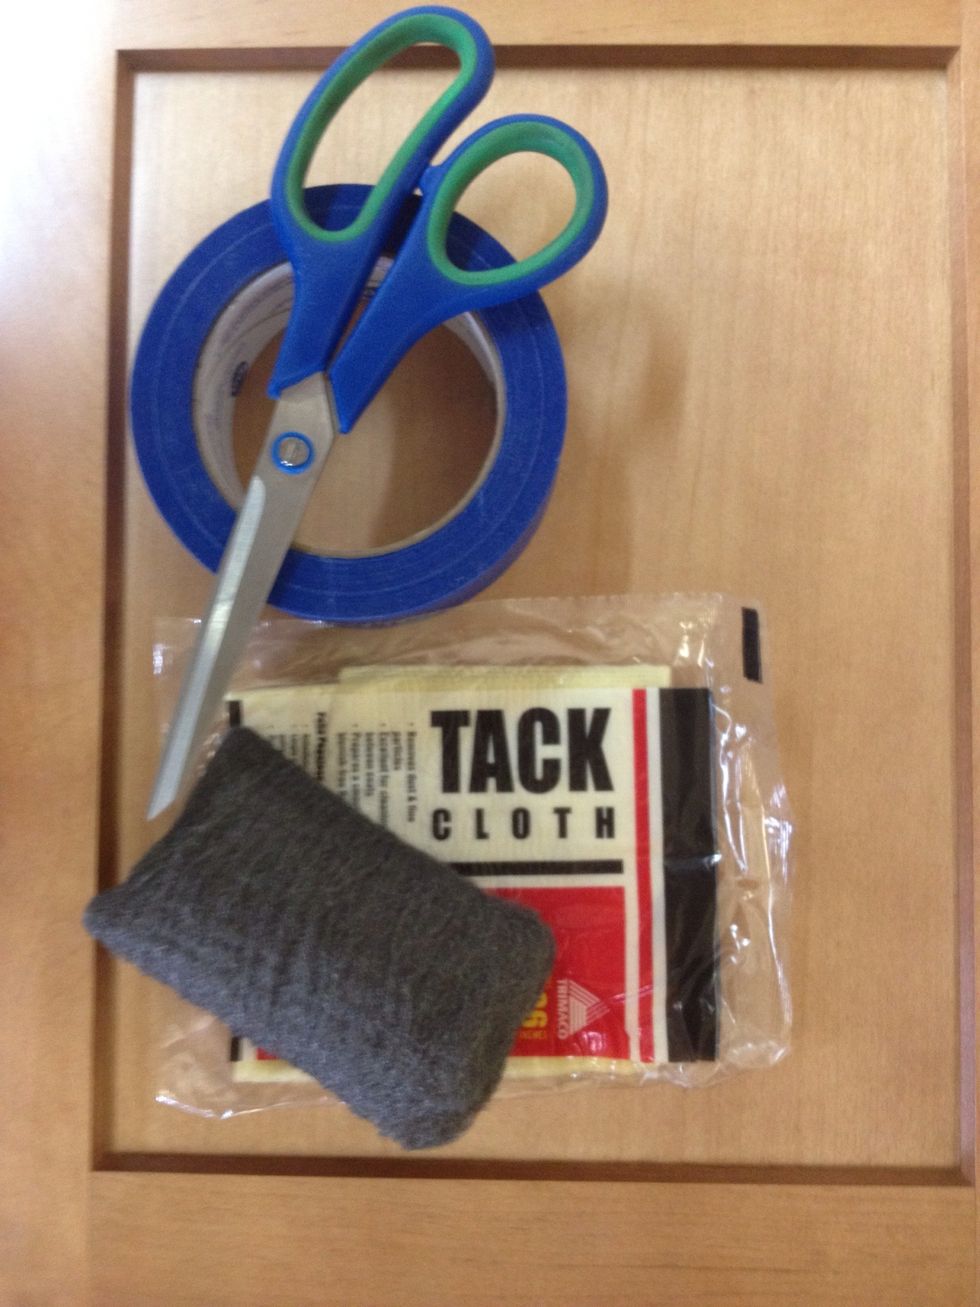
Supplies: You will also need scissors & painter's tape. Tack cloth & steel wool (0000) are helpful to have, but not a must.
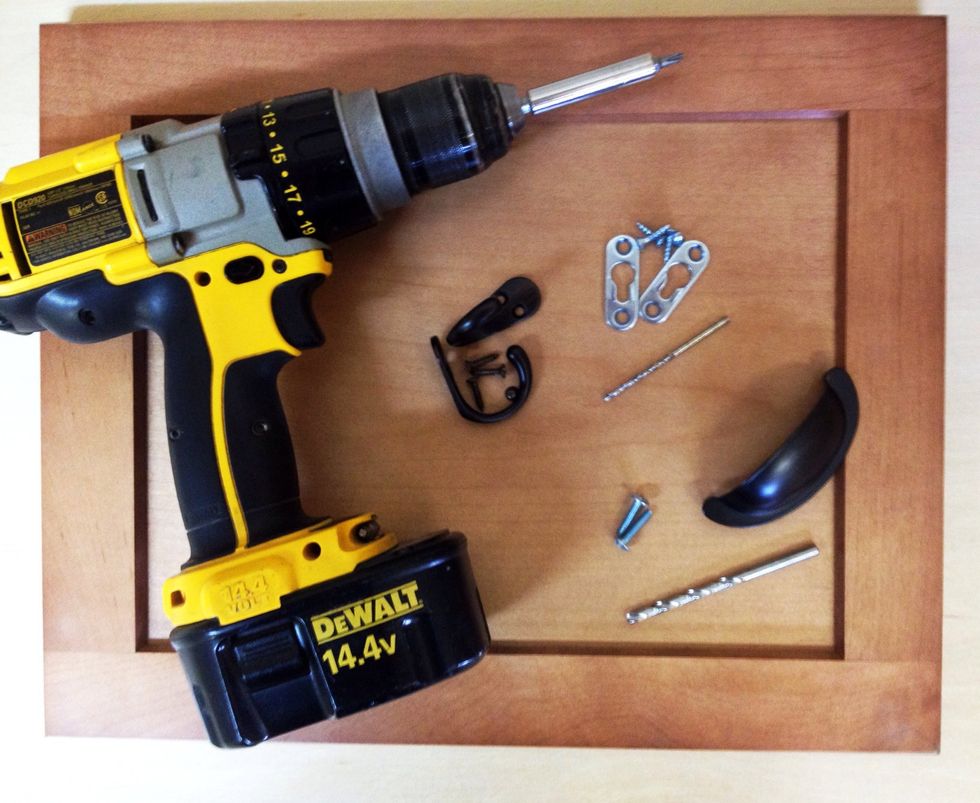
Supplies (optional): Want a chalk cup? Hooks for keys? Hangers on the back? In addition to the hardware, you will need a drill and bits (1/4" and 1/8" used for this hardware).
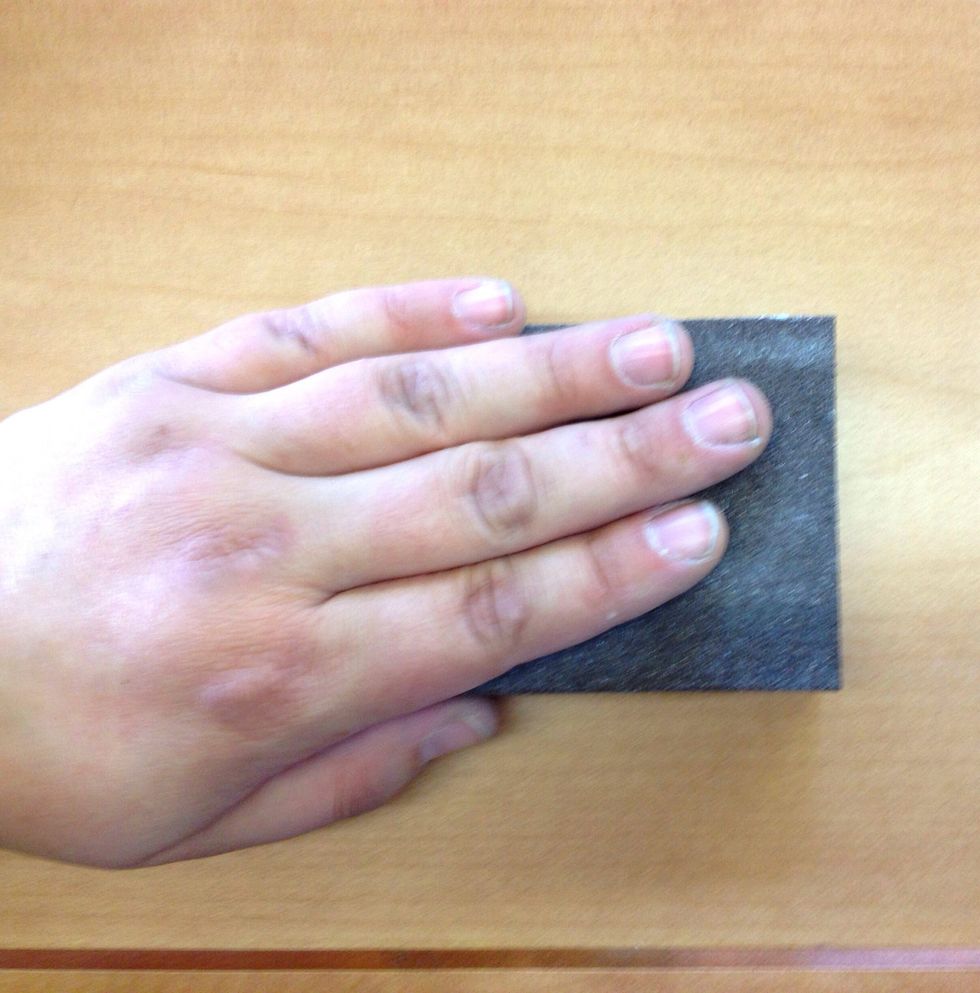
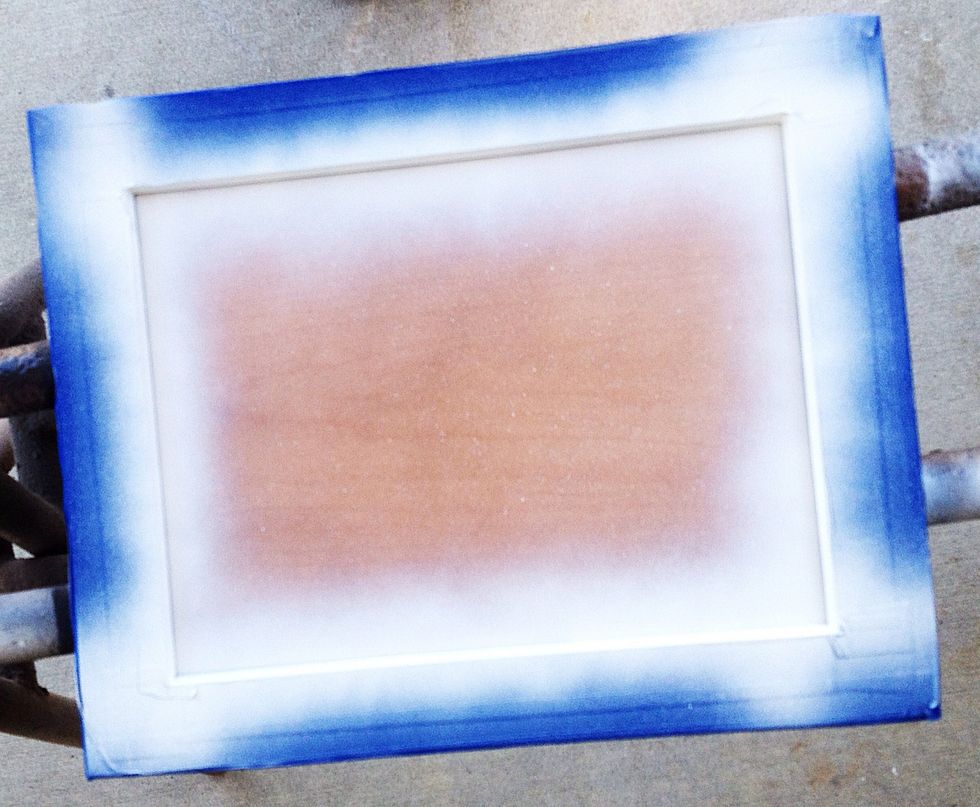
Let's get started! First, sand the panel (with the grain). For unfinished wood, the goal is to sand away any irregularities. For finished wood, you're just roughing up the surface.
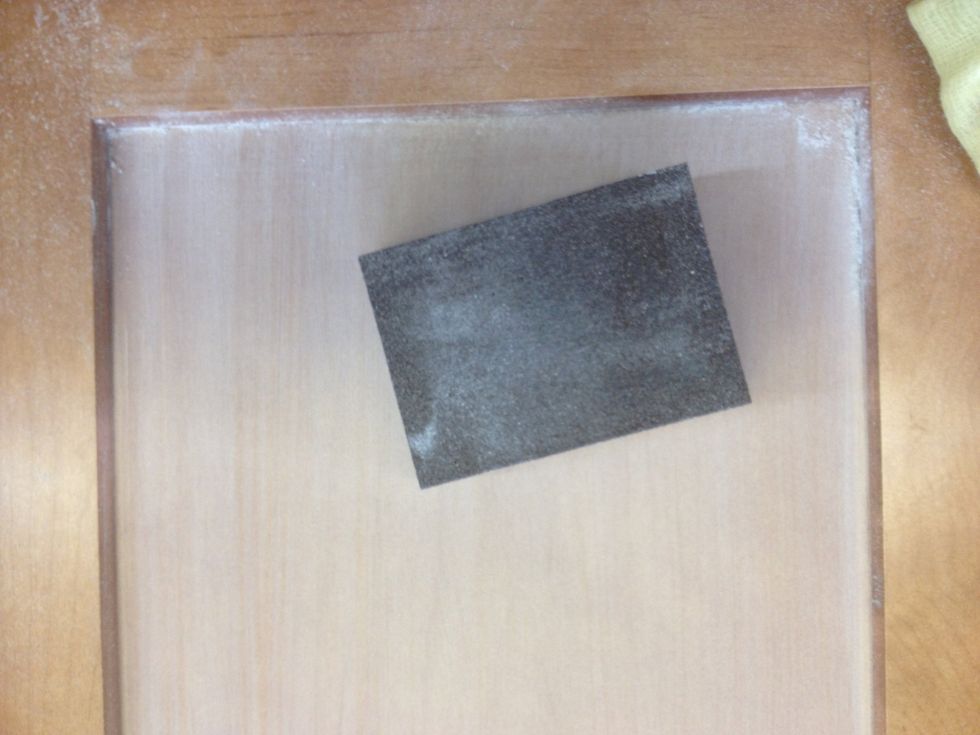
Once sanded, the surface of the panel will be powdery and dull (finished wood). Wipe with your tack cloth to remove any dust. Dust left on the surface = a bumpy chalkboard.
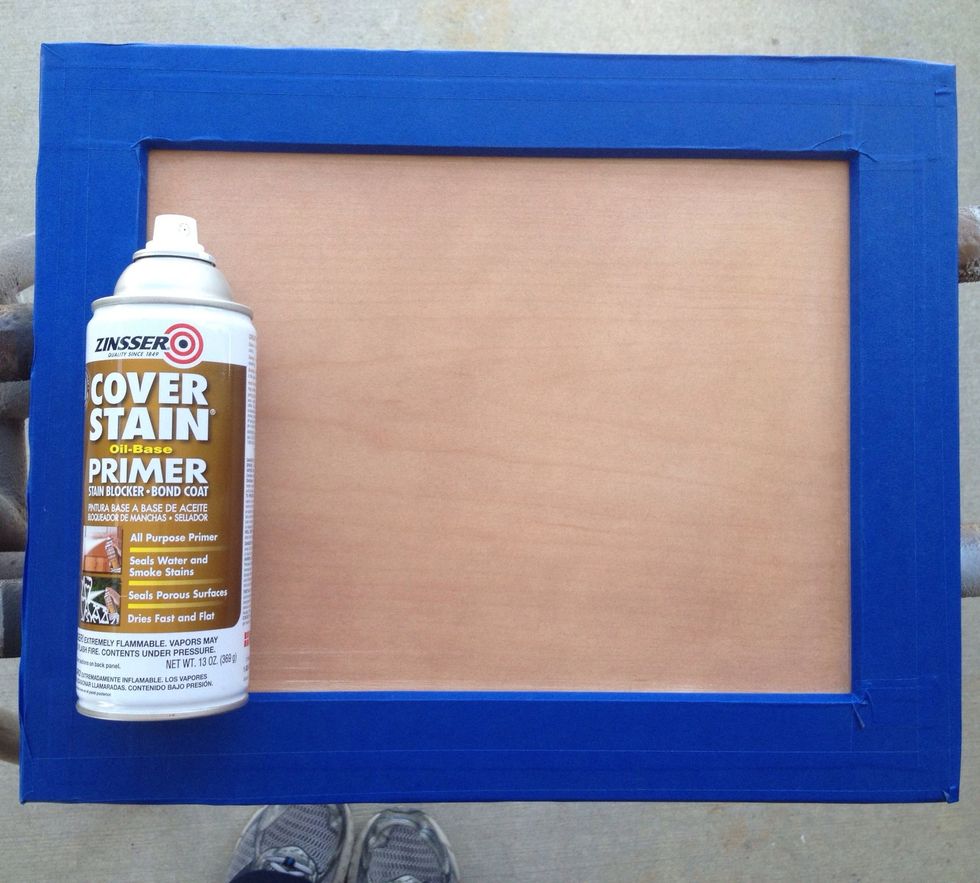
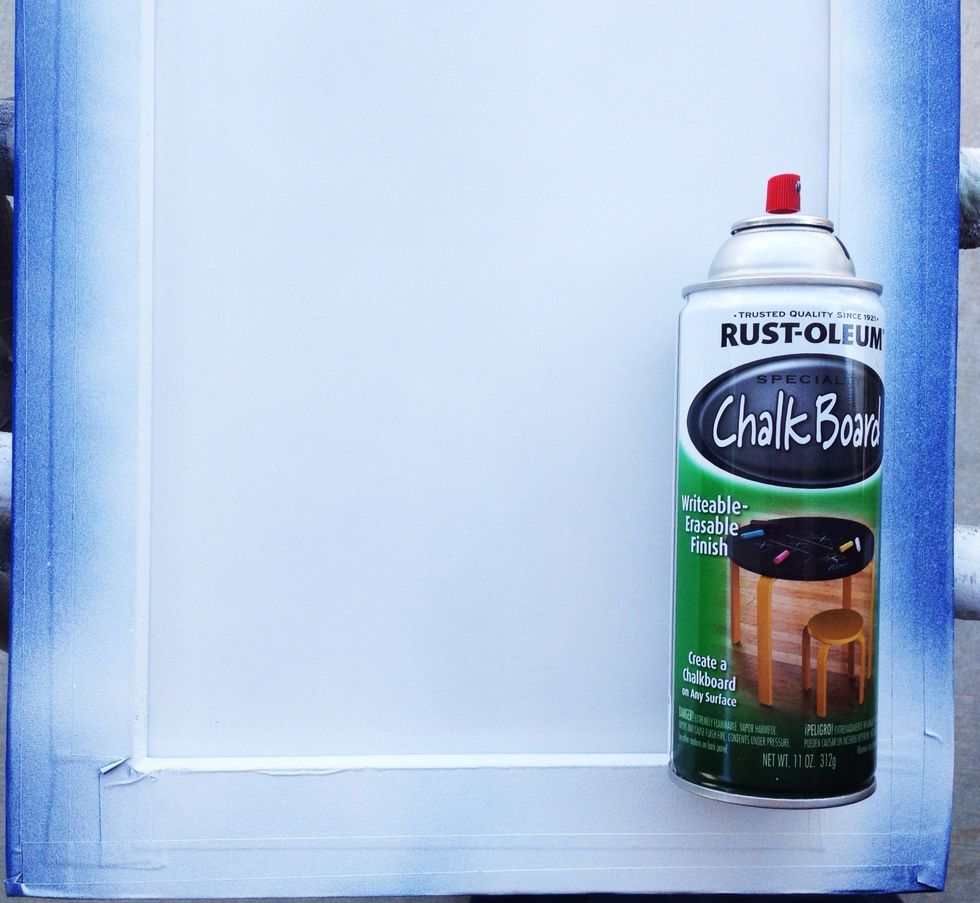
Once you've taped the inside edge of the frame, tape around the outside so that no portion of the frame (except the back) is exposed. Smooth it down completely. Now you're ready to paint!
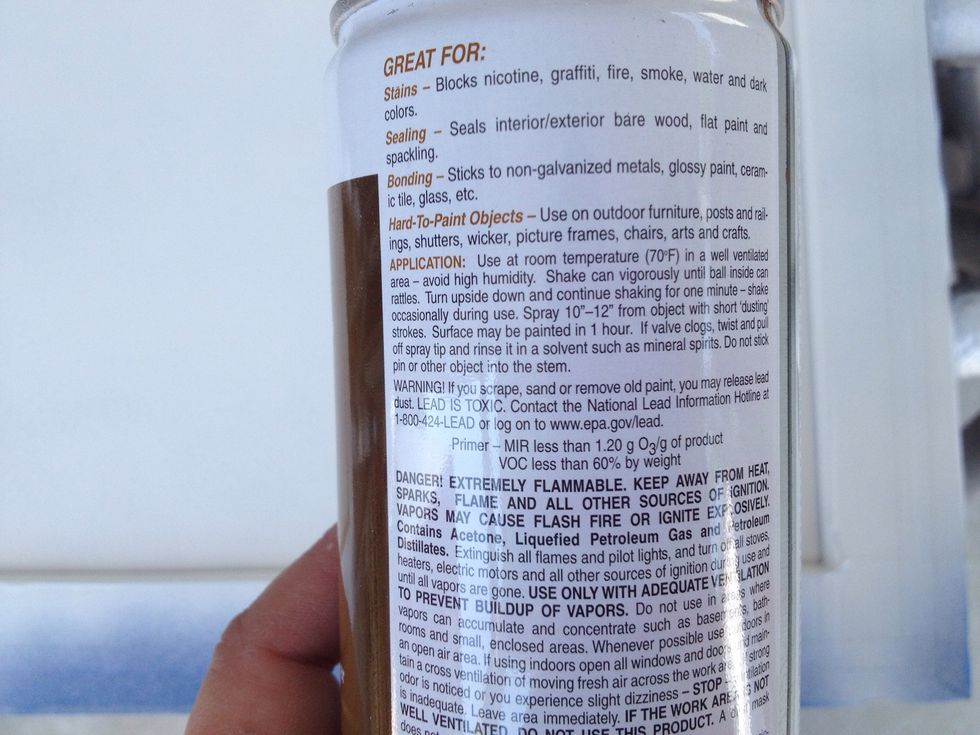
Tip: Follow the instructions, especially regarding temperature, humidity and dry/recoat times. Wear a mask.
Now you're ready to paint! For even coverage, paint the inside edges first, then the middle. I "walk a square" around the door as I paint it...you can see what I mean in the next step (video).
Once dry, check the surface for bumps, bubbles (even bugs if you're painting outside!). Use the "0000" steel wool to smooth any irregularities, making sure to remove all dust when finished.
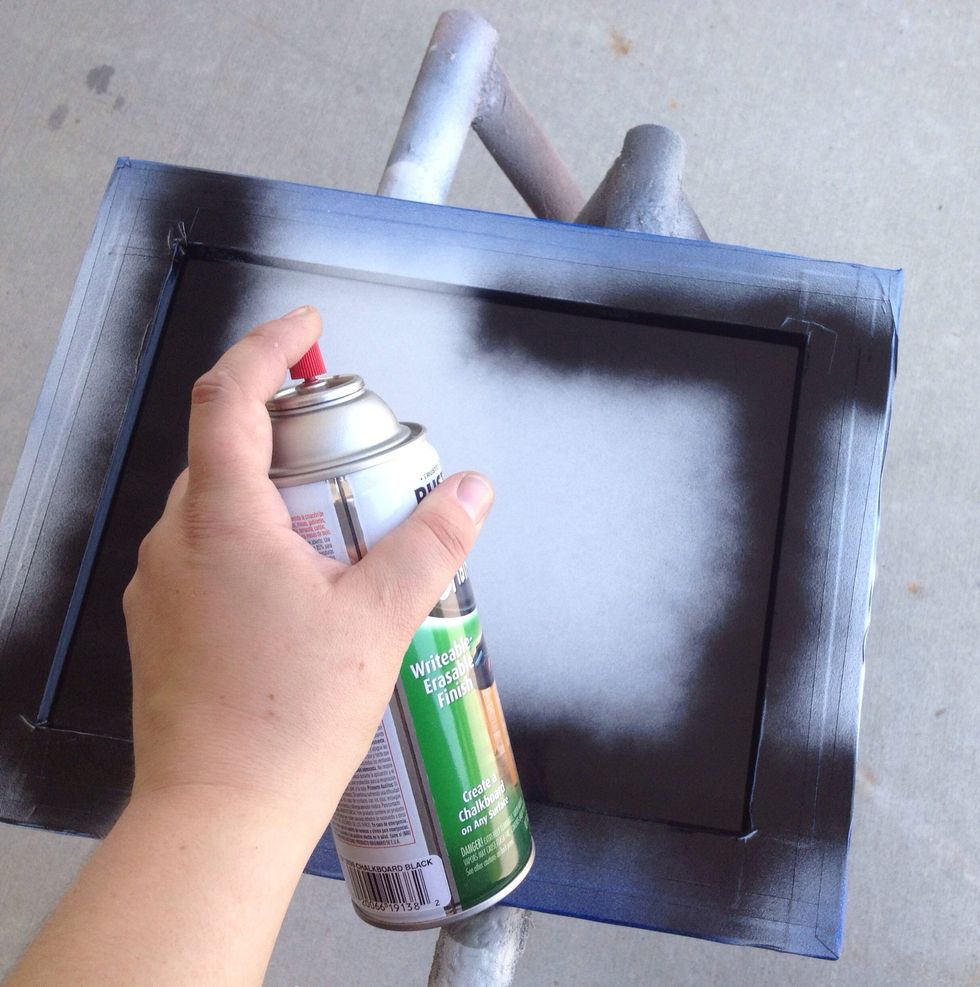
You'll paint your chalkboard surface the same way - start with the inside edges. You'll be applying 3 coats, so no need to apply it heavy. Evenness is the key.
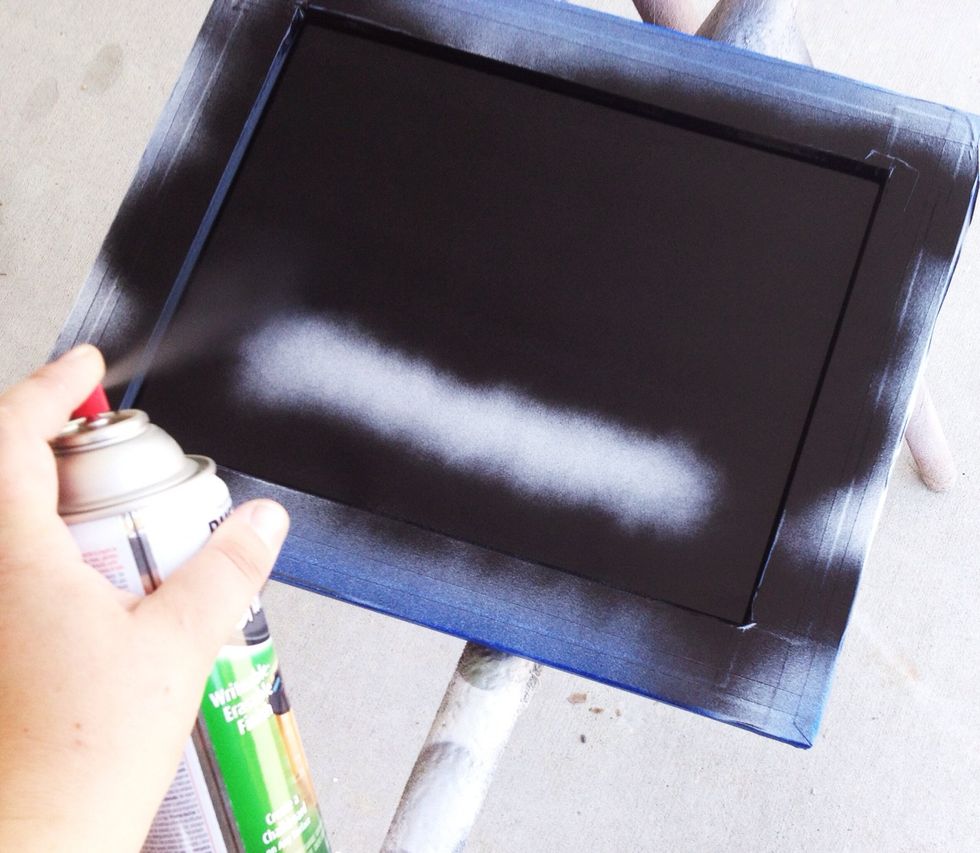
Fill in the middle. Tip: leave frame flat while drying to keep the paint from running.

Once dry, steel wool an rough spots, remove all dust and apply another coat. Repeat, for a total of 3 coats. Let dry completely between coats.
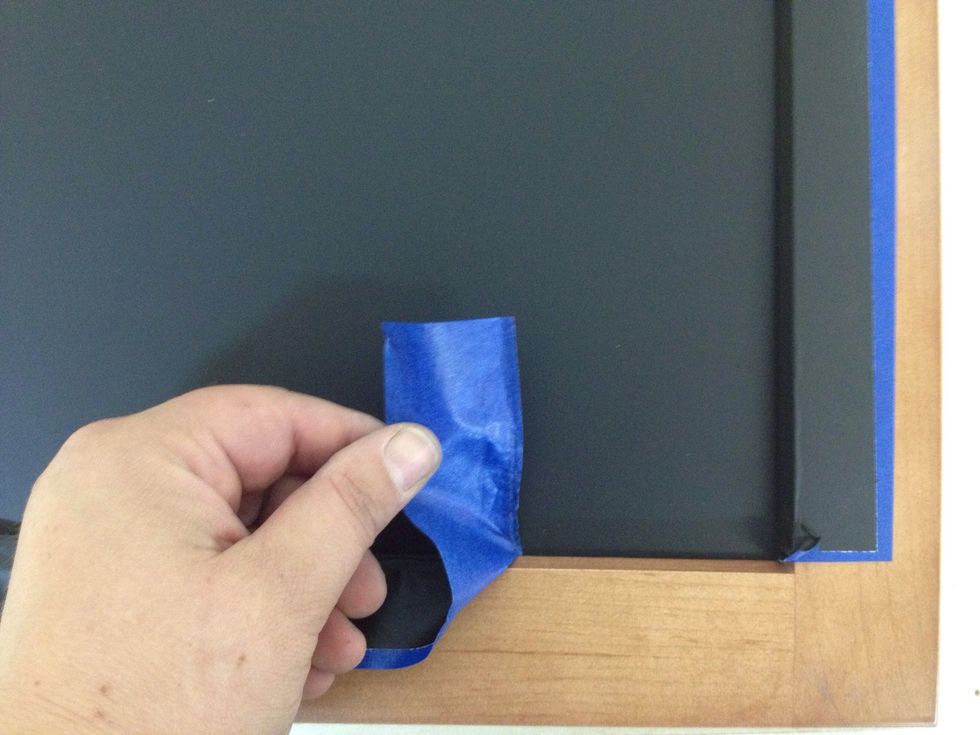
Once dry, remove the tape from the outside first. Pull the innermost strips of tape upwards, towards the panel.
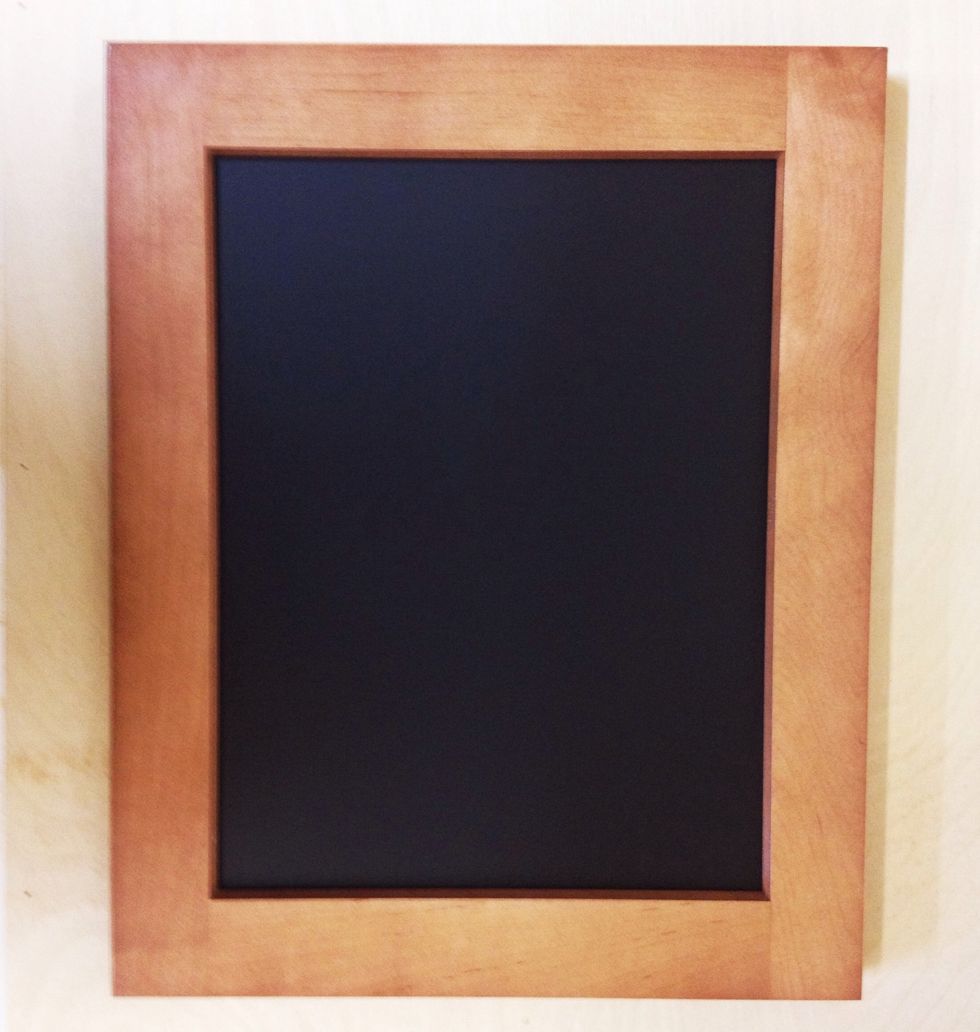
If you are not painting the frame, the hard work is finished! Are you installing hardware? Read on! (If you are painting the frame, now is the time to tape off your chalkboard and paint the frame!)

To install hardware: First, measure for your chalk holder. Tip: Placing painter's tape over the area you will drill will prevent the wood from splintering.
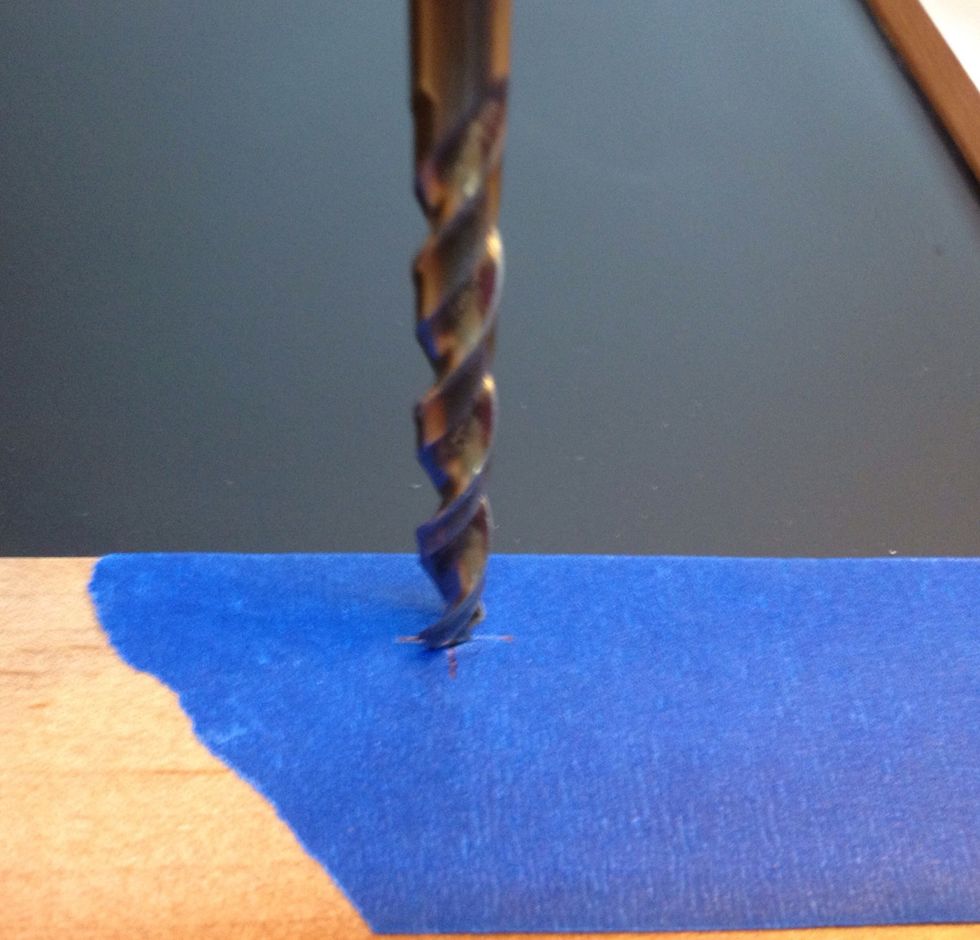
Next, drill your holes! (The cup pull I used is recessed into the frame and requires a 1/4" bit. Most hardware only requires a hole 3/16" diameter.)

Mark the holes for the hooks. Unless you are using more than 2 hooks, there is no need to measure - just eyeball it. Tip: Avoid drilling any holes at the "seams" of the frame as this will weaken it.
Tip: #1 Predrill the holes for your hooks. #2 If you have an adjustable speed drill, kick it back to a lower setting. These will prevent the wood from splitting and screws from breaking.

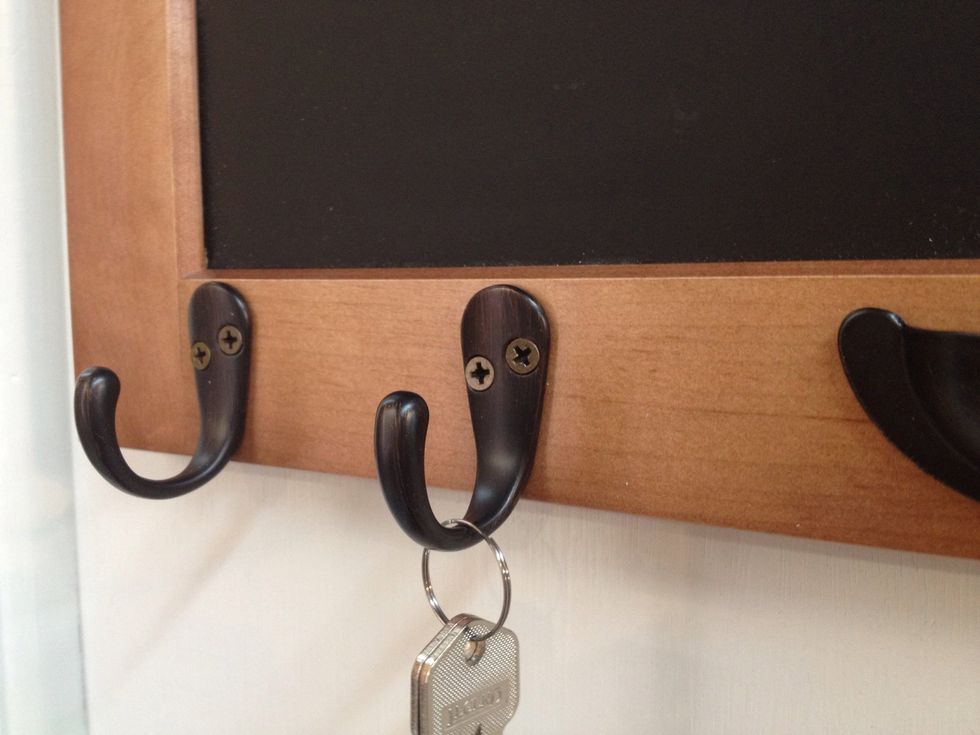
Using a bit just smaller than the diameter of the screw, predrill your holes for the hooks, then screw them onto the frame. Install desired hanging hardware (sawtooth hangers are not recommended).
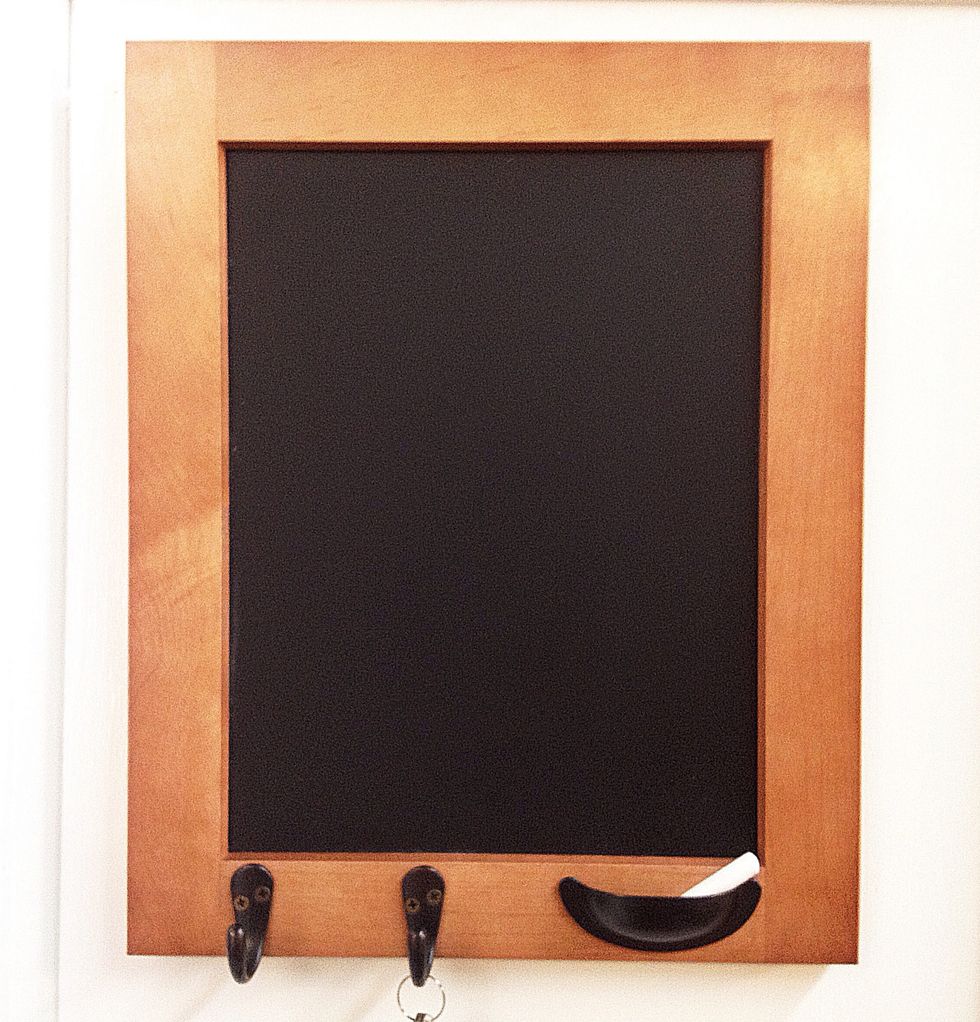
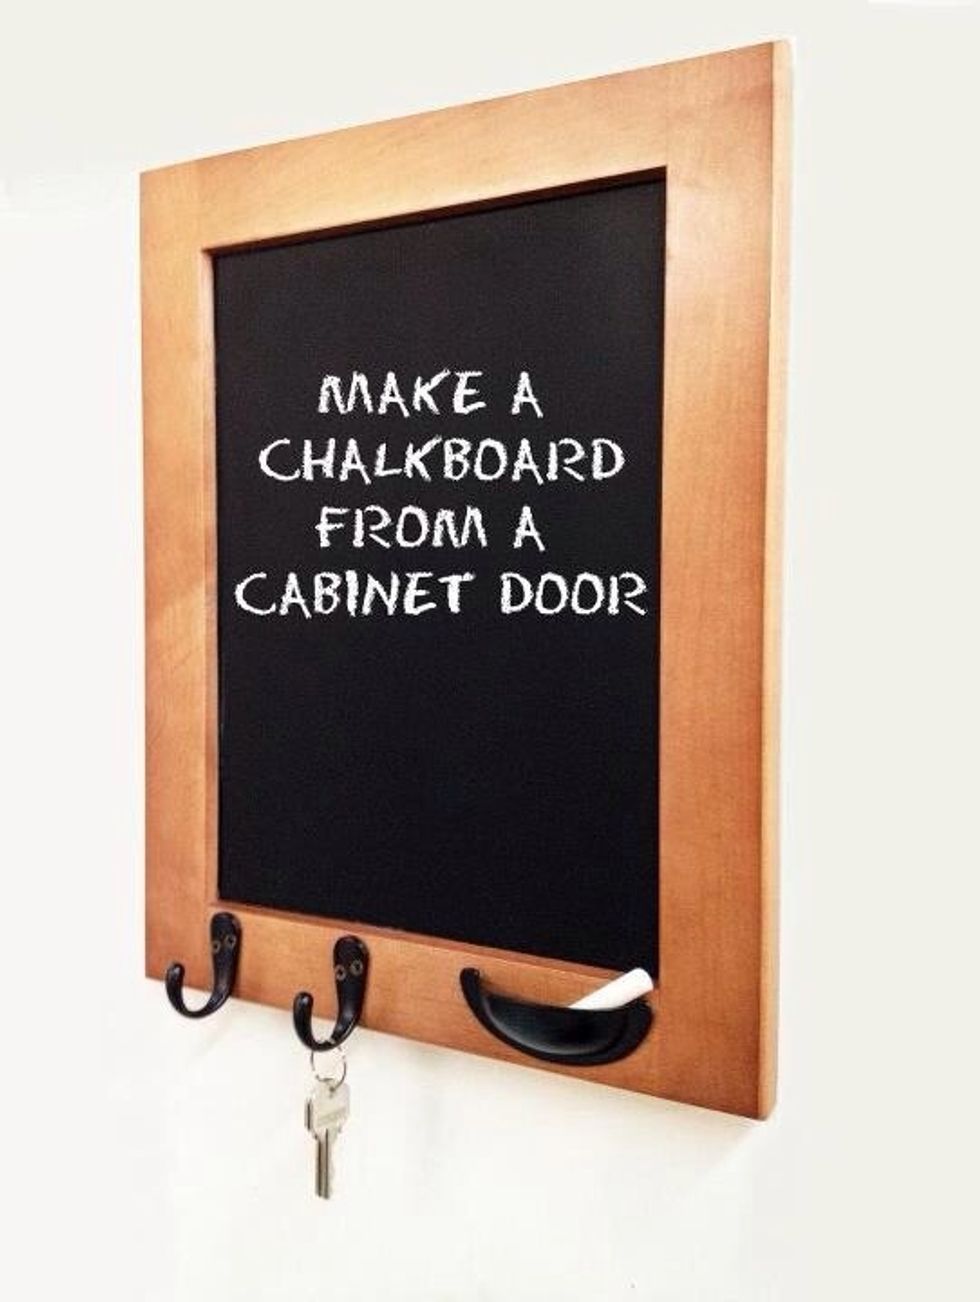
Ta da! You're finished! Wait 24 hours or so before writing on your chalkboard.
Thanks for looking! For more cabinet door crafts, follow me on Pinterest at www.pinterest.com/TheDoorStop If you purchased your kit from our cabinet shop, leave us a message on the next page! :)