The Conversation (0)
Sign Up

To make this project I've used a simple chalkboard Eraser box.
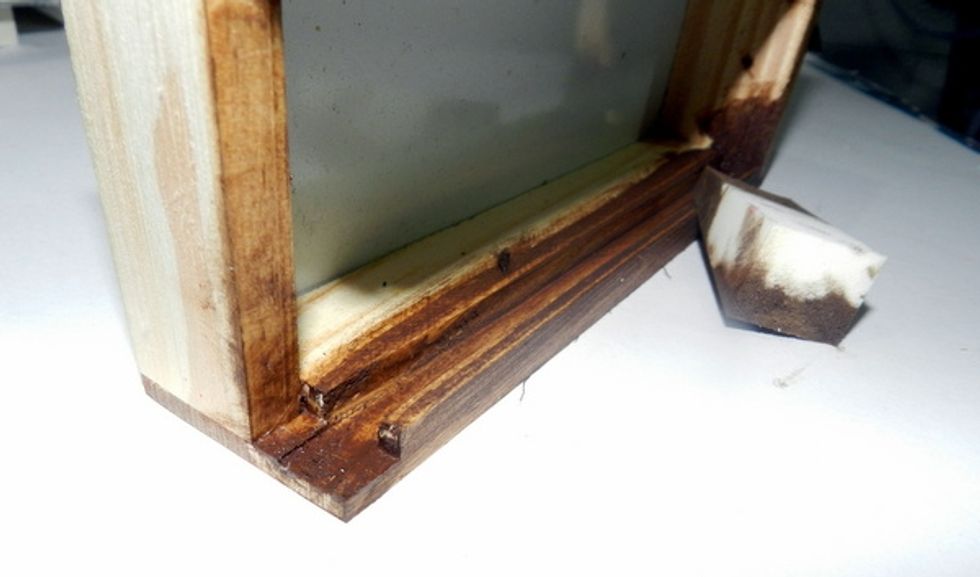
Apply antiquing gel medium on the edges of the box.
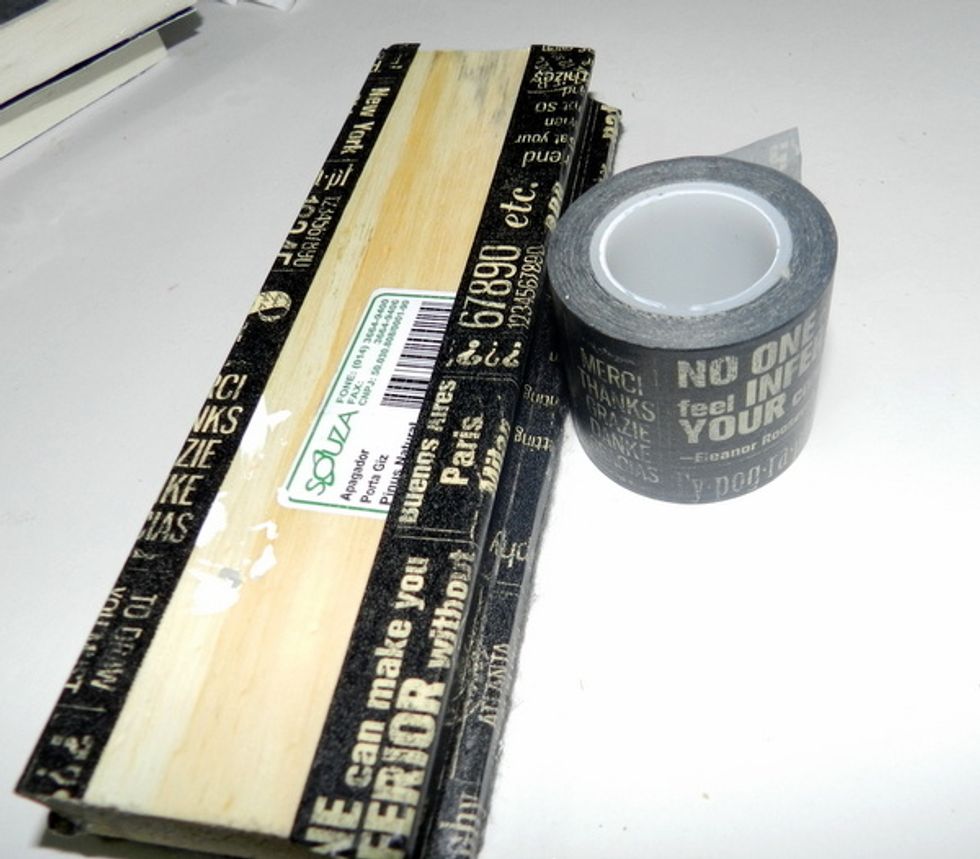
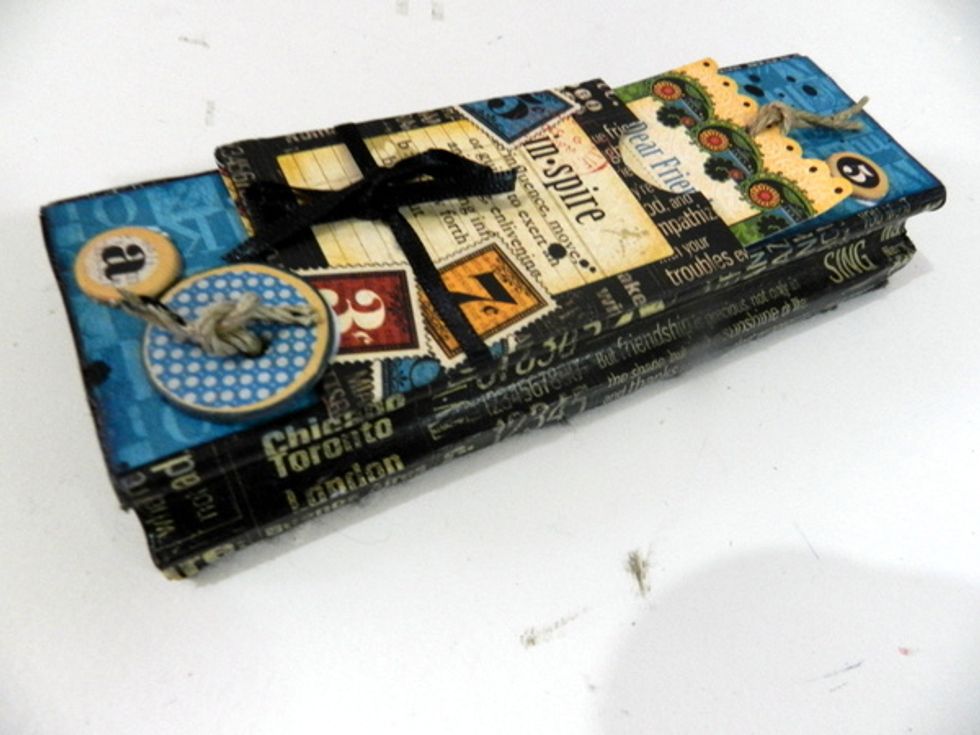
Cover the edges of the top of the eraser box using G45 Washi Tape Set
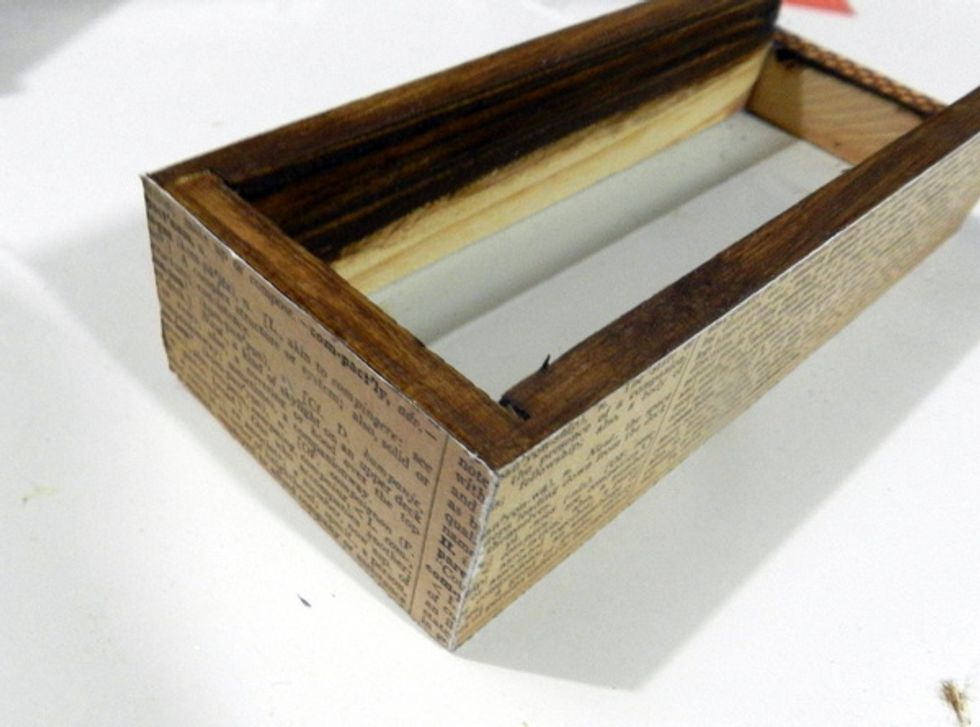
To coat the inside I used the back side of Typography Journey and to for cover the top I used G45 Typography Dream.
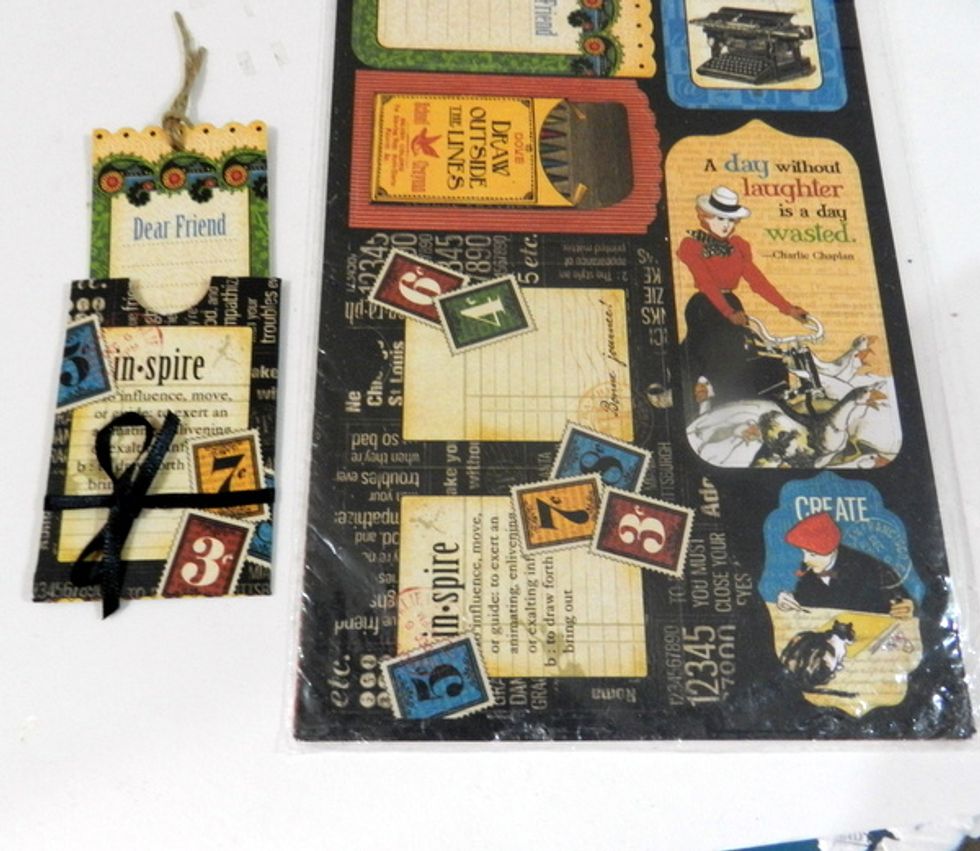
Using G45 tags & pockets, I mounted the pocket and tied a ribbon. I chose one of the tags and I placed it on the pocket.
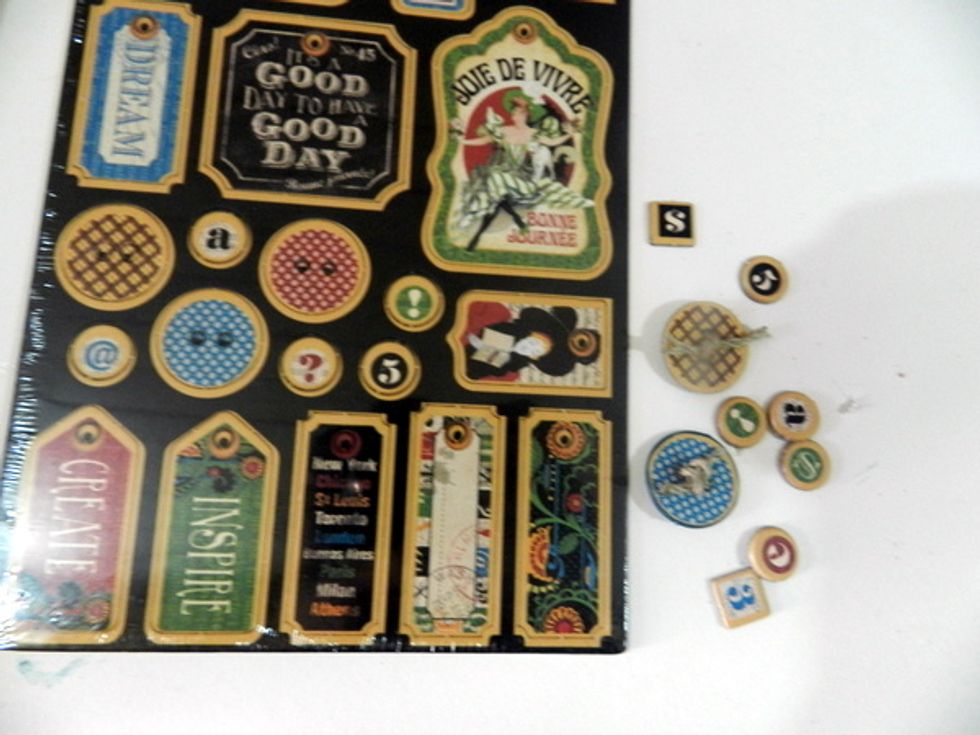
Decorate the top using the pocket with the tag, and the buttons and little letters.

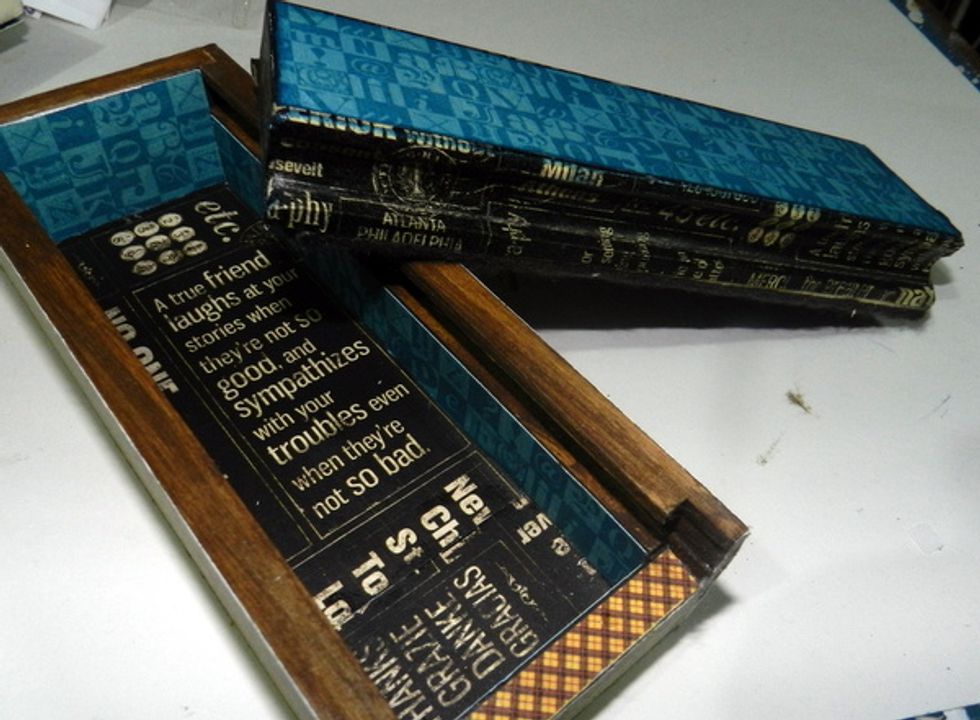
Cut out these numbers of the back side of G45 Typography Dreams.

Use the cut outs and chipboards to you decorate the sides of the box.
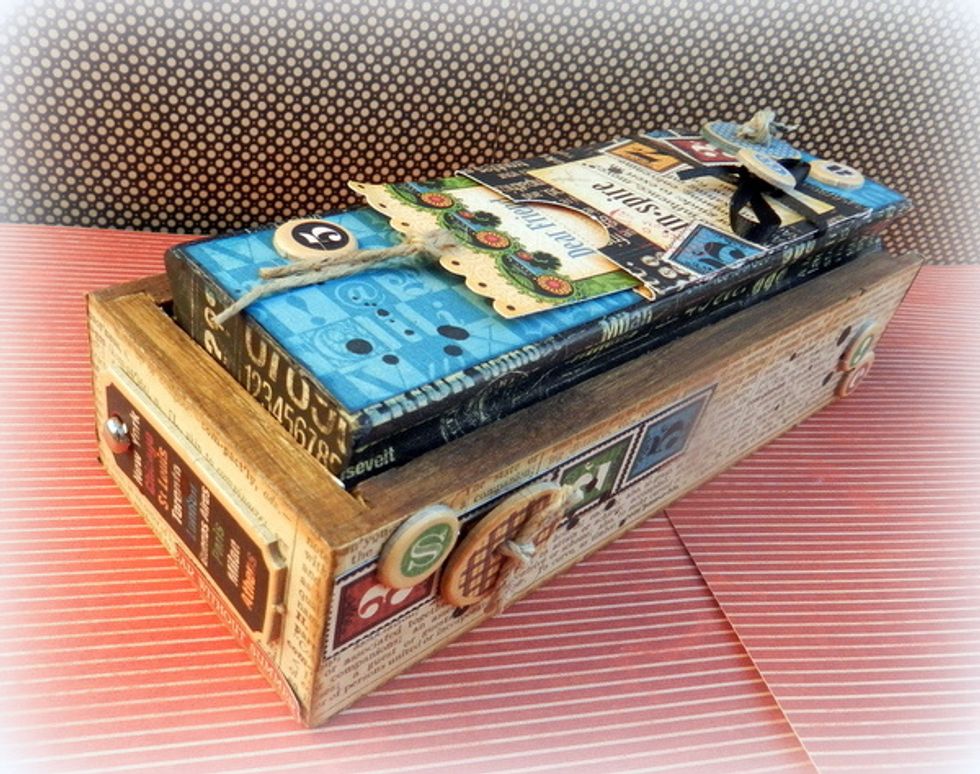
Your chalkboard eraser box is ready.