The Conversation (0)
Sign Up
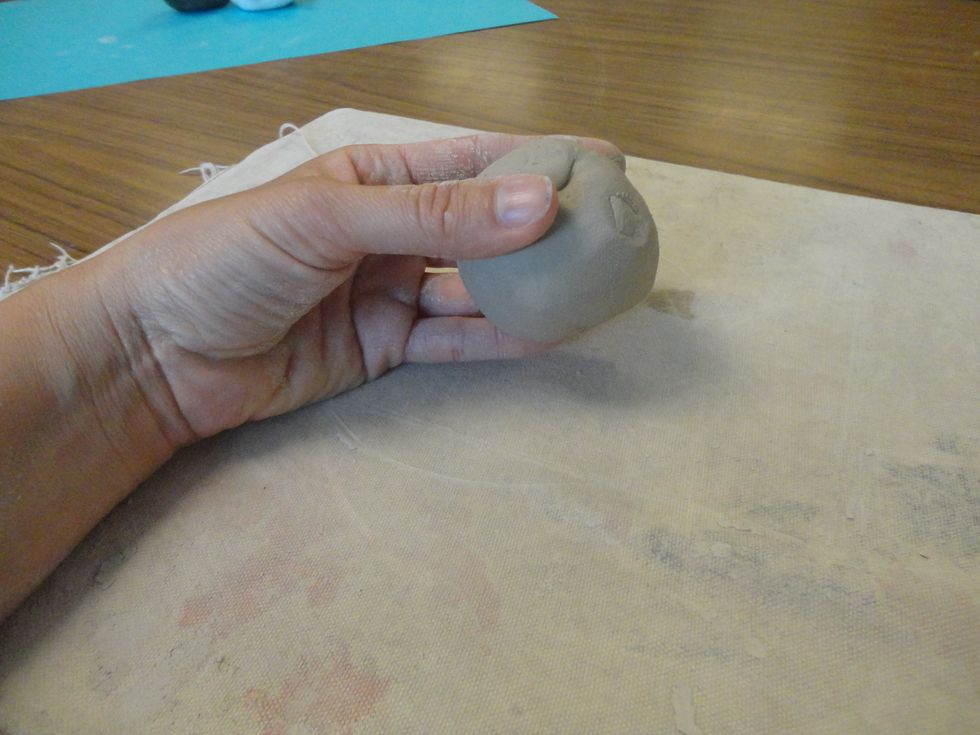
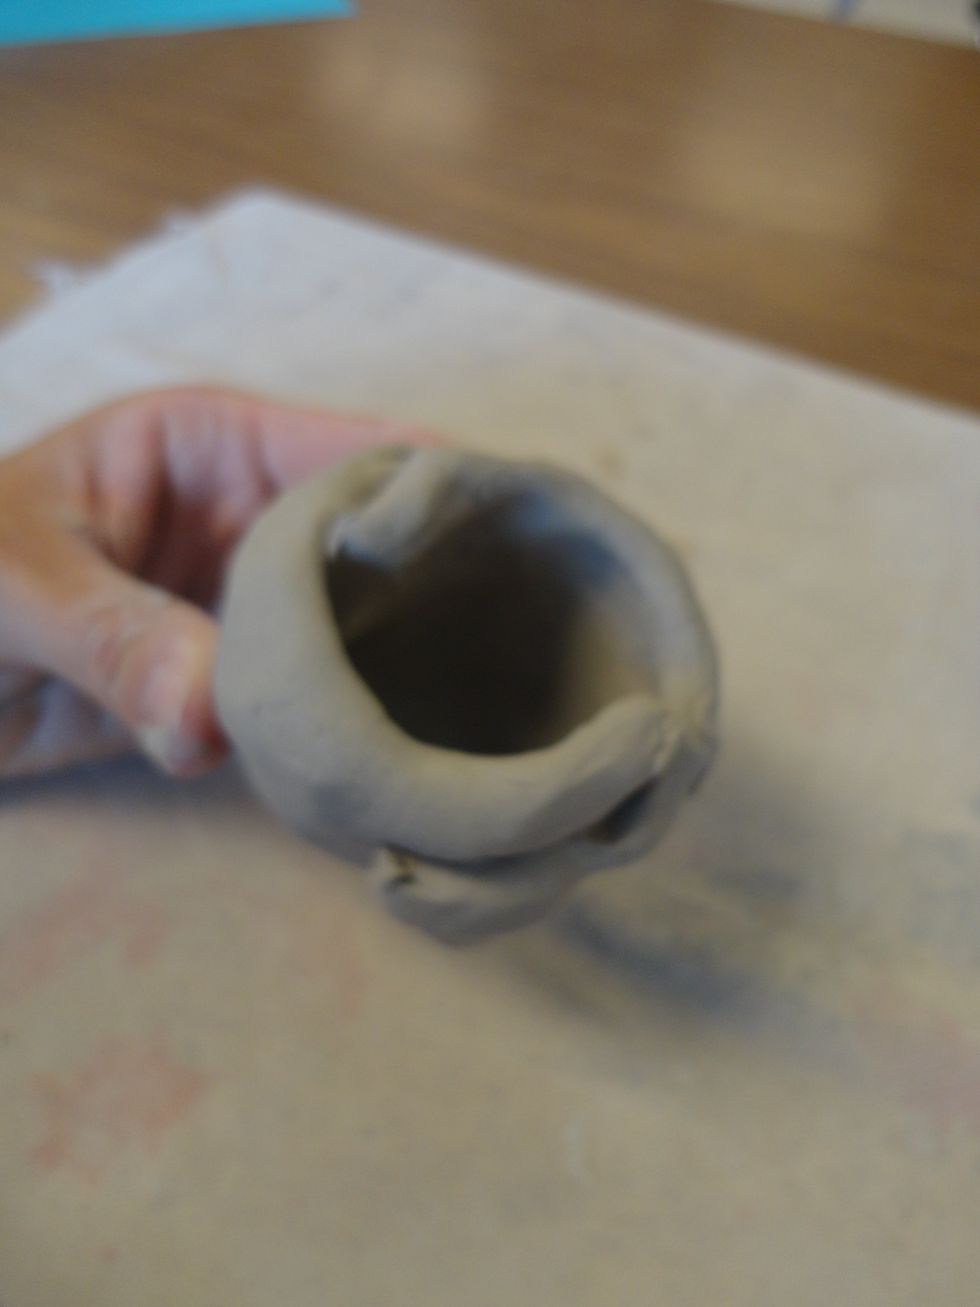
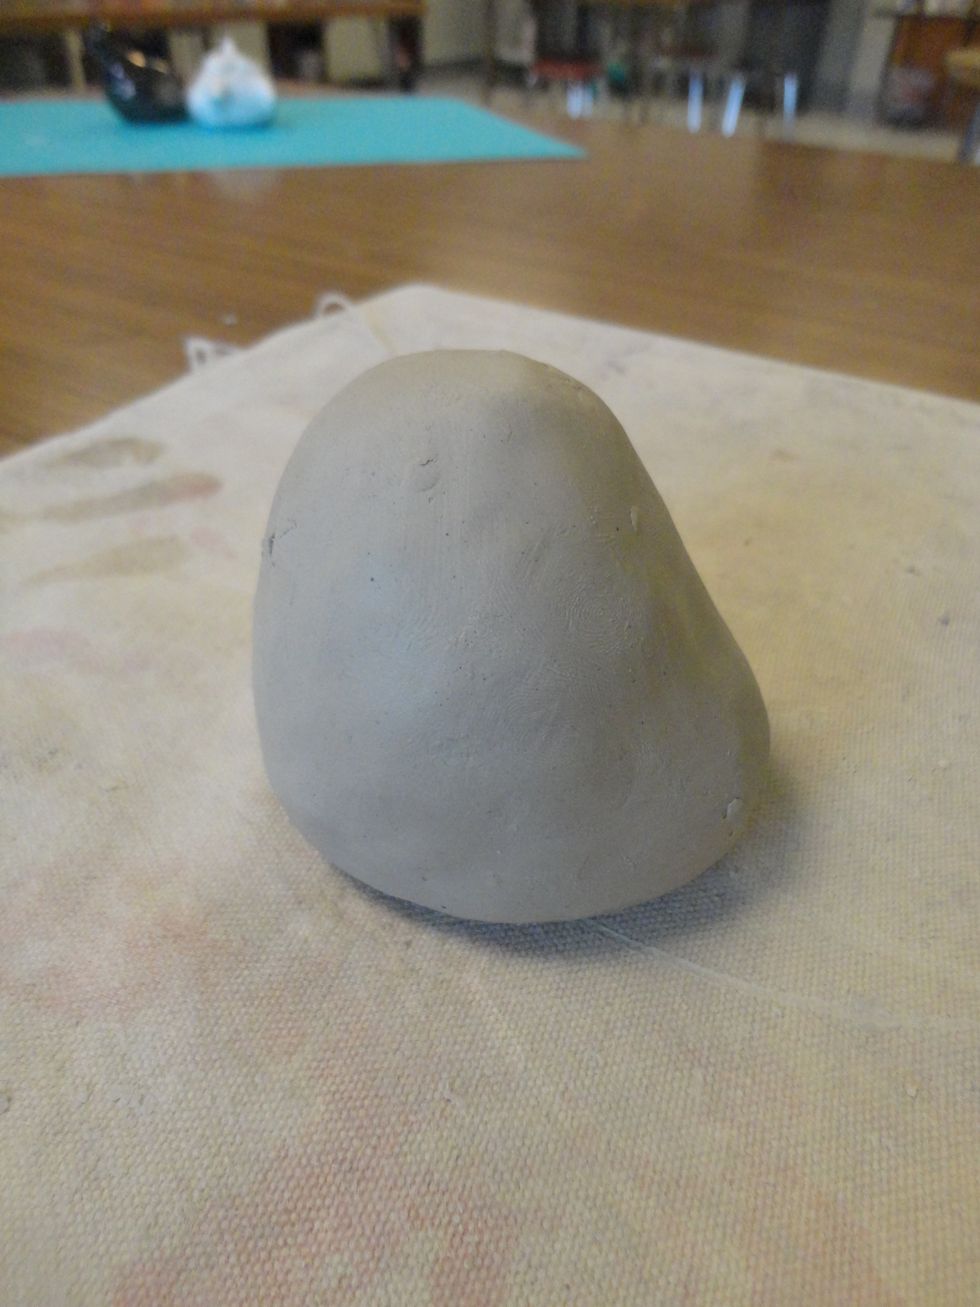
Roll your clay into a ball, about the size of a golf ball.
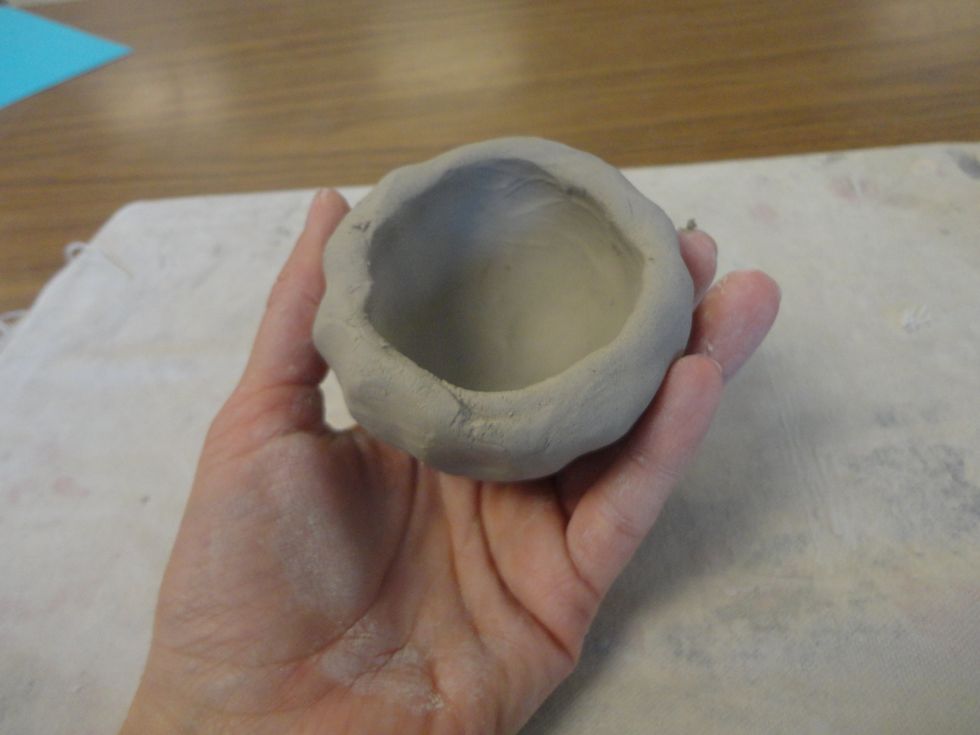
Make a pinch pot. Your walls should be 1/4-1/2" evenly thick.
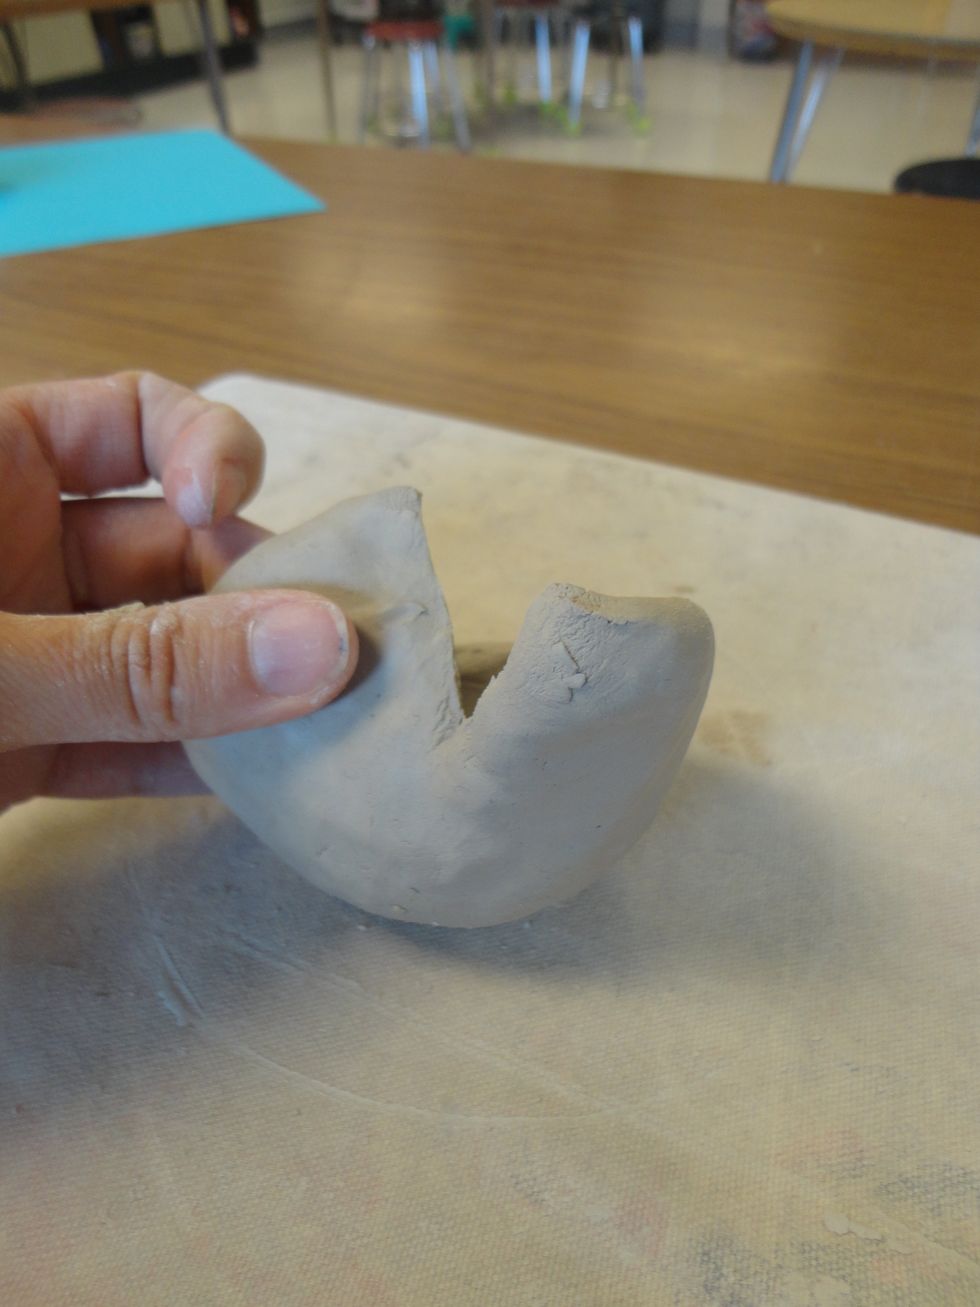
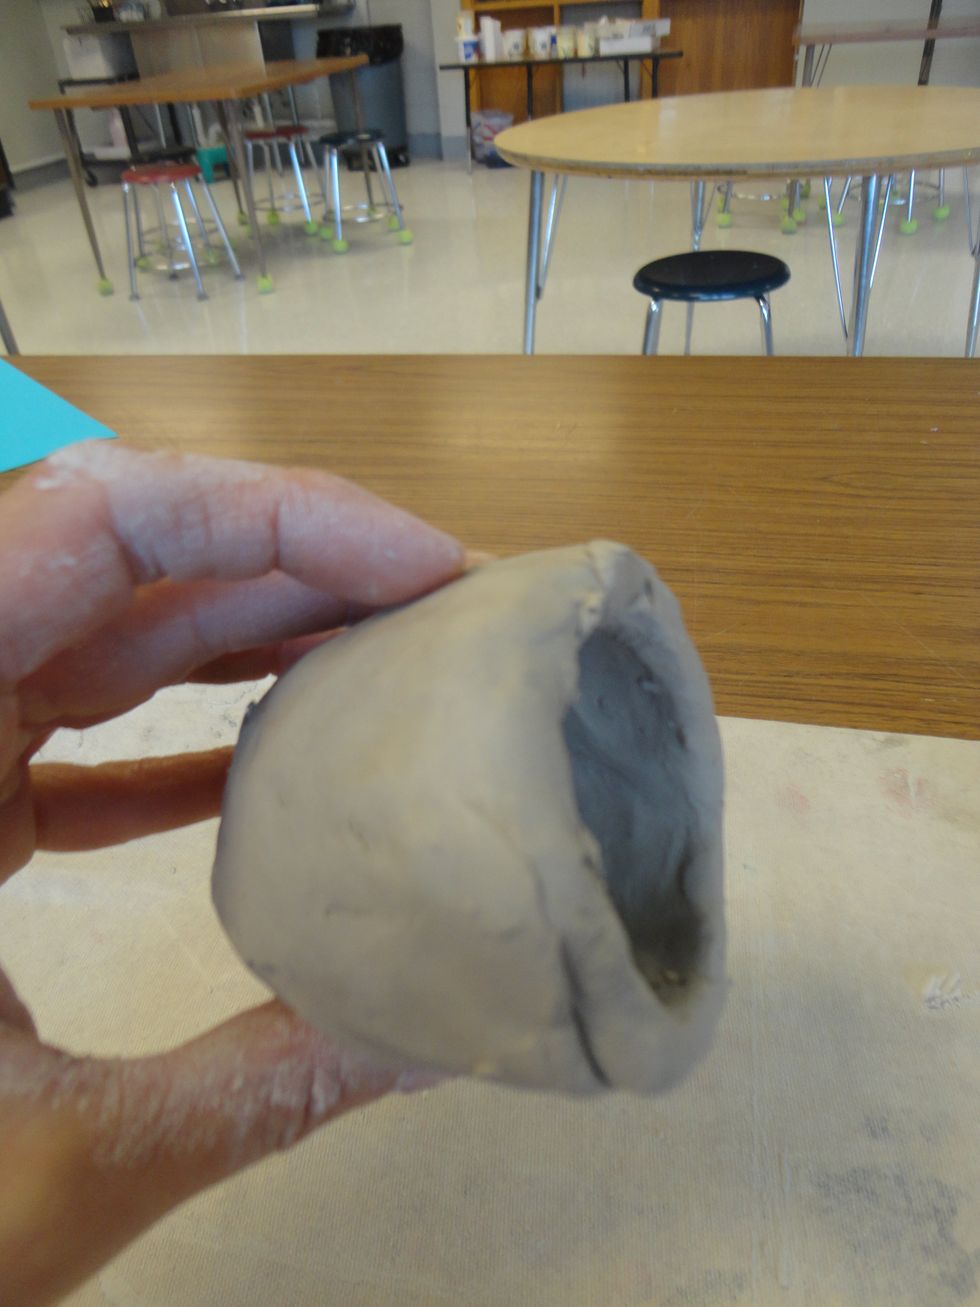
Tear one side of the pinch pot vertically.

Then tear the opposite side vertically.
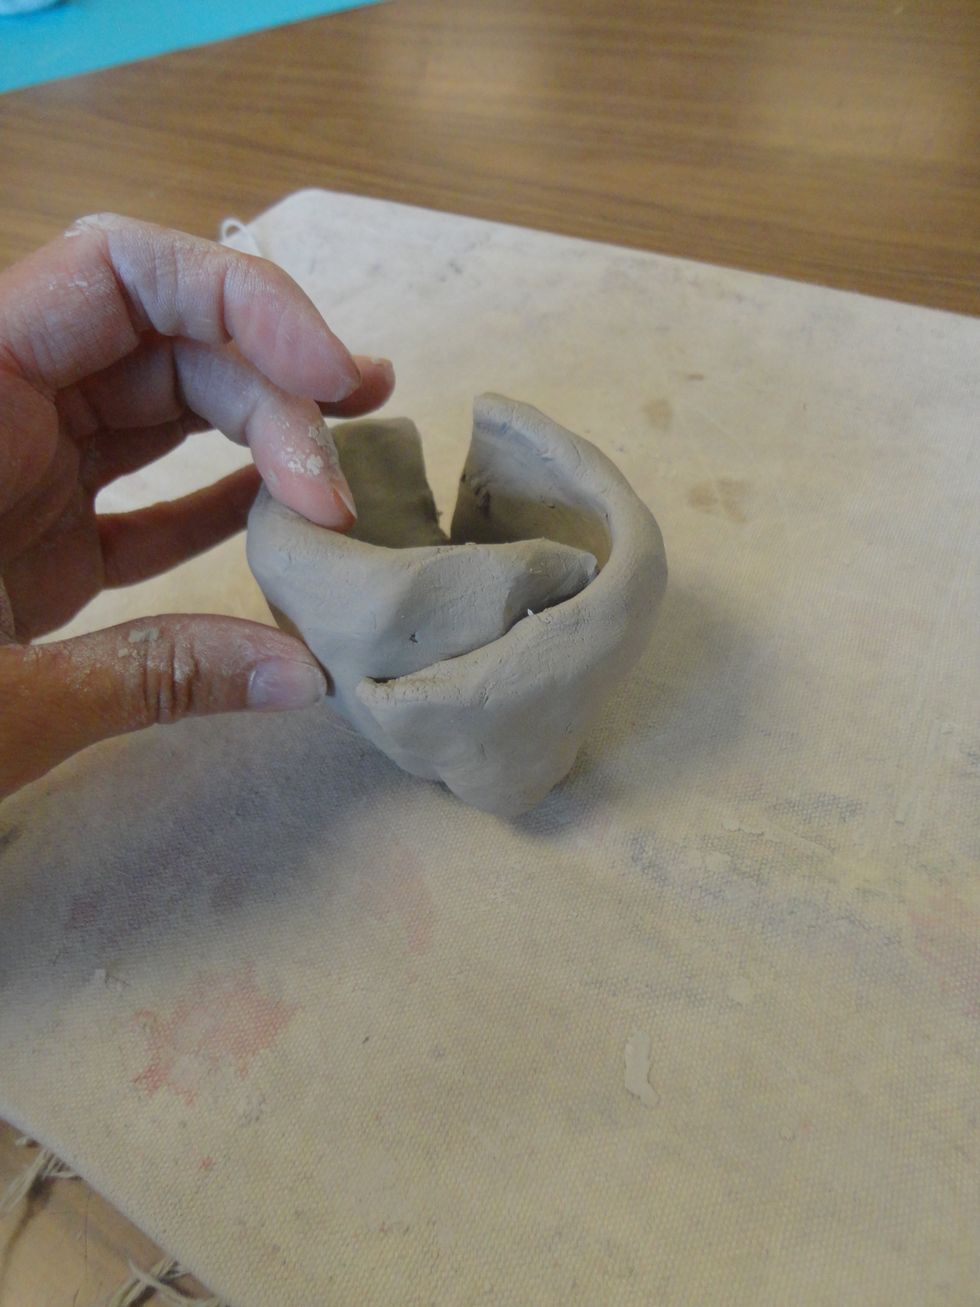
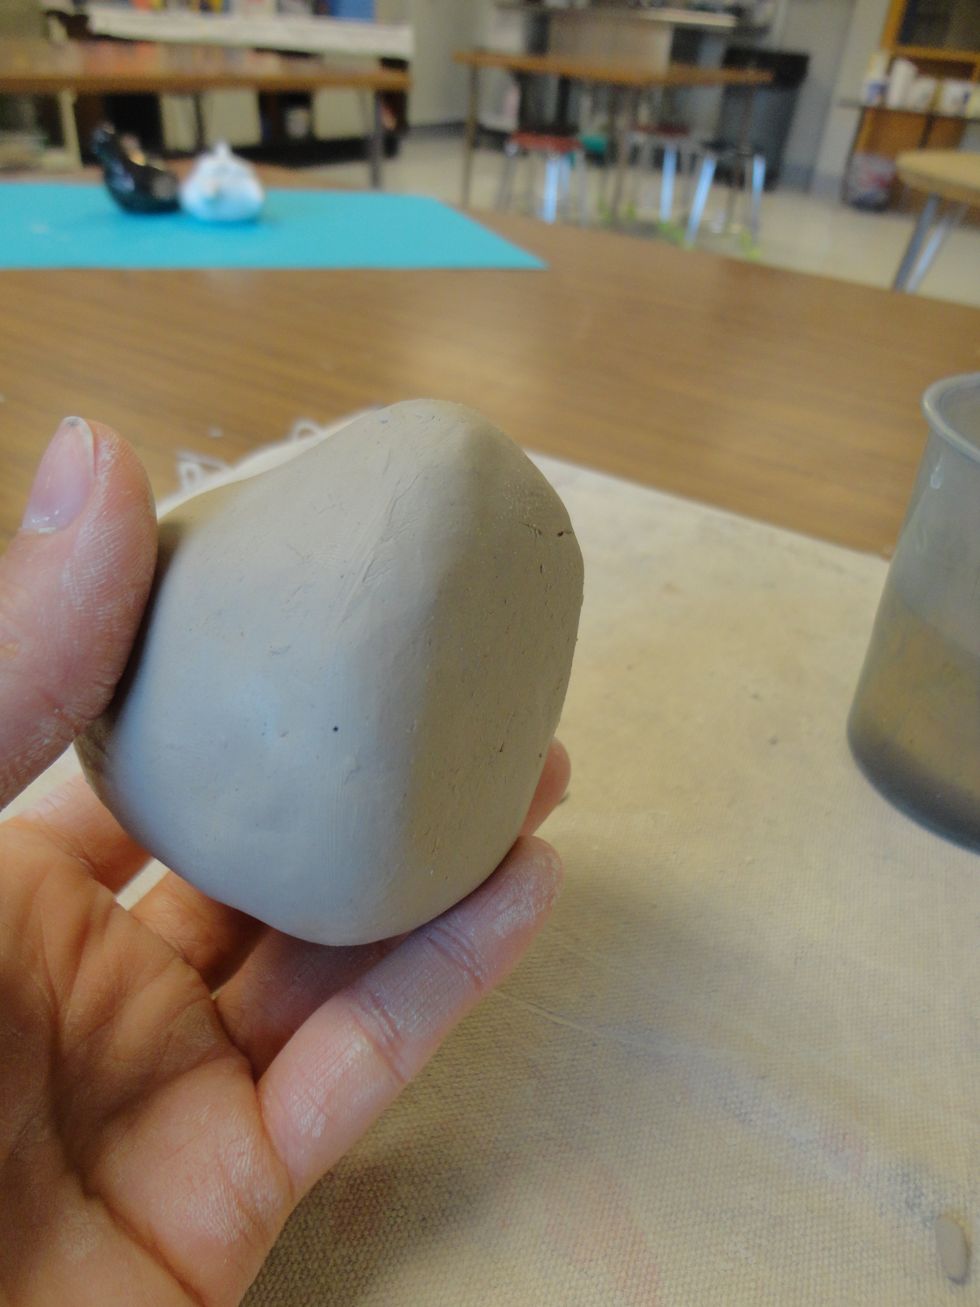
Overlap each side.
Your pot will be much more narrow now.
Smooth each side so that the overlapping clay is no longer visible.
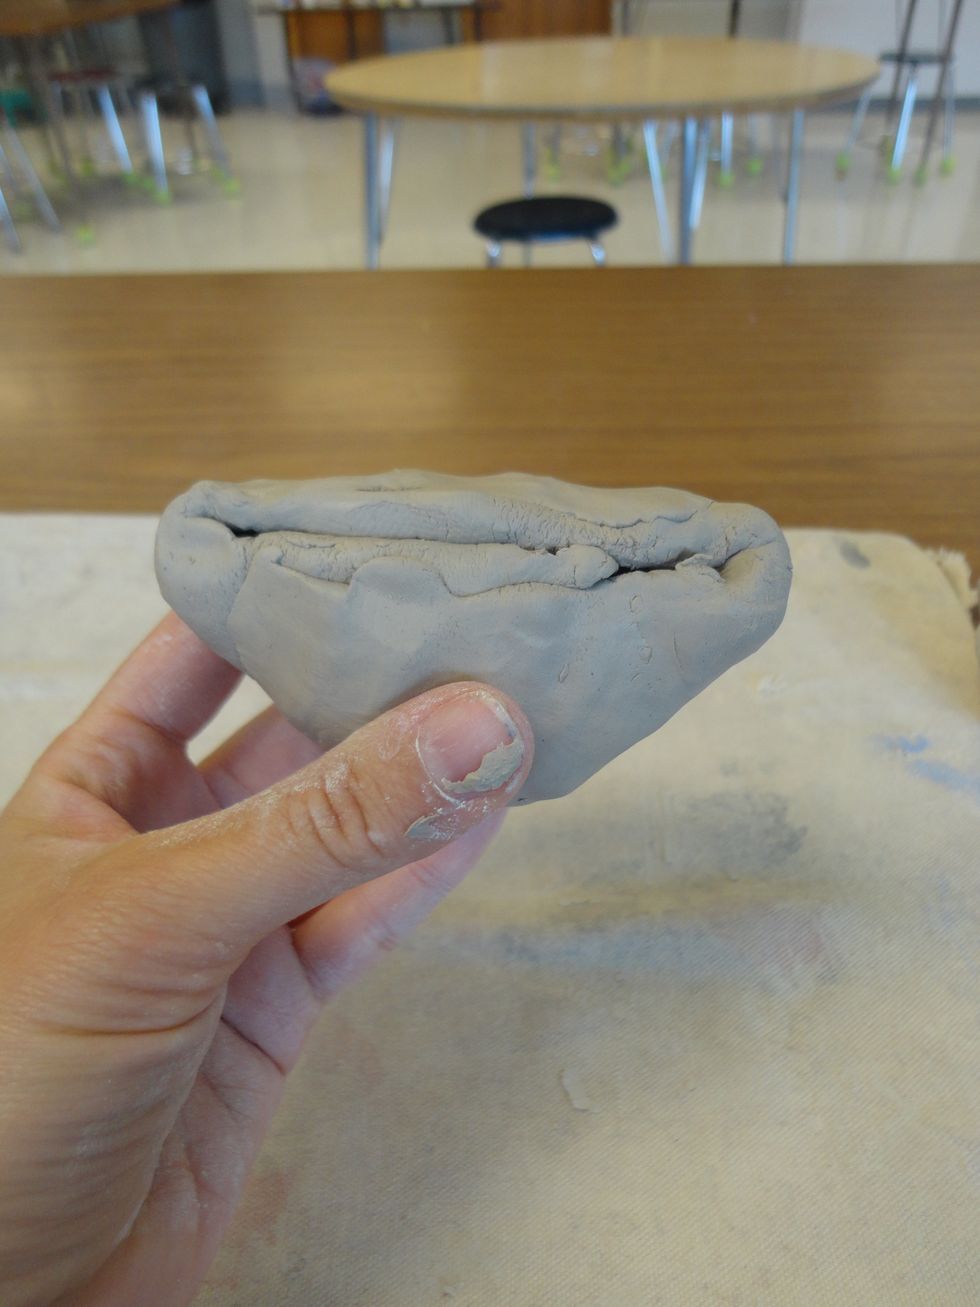
Pinch the opening together.
And smooth.
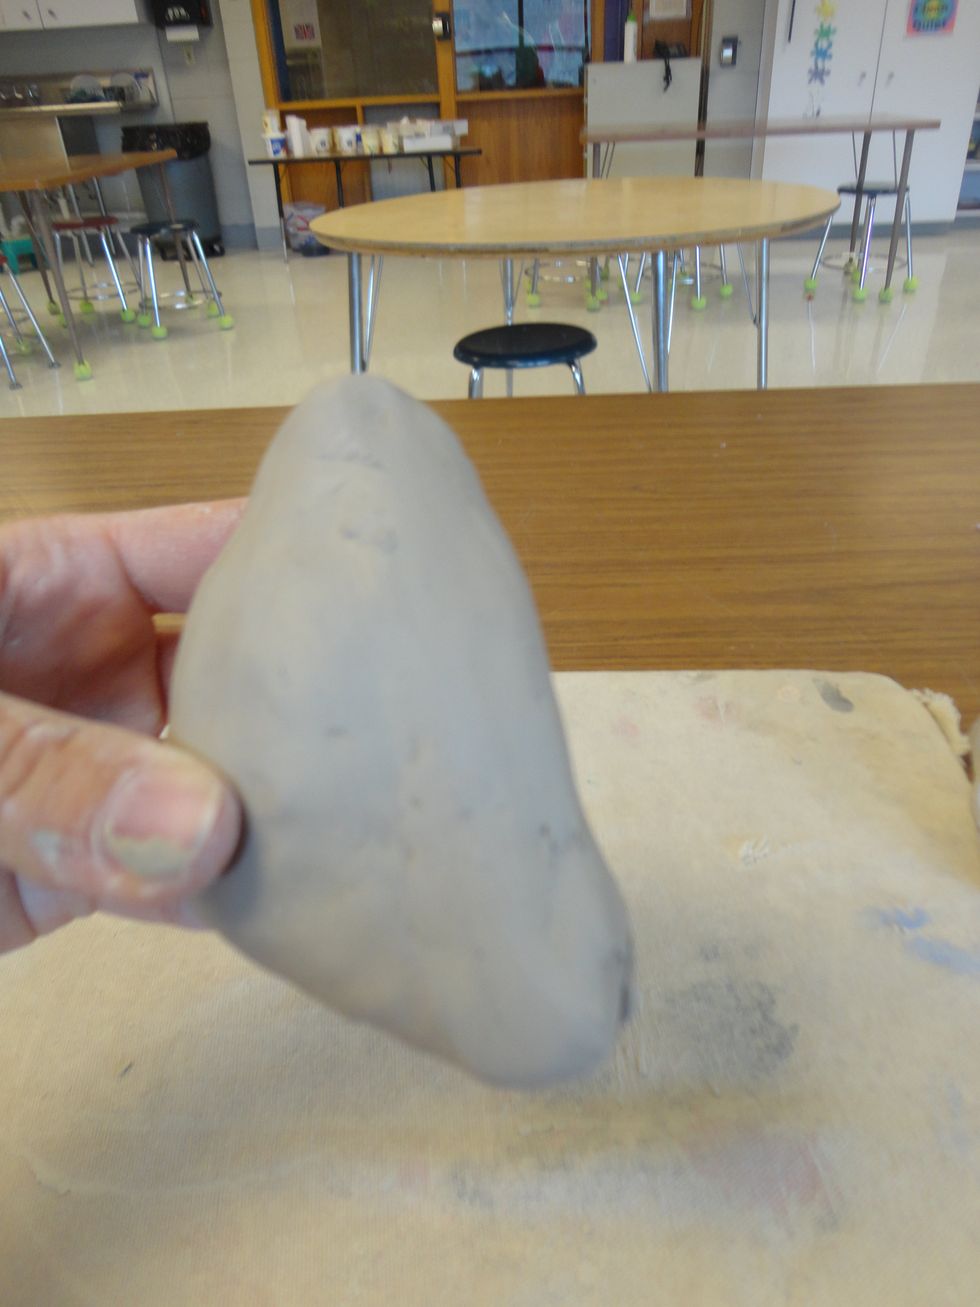
Smooth the rest of your form. You can use a small bit of water on your fingers to help smooth, but use it very conservatively.
Flatten the bottom by patting it on the table.

Make a small rectangular box. This will be the mouthpiece.
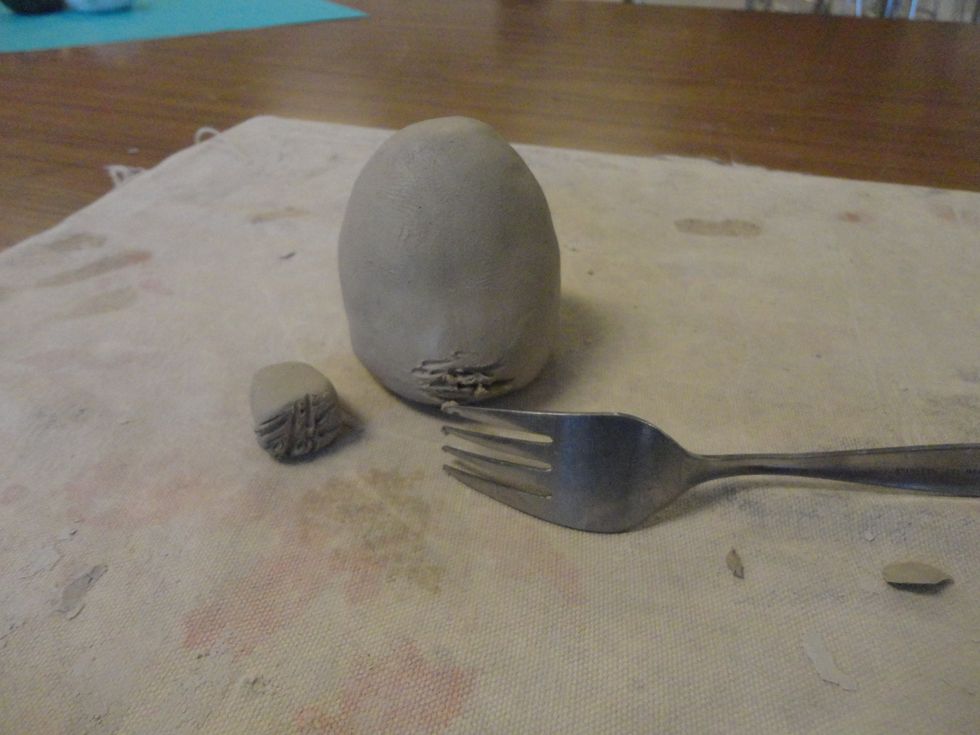
Score both areas that will attach the mouthpiece.
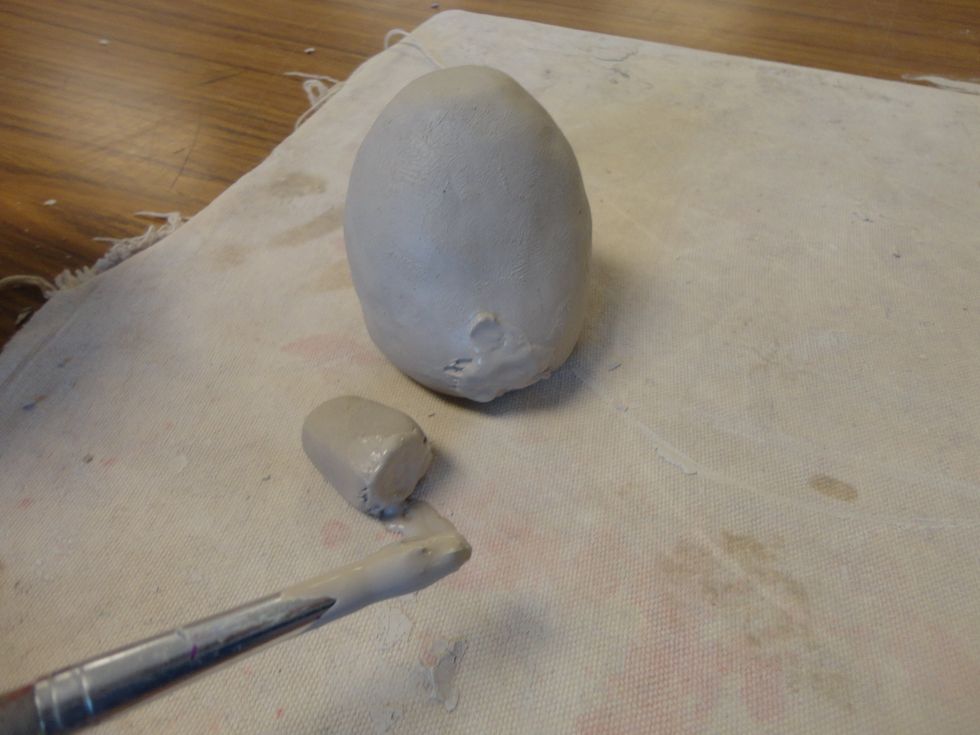
Add slip on the scored areas.

Press together firmly.
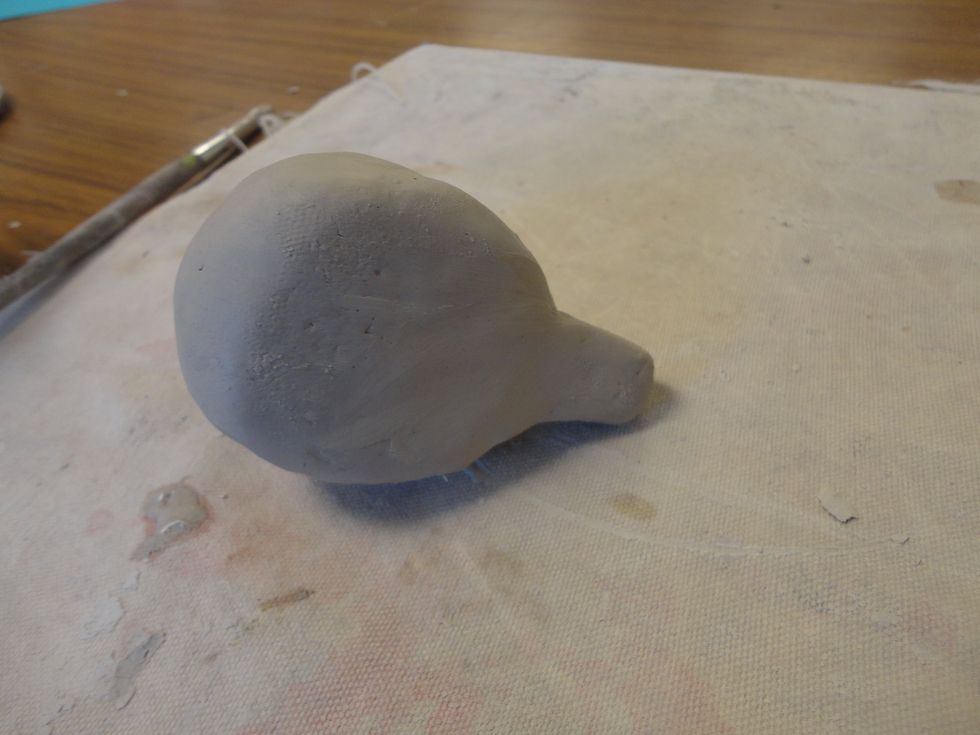
And smooth together. Notice how the mouthpiece lines up with the flattened bottom to form a completely flattened surface.
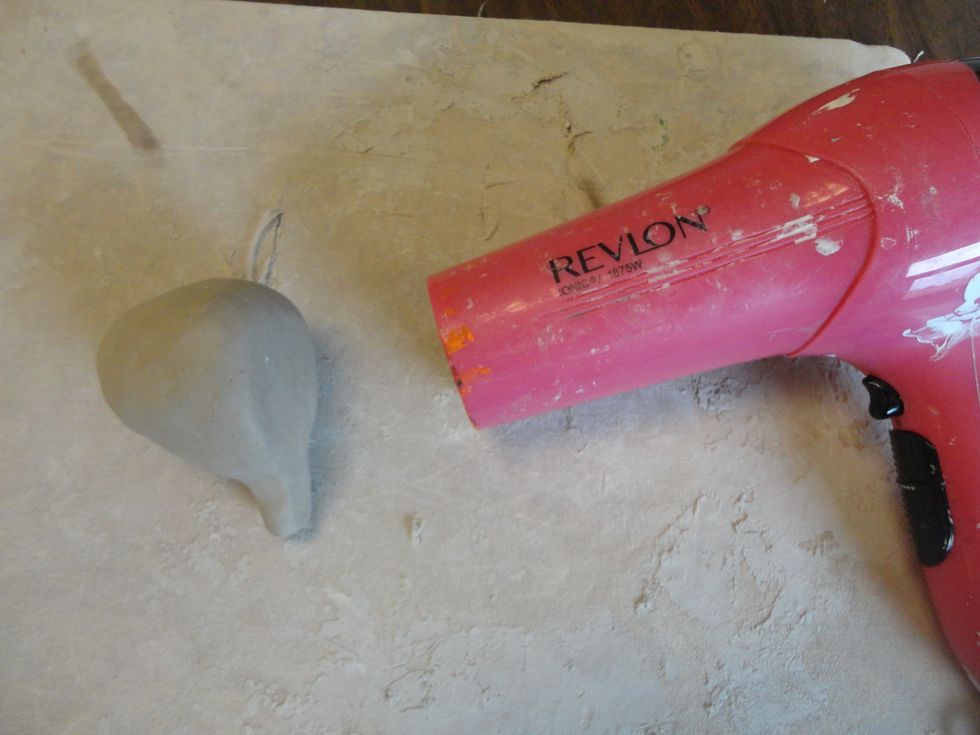
Dry out the bottom using a hair dryer so that the clay has stiffened.
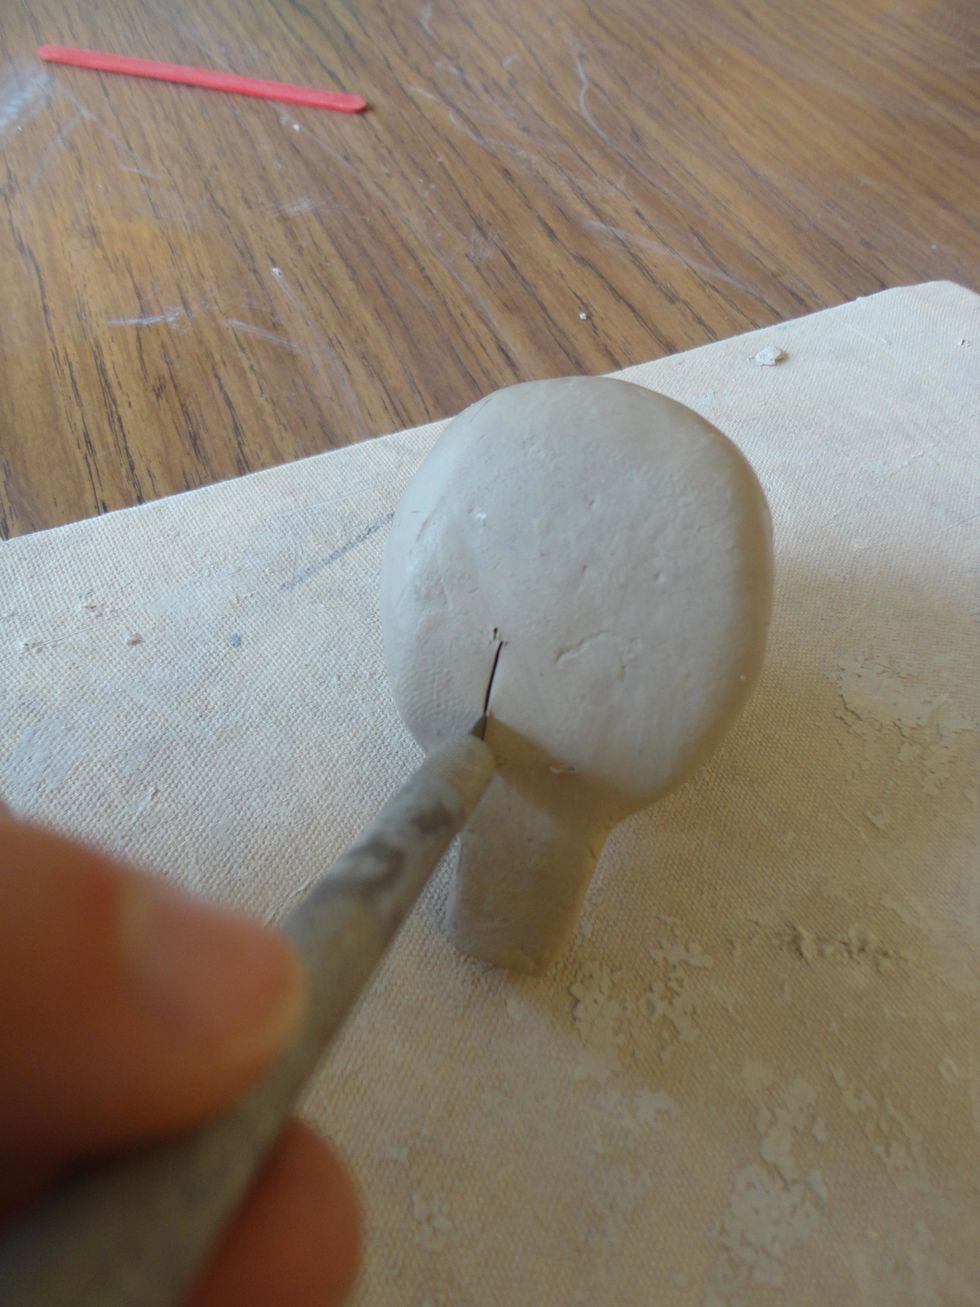
Using an x-acto knife, cut a small vertical line just above the mouthpiece.

Cut another line vertical line 1/2" apart from the first line. Both cuts should be parallel.
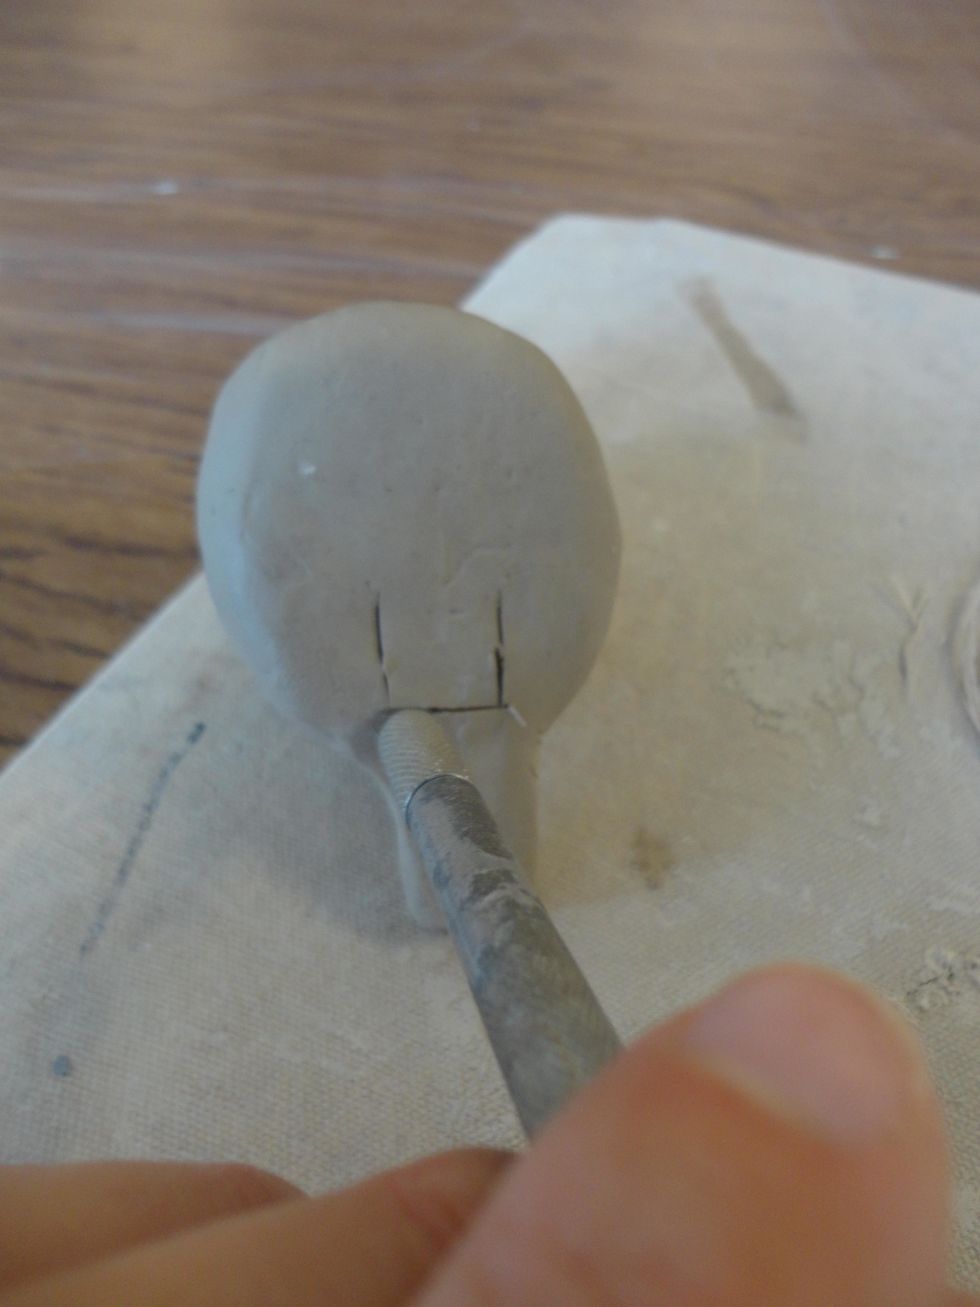
Cut a line perpendicular to the first 2 cuts.
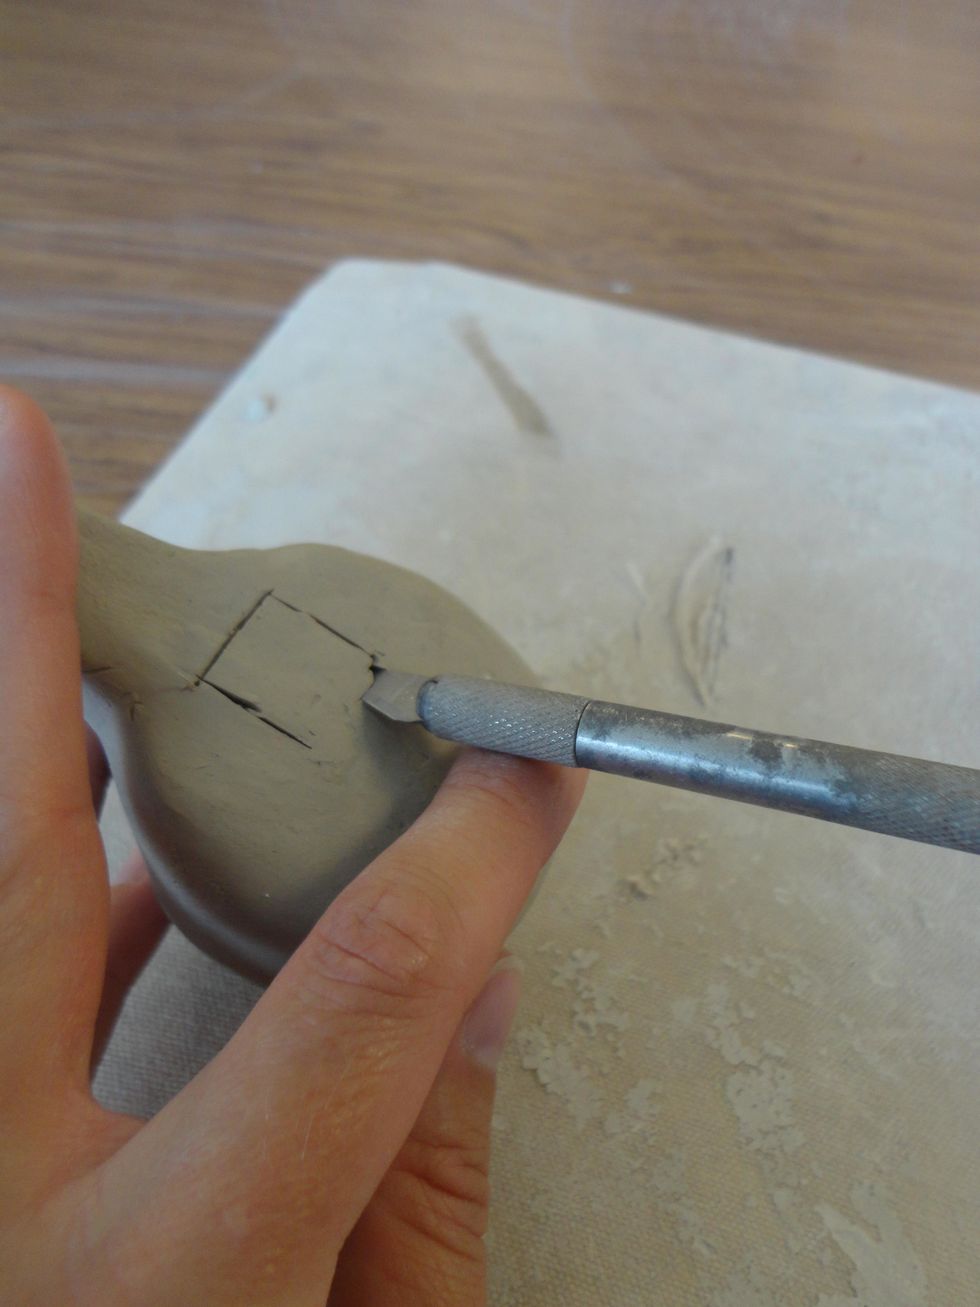
Finish the square opening by cutting a line in a 45 degree angle. This cut is opposite to the mouthpiece opening. The angle will separate the air blown in and create a whistle sound.

The 45 degree angle should look like this.
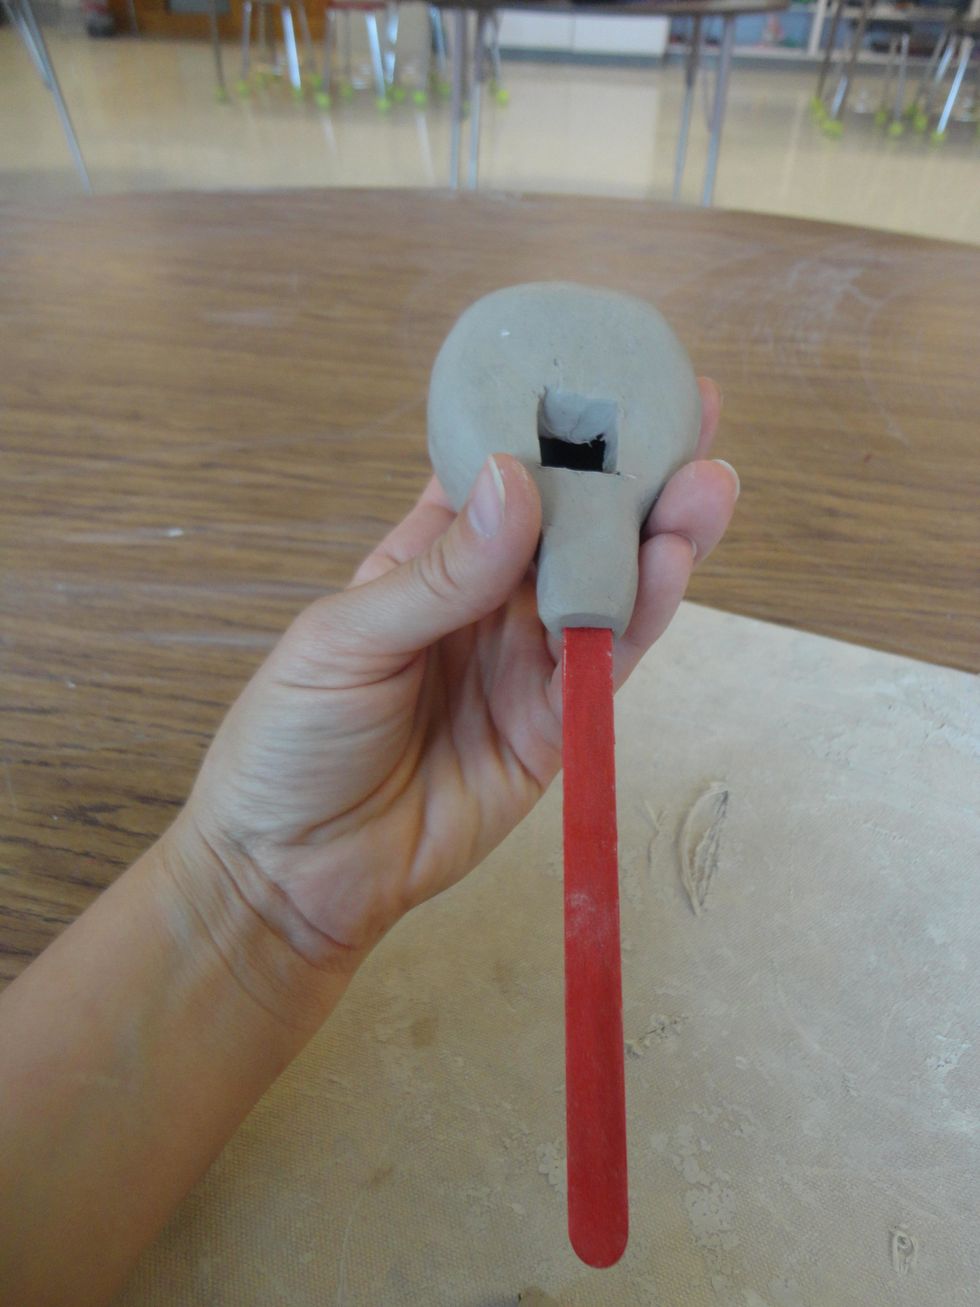
Insert a popsicle stick in the mouth piece.
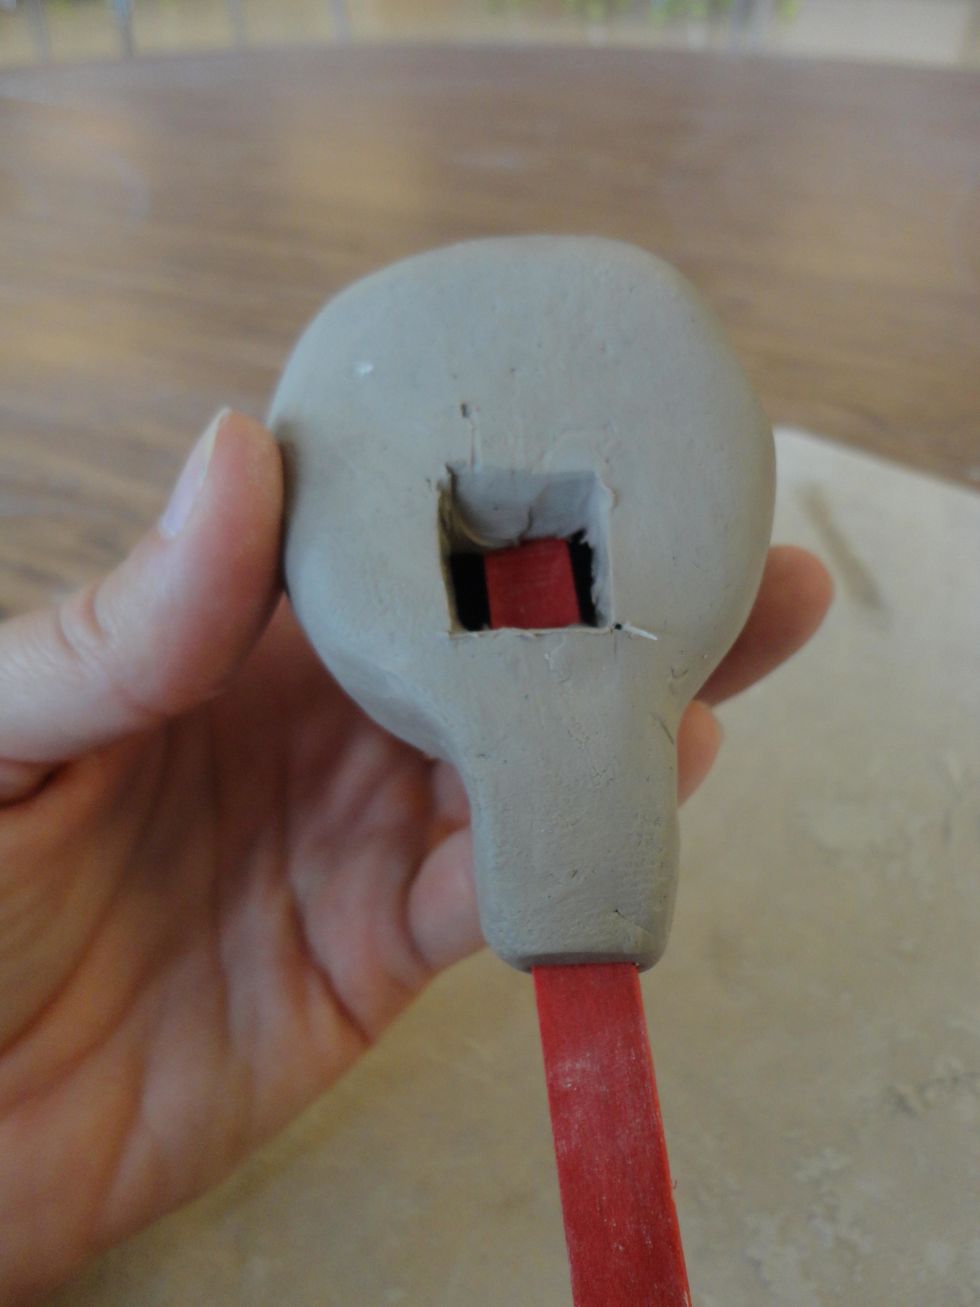
Keep inserting it until it runs right under and gently touches the 45 degree angle.

Slowly take out the popsicle stick and clear away and excess clay in the opening.
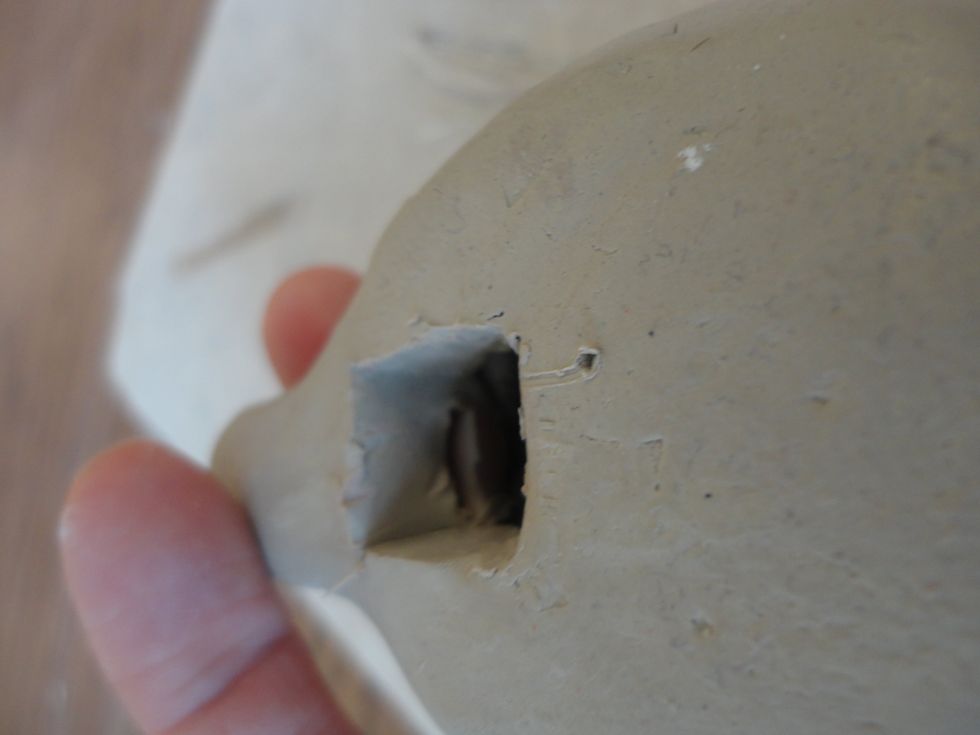
Make sure the mouthpiece is free of any clay, so that the air flow is not blocked.
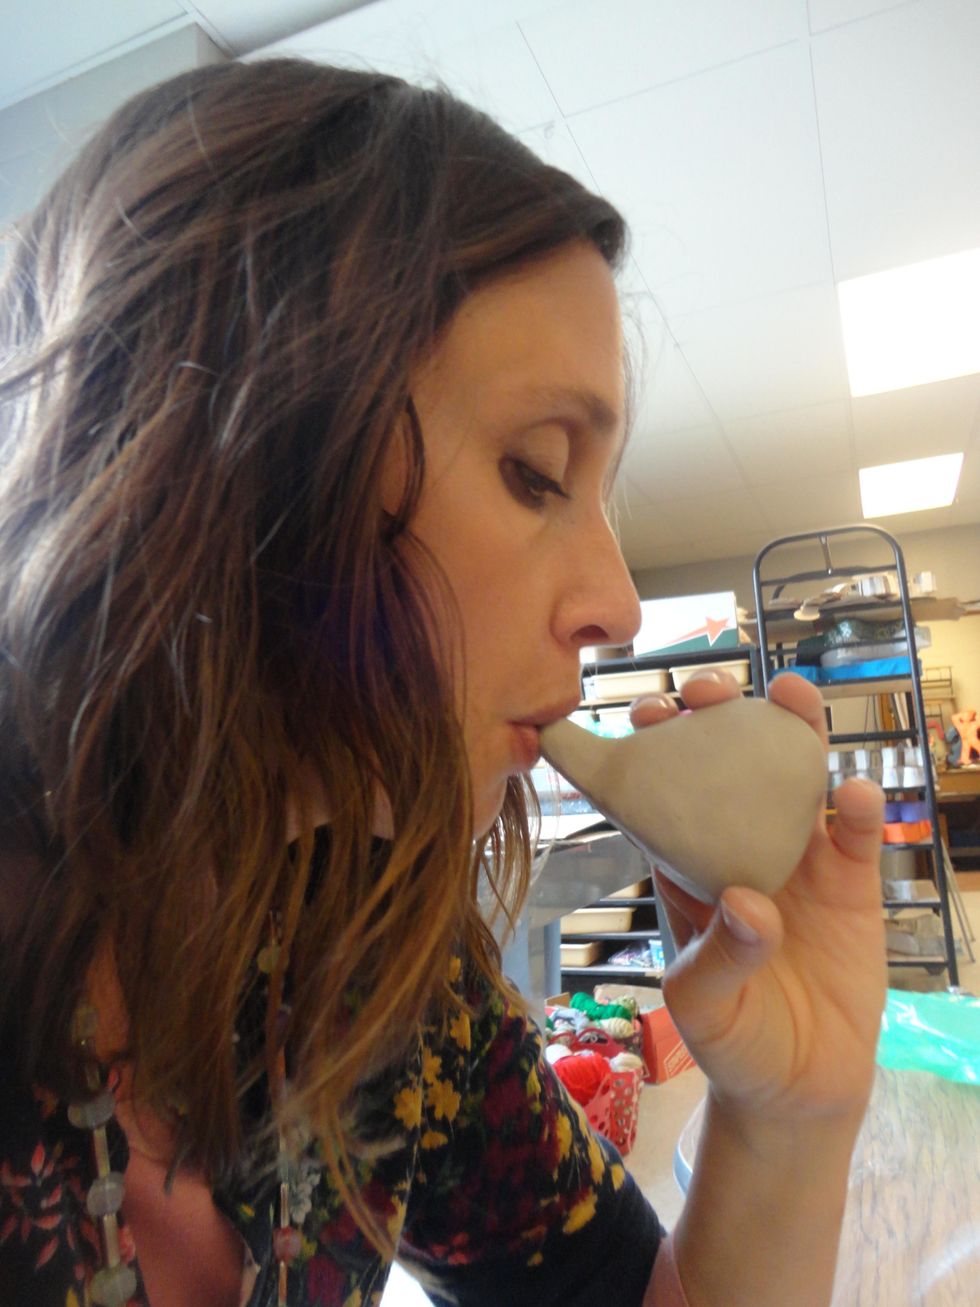
Test out your whistle to see if it works! If it doesn't work, you may need to adjust the 45 degree angle and run the popsicle stick through the mouthpiece again.
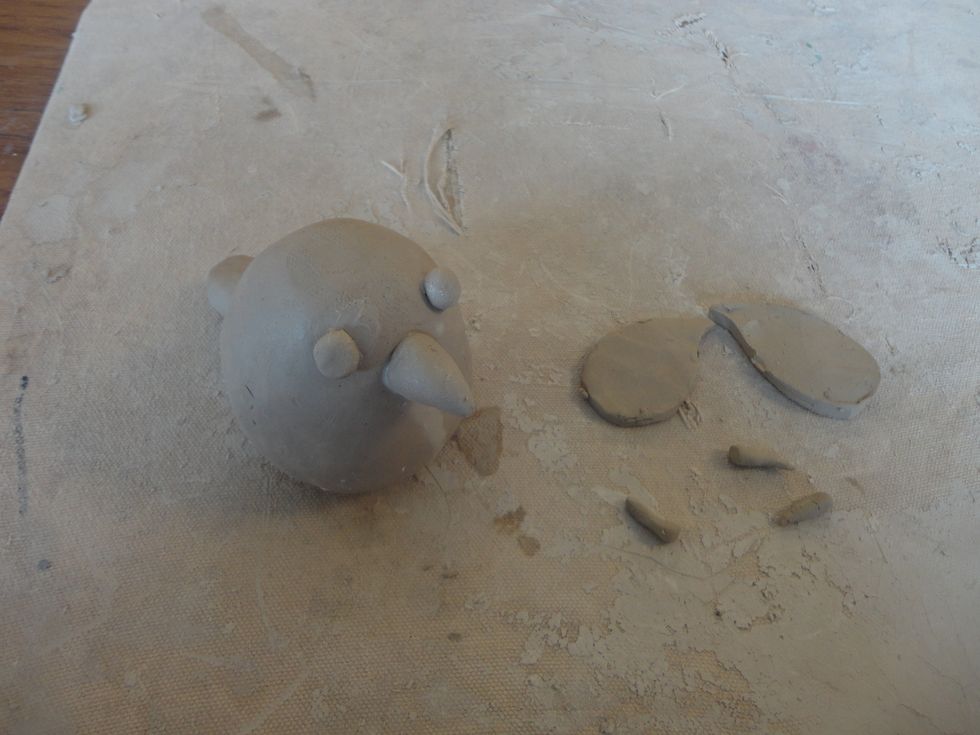
Once your whistle is working, attach pieces to your form to transform your whistle.
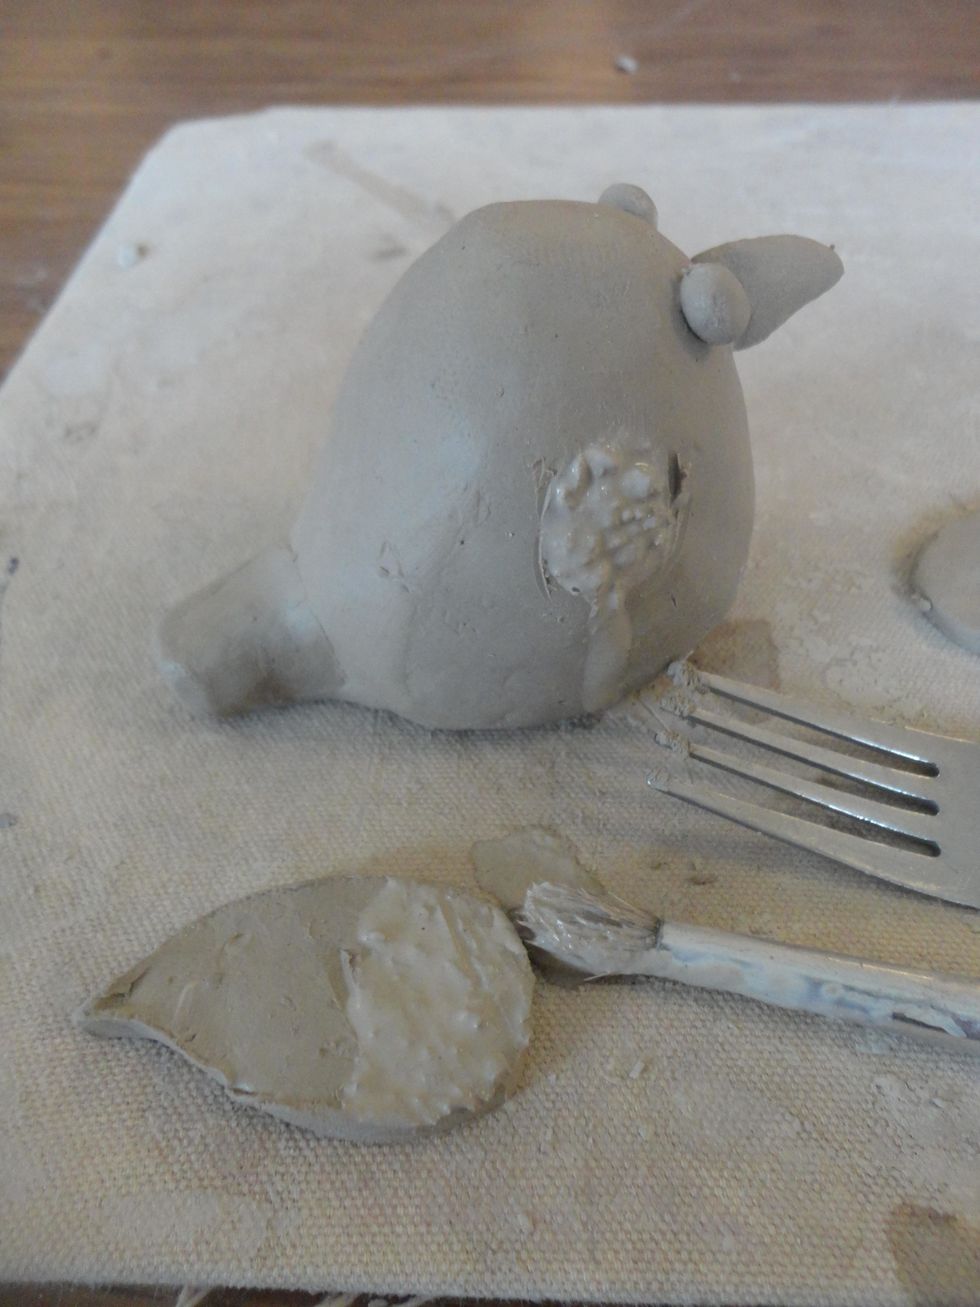
Remember to score and slip!
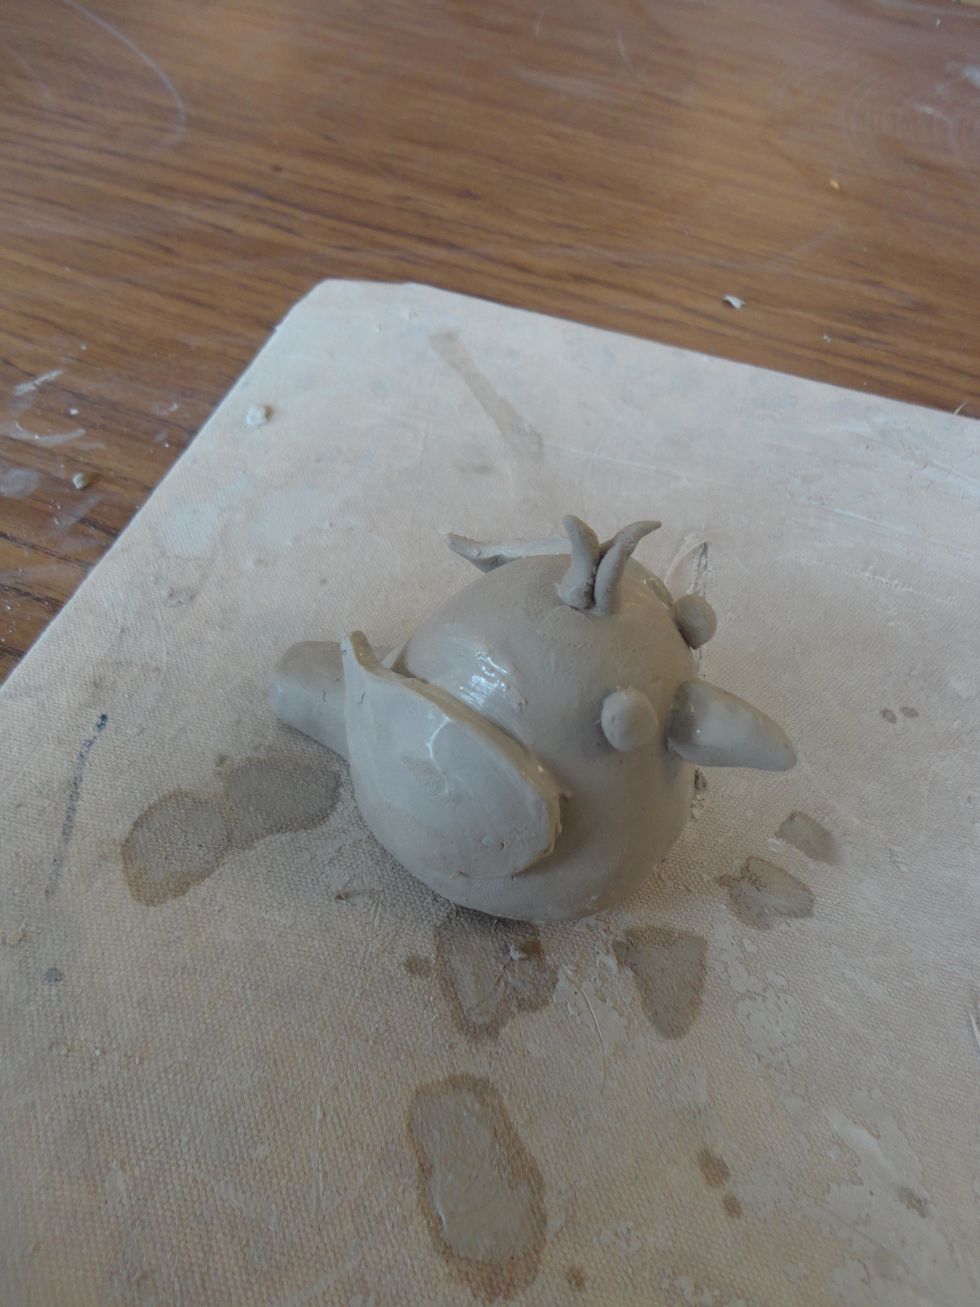
Your whistle is complete! Carve your name on the bottom and leave on the shelf to dry.