The Conversation (0)
Sign Up
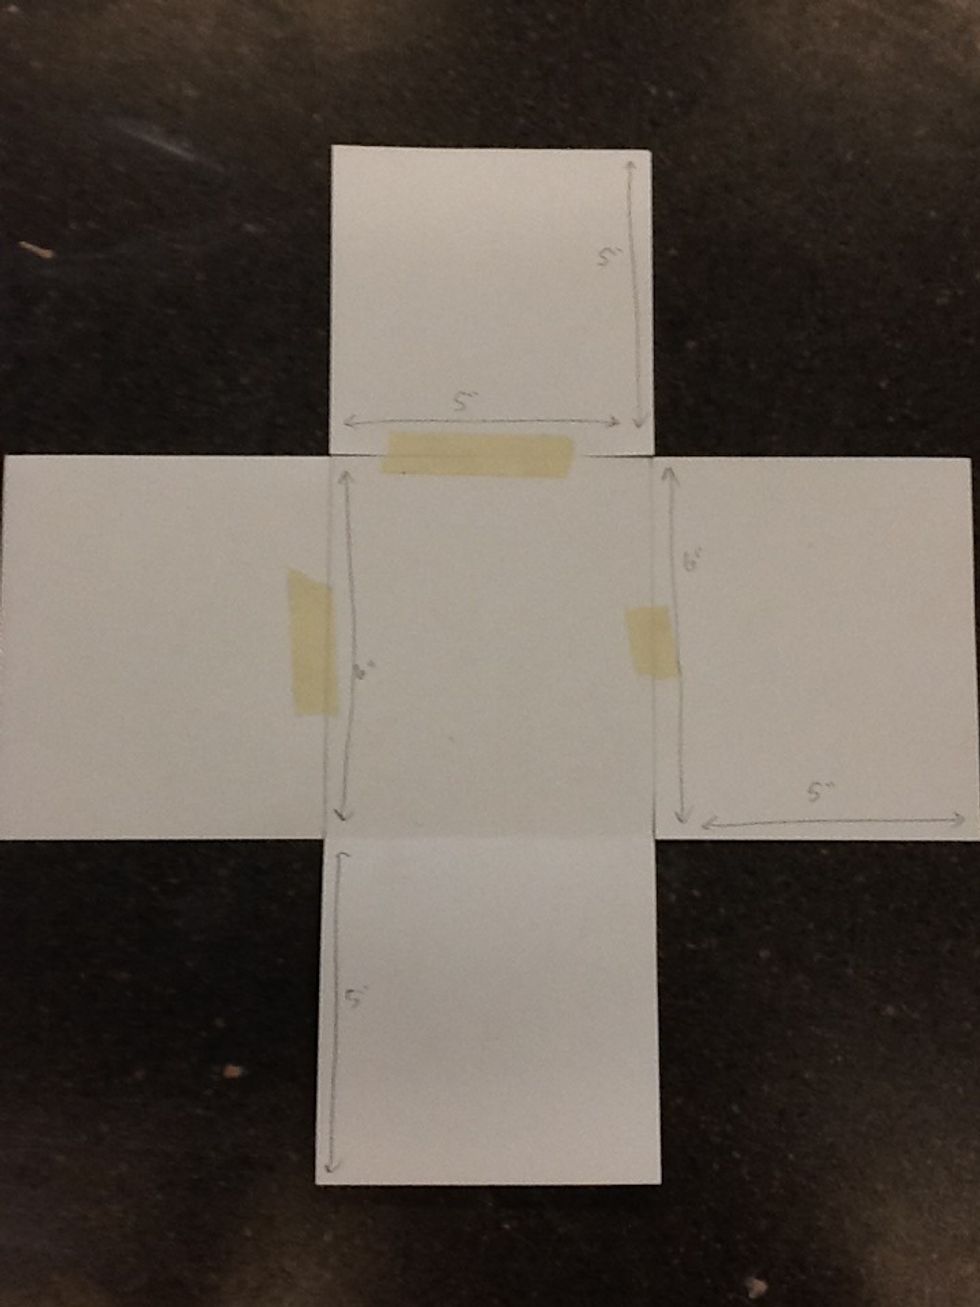
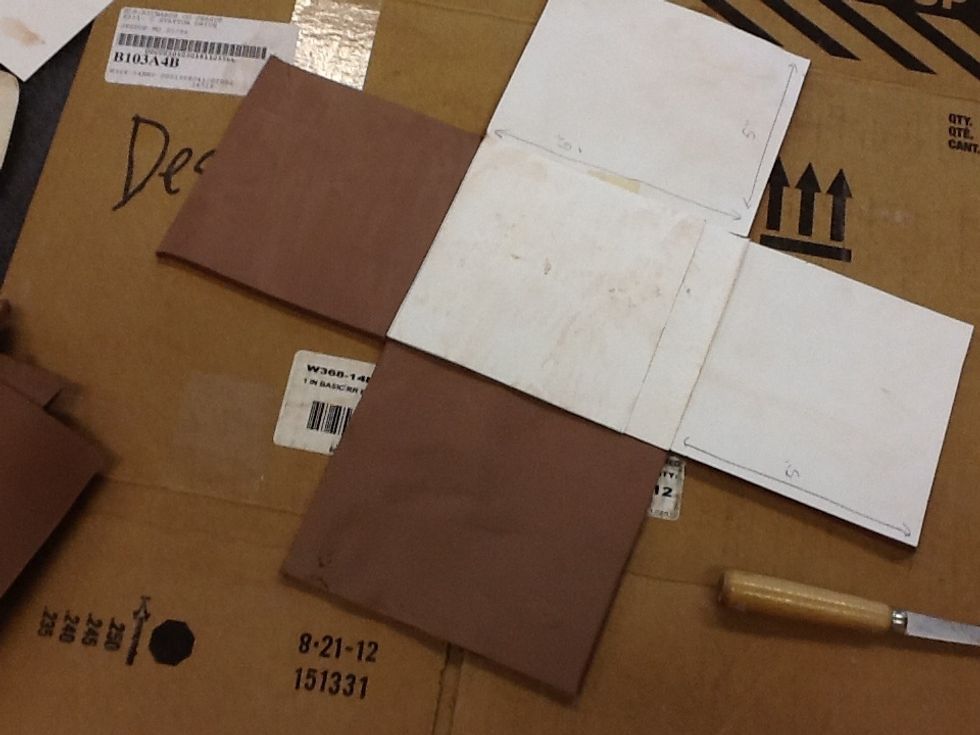
Create a template for your box. This box will be 6"x5"x5"

You could also create a template like this. This type works when your box is the same measurement on all sides (a cube, 5"x5"x5")
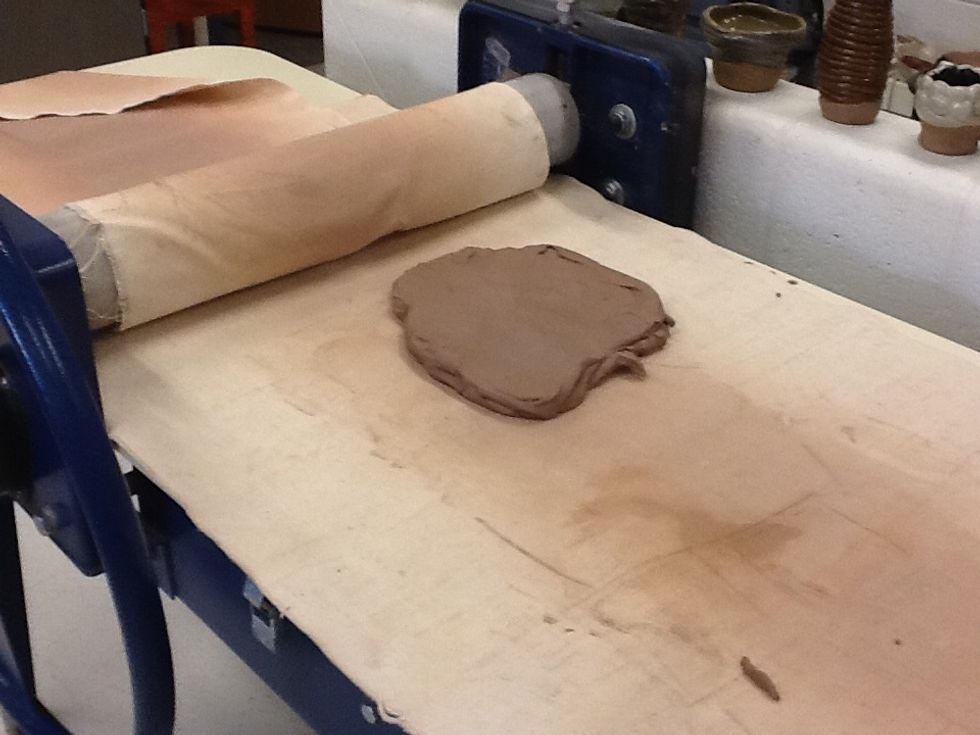
Gather a large amount of clay that will be rolled into a flat slab. Be sure you don't roll your clay too thin or too thick. Before using a slab roller flatten your clay so it fits into the roller.
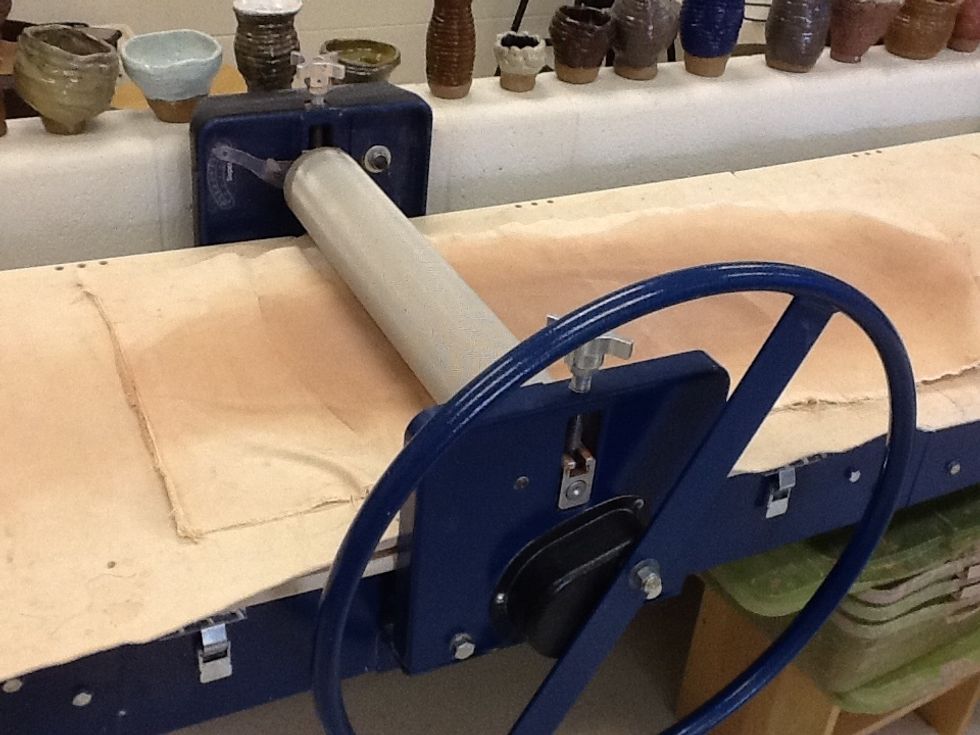
Roll your slab using the slab roller.
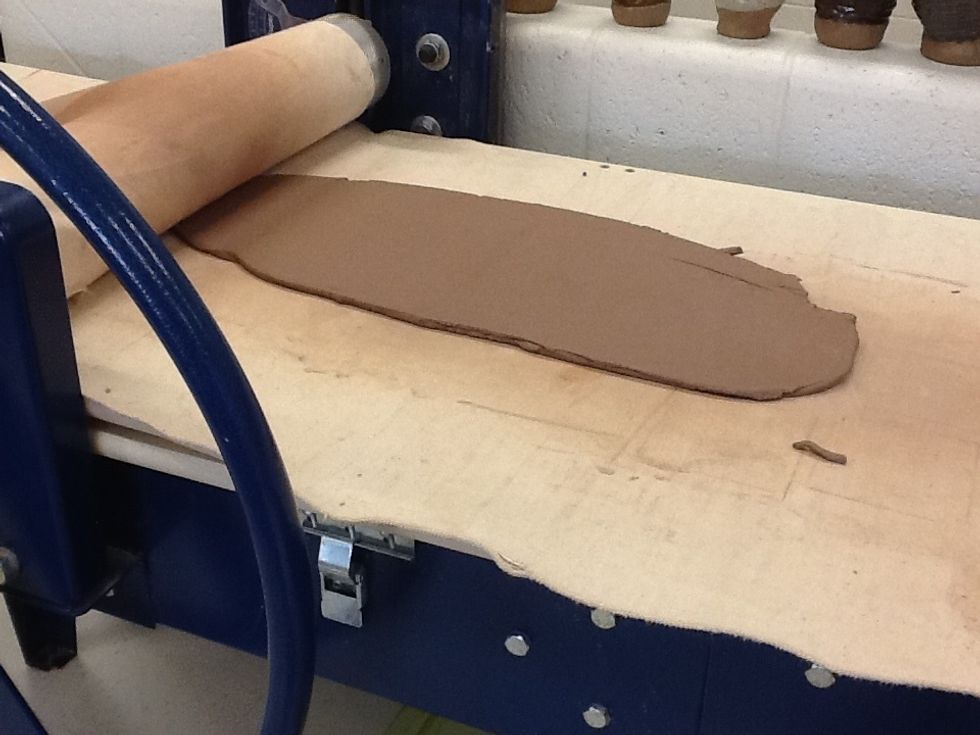
Your clay should come out with an even thickness. Hold your template to your slab to be sure that your slab is wide enough.

Use a rib tool to smooth out the canvas texture.
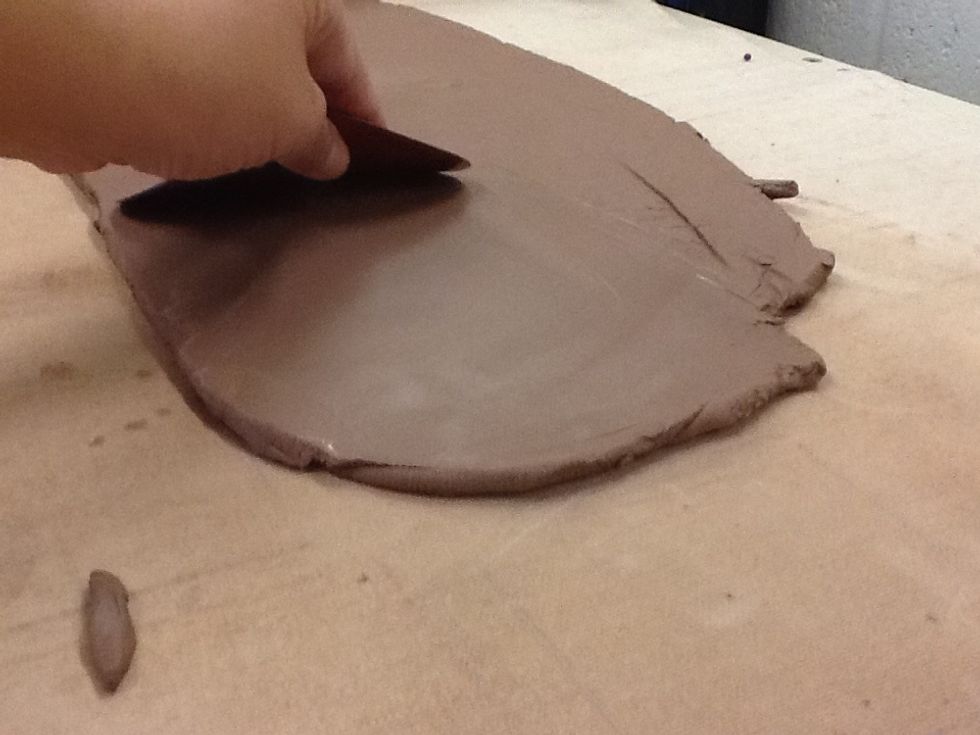
Smooth both sides.
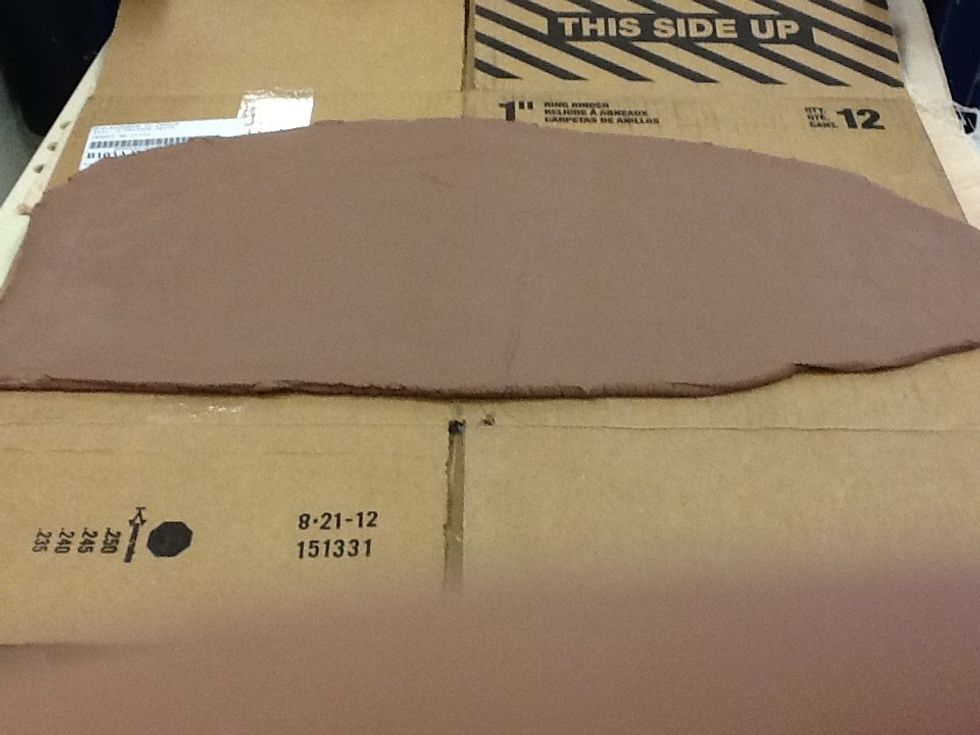
Have a large sheet of cardboard ready so that you can transport your clay back to your working area. Be gentile when you move your clay from the roller to your cardboard.
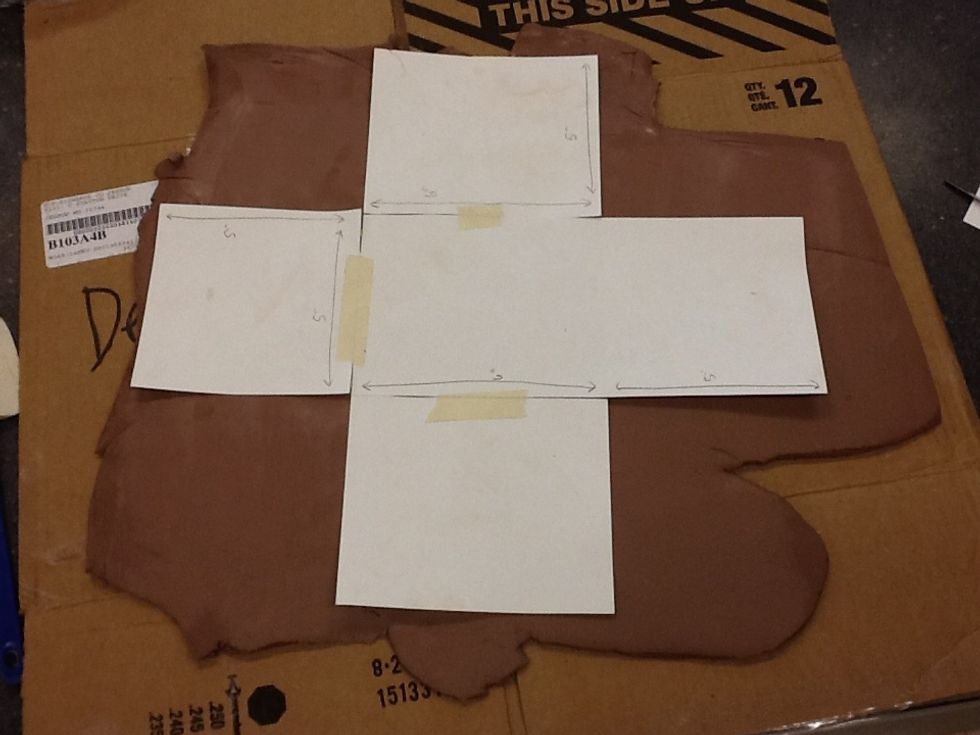
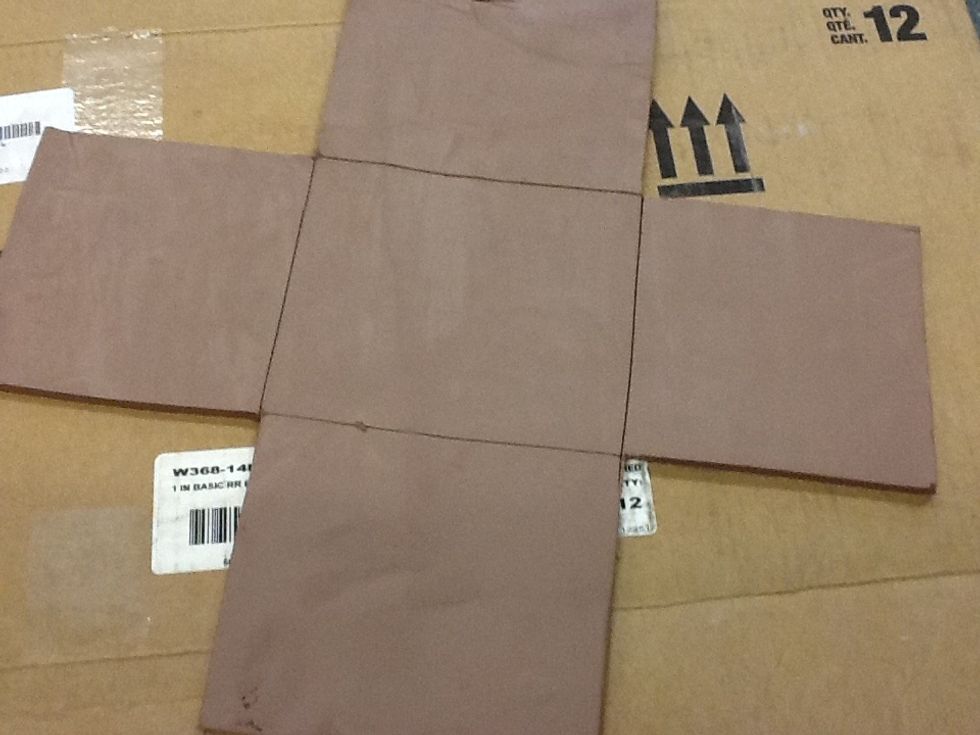
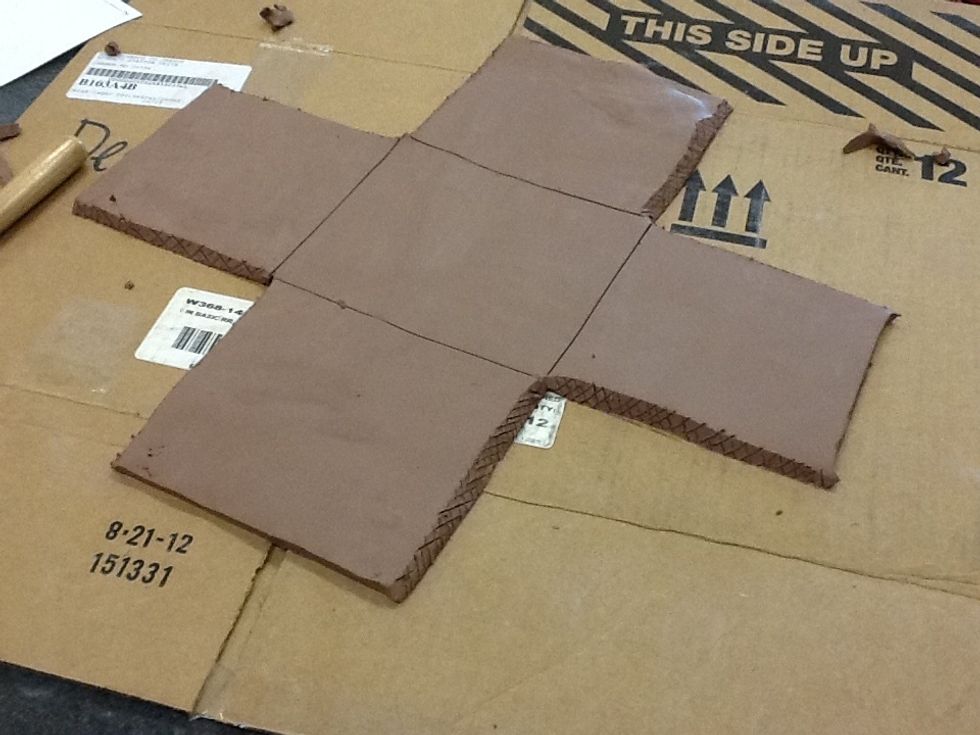
Lay your template out on on your slab. Be sure that you have enough clay to cover the template.
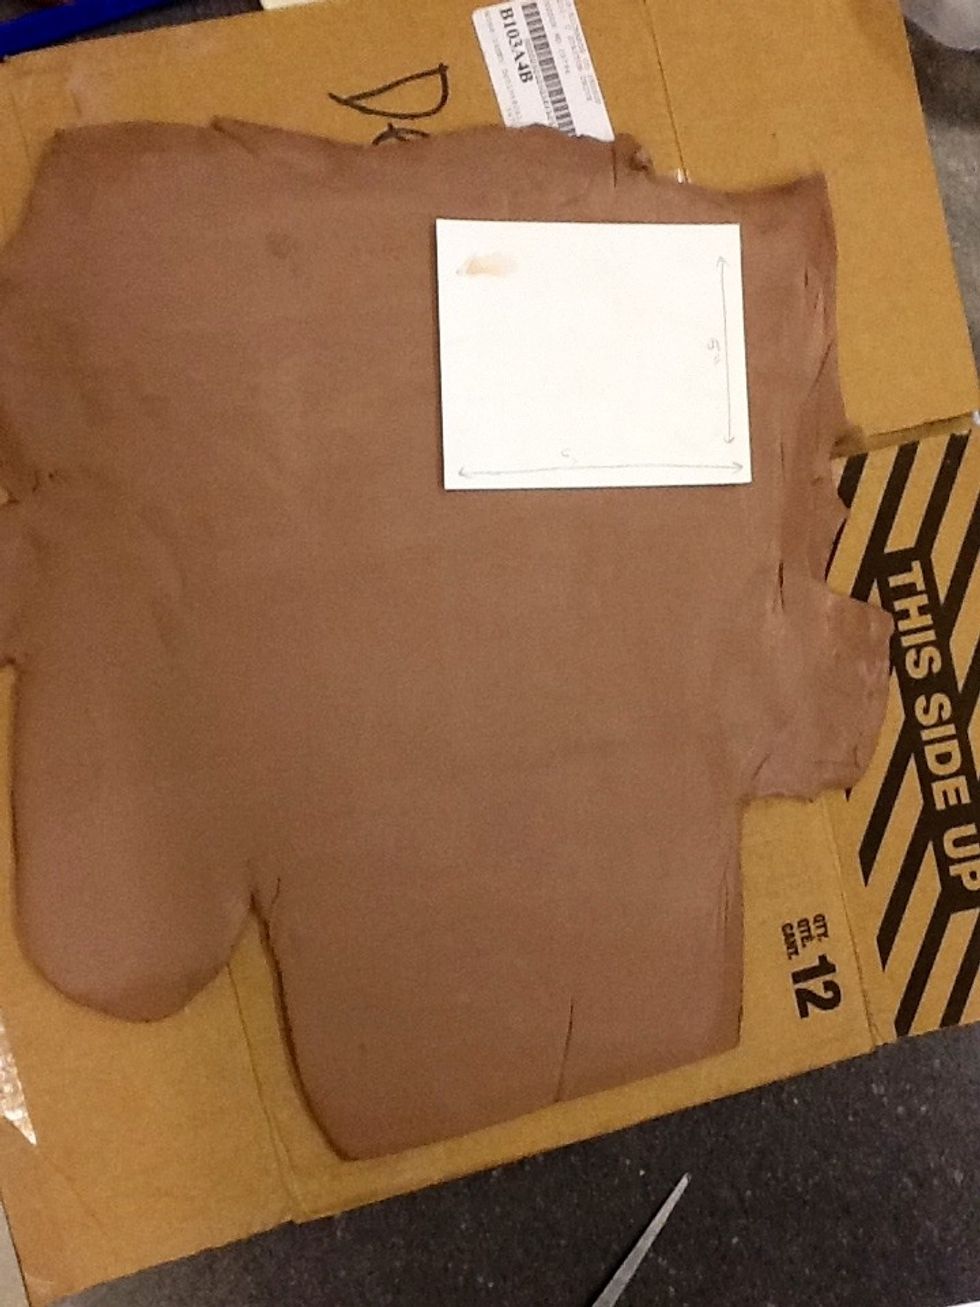
Template #2. Be sure you cut enough squares to build your box.
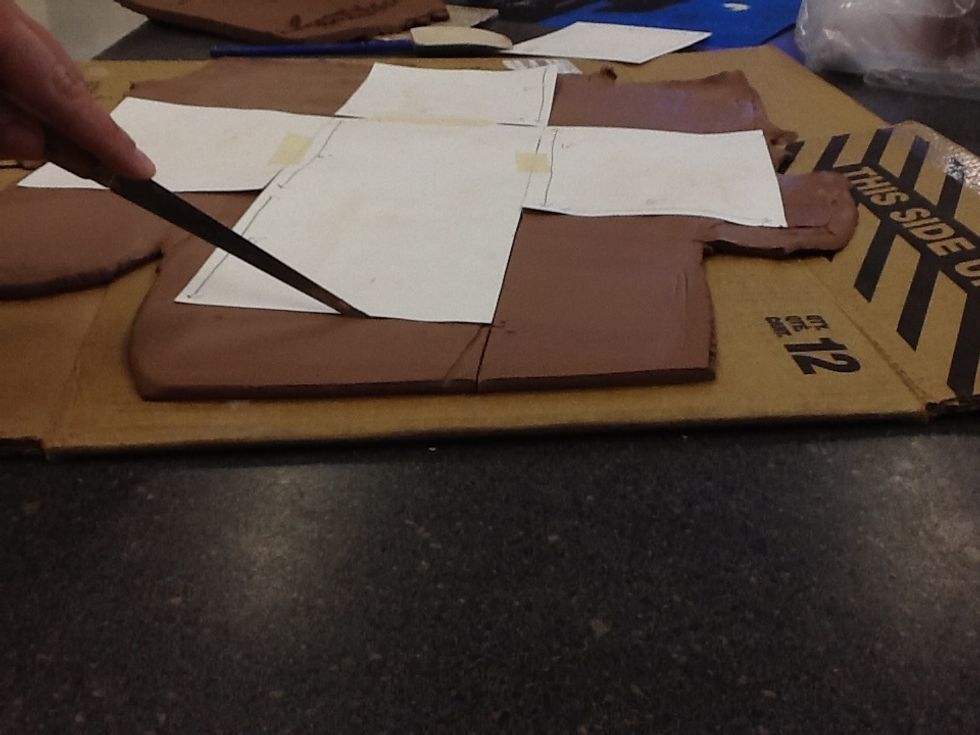
Carefully cut around your template. Be as accurate as possible so that your box fits together easily.
Remove excess clay. Peel back your template and trace a line across where your folds will be. Do not cut deep into the clay.
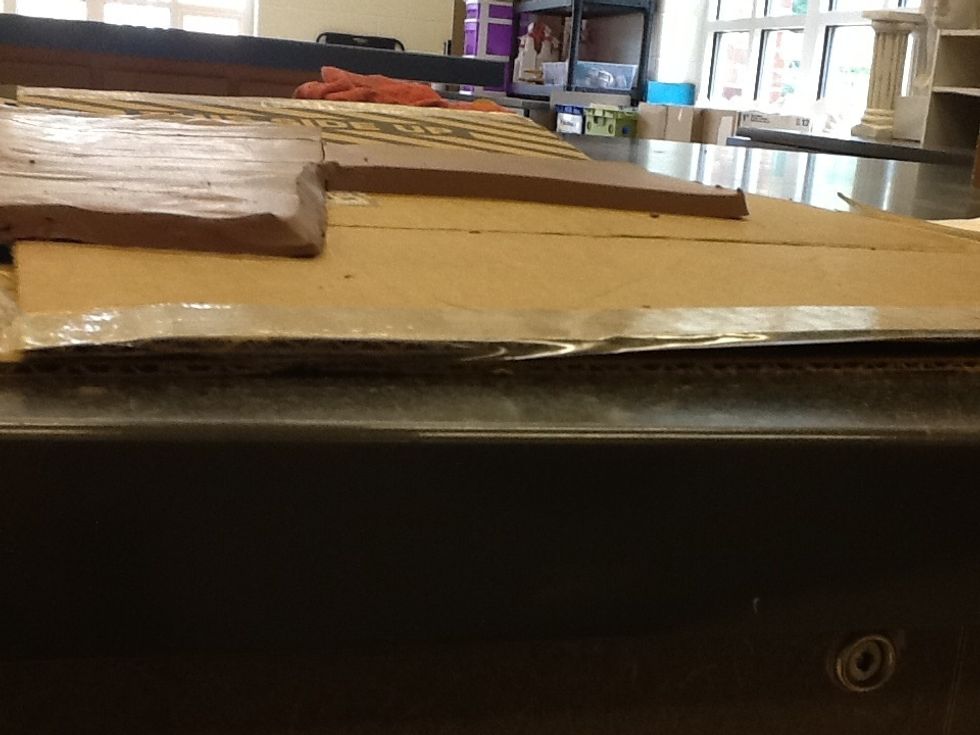
On each side edge (areas that are being connected on the sides, not the top of the box edge), cut a 45° angle. This will help your box fit together almost seamlessly.
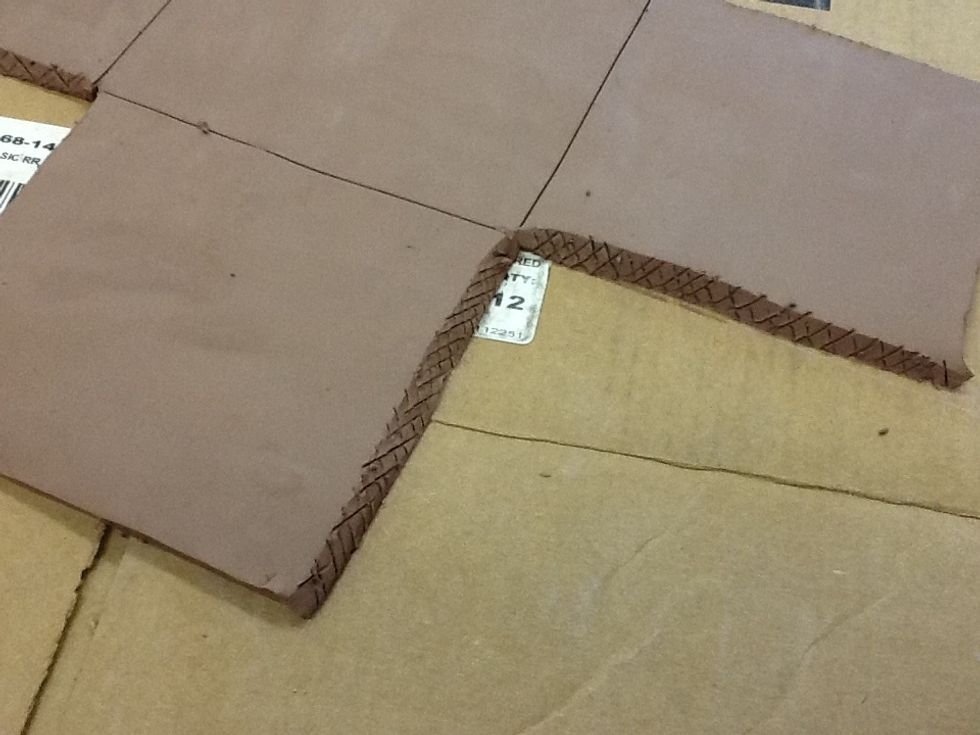
Score and slip these edges.
All 8 of them. Now let your clay set up and slightly harden. You want you clay to be leather hard so the clay holds itself up during construction.
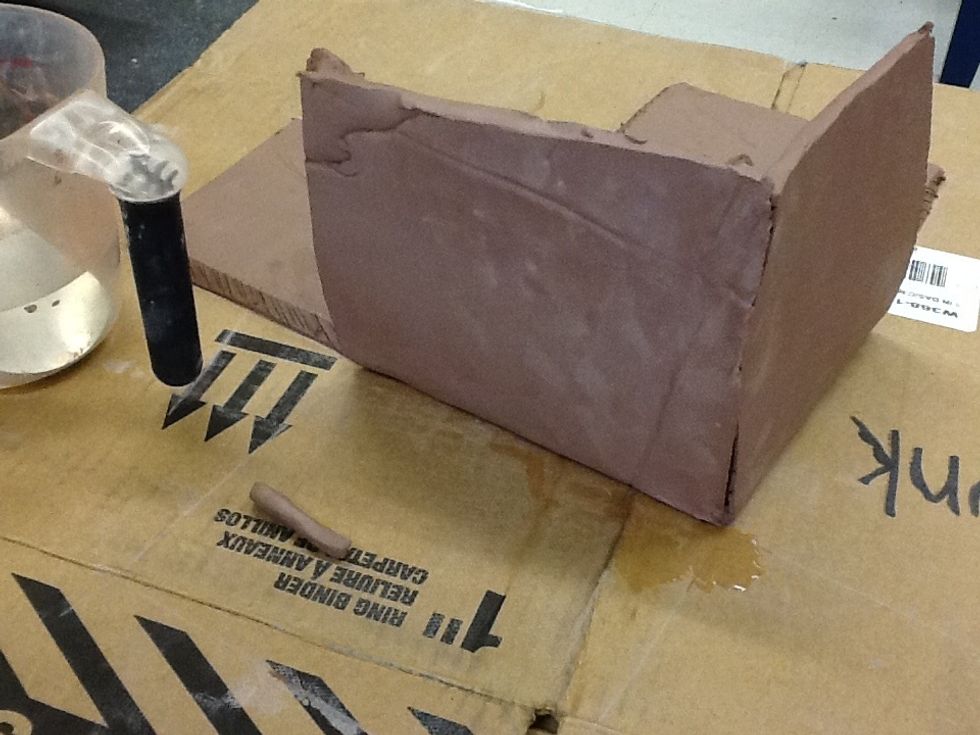
Once your clay is leather hard and can support its weight start brining up the sides.
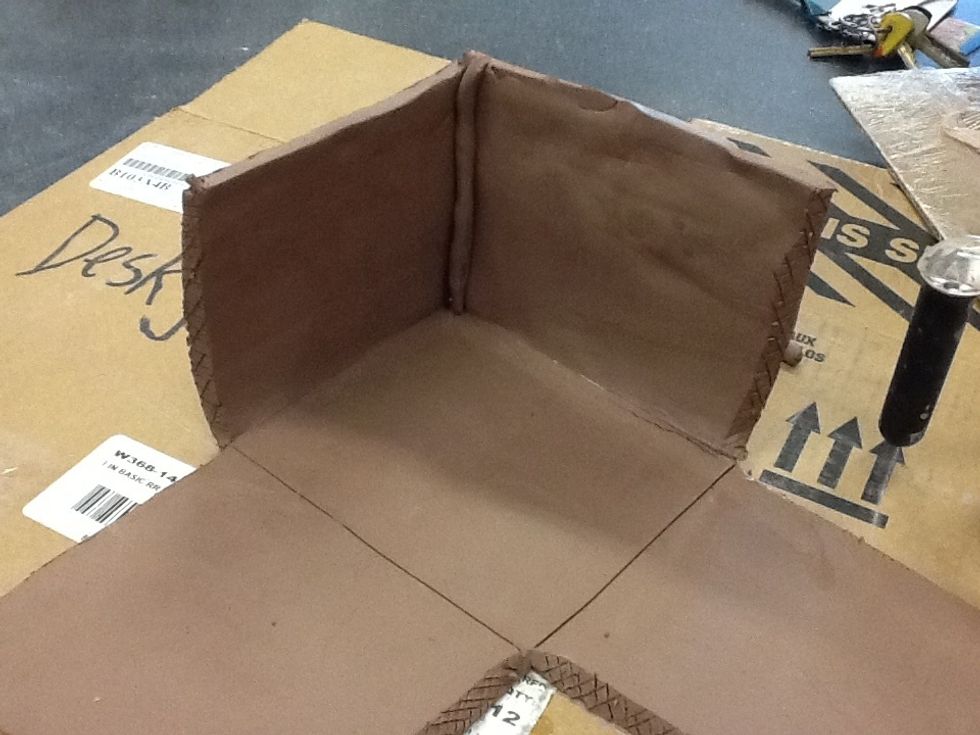
On the inside of each joint add a coil. This will give support and help hide the edge.

Smooth your coil out and build up the other sides.
Once you have all 4 sides up create a lid. It could be another slab using your template or you could add a 6th slab to the top of your box and cut out a fancy lid.

Fancy lid.