The Conversation (0)
Sign Up
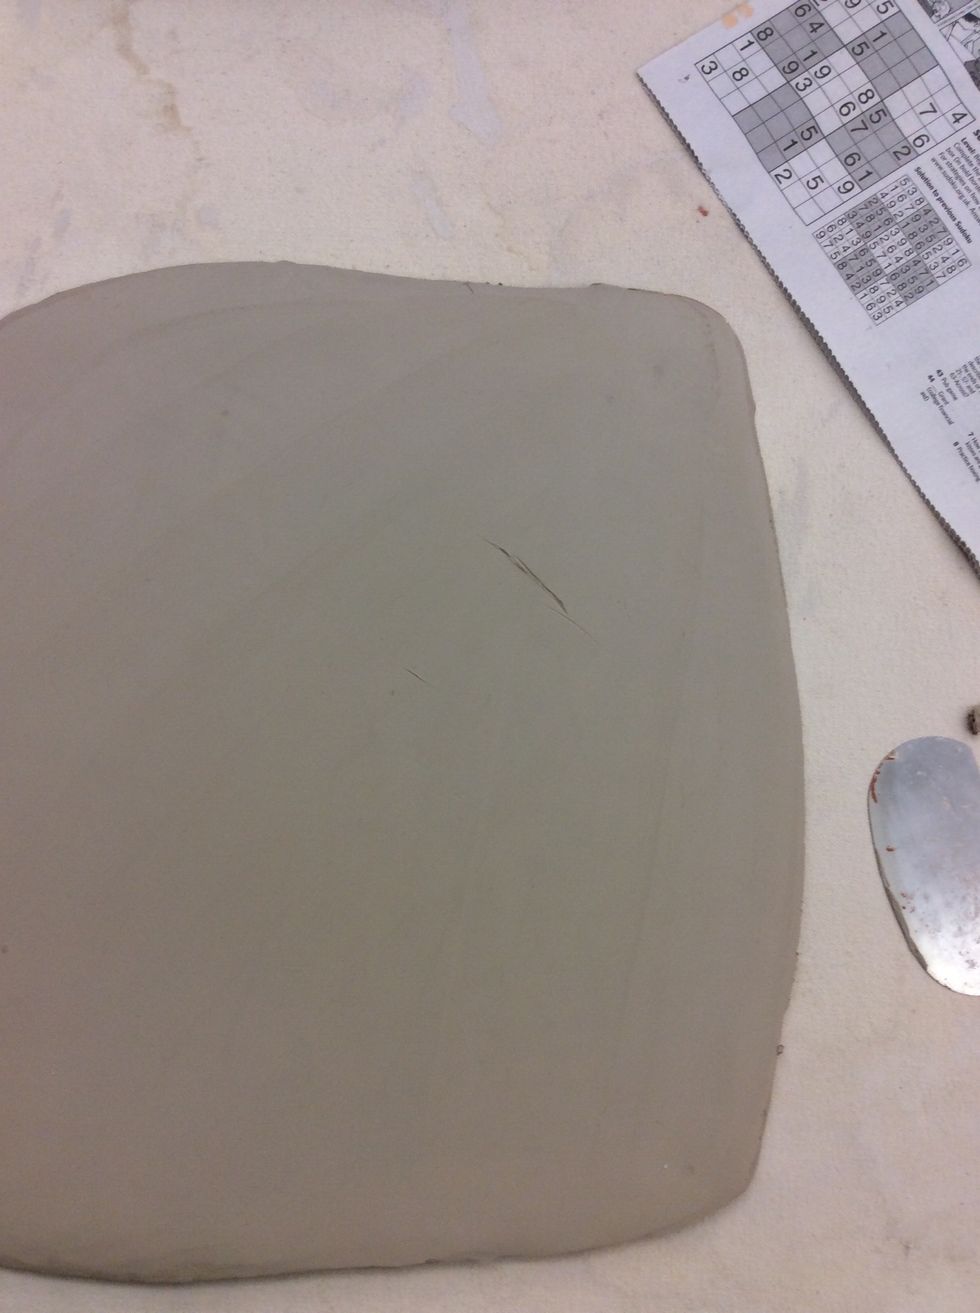
Roll slabs 1/4" thick. Smooth with metal rib.
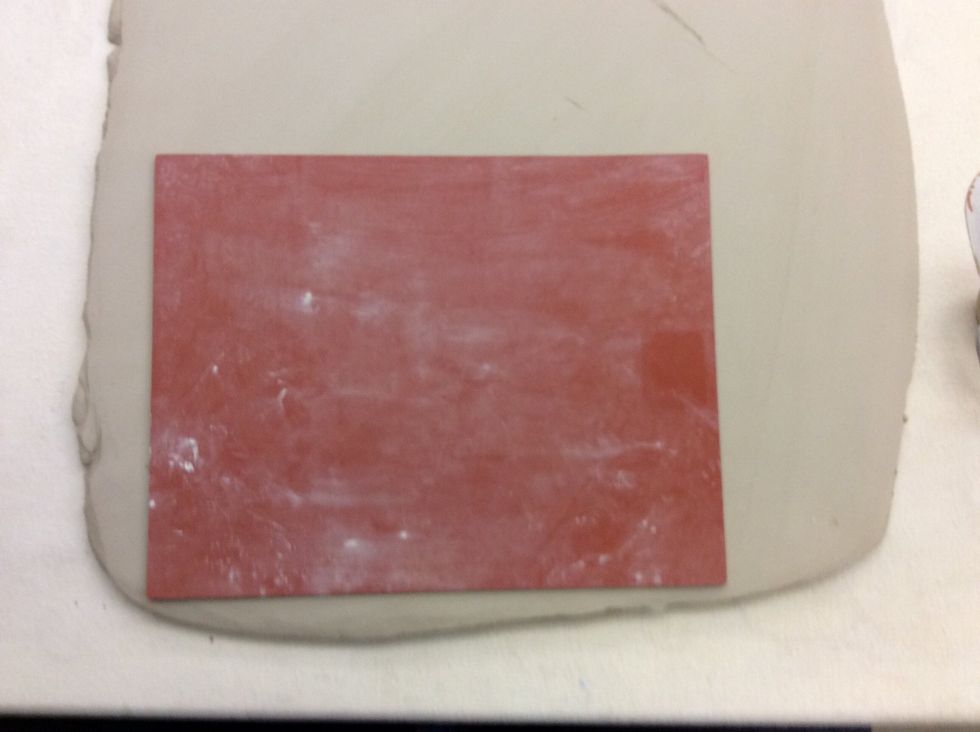
Lay texture mat on top of clay and use a pony roller to press texture into the clay.
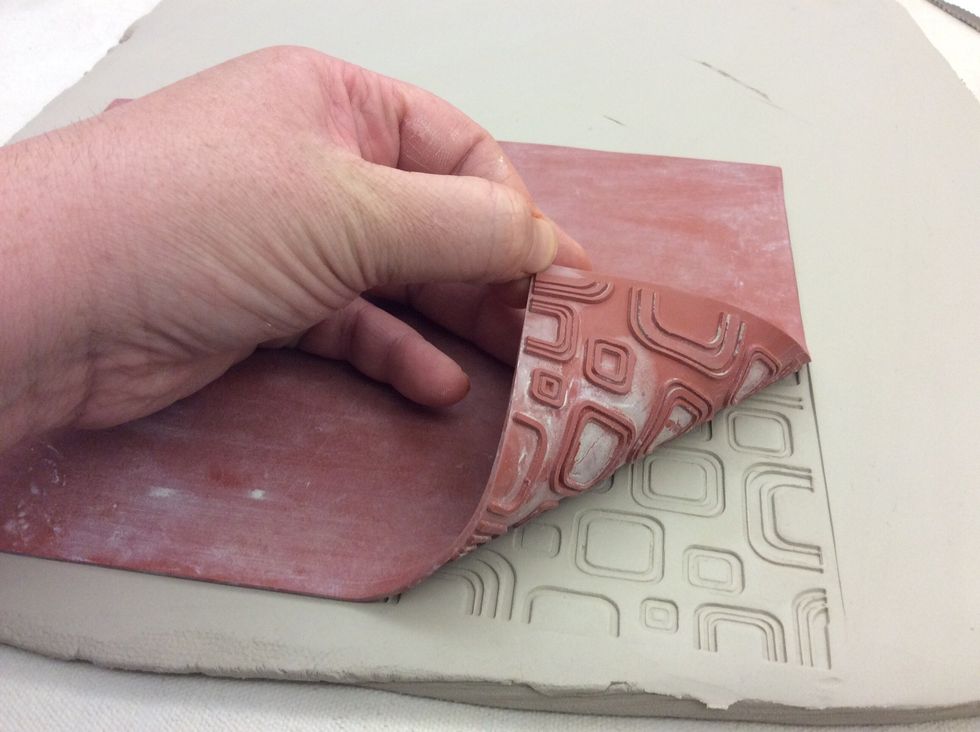
Lift a corner of the texture mat to check the clay before completely removing it.
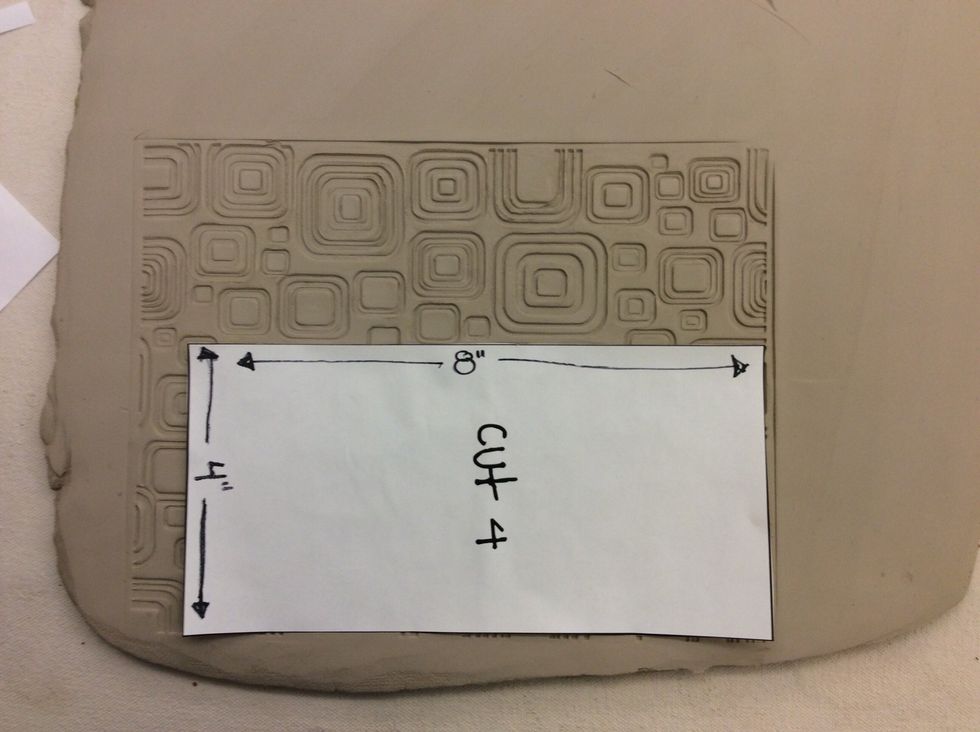
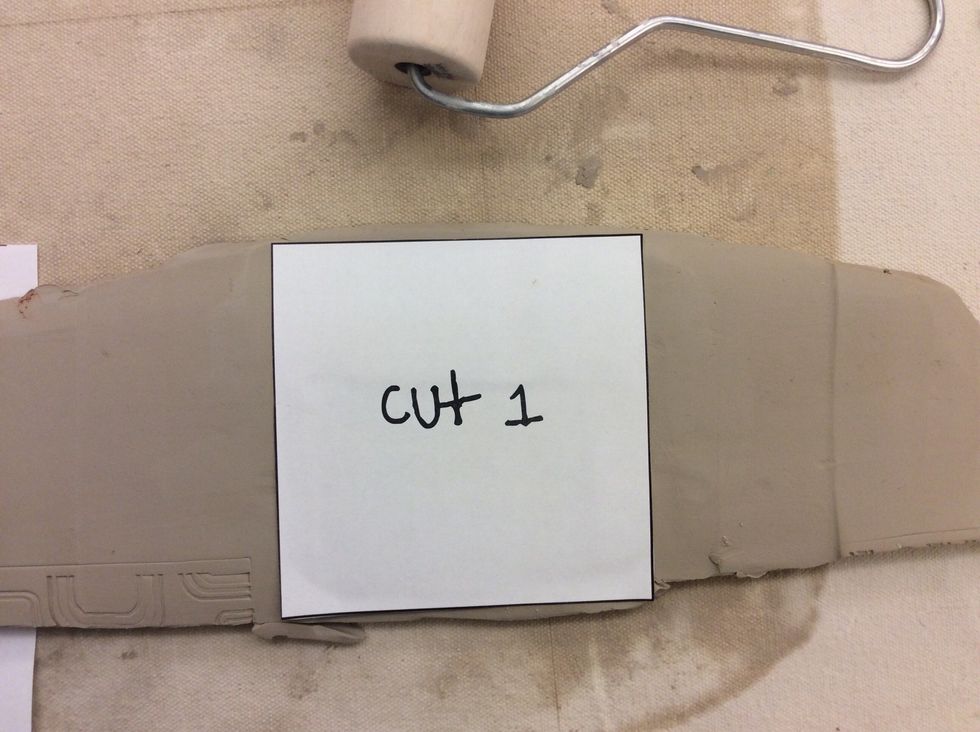
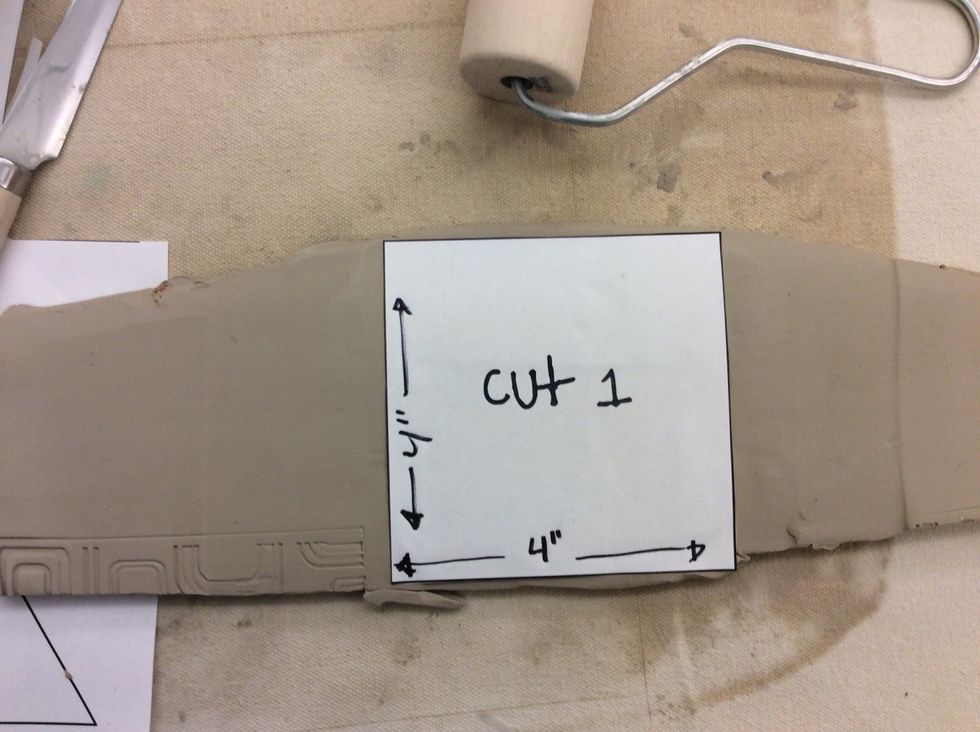
Carefully Cut four pieces 4" x 8".
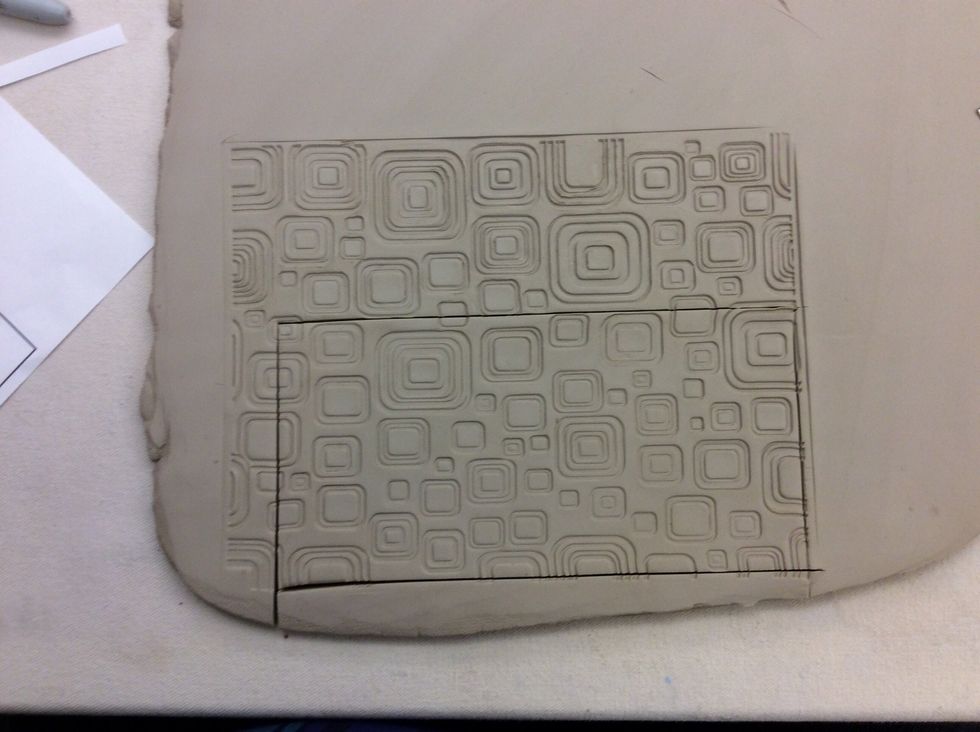
Cut one piece 4"x4" for the base.
Cut one piece 4"x4" for the base.
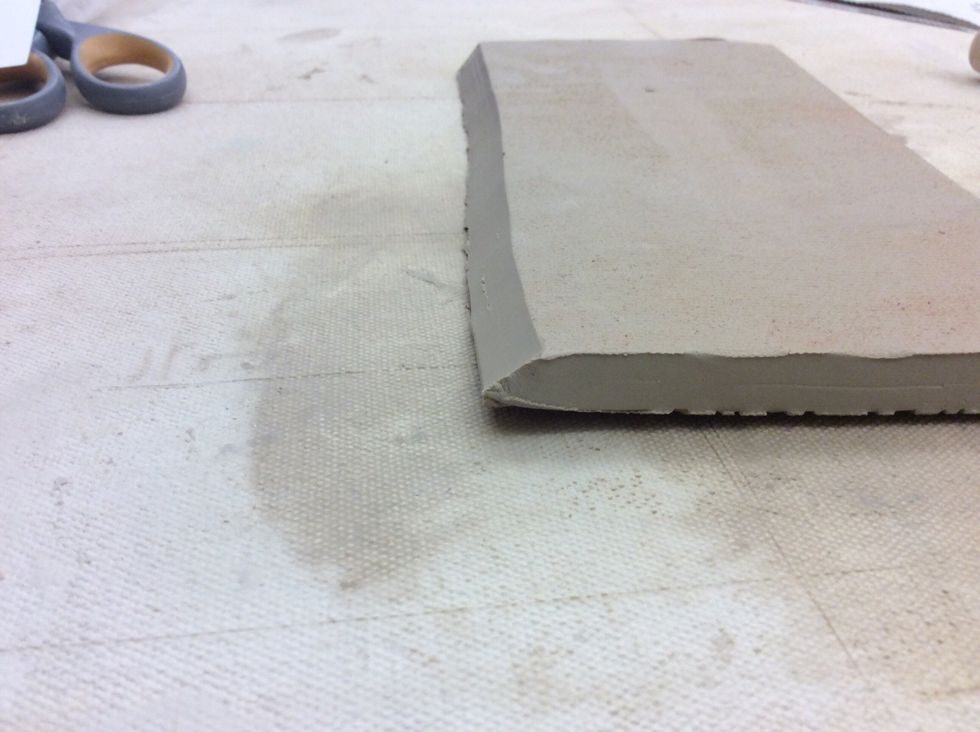
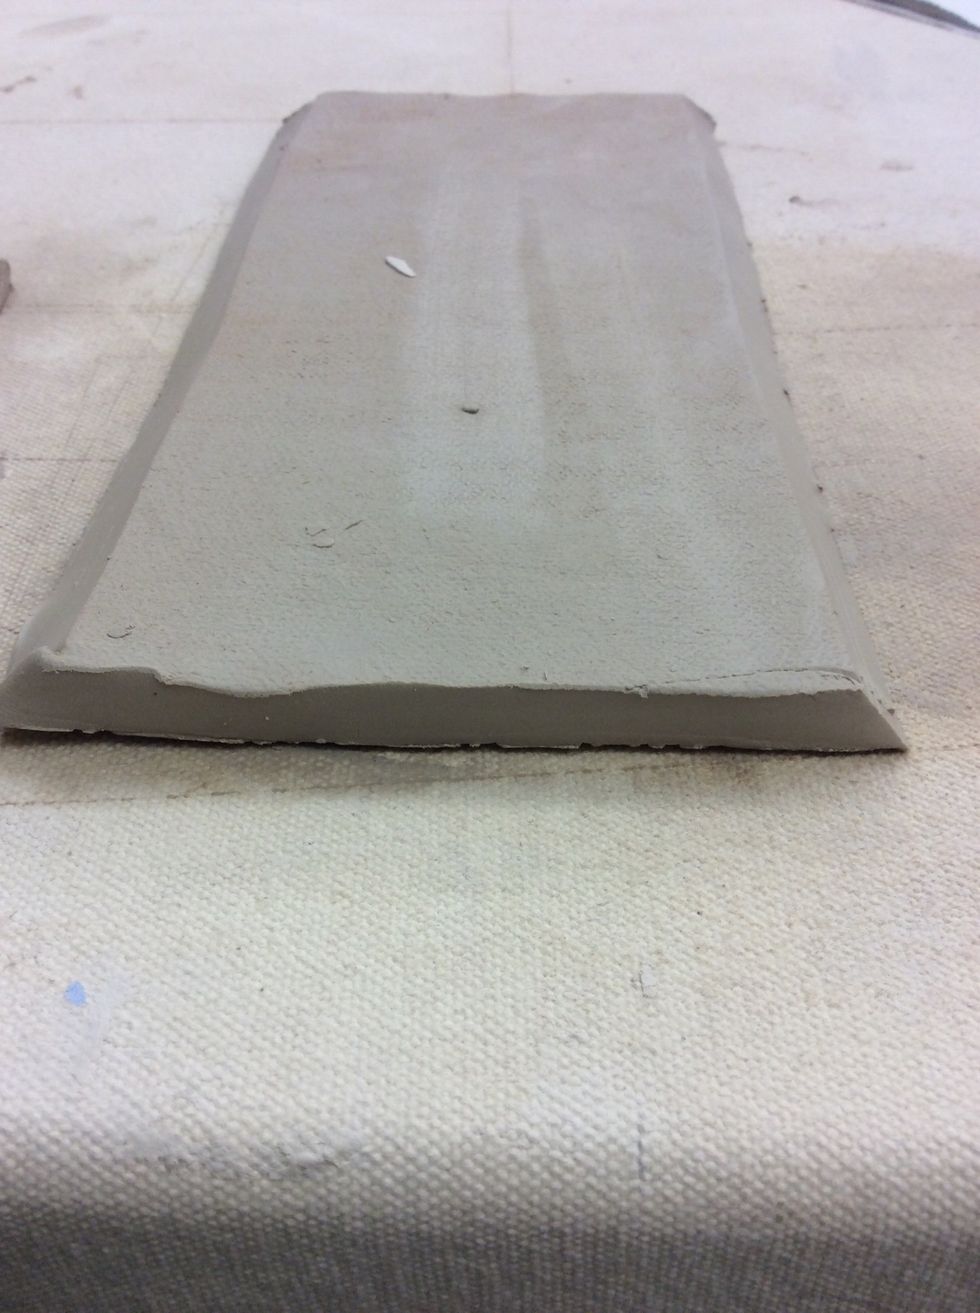
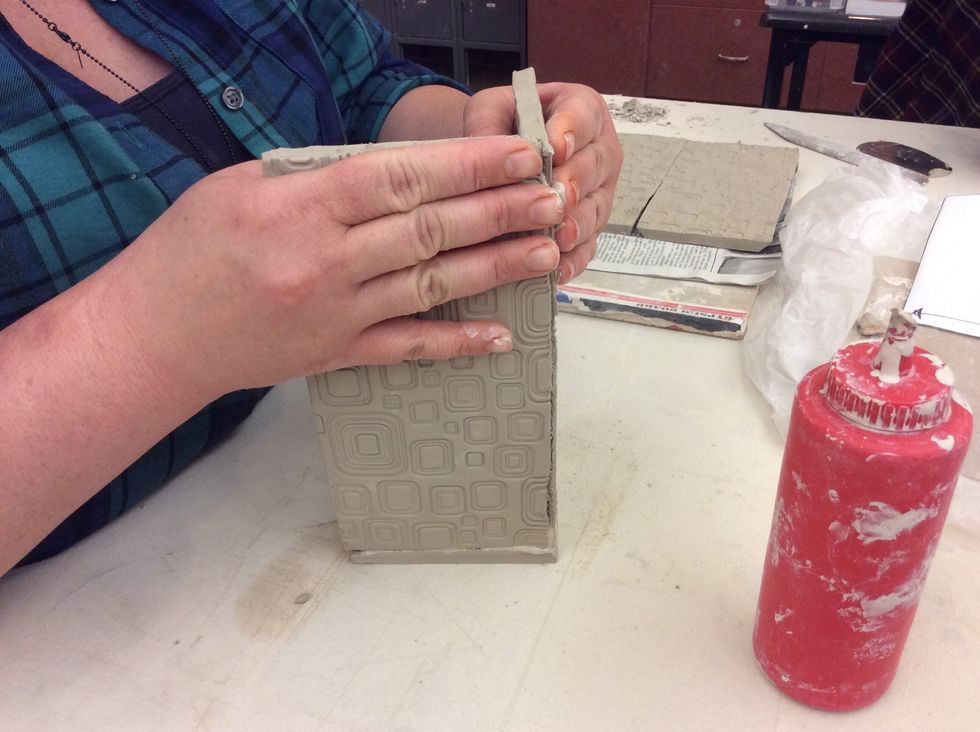
Miter the long edge of the 4 side pieces.
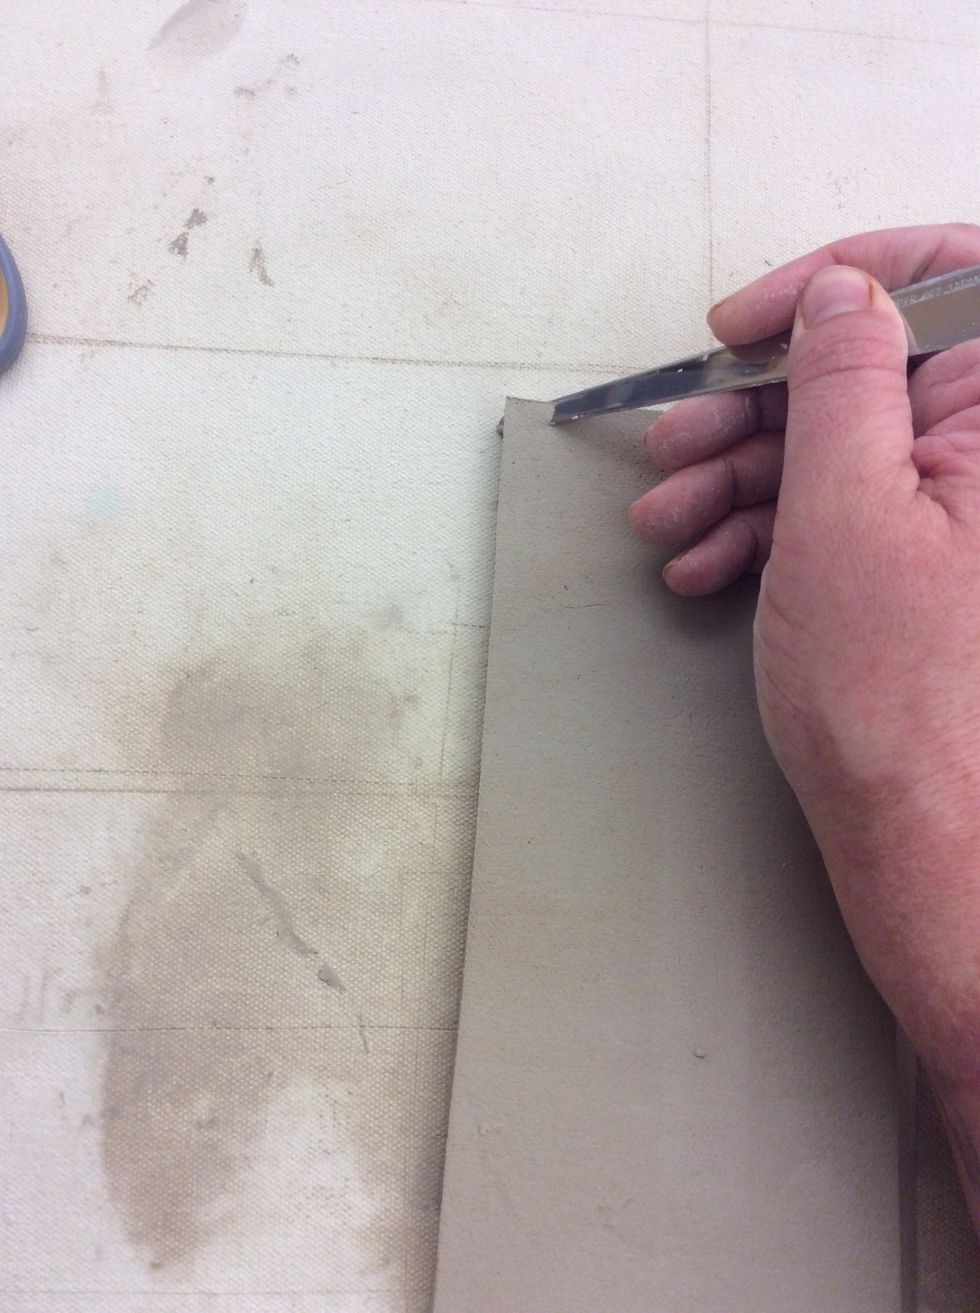
Cut along the long (8") edge at a 45 degree angle.
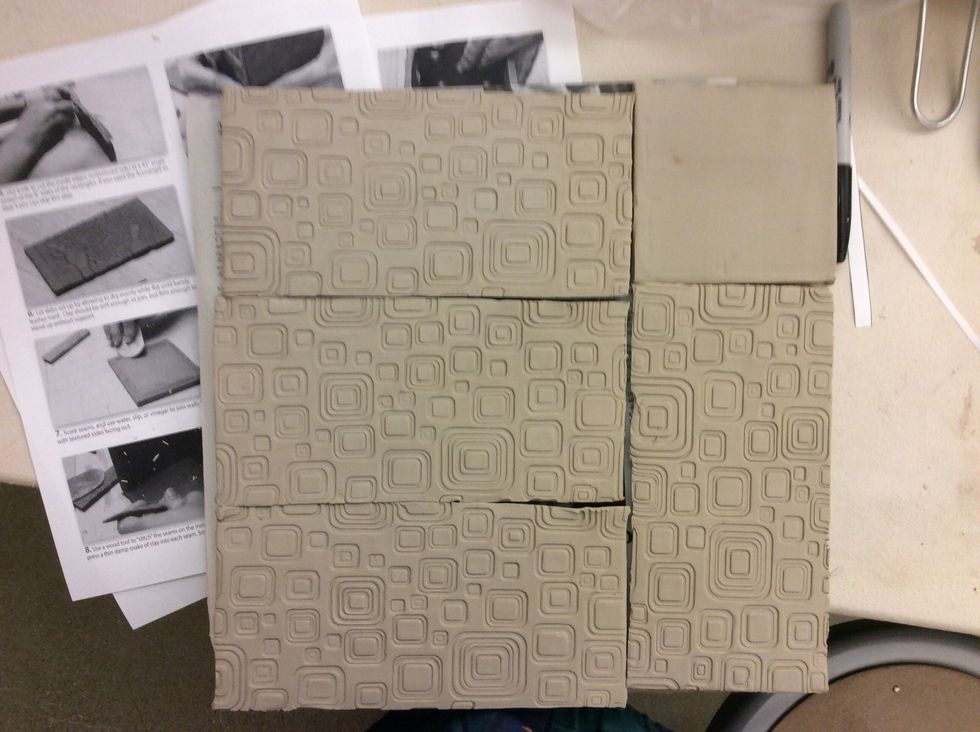
Let slabs set up by allowing them to dry evenly while flat until barely leather hard. Clay should be soft enough to join, but firm enough to stand up without support.
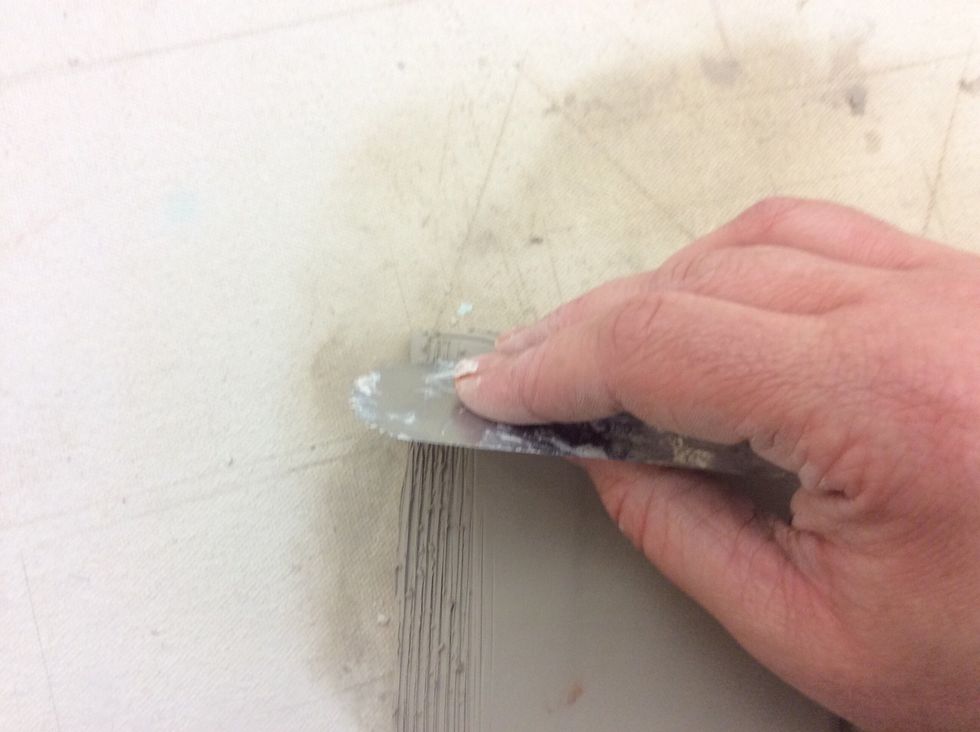
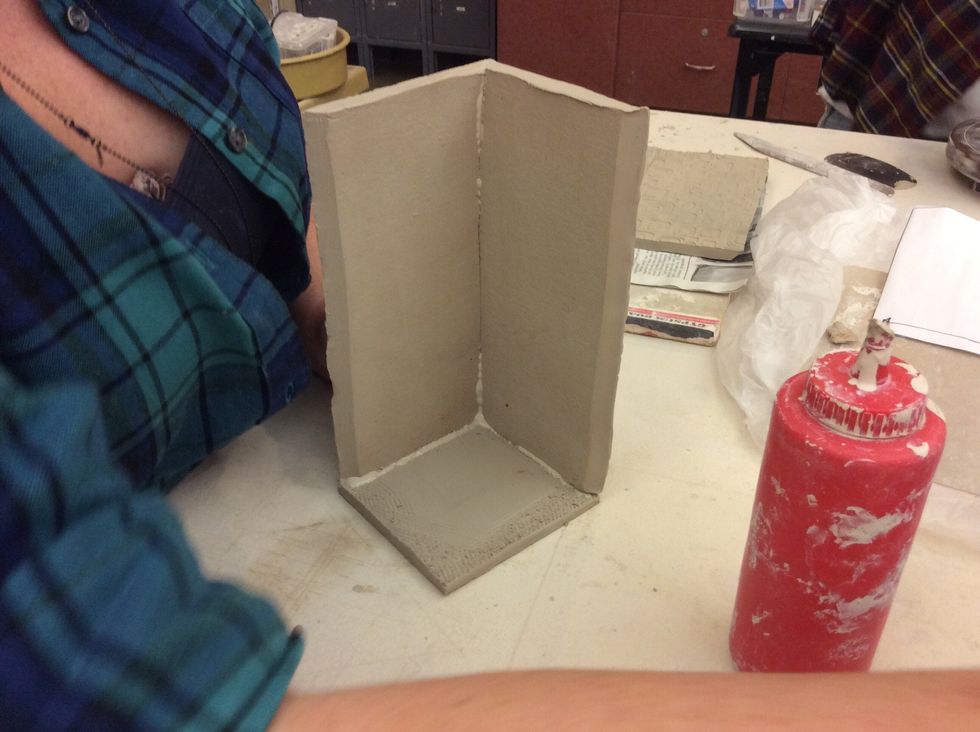
Score seams, use slip to join walls to base with textured side facing out.
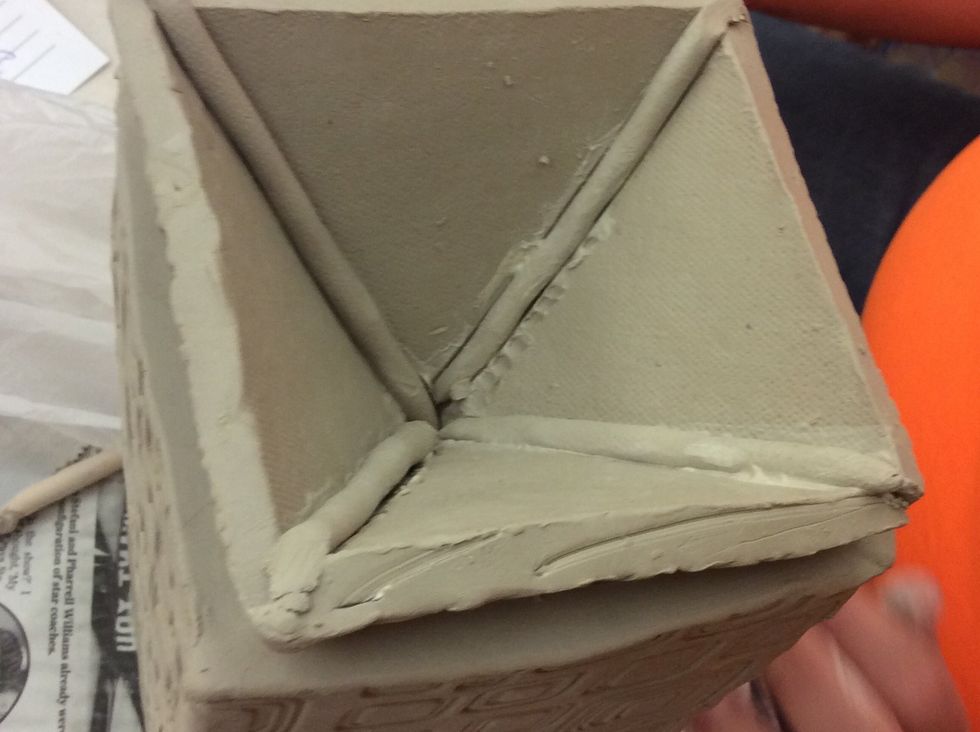
With the sides mitered, seams are invisible and the texture goes all the way to the corners of the lantern. Score, slip and then gently press edges together without blending or "erasing" the texture.
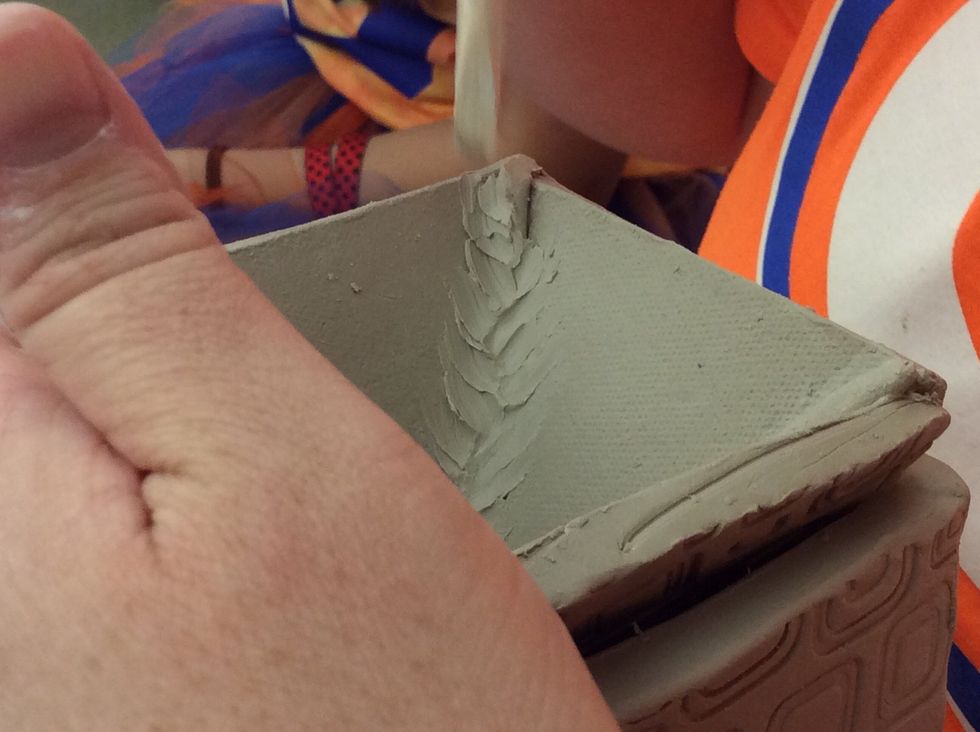
Use a wood tool to "stitch" the seams inside of the form and press thin dame snakes of clay into each seam. Smooth inside seams.
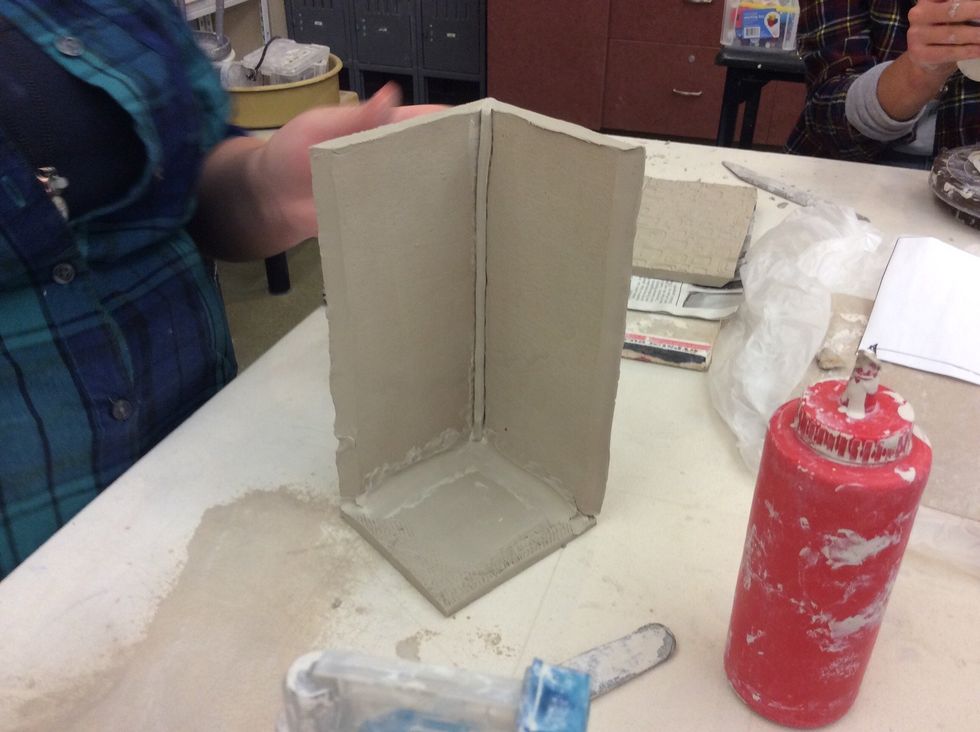
Add coils to the interior seams.
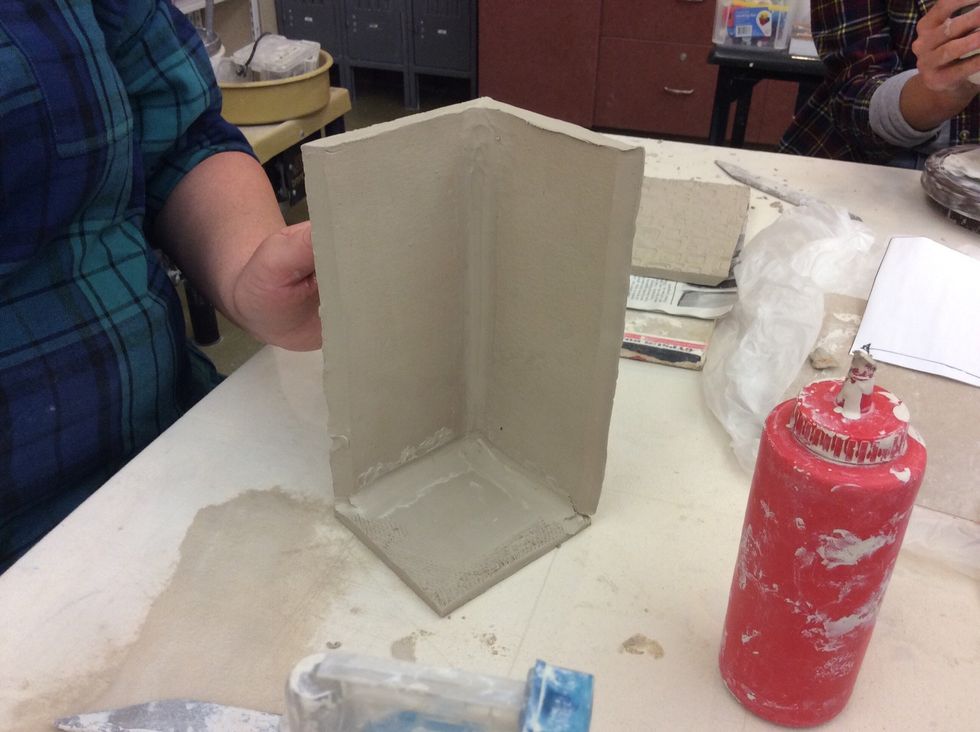
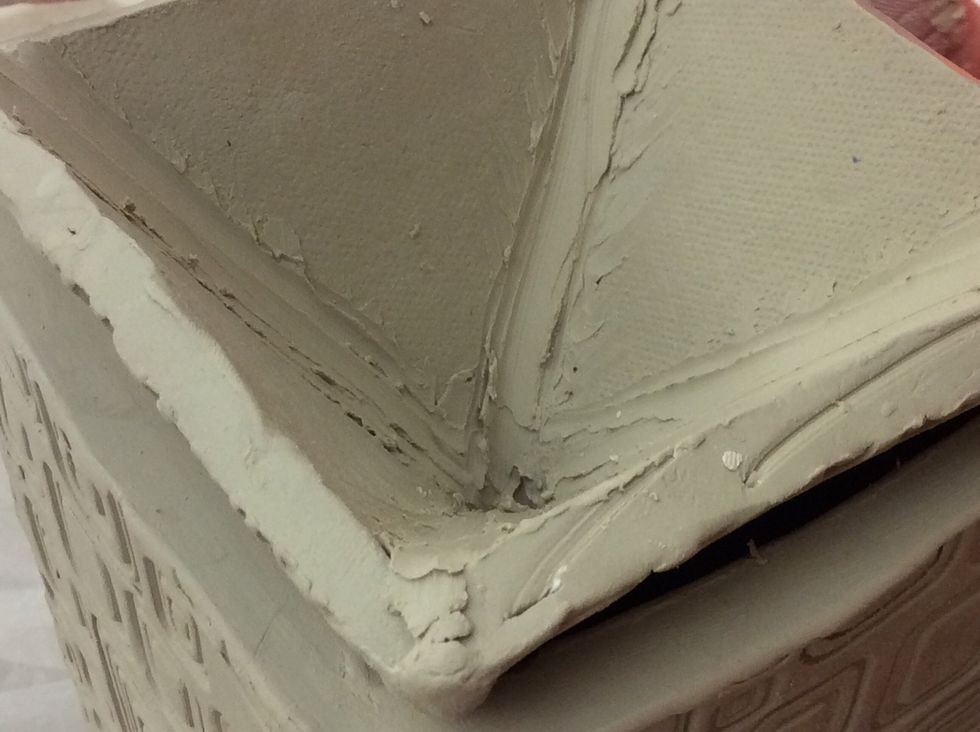
Blend together. Add two remaining sides.
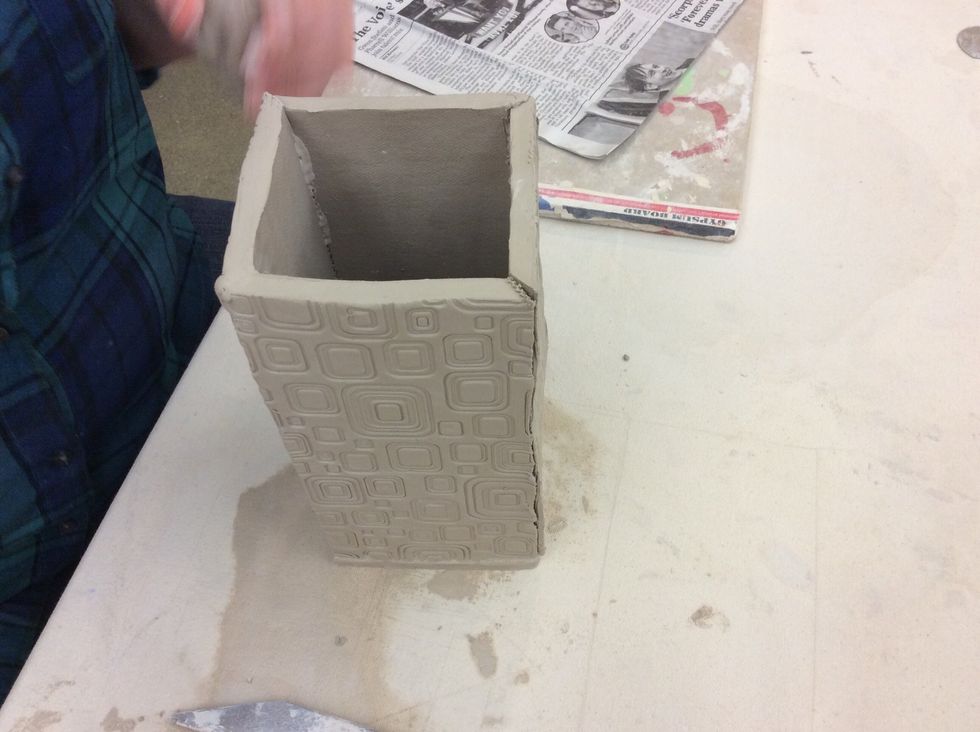
Smooth sides together no press edges firmly. Now on to the lid!
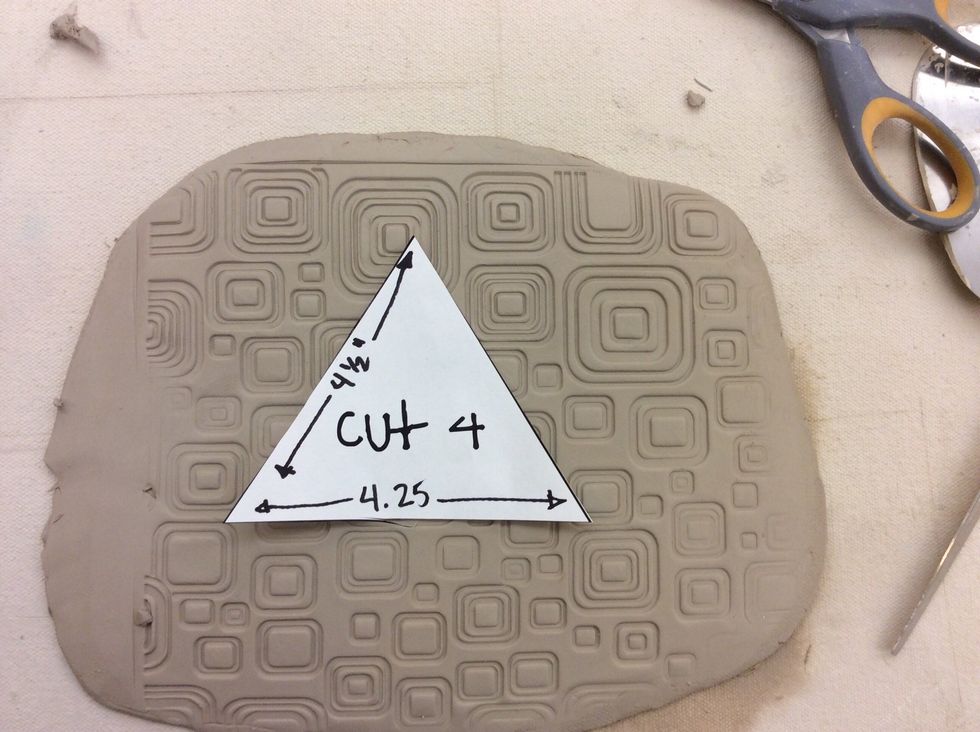
Lid: cut 4 triangles with a 4.25" base and 4.5" sides'from textured slabs.
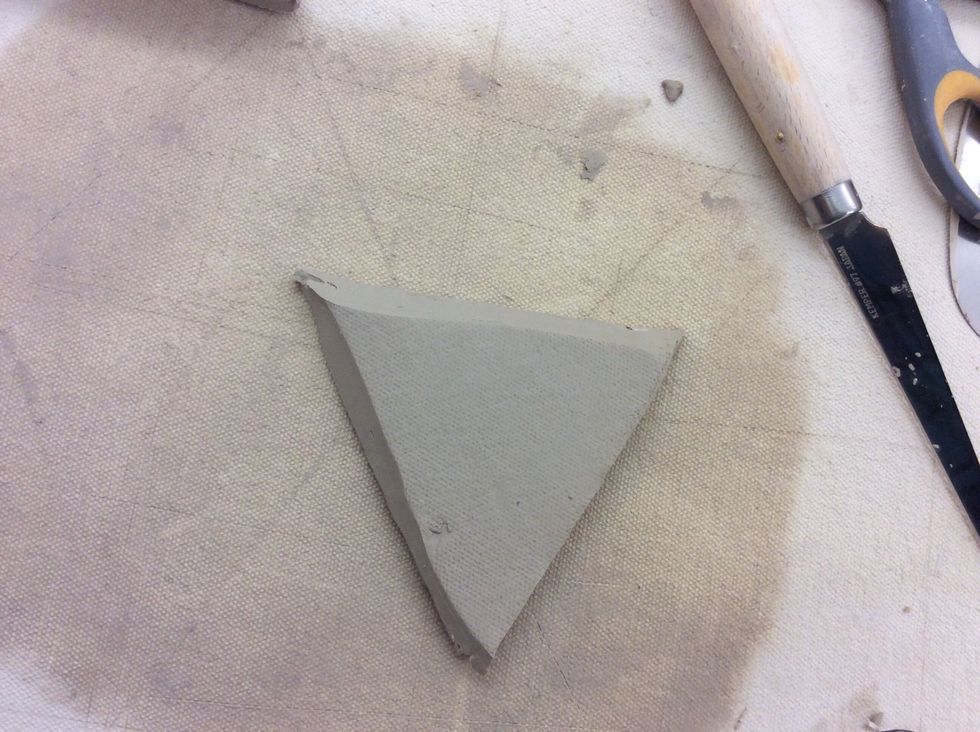
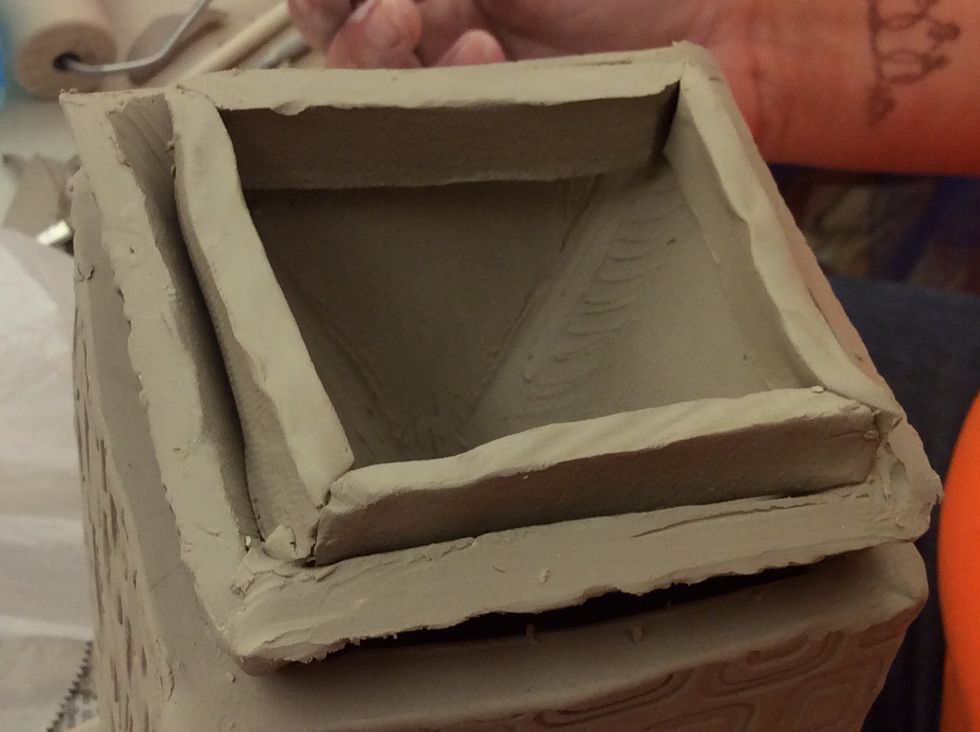
Miter the 4.5" sides at 45 degree angles and join. Use constructed lantern to hold lid as you join the parts.

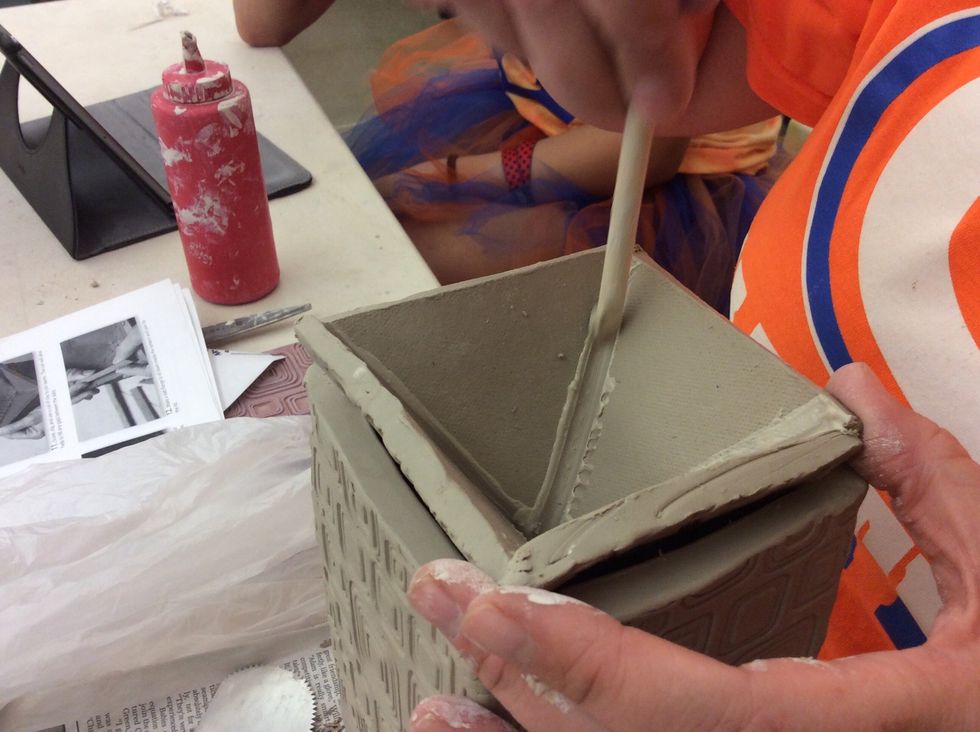
Score, slip and use coils of clay to join seams. The coil will also help fill any gaps between the slabs.
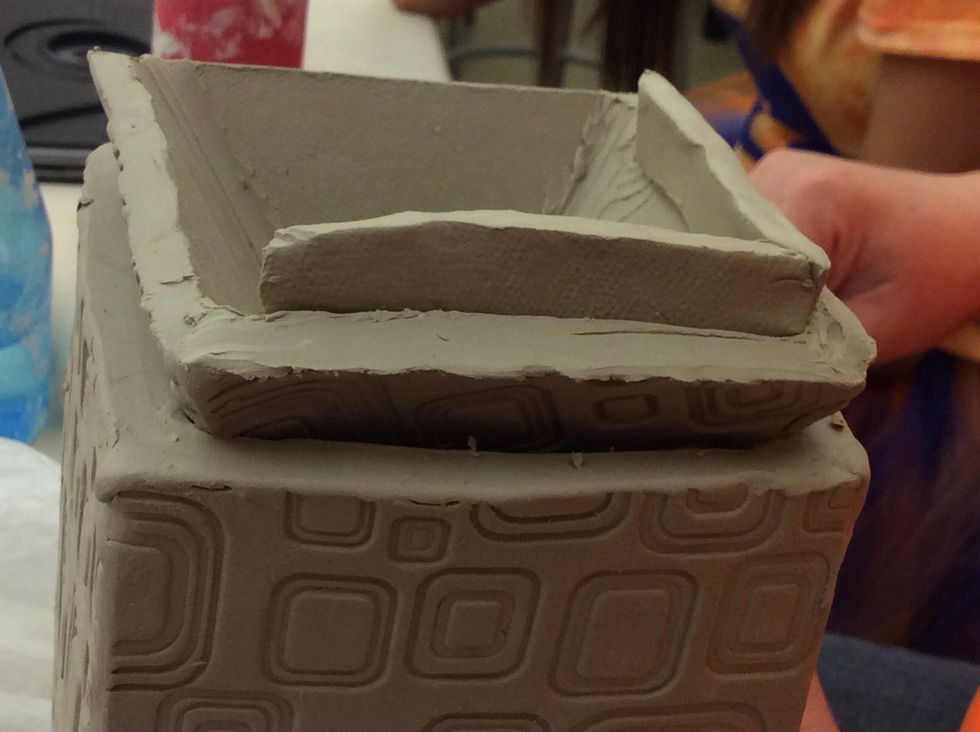
Make a slab flange to sit down inside the lantern and join to the lid.
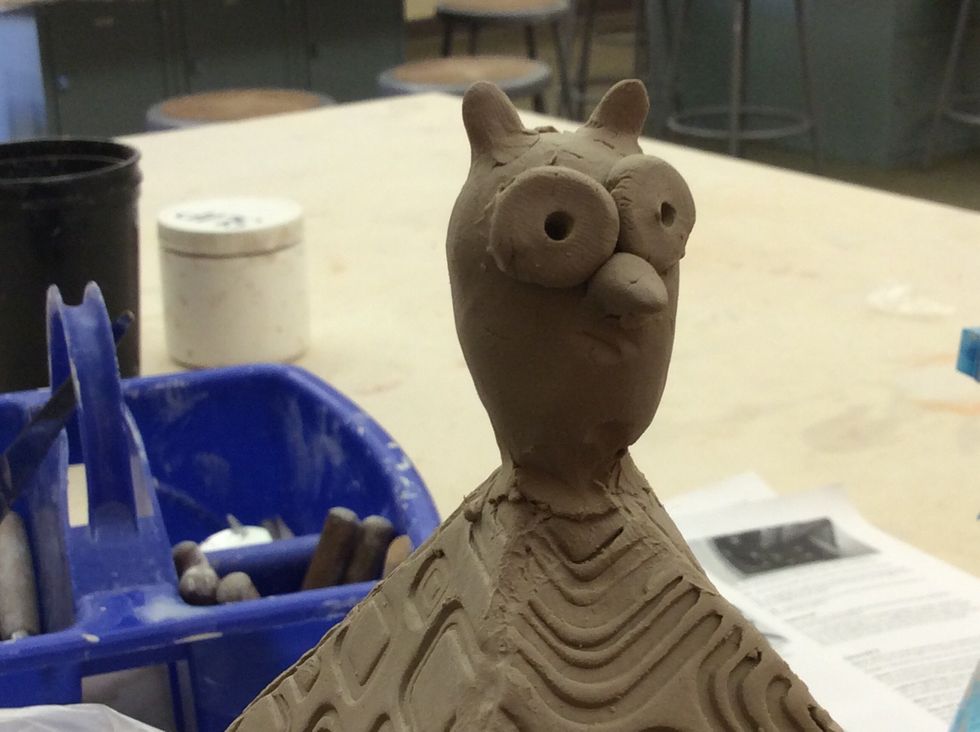
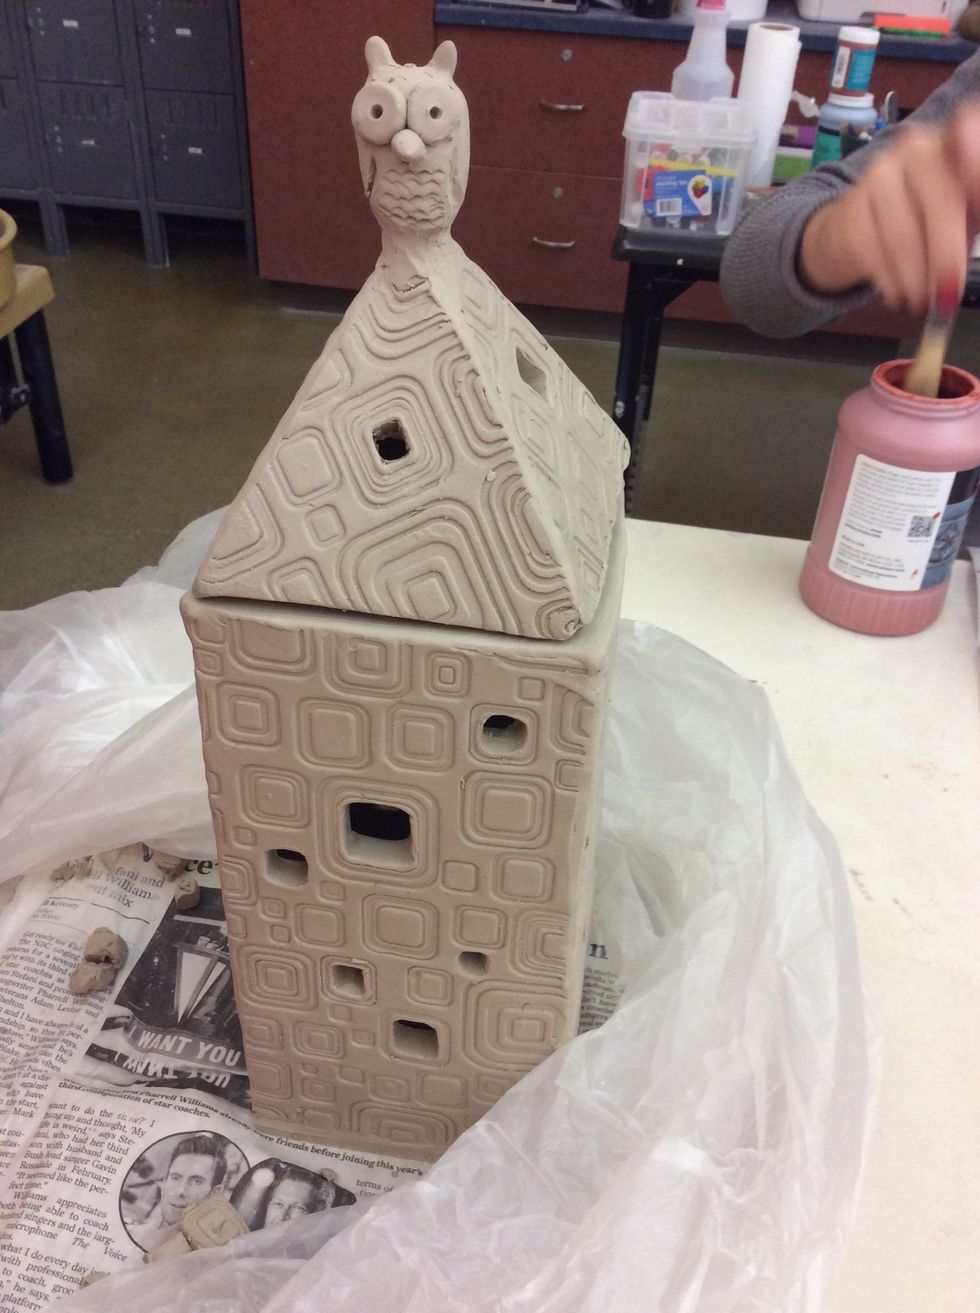
Make a finial for the lid which is constant with your design. Join securely by slip and scoring.
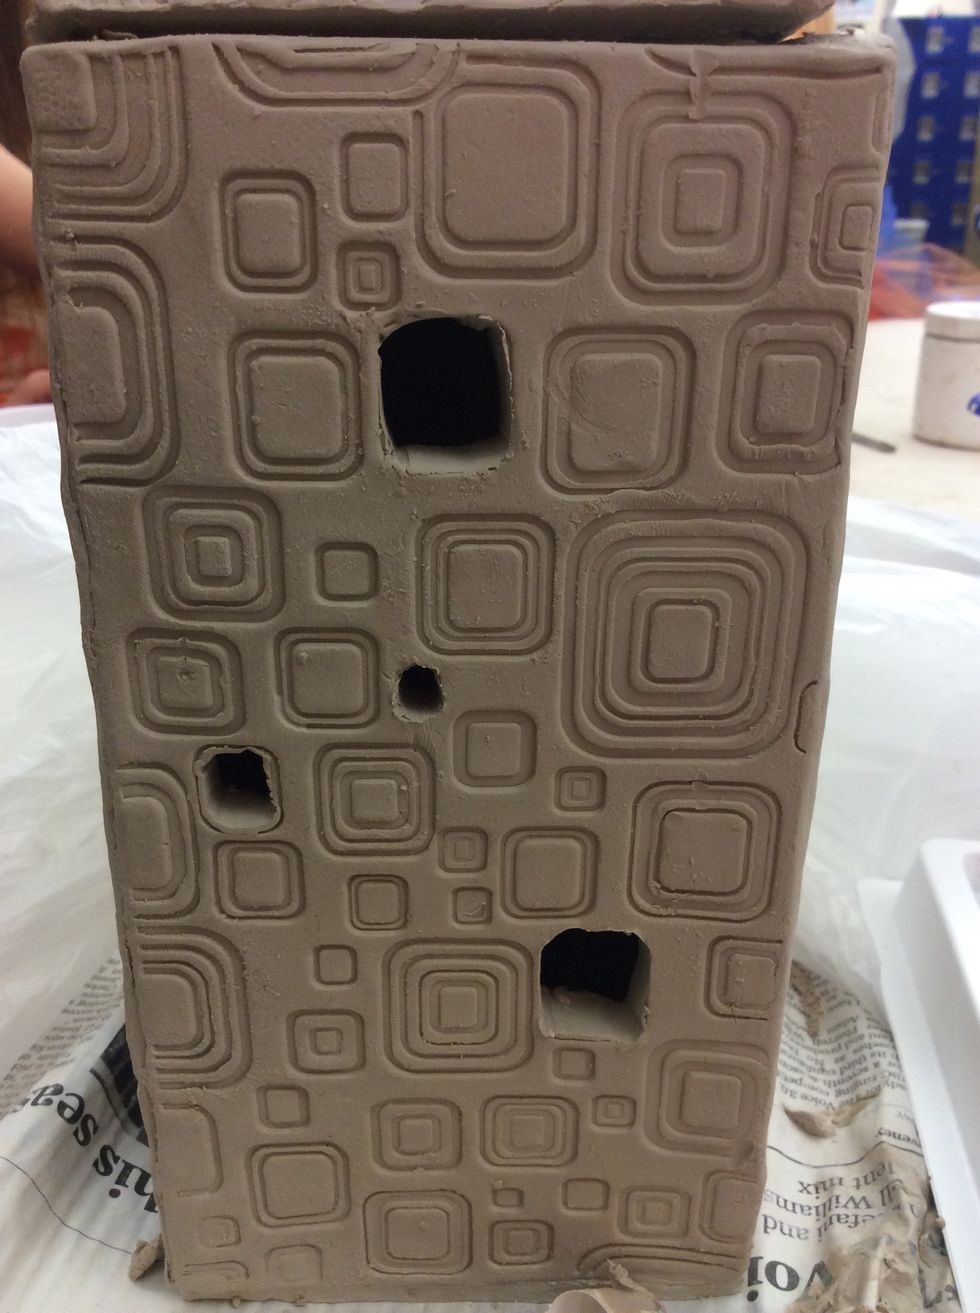
Use a sharp knife to cut openings in the sides and lid of the lantern. Make sure to leave at least 1/2" uncut around the corners to maintain the structural integrity of the lantern.
Once the lantern is leather hard, use a rib or slightly damp sponge to soften the edges of the cut openings. Allow to dry slowly. (Slabs have a tendency to pull apart if they dry fast.)