The Conversation (0)
Sign Up

Most of the supplies available for this project at www.patemeadows.com under Supplies & Notions
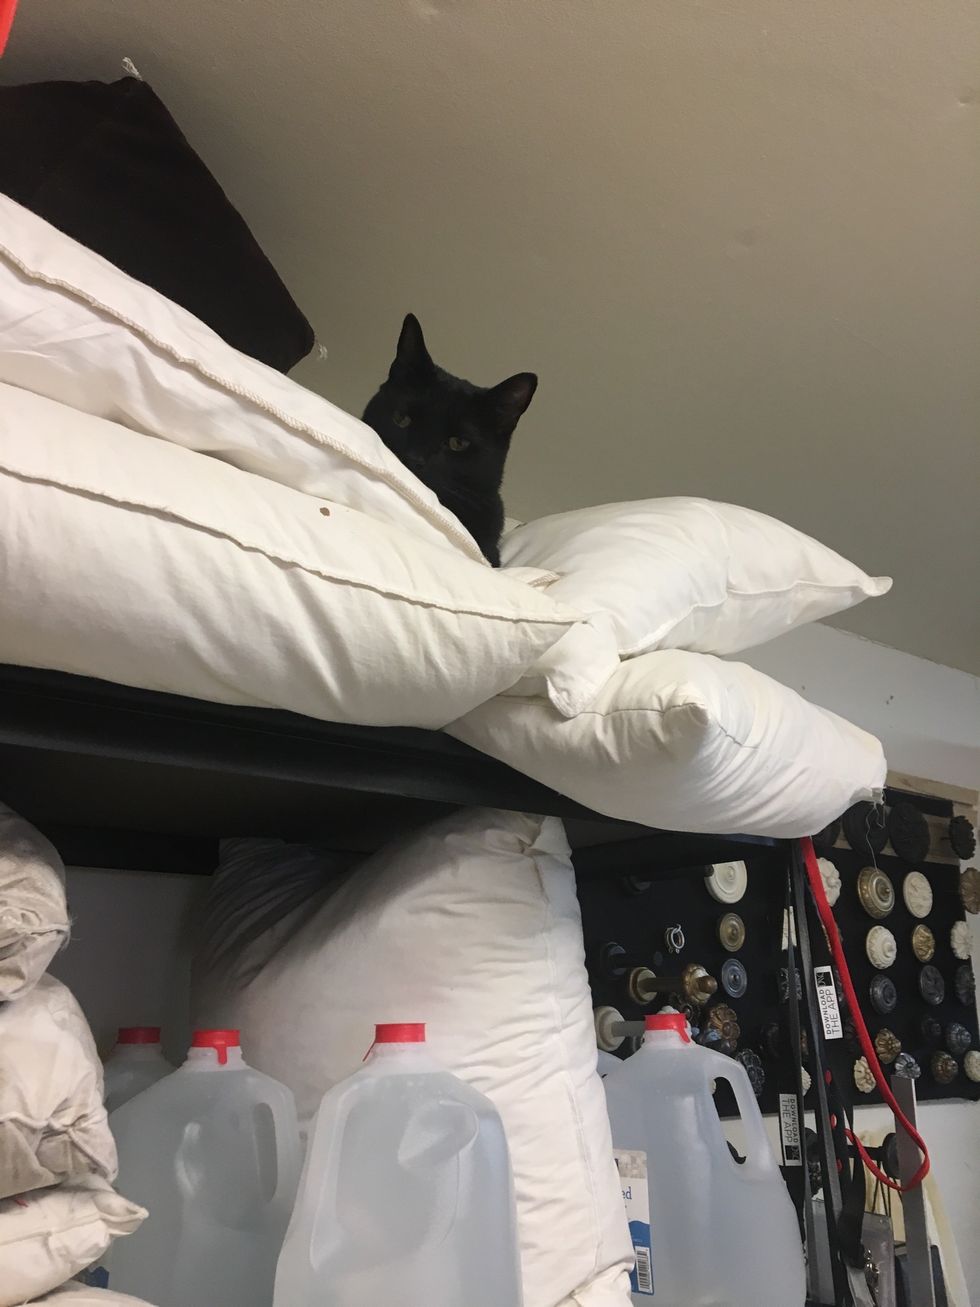
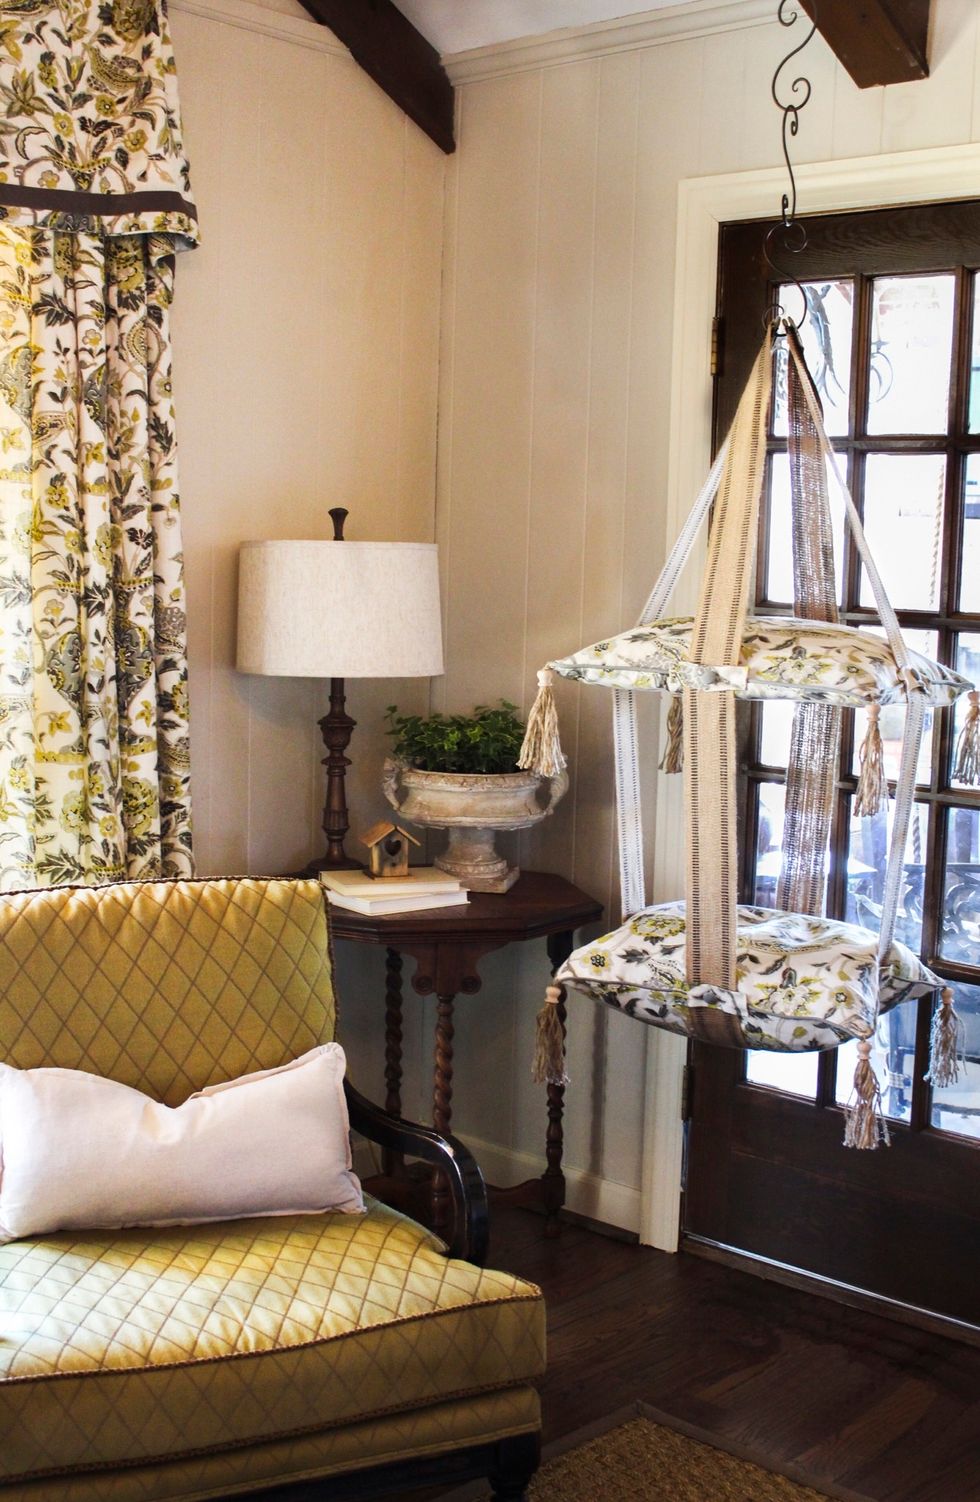
This is Yoda and he loves being perched high above us all and feather pillows. So we decided he needed his own place instead of my pillow inventory.
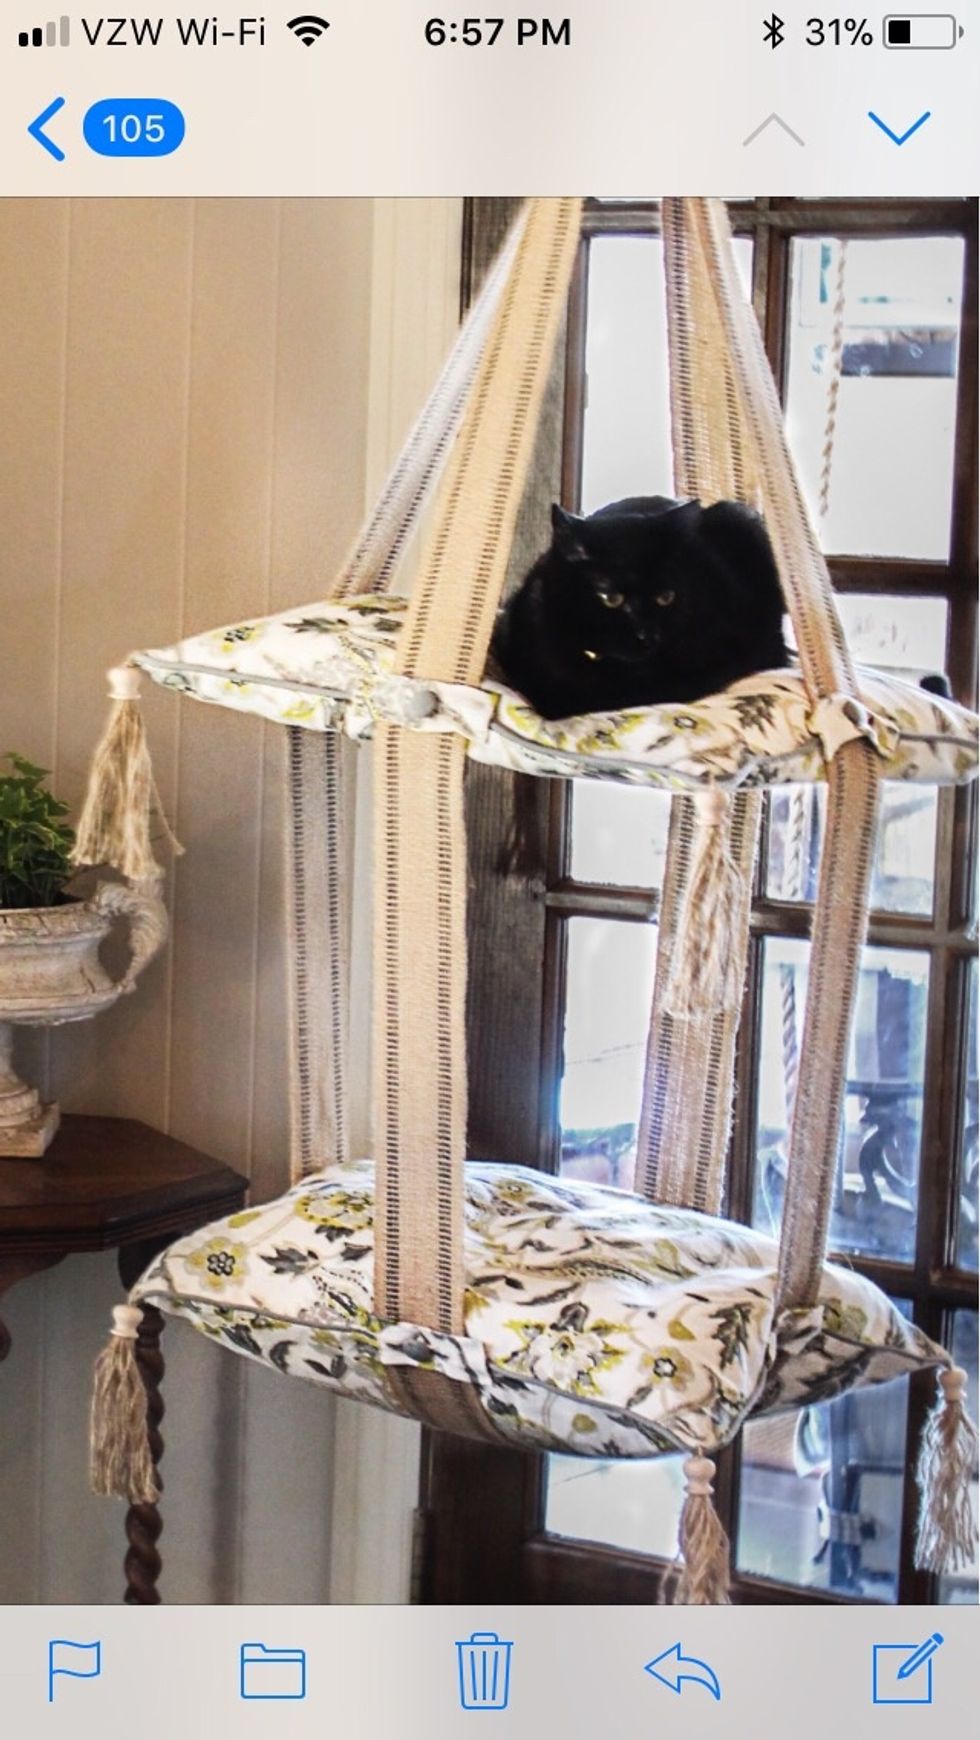
I love Pinterest for inspiration. Here's my version of what I found. Yoda's very own Cat Bed Swing and he loves it. Here are the instructions of how I did it.
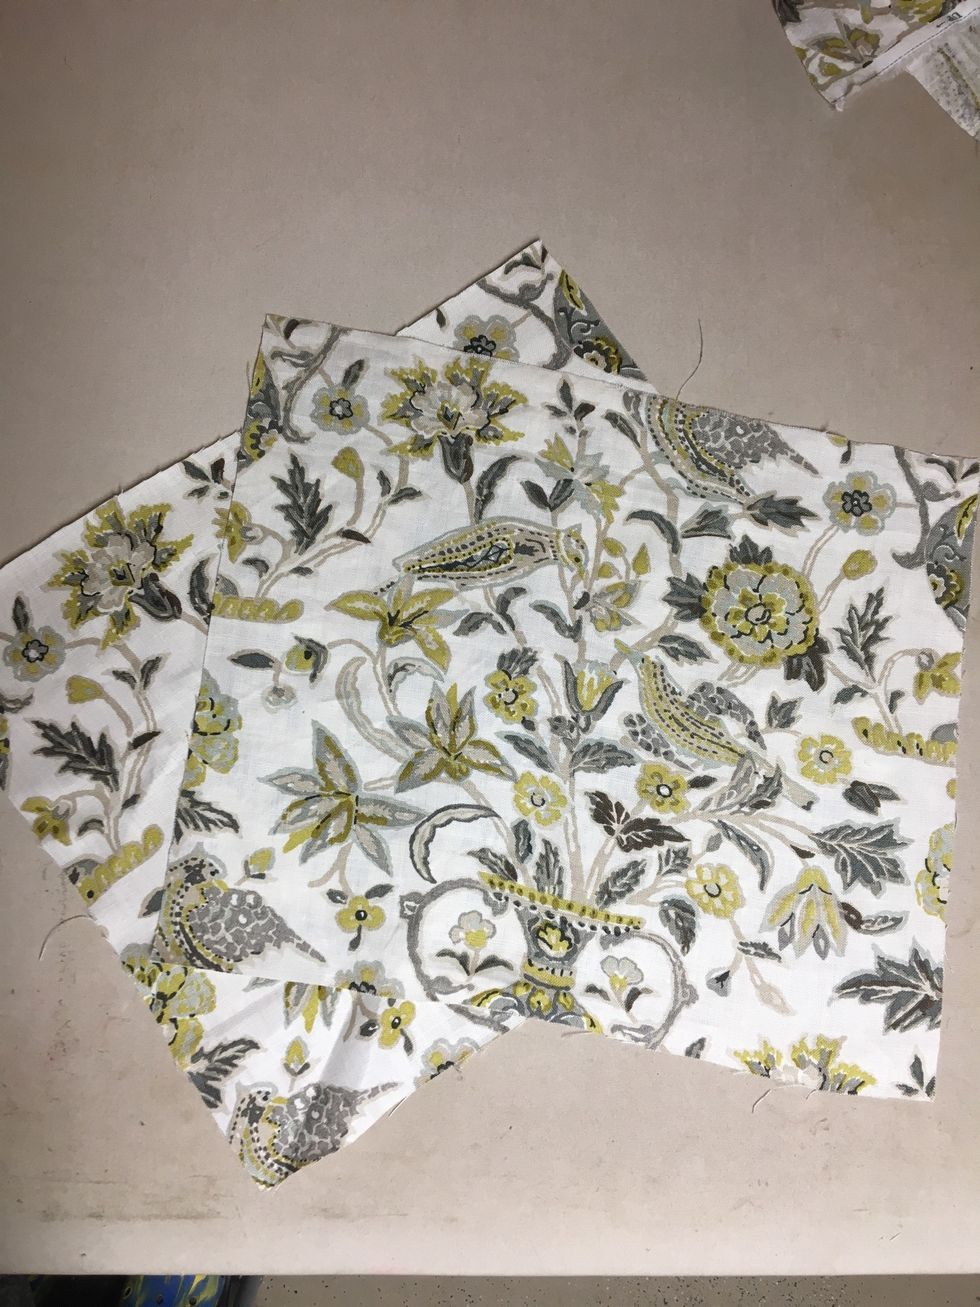
CUTTING: Cut two PILLOW FRONTS 1" larger than your pillow forms - Ours were 22" x 22" so we cut ours 23" x 23" - set aside.
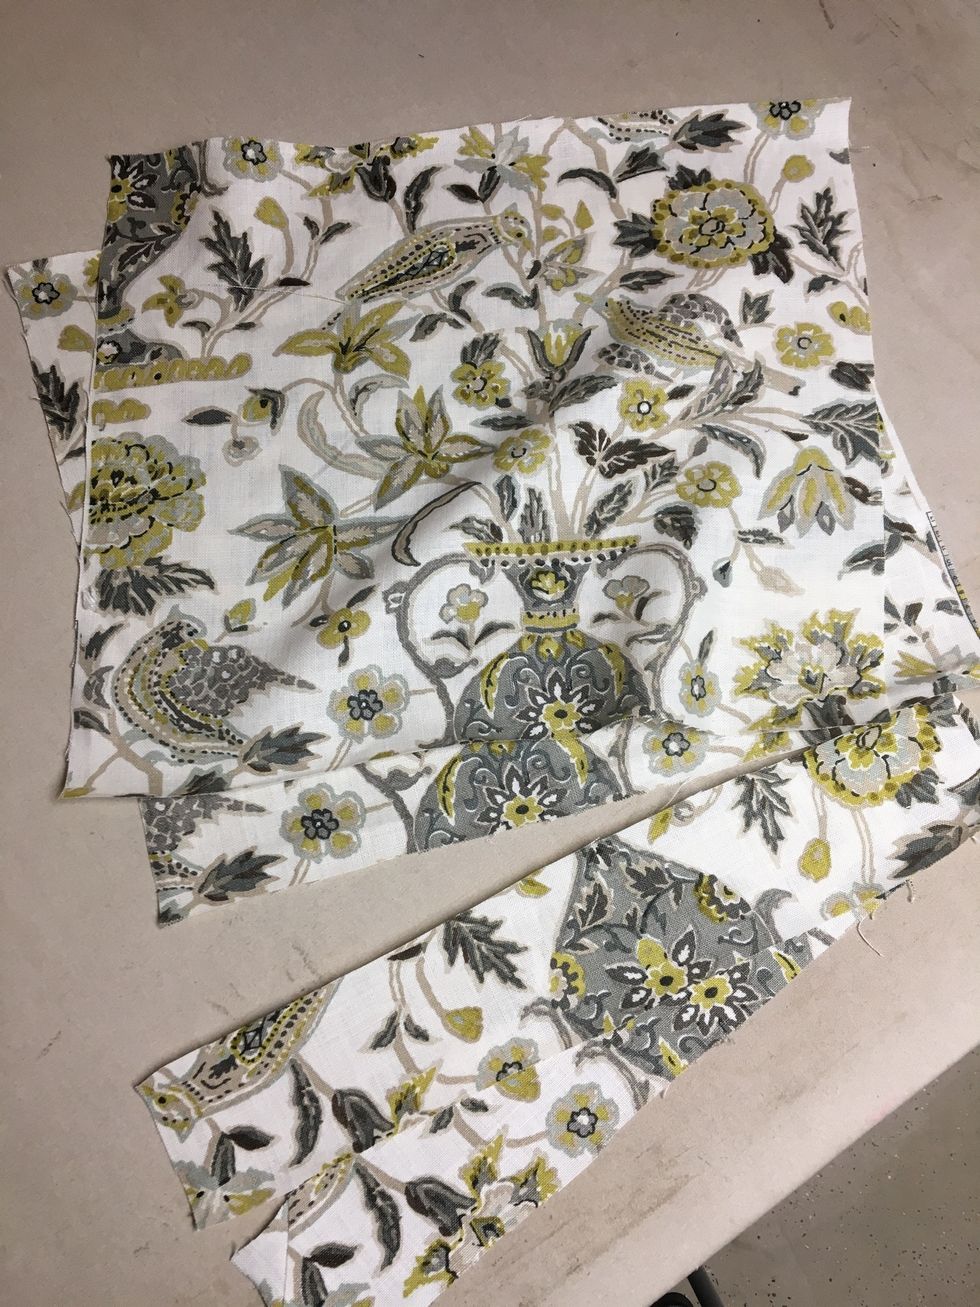
Cut two PILLOW BACKS - 1" larger than your pillow - ours were 23" x 23" and Cut two ZIPPER FLANGES - 23" x 4" - set aside.
Cut two strips - 27" x 4" for TABS. Set aside.
Fold ZIPPER FLANGES in half and press. Stitch or serge together across the bottom (raw edges).
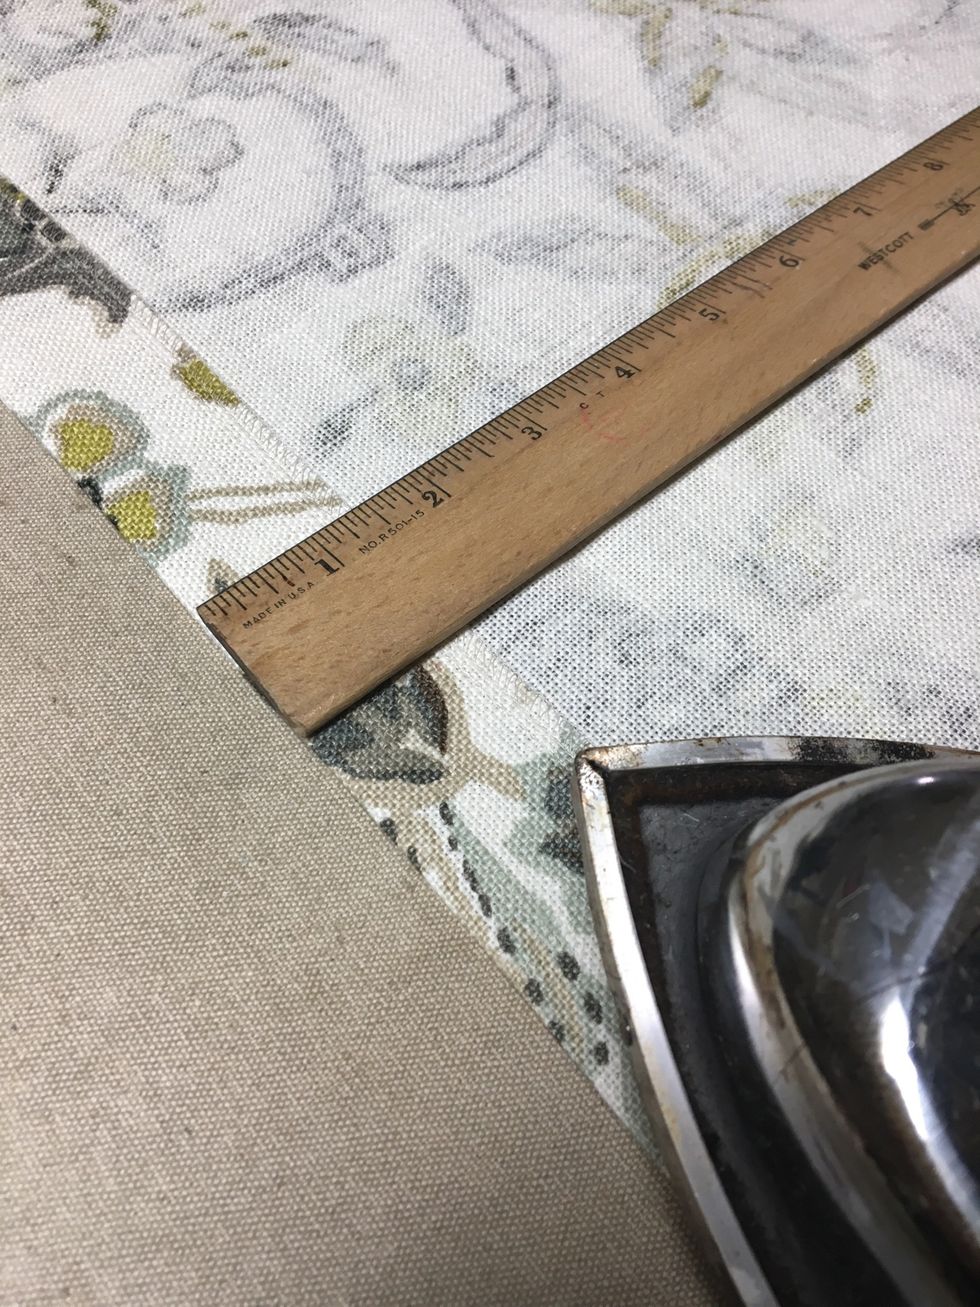
Press up 1 1/2" along bottom edge of PILLOW BACK.
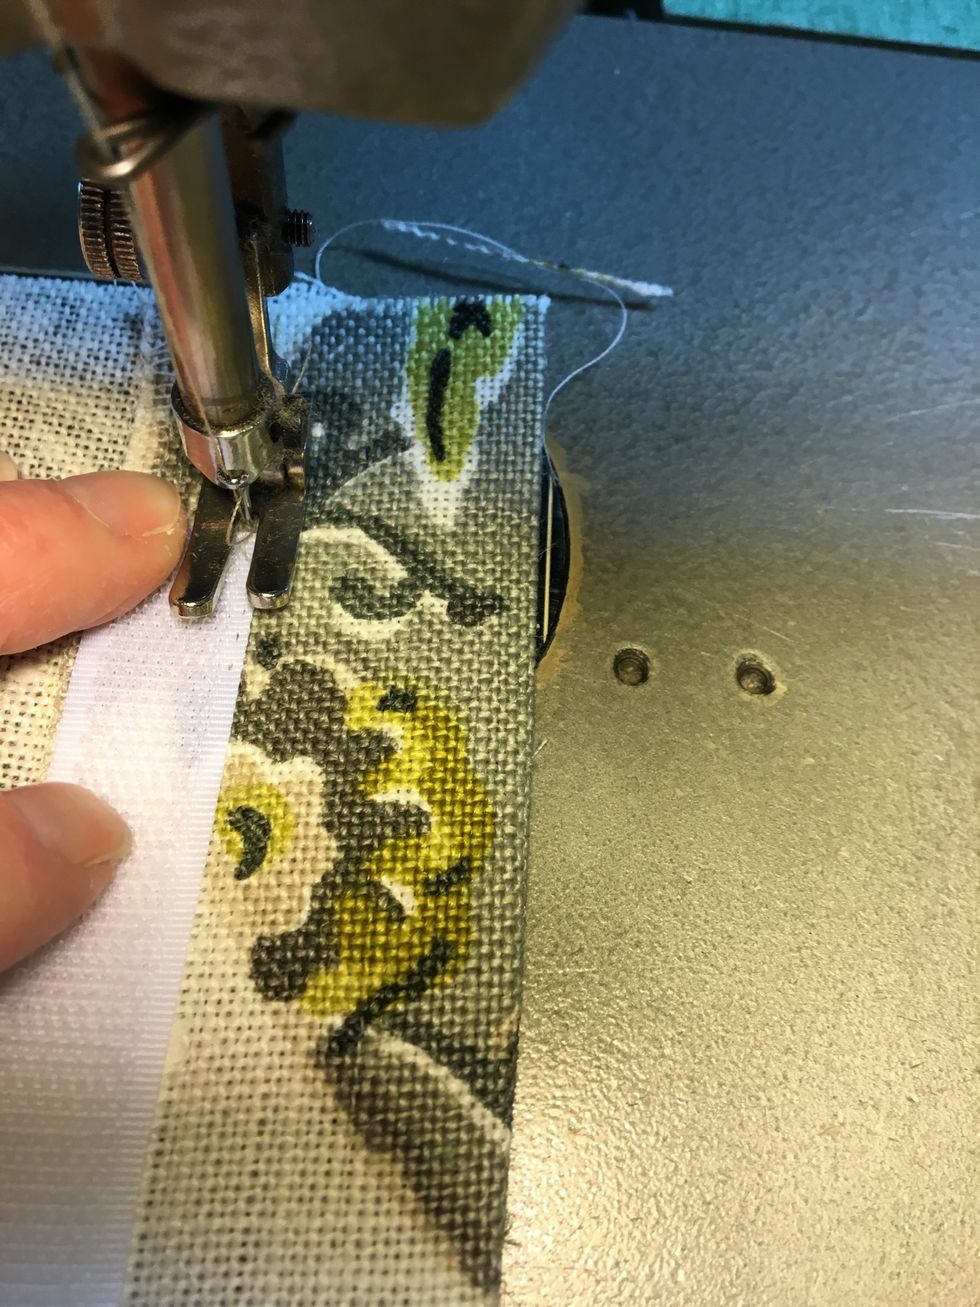
For Zipper Version: (Hook&Loop Version to follow) - Stitch ZIPPER FLANGE onto the front of the zipper - about an inch from the edge - overlapping the teeth with folded edge as shown. (Right side up)
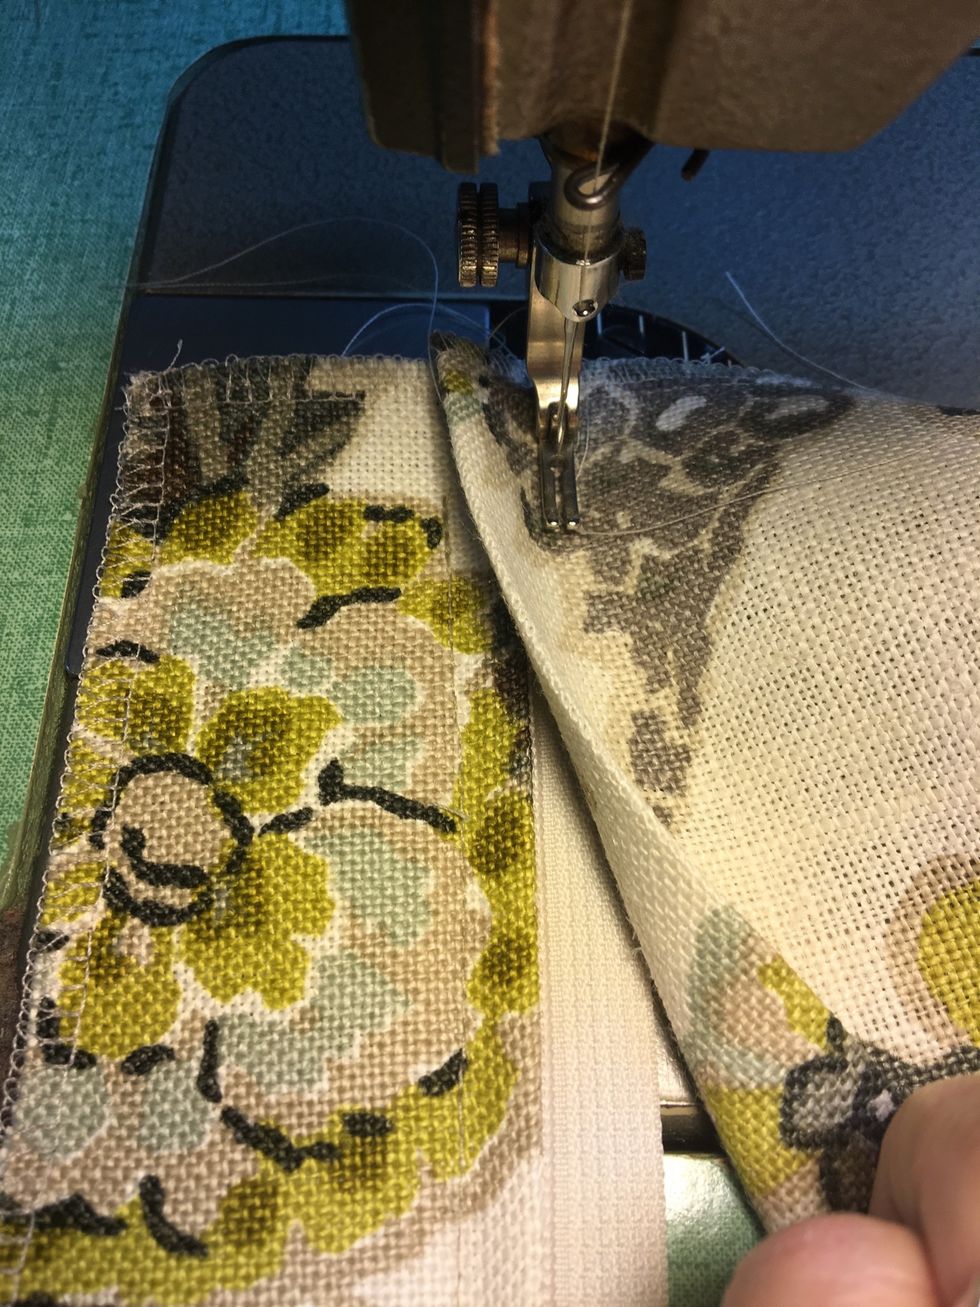
For the Zipper version: Place PILLOW BACK, folded edge on top of the other side of the zipper - overlapping to the previous stitch line as shown. Stitch from edge to edge of pillow.
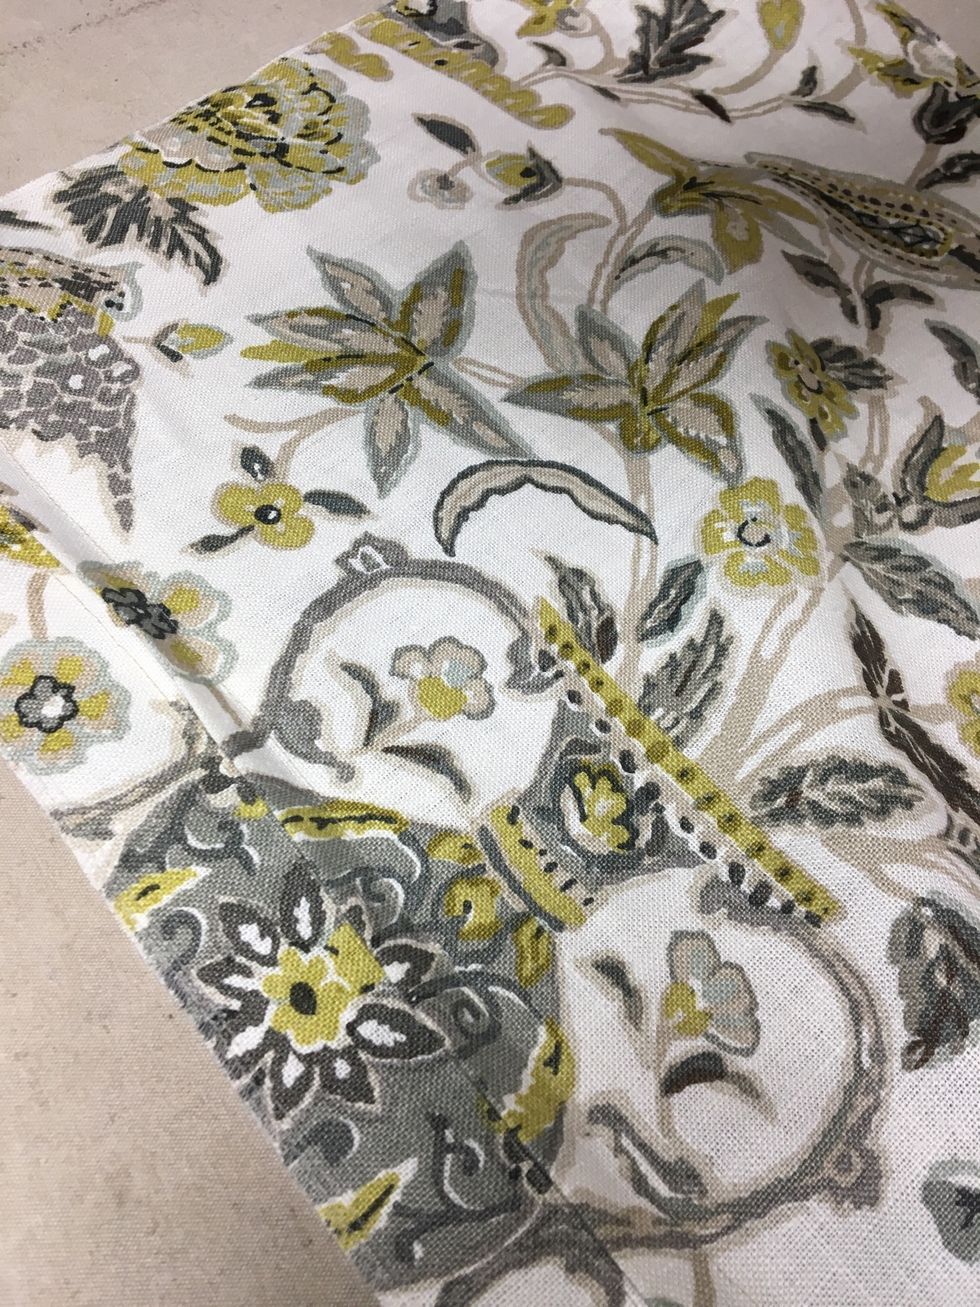
Check to make sure the PILLOW FRONT and PILLOW BACK are the same size after installing the zipper. Trim if necessary. Always looks nice if you can match the pattern design.
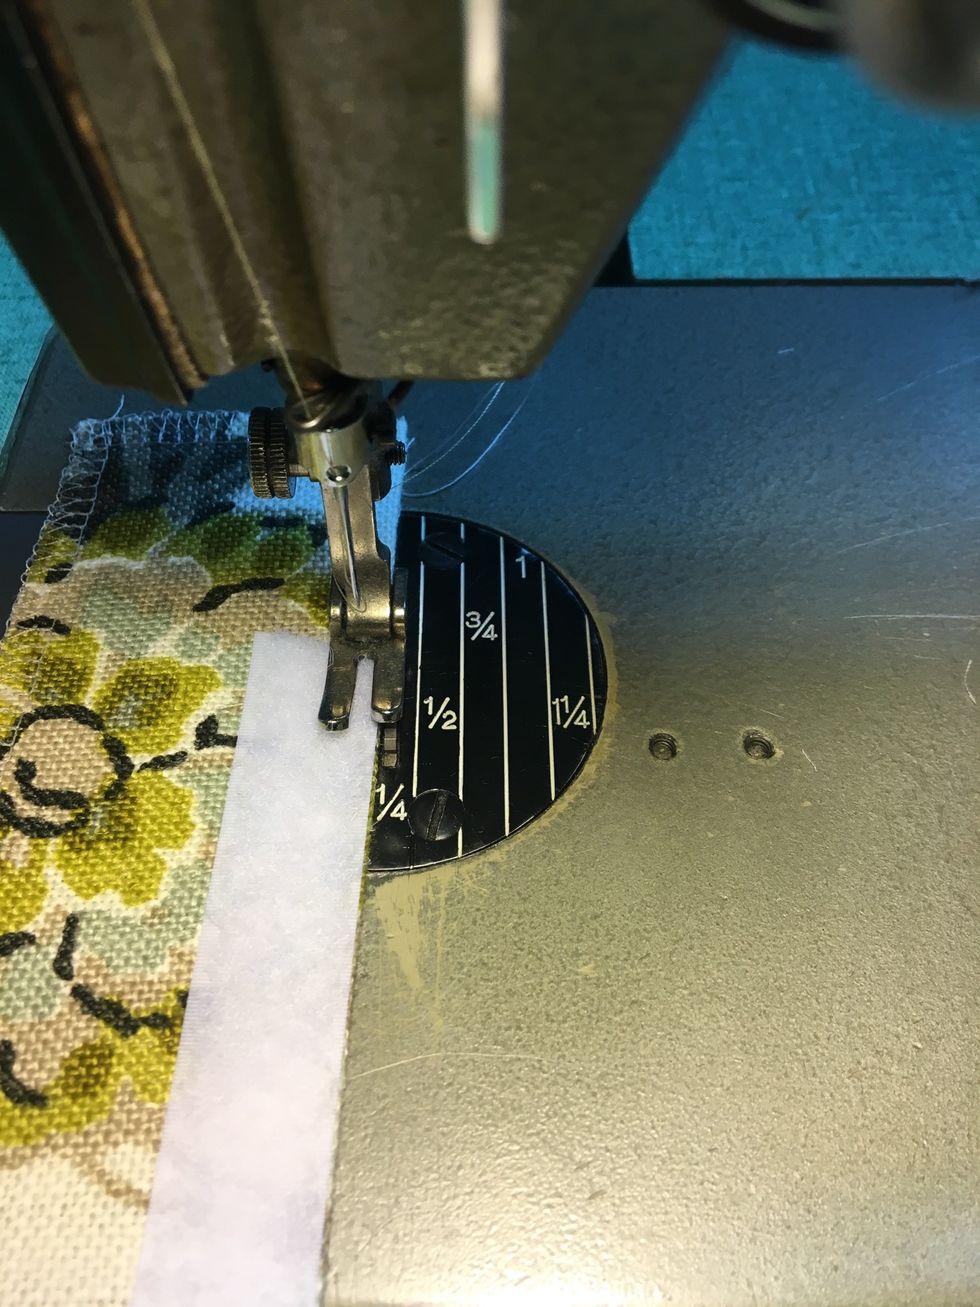
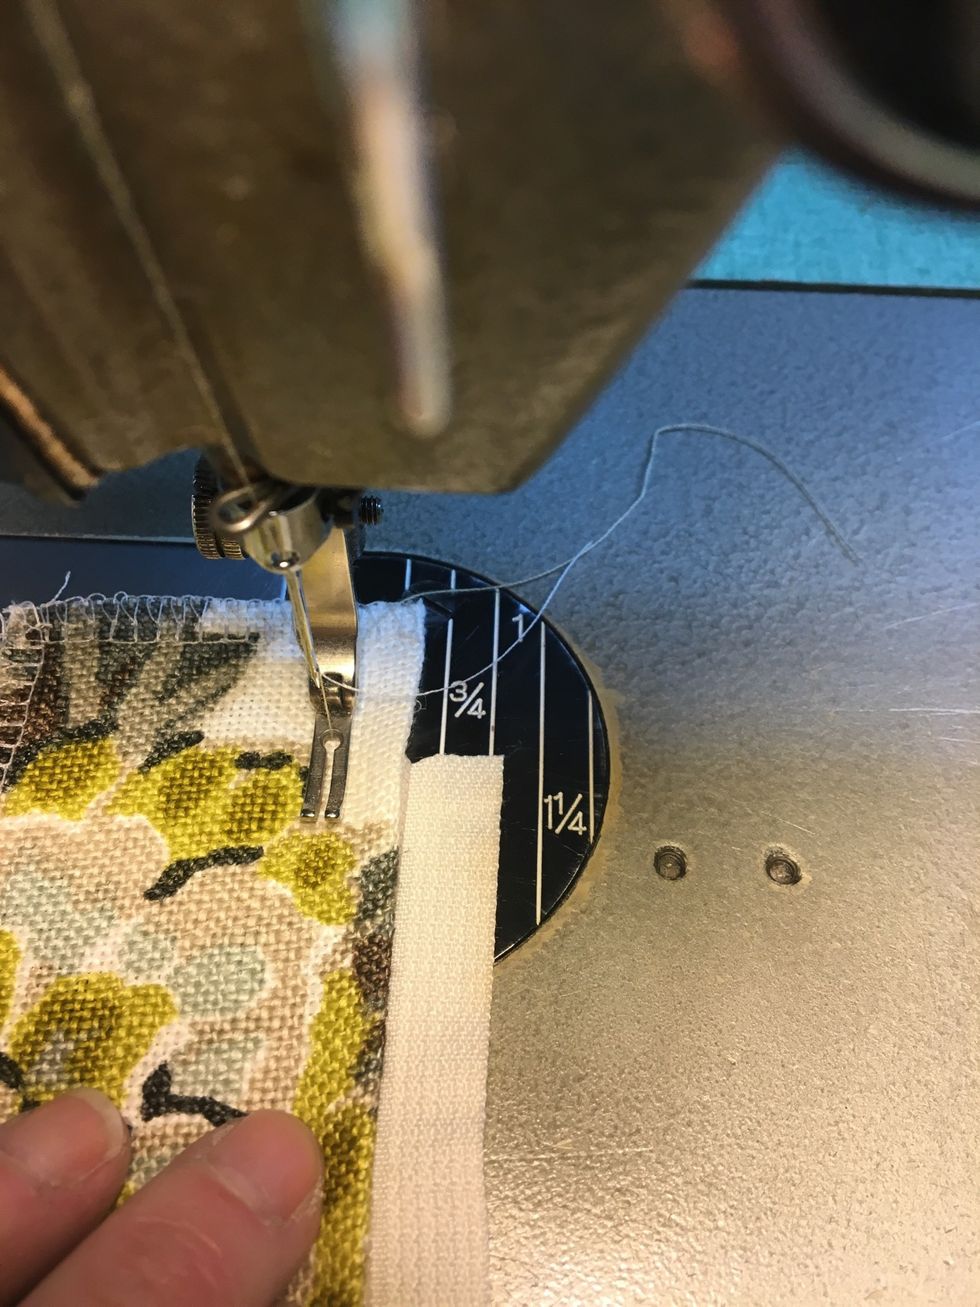
For Hook & Loop Version: Stitch both sides of the HOOK tape onto the folded edge of the front side of ZIPPER FLANGE as shown.
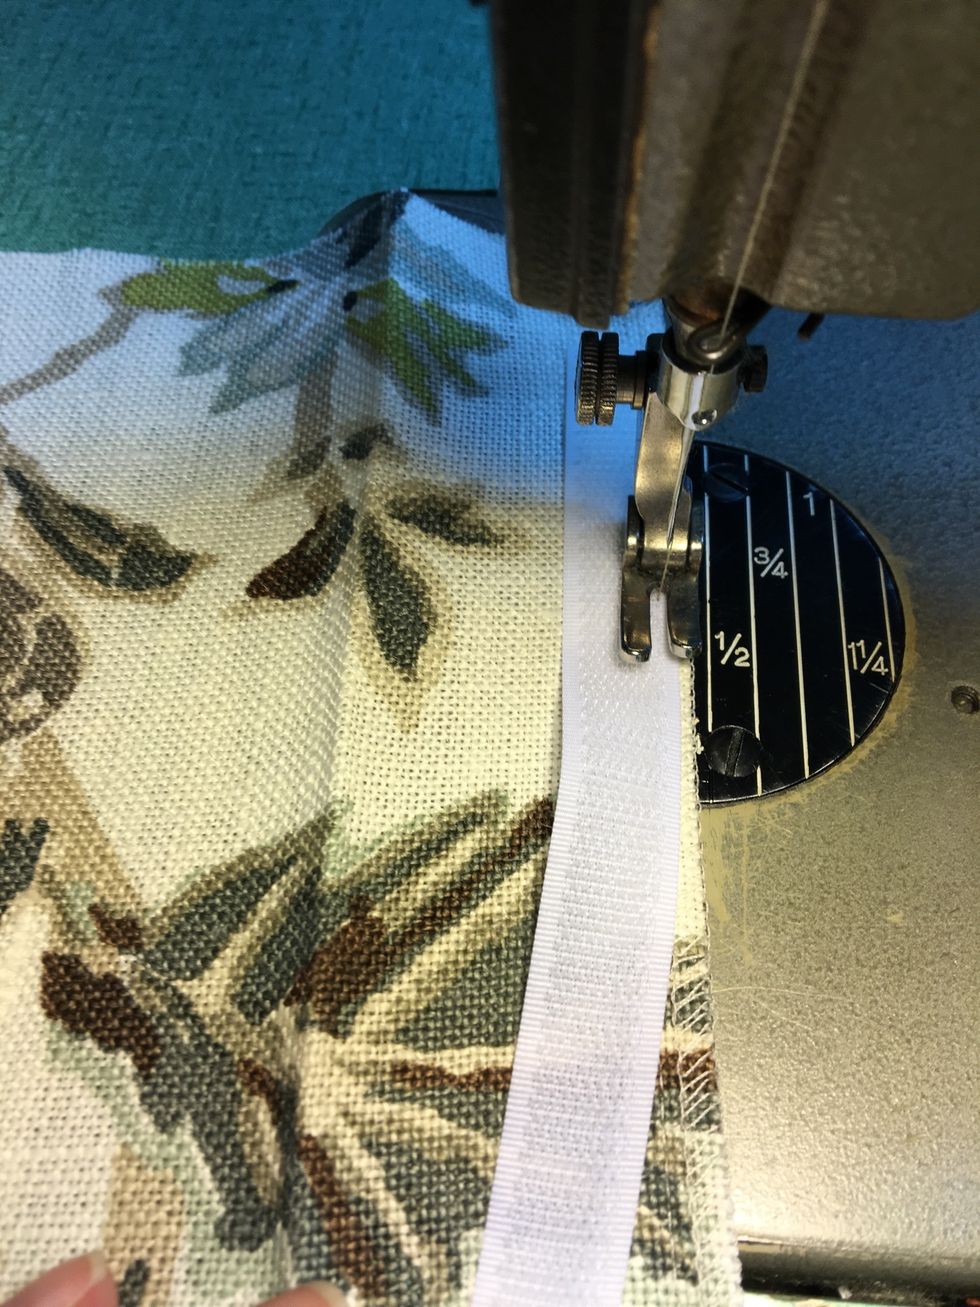
For Hook & Loop Version: Flip the folded edge of the PILLOW BACK out and stitch LOOP to the right side of the fabric edge along the RIGHT side of LOOP only.
Turn the PILLOW BACK over and flip the folded flange back in place. Beginning stitching at the edge of the PILLOW BACK continuing down the other side of the LOOP tape so that both sides are stitched.
For Hook & Loop Version: overlap zipper flap with back top so that the hook & loop close properly Check the finished size to make sure it is the same size as the pillow front. Trim of necessary
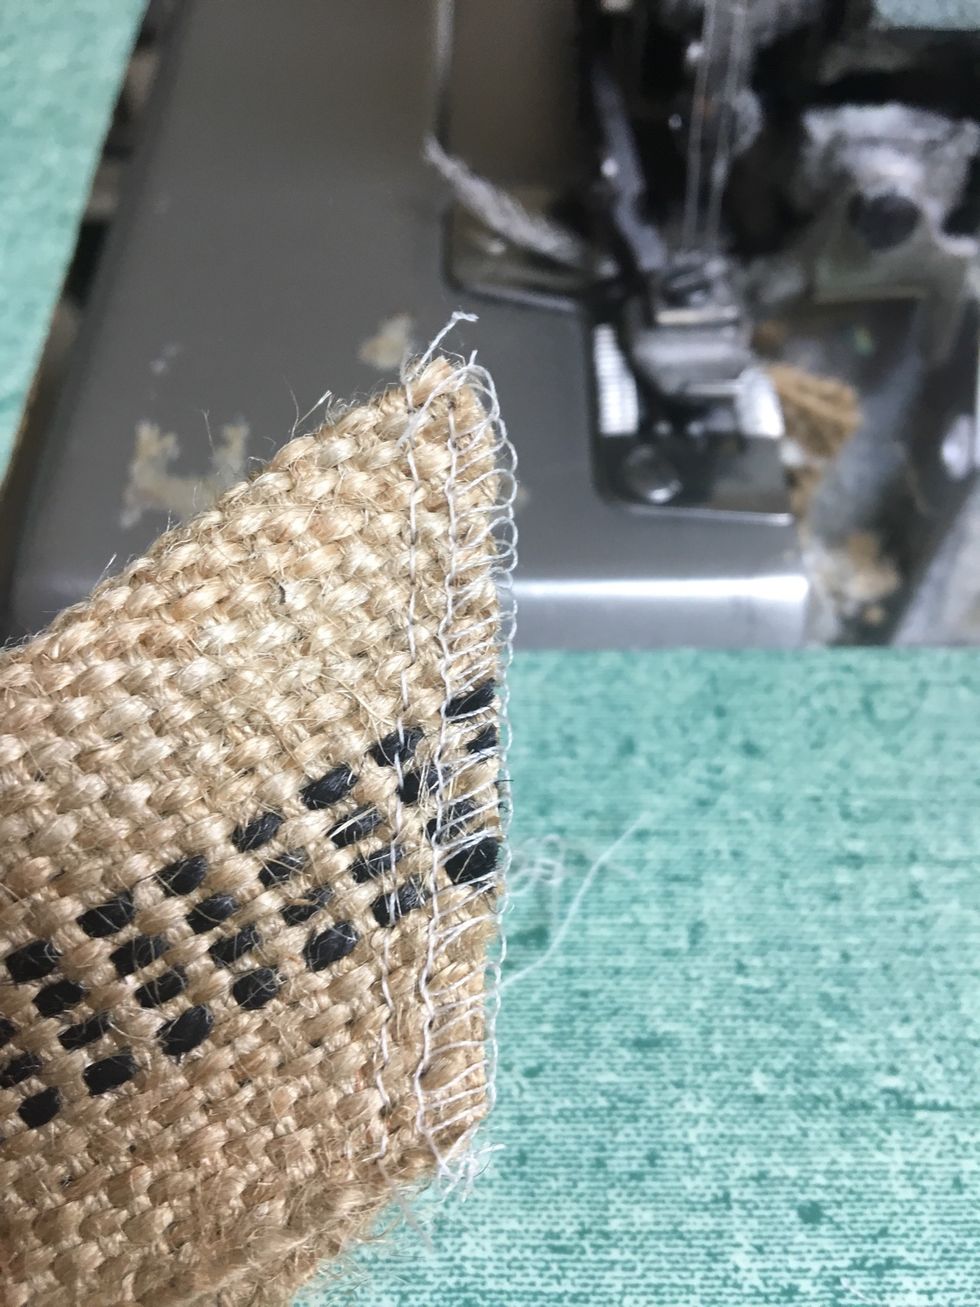
Tip: At this point we serge around all raw edges of PILLOW FRONTS and BACKS. It makes the job so much neater - inside and out !

For BOTH versions: Stay-stitch where the folded flap overlaps the zipper flange.
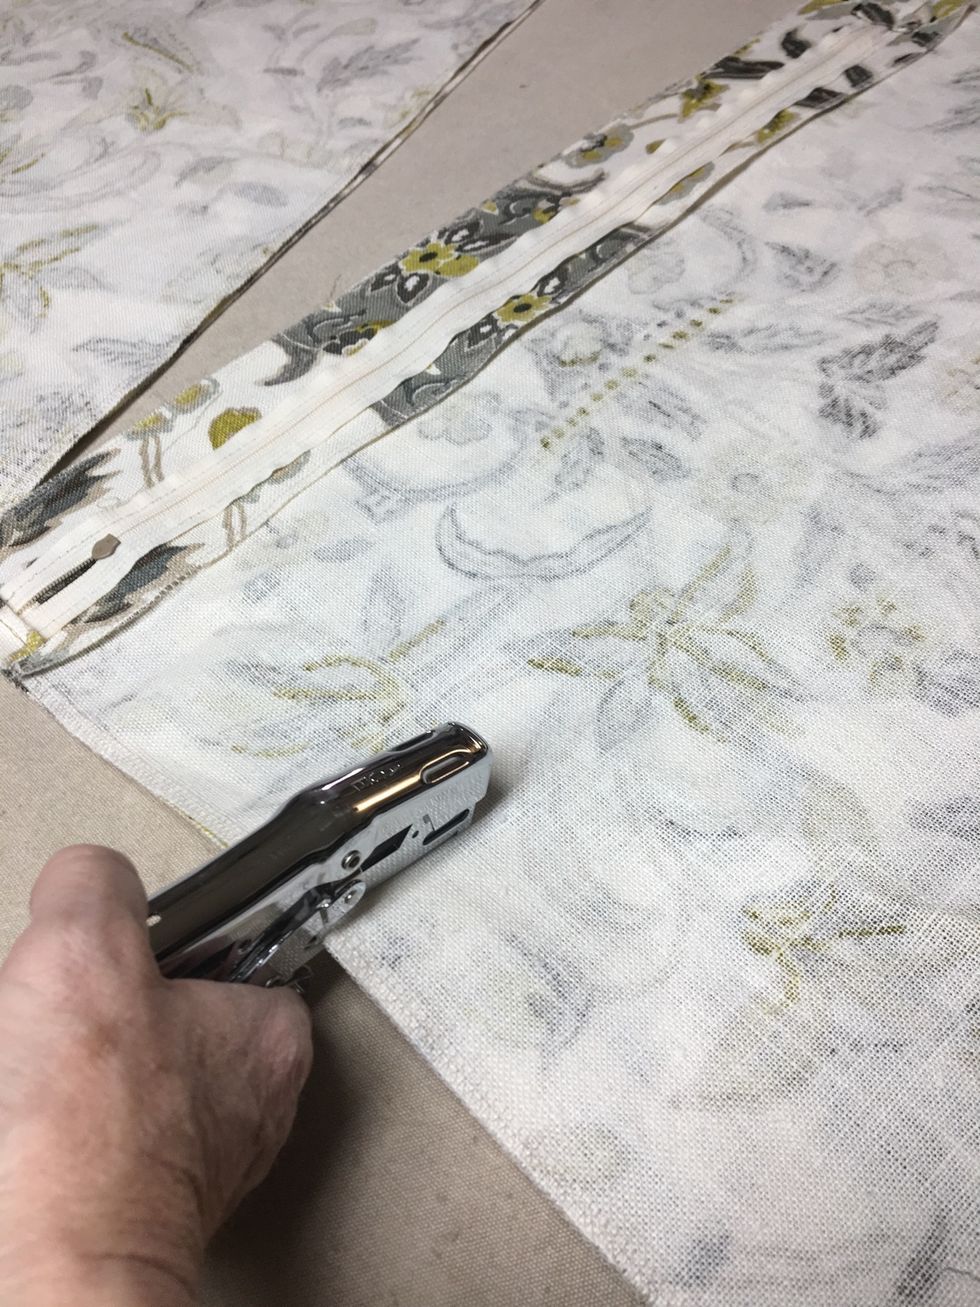
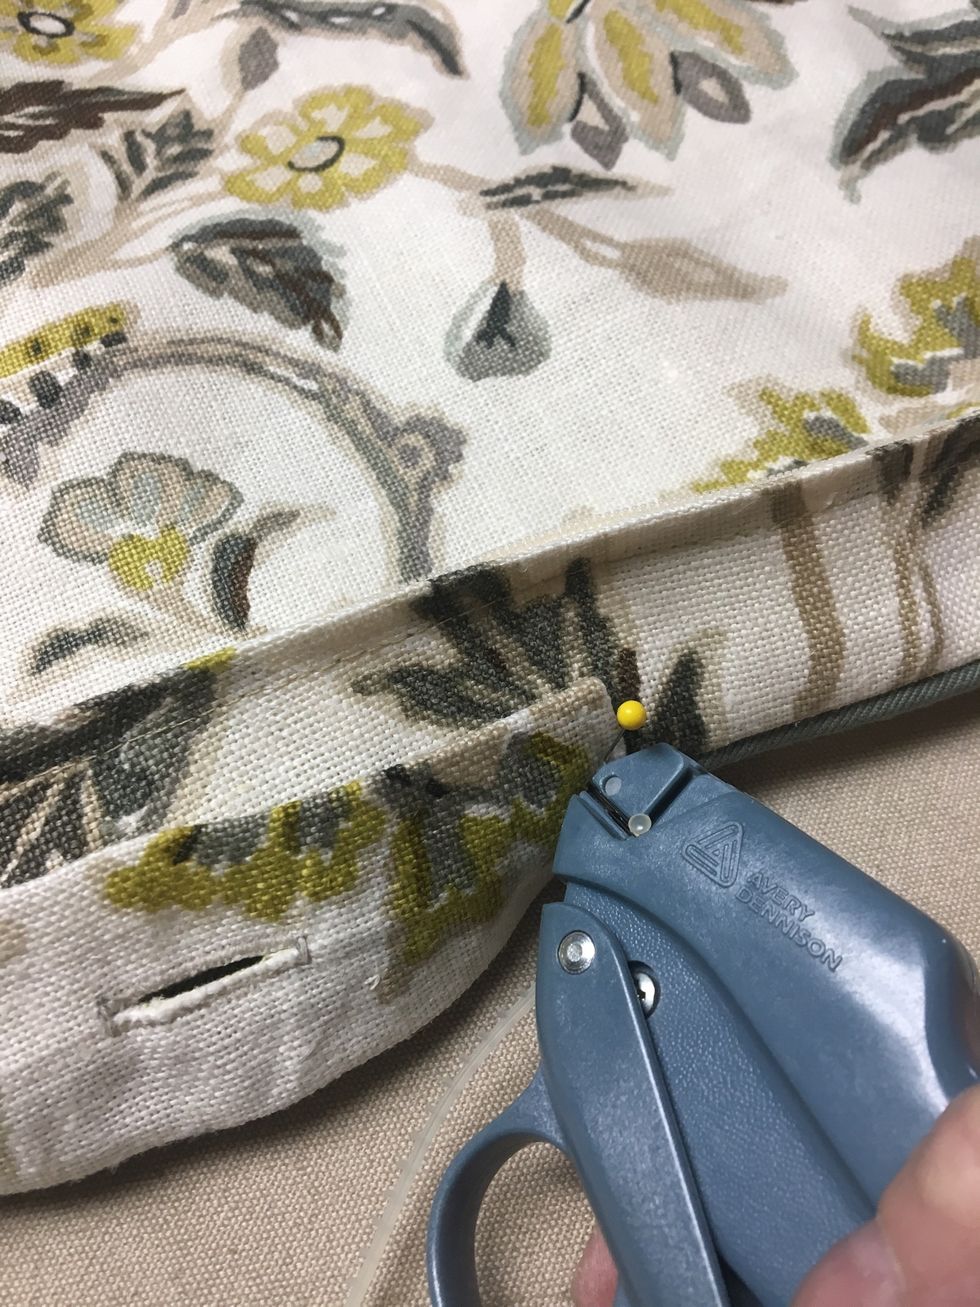
Staple pillow fronts to back on all 4 sides. TIP: We prefer to use a clipper stapler rather than pins. They hold the fabrics more securely without the risk of them coming out or your getting stuck
At this point we applied piping around the edges of the pillow fronts. Please follow the link in the next step for instructions on how to cut bias strips to cover your own piping.
Piping is not necessary but it sure makes a huge difference in the look of your project. Visit our website for a step by step tutorial on how to make your own. http://bit.ly/2DcADax
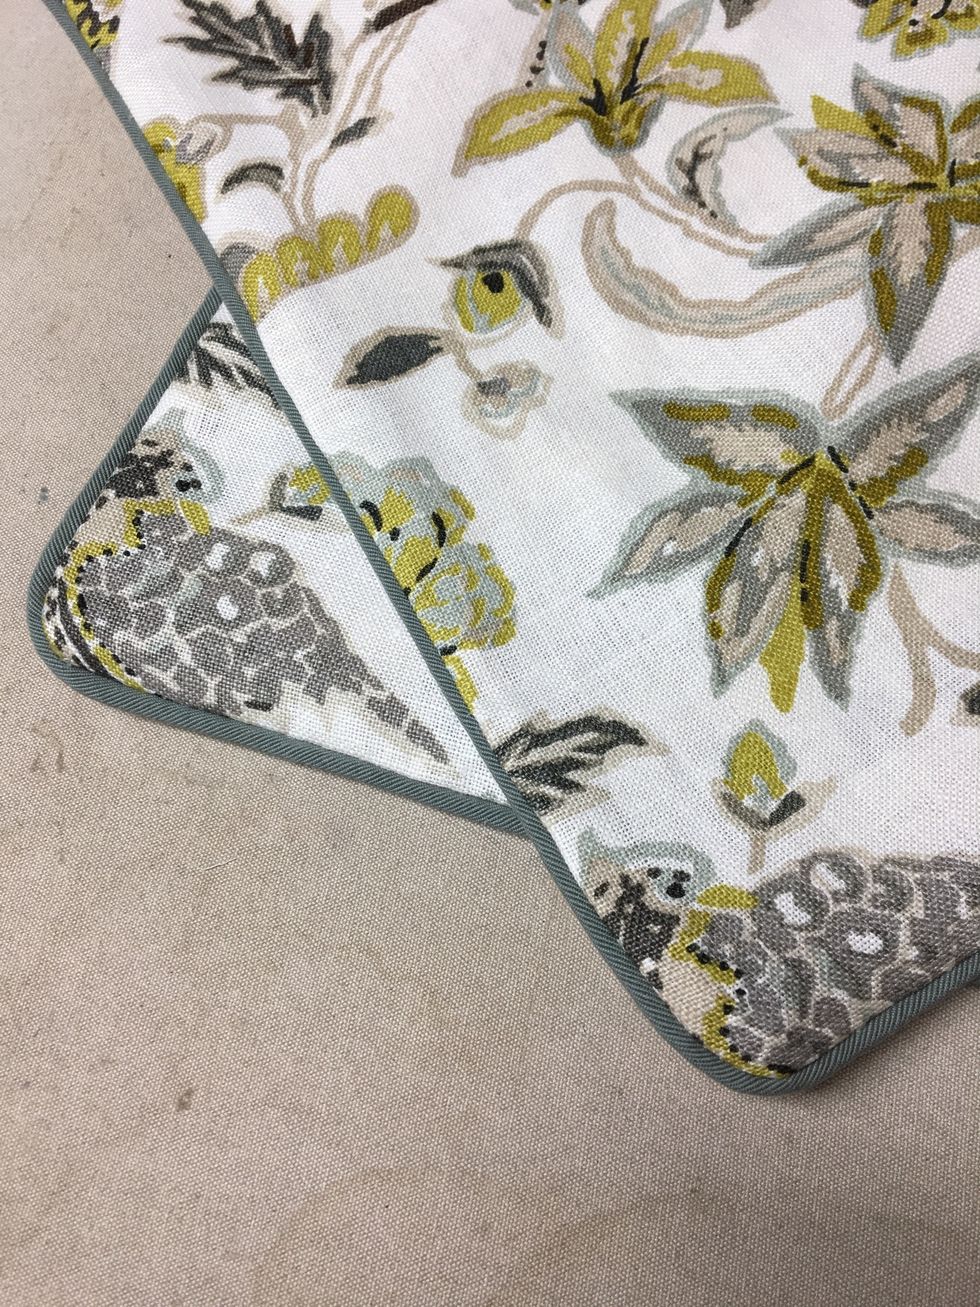
Stitch pillow front to pillow back around all 4 sides. Turn. Press. Set aside.
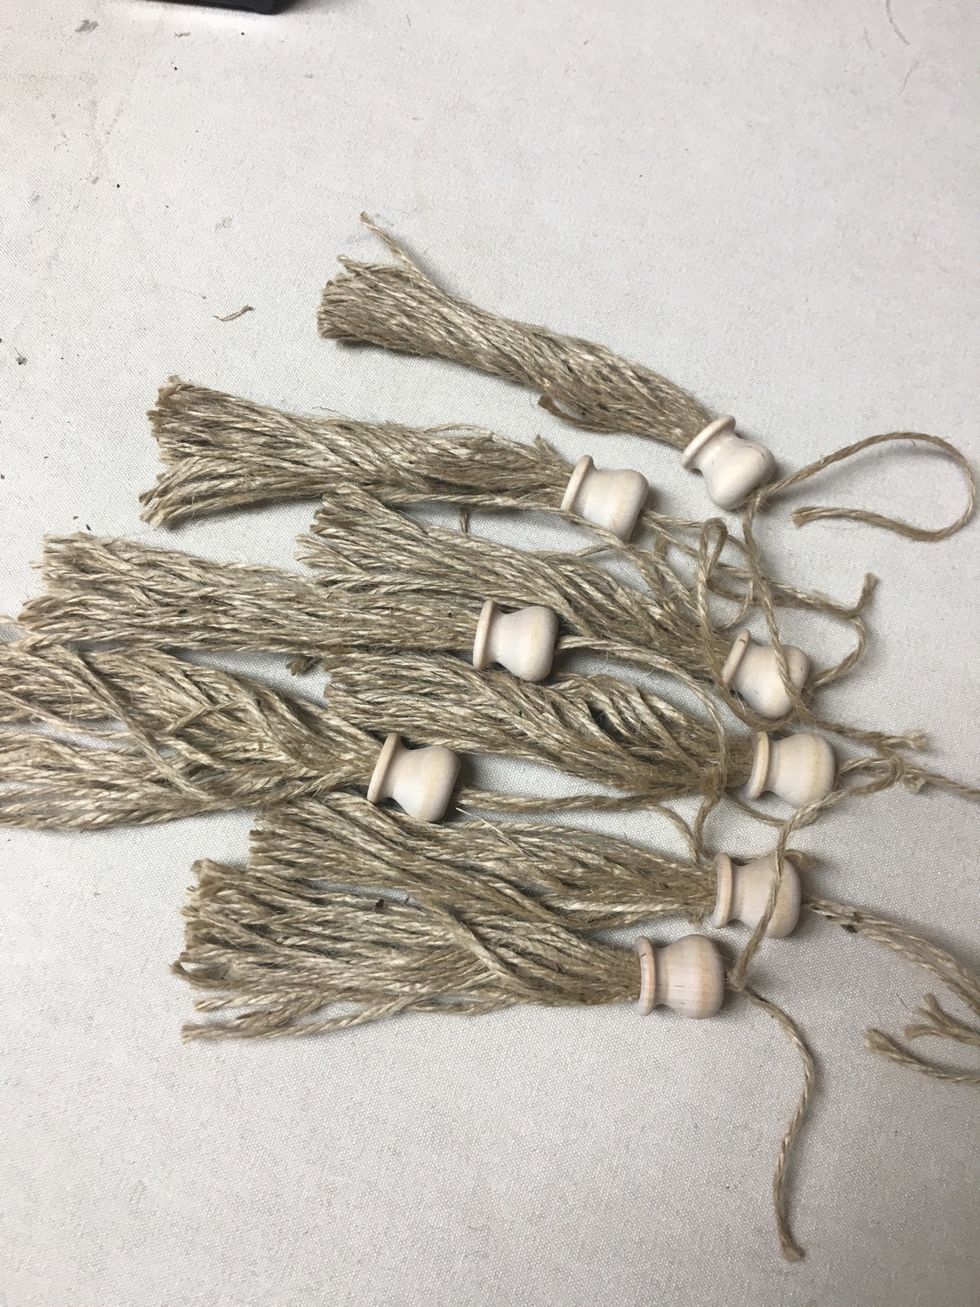
Tassels are optional but they are so cute and Yoda loves playing with them.
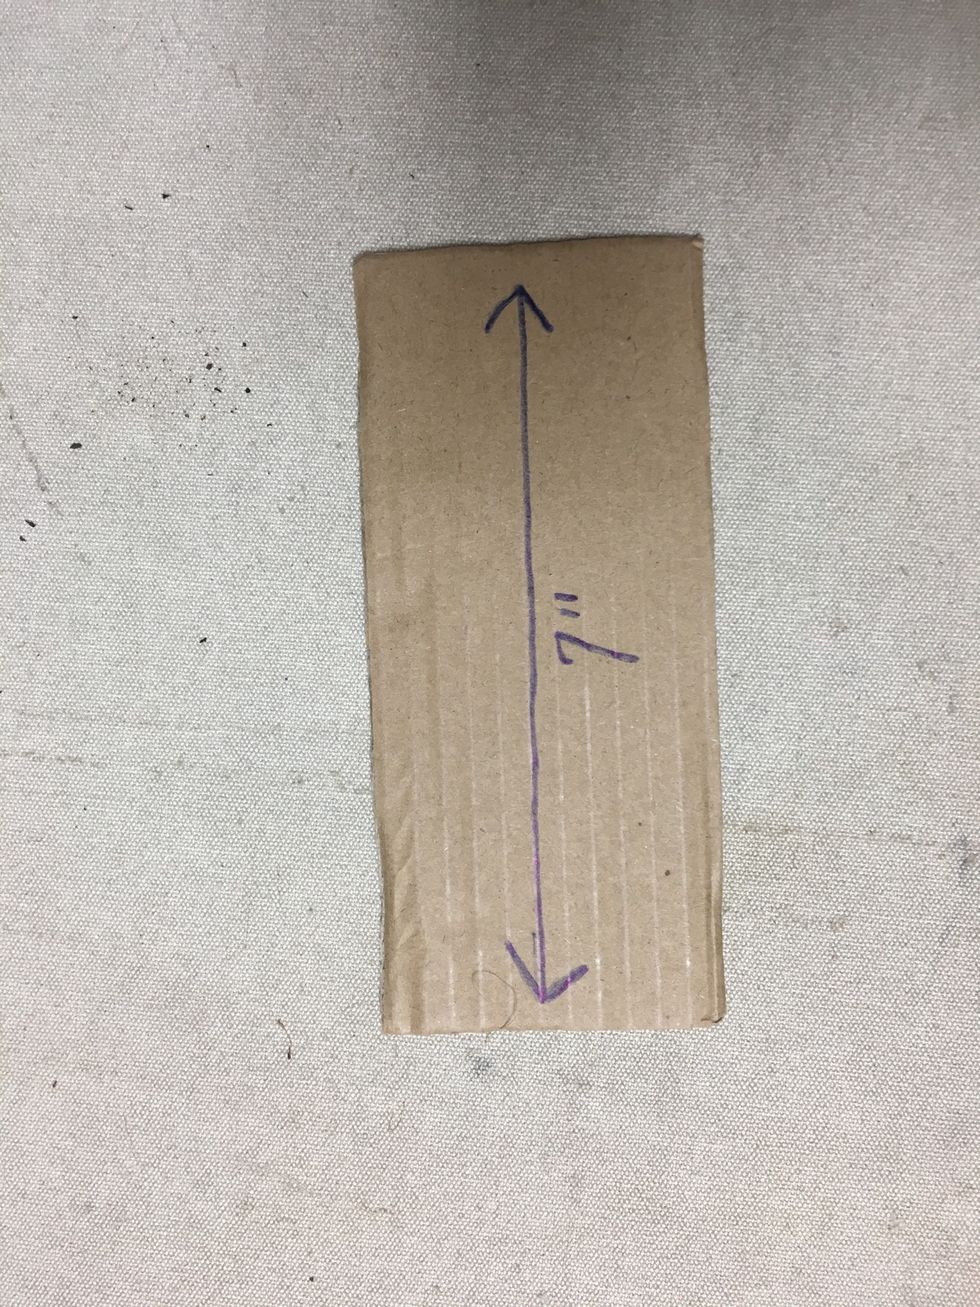
We made these a bit longer. Here's a step by step guide of how we made these http://www.patemeadows.com/assets/images/TipsTechniques/Tassels/tassels.pdf
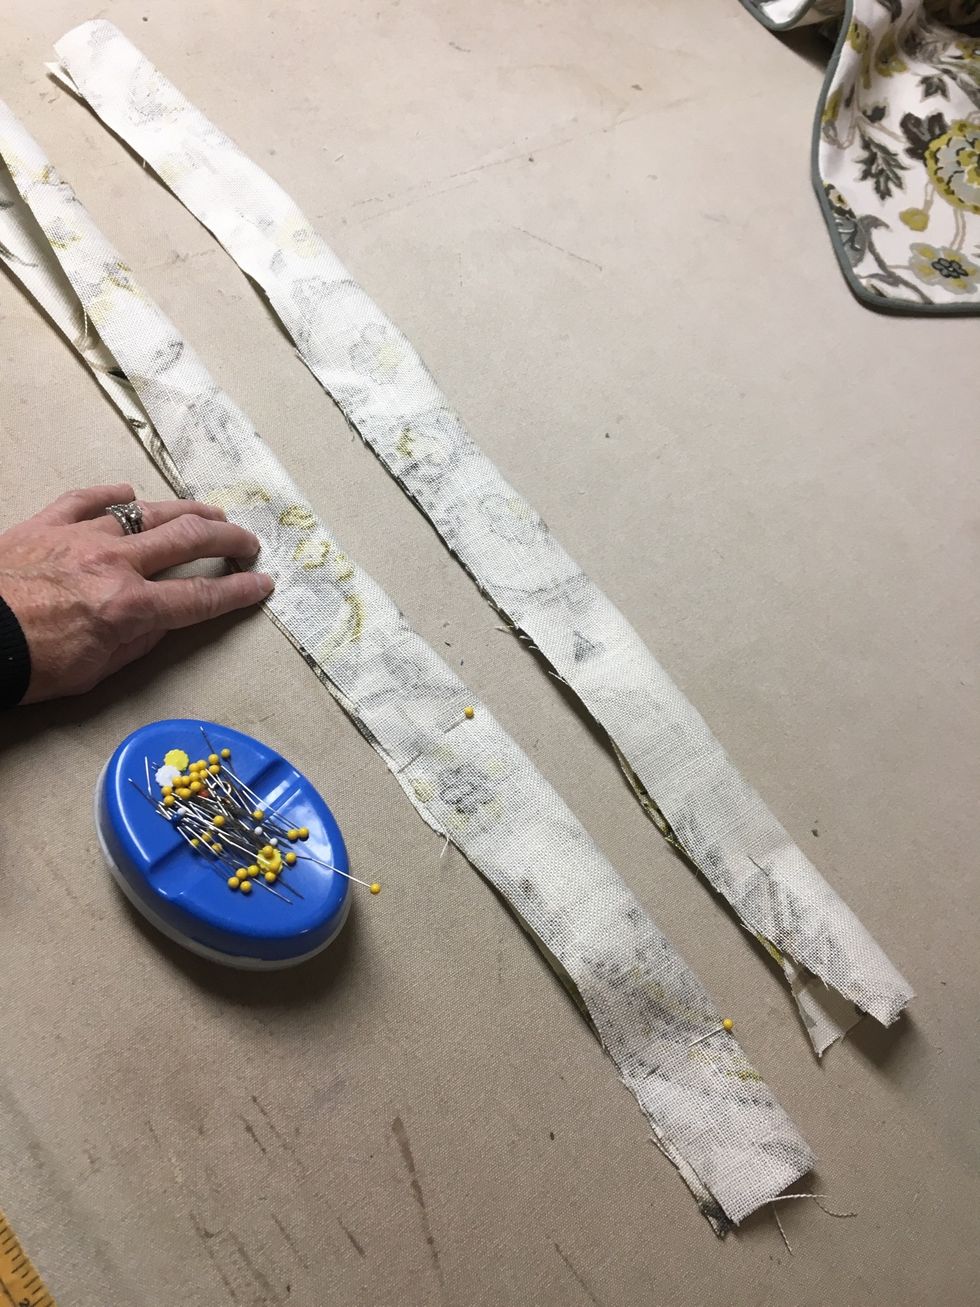
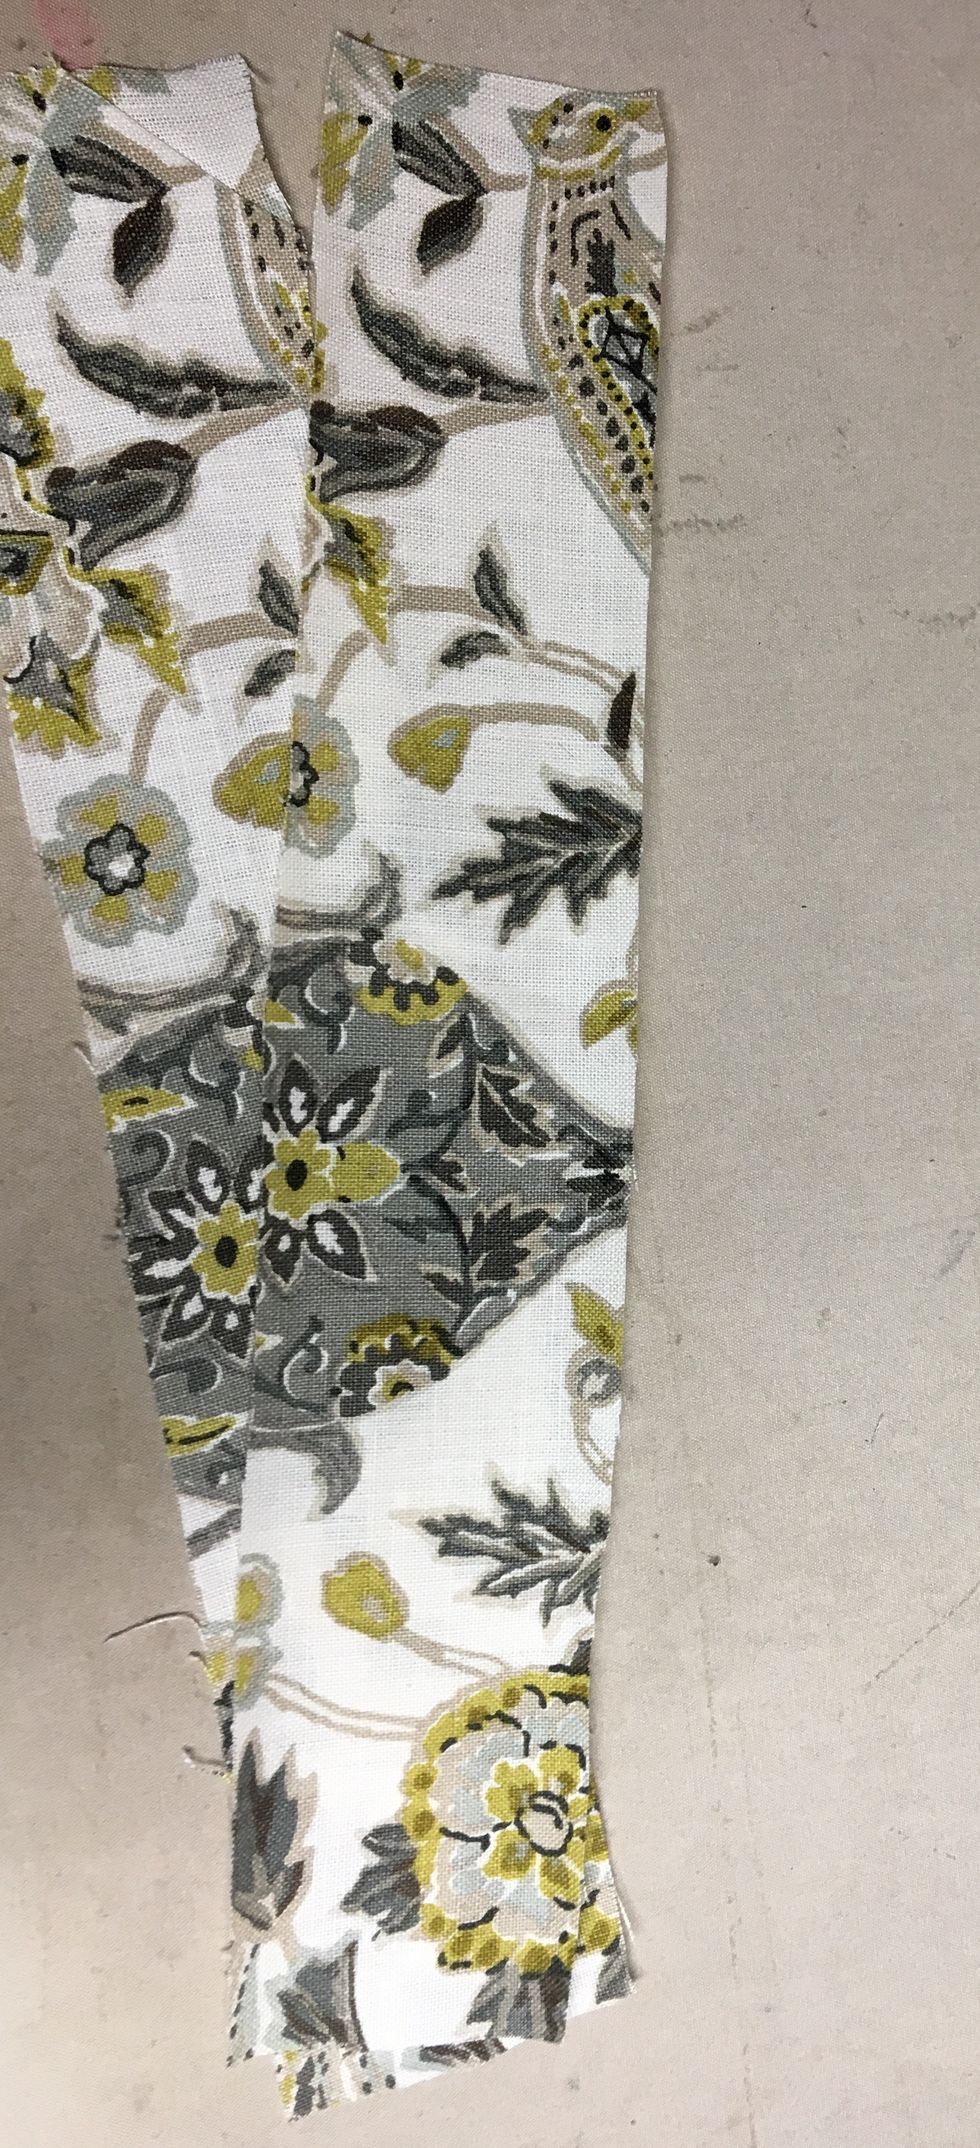
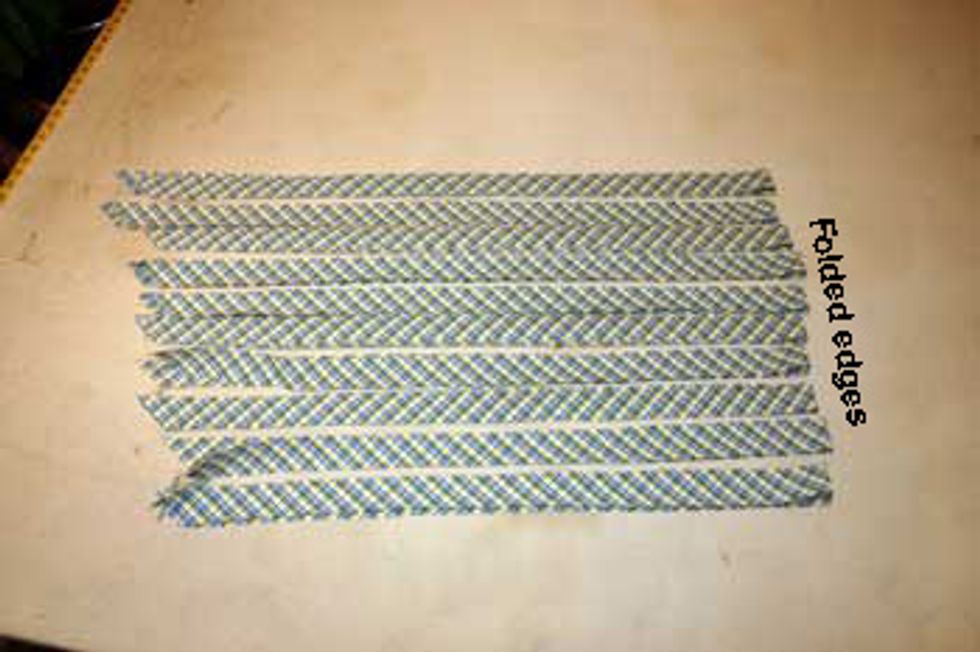
TABS: Fold tab strips in half, right sides together and pin or staple. Stitch down the long side and across one end to make 2 tubes.
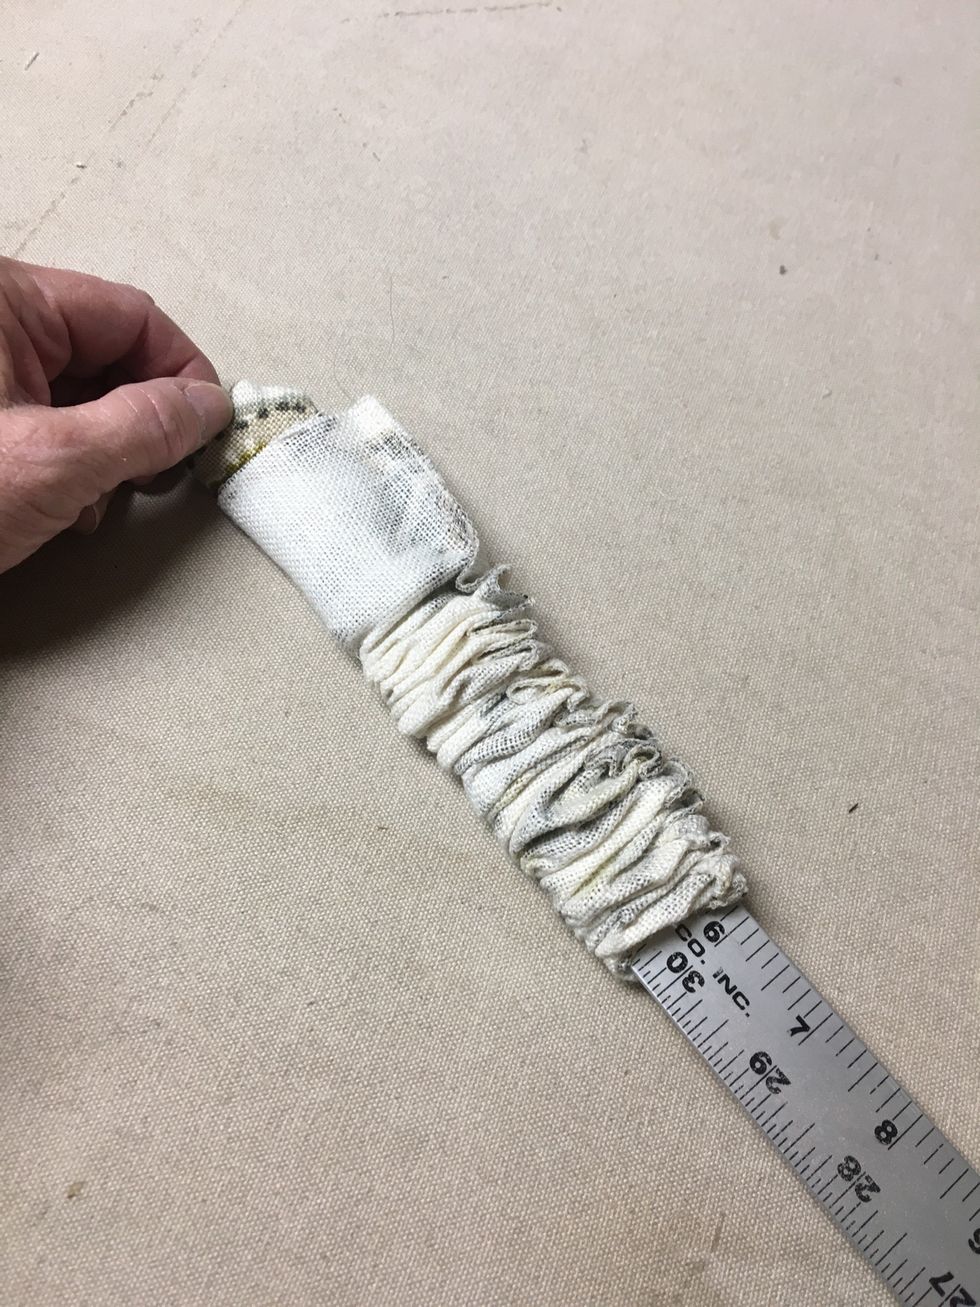
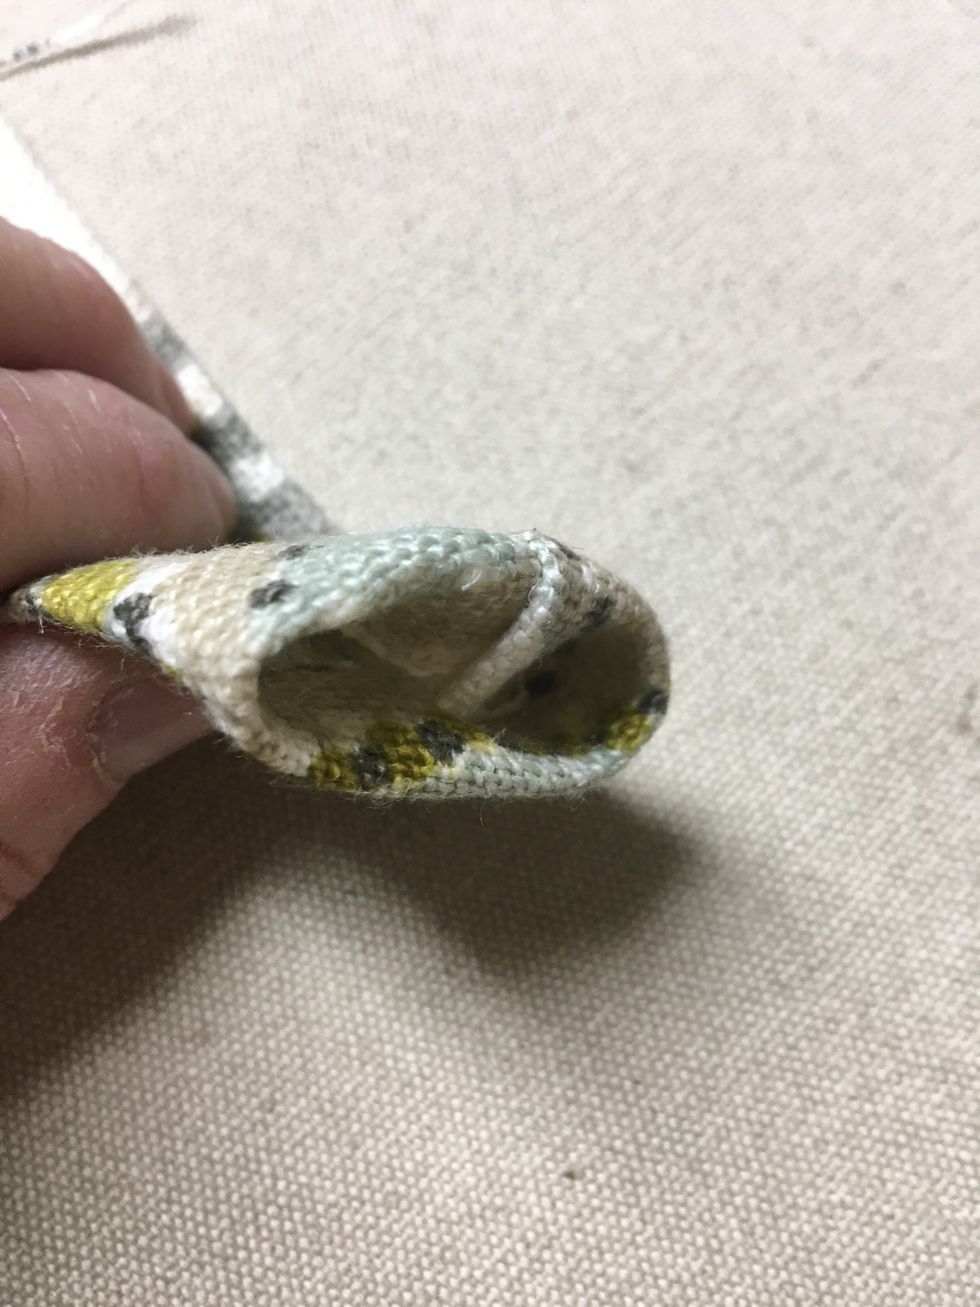
Use a stiff, flat object to turn your tubes.
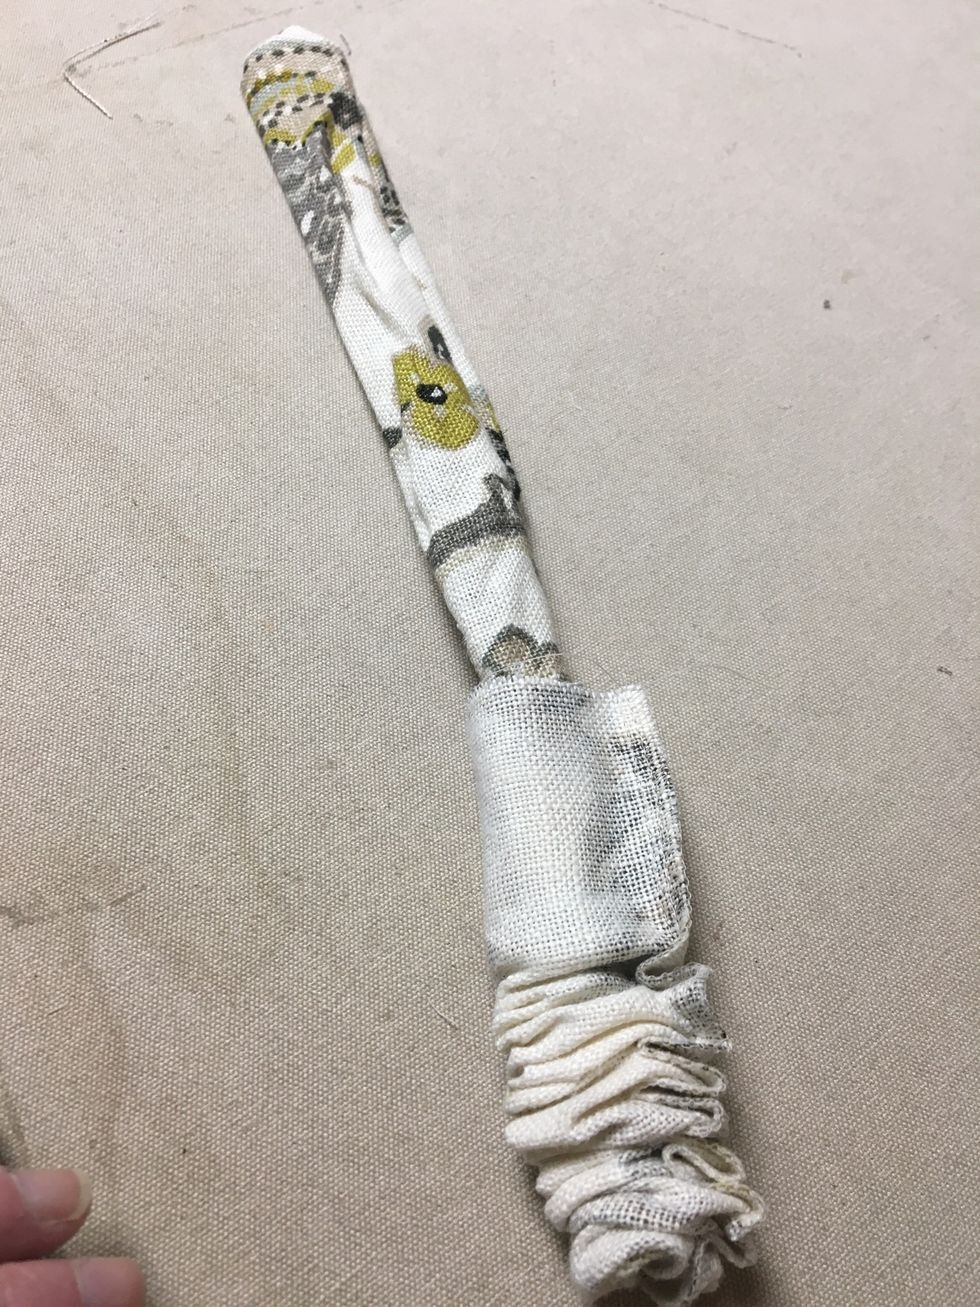
Turn completely right side out.
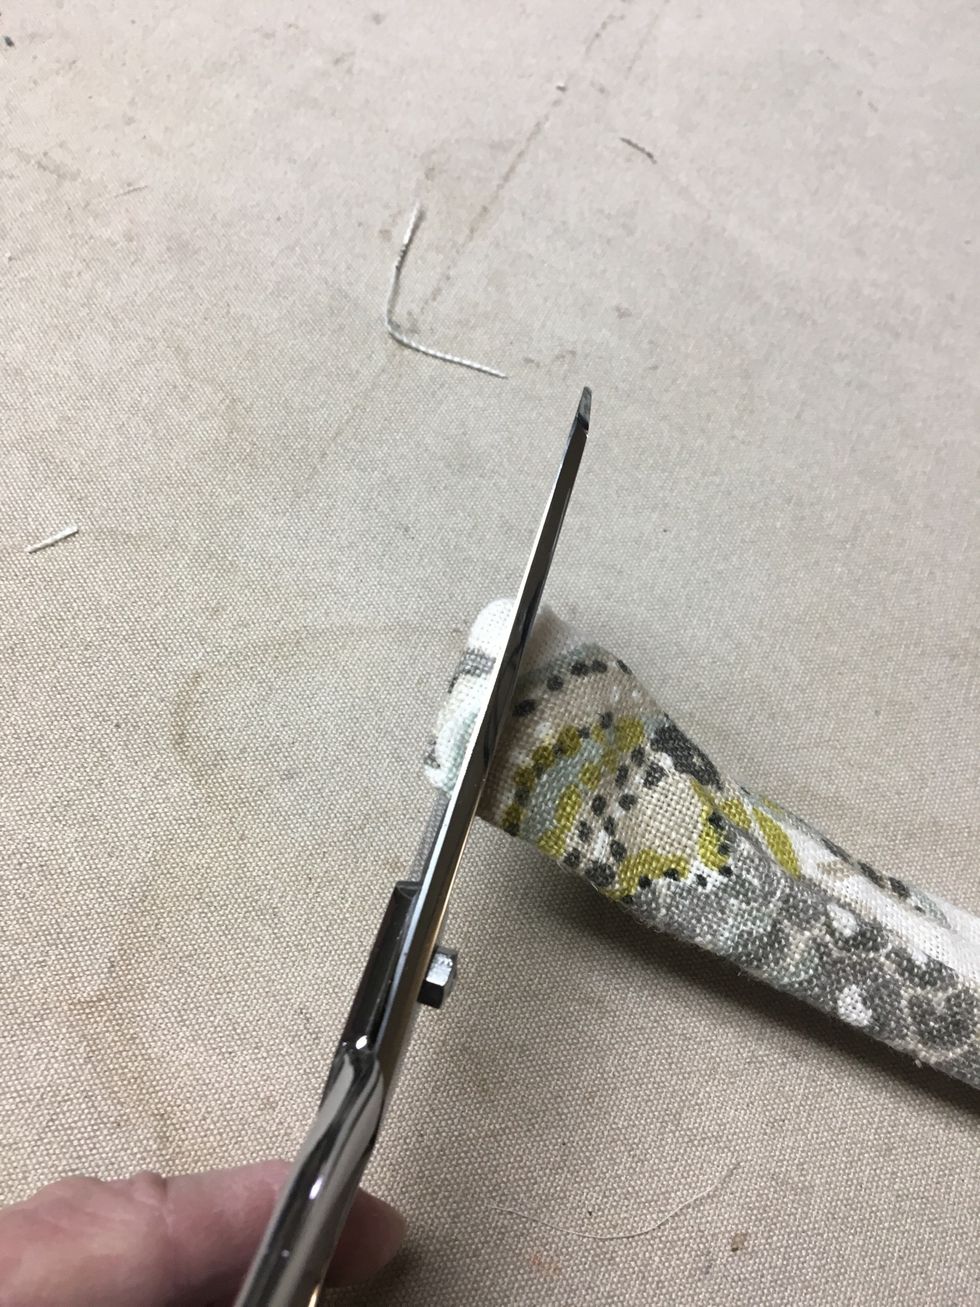
Snip the end off that you previously stitched closed.

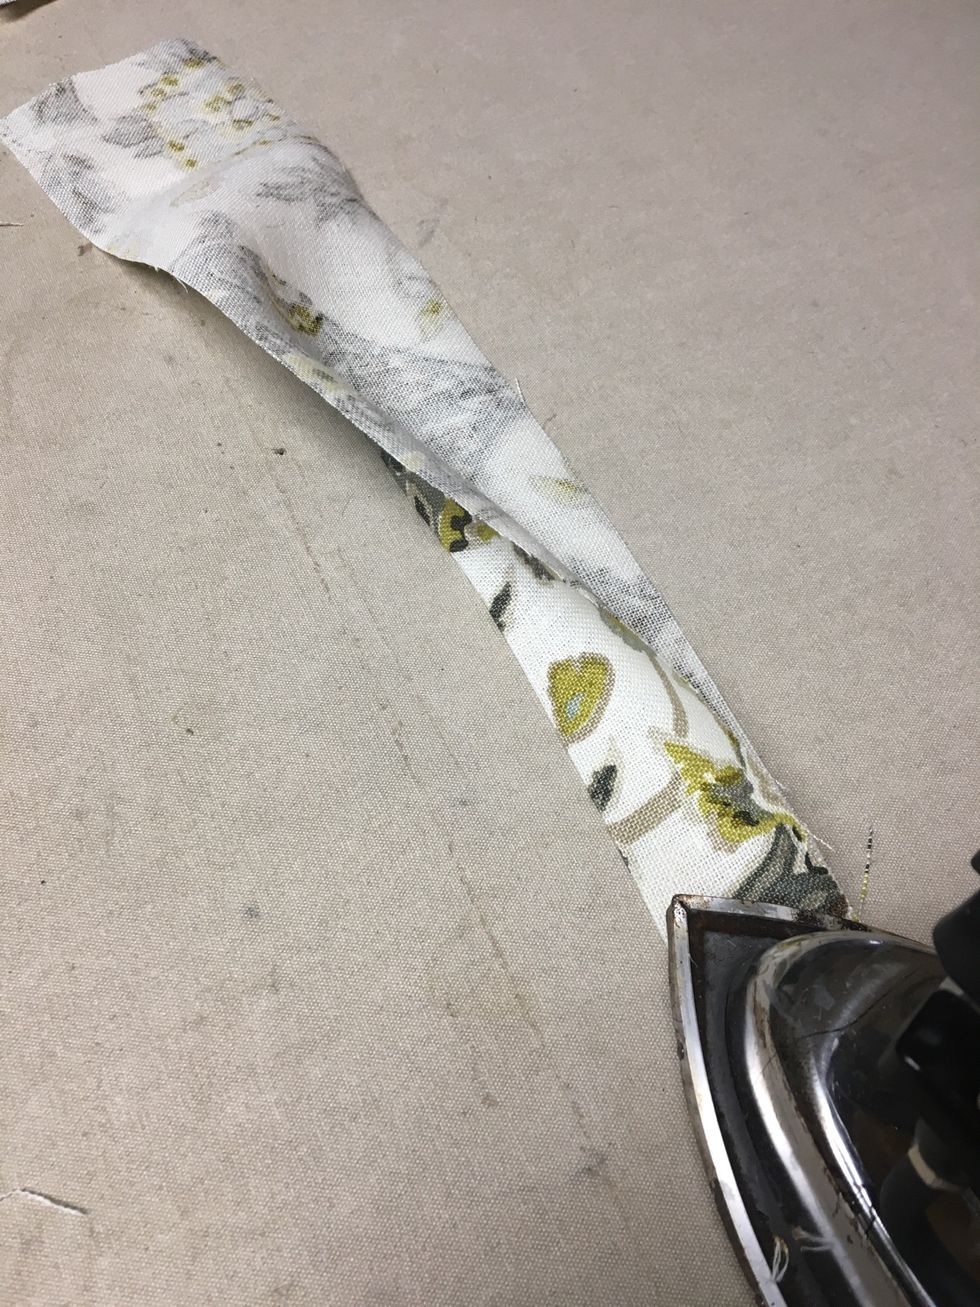
Press with seam just to the side of the center of the tube.
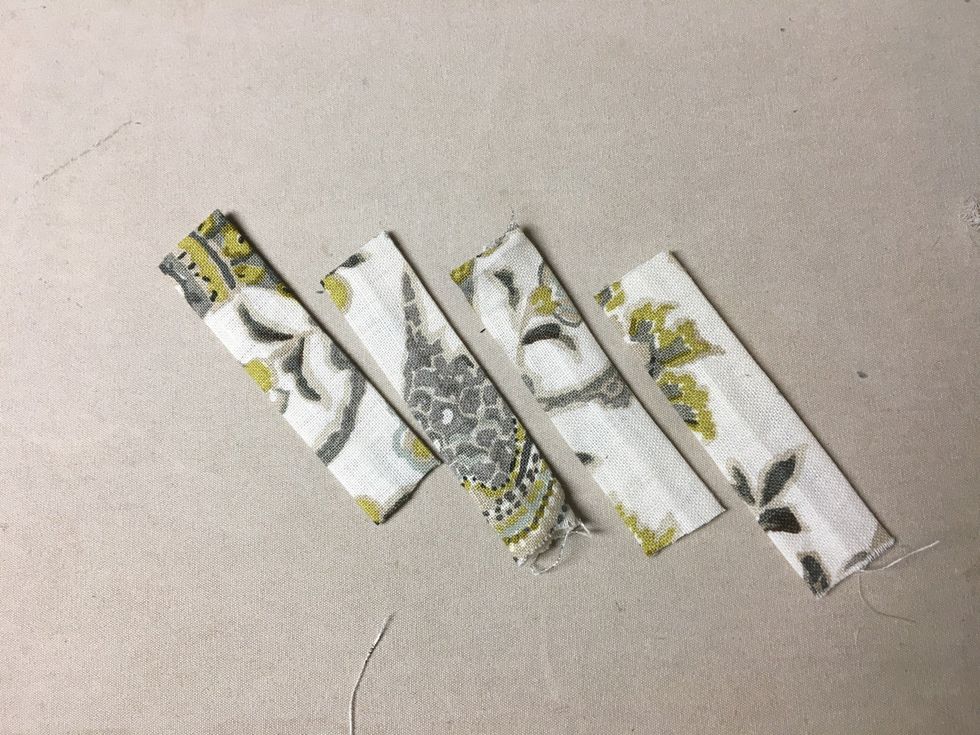
Cut each strip into 4 even sections.
Tuck 1/2" into each end and press.
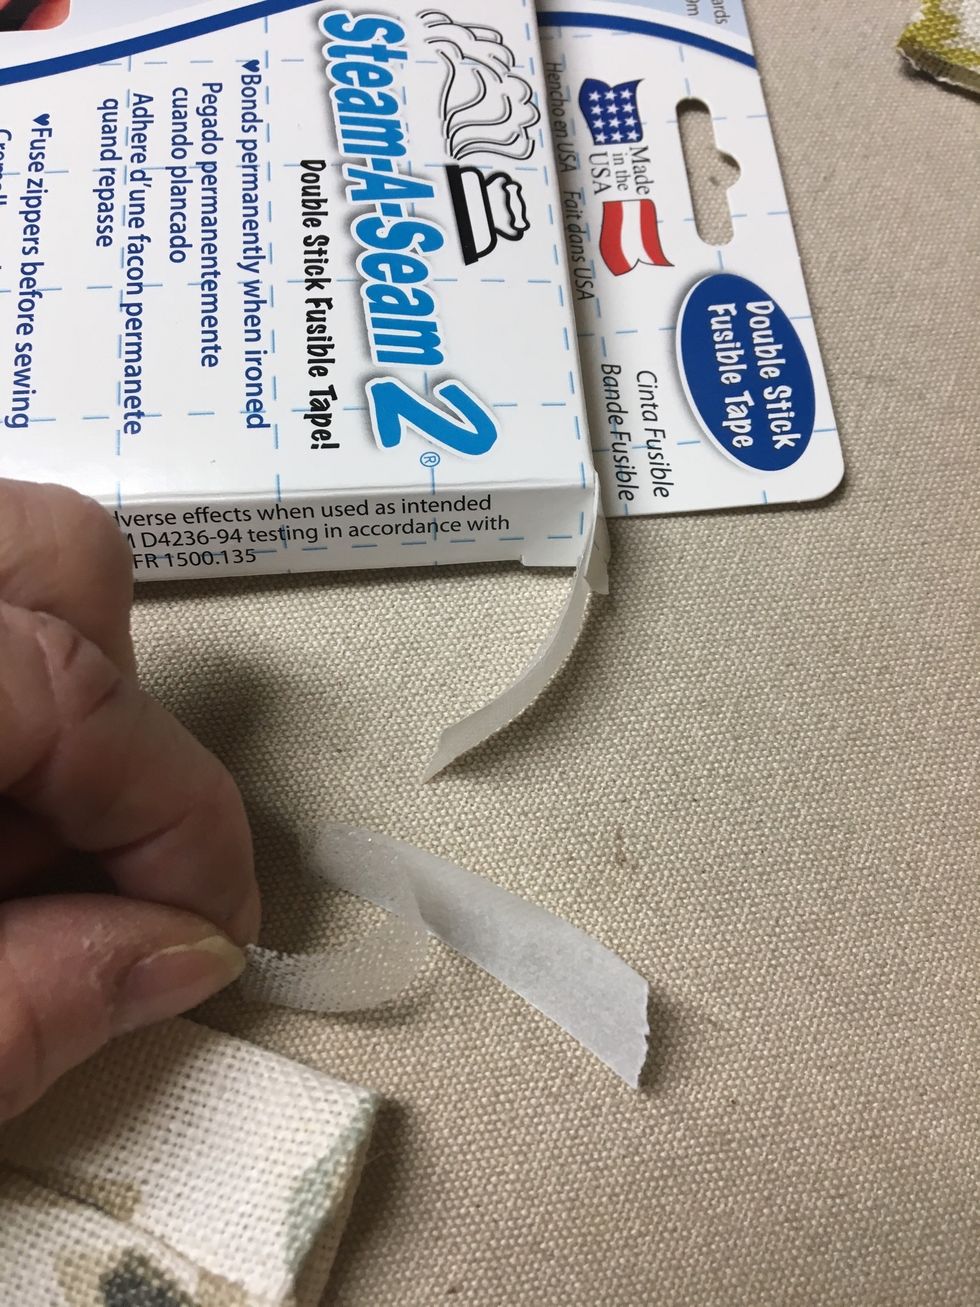
Cut a small strip of SteamASeam2 and peel the paper off.
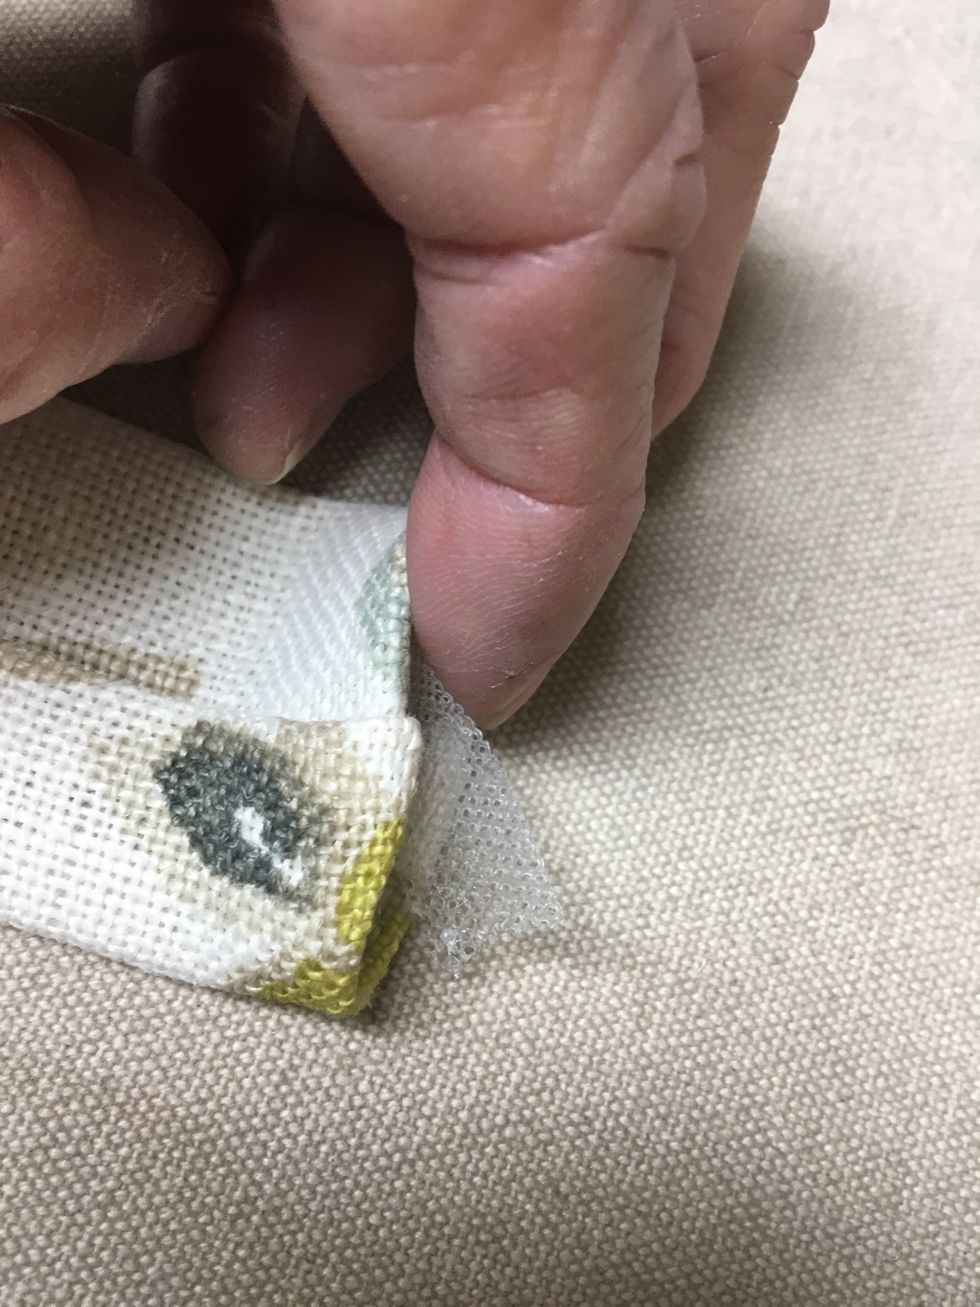
Tuck the SteamASeam2 into each end and press to seal permanently.
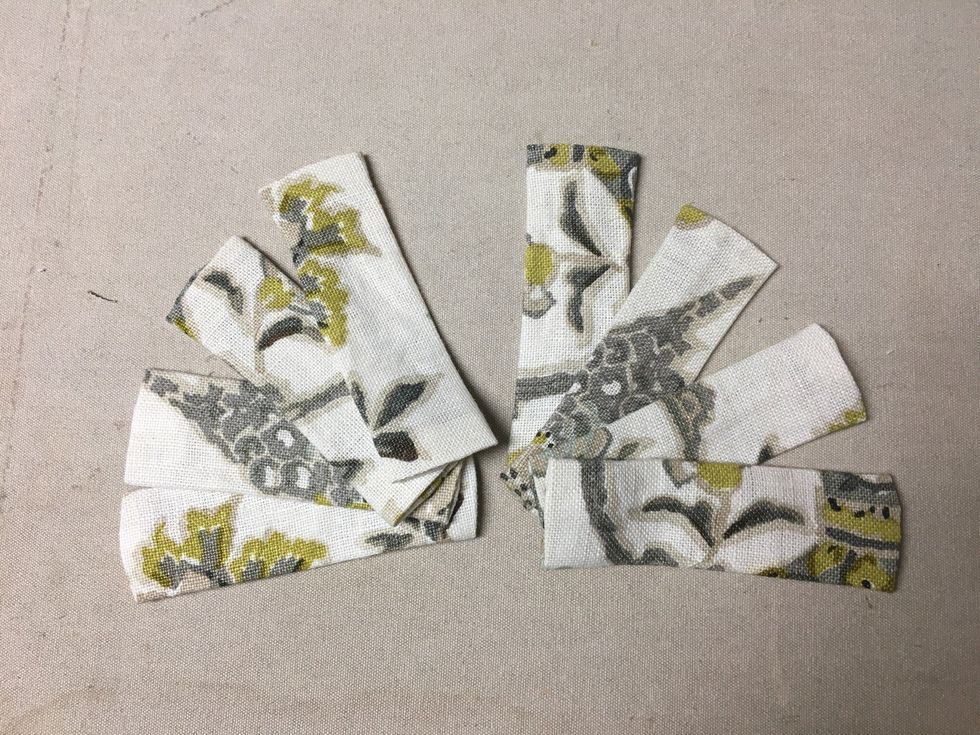
You will end up with 8 tabs that look like this.
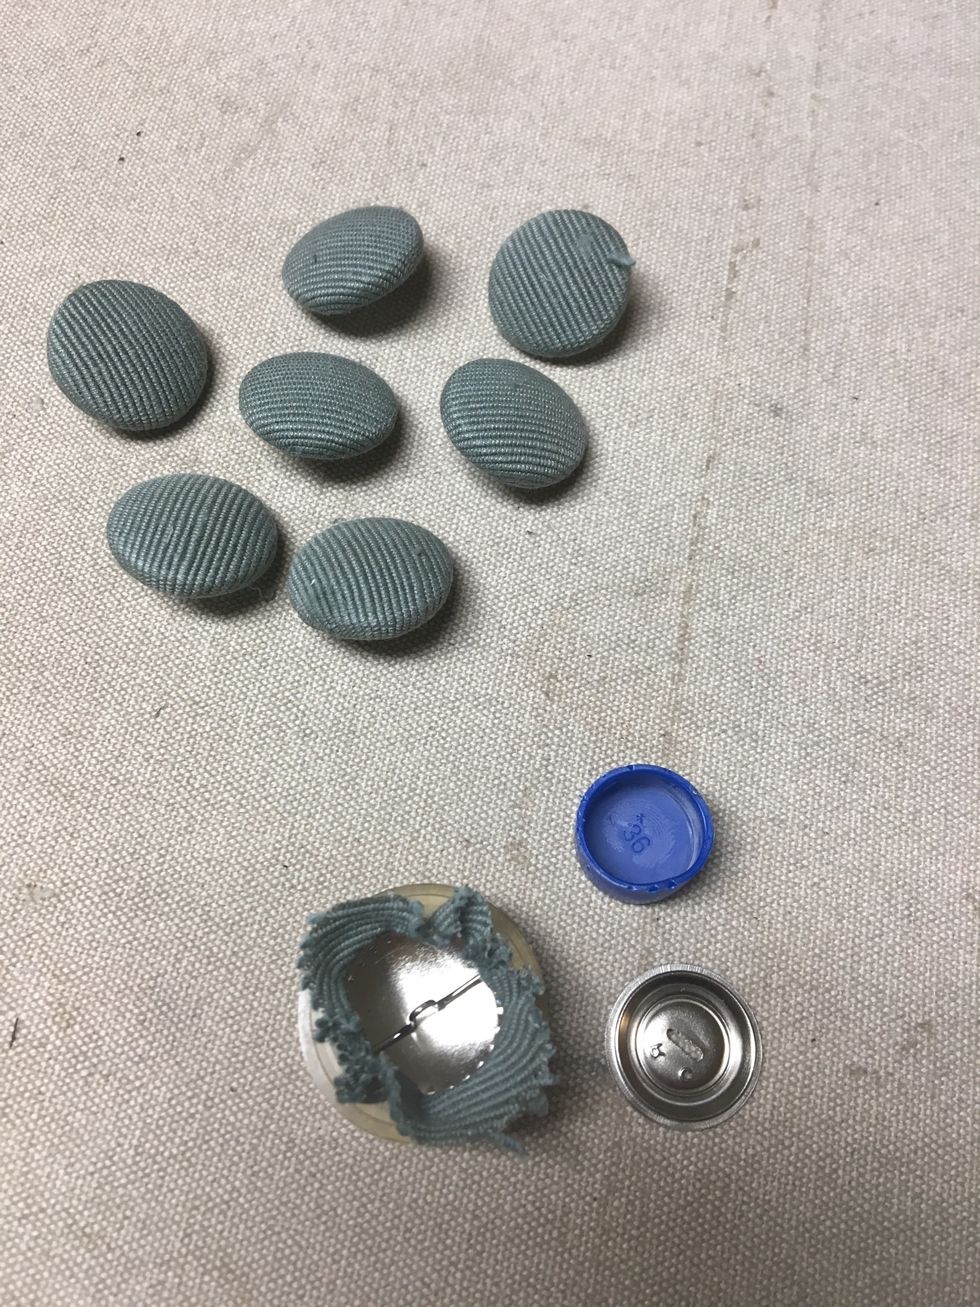
Cover 8 buttons. Set aside.
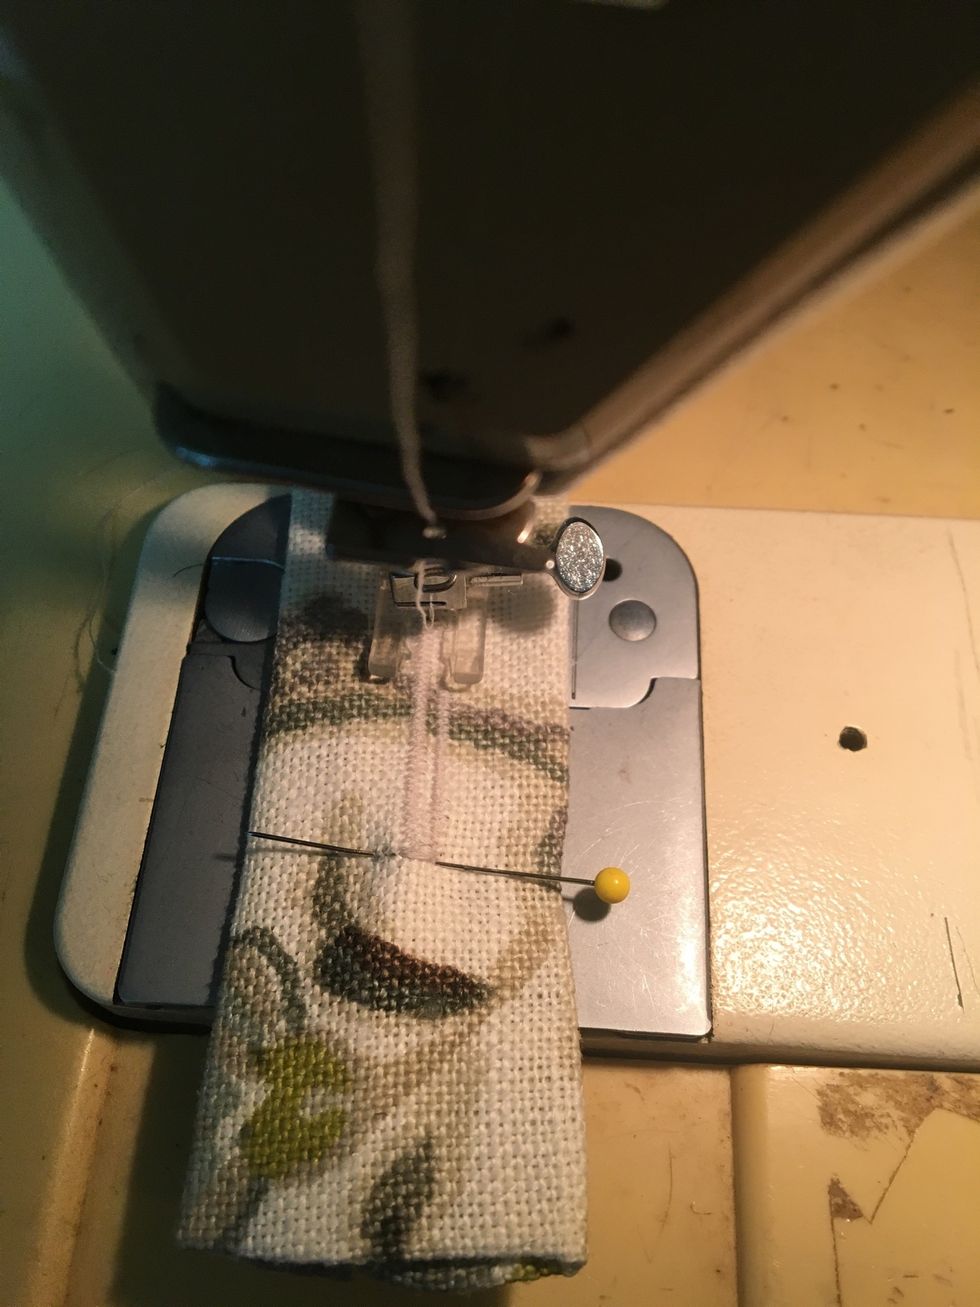
Stitch buttonholes in the middle of each tab to fit your covered buttons.
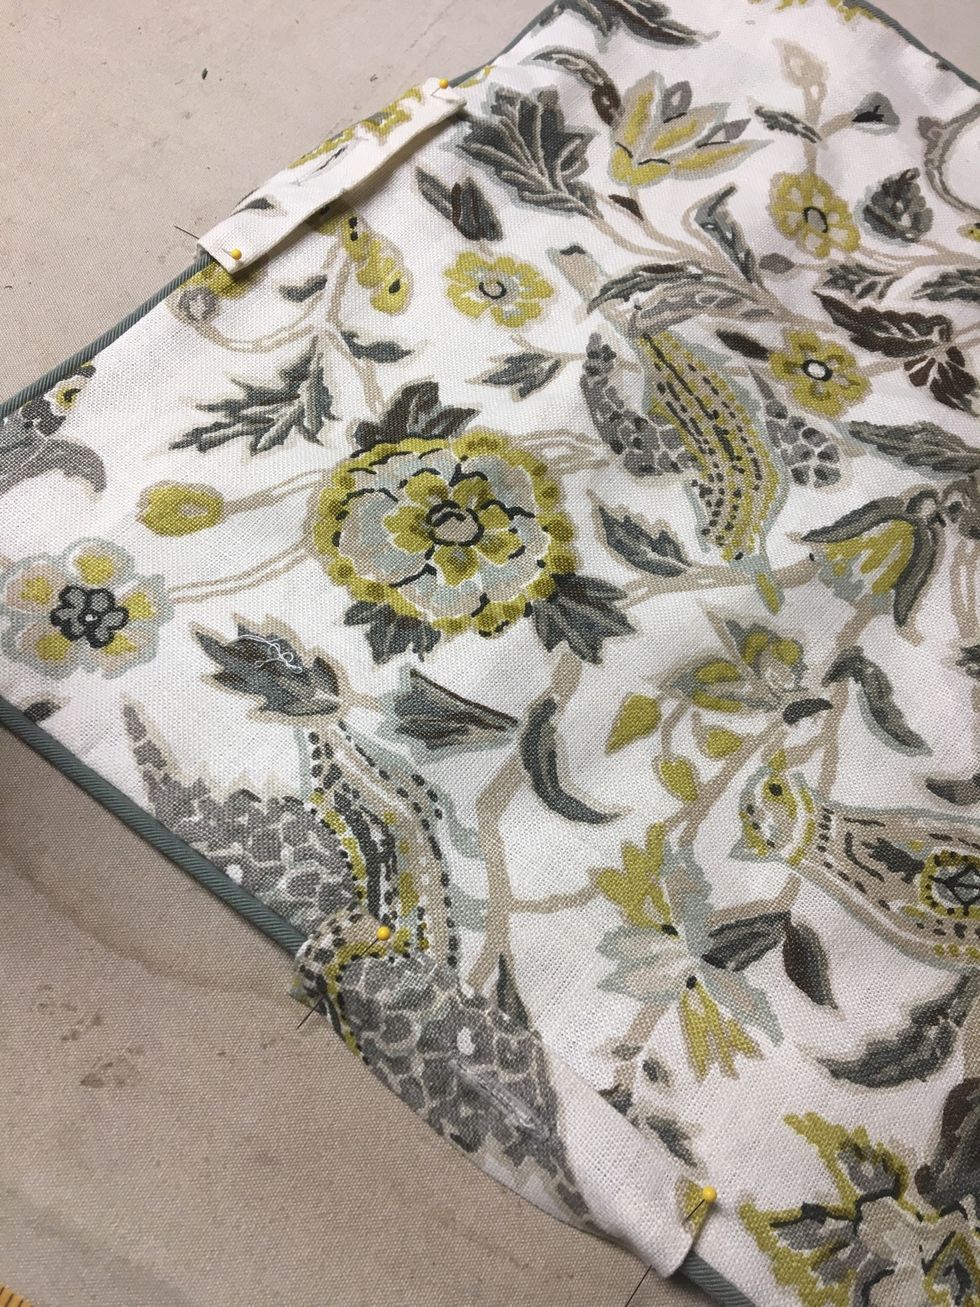
Pin the tabs to each side of the pillow.
At this point we use our Tack Gun to attach the tabs. It's a lot quicker. But if you don't have a Tack Gun you can stitch each tab to your pillow. Set aside.
Insert pillow forms into the pillow cover and fluff.
Optional: At this point we inserted a piece of luan under the top pillow for stability. The bottom pillow is supported by the straps. You can choose to use it in both or not at all. Set aside.
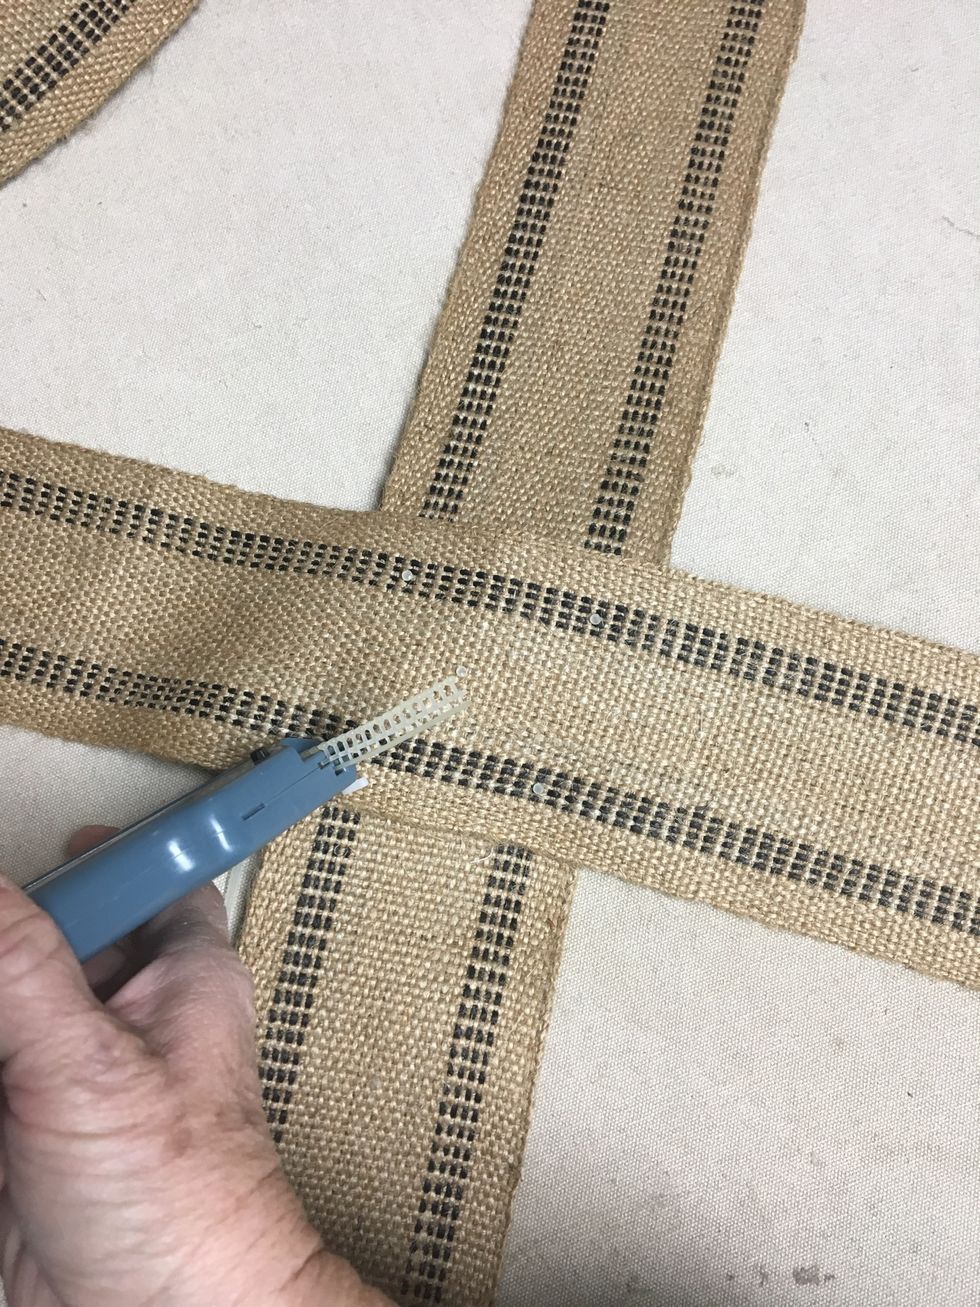
Cut your banding into 2 equal pieces. Fold each and mark the middle of each strip. Cross the bands at the middle points and tack using a Tack Gun or stitch.
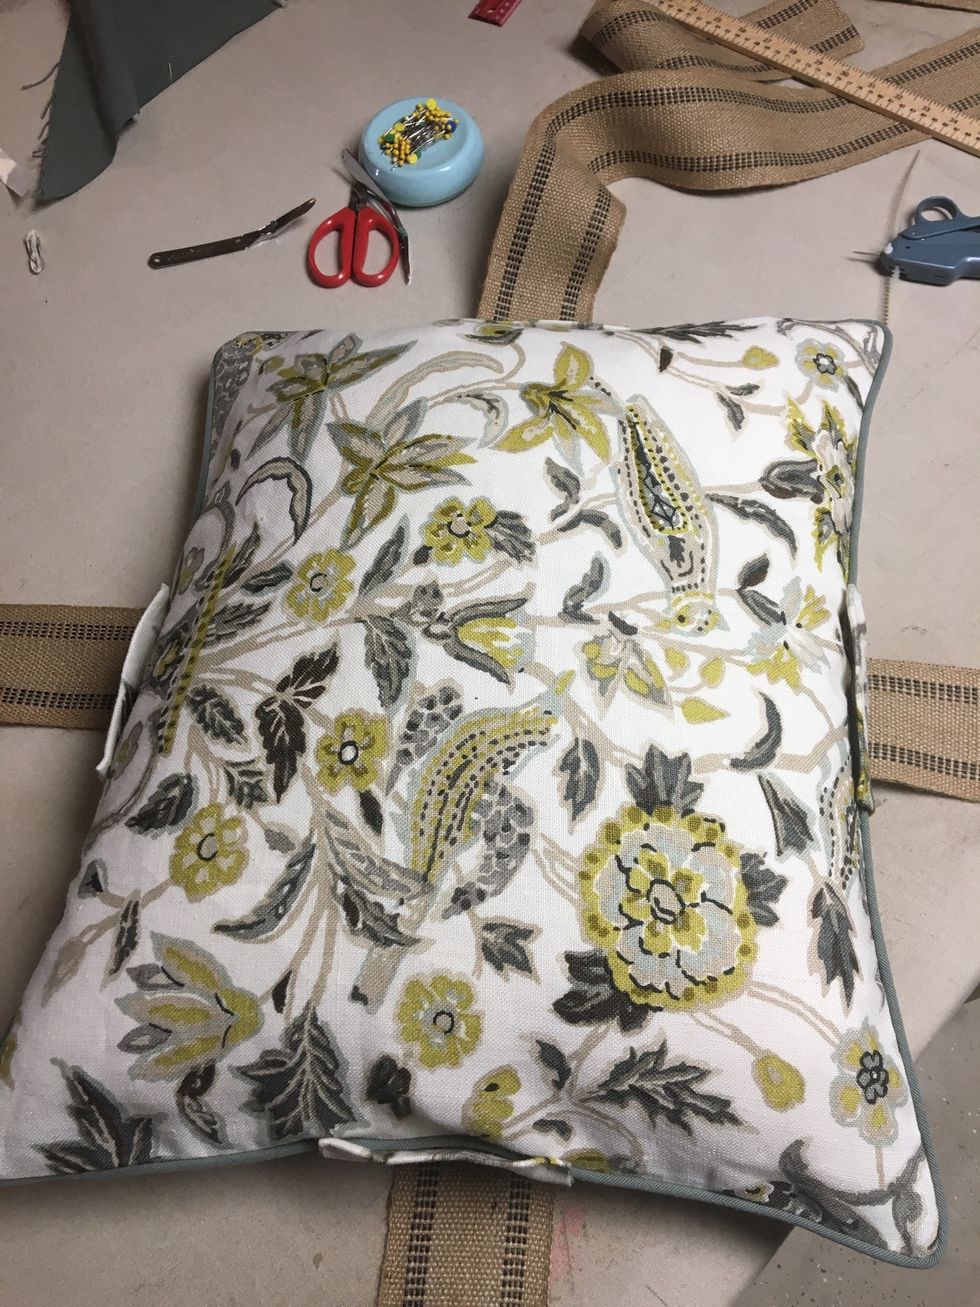
Place one of the pillows in the center of the crossed banding front side up.
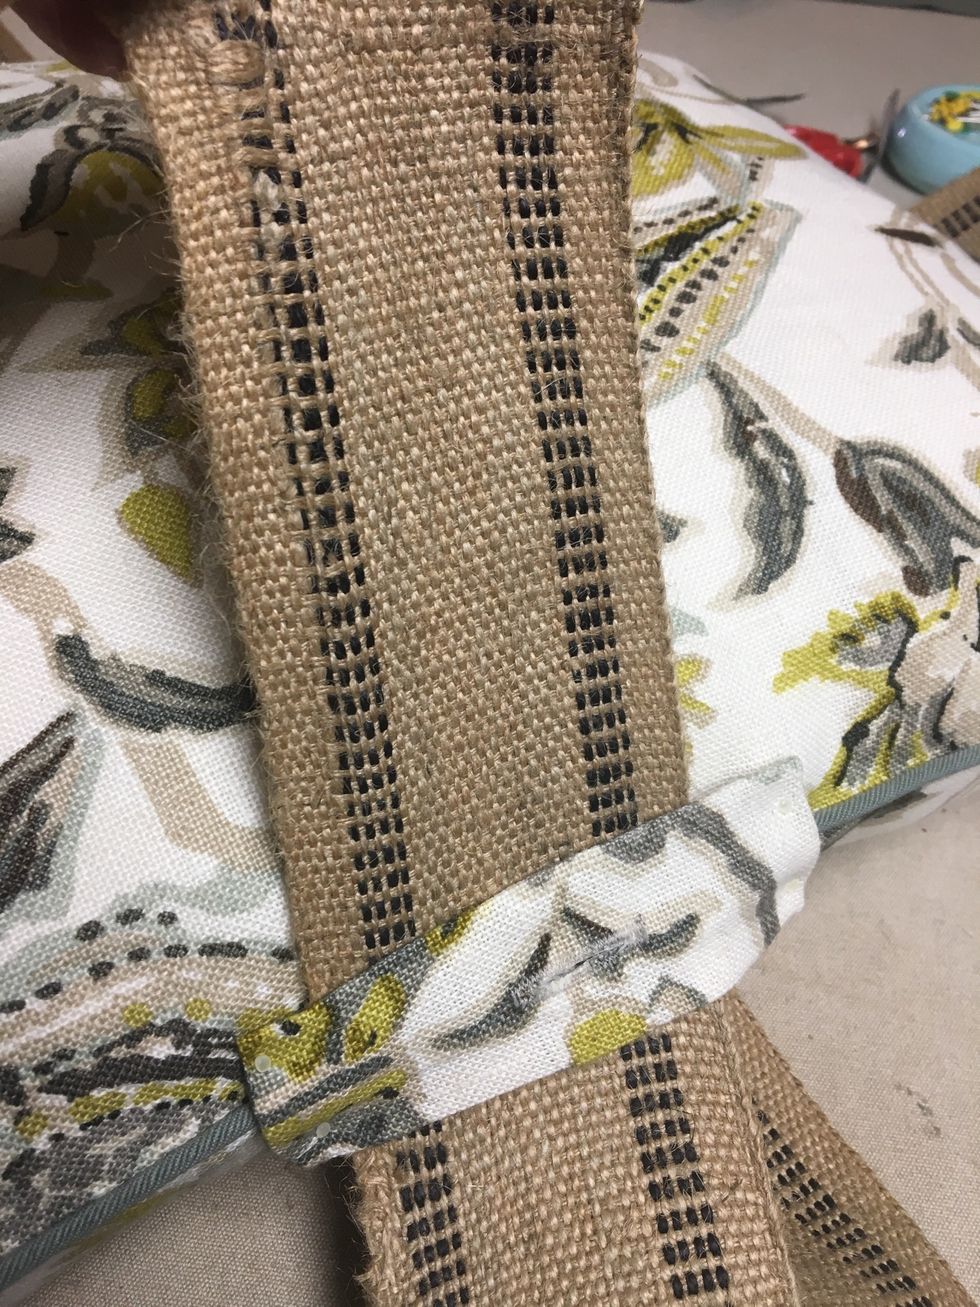
Slip each strip of the banding up through each tab and pull out the slack.
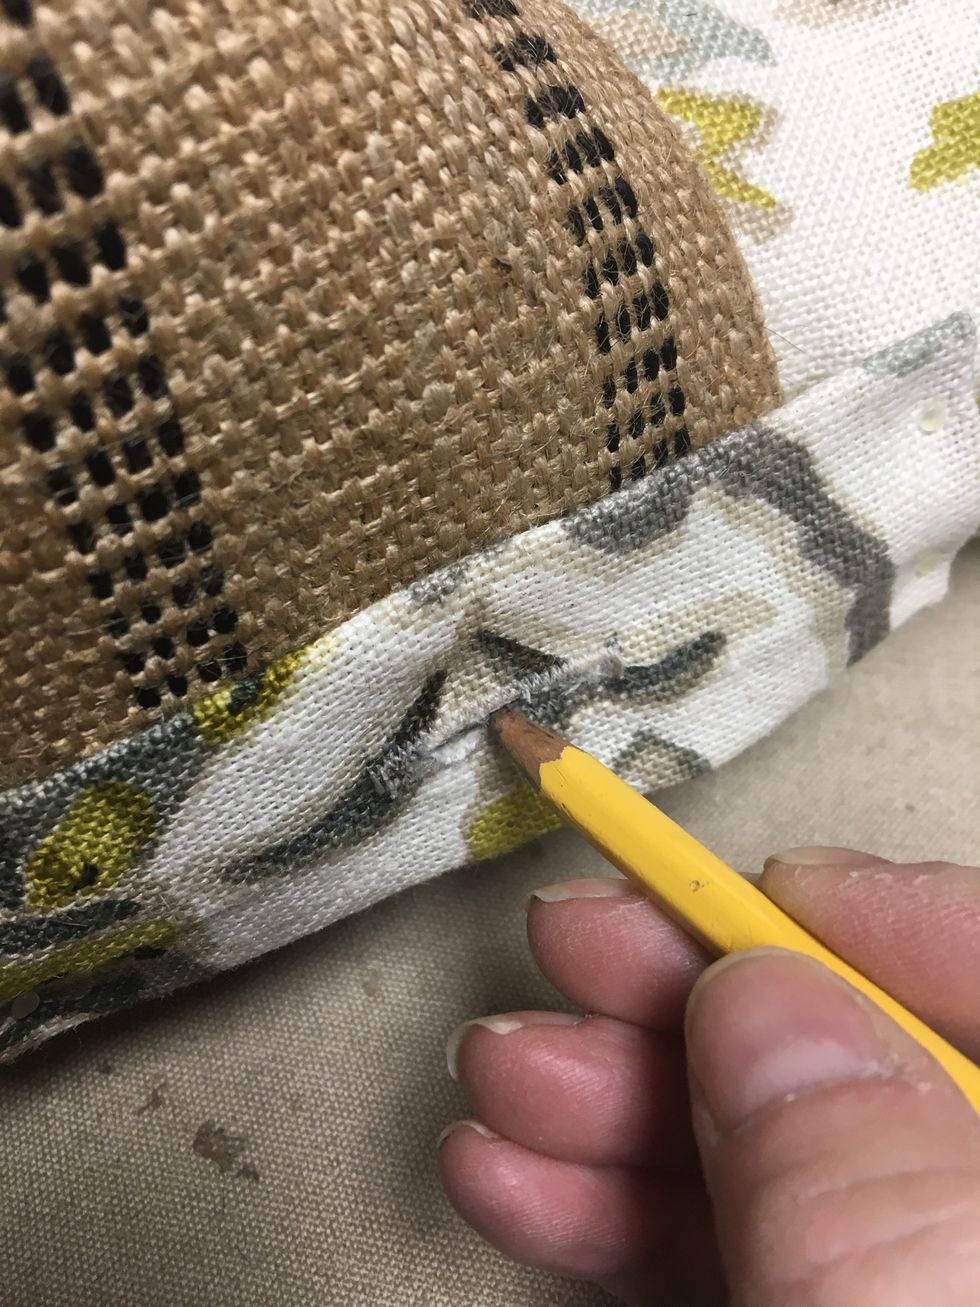
Mark the band on the outside for the first 4 buttons.
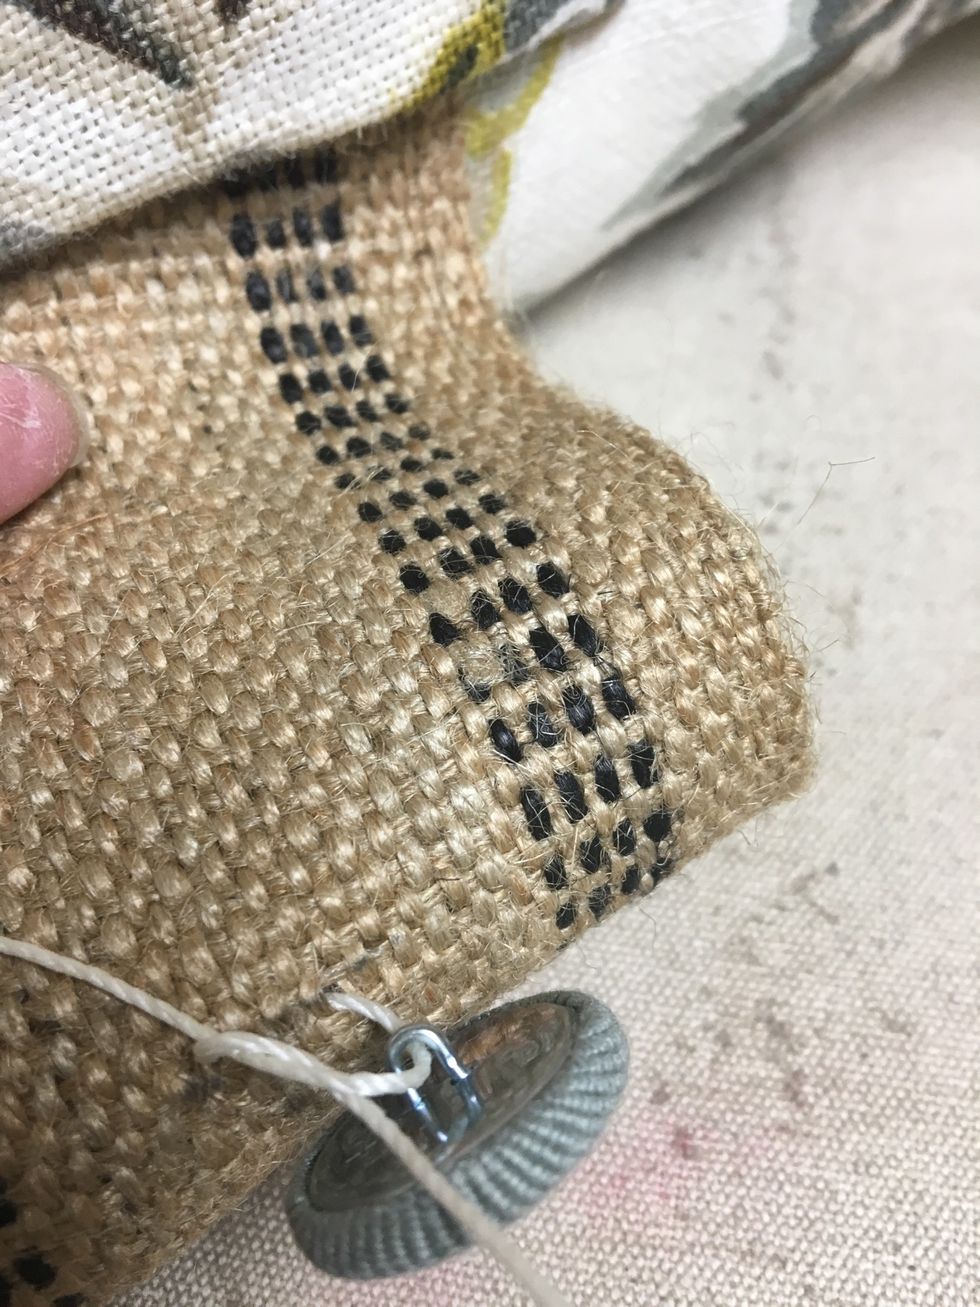
Tie each button onto the webbing at your marks. We used tufting twine but dental floss works great.
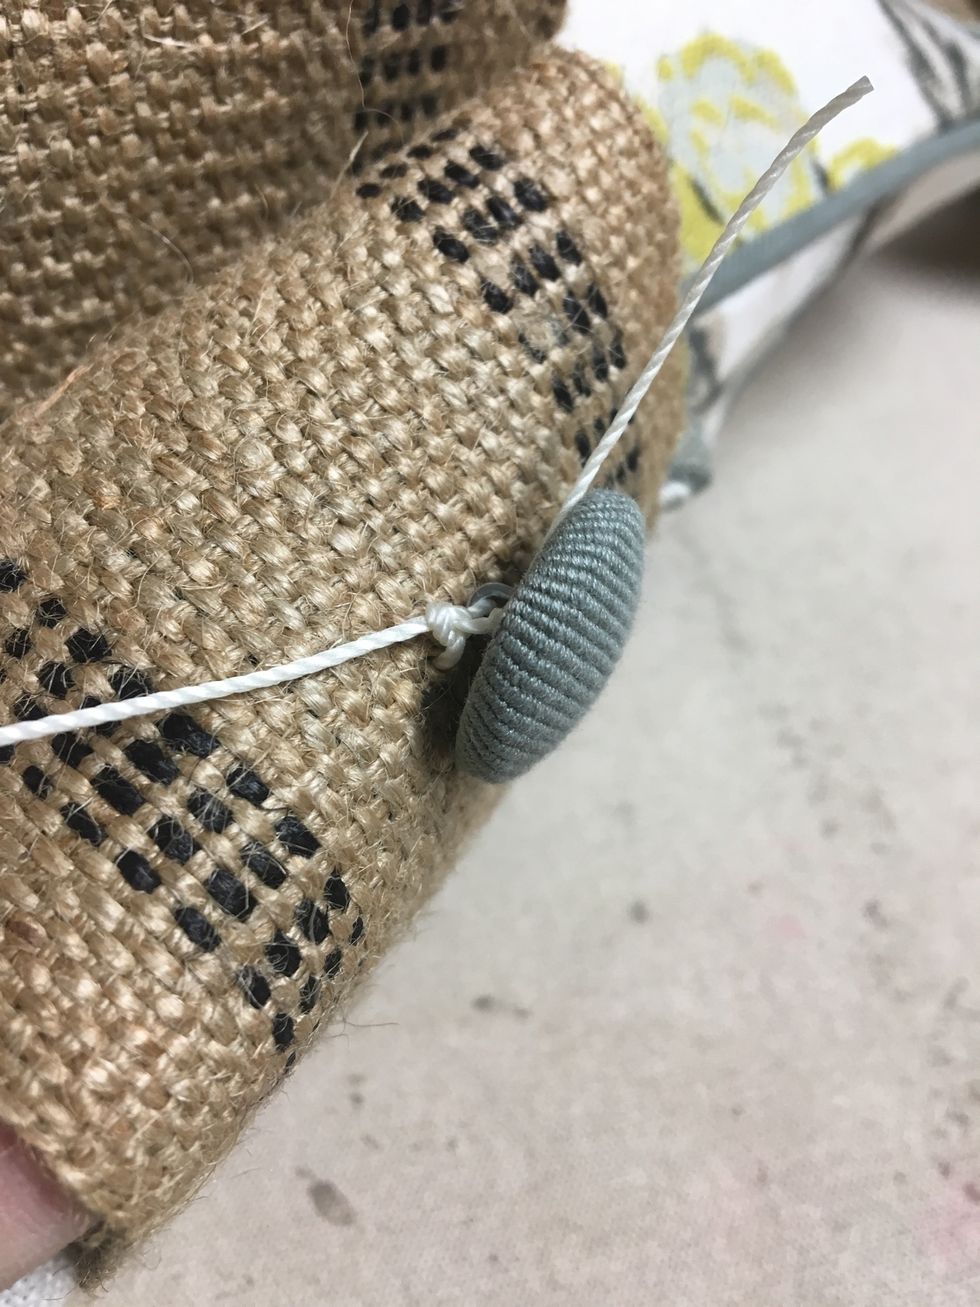
Tie each knot two or three times. Tip: It helps to keep the button steady to put a drop of hot glue on the knot before clipping the ends off.
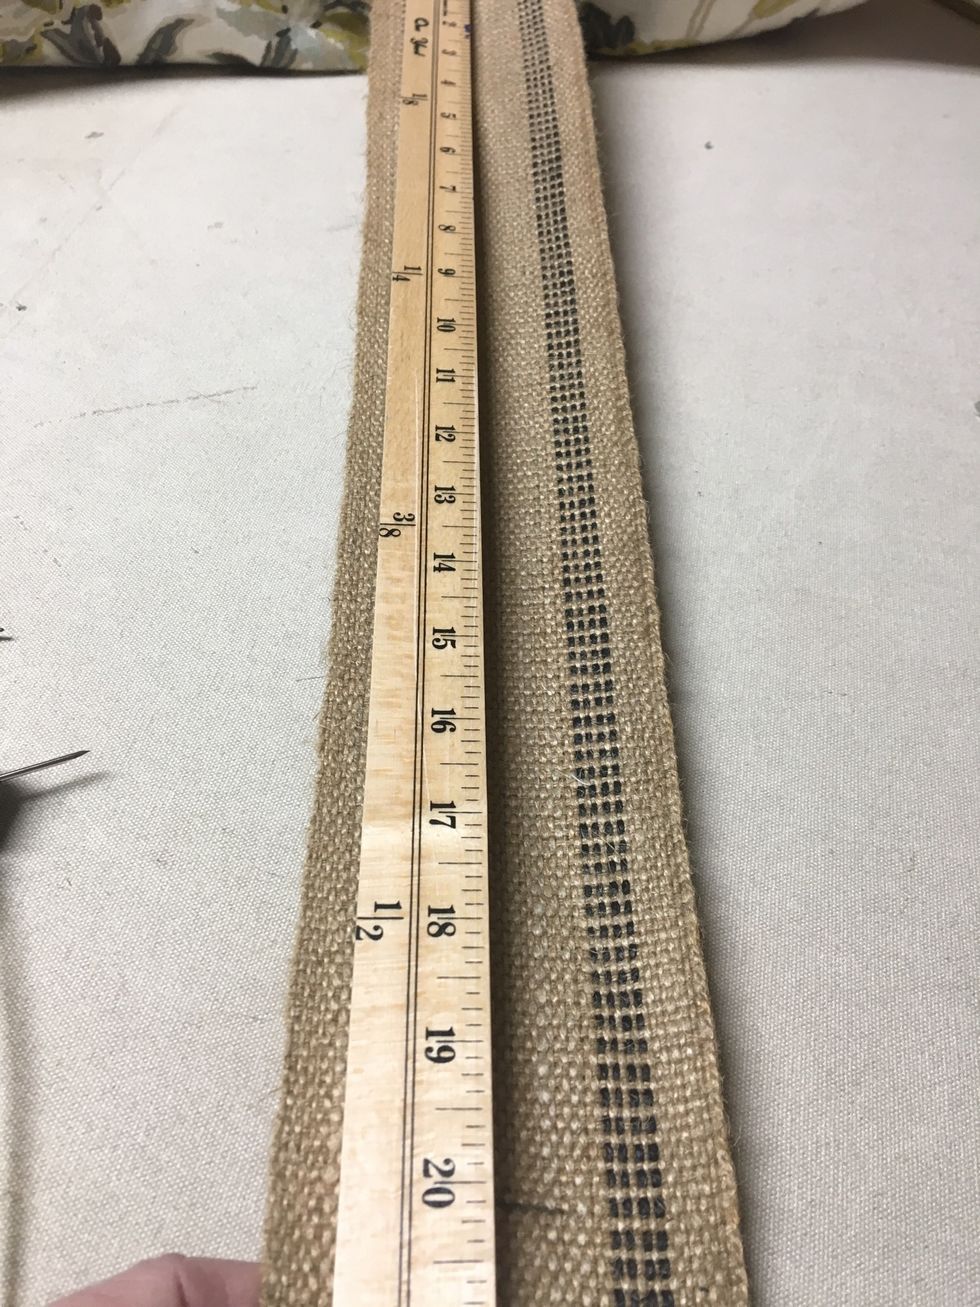
We wanted the next pillow to sit about 20" higher so we measured up 20" on the webbing and marked the placement for the next 4 buttons.

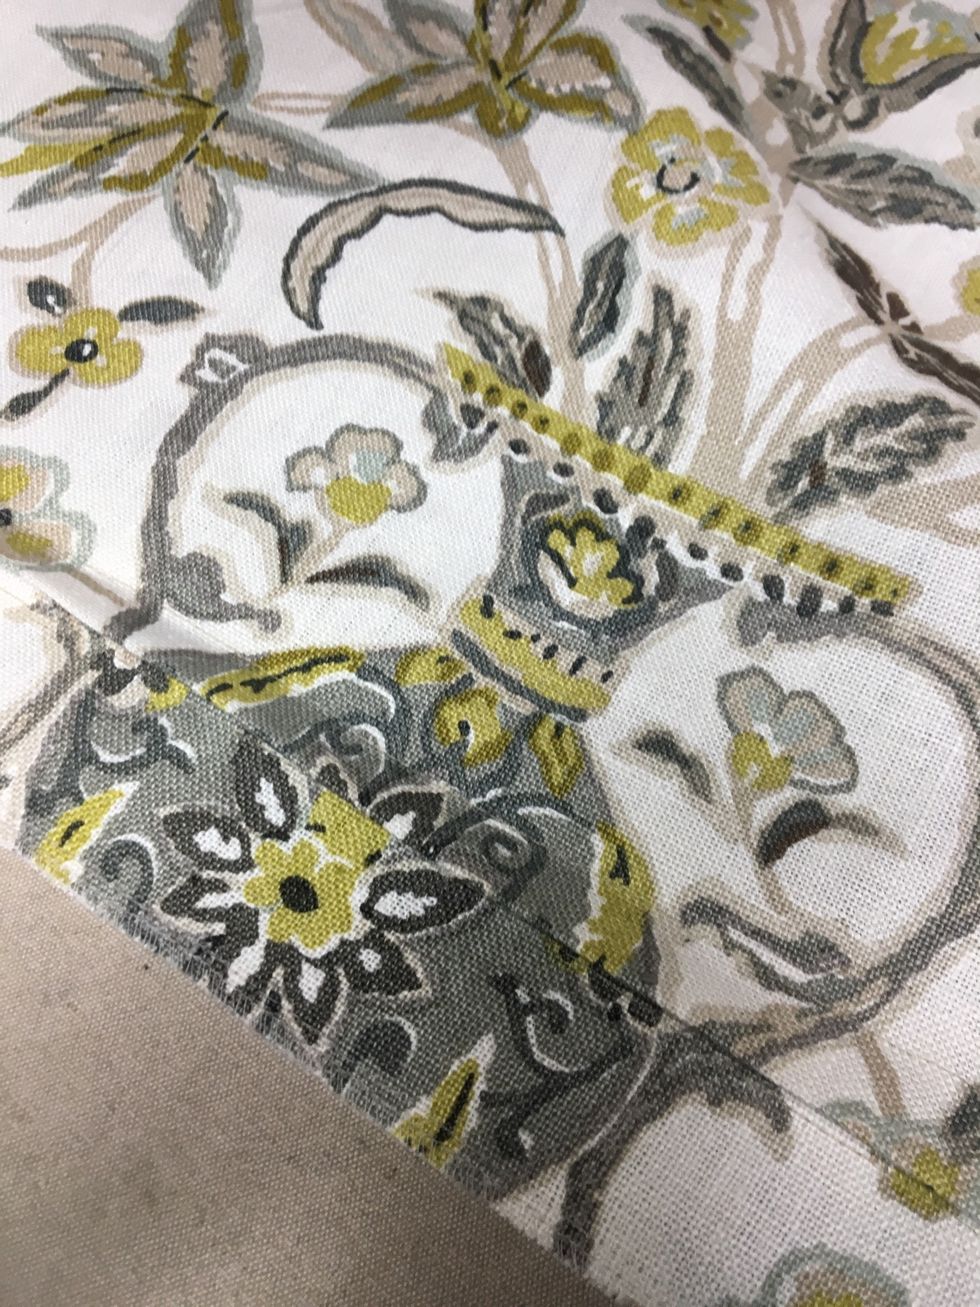
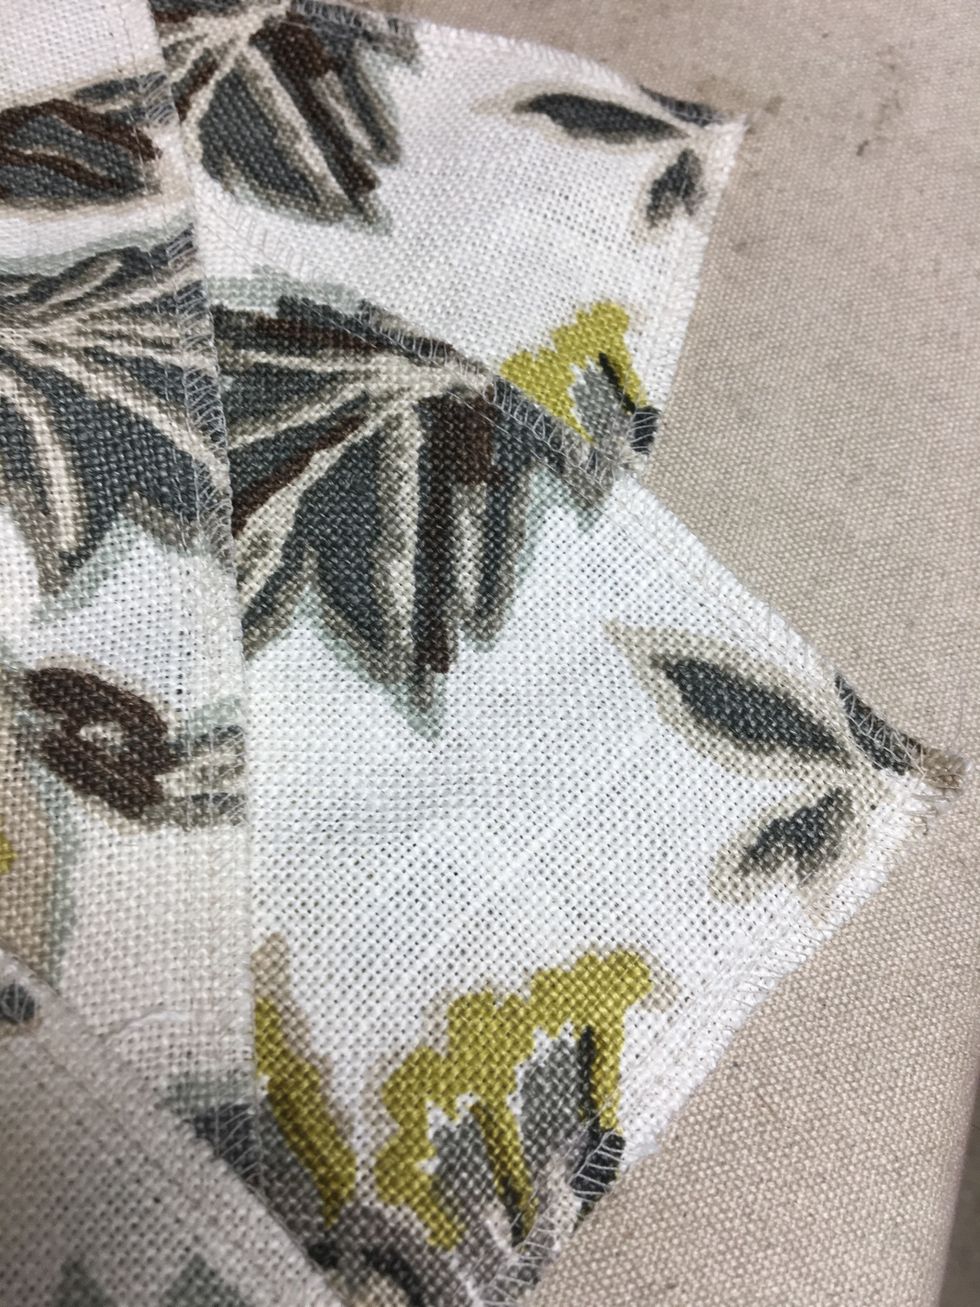
Finish the raw top ends by folding the banding in half right sides together. Clip the corners at an angle from the outside edge to the middle fold.

Serge or stitch the clipped angle.
We apply Frey Chek along the edge to prevent raveling.
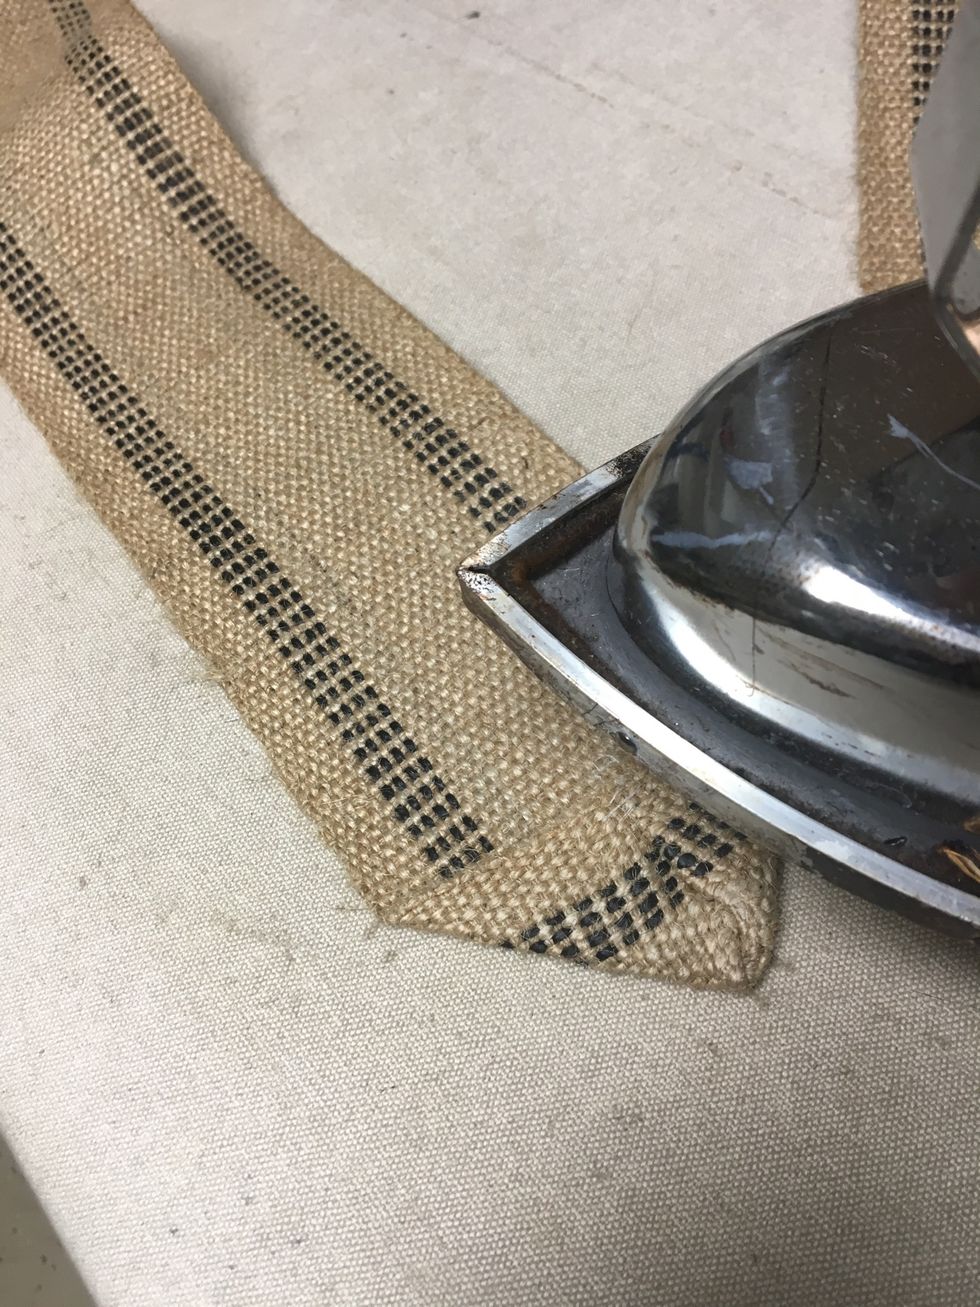
Turn and press.
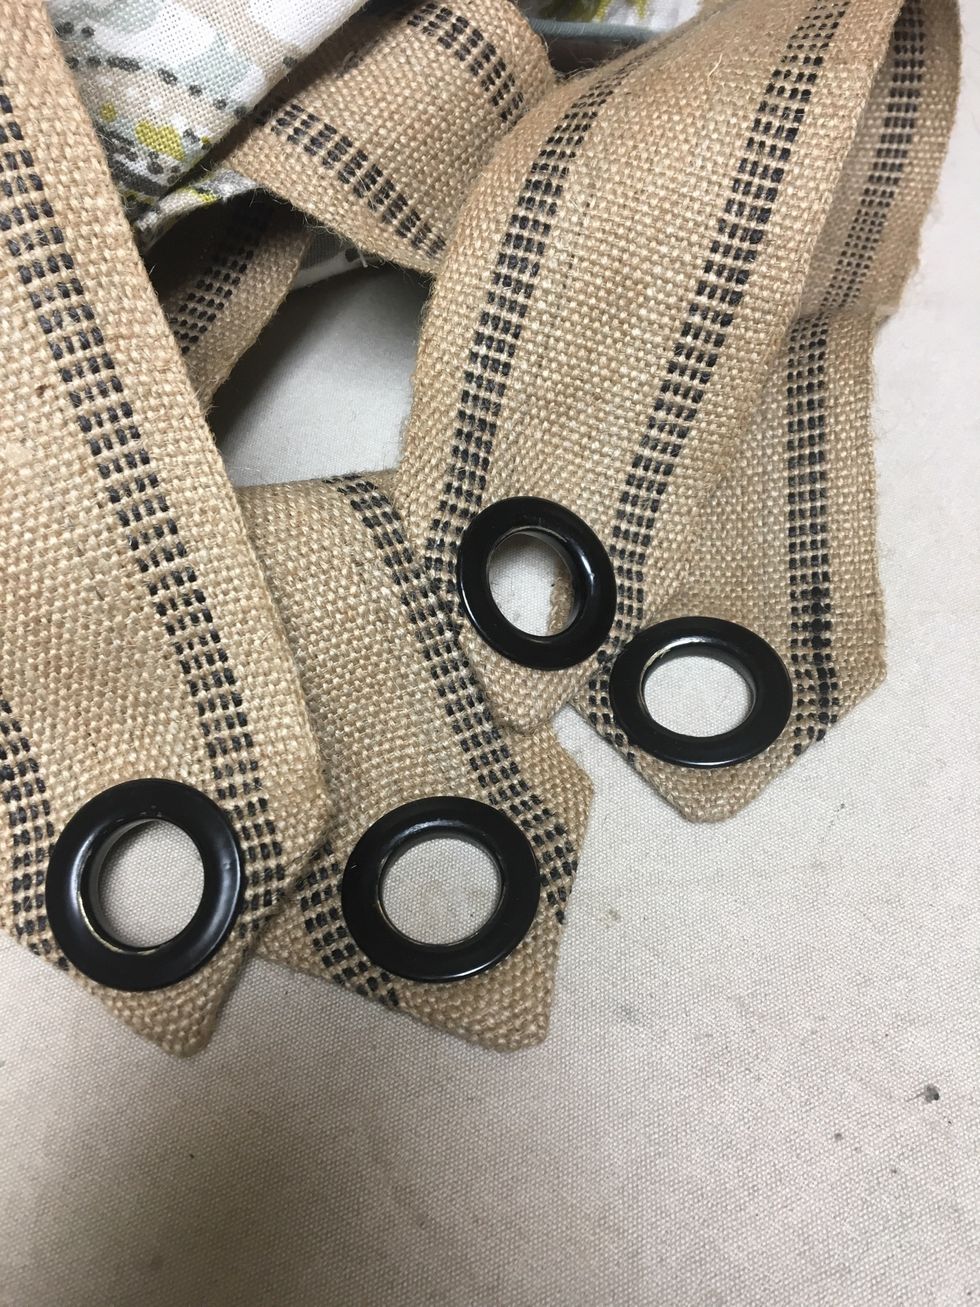
This banding doesn't tear easily so you could just punch a hole through it at the top and apply Frey Chek - depending on the hooks you are using. We had 4 grommets from another job that were perfect.
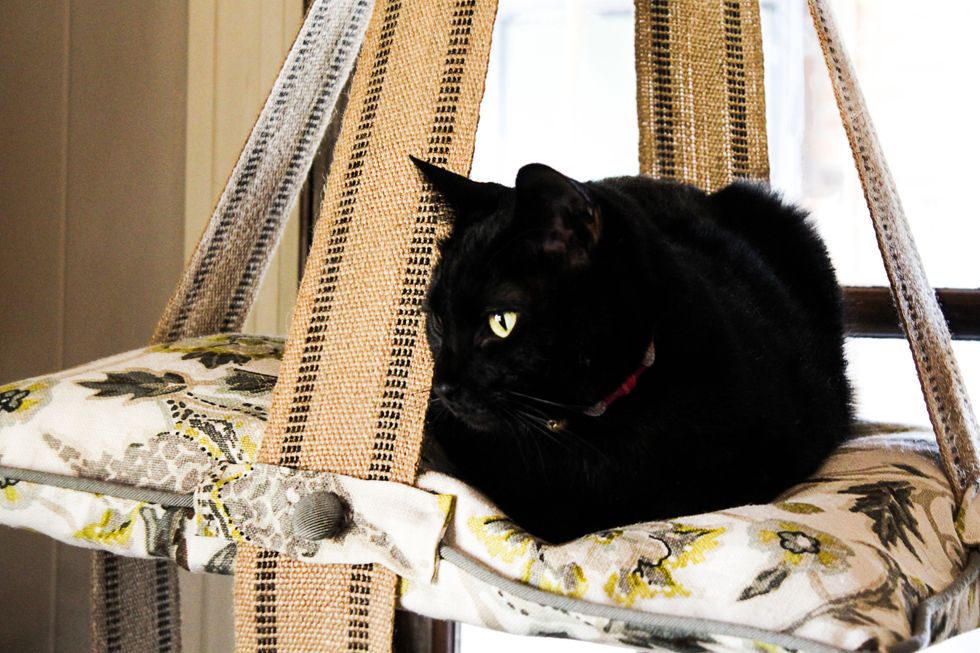
He loves it !
Click on the link to view a video all about it from our youtube channel http://bit.ly/2DyXn3W