The Conversation (0)
Sign Up

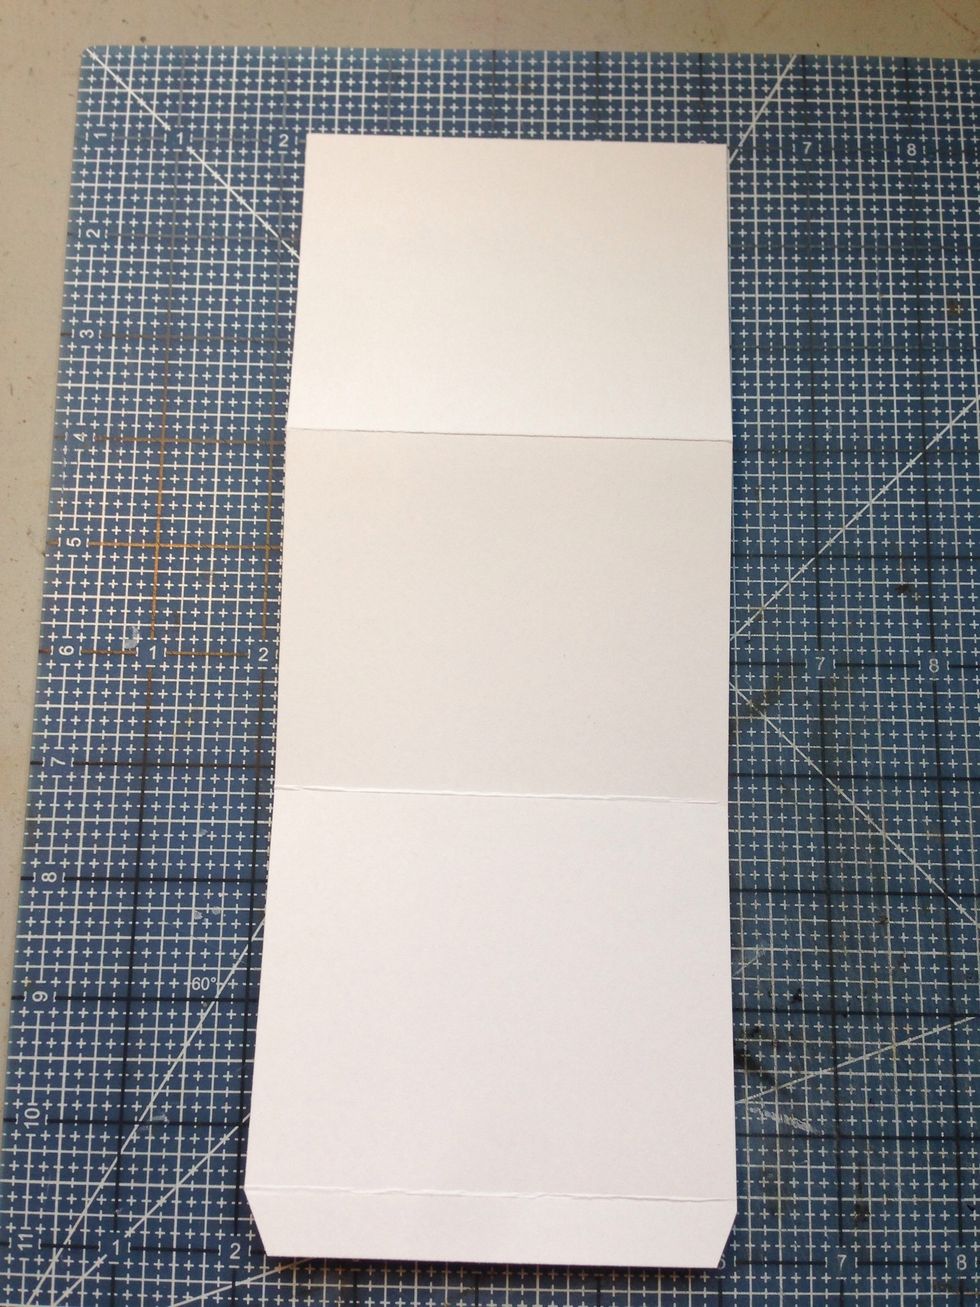
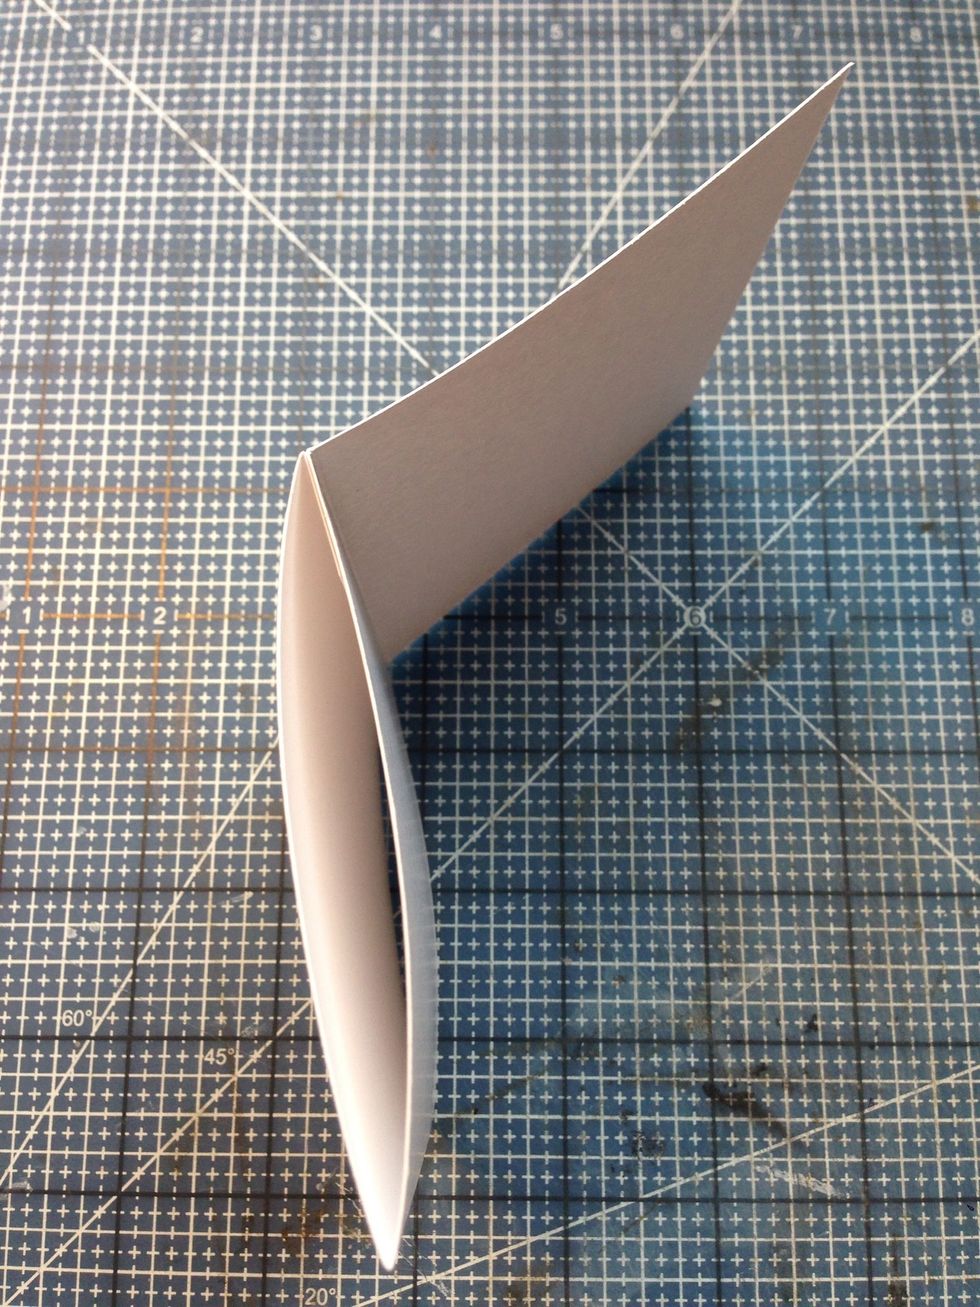
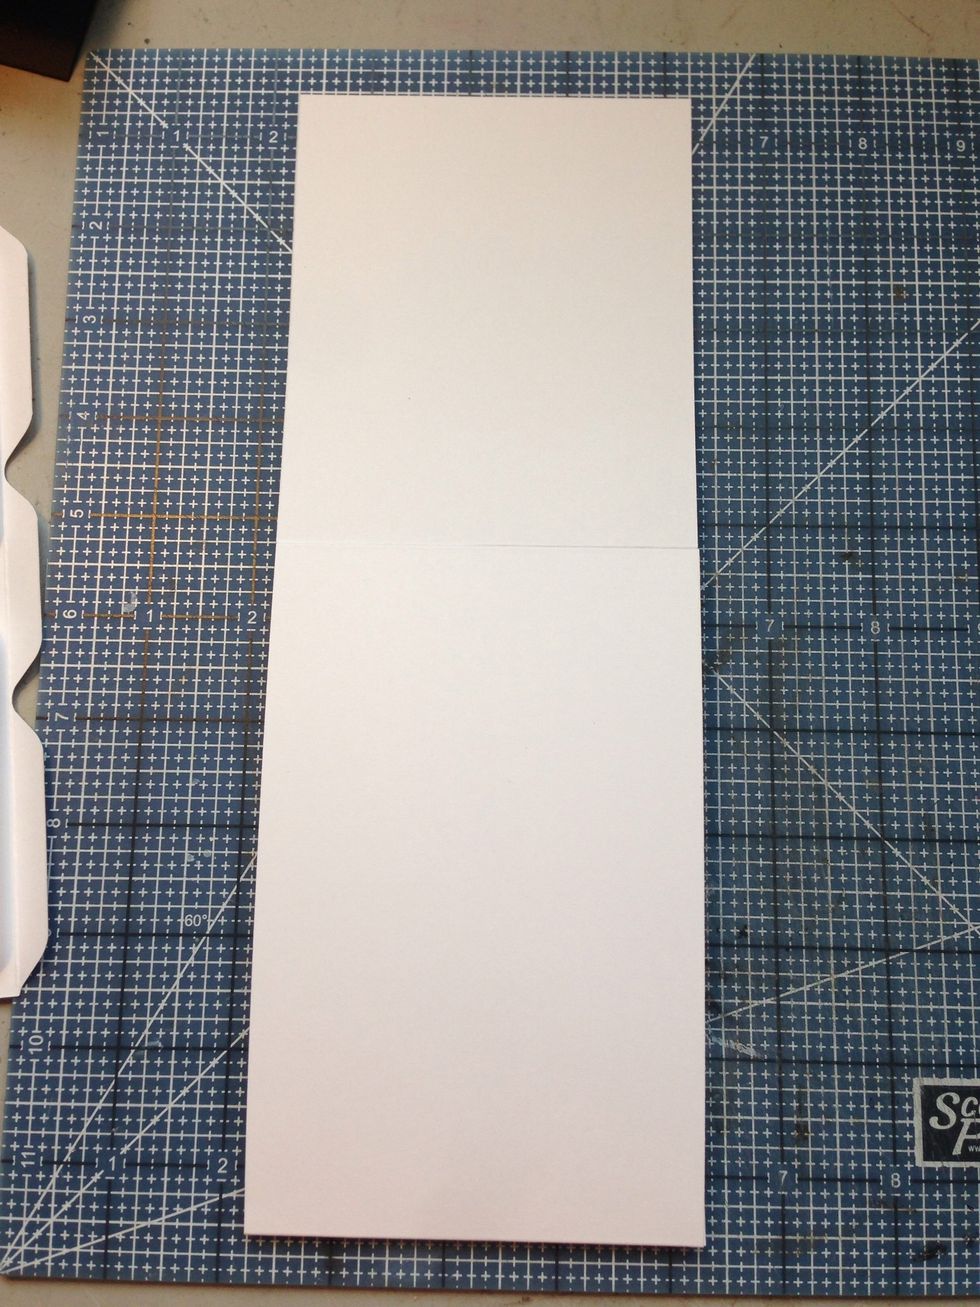
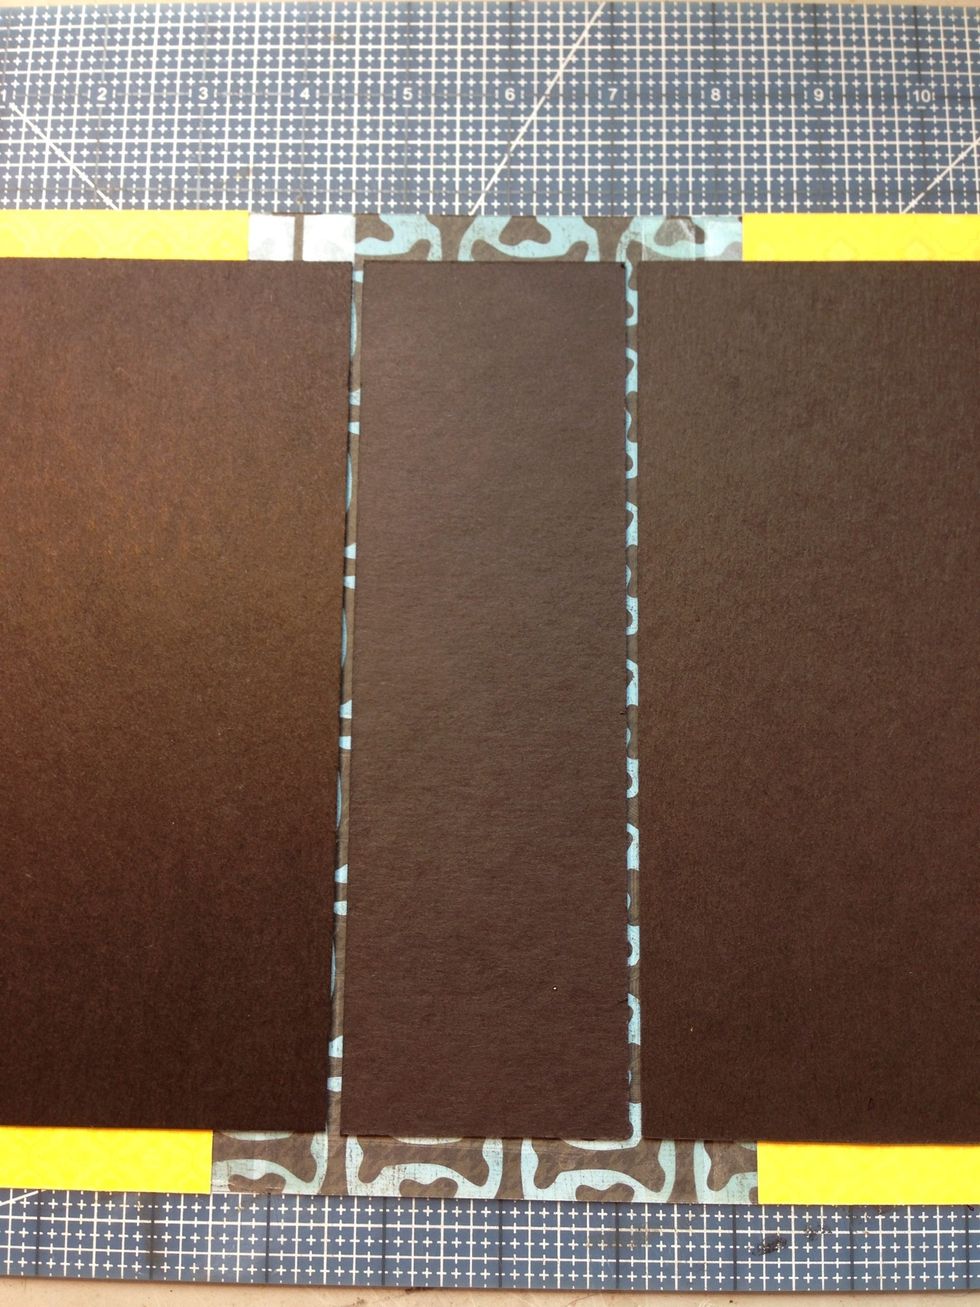
Cut the following from card stock: 1 1/8" x 7 3/4", 1 7/8" x 7 3/4", 2 5/8" x 7 3/4" Score and fold 3/8" from each long side edge.
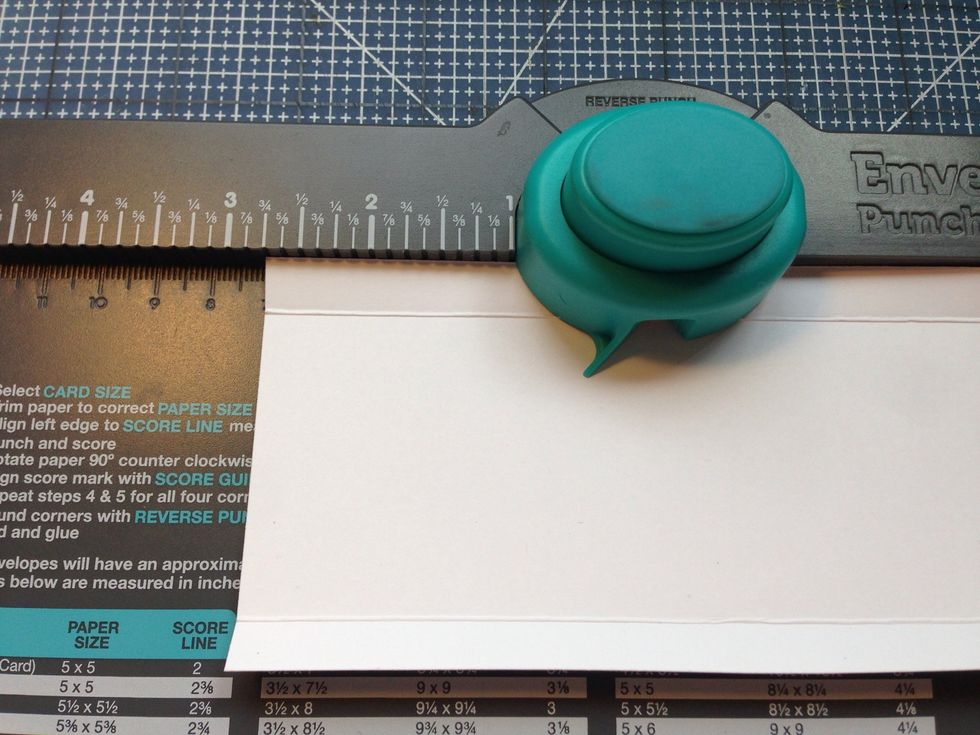
Punch a notch with a We R Memory Keepers Envelope Punch Board at 2 3/4" from each end and on each fin of the narrowest and widest strips. Cut "v" notches if you do not have a Punch Board.
Notch ends of fins with Punch Board as well.
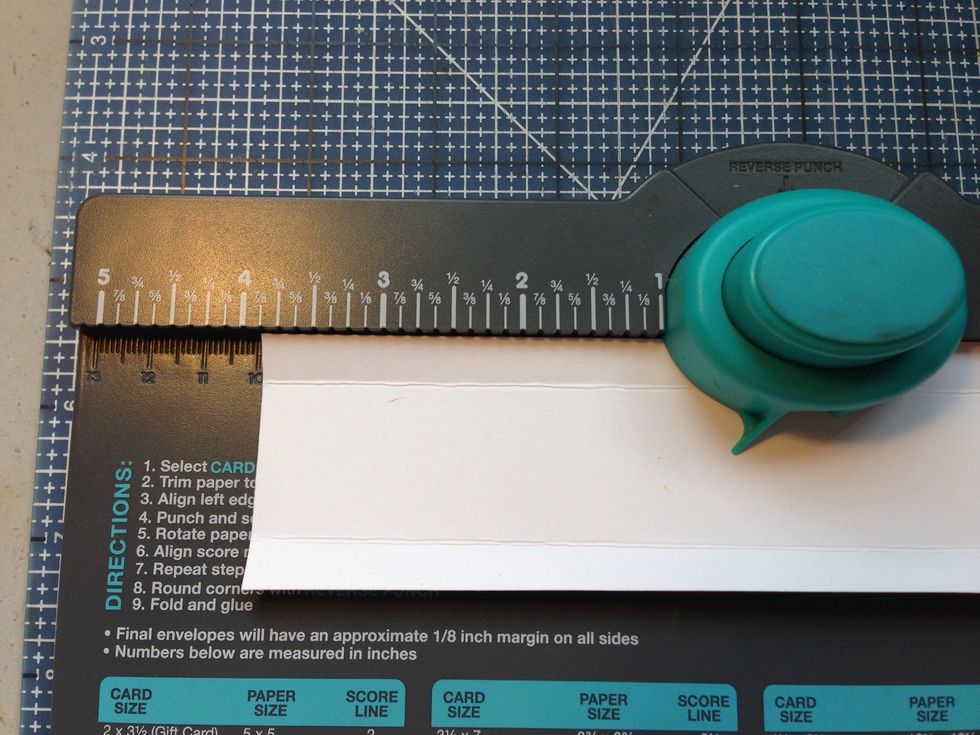
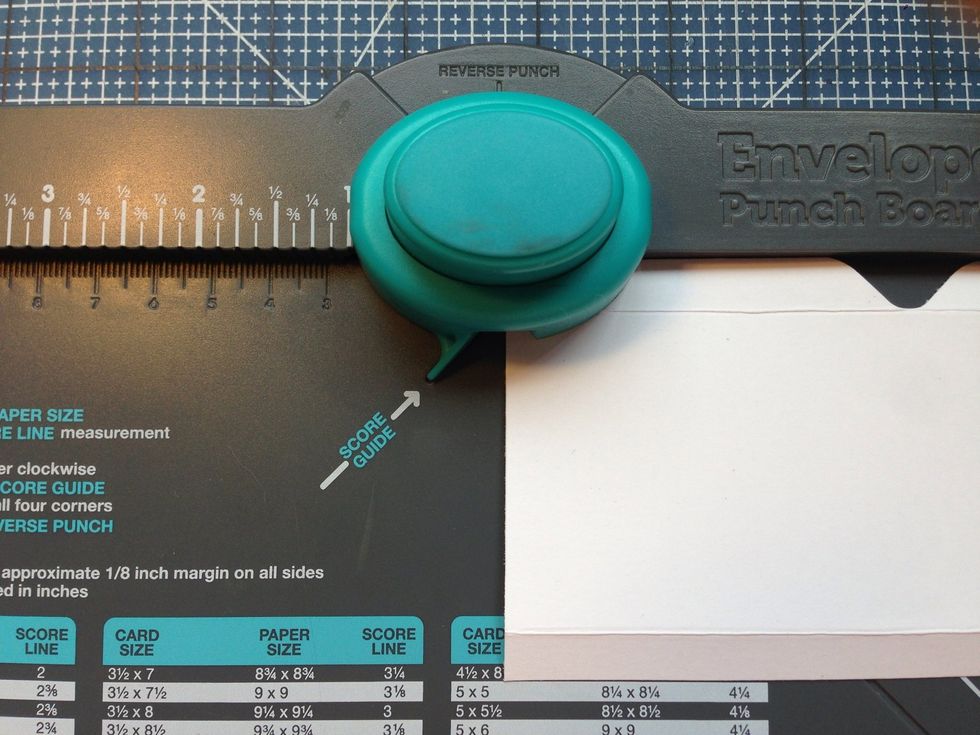
Punch at center (3 7/8" from end) of middle width strip on each fin.
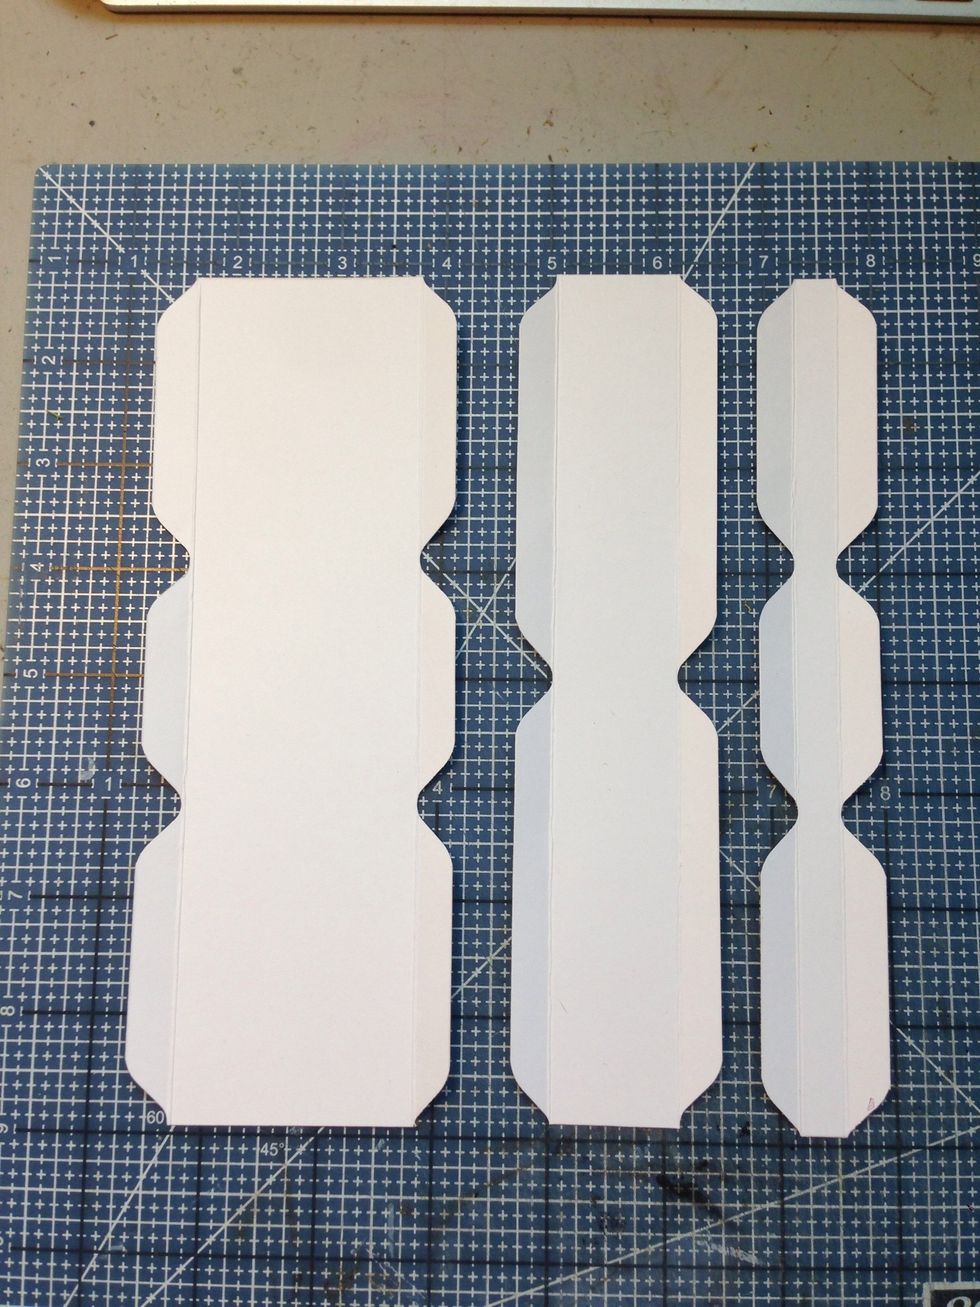
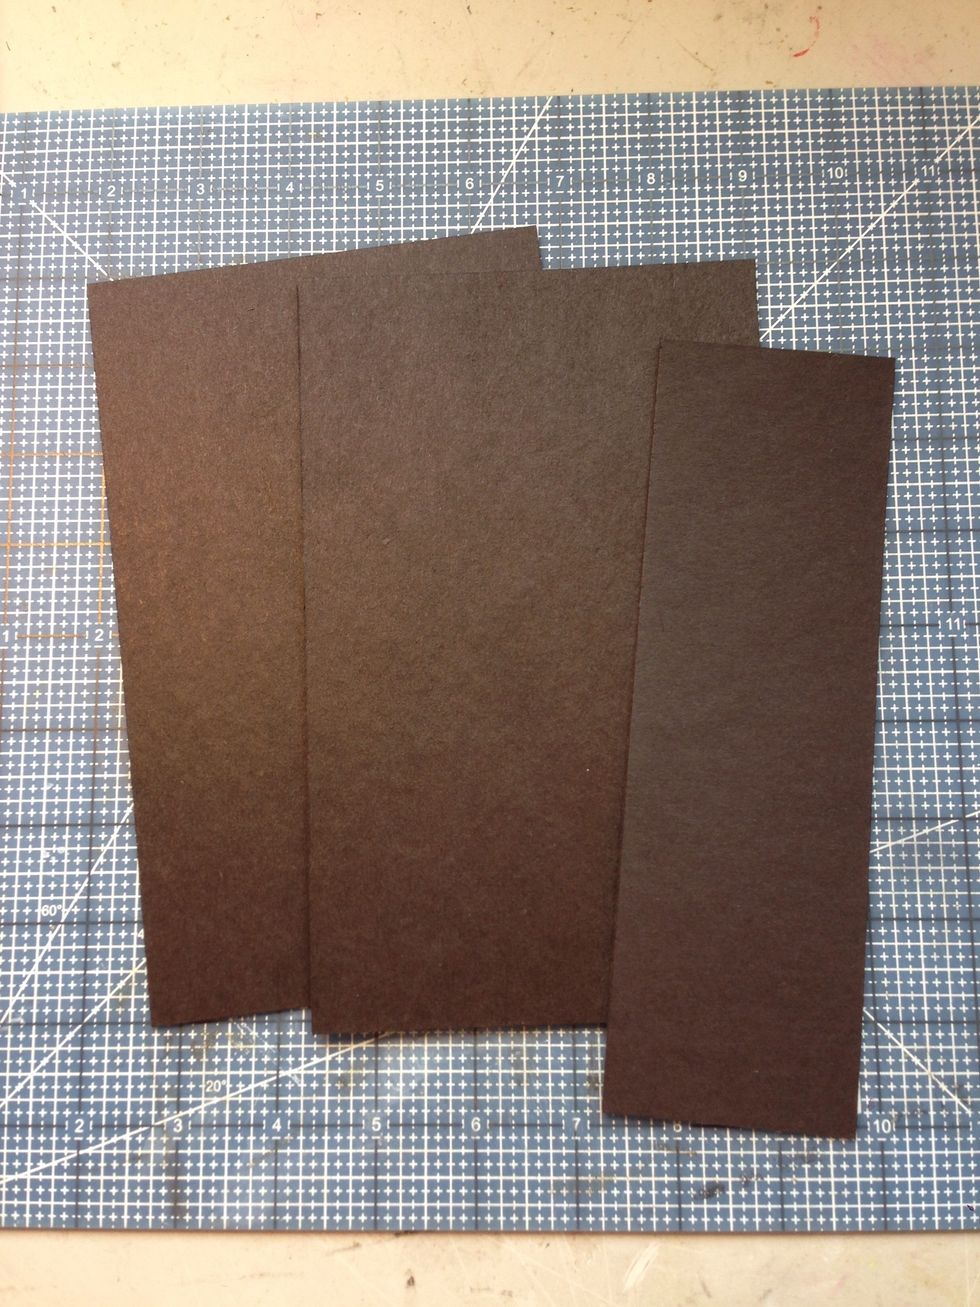
The binding strips should look like these.

Stack the binding strips in ascending order as shown....Stack the Deck! Attach with strong adhesive or glue.
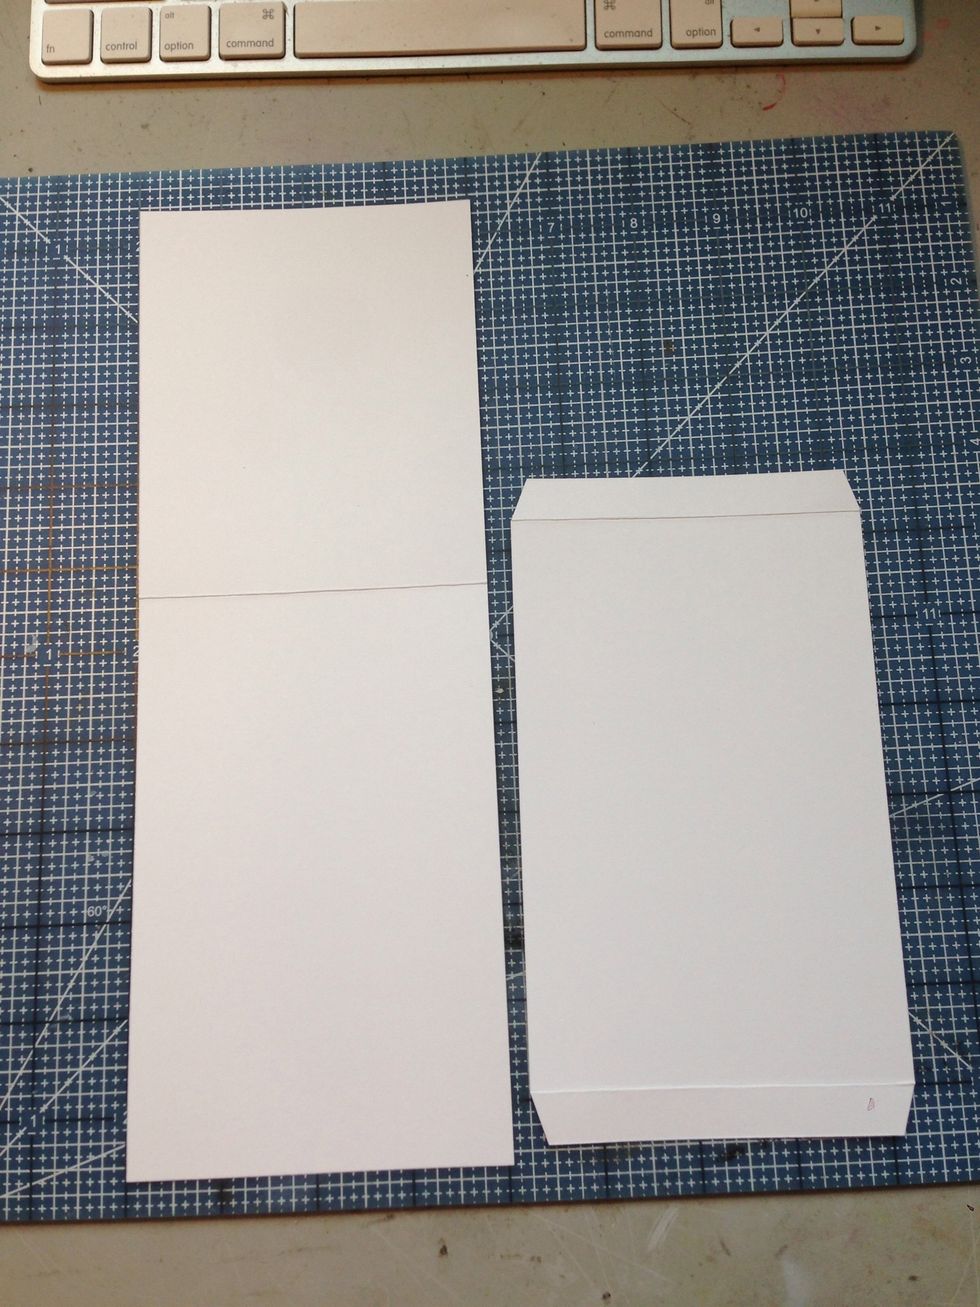
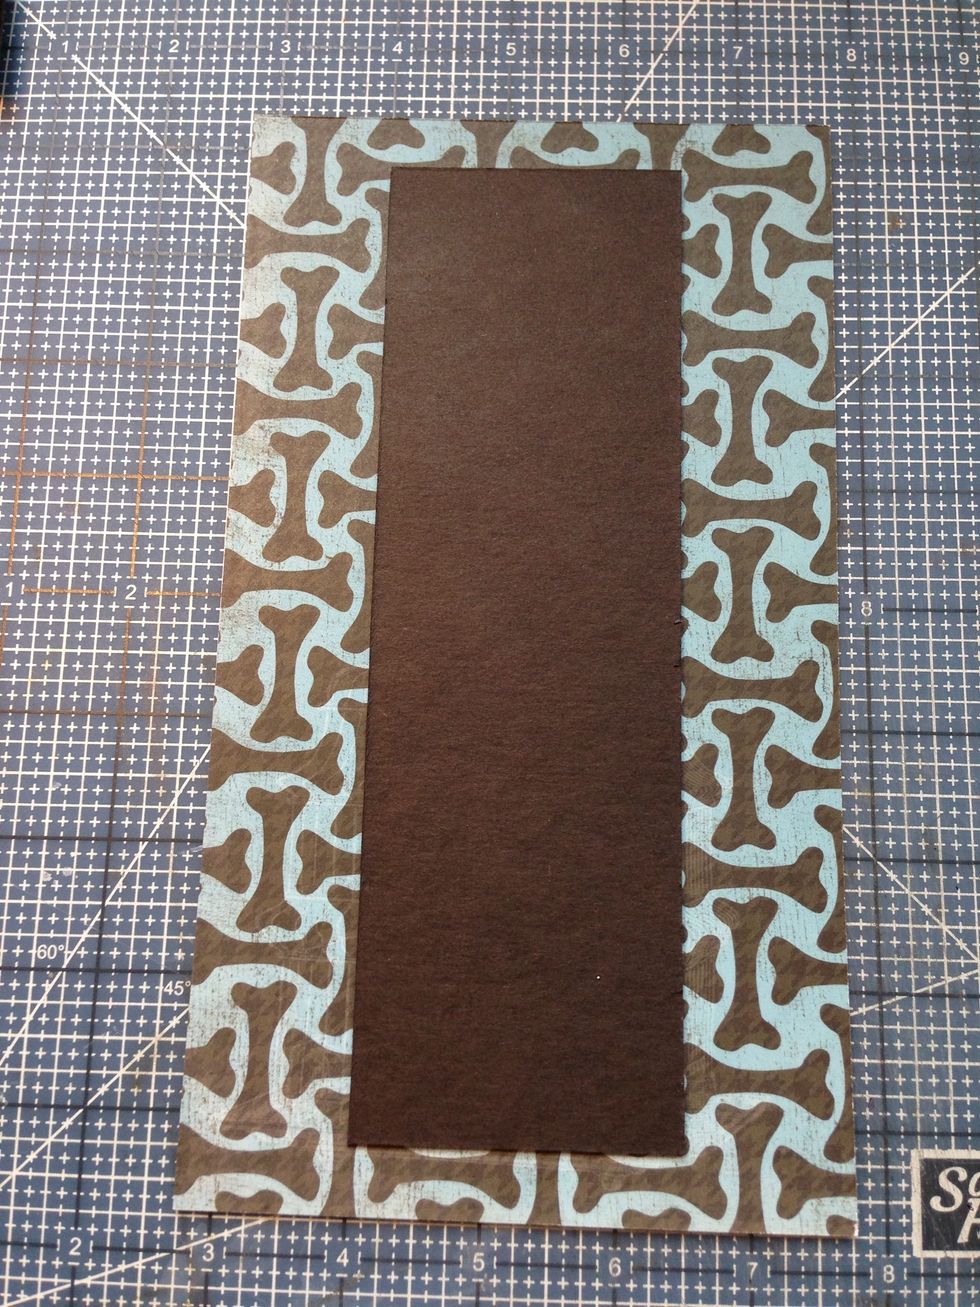
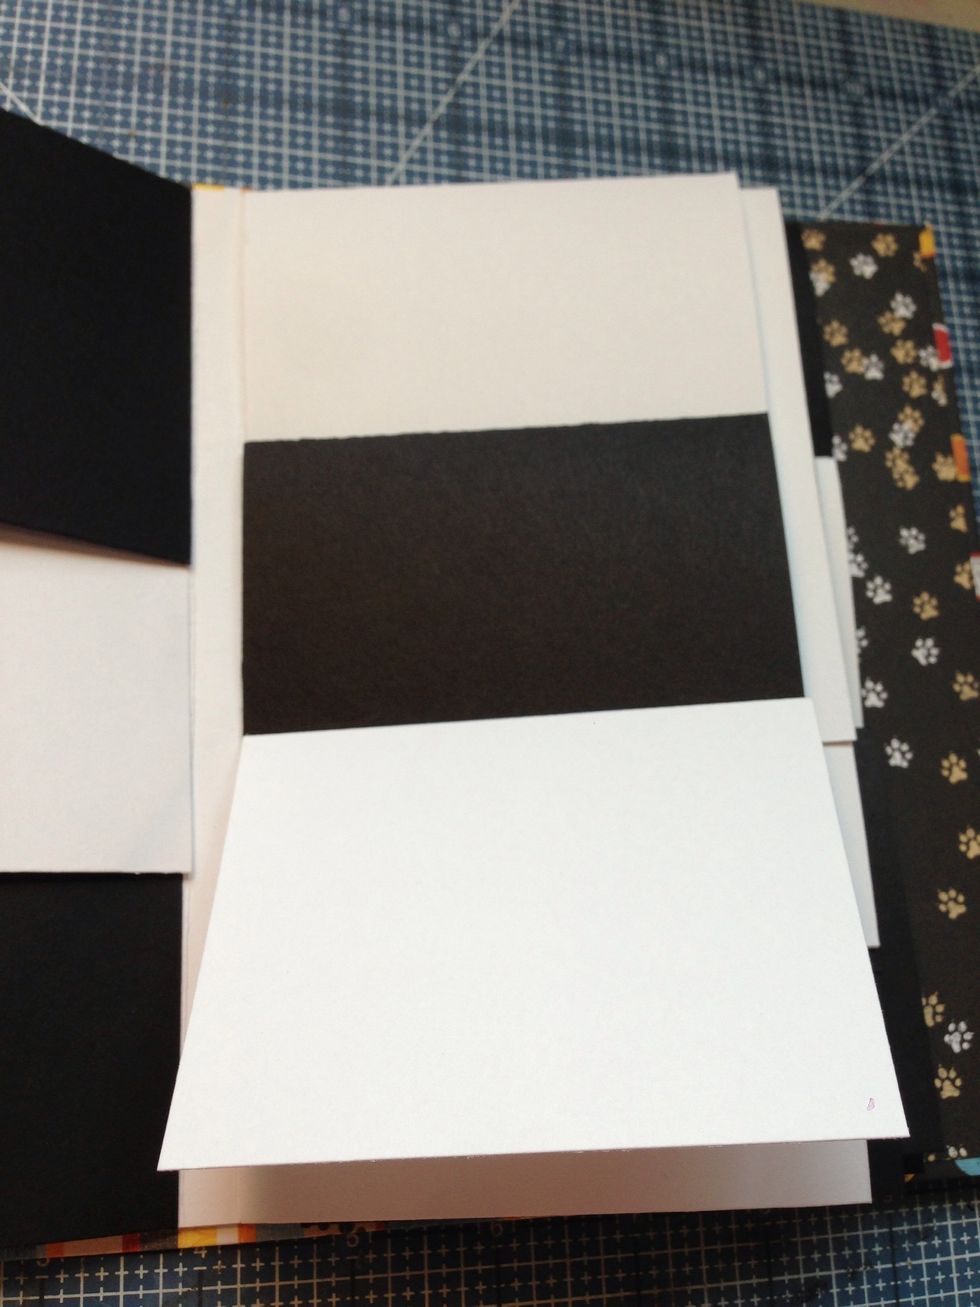
Creat smaller pockets for the first, third, fourth, and sixth fins by cutting a 4" x 10" rectangle from card stock. Score and fold at 1/2", 3 3/4", and 7" from one end. Notch corners of 1/2" tab.
Fold and attach tab to create a 3 1/4" sleeve with a 3" flap.
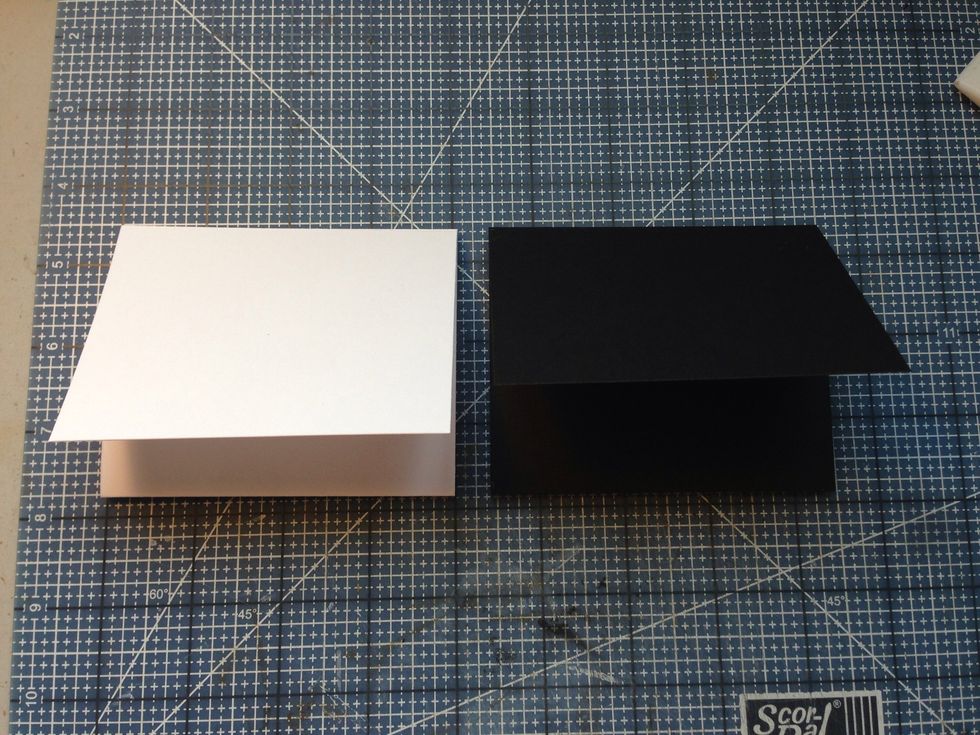
Make 6 each of the two colors of card stock. One color can be used if desired.
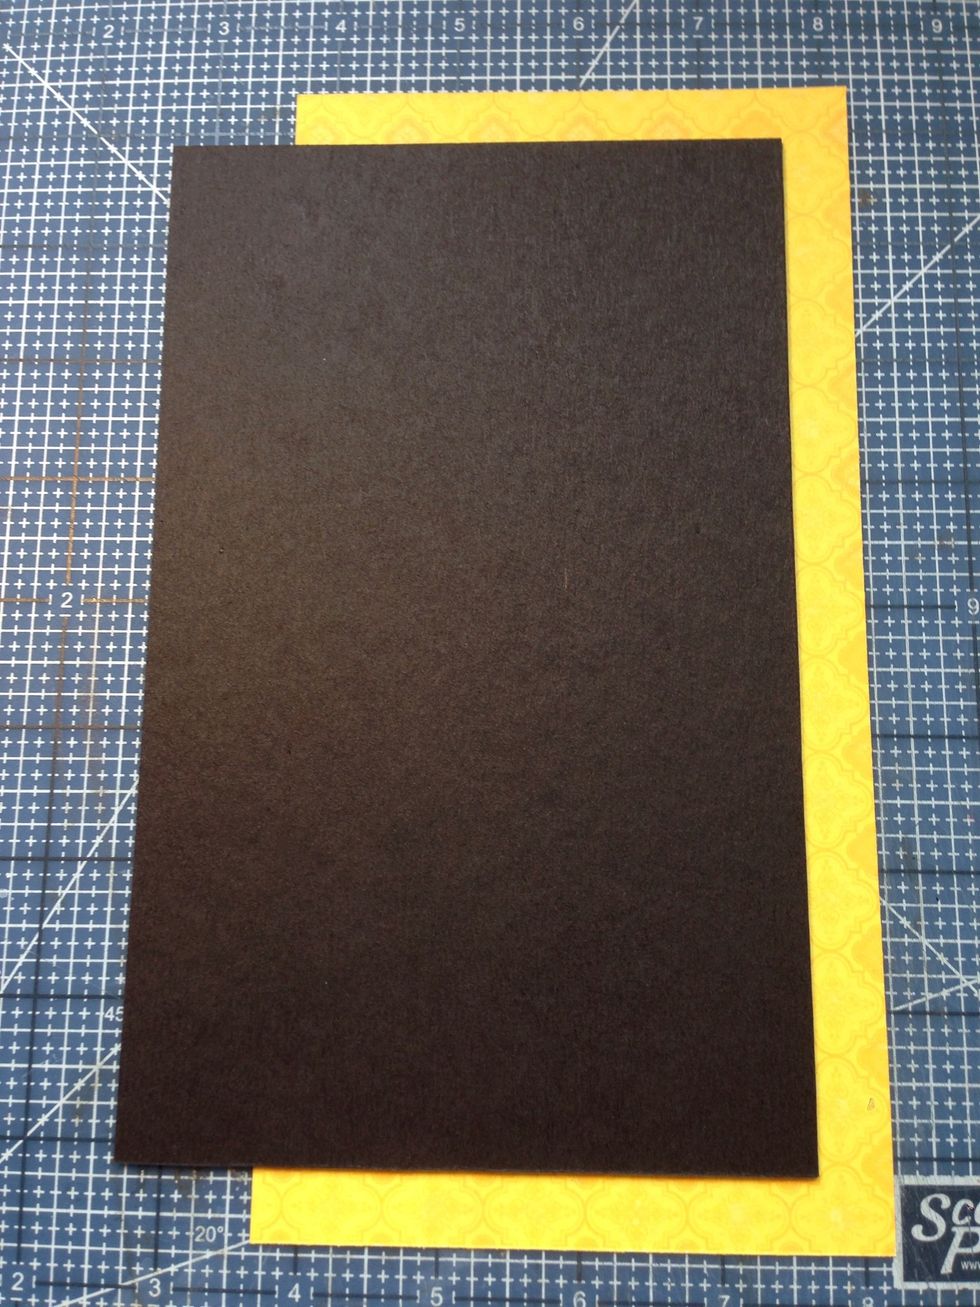
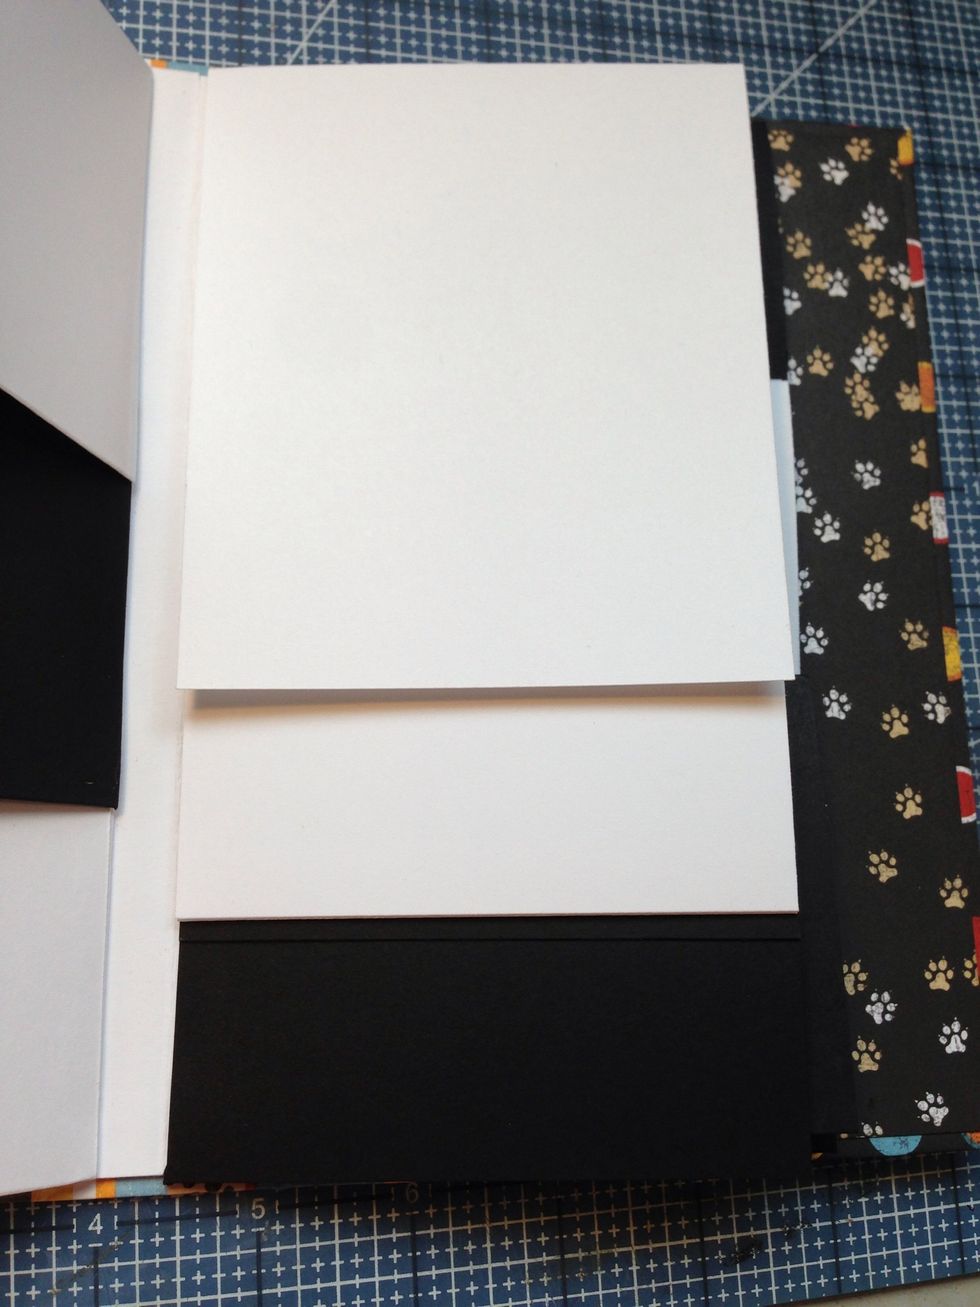
For larger pockets, cut a 4" x 7 1/4" rectangle and a 4" x 11" rectangle. Score and fold larger rectangle at 6 1/4" from one end. Score and fold smaller rectangle at 1/2" from each end. Trim corners
Attach tabs of smaller rectangle to larger to create a 6 1/4" sleeve with flap. Make 2 each of the two colors of card stock.
Cut two 5" x 8" and one 2 1/2" x 8" pieces of medium weight chip board
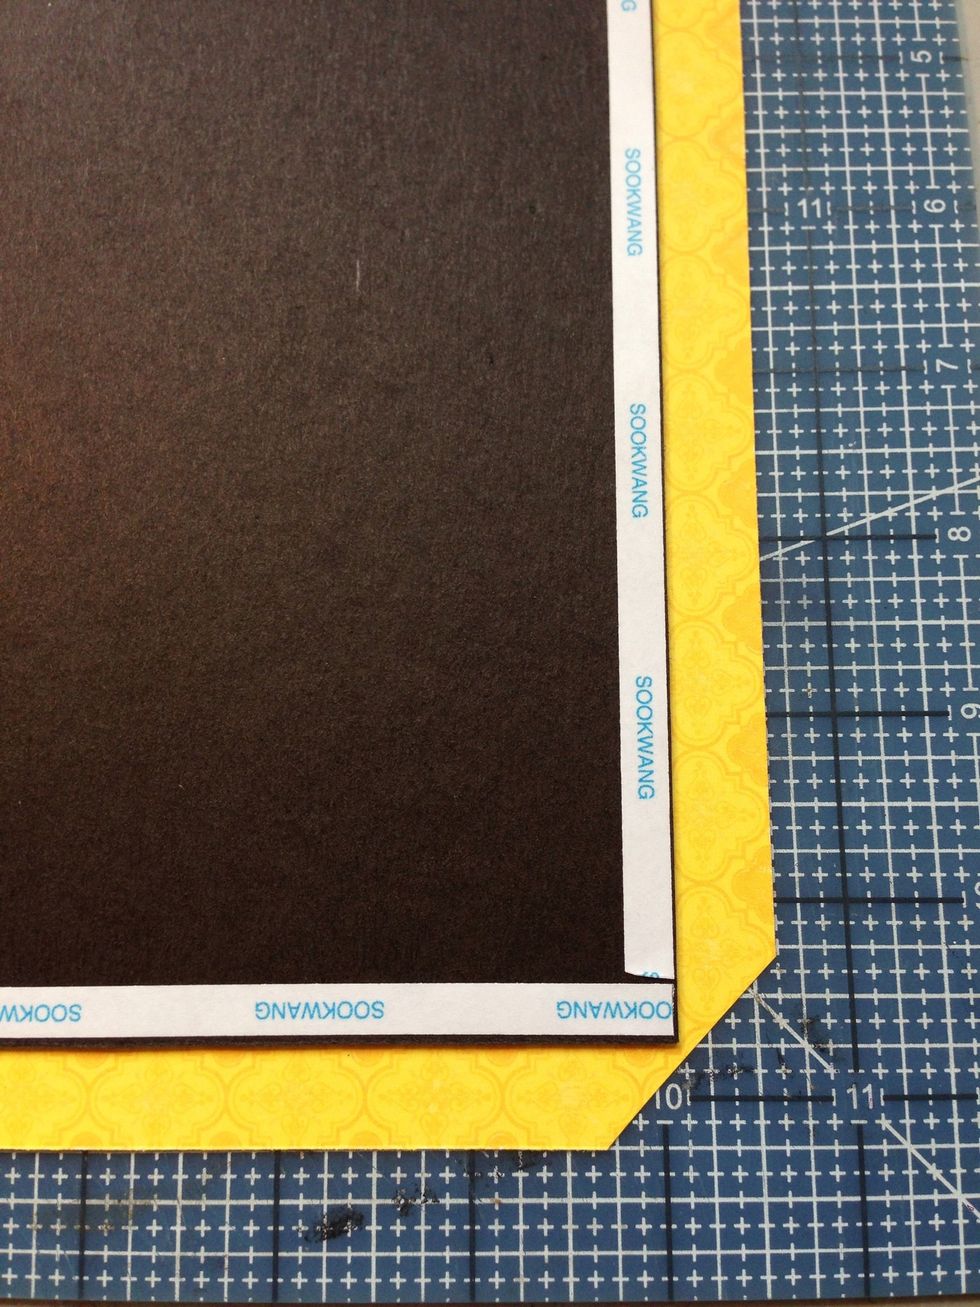
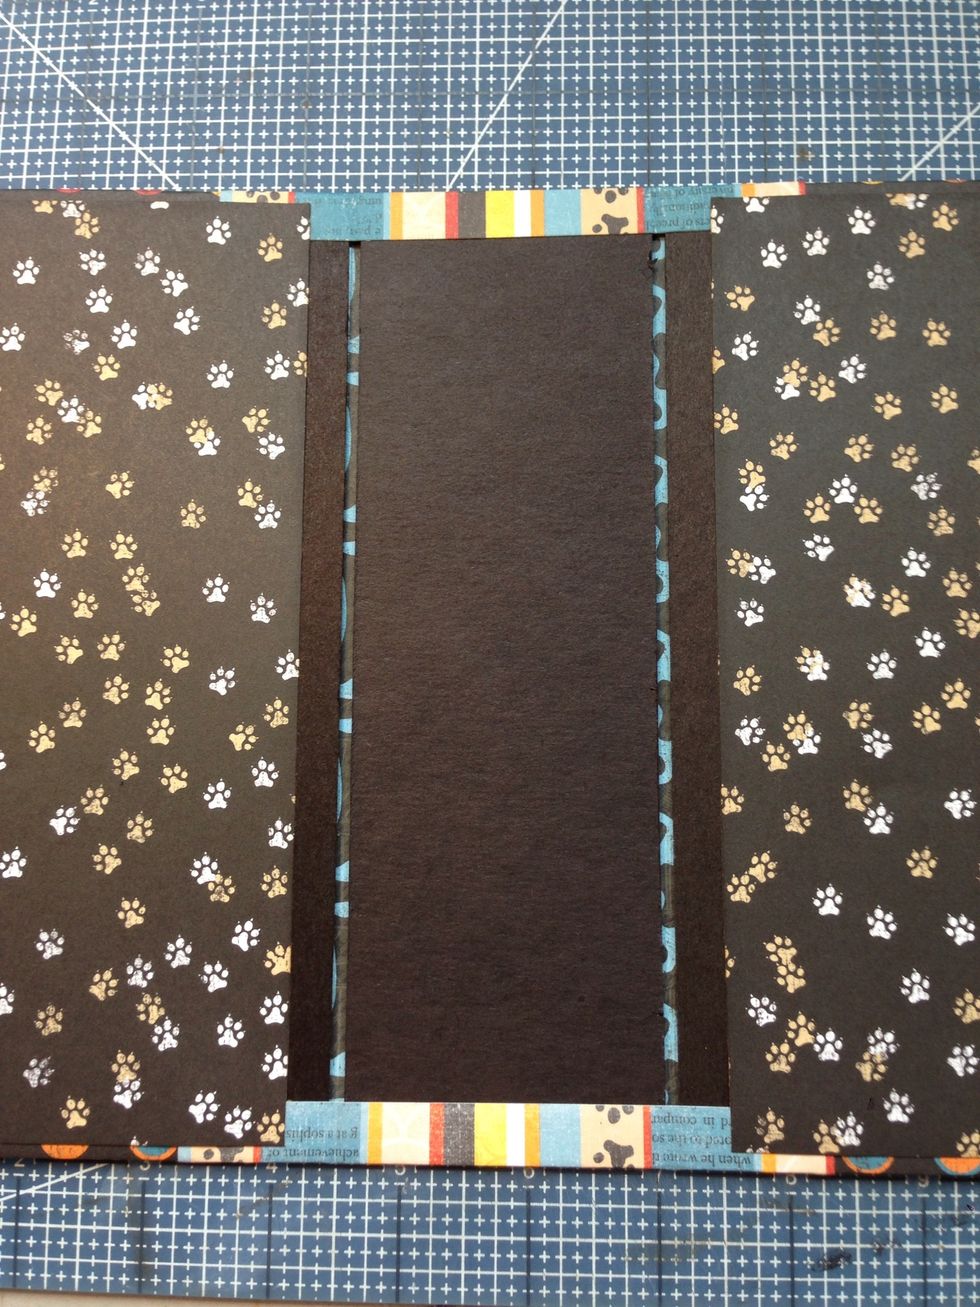
Cut a 5" x 9" pieces of patterned paper for outer spine cover. Attach spine chipboard centered on paper.
Cut a 4 1/2" x 9 piece of patterned paper for front and back covers. Attach chipboard cover to paper with 1" of chipboard exposed along spine edge. Make mirror image if directional paper.
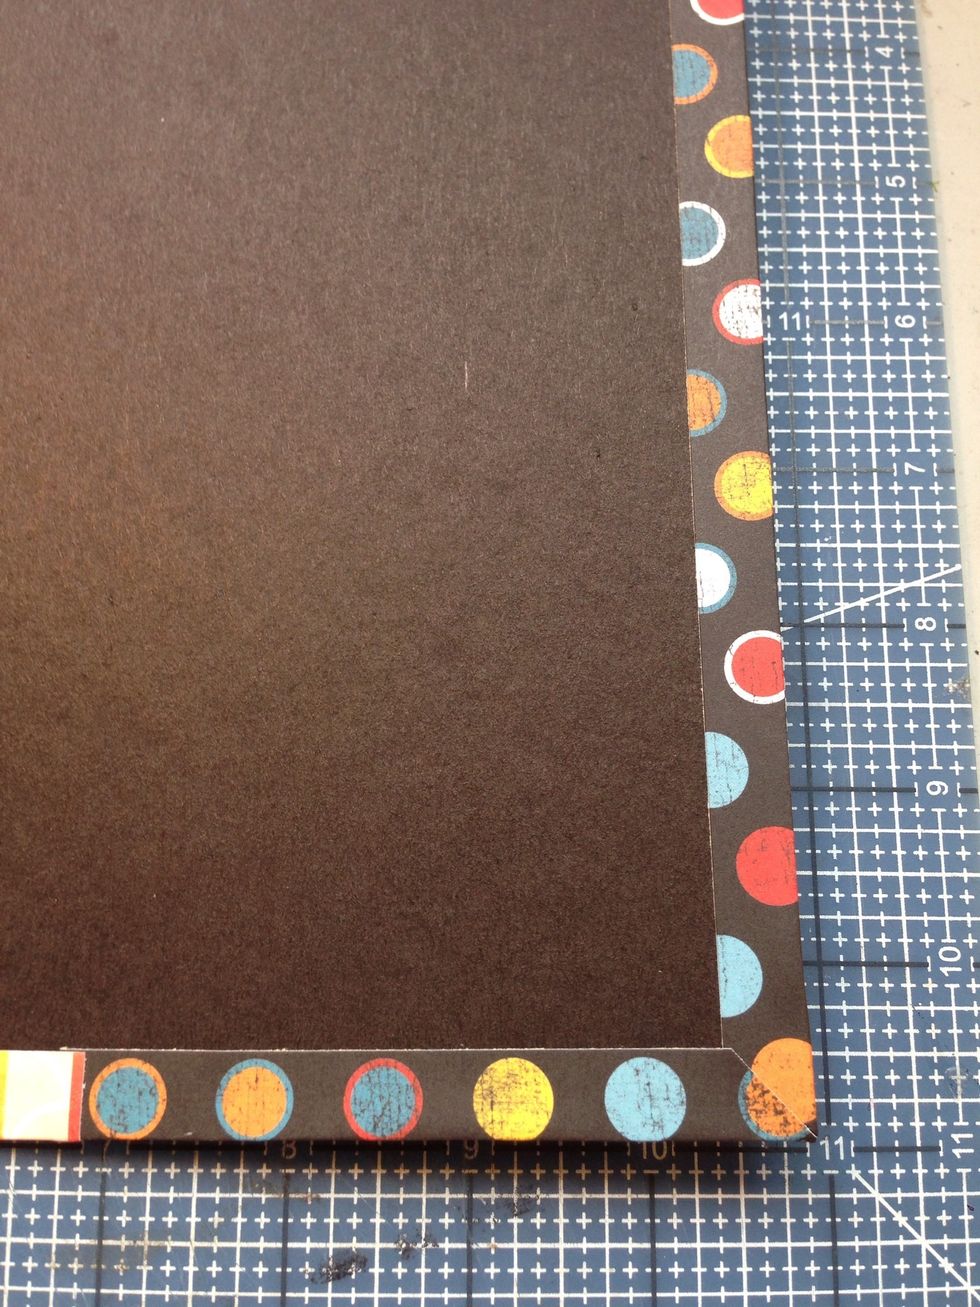
Attach front and back covers to spine cover with strong adhesive or glue.
Trim paper at corners as shown.
Wrap paper around edge of chipboard. Glue are attach with strong adhesive.
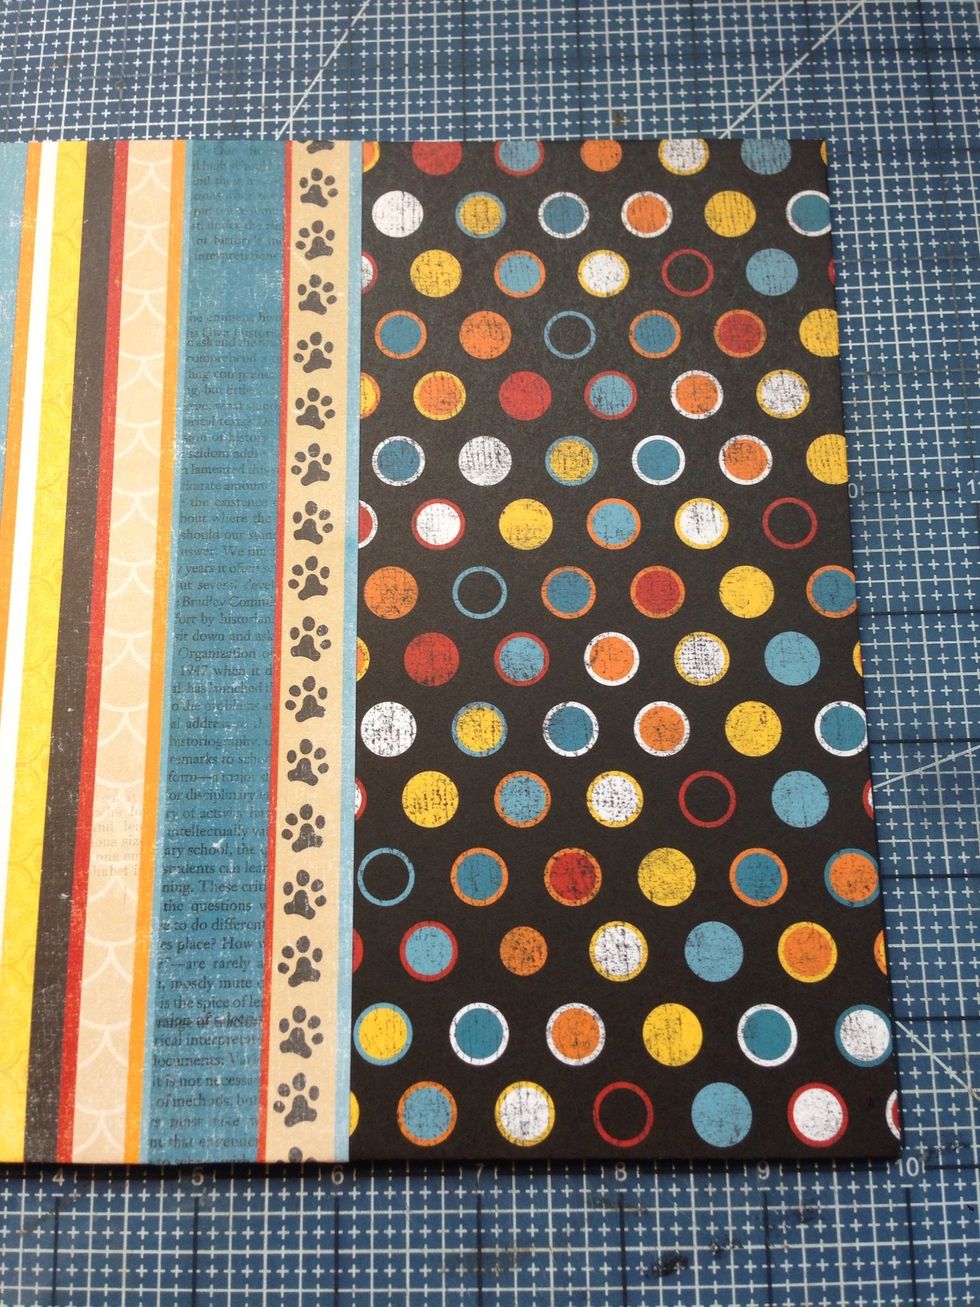
spine paper with cover edge of cover paper on front and back covers.
Cover the inside covers with patterned paper. leaving spine exposed as shown.
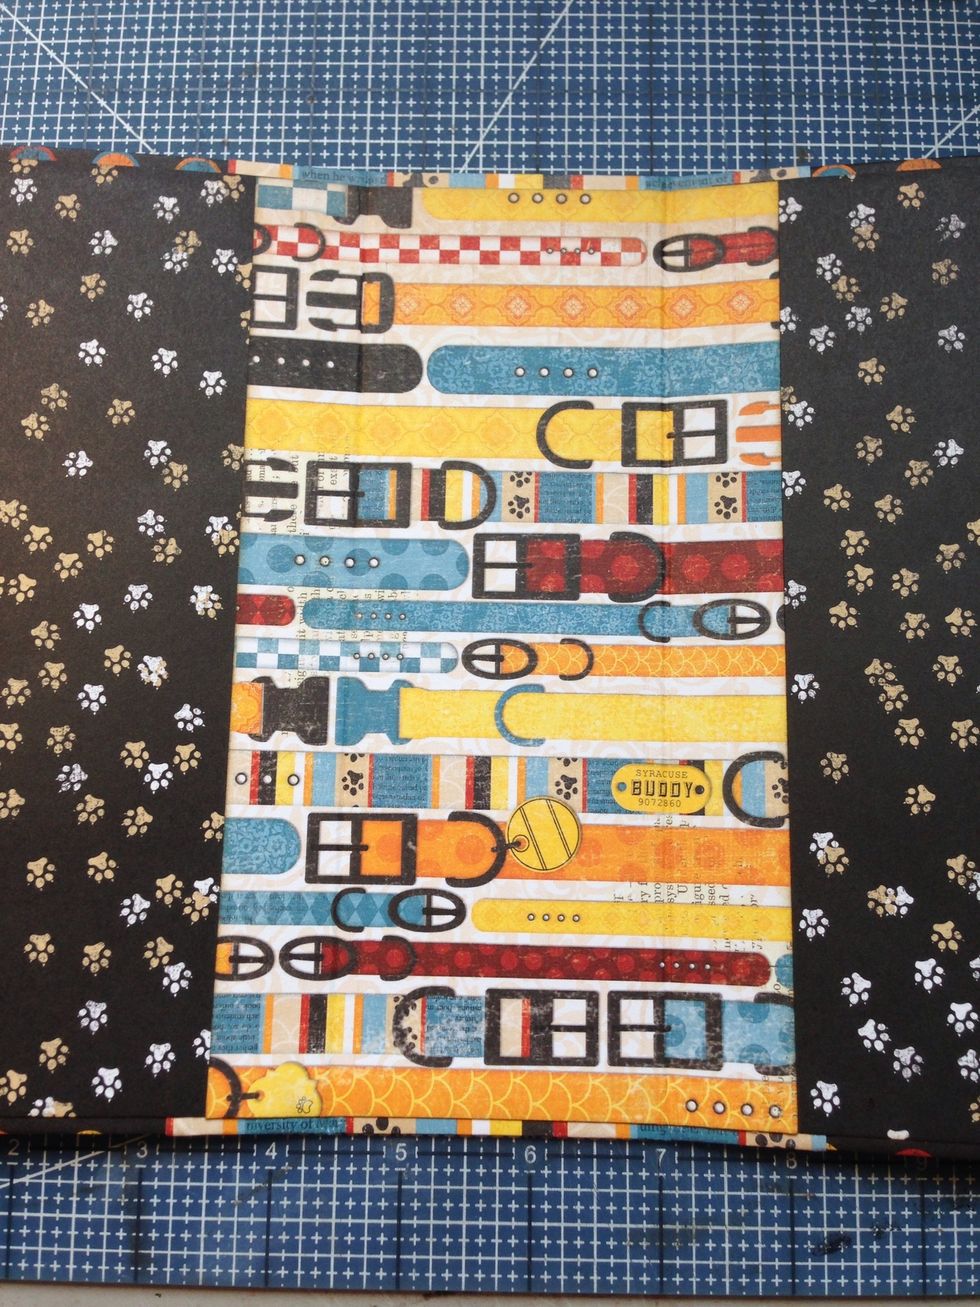
Cover spine with patterned paper. Apply glue or adhesive on each side of both joints of spine.
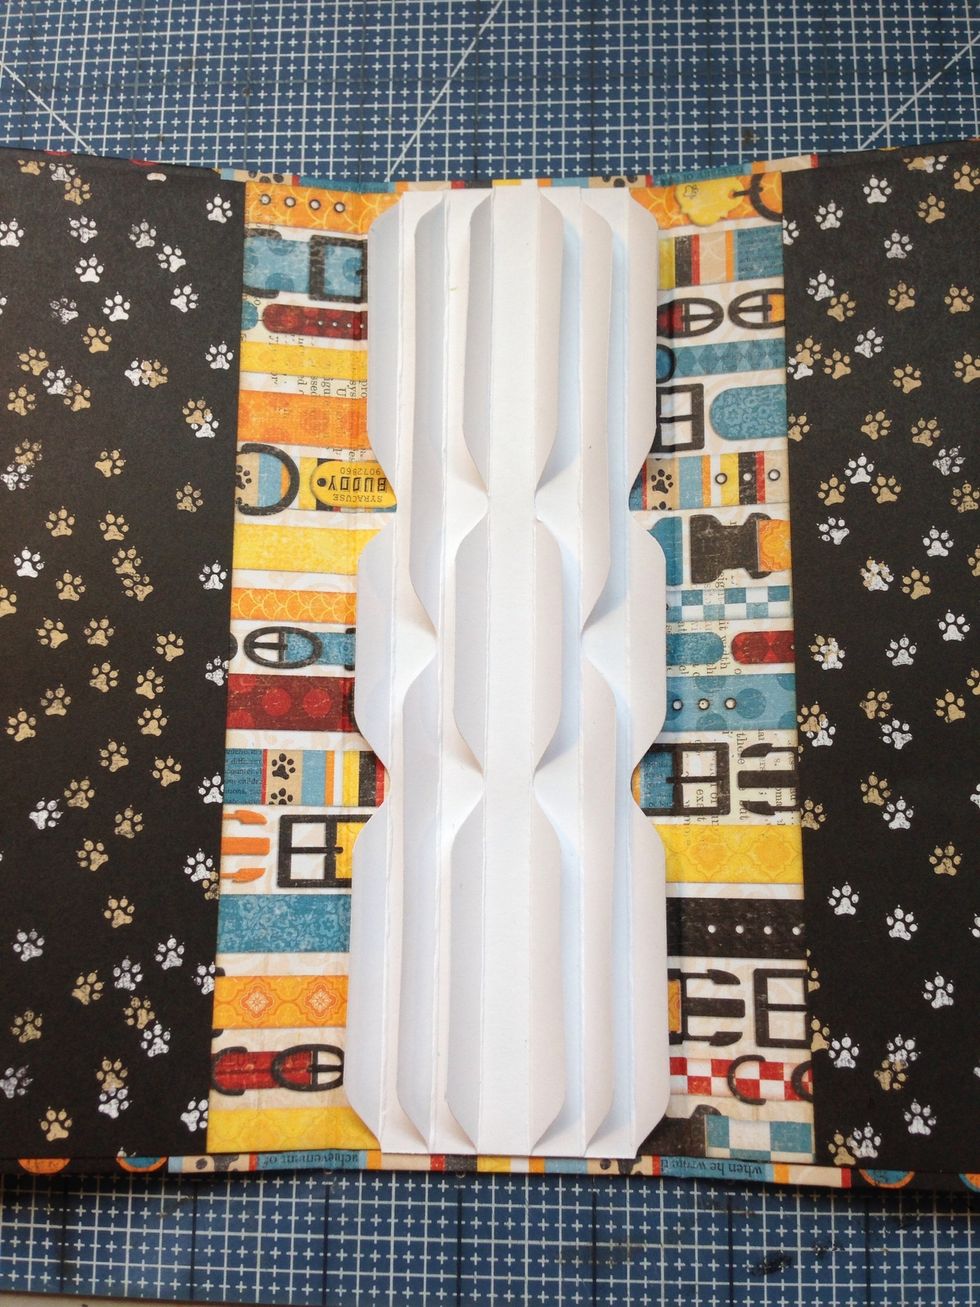
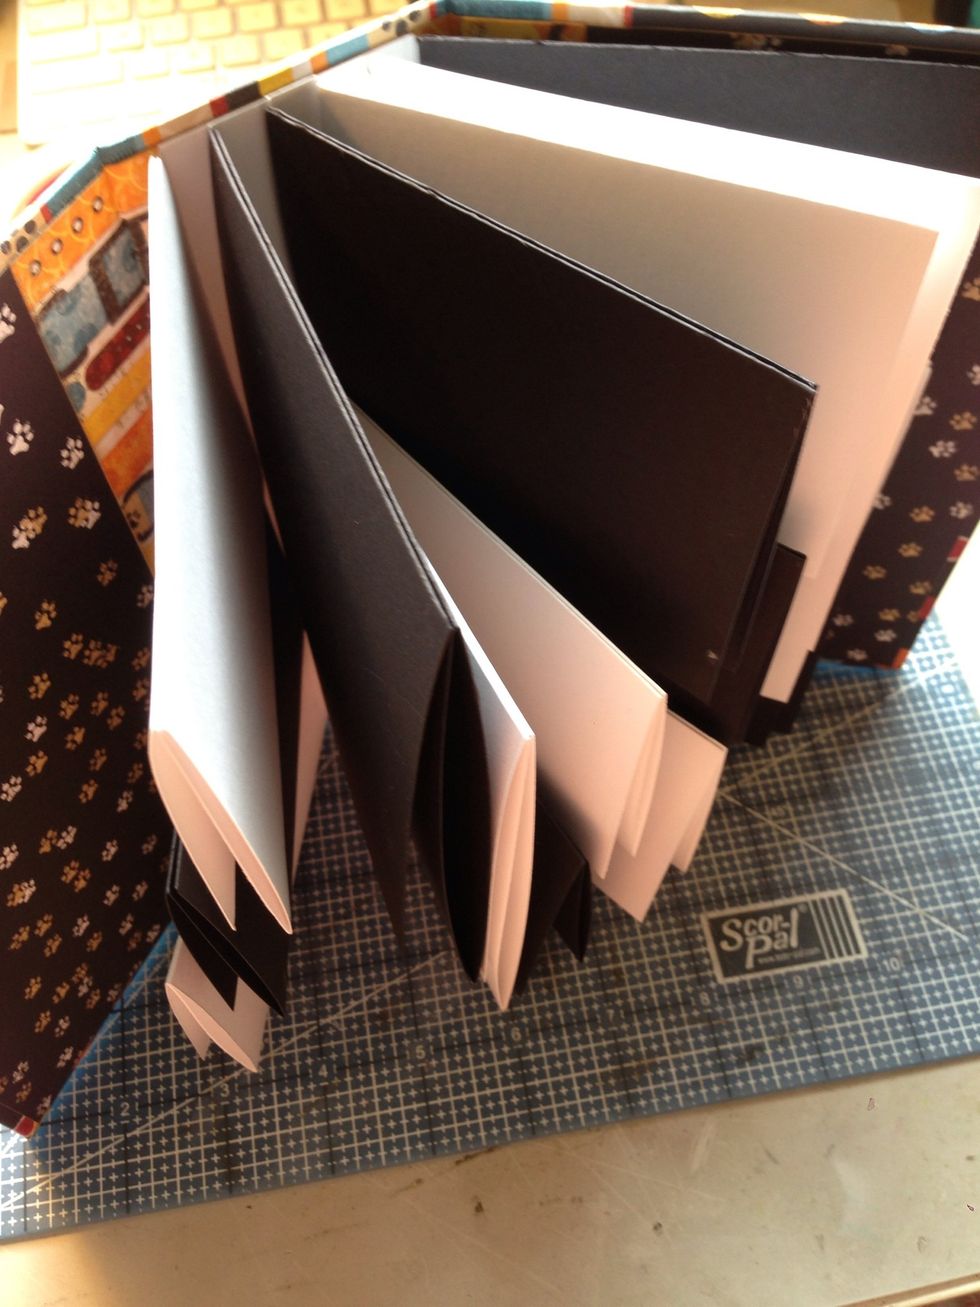
Attach your Stack the Deck binding unit to the center of the the spine.
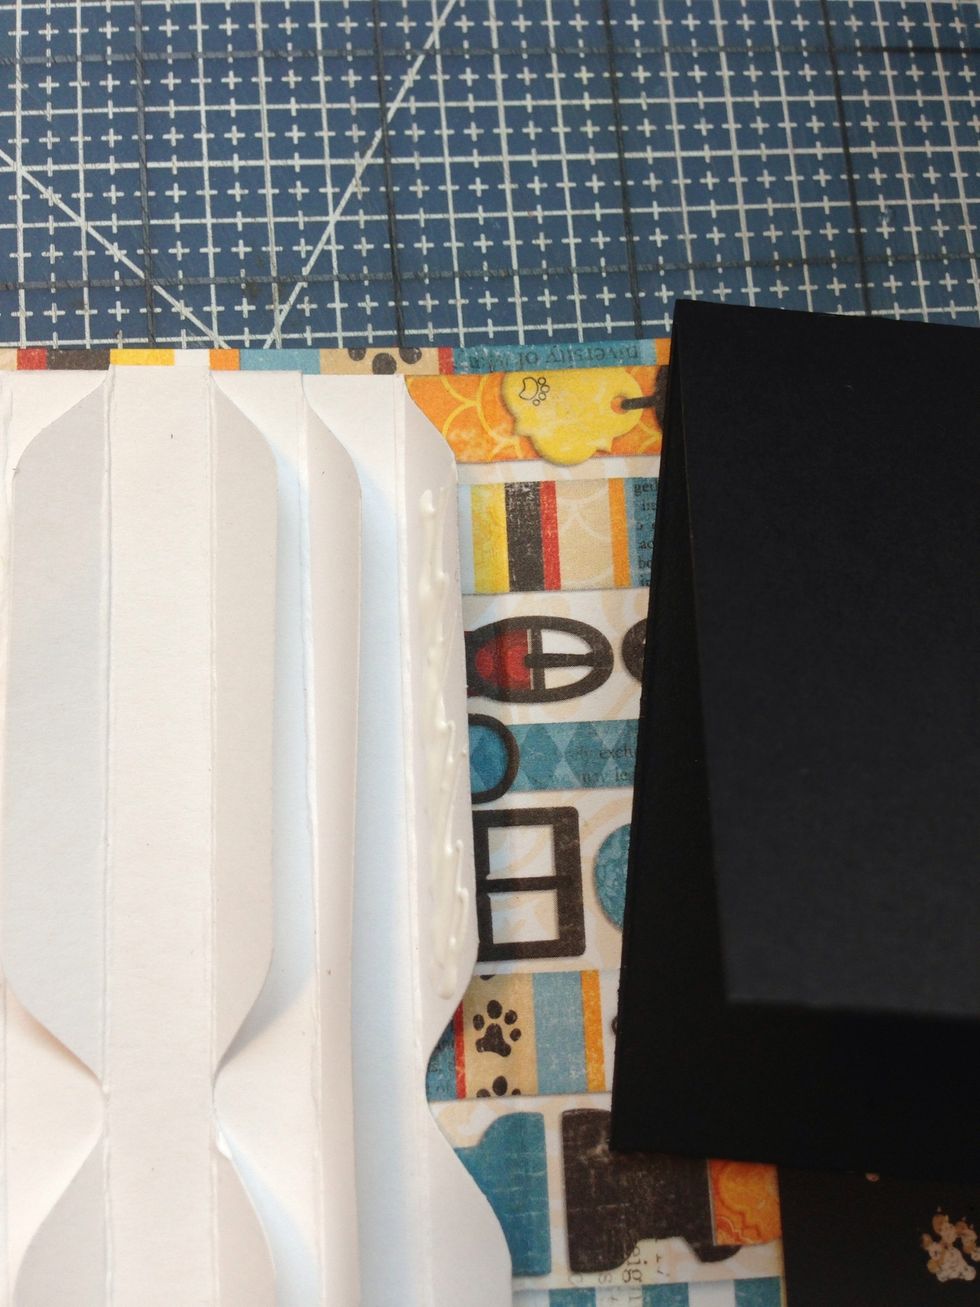
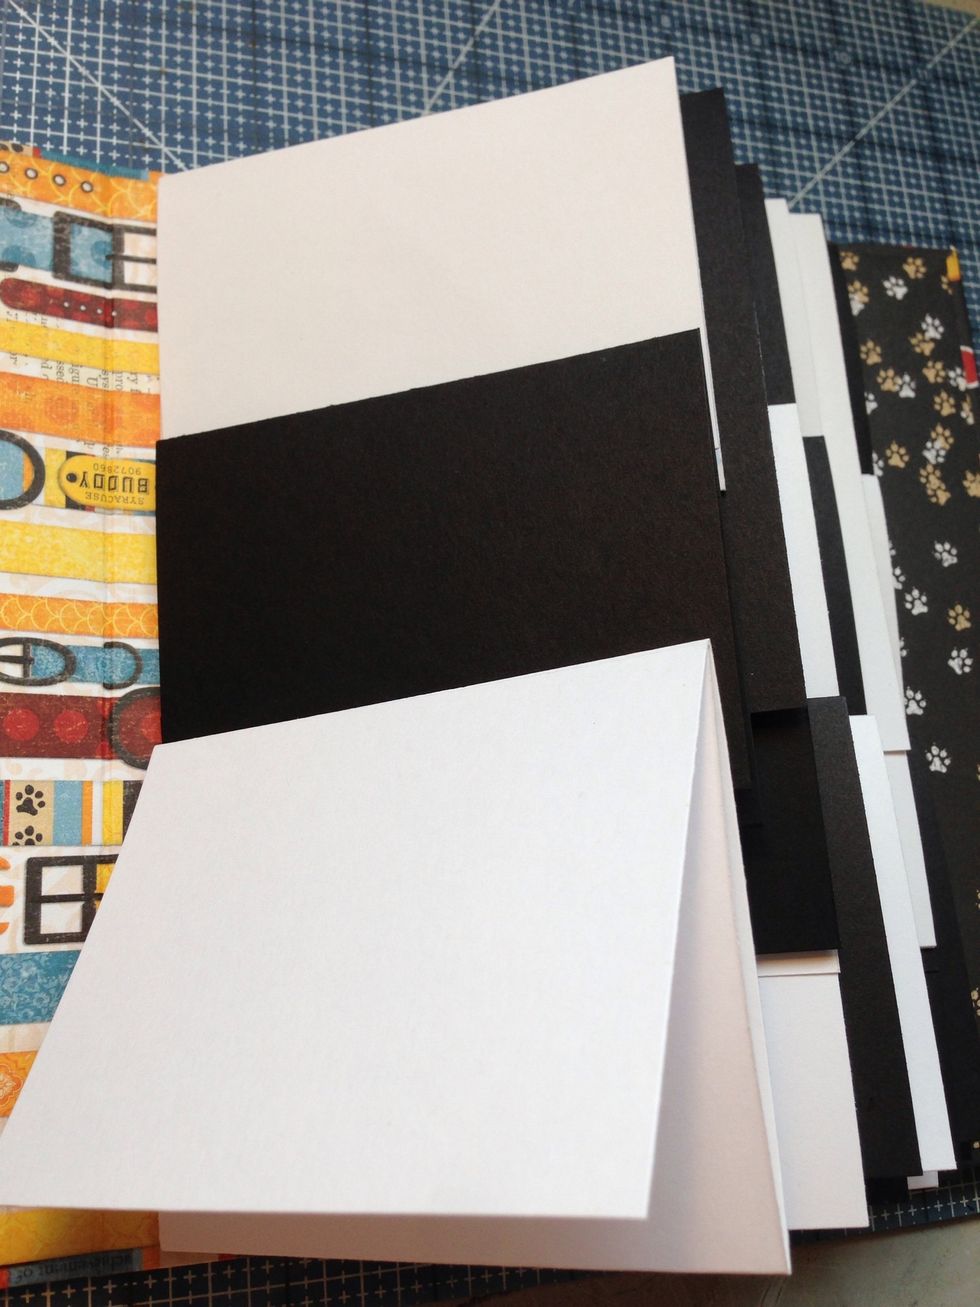
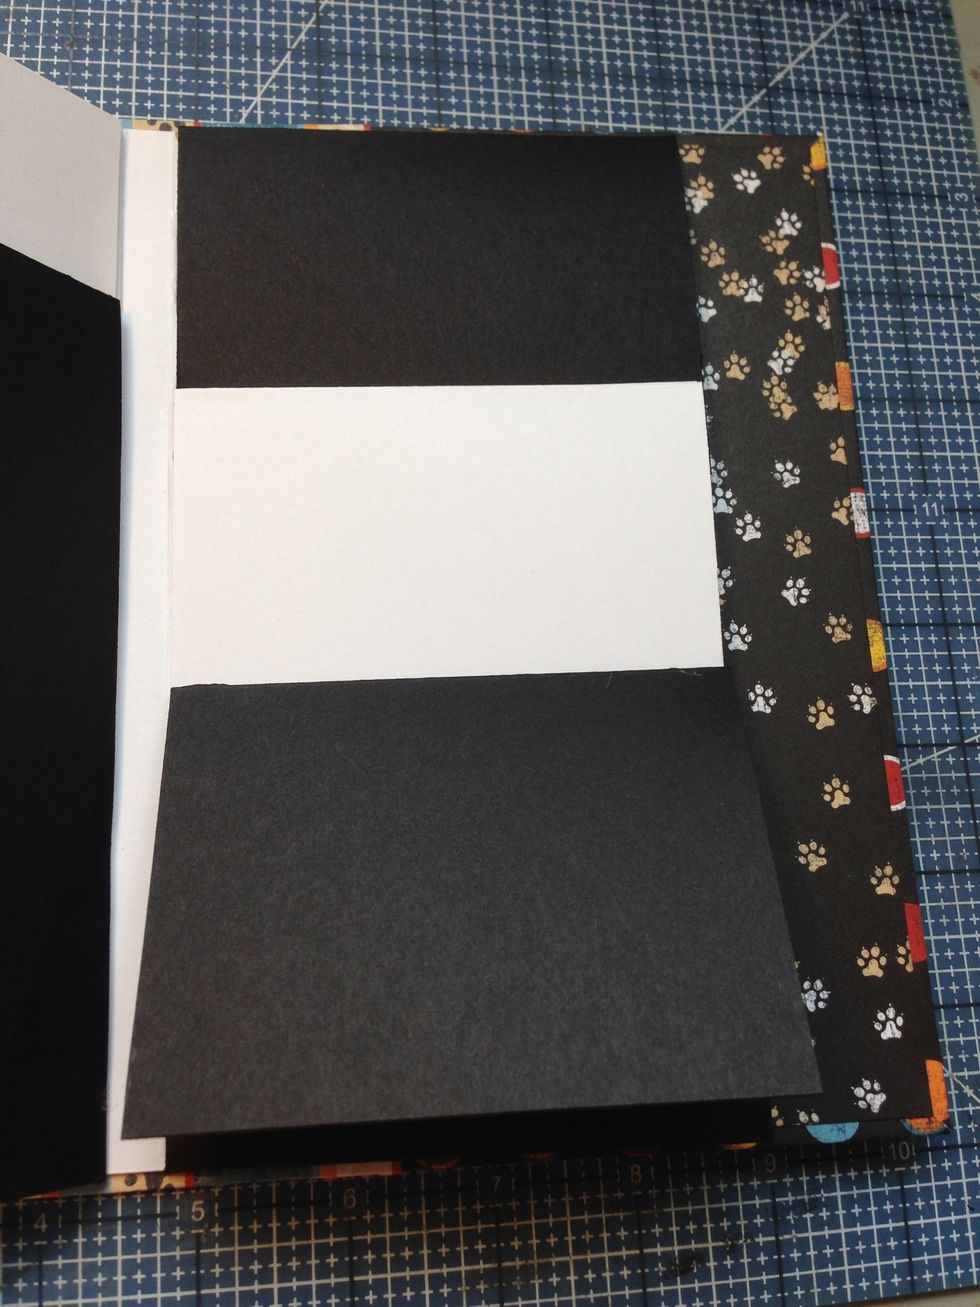
Glue sleeve pockets to fins. the fins will be narrower than the sleeve pocket. Align top and bottom pockets with edge. Center middle pocket.
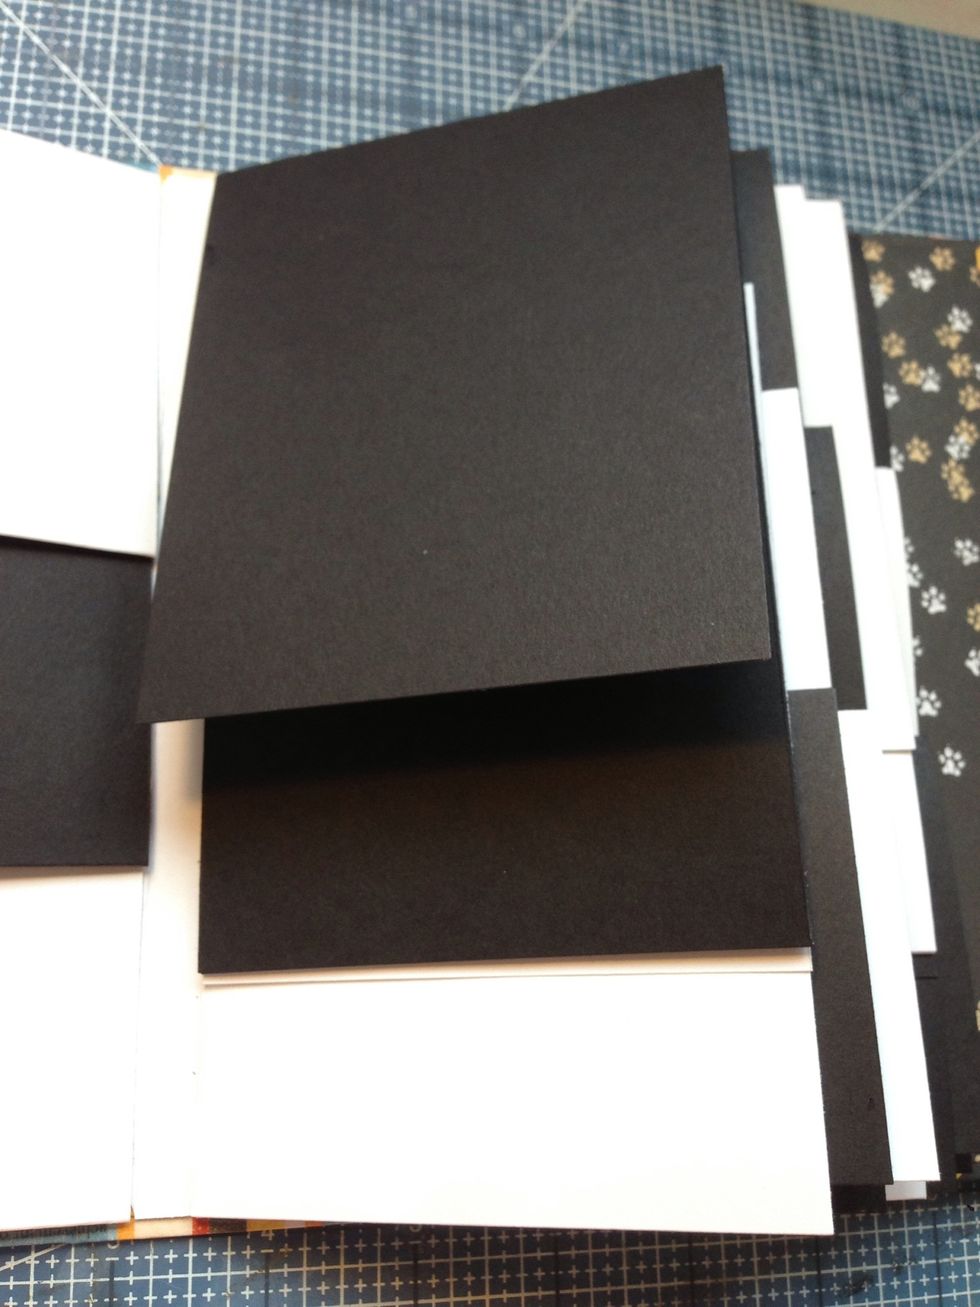
Alternate and arrange pockets as desired.
Arrangement of Fin A.
Arrangement of Fin B.
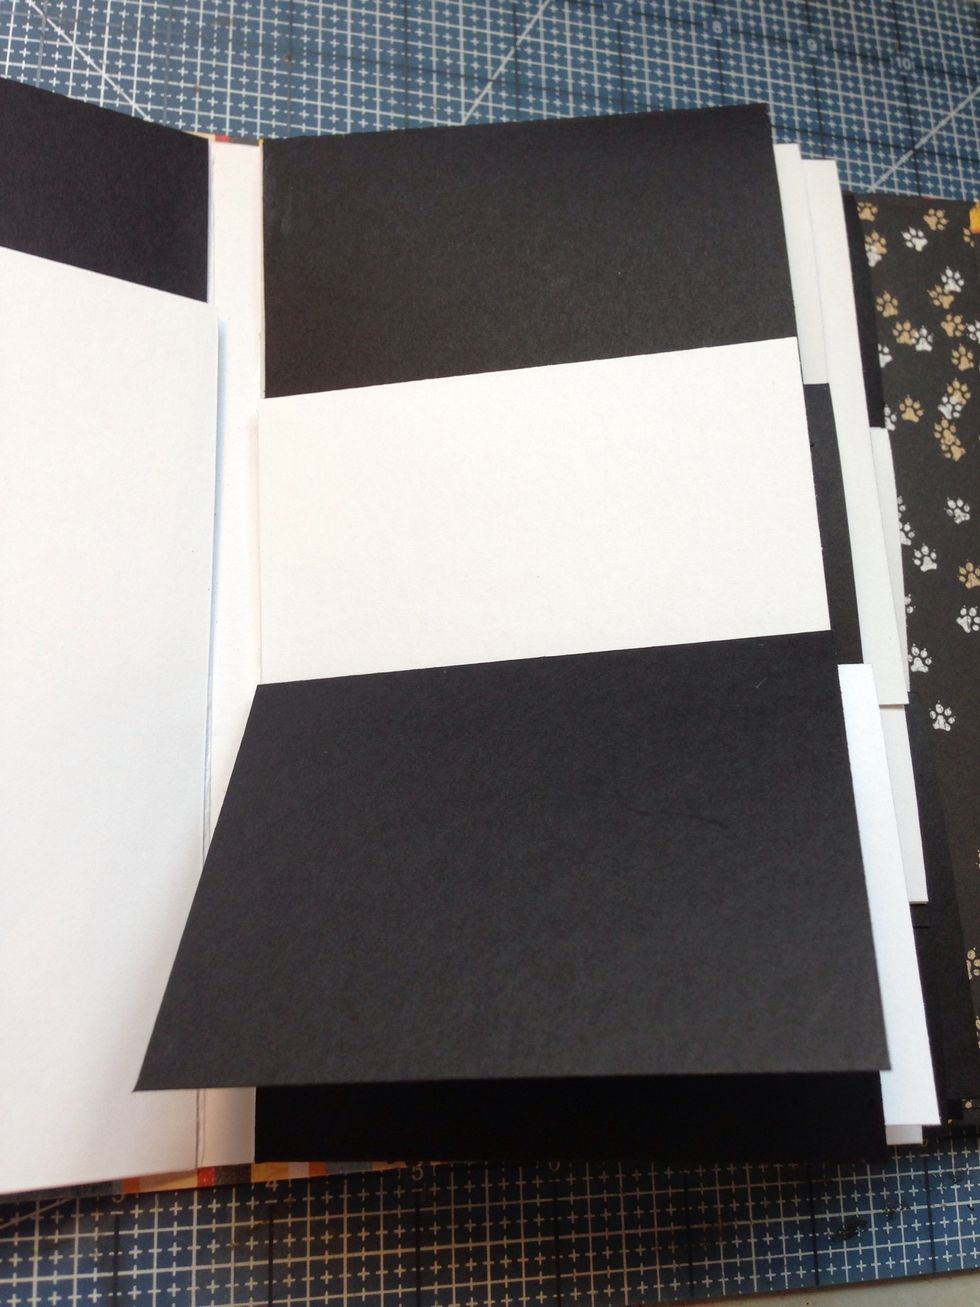
Arrangement of Fin C.
Arrangement of Fin D.
Arrangement of Fin E.
Arrangement of Fin F.
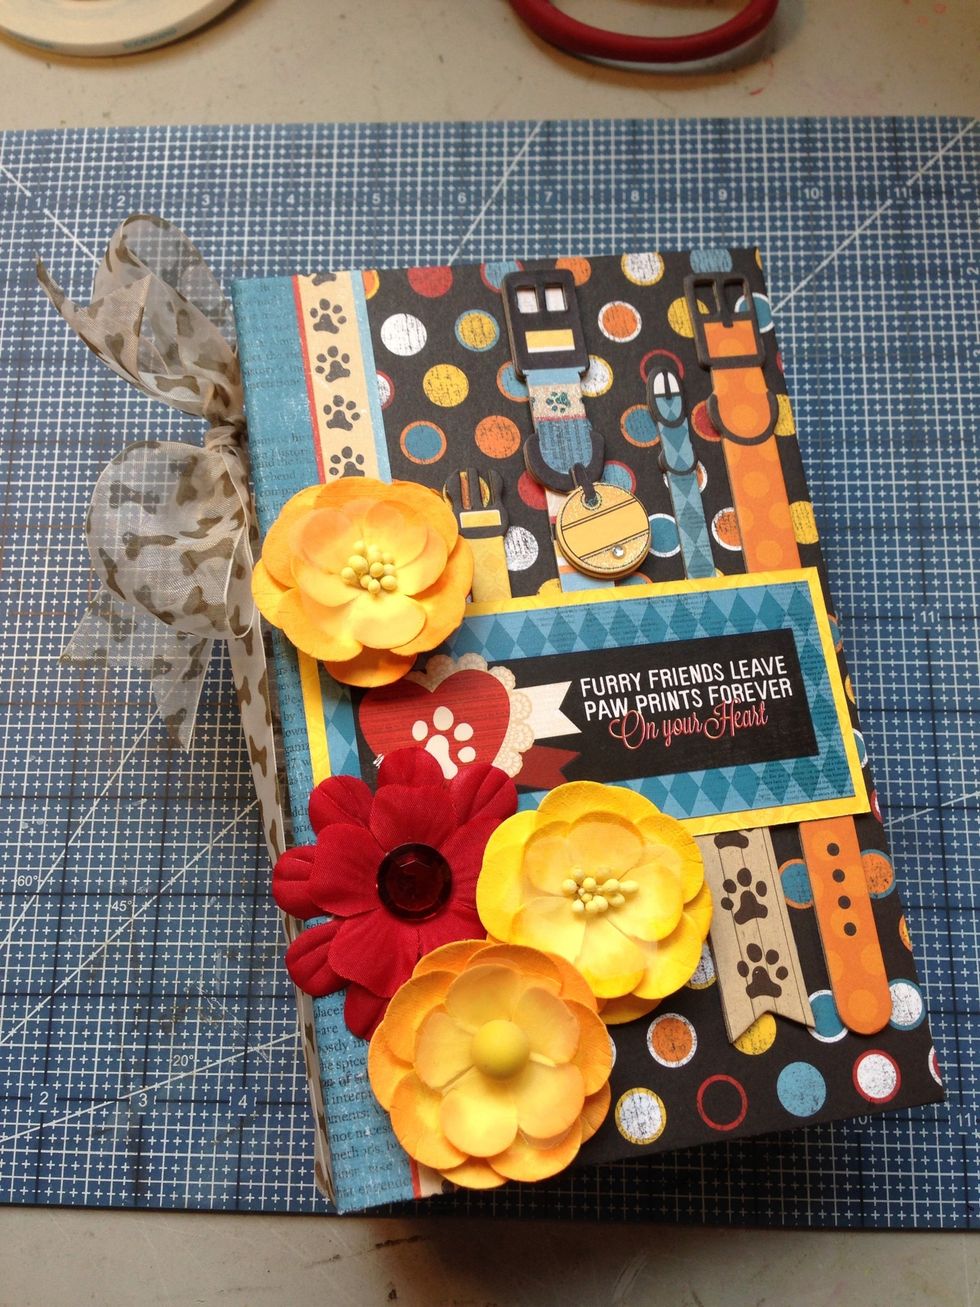
Embellish cover as desired.
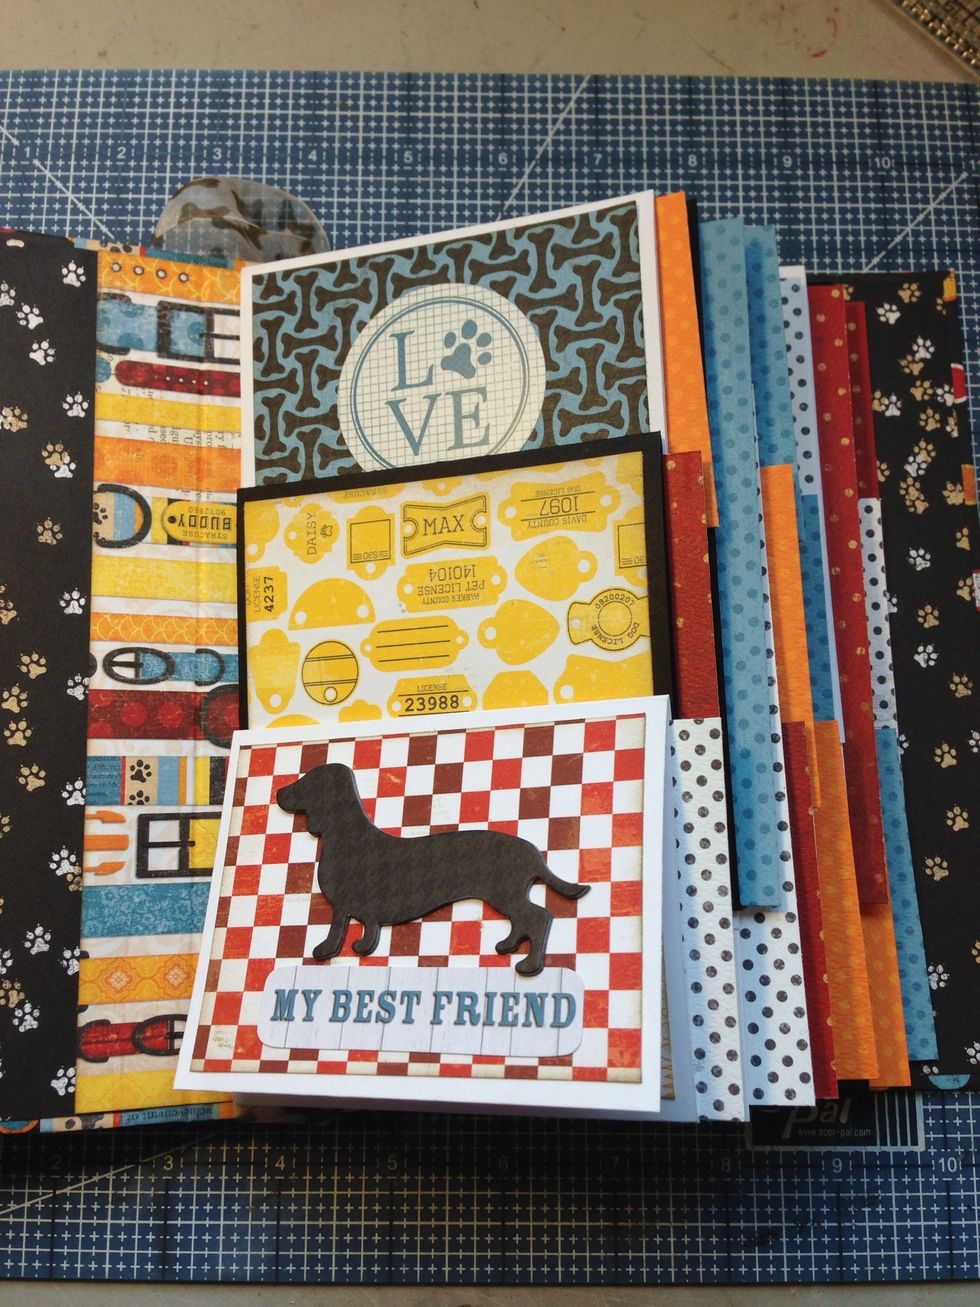
Add patterened paper mattes to pocket faces. Add embellishments as desired.