How to make a cardboard frame
This guide shows steps for creating a sturdy frame out of cardboard. There primary use is for supporting the mechanisms in a handmade automaton.
149
STEPS
TOOLS
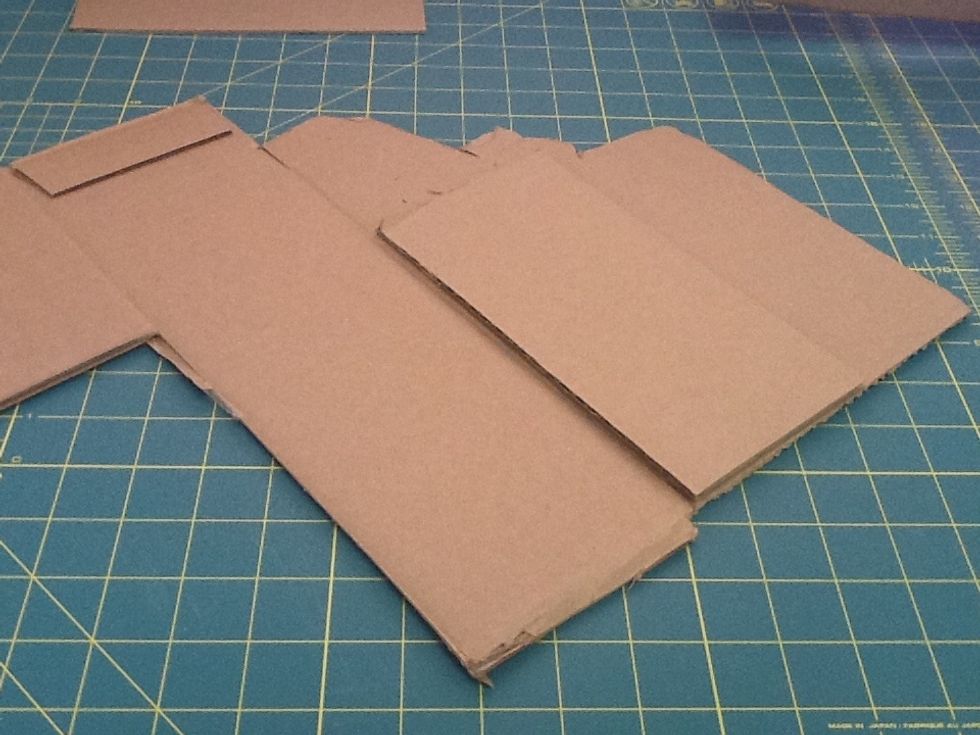
Decide the dimensions of your frame. This example is going to be 8" x 8" square with a depth of 4". So, all of the sides will be 4" x 8" rectangles.
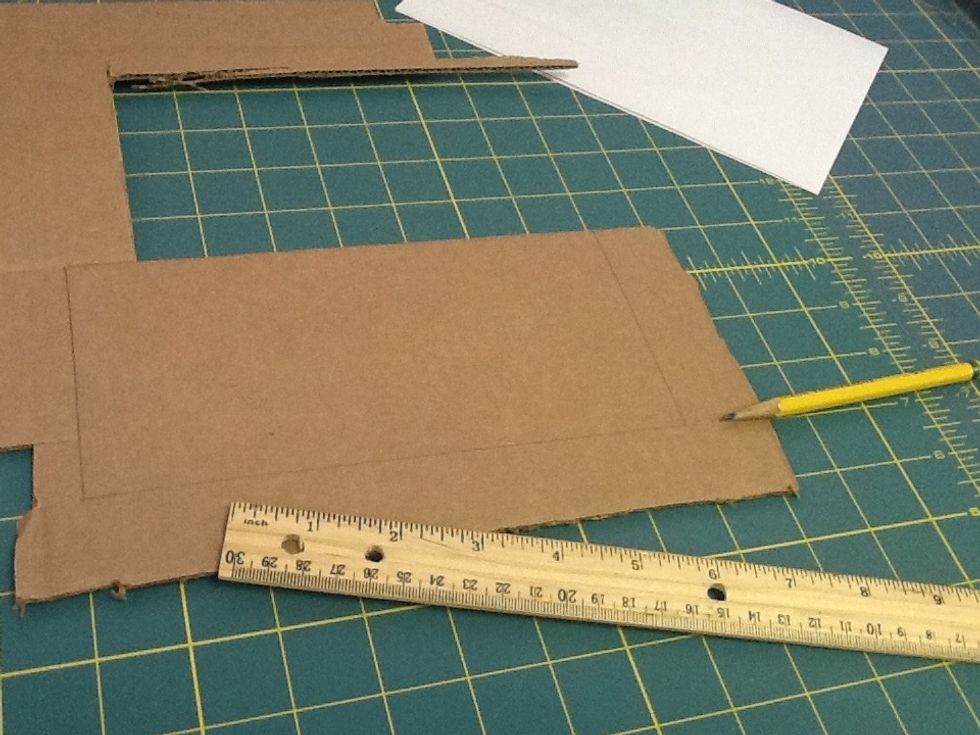
Start with a flat cardboard piece. Cut one rectangle out of your cardboard using a pencil, ruler and knife/scissors.
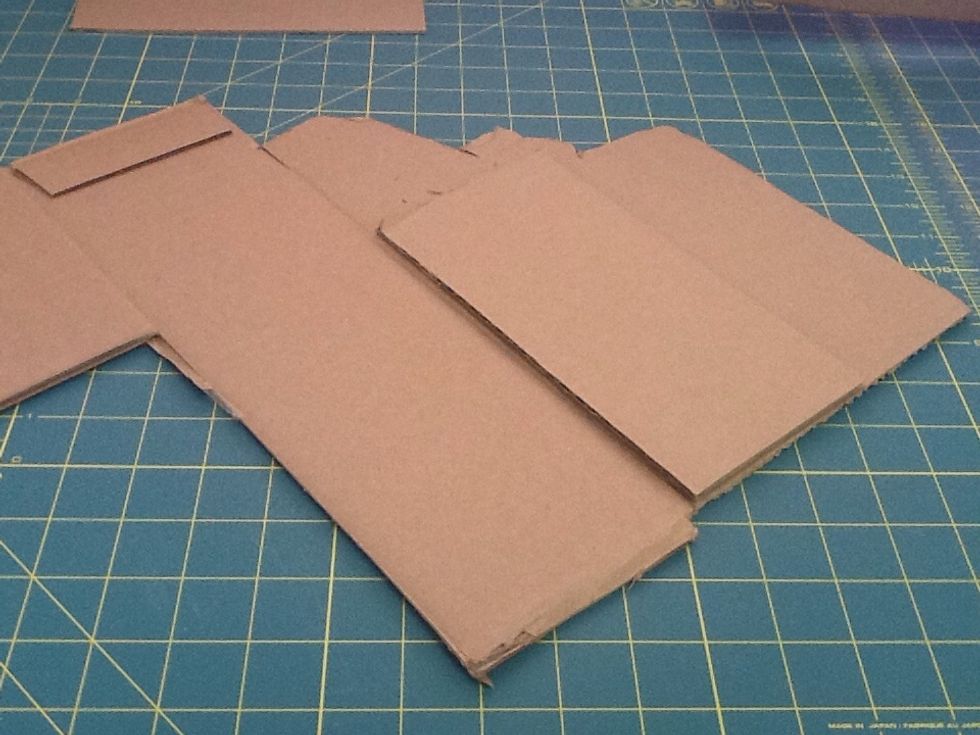
Place the rectangle side flat on your larger cardboard. This piece will be a template. Use a pencil to trace your cut line. Cut out the other three rectangles.
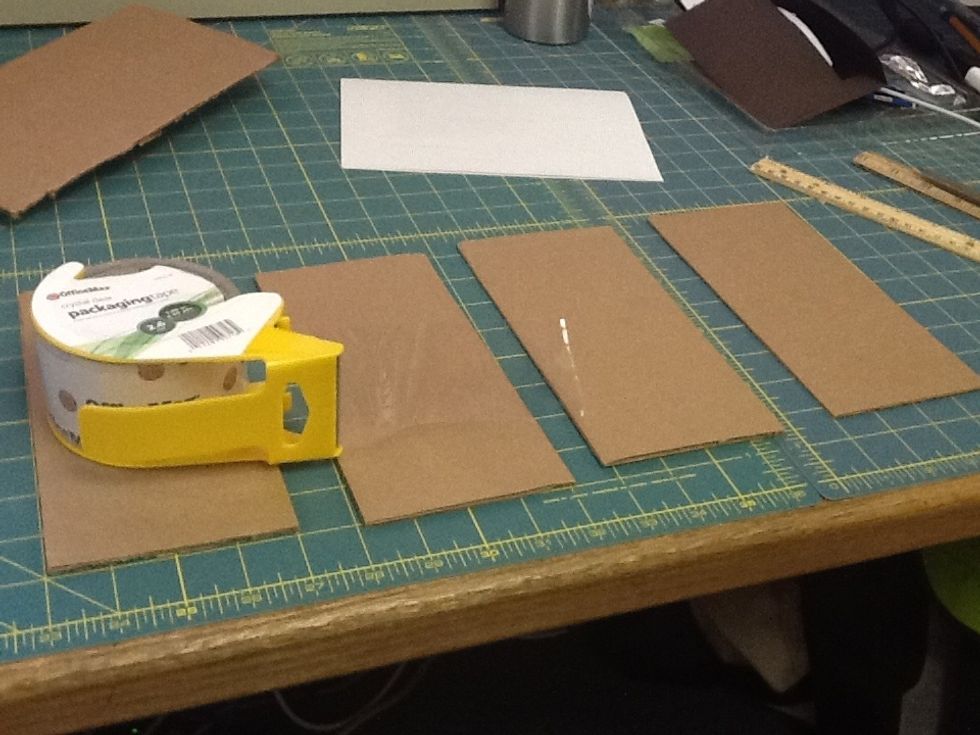
Carefully pull out a 4" piece of packaging tape from the roll. Use the tape blade or scissors to cut.
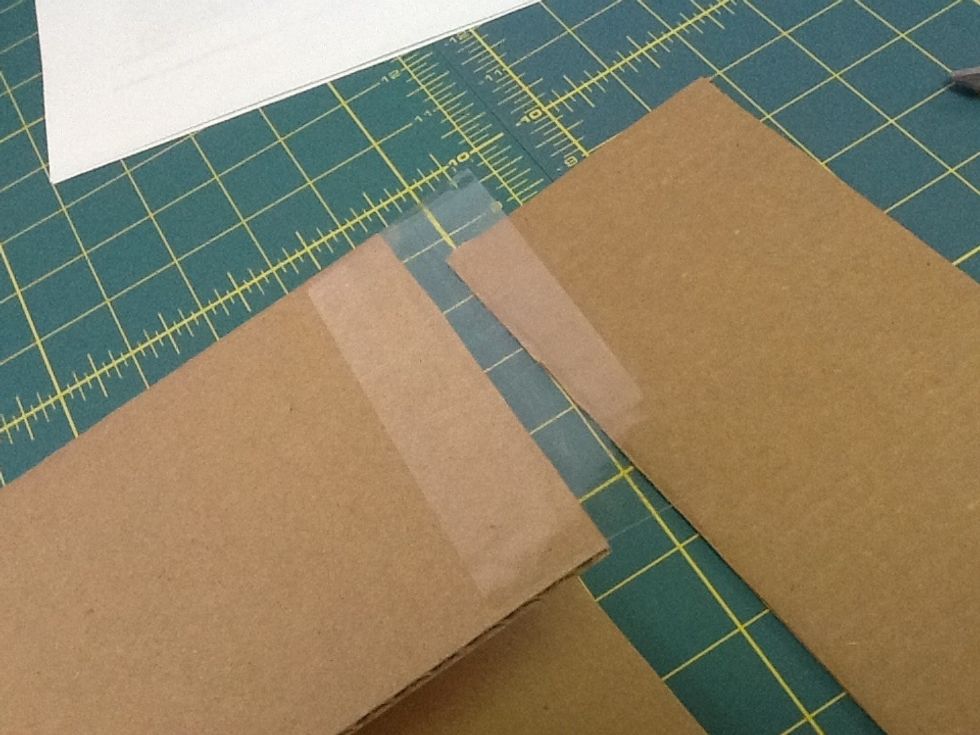
Place half the tape along the 4" side of one of the cardboard sides.
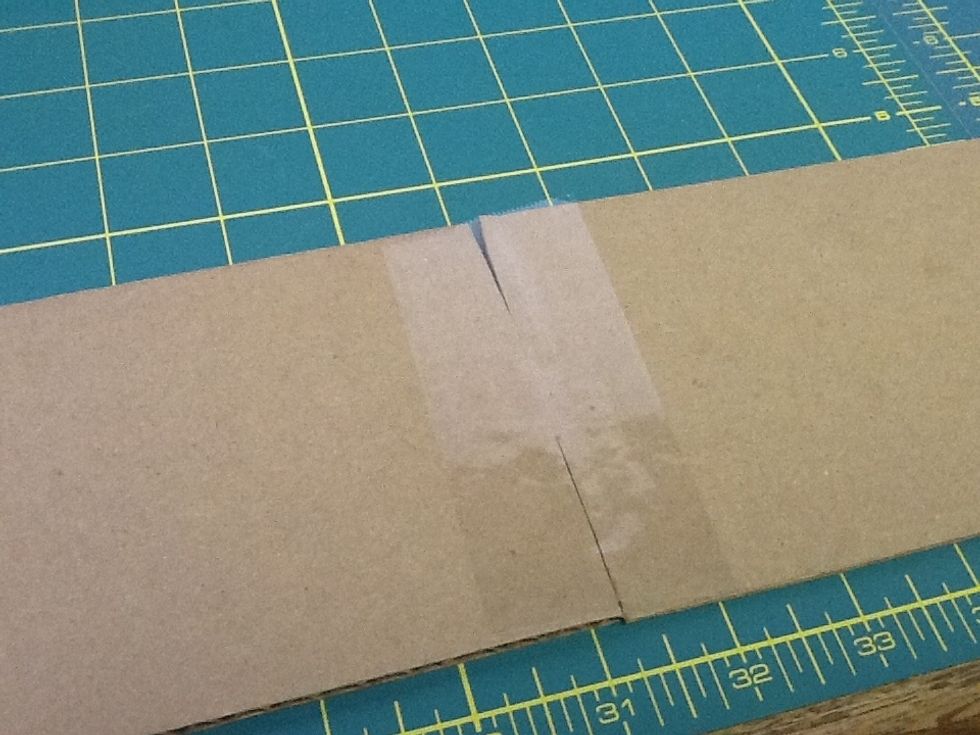
Match another side to the taped piece. Press down the other side of the tape.
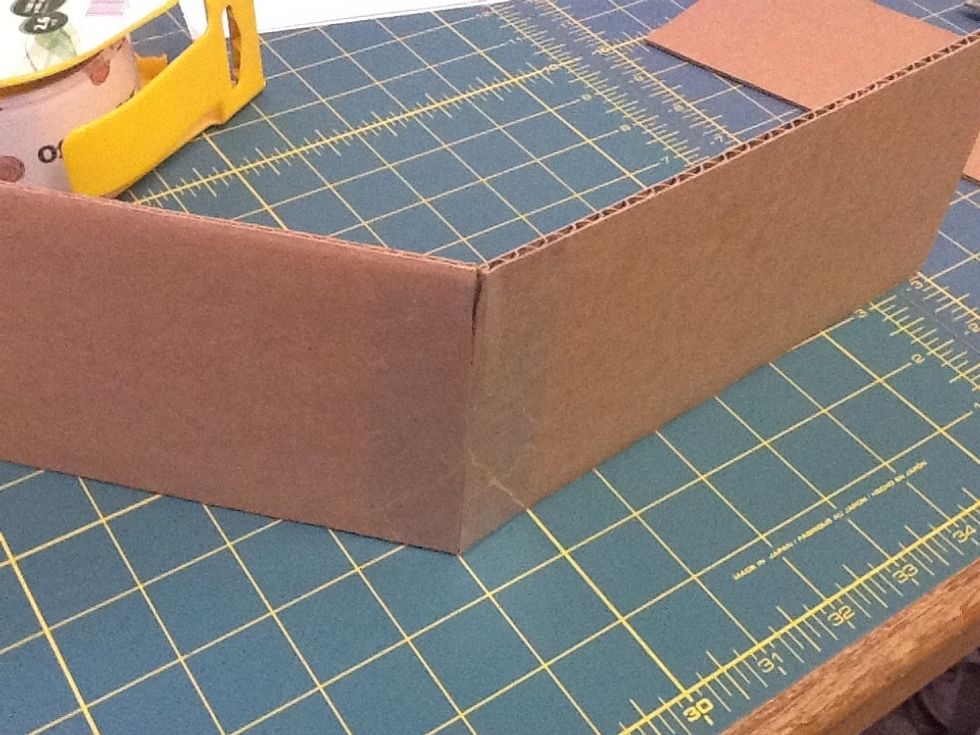
You made a paper hinge!
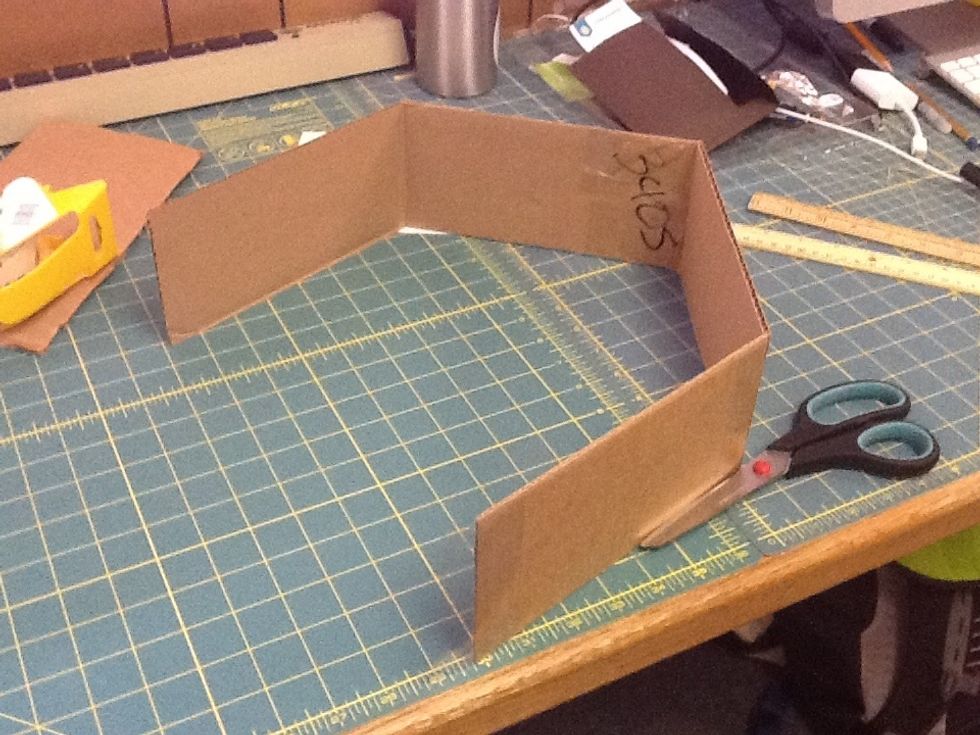
Repeat to join all the sides into a square shape.
To stabilize the frame we'll use small corner triangles.
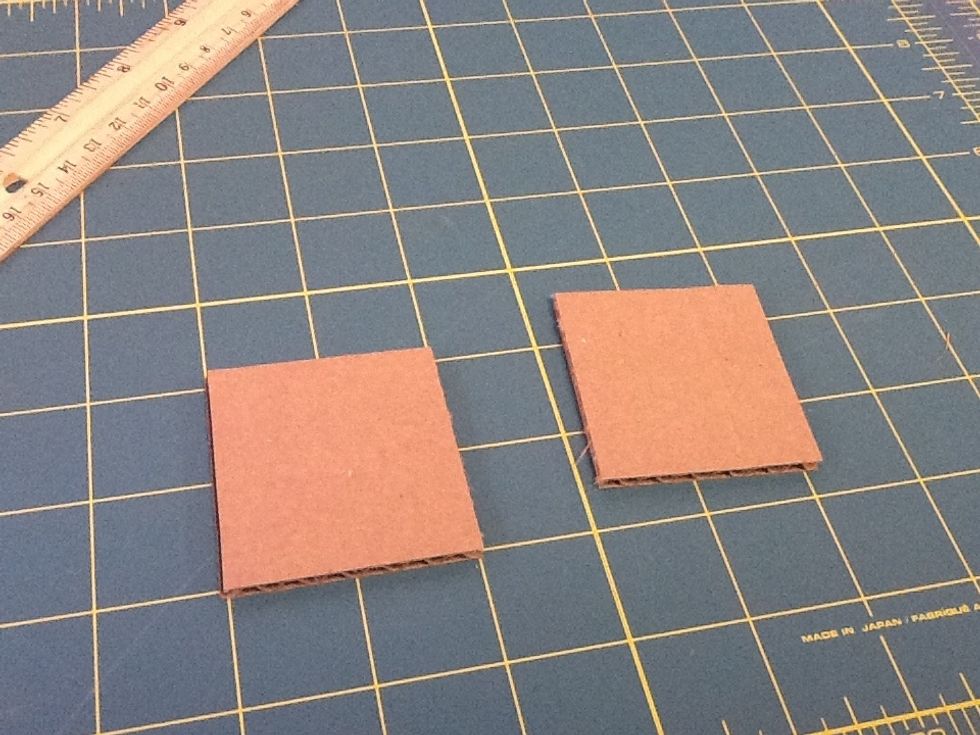
Cut out two squares of cardboard. (These are approximately 2"x 2")

Cut each square along the diagonal to create two triangles.

Use a 2" x 2" piece of tape and place it half way on one triangle.
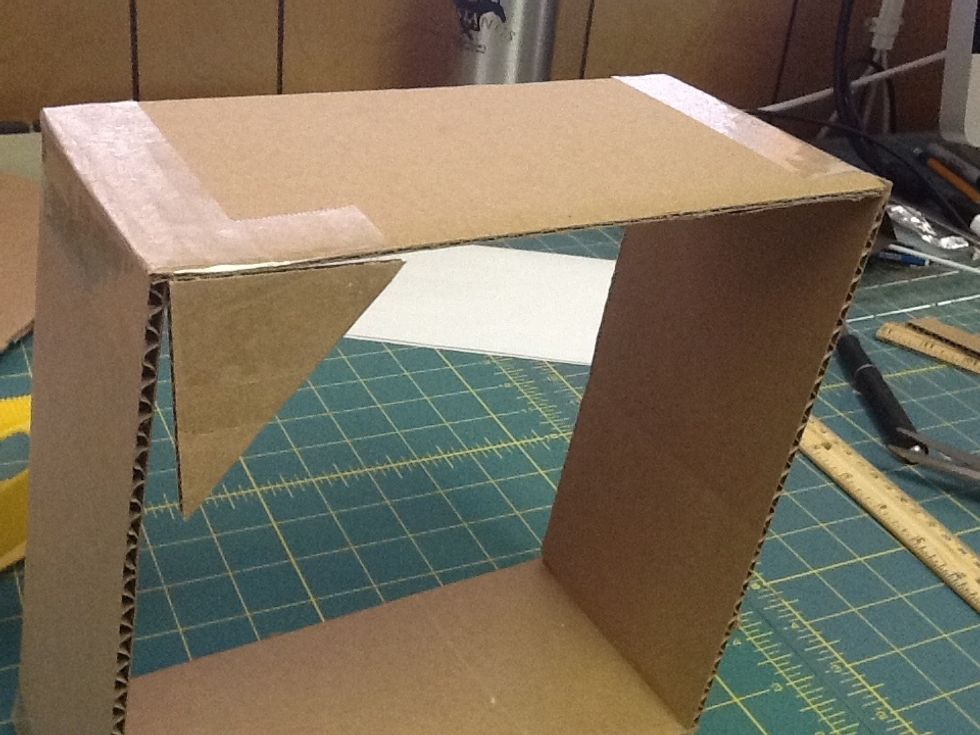
Place the triangle in one corner of your frame, making sure you fold the exposed tape over onto the side. Take advantage of the right angle in the triangle! Place the triangle directly in the corner.
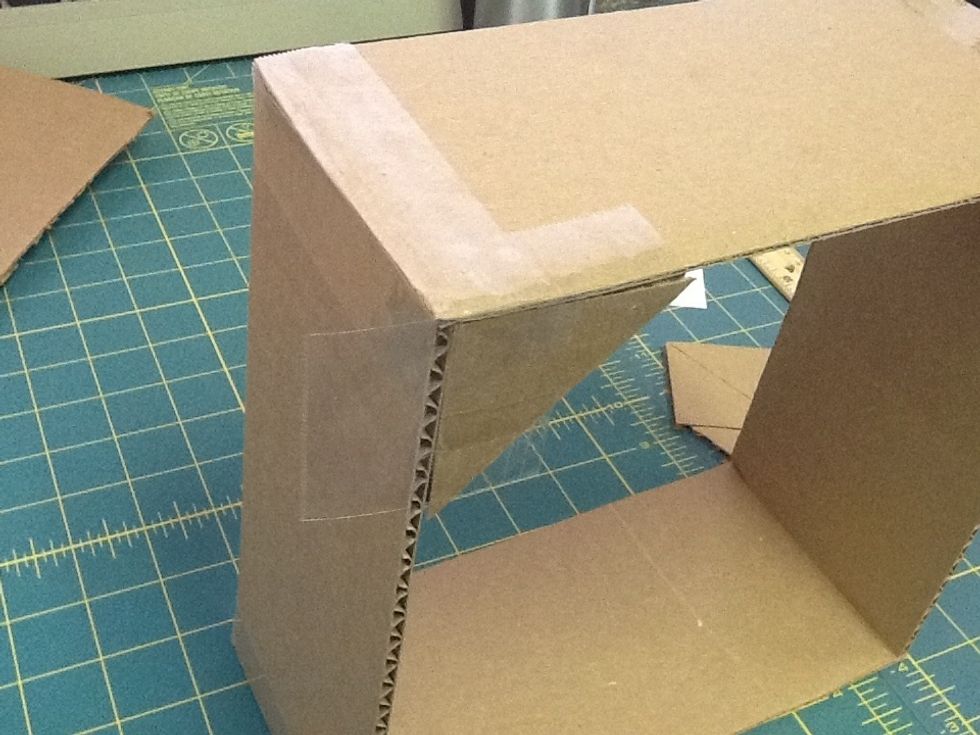
Place a second piece of tape (approx. 2" x 2") that is half way stuck on the triangle brace and half way on the frame.
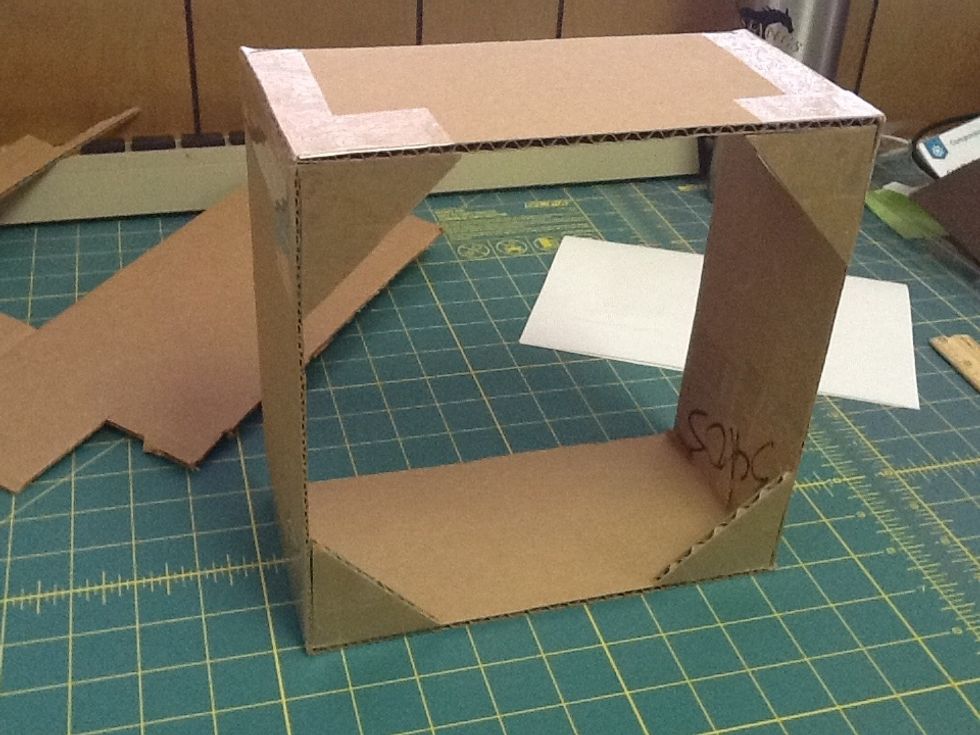
Tape the other triangle brace pieces in the other corners of the frame. You re finished! You should have a sturdy frame that you can use to support weight.
- Medium/large size cardboard box
- Roll packaging tape
- Craft Knife (optional)
- Scissors
- Pencil
The Conversation (0)
Sign Up