The Conversation (0)
Sign Up

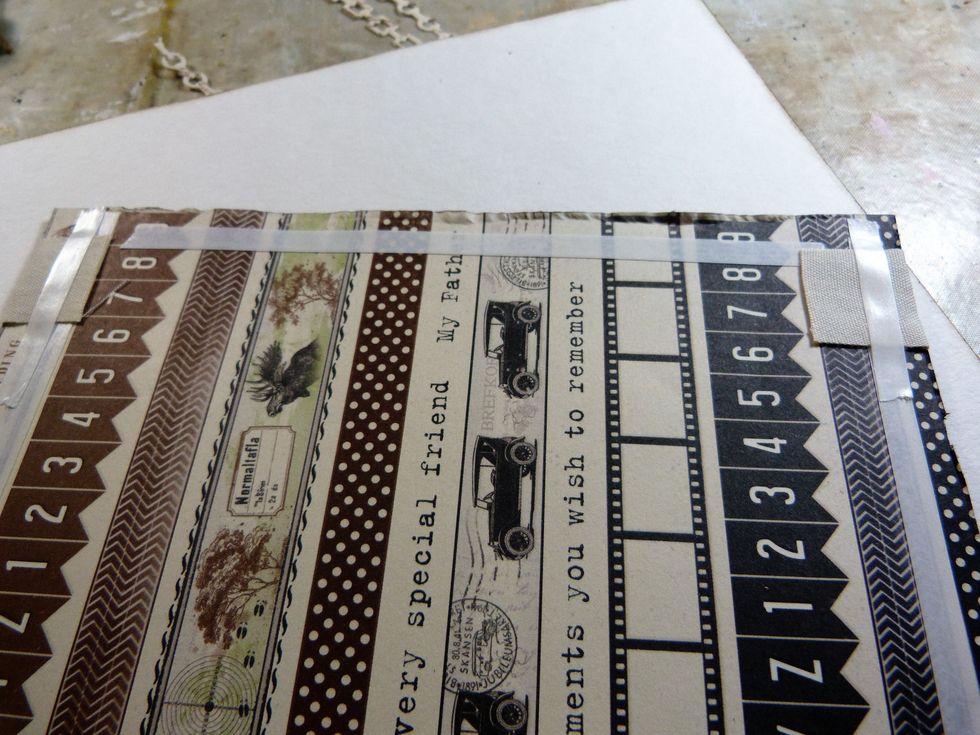
I used a 7"x7" premade cream card. Piece of Blue Pion paper 6 7/8" x 6 7/8" & a piece measuring 6 5/8" x 6 5/8" from the 'Camara' Pion Paper. Also some strips from 'script' Pion Paper.

I used the Die of the Month with the strips of script paper & cut two each of the above.
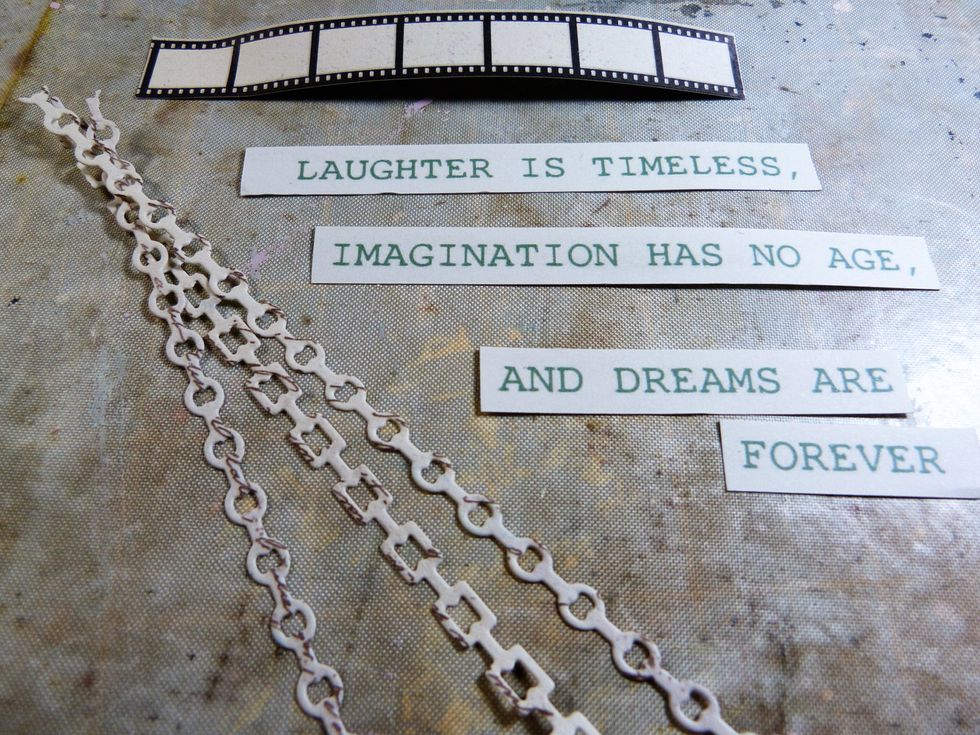
Cut out the filmstrip (7 sections) from Pion Paper. Cut the wording from the bottom of a Kaisercraft Paper and cut as above into 4 sections.

Distress and Ink all edges of papers with Frayed Burlap Ink. Adhere the Camera paper to the blue paper.
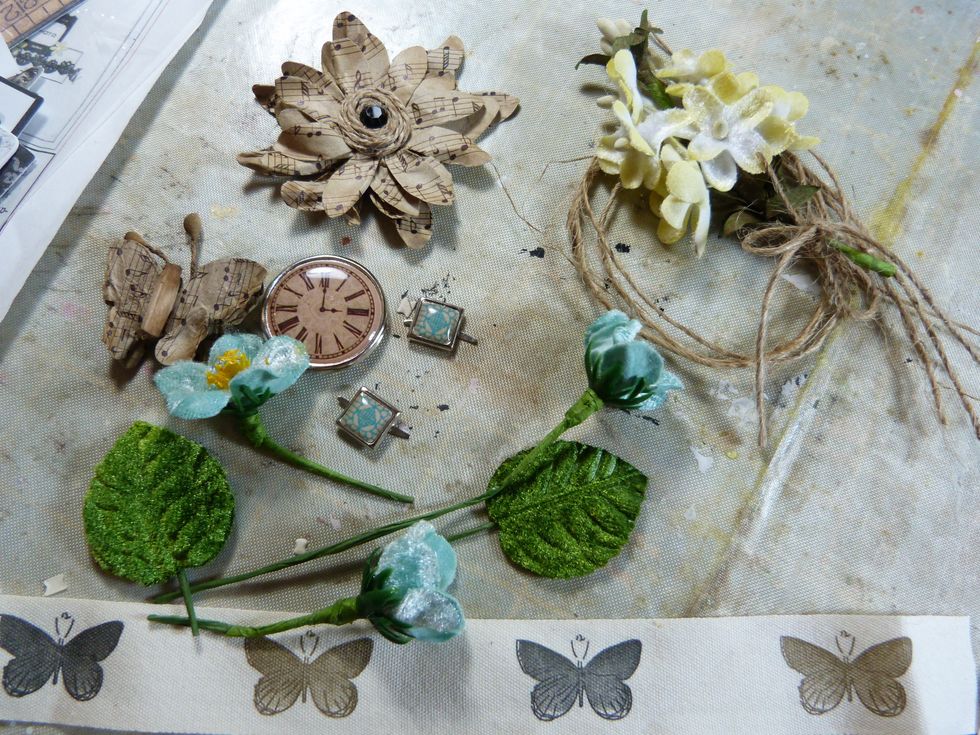
These are the embellishments I used from the Main Kit, Flower Add On, & embellishment Add On kits.

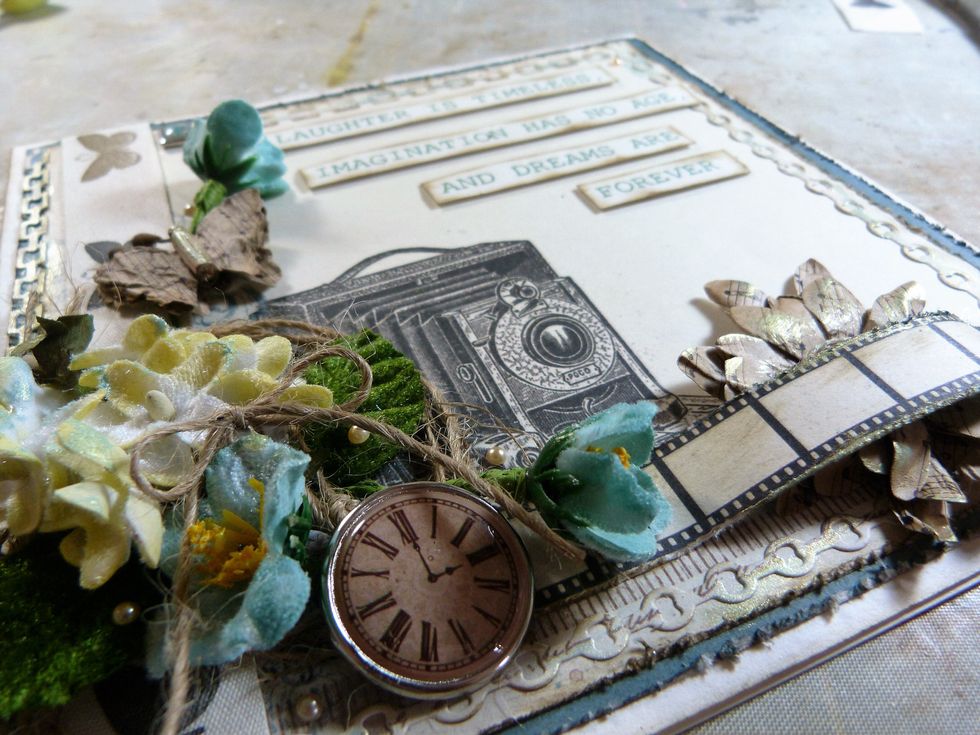
Adhere the butterfly ribbon to the left hand side of the card, tucking the edges underneath.
Secure the ribbon on the back of the layers.
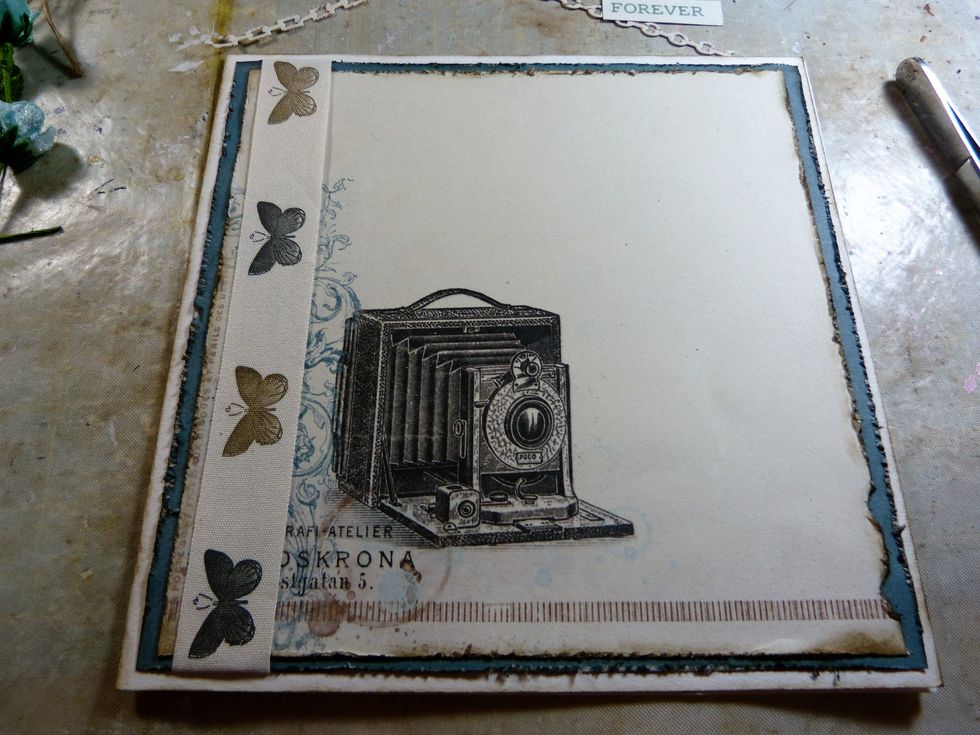
Adhere these papers to the card.
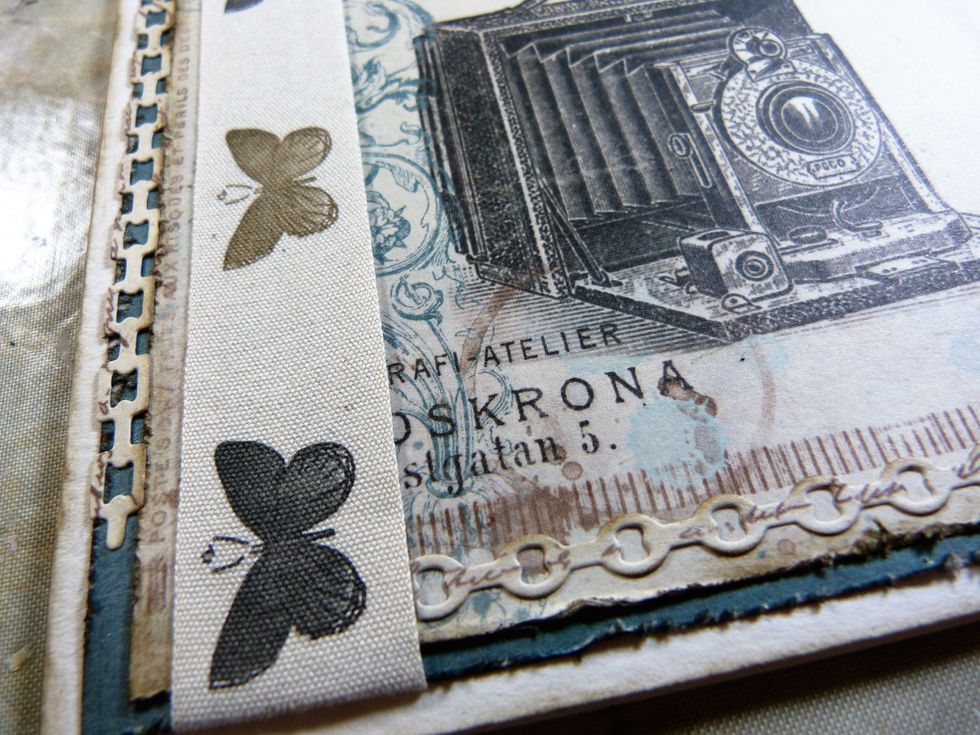
Ink edges of the die cut chains. Add a 'square chain up the left hand side and a 'round' chain along the bottom.
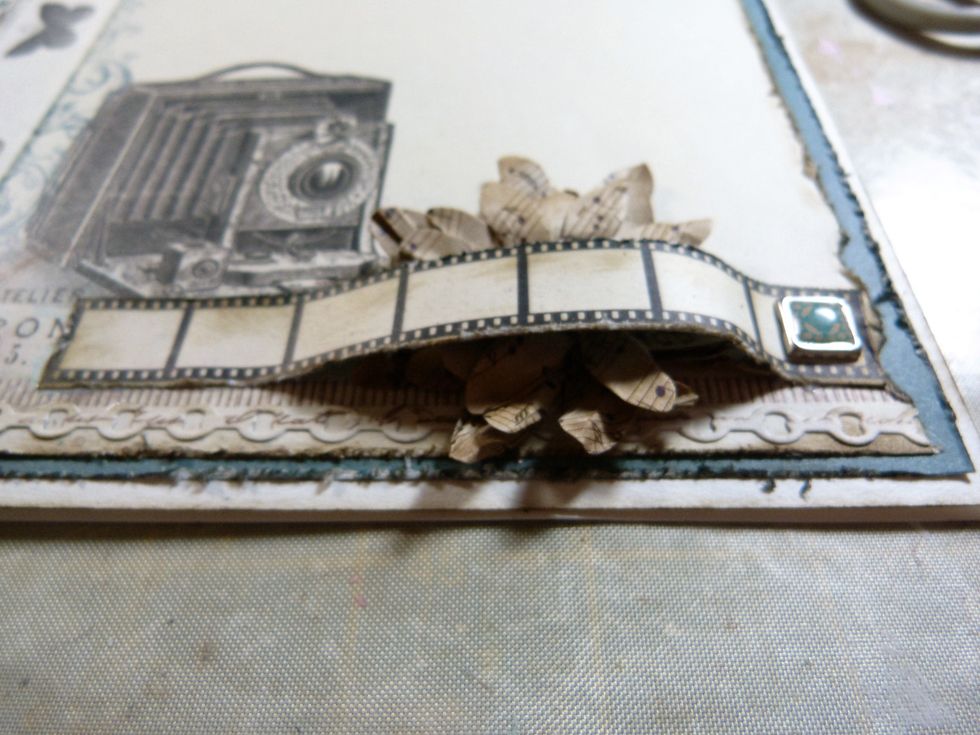
Ink filmstrip edges. Fix a square brad to the right hand side of the filmstrip. Glue filmstrip to the card with a loop halfway along to fit the brown flower underneath it!

Add circles of string from Flower Add On & bunch of yellow flowers from the Main Kit to bottom left hand corner.
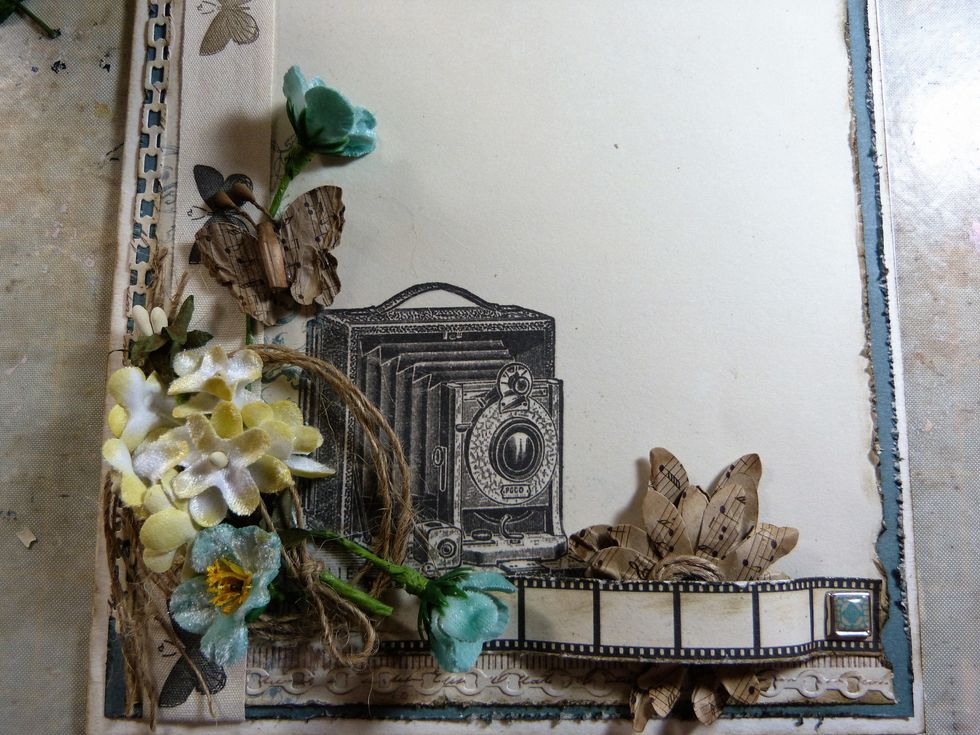
Add 3 blue Petaloo flowers, keep 2 with long stems and add 1 along the bottom and 1 up the side. Add a Kraft Petaloo Butterfly to the top stem.
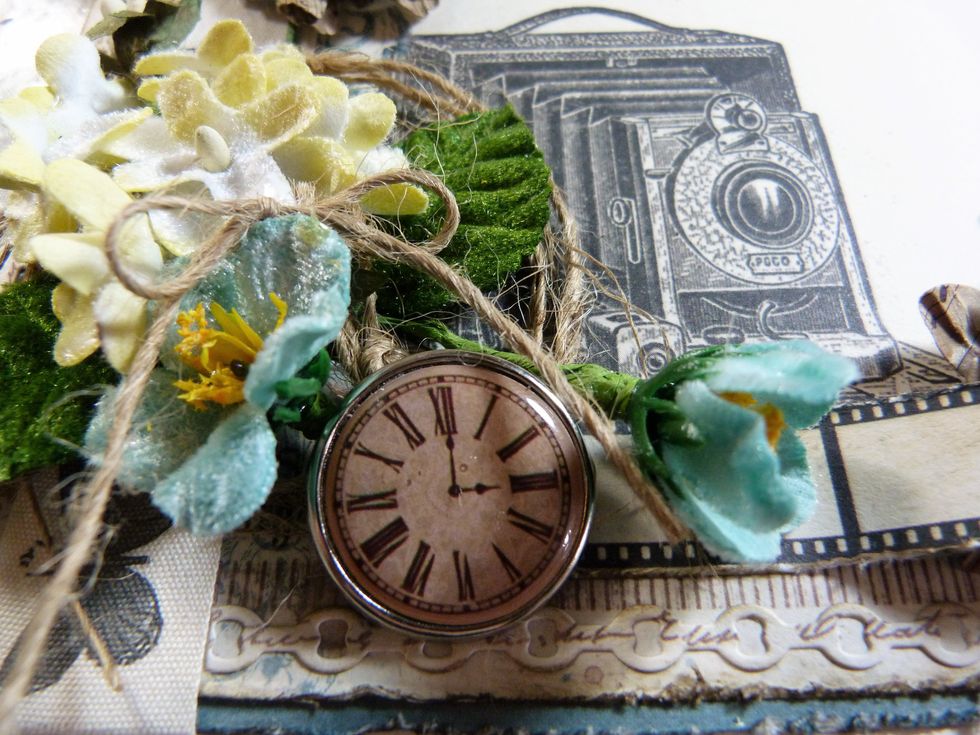
I trimmed the fasteners off of the big clock Brad & glued it into my flower cluster. I also added a string bow on top of the yellow flowers and some green leaves.

I glued the final two pieces of die cut chain to the top and right hand side of the card.
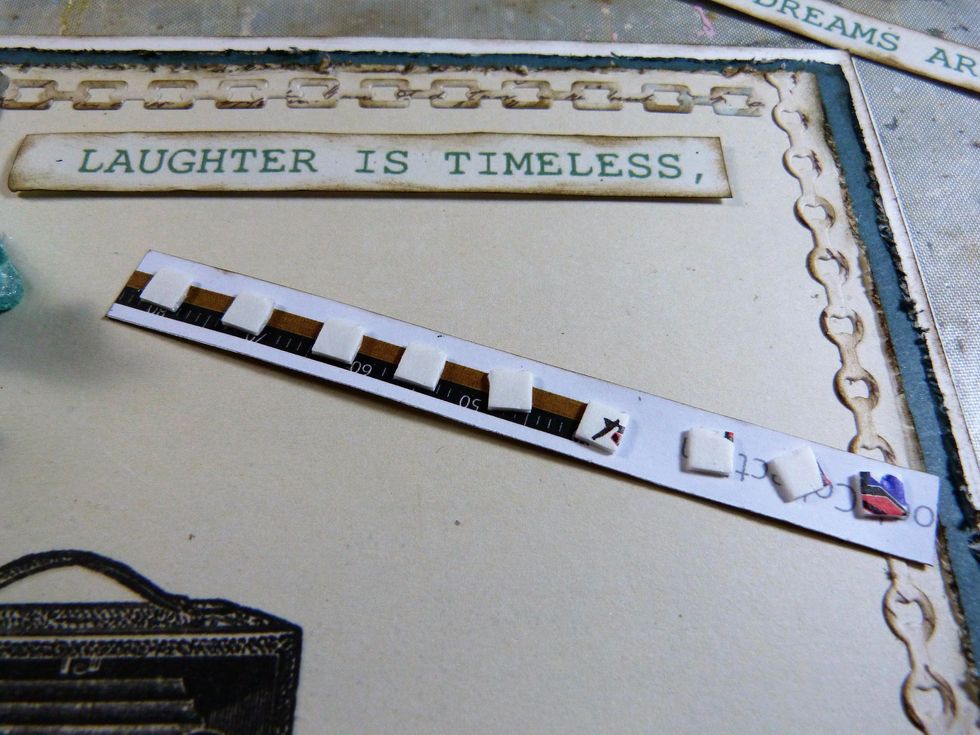
The wording needs the edges inking and then fixing to the card with foam pads to lift of the card slightly.
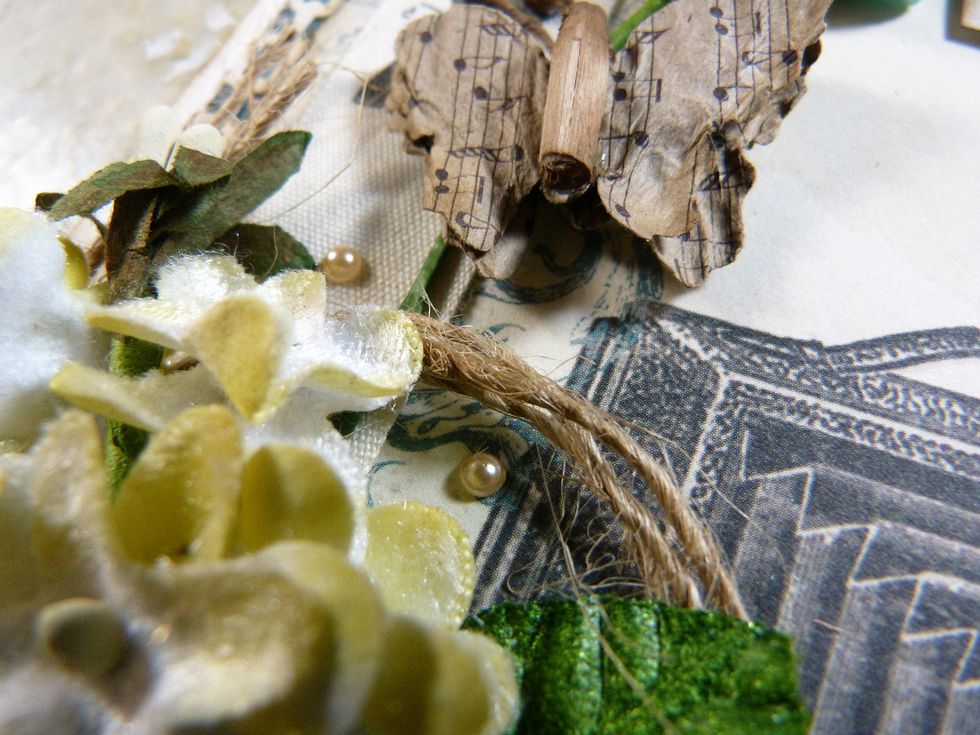
Add some Kaisercraft Cream pearls from the Main kit to the cluster.
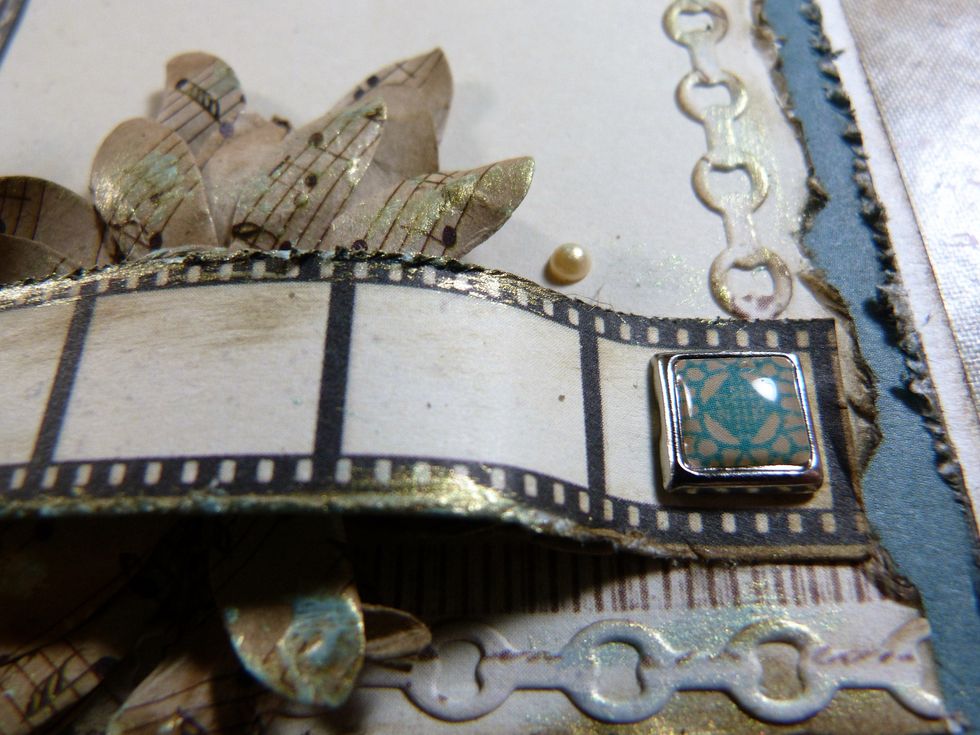
Finish off by gently dabbing some of the Blue Gold Art Alchemy paint with a sponge applicator to the tips of the brown & grey flowers & the edges of filmstrip & chains.
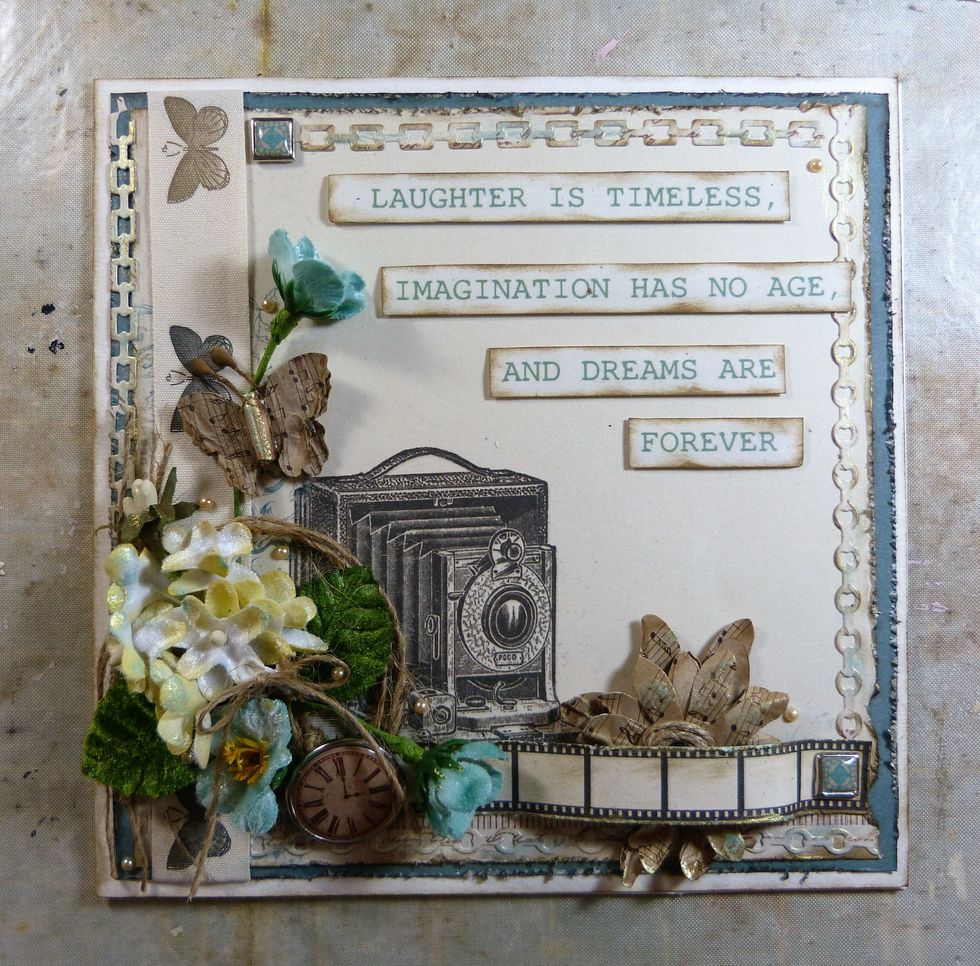
Your finished card!
A close up.... For more close ups visit my blog http://shabbypapers.blogspot.co.uk/
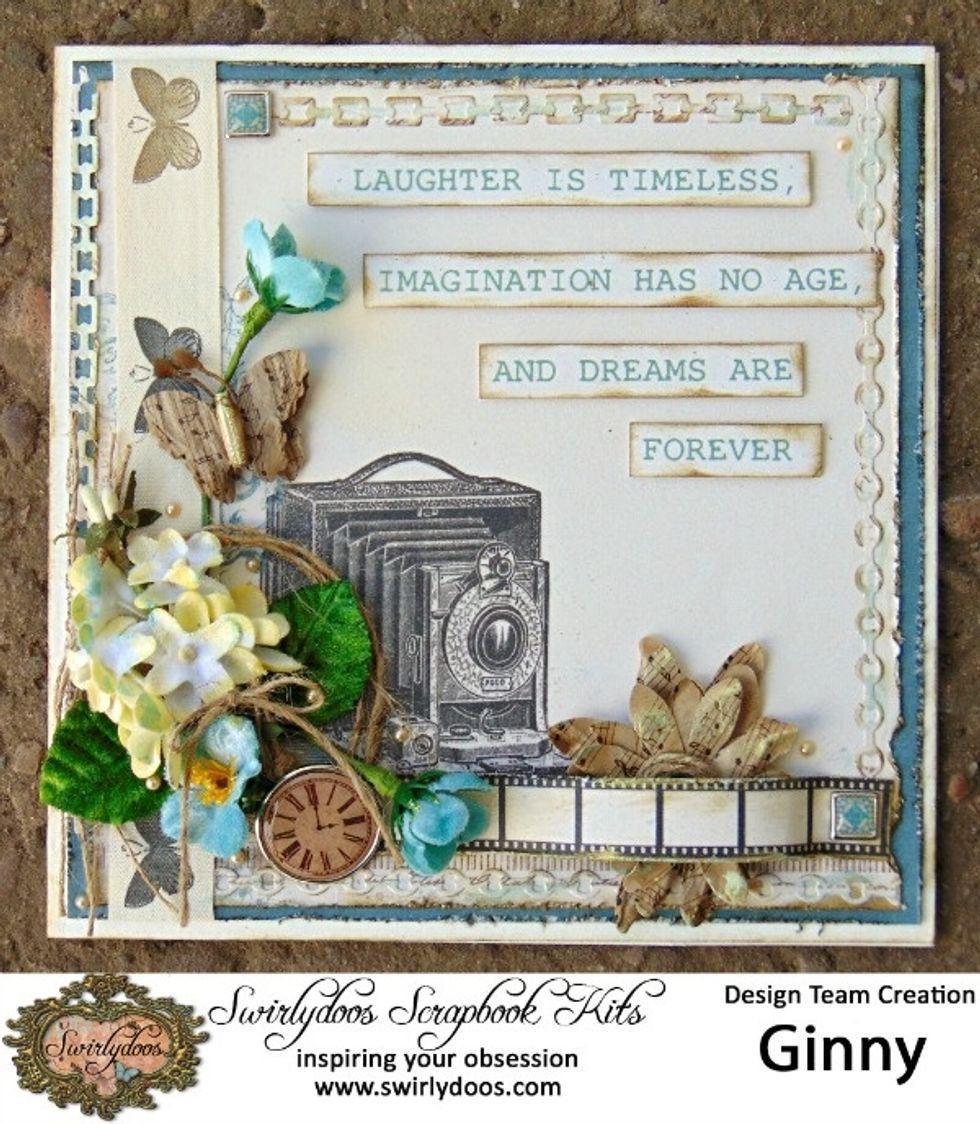
This is a Design Team creation for Swirlydoos Kit Club http://swirlydoos.com