The Conversation (0)
Sign Up
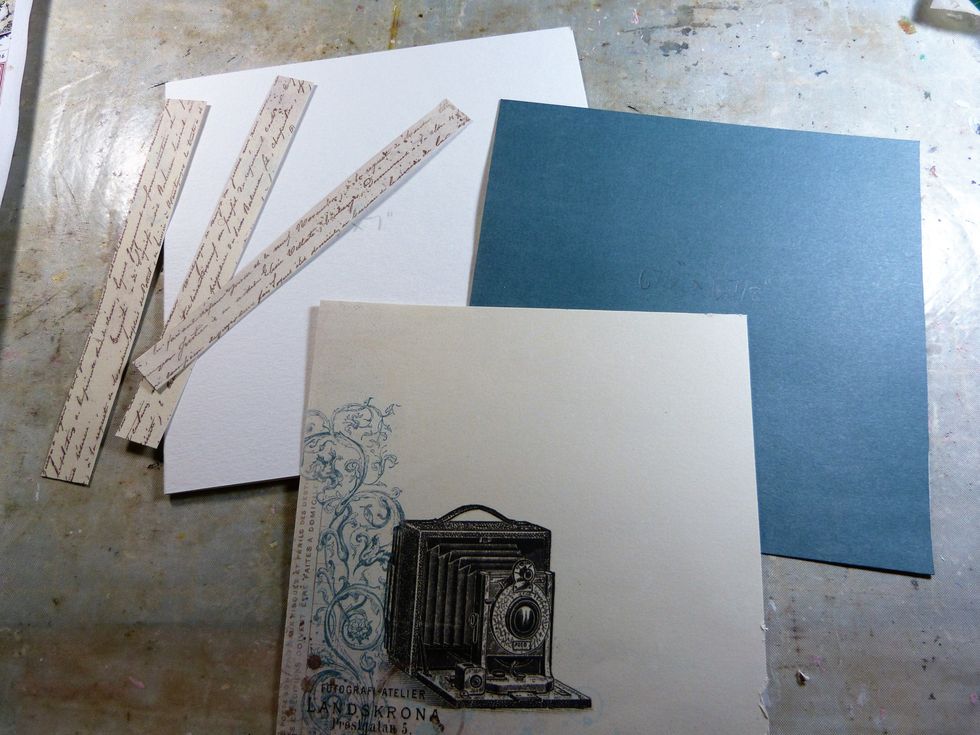
This is the card you will need; a white 7x7 card, blue Pion paper 6 7/8" 6 7/8", the camera Pion Paper 6 5/8" x 6 5/8". Three strips script Pion paper for die cutting.
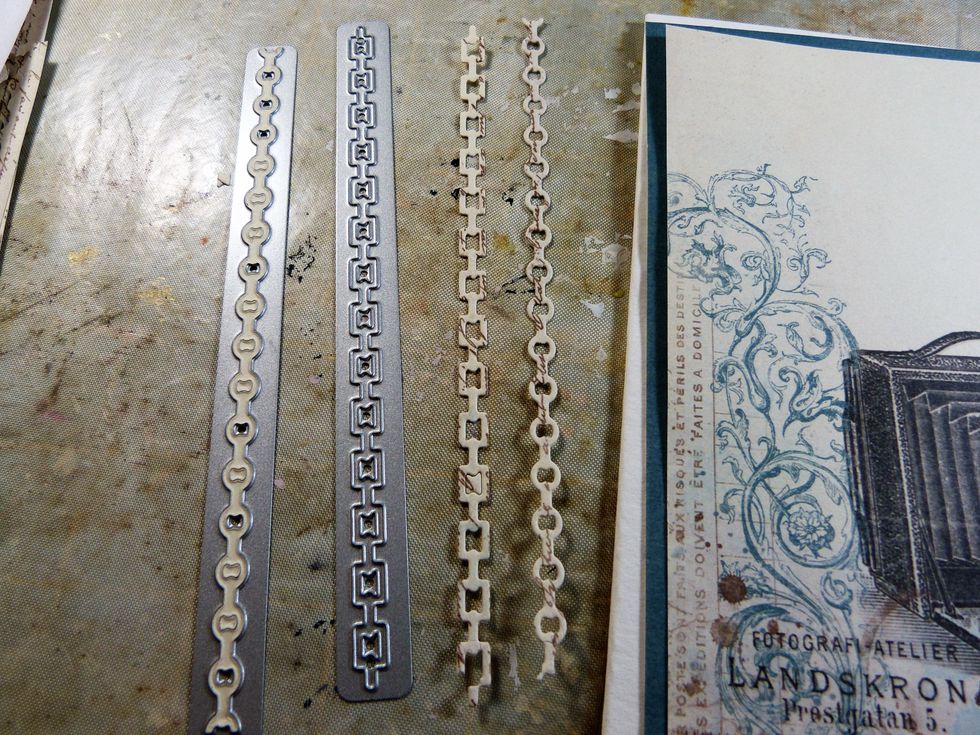
Using the die from the Die of the month Add On cut out some chains.
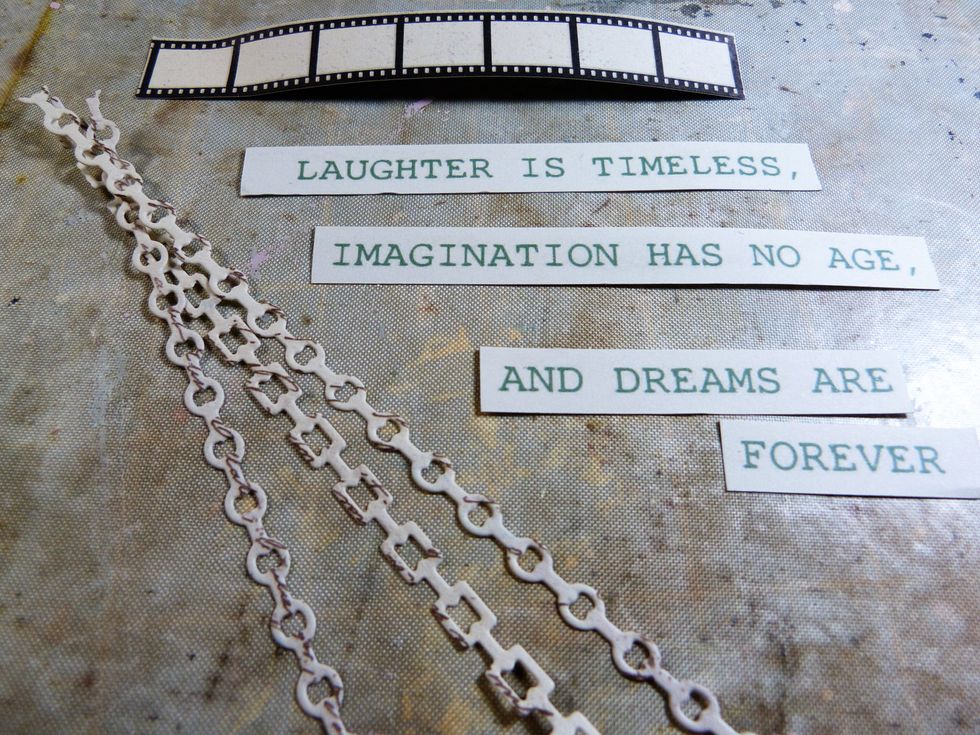
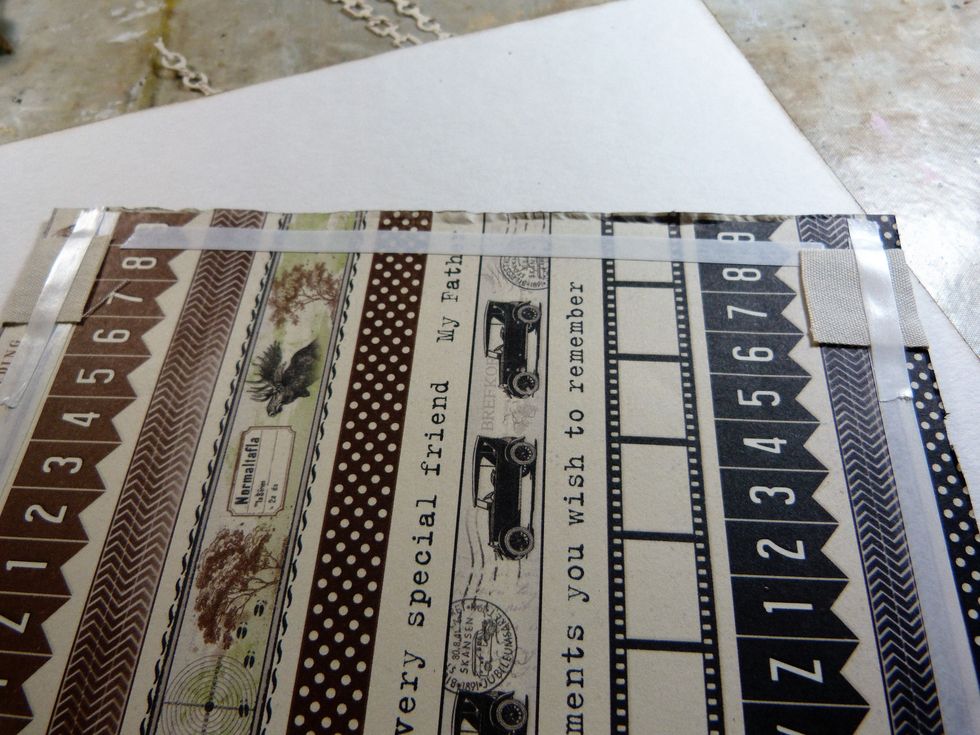
Cut out the film strip (7sections) from the pion paper. Cut the wording from the bottom of the Kaisercraft paper and cut as above into 4 sections.
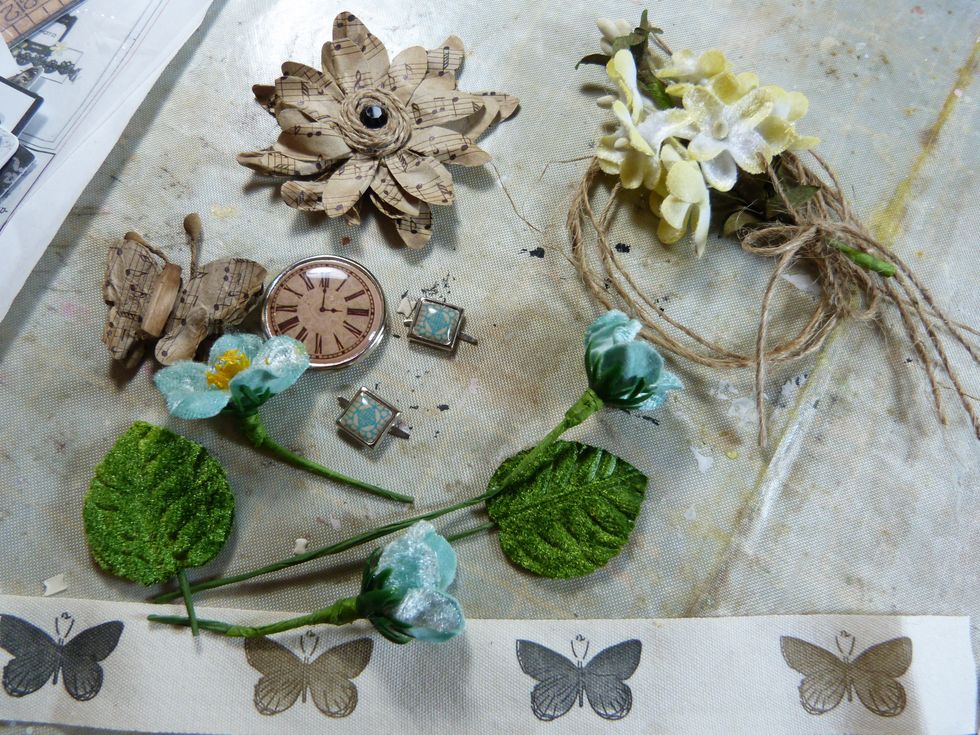
These are the embellishments you will need from the main kit, the flower add on and the embellishment add on kits.
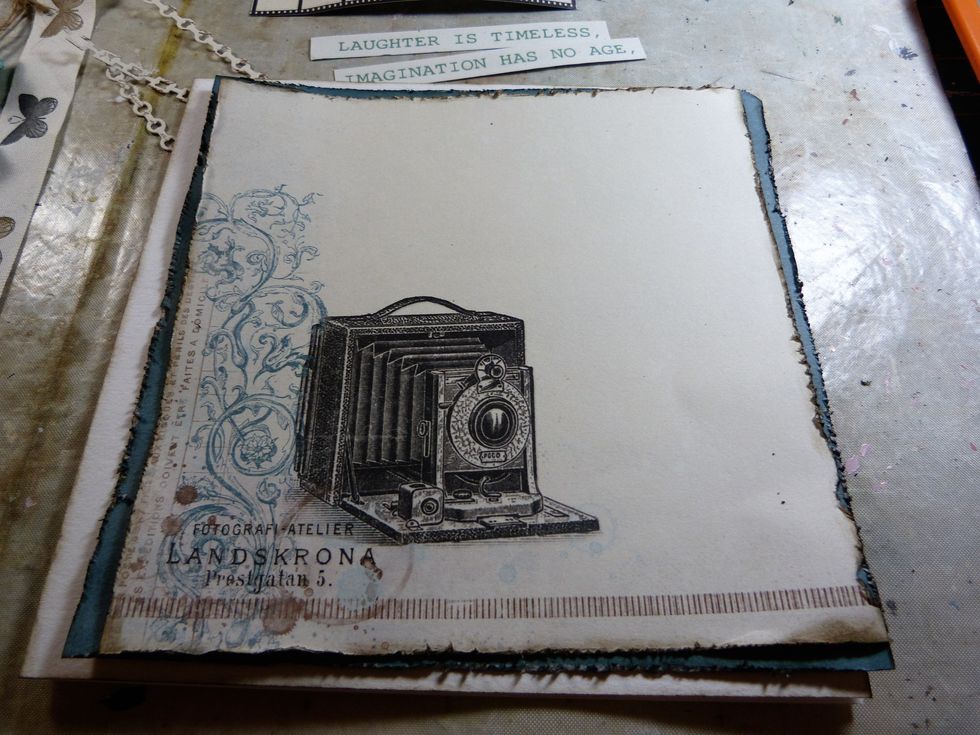
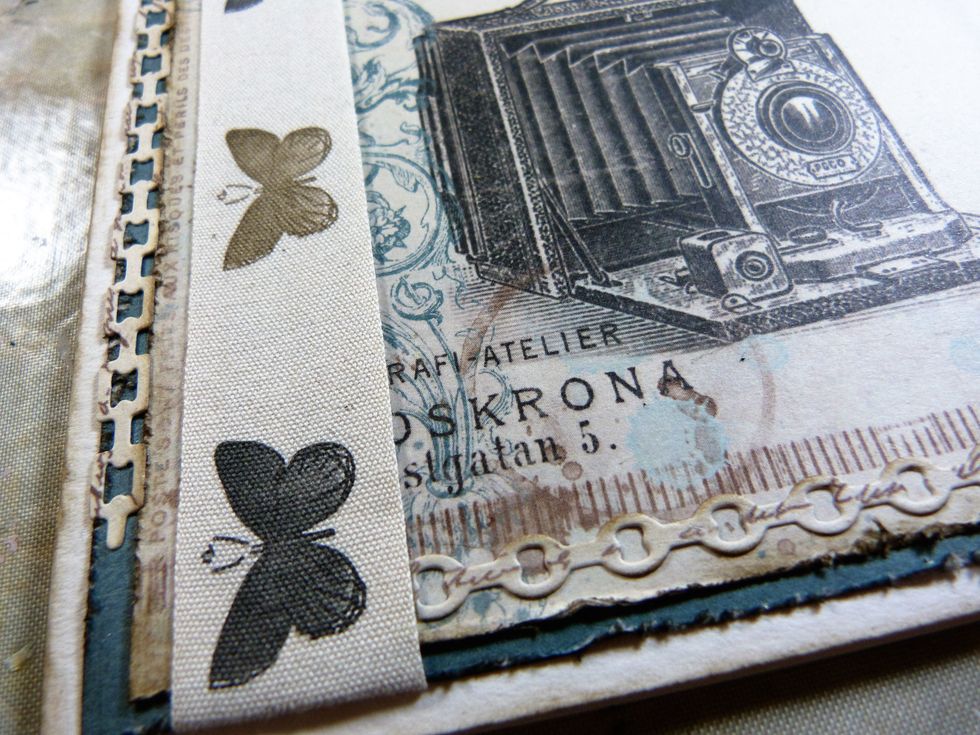
Distress and ink all the edges of the blue and camera papers with Distress Ink Frayed Burlap. Adhere the camera paper to the blue paper.
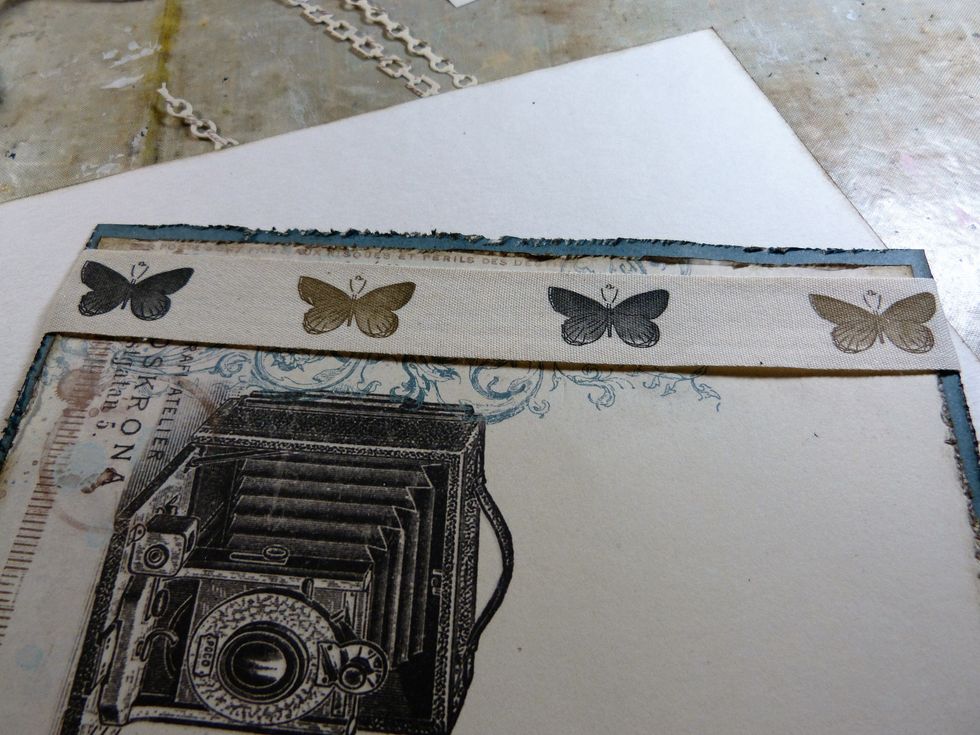
Adhere the butterfly ribbon the left hand side of the card tucking the edges underneath.
Secure the ribbon on the underneath of the layers.
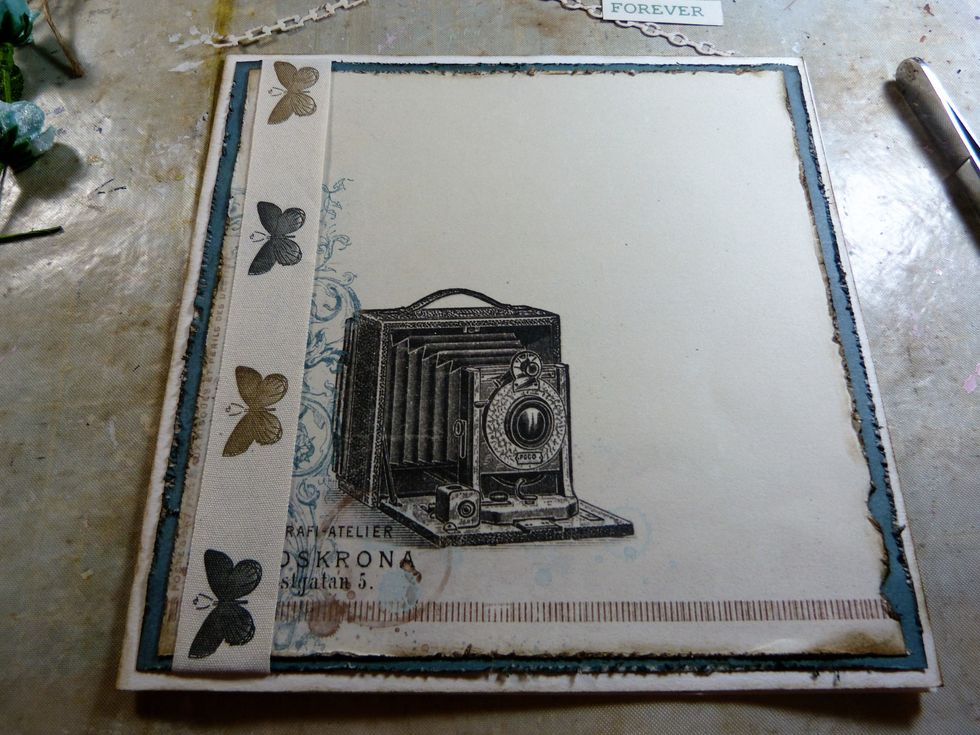
Adhere these papers to the card. Ink the edges of the card with Frayed Burlap.
Ink the edges of the die cut chains. Glue the square chain to the left hand edge and the round chain to the other 3 sides.
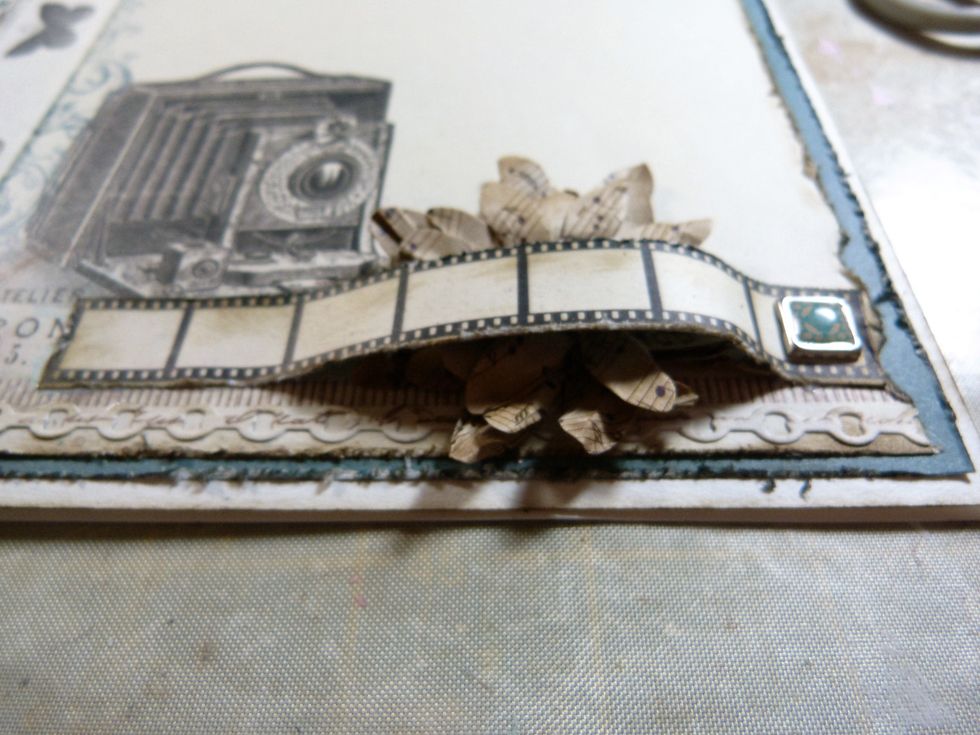
Fix a square brad to the right hand side of the filmstrip (inked edges) and glue on to card start from the right hand side with a loop so the brown flower can be glued into place underneath it. Glue.
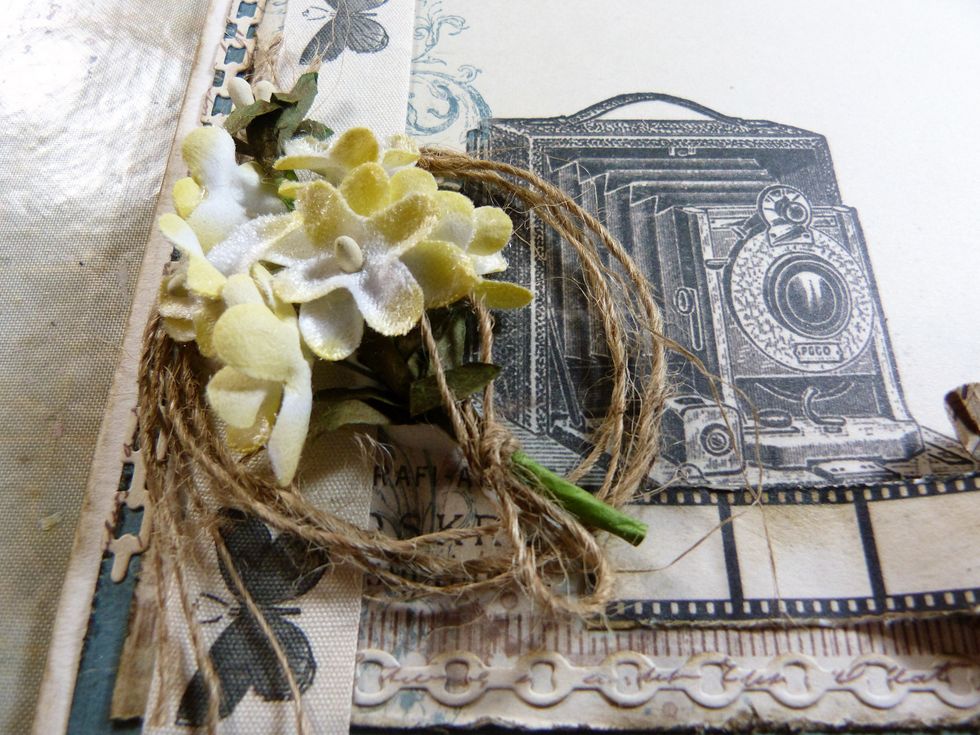
Add the circles string from flower add on and a bunch yellow flowers from the main kit to the bottom left hand corner.
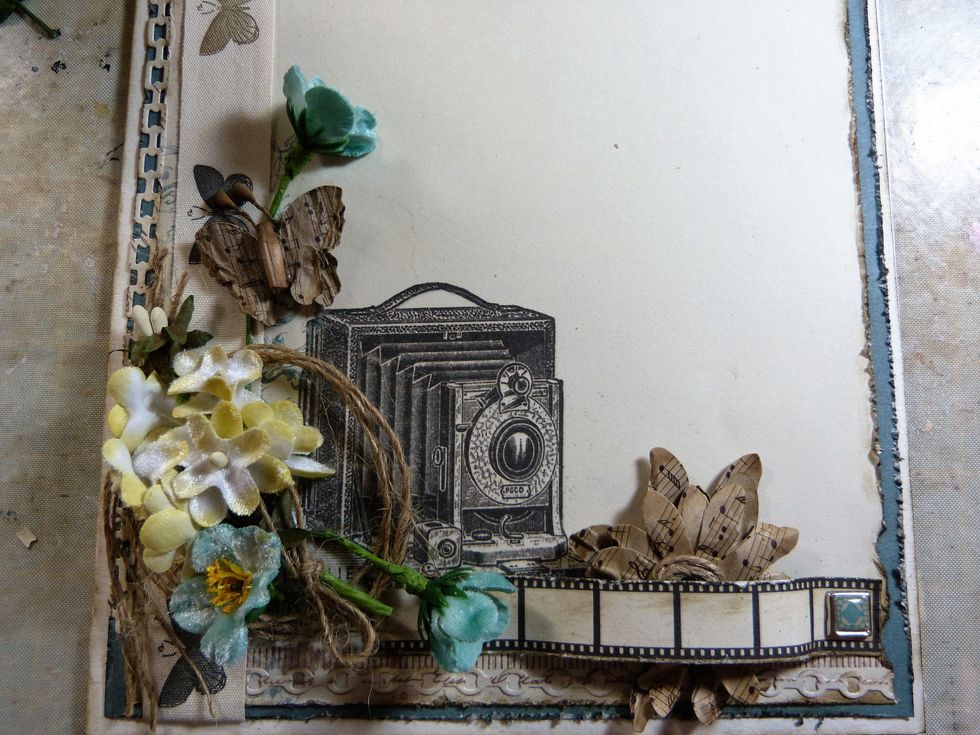
Add the blue flowers to the embellishment cluster
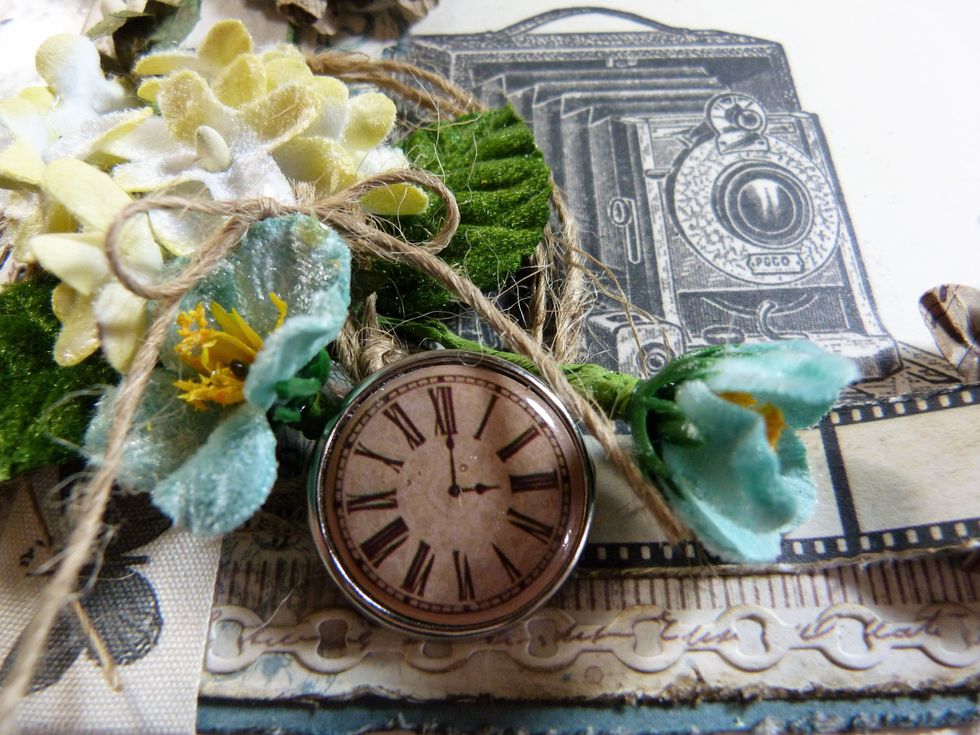
The big clock brad I trimmed its fasteners off and stuck it with glue into my flower cluster. I also added a string bow on top of my yellow flowers.
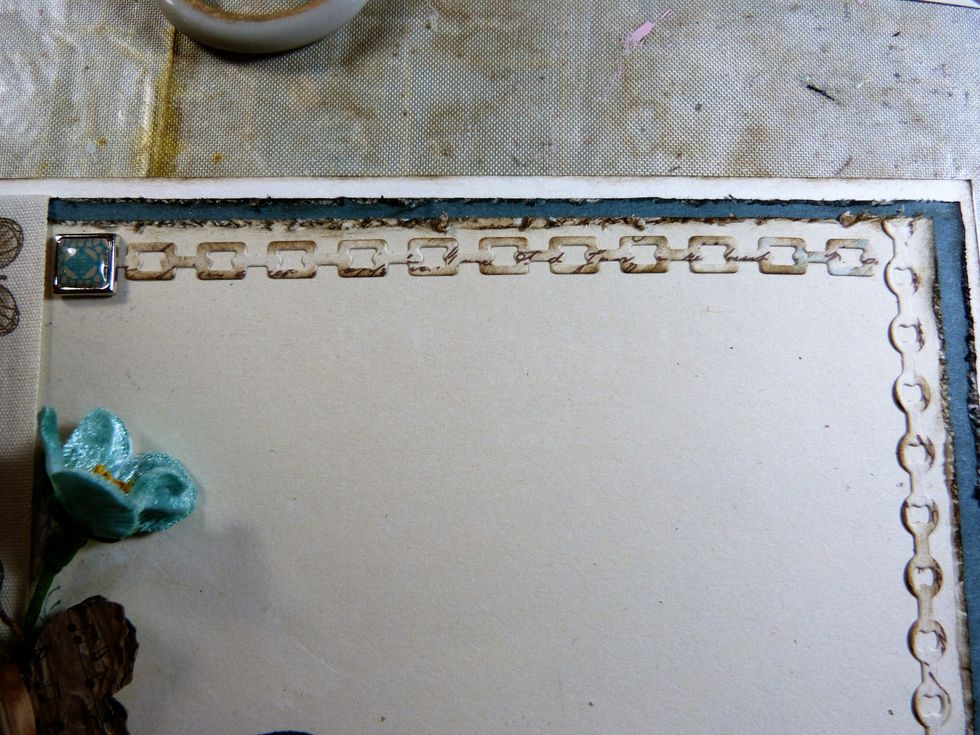
I adhered the final two pieces of chain around the rest of the card.
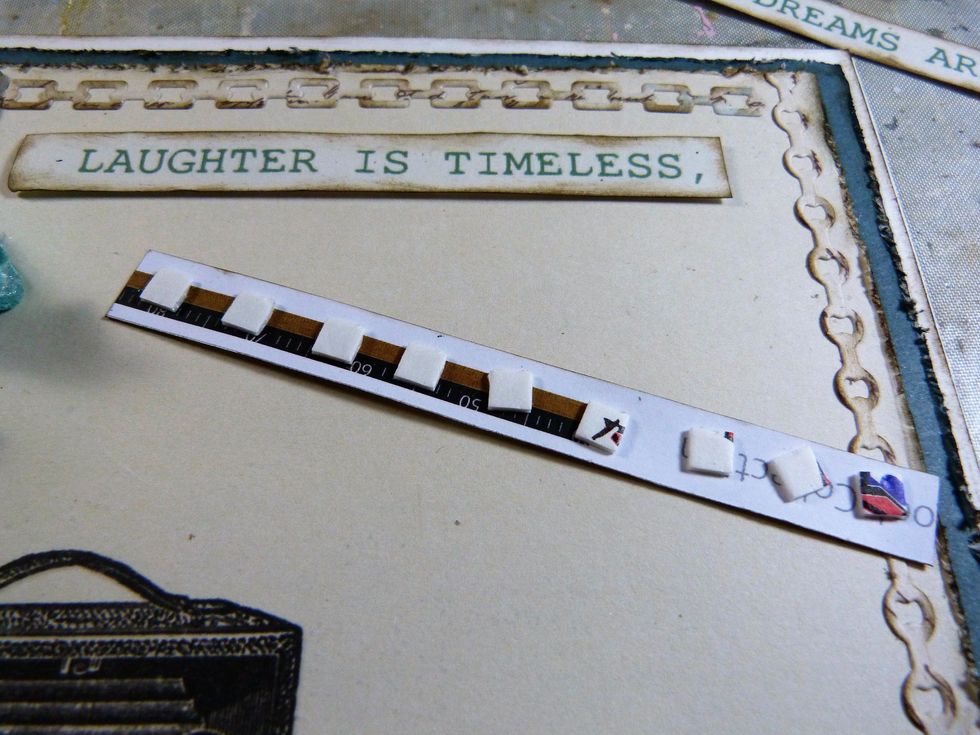
The wording needs the edges inked and then fixed to the card with foam pads to lift of the page slightly.
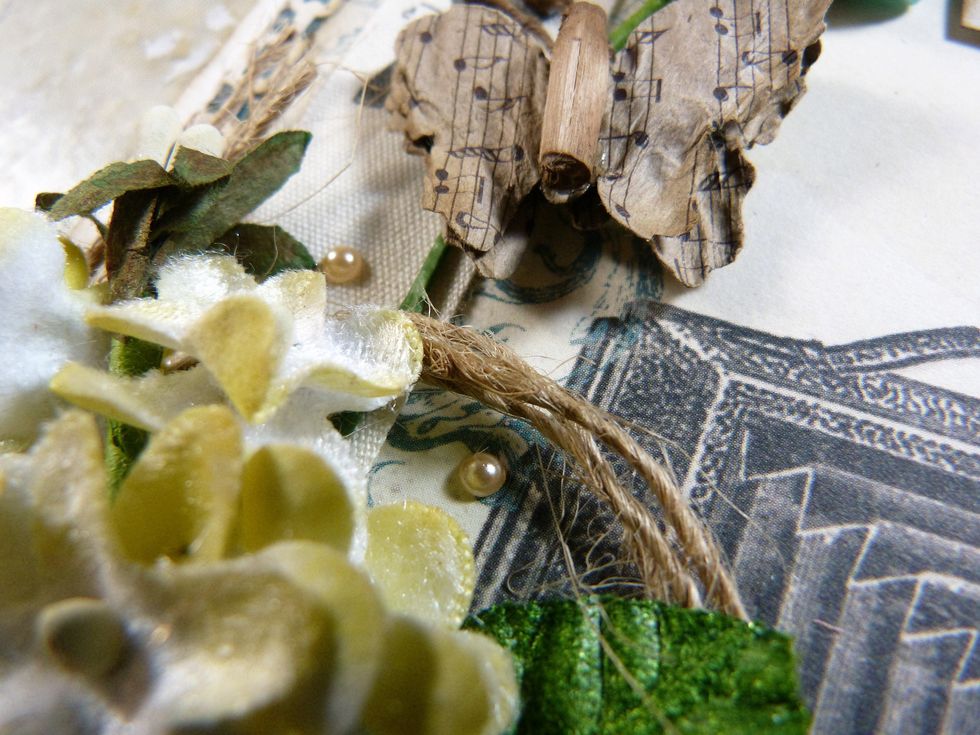
Last bit, add some of the cream pearls from the main kit.
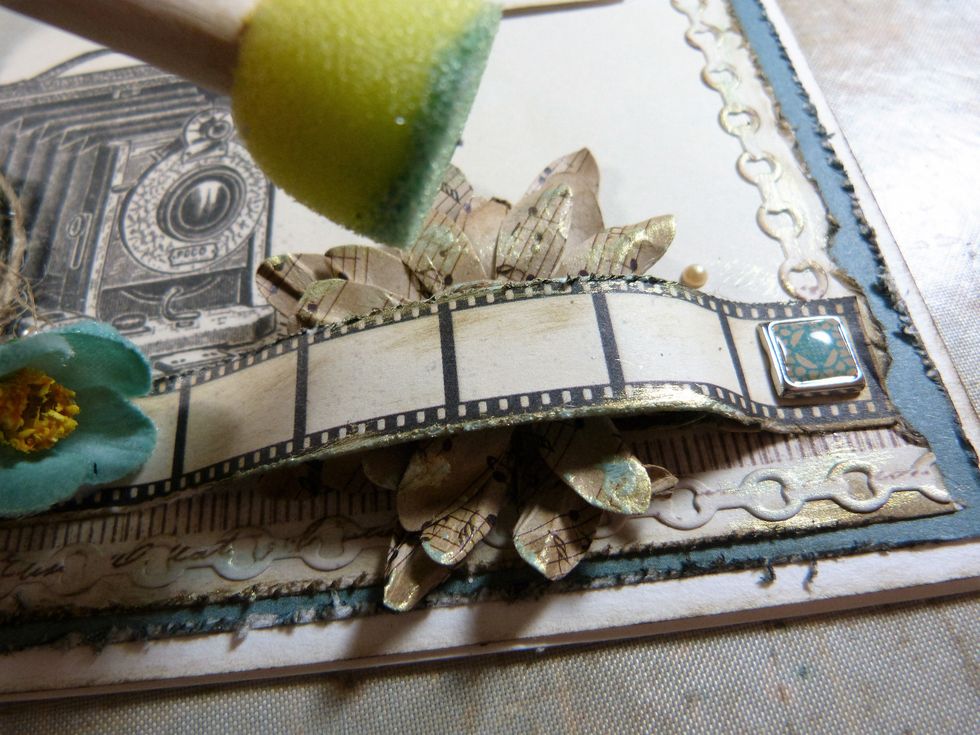
Finish of by gently dabbing some of the blue gold paint with a sponge applicator to the tips of the brown and grey flowers and the edges of the filmstrip and chains.
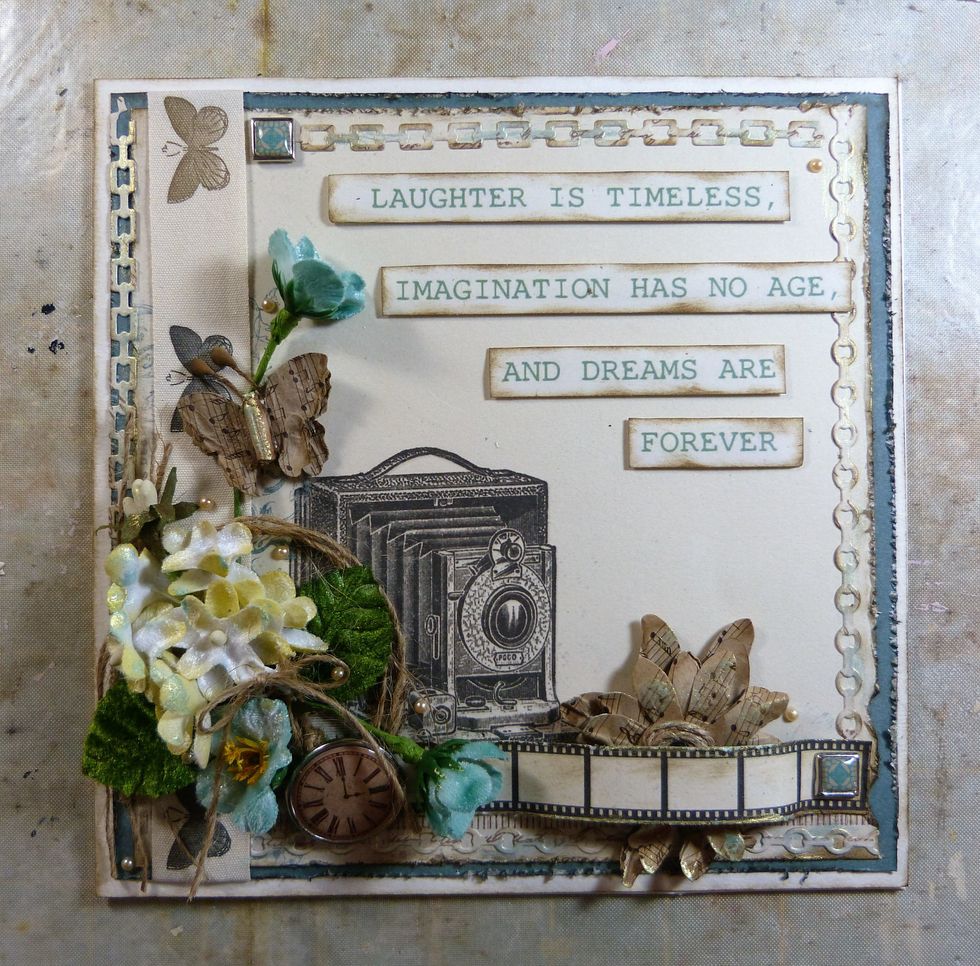
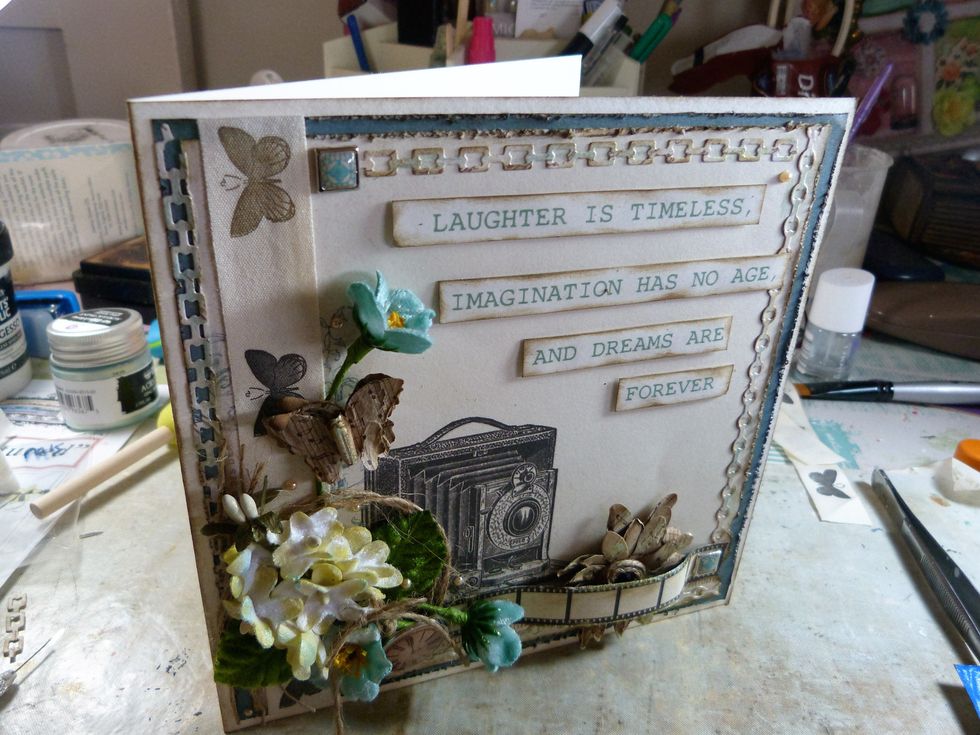
Your finished card.
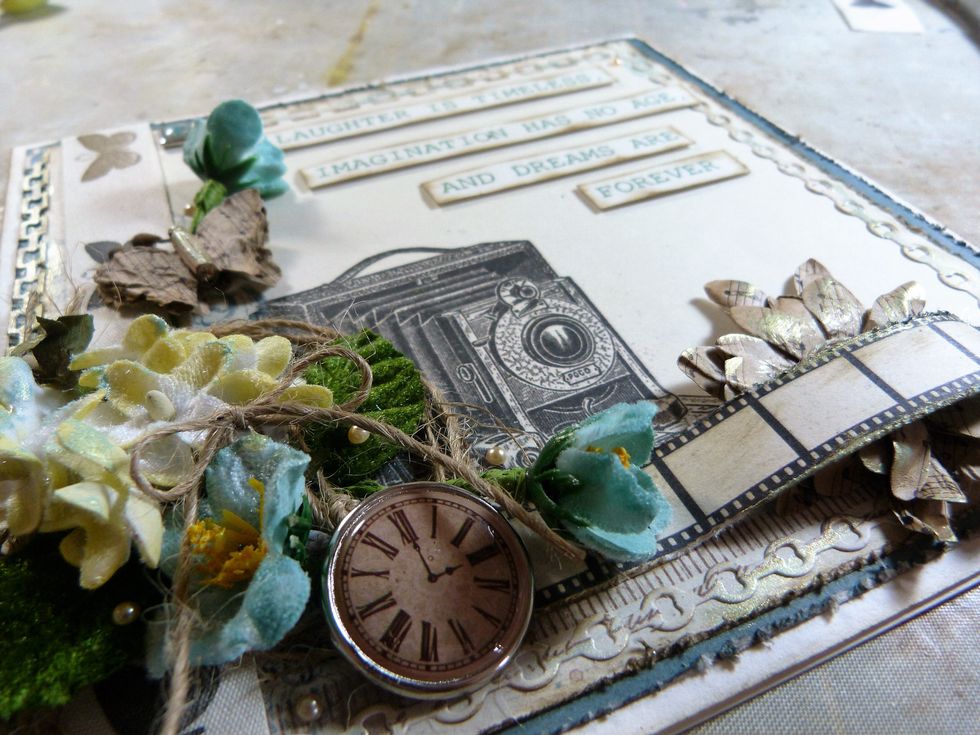
A close up. for more close ups of this card please visit my blog http://shabbypapers.blogspot.co.uk/
Hope you enjoyed this guide. Please visit Swirlydoos at http://swirlydoos.com/ for more details on their beautifully co-ordinated monthly scrapbook kits.