The Conversation (0)
Sign Up
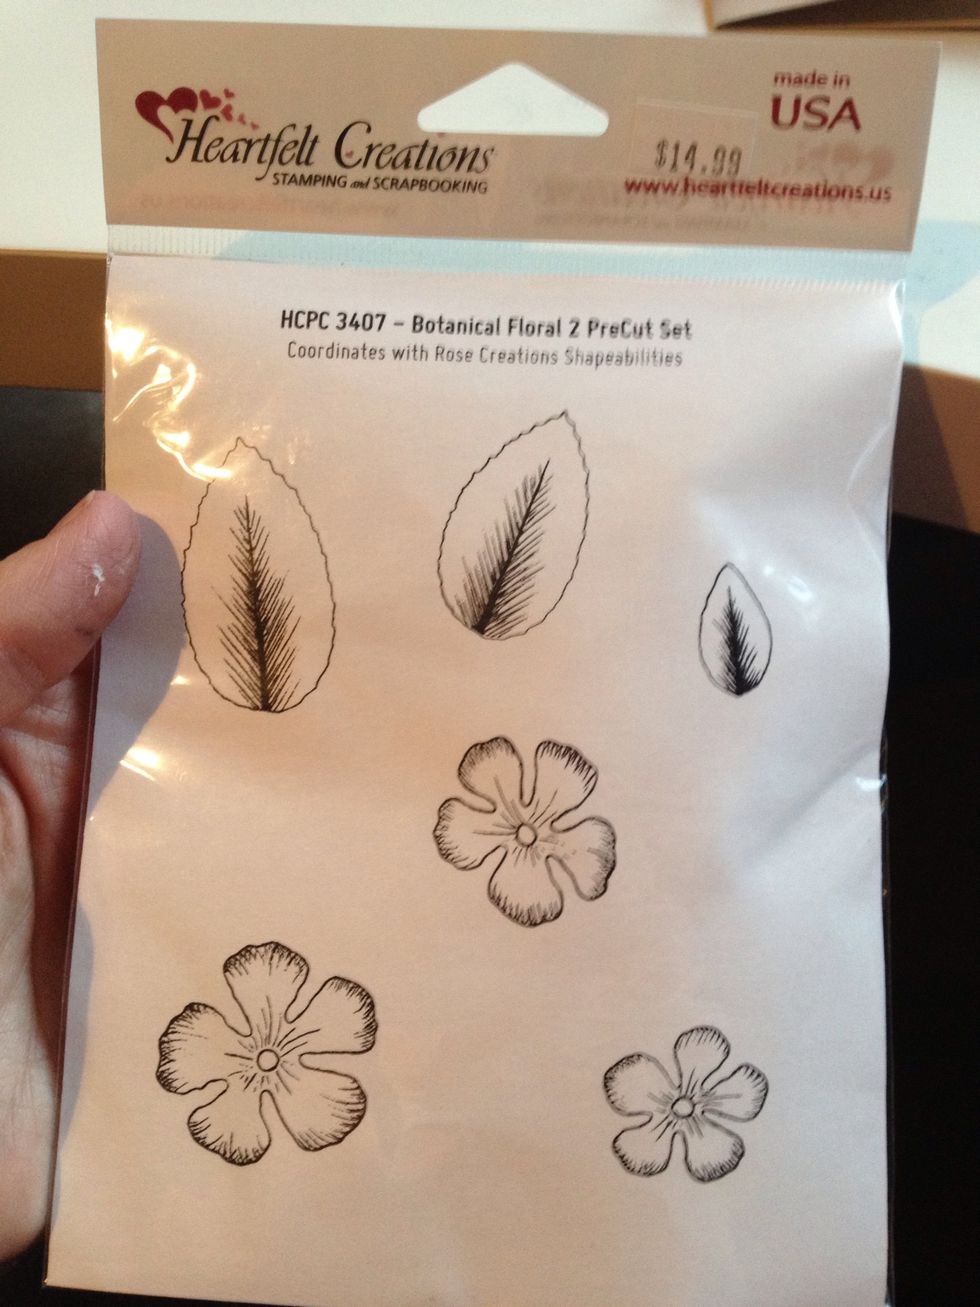
I had tried (unsuccessfuly) to make a card using these stamps before i was determined to be successful this time. Here is the set of stamps that I had not been able to figure out.
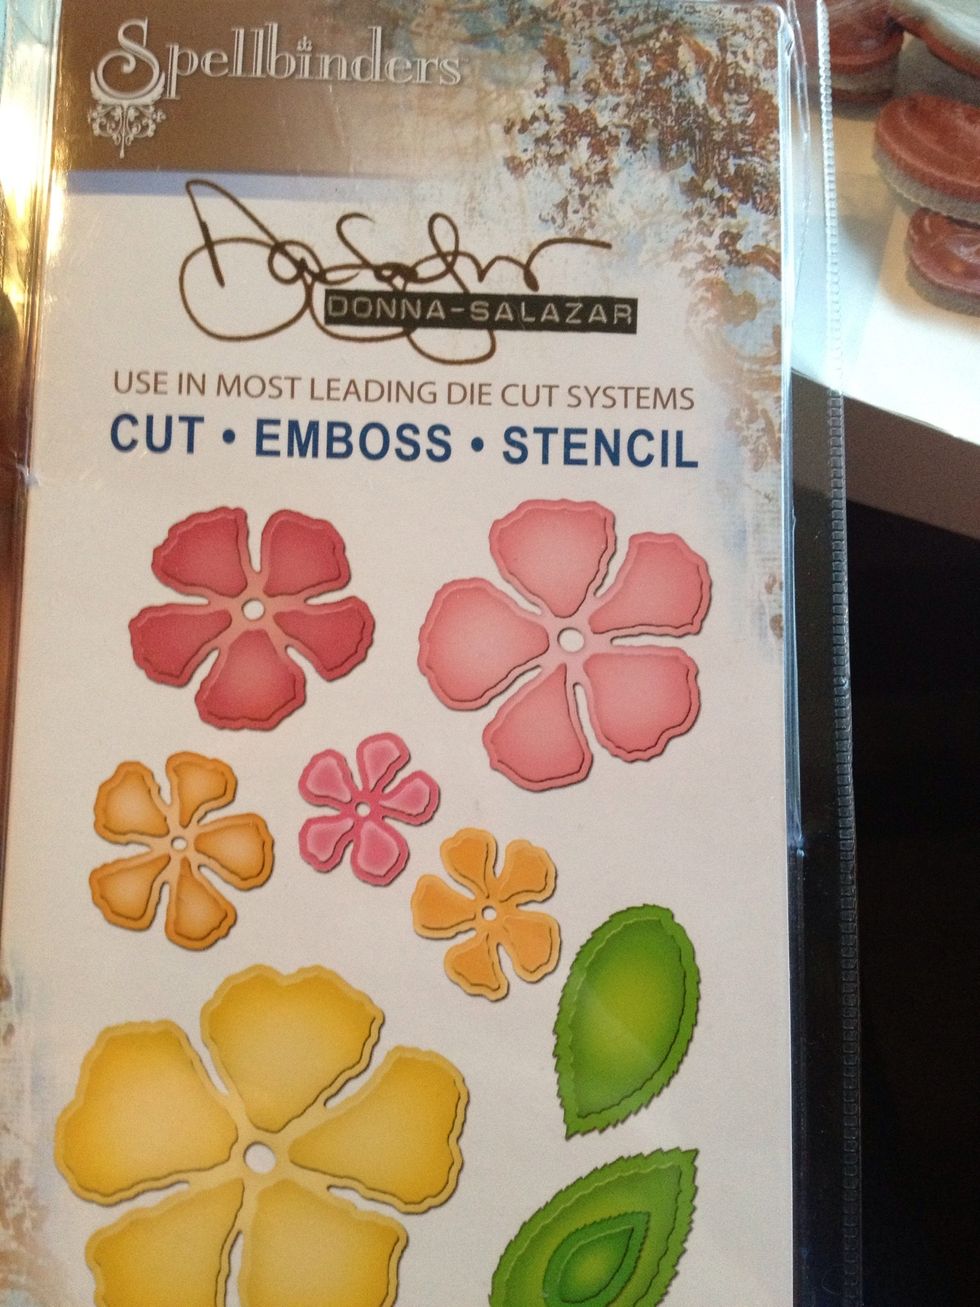
And the dies to match.
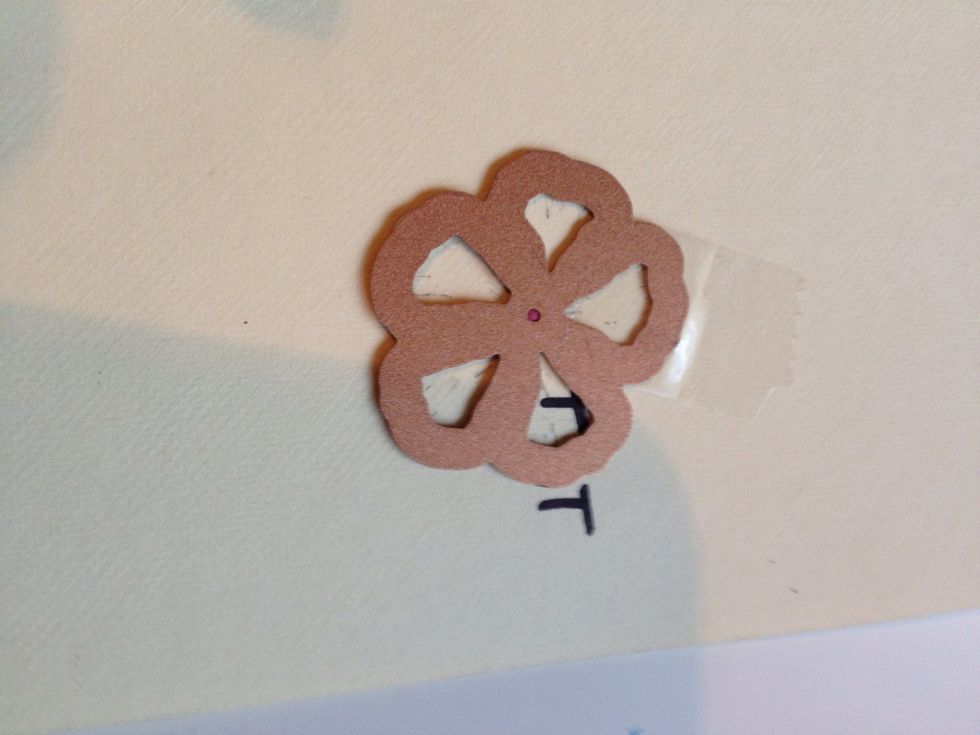
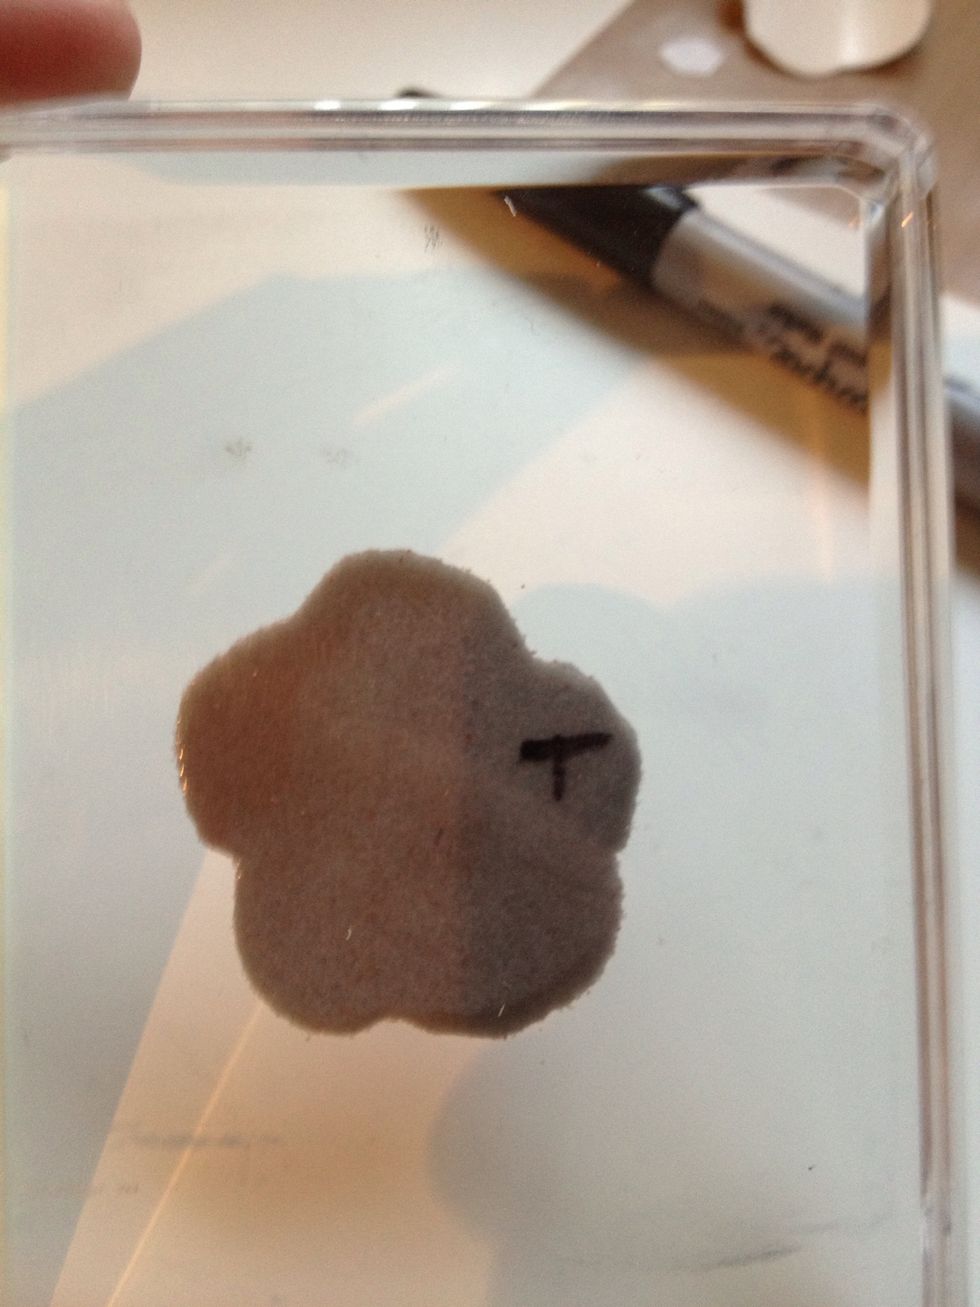
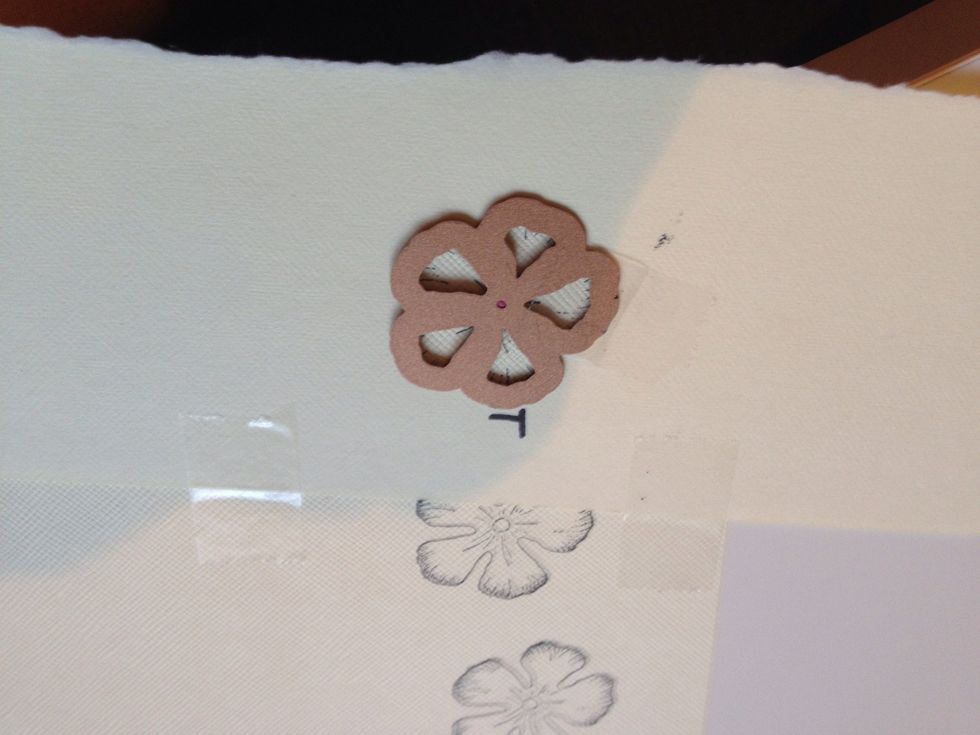
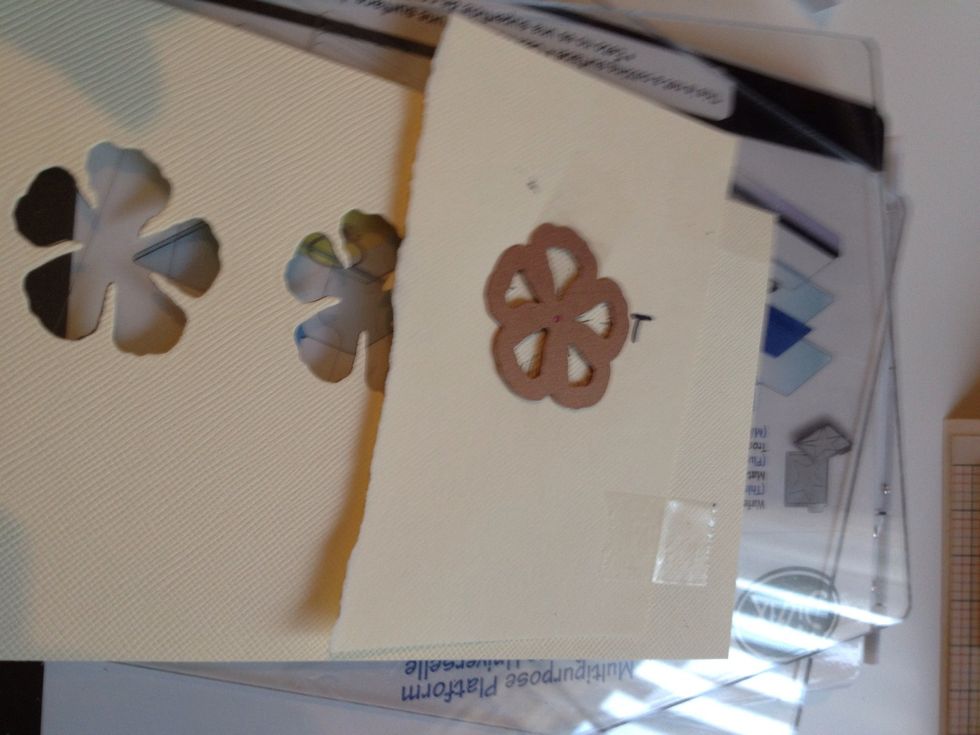
Tape die to a piece of card stock. My stamp was very difficult to match so I put a letter on the cut out and the base paper so I would know which way to orient it (this was key to my success)

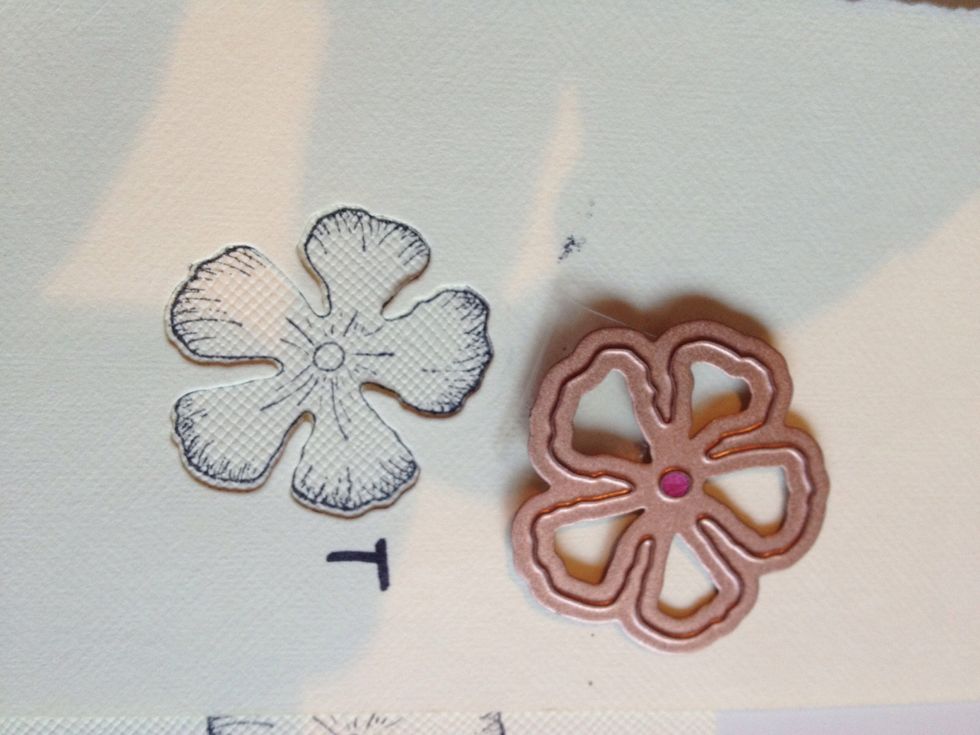
Match up the flower to the die ( keep rotating until it matches up)
So now you have a stamped image.

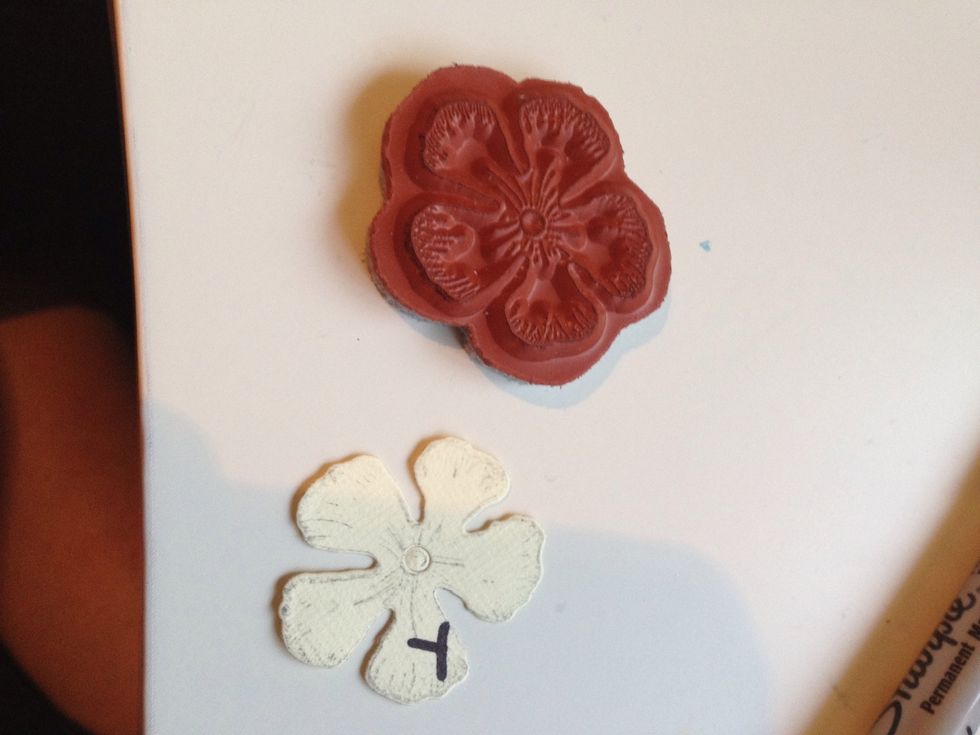
I marked the back (I lifted up edge of stamp to see which side was the T on the flower)
Now add stamp to block to stamp on card stock
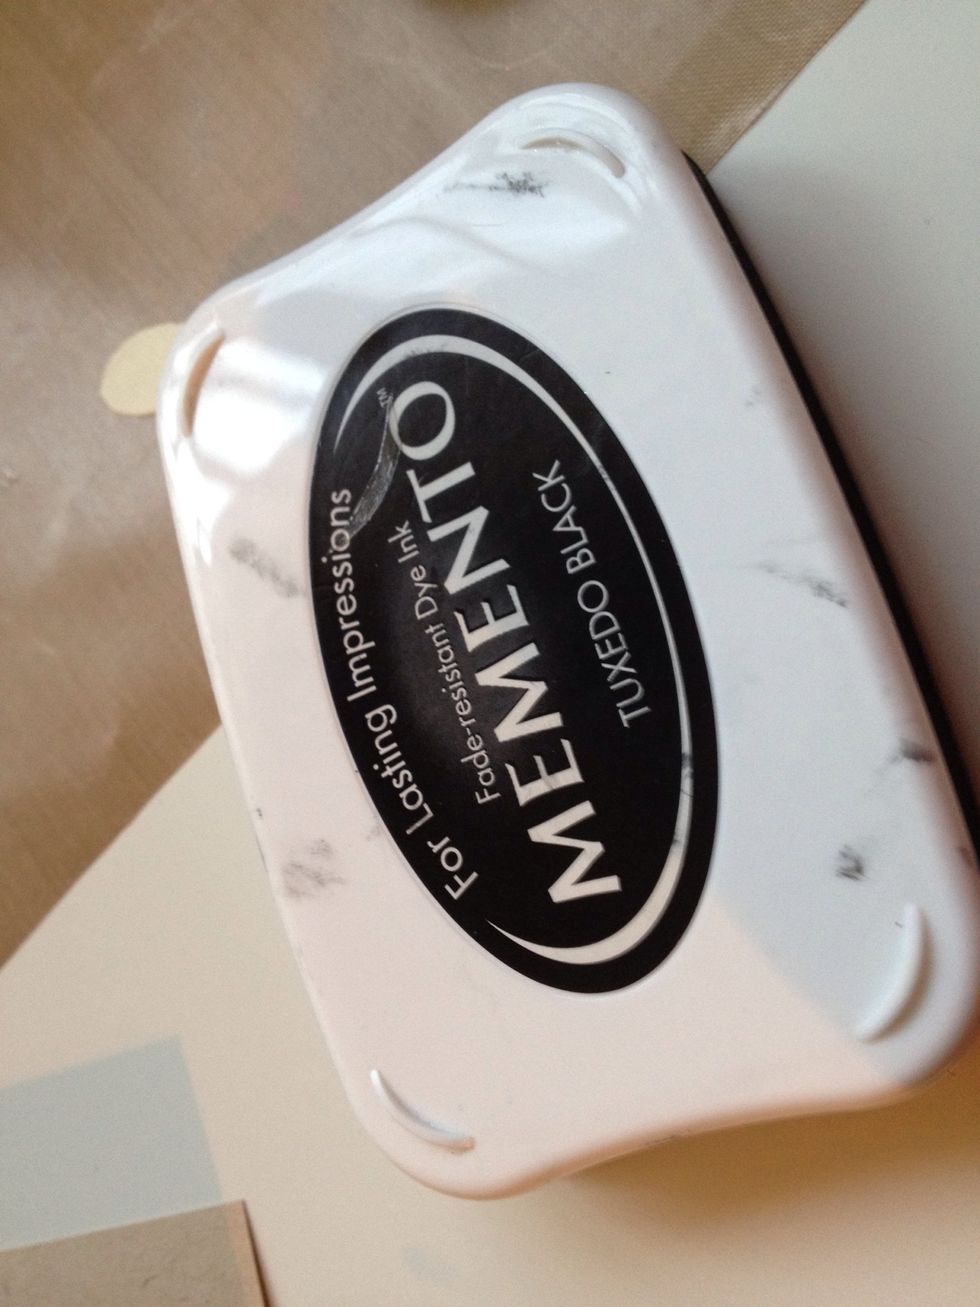
I used Memento ink for the flowers & leaves because it works great with Copics.
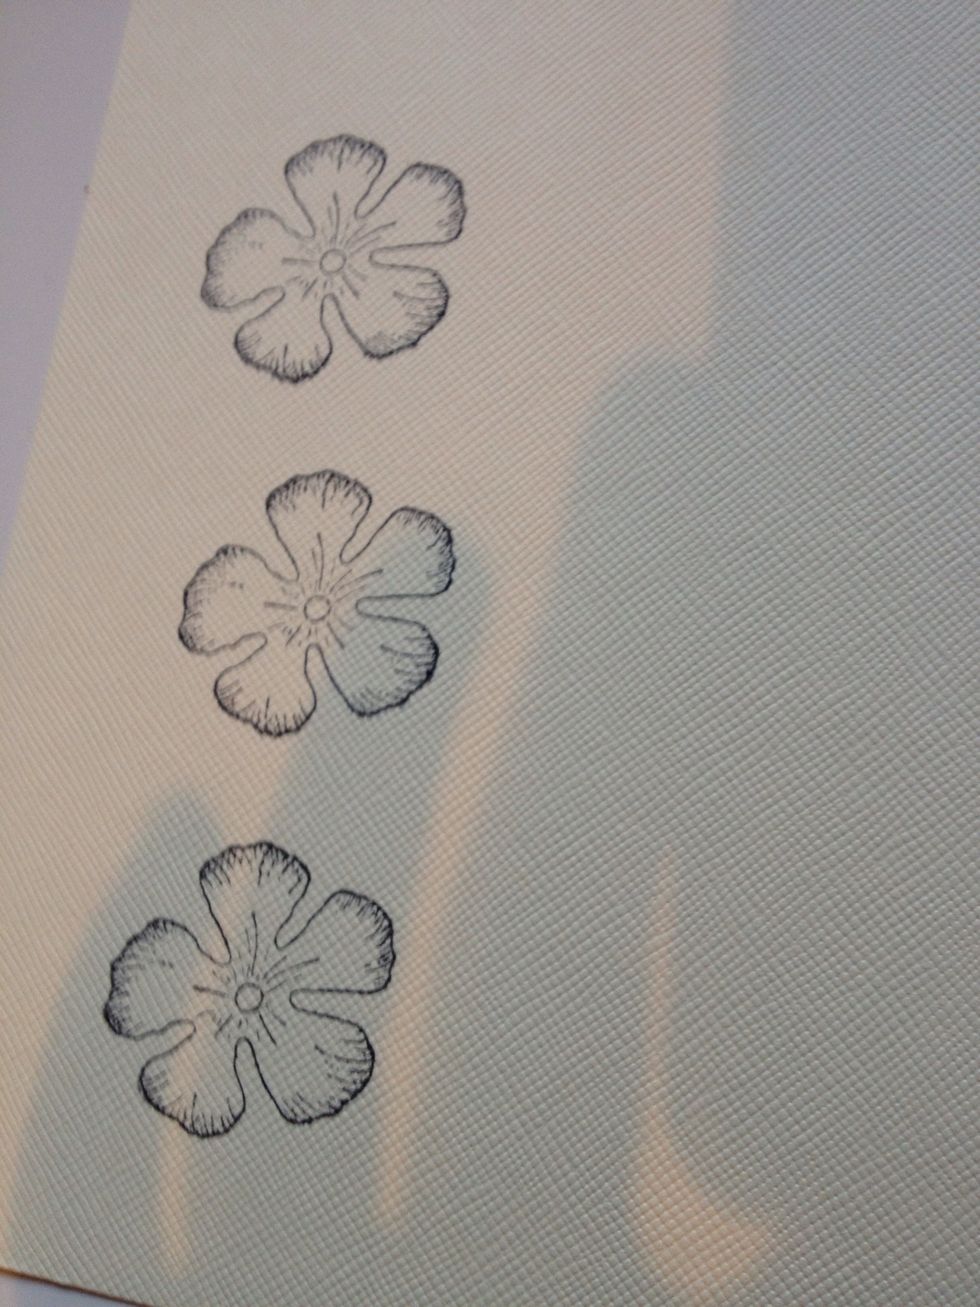
Stamp three flowers
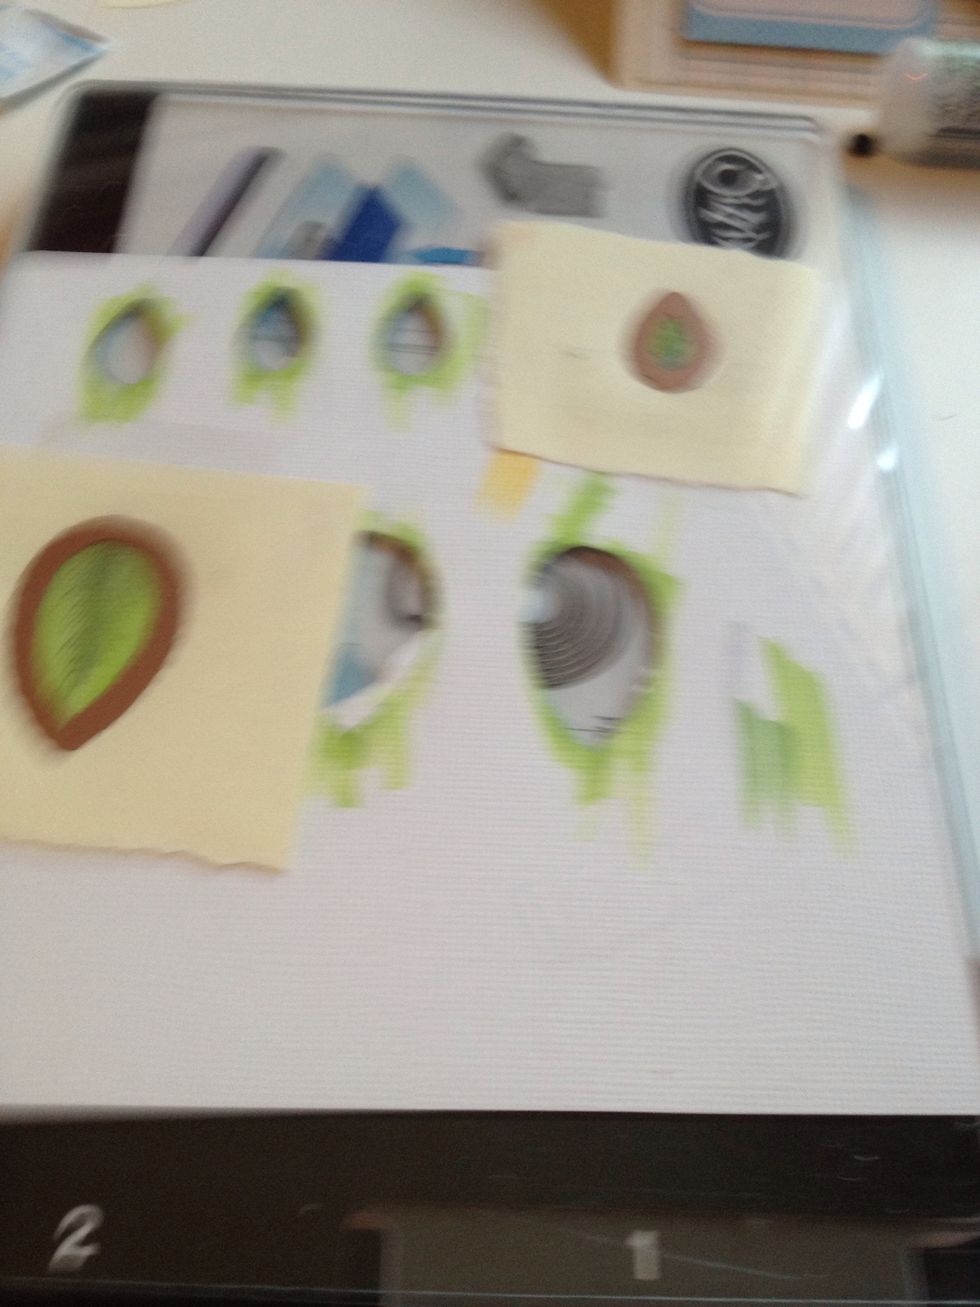
Match up paper with die taped to it to your flower so you can see the flower through the center.
Tape piece of paper with die on it down to stamped card stock. This is important.
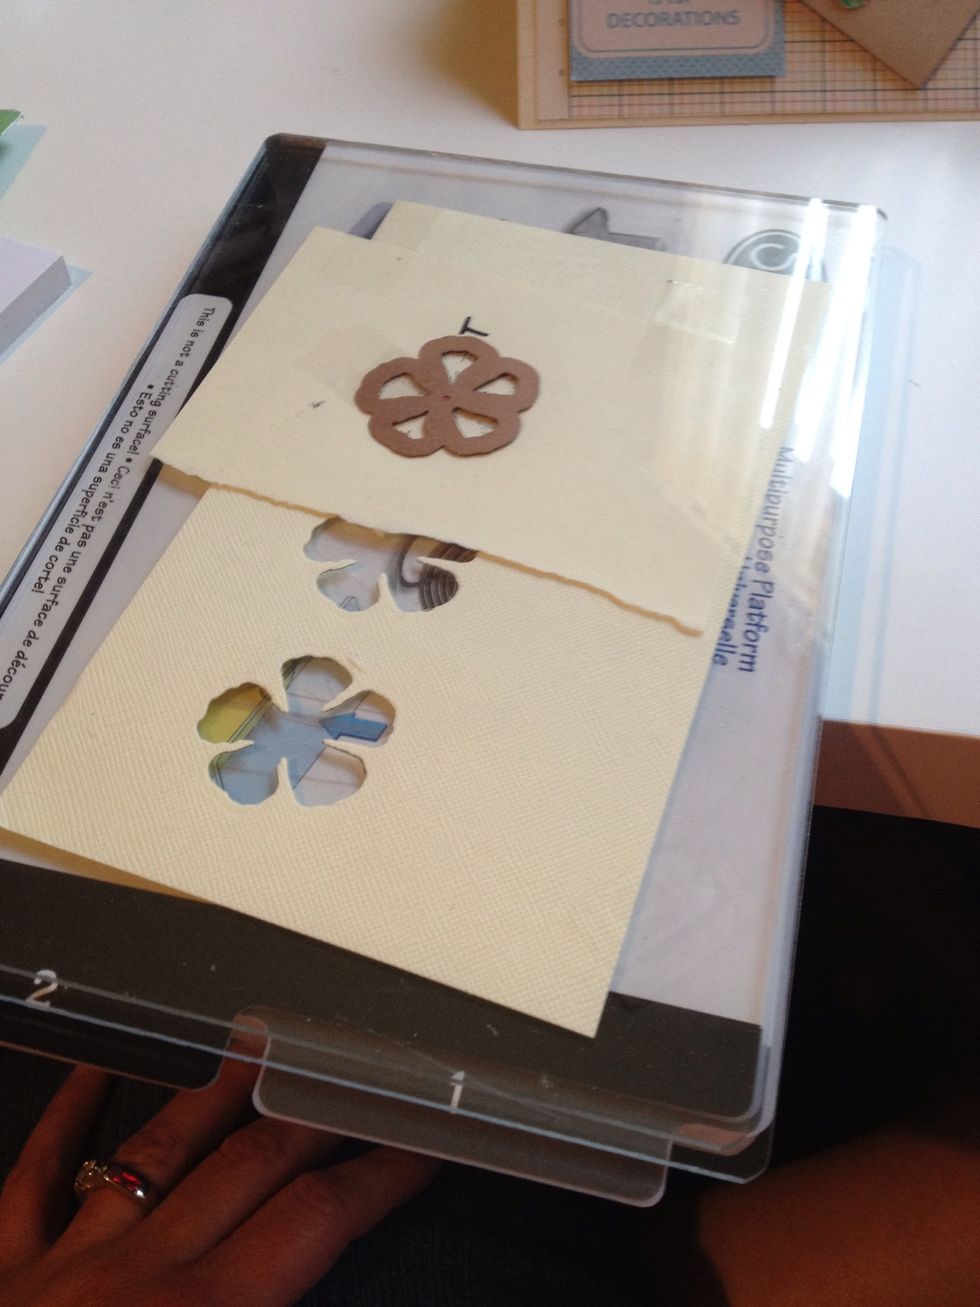
Make your sandwich with the plates and paper and dies.
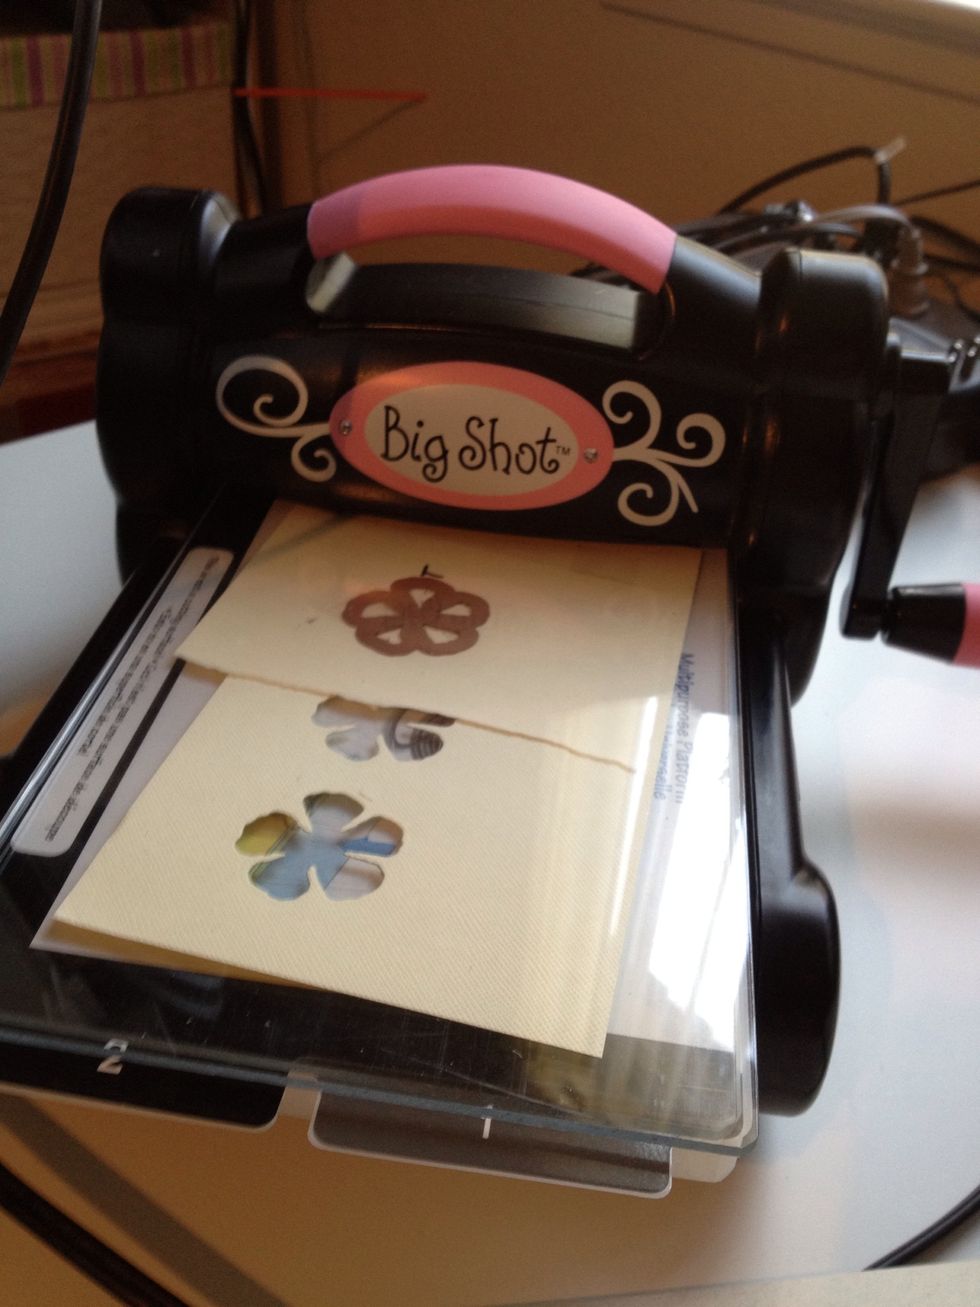
Use Big Shot or other die cutting machine to cut using the dies
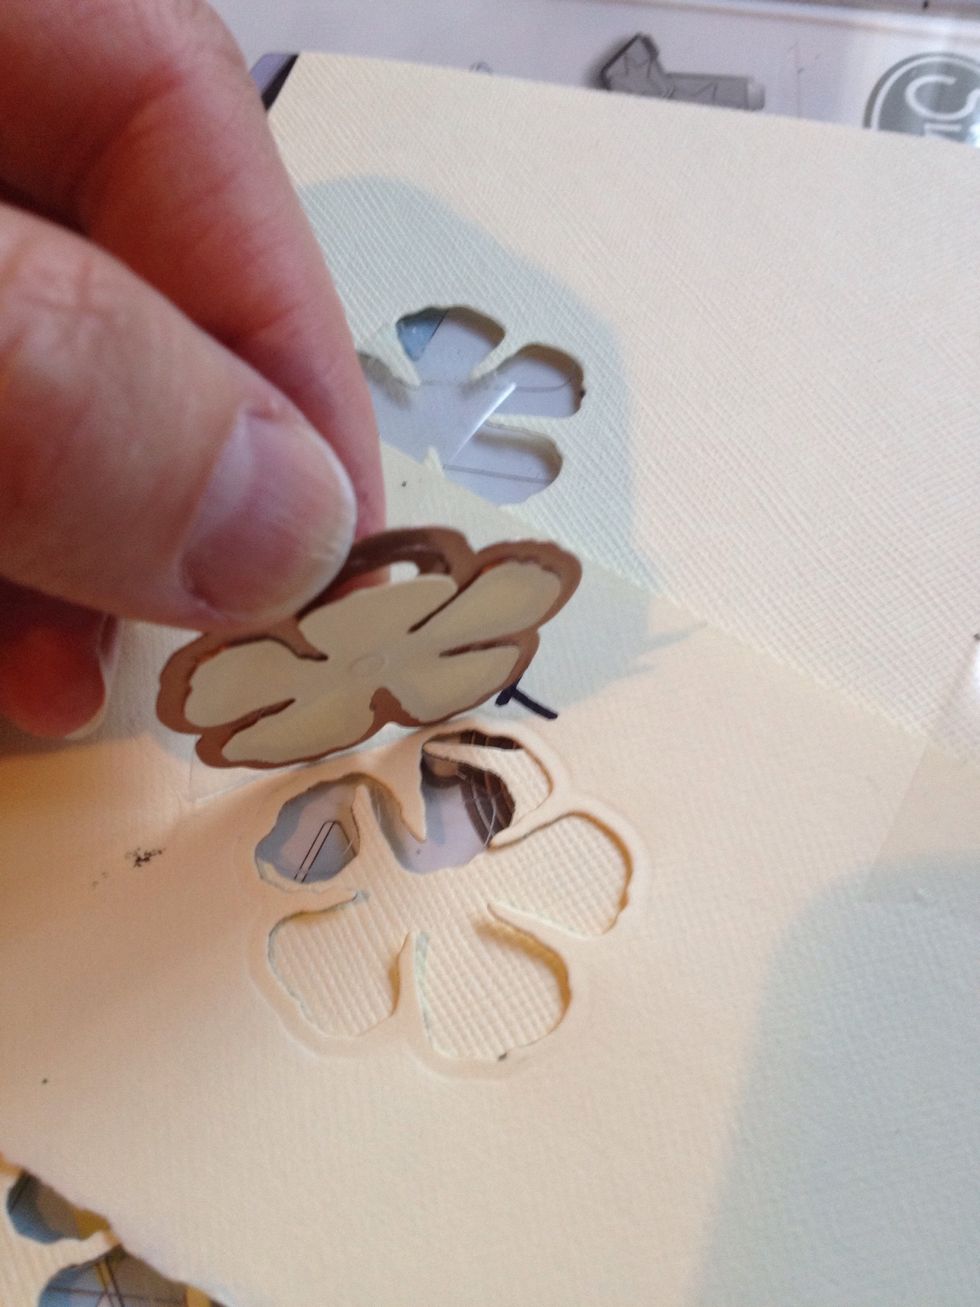
After cutting, lift up die (keeping tape intact) and remove the cut shape.

Here's a flower!
Continue until all flowers are cut out.
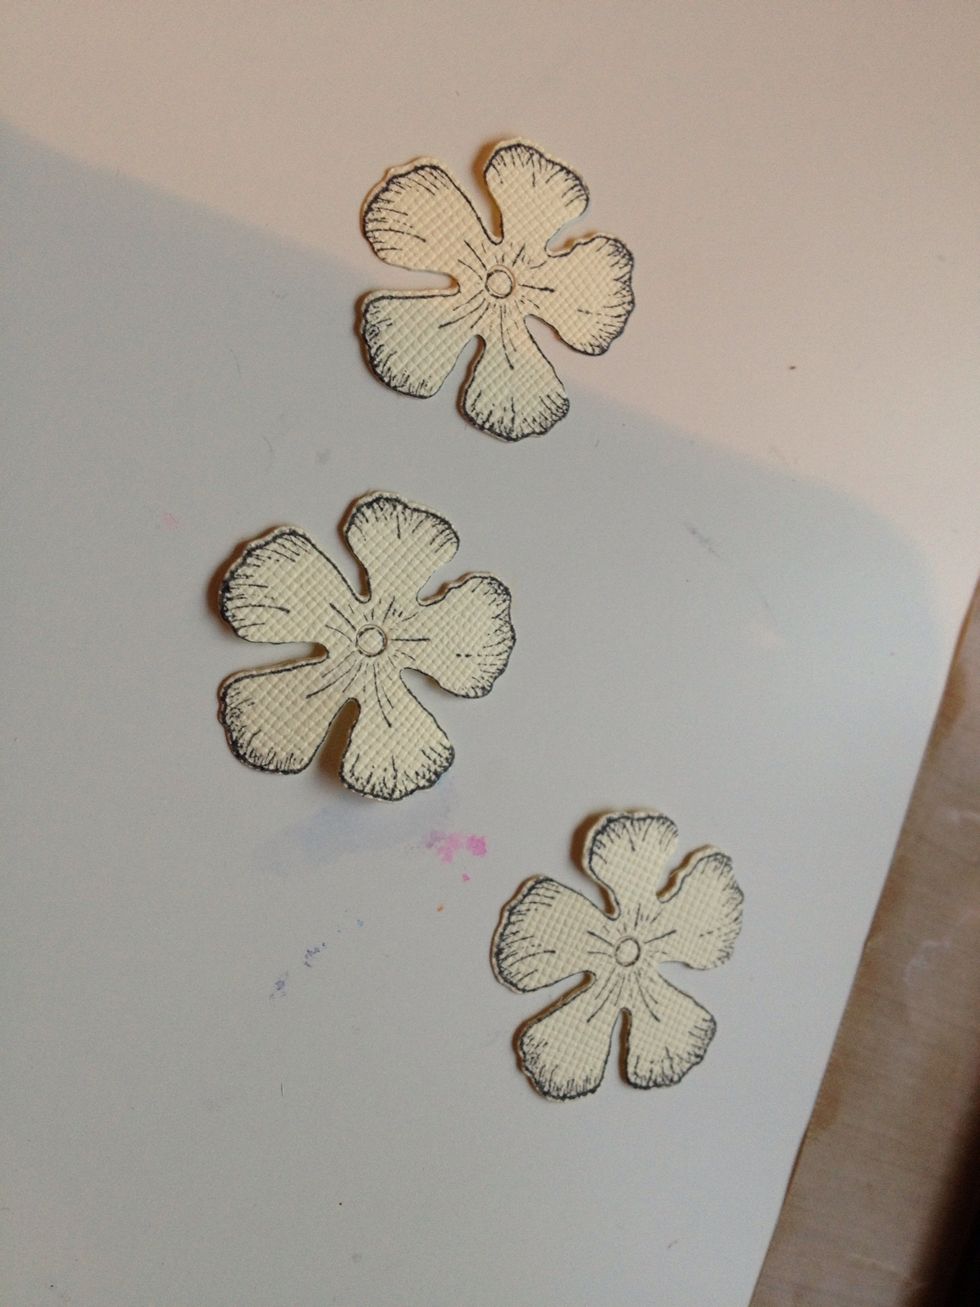
You should now have 3 flowers. Grab your markers - we're going to color!
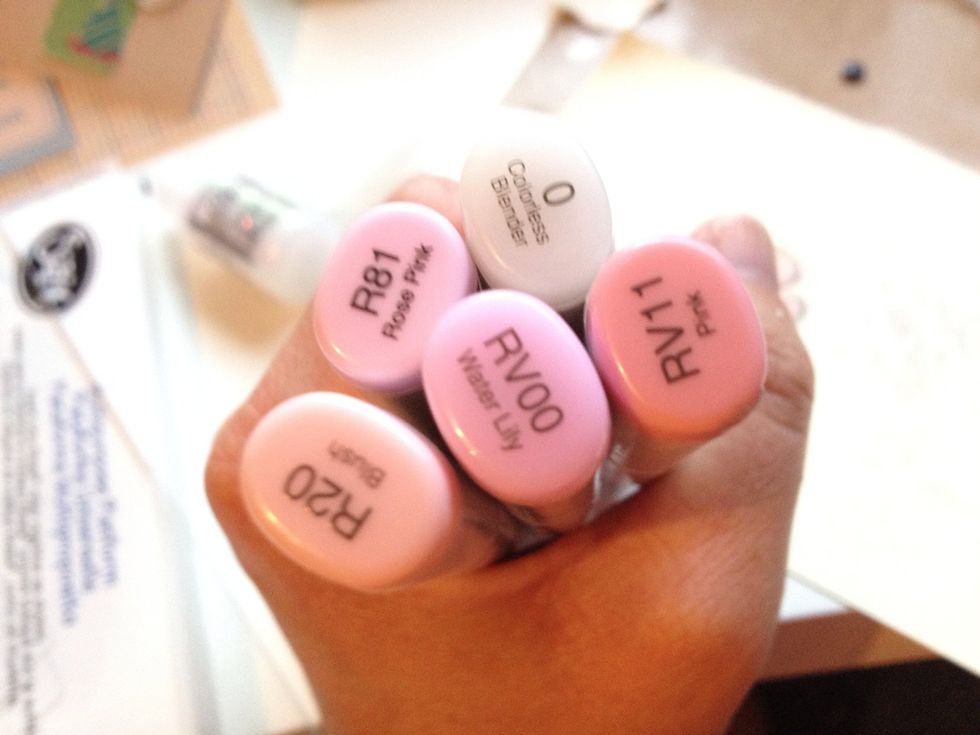
Here we're the colors I used
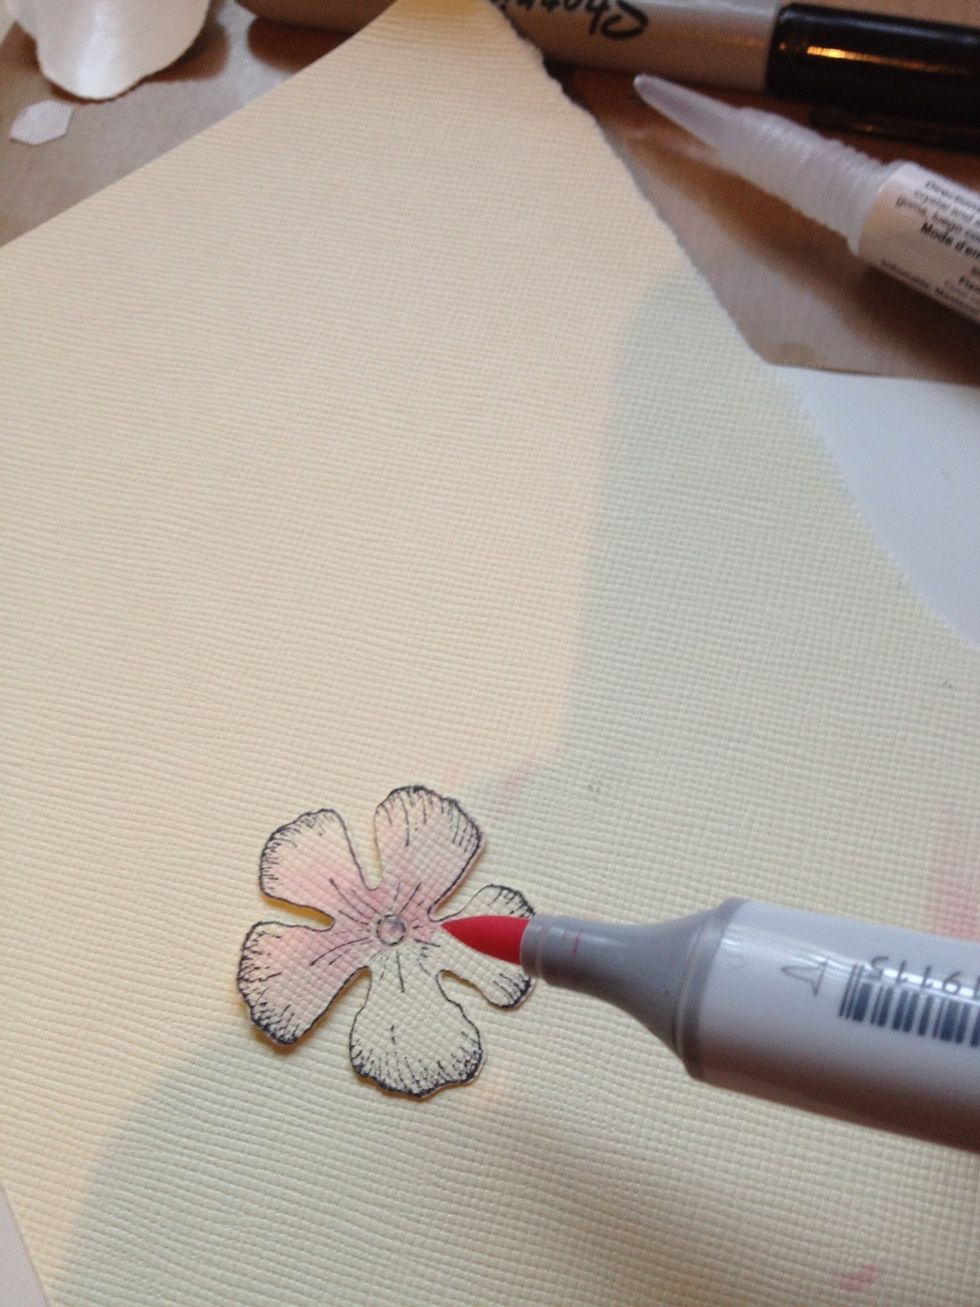
Use your Copics to put down a light base color.

I originally wanted to use a button as the flower center but didn't like how it looked - wrong size for the flower.
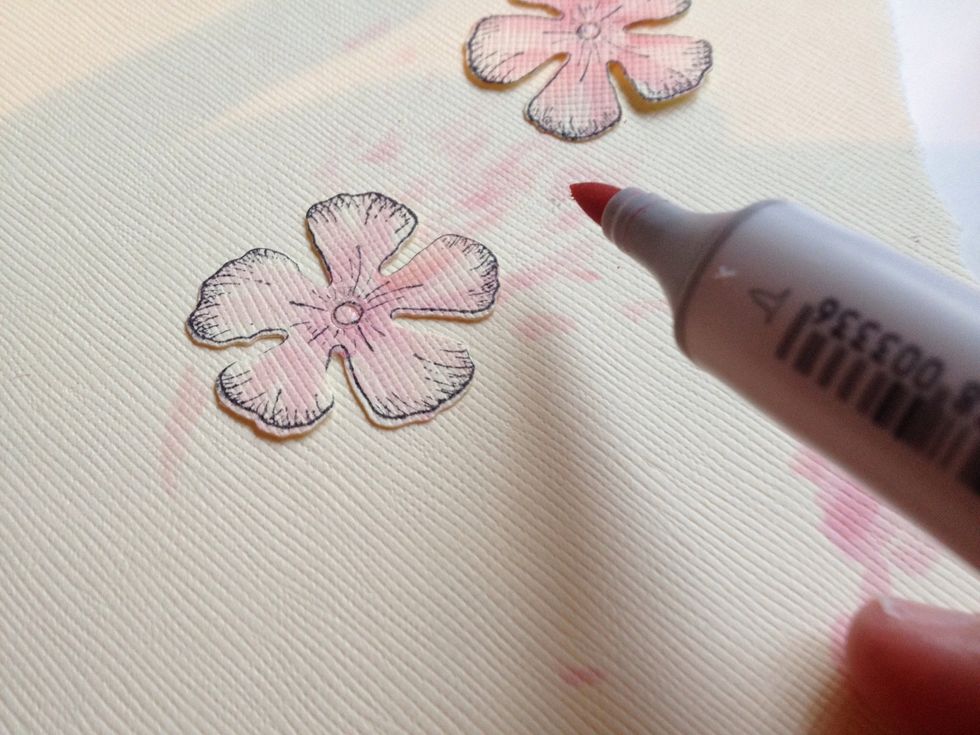
Then I added some darker color shading.
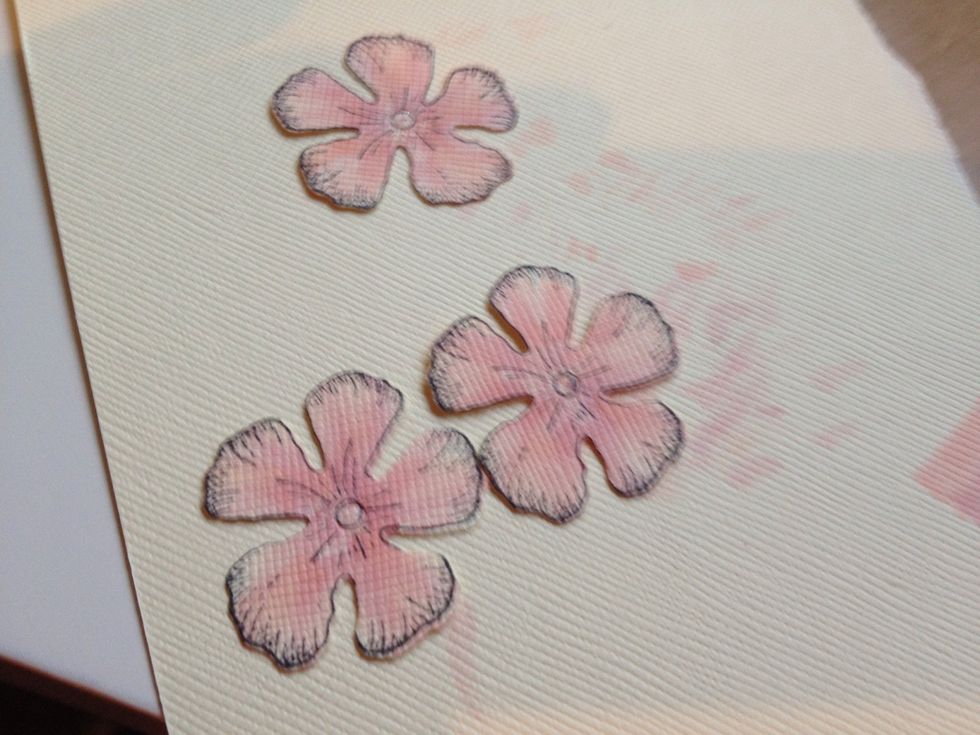
With three colors (no complicated copic techniques were used in the making of this card!)

Close up (notice I had a piece of paper under my coloring so I didn't harm my desktop)

Here's the white ink pad for the background. You have to put the ink on the pad (I hadn't used this one for a long time).
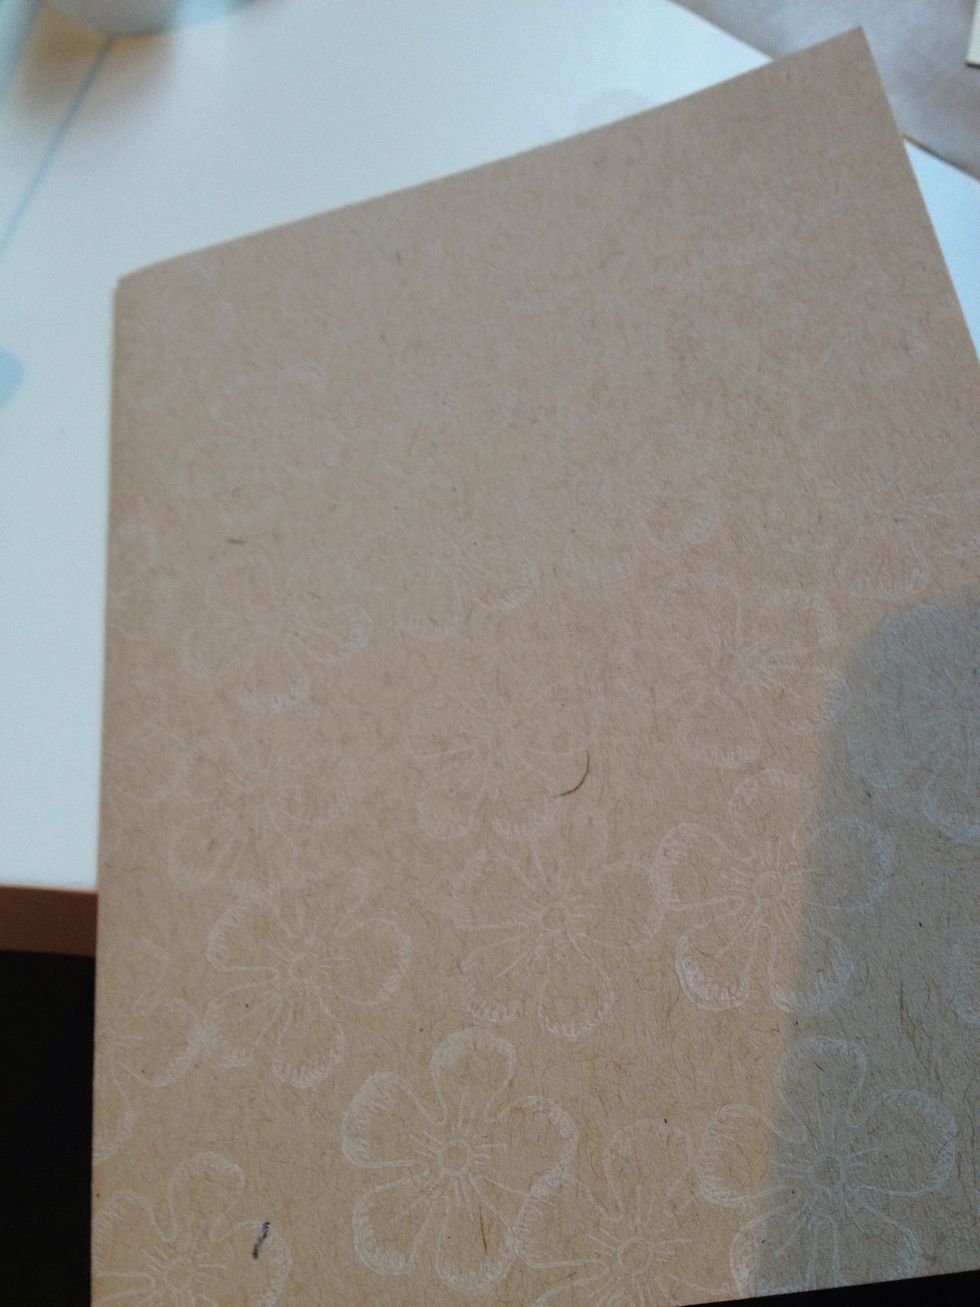
Stamp flowers in white ink on the craft card stock. This is a background so they can go off the edge or be orientated however you like; have fun with it.

Stamp with ink on it attached to clear block. Since your stamping randomly there is no need to line up with anything.
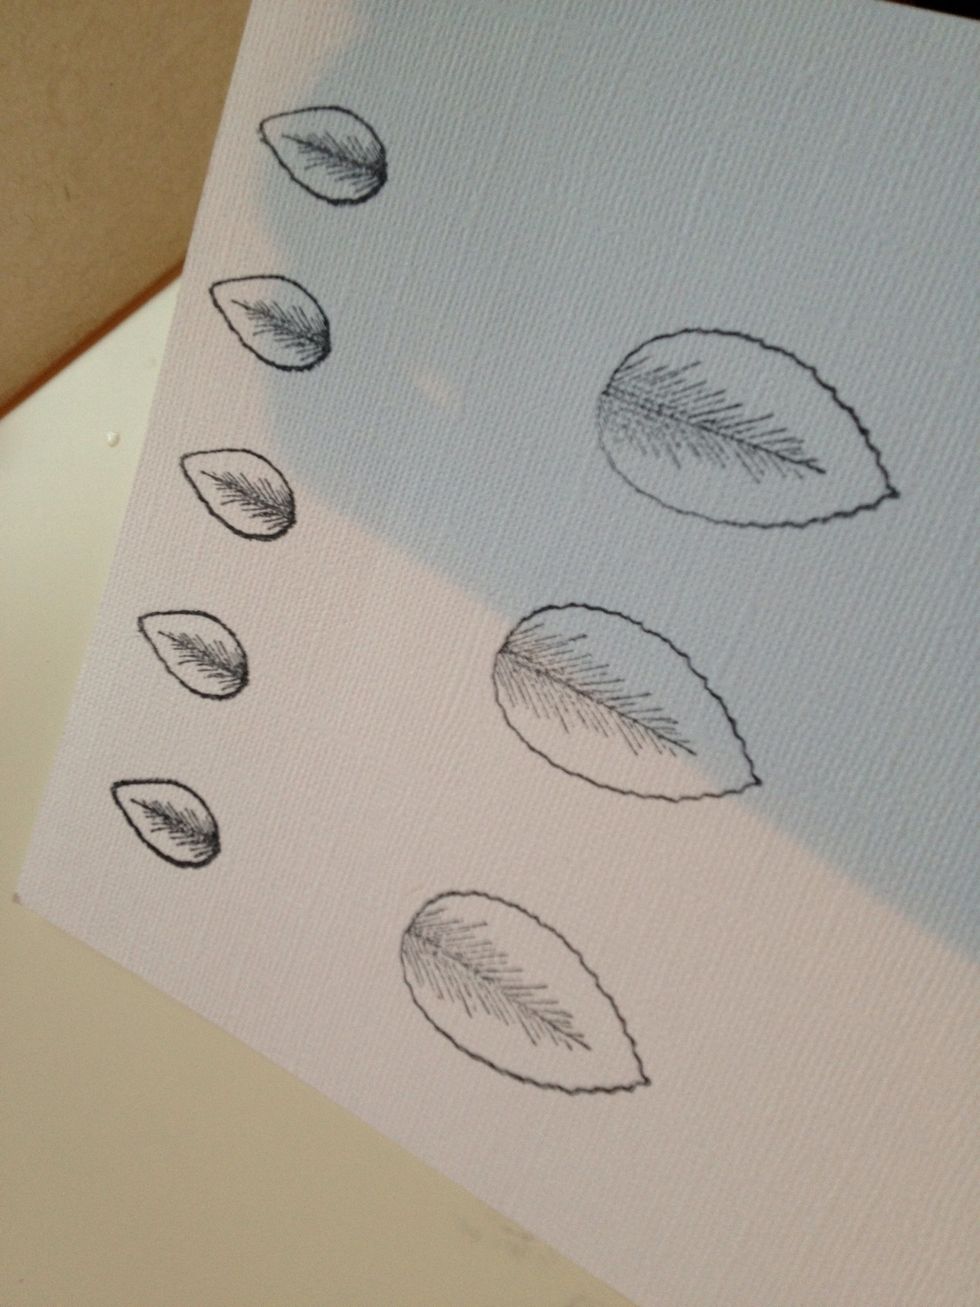
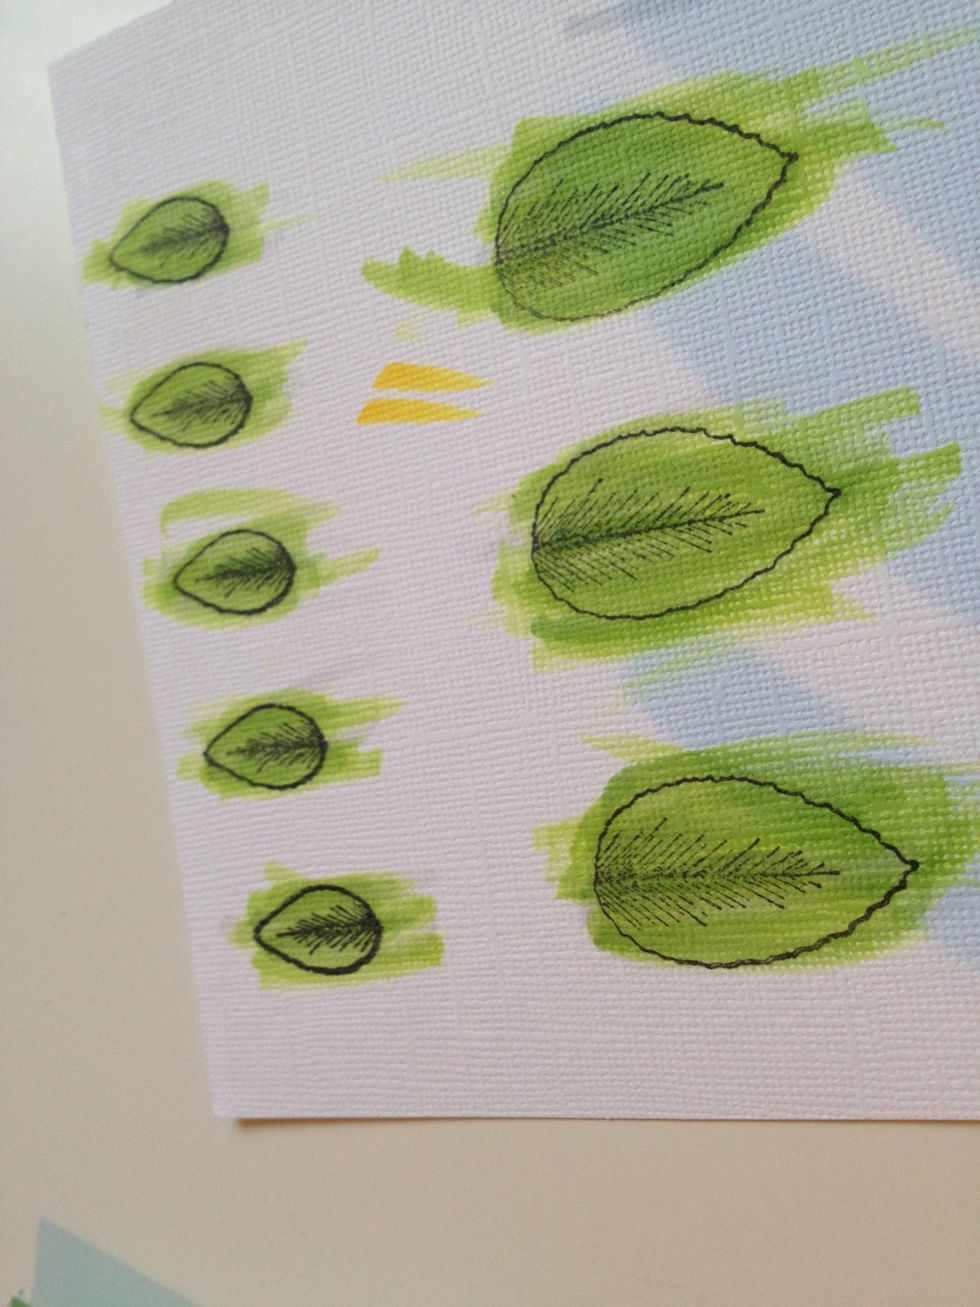
Stamp your leaves on a piece of card stock.
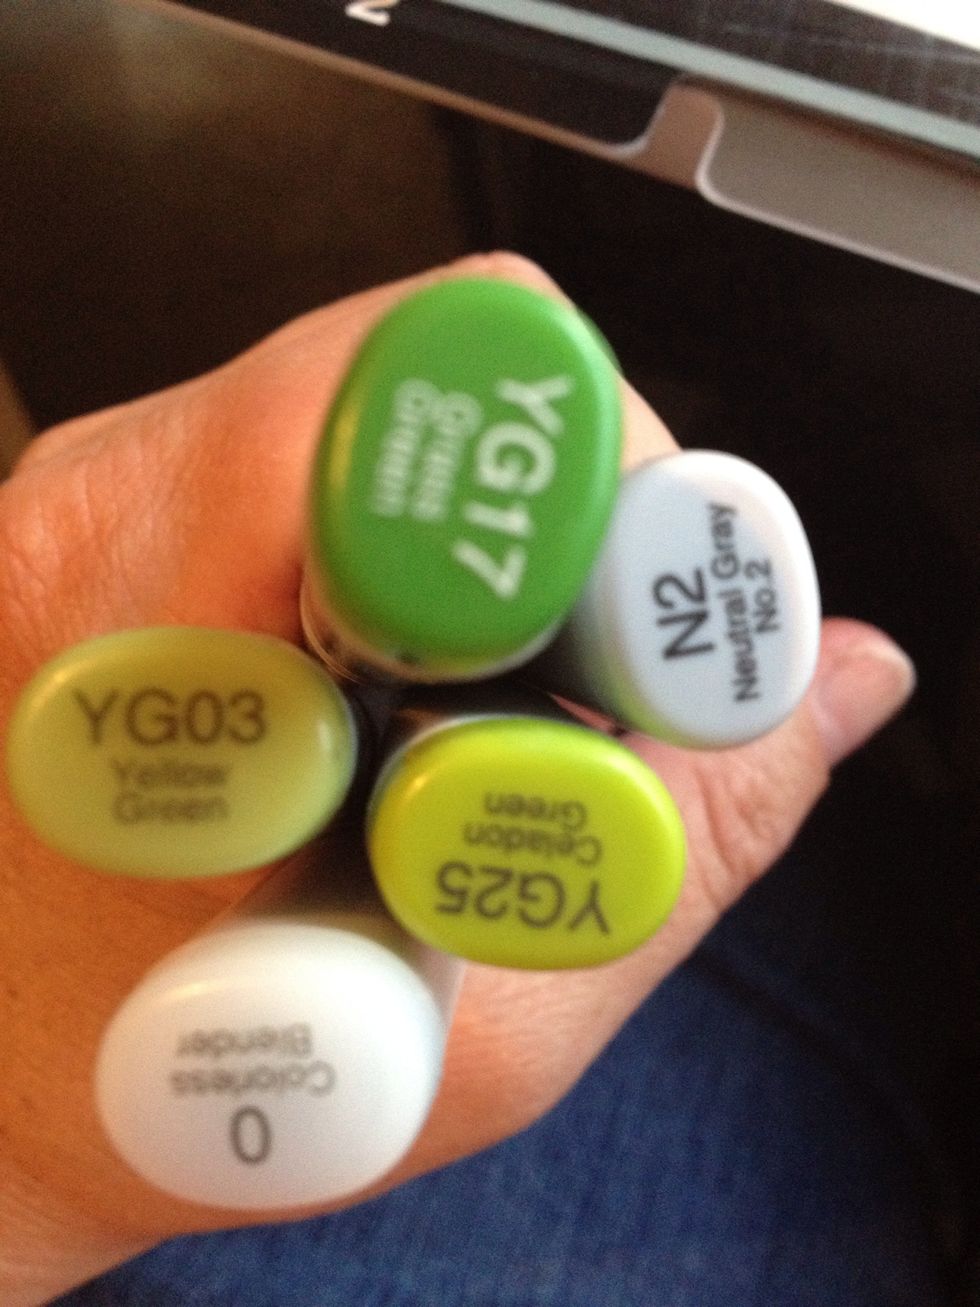
Here are the Copics I used for the leafs.
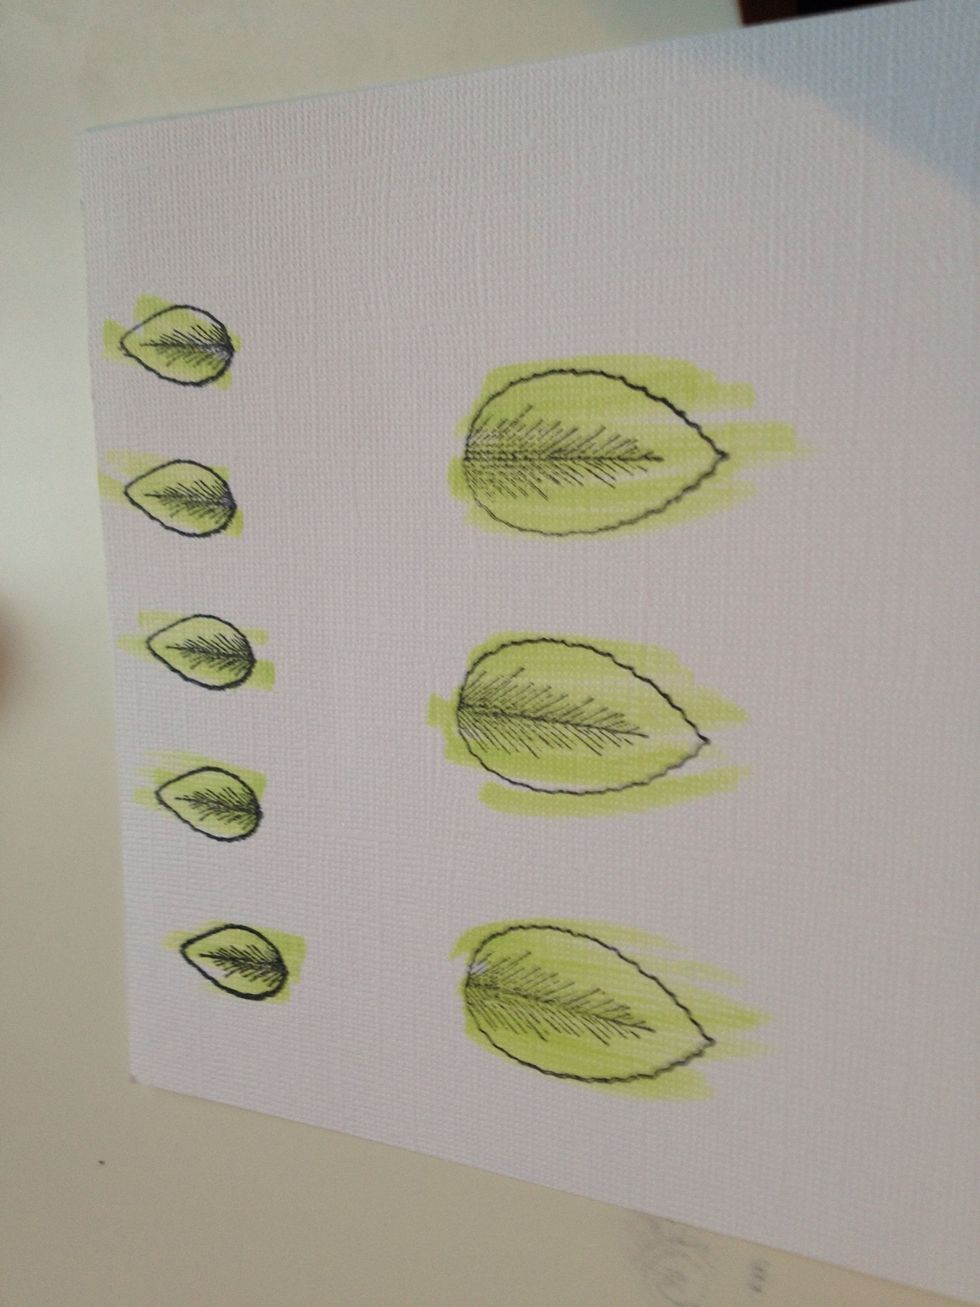
I took a different technique with the leaves - I colored them first. I didn't get as clean of a cut with the die on the large leaf - so the dampness of the paper may have impacted it. You can try both
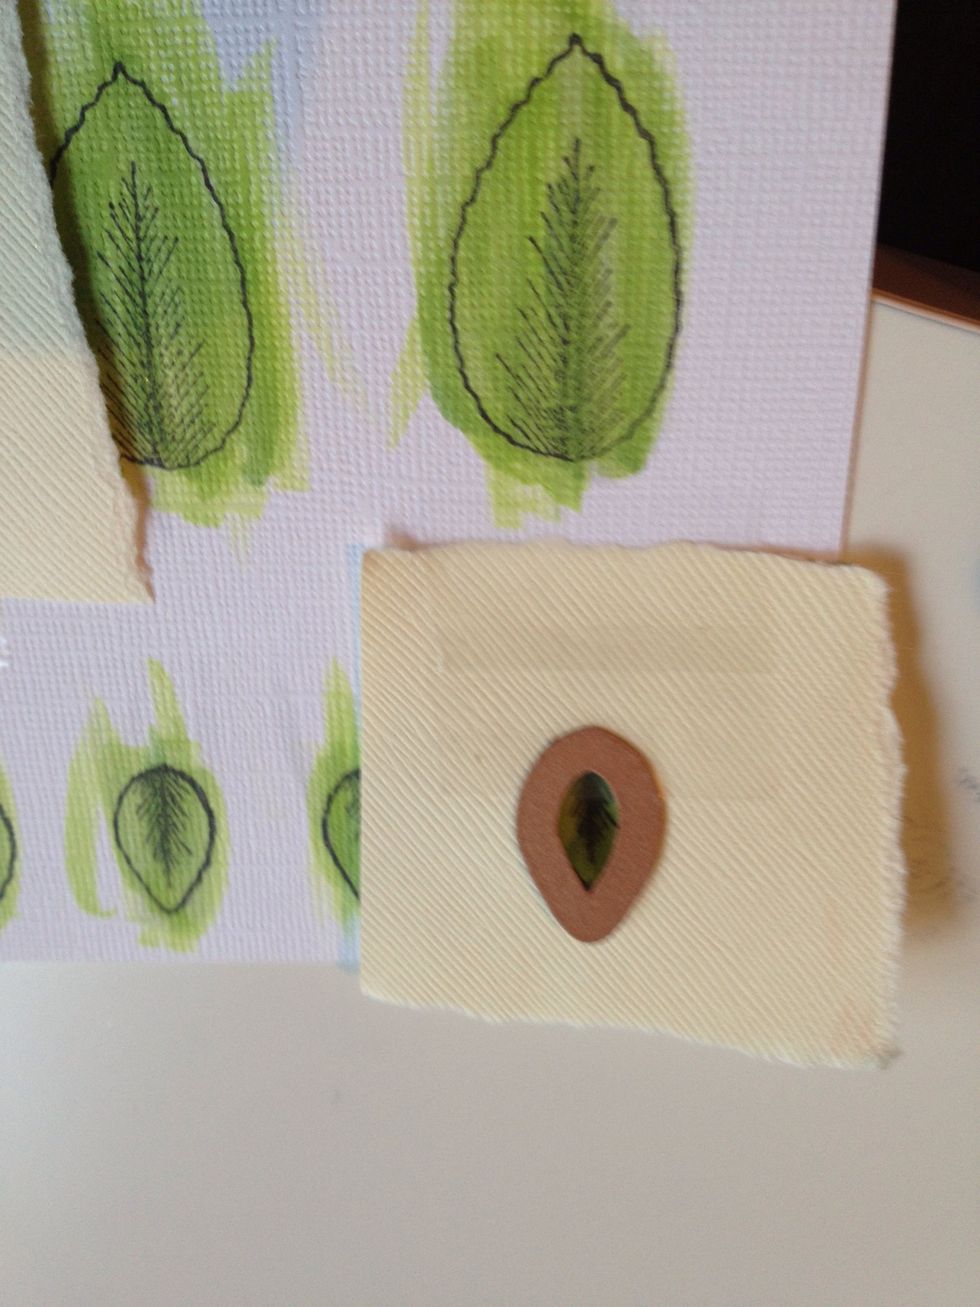
The lead dies were much easier to match up so I just taped them to card stock and ran them through the die cut machine.
I then took my colored stamps and matched them up.
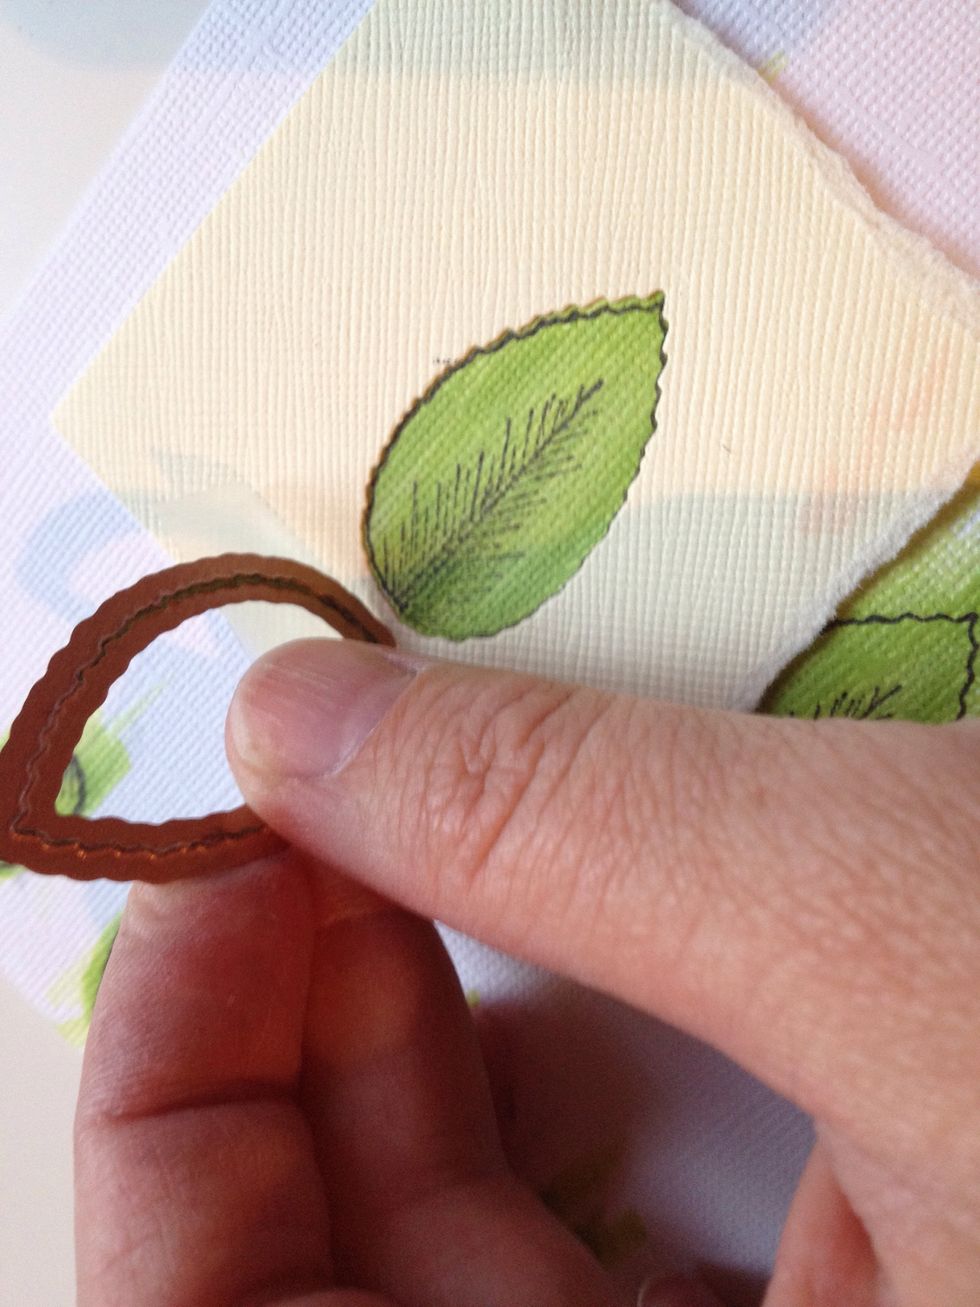
Put die and frame over stamped image and line up
I then taped the frame and die down for best results
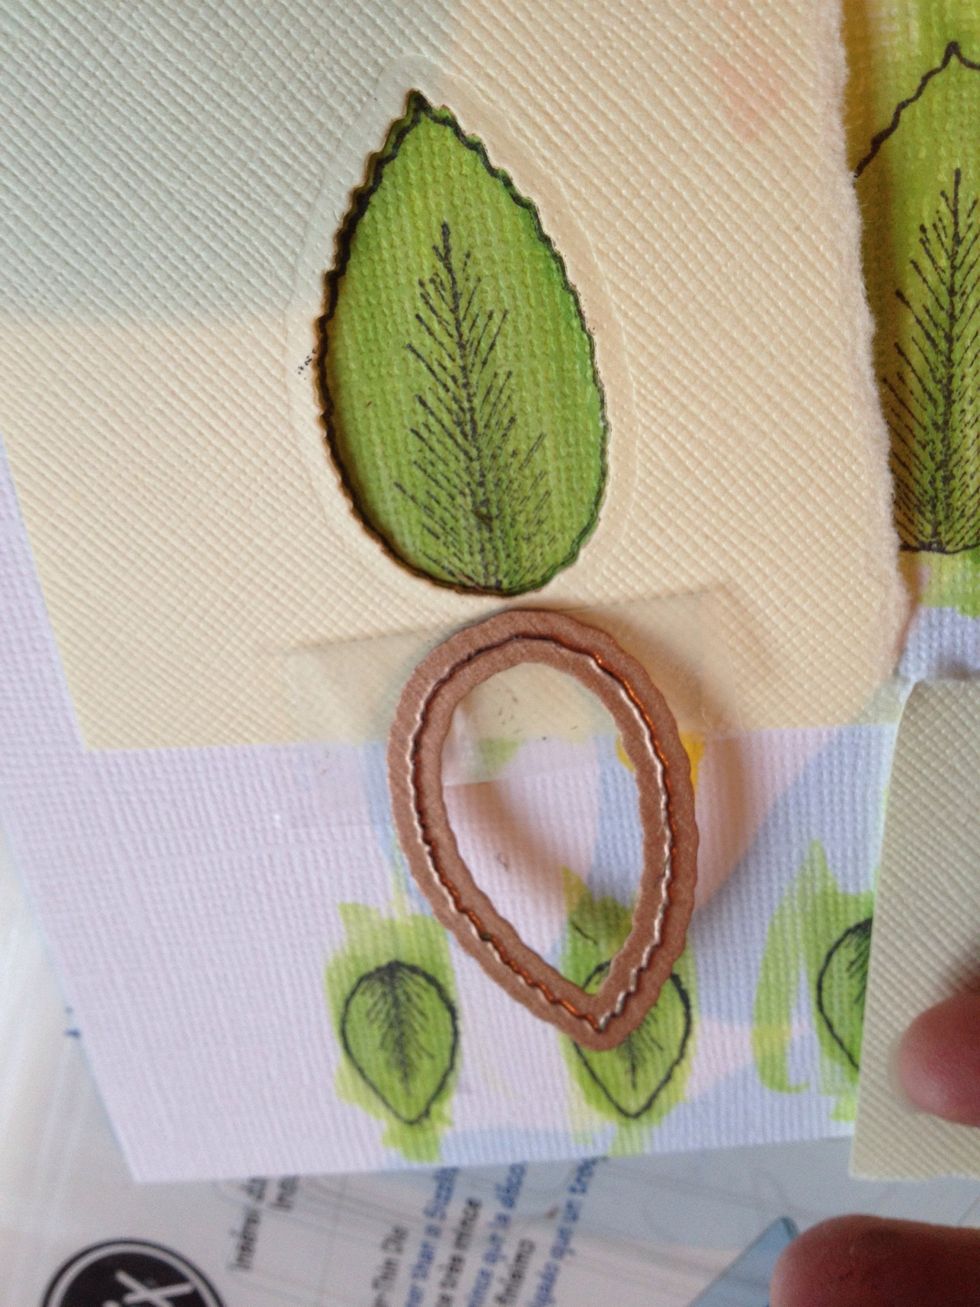
After running through machine
Repeat for other leaves
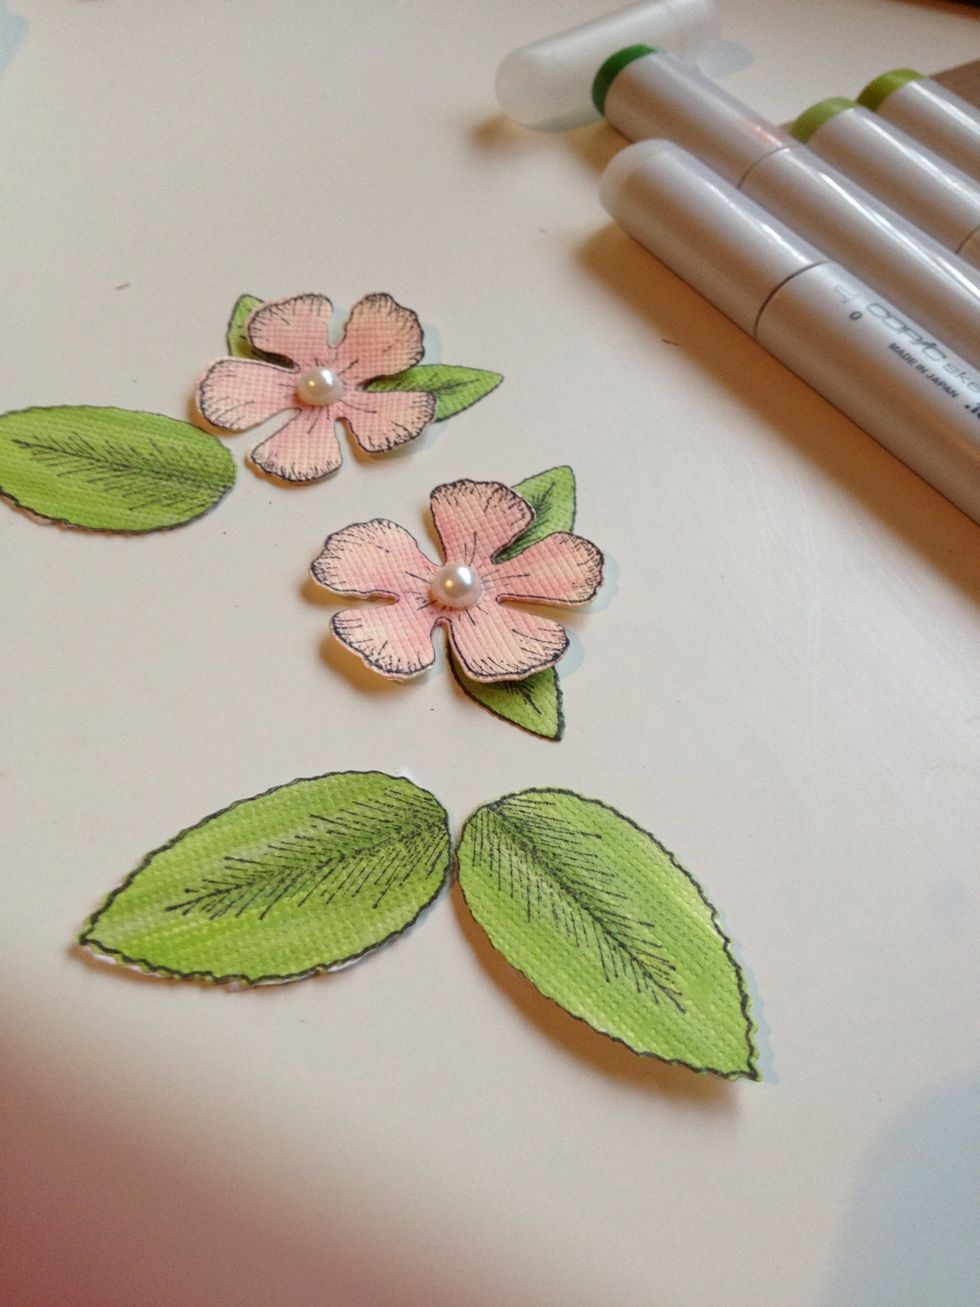
Now arrange die cuts how you like (not on paper) to get a feel for the layout you want. Add pearls to flower centers.
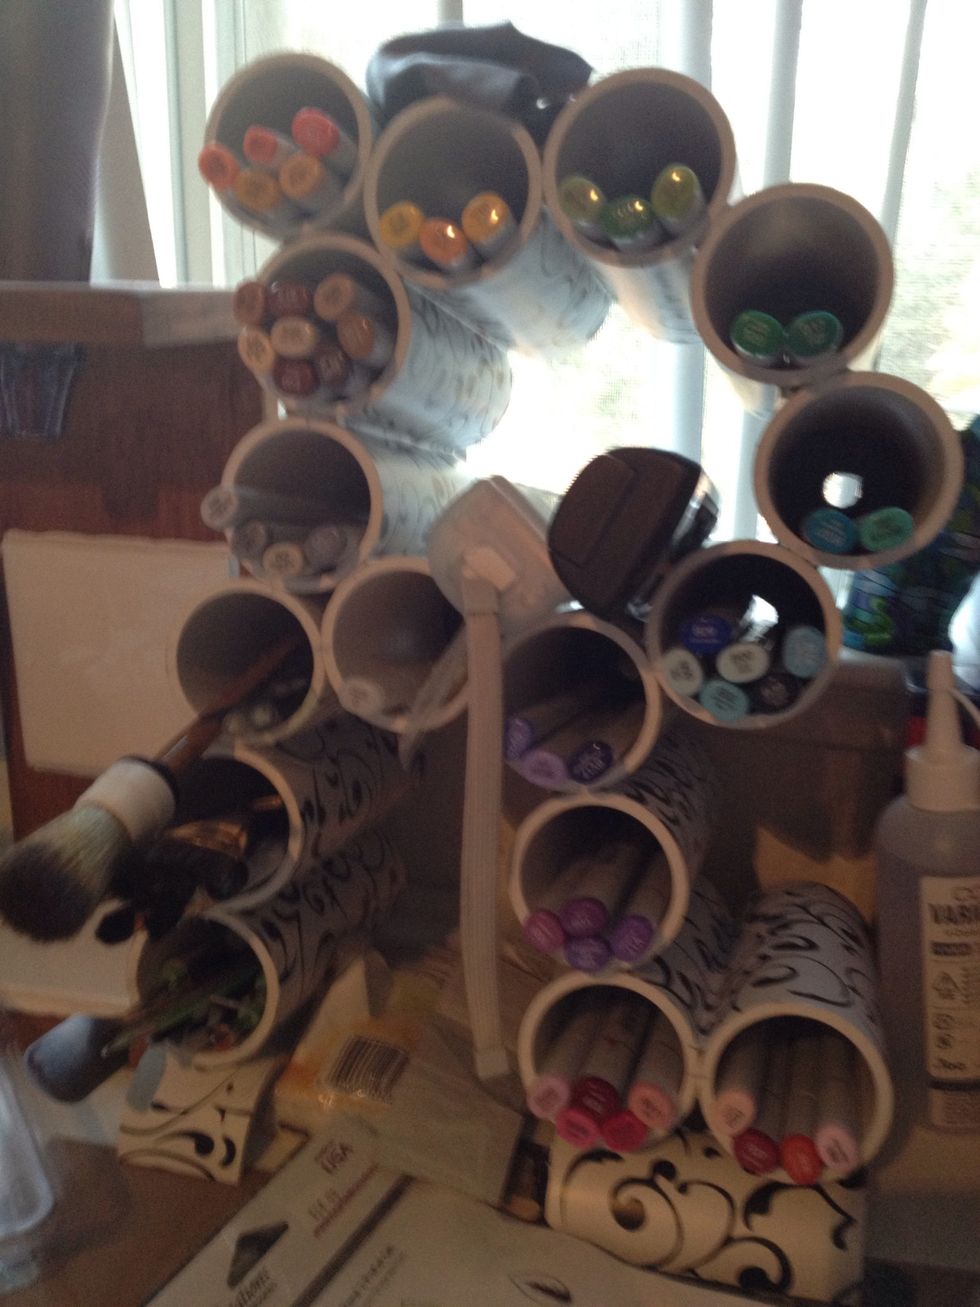
Put your Copics away (my Copic storage)
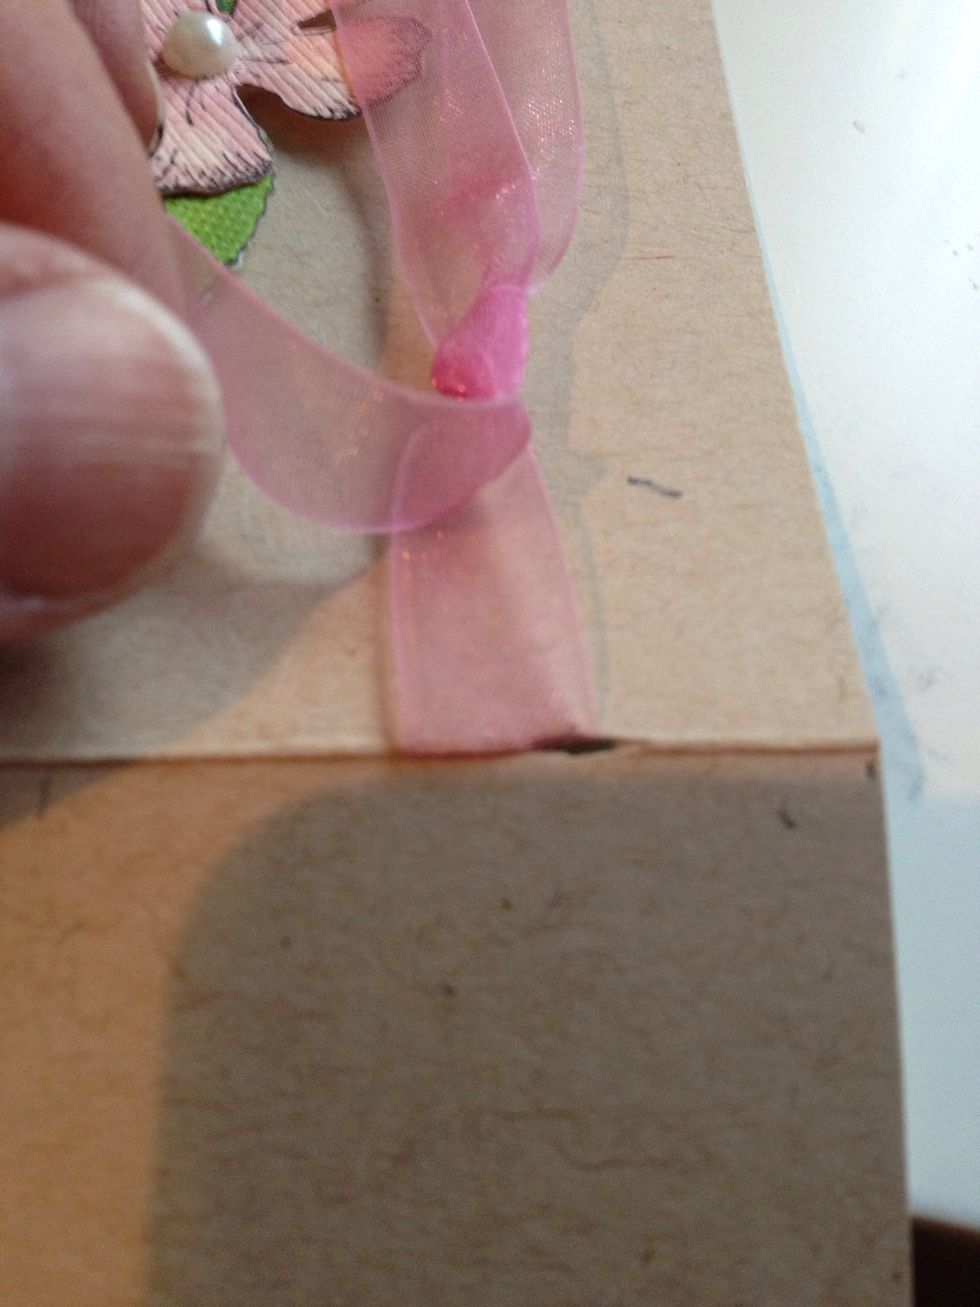
Cut a hole in the fold of the card (using sharp scissors). Put the ribbon through the hole.
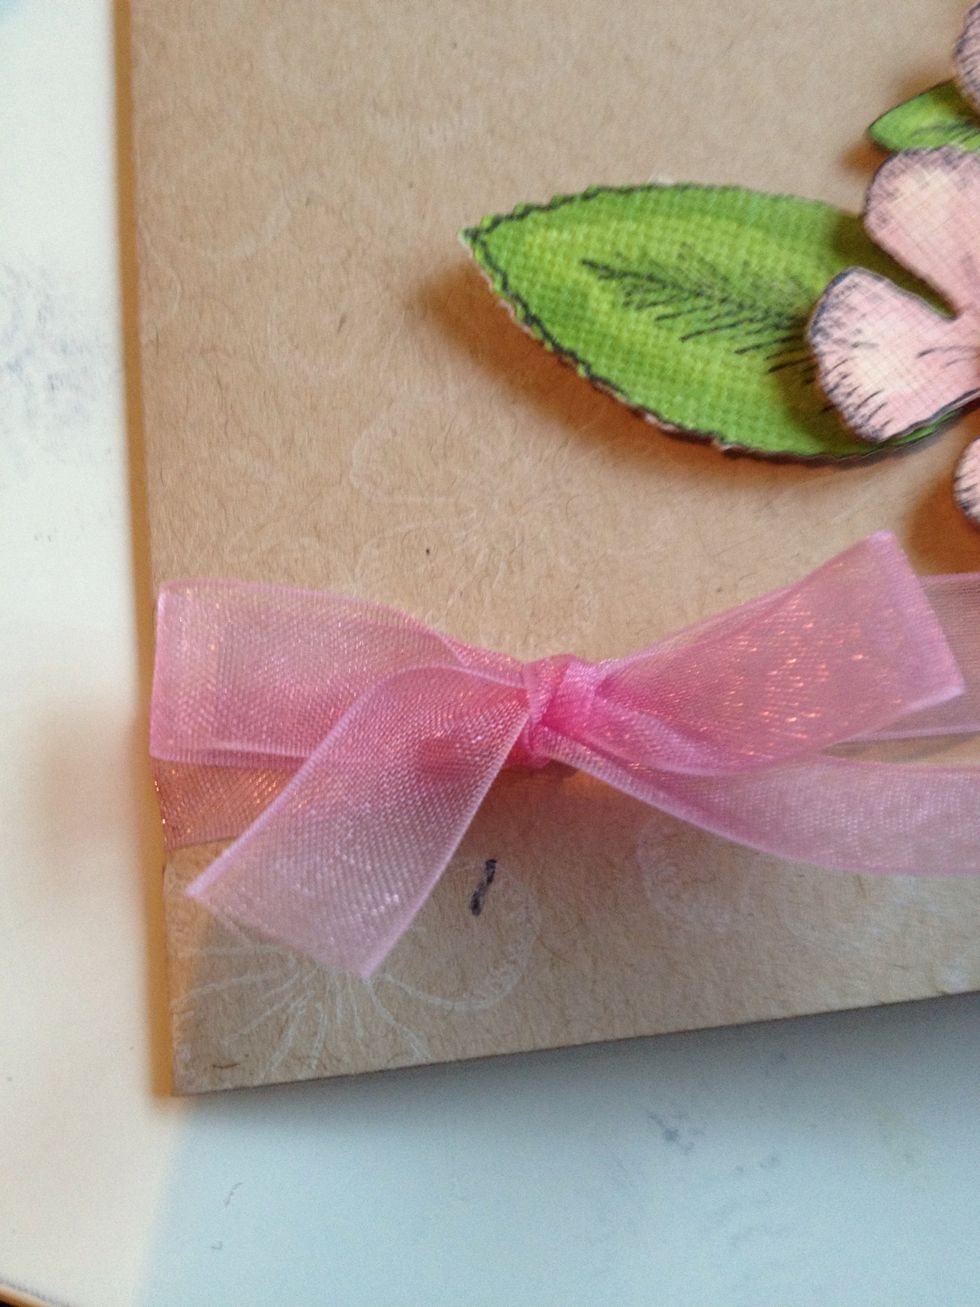
Tie a bow with the ribbon; trim edges.
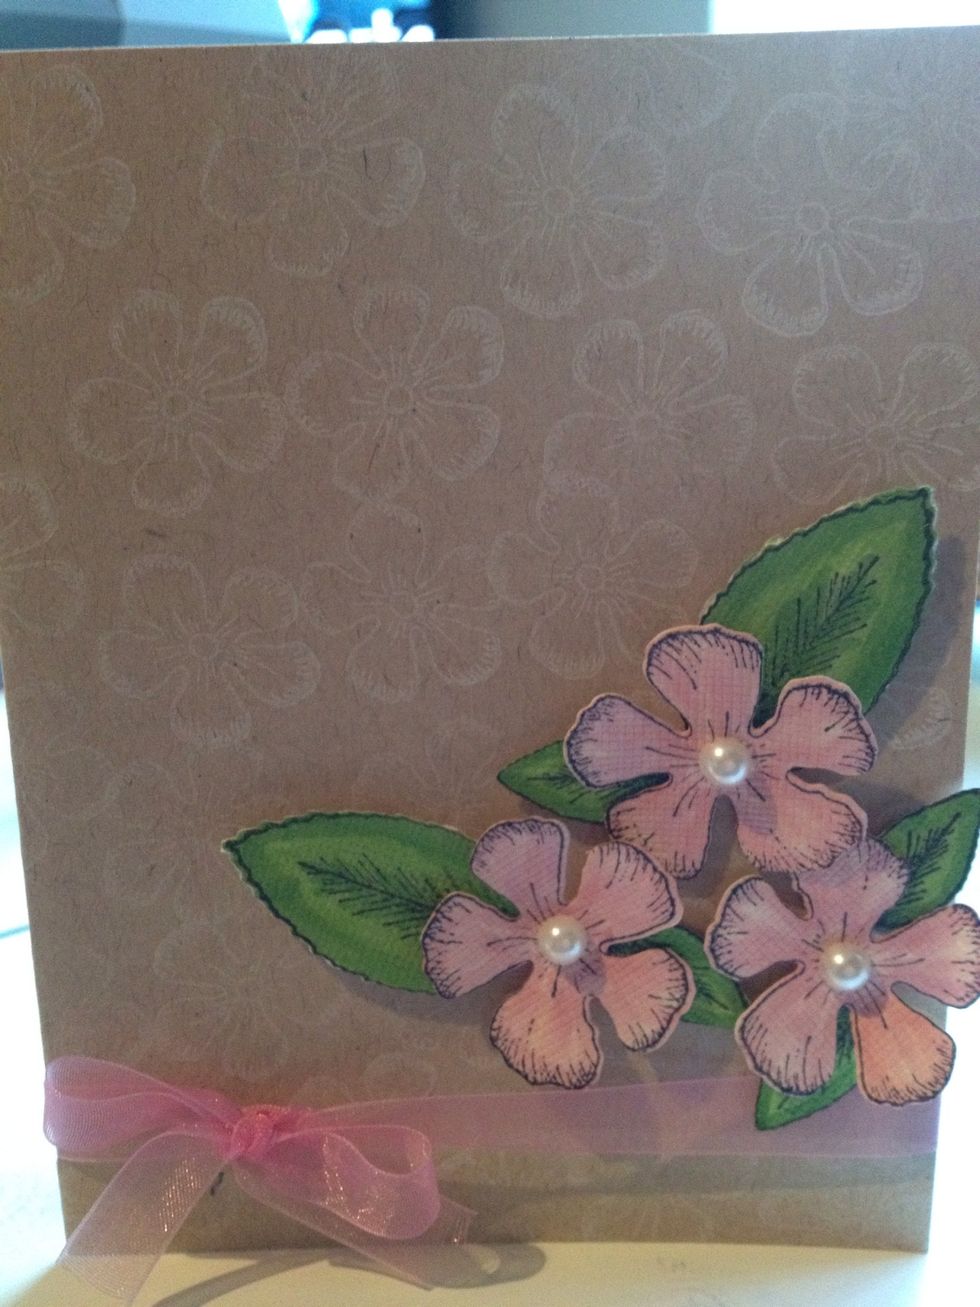
Here's the completed card! It needs a sentiment.
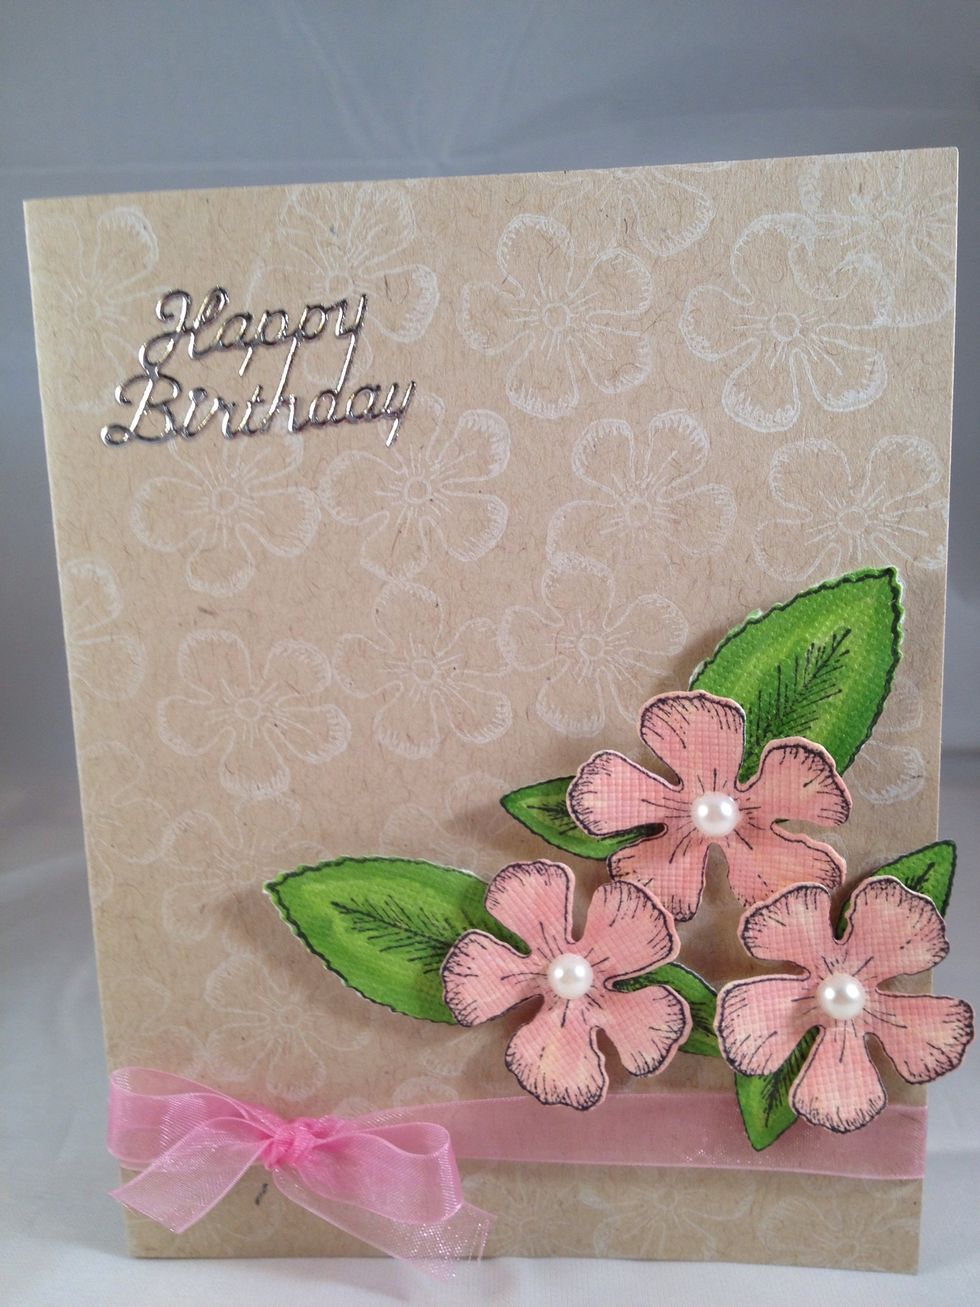
Add happy birthday sticker.
A different angle of the card - photos tip for those of you who take pictures of their cards.
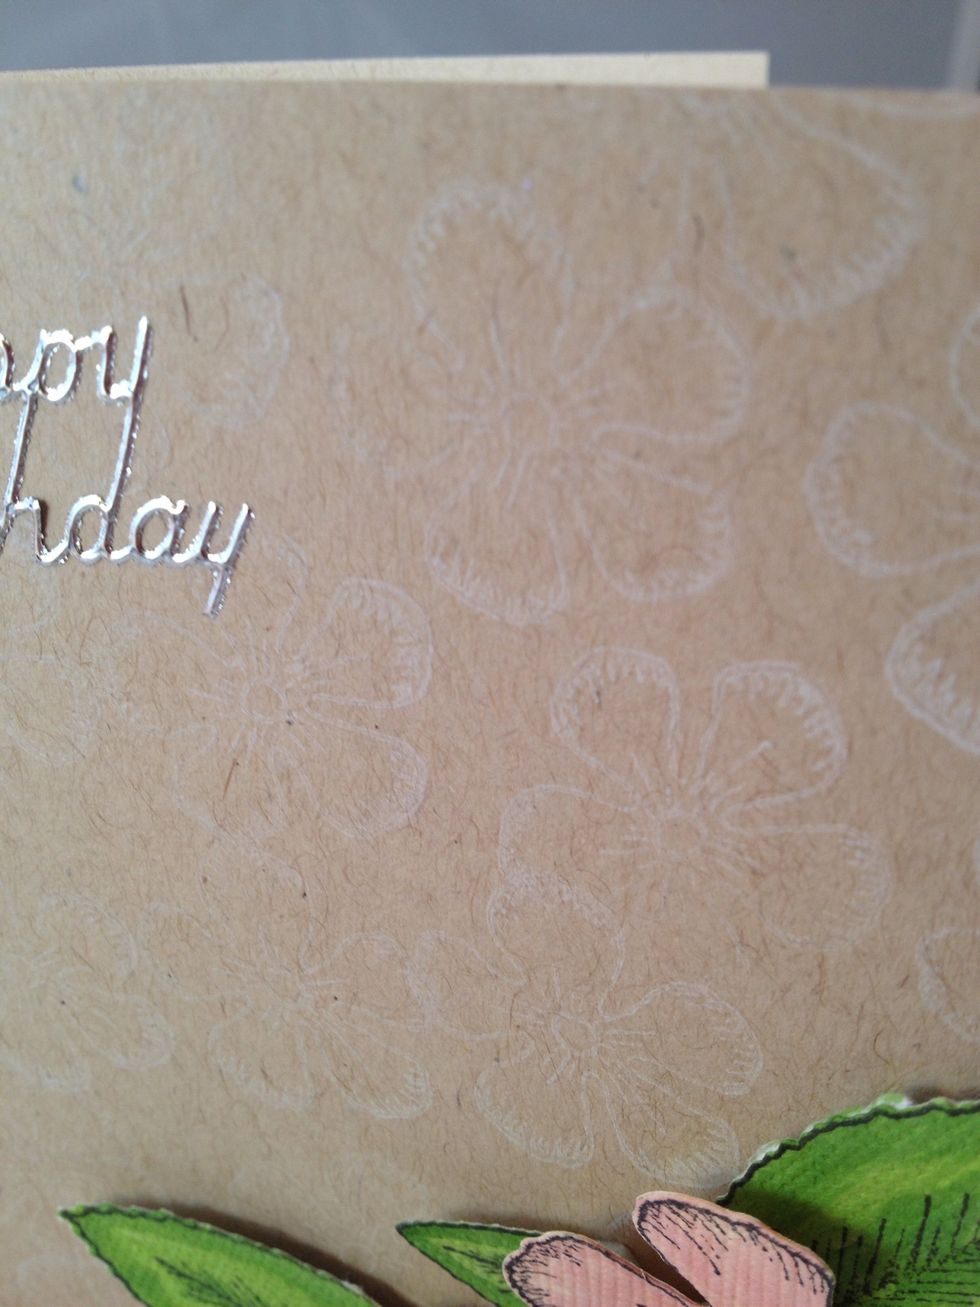
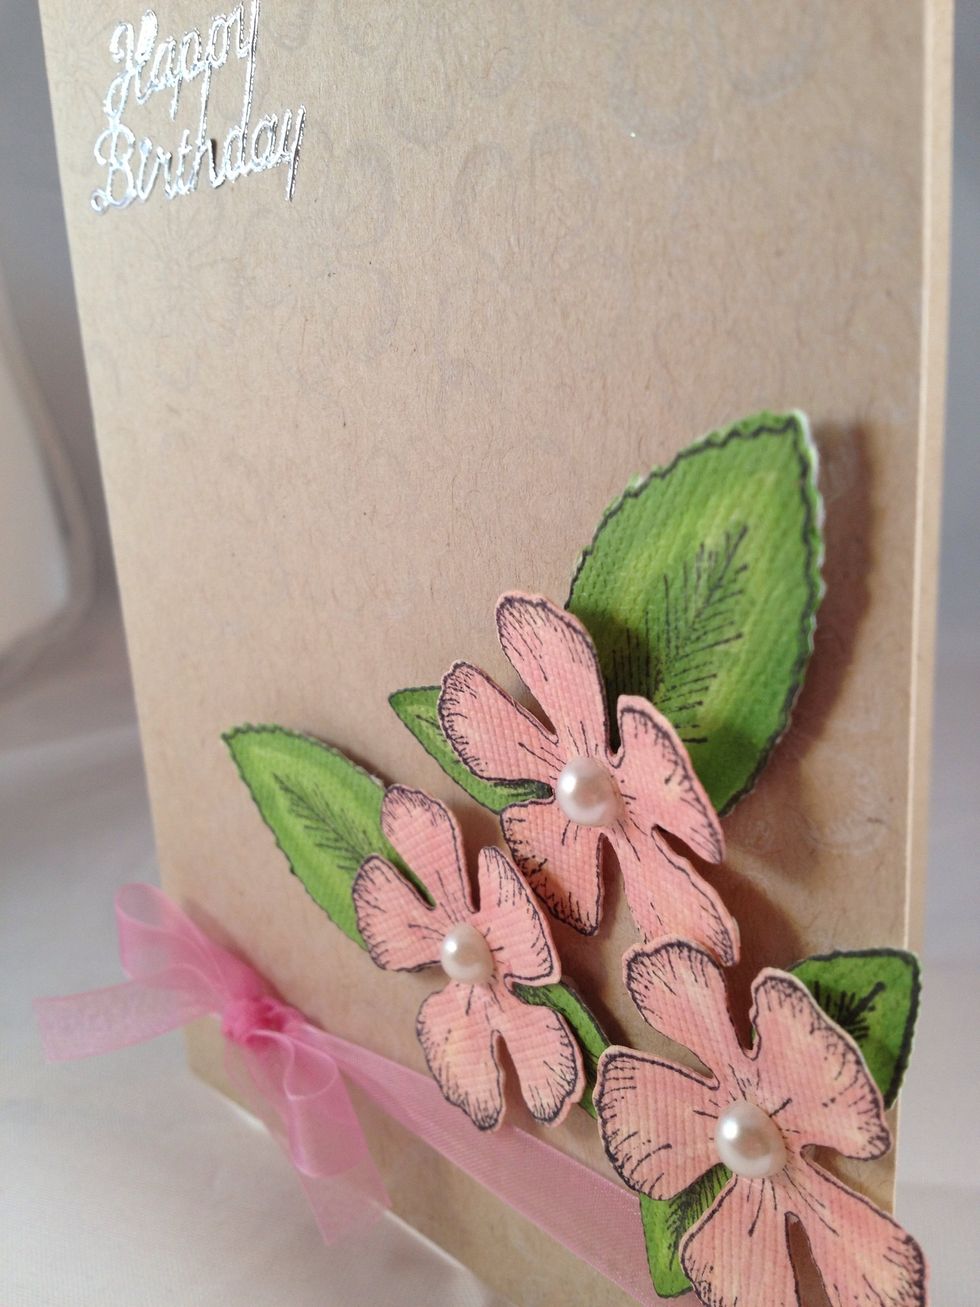
Detail of sticker & white stamping. Thank you for being part of my tutorial!