The Conversation (0)
Sign Up
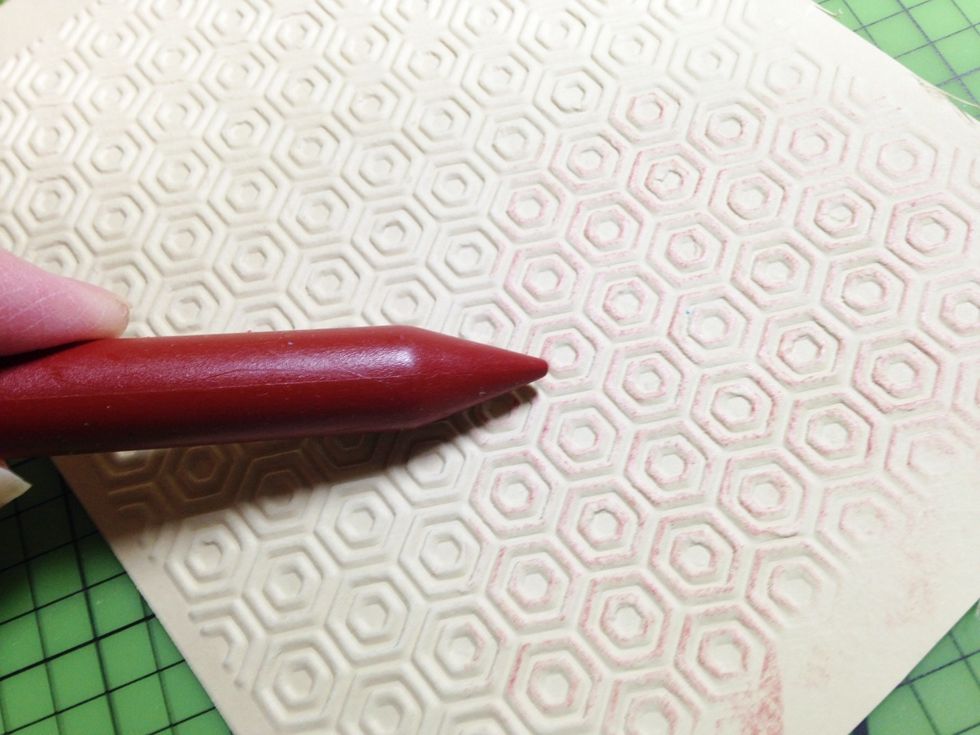
use embossing folder to emboss a 4 X 6 piece of cream cardstock, then rub brown crayon over the embossed design, varying pressure to make some areas darker than others...
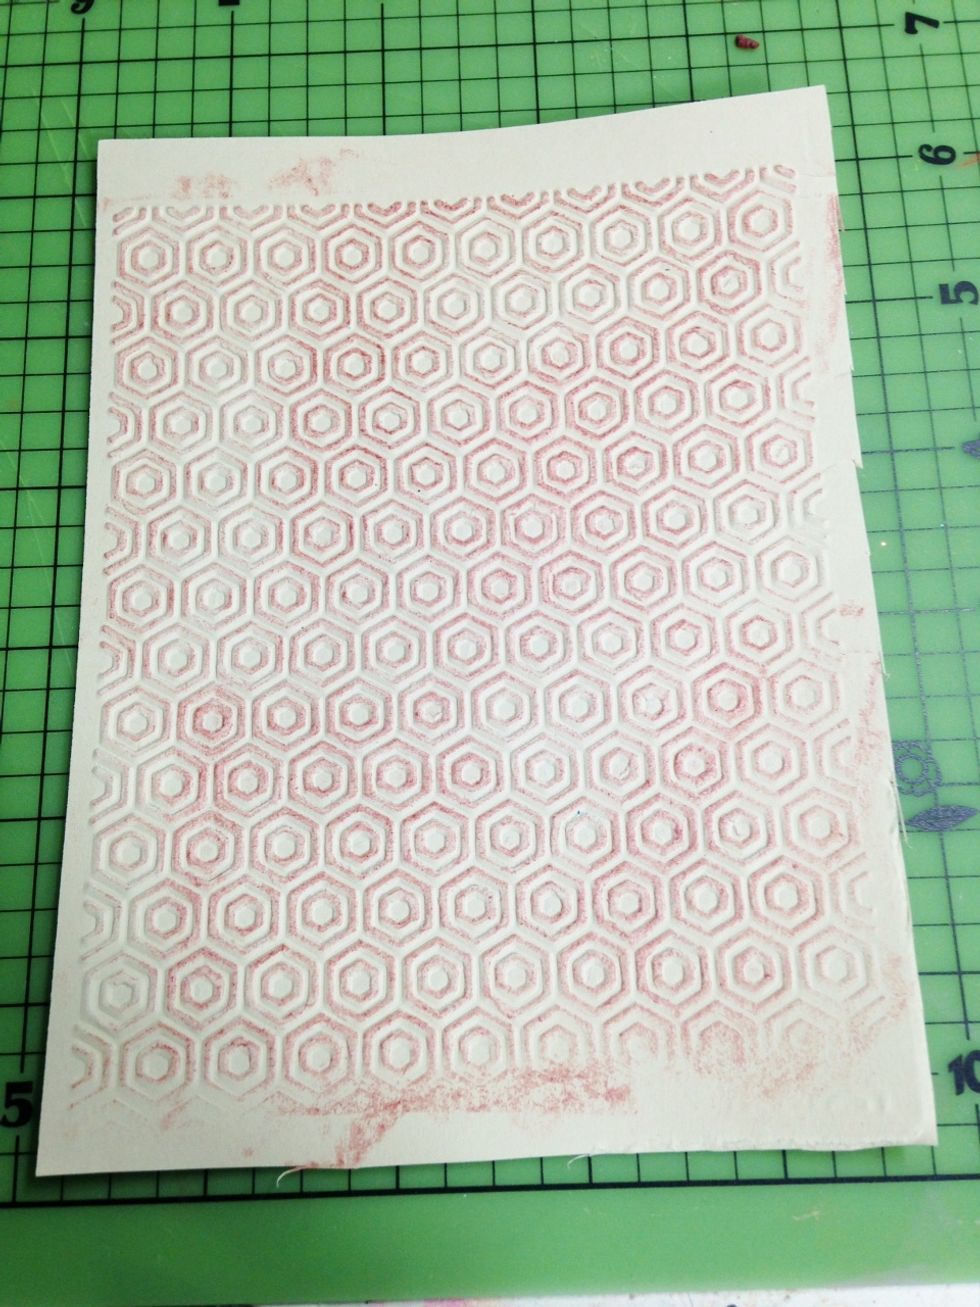
cardstock after rubbing with brown crayon - note color variations...
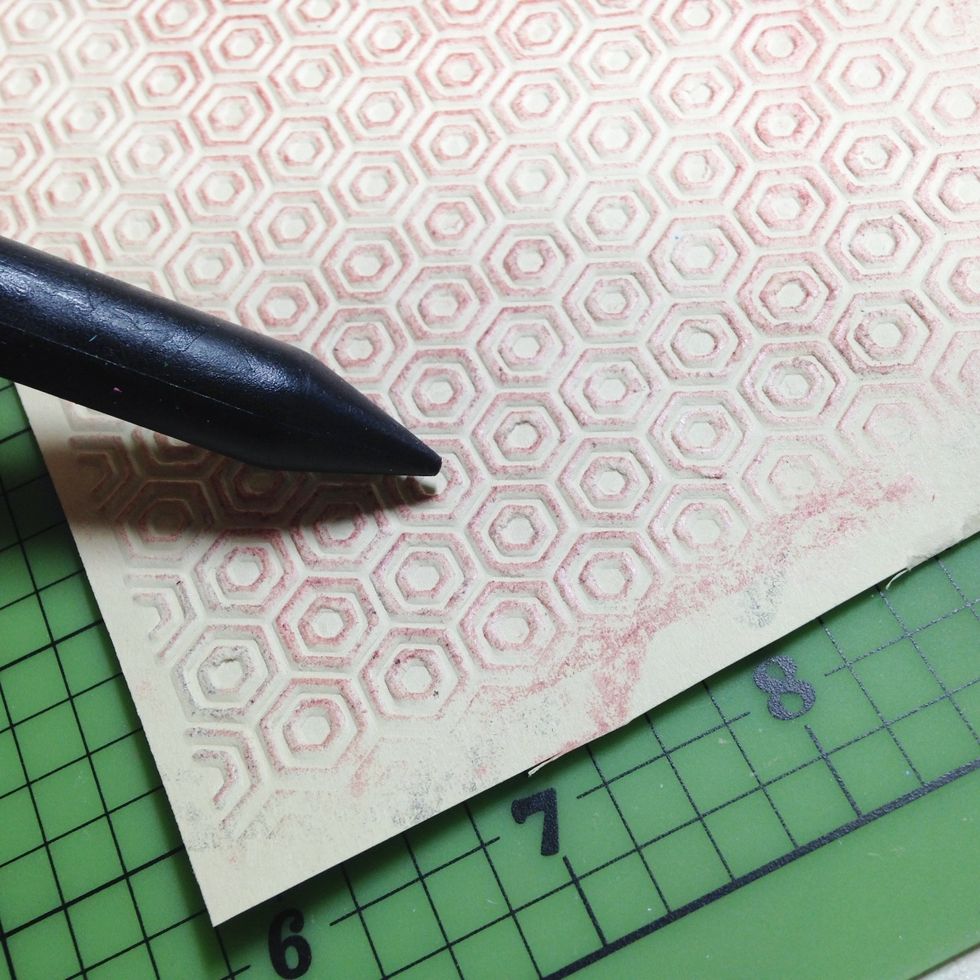
rub some areas with black crayon, again making some areas darker and some lighter...
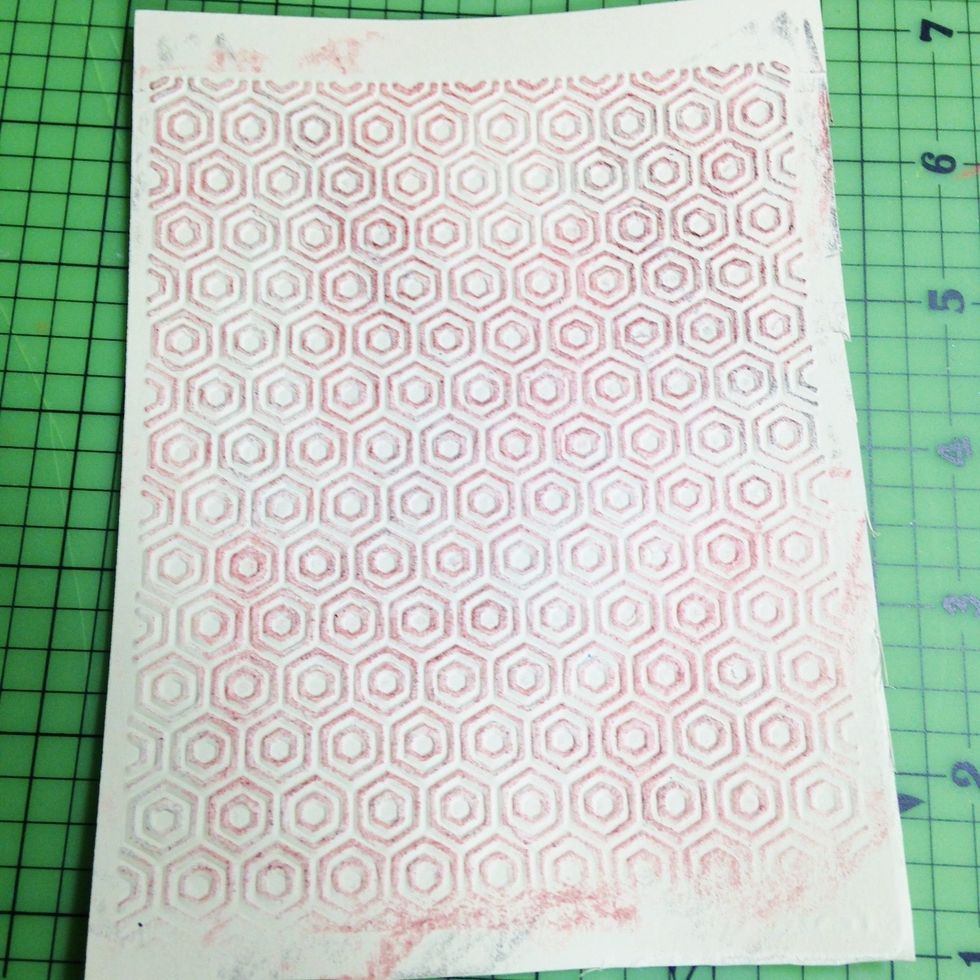
finished embossed background, trim to 5X4...

mark 2 1/2" down at left side. draw line from mark to lower right corner & upper right corner. then mark 1/4" above and below 2 1/2" mark and 1/4" to left of corner marks and draw lines to connect...
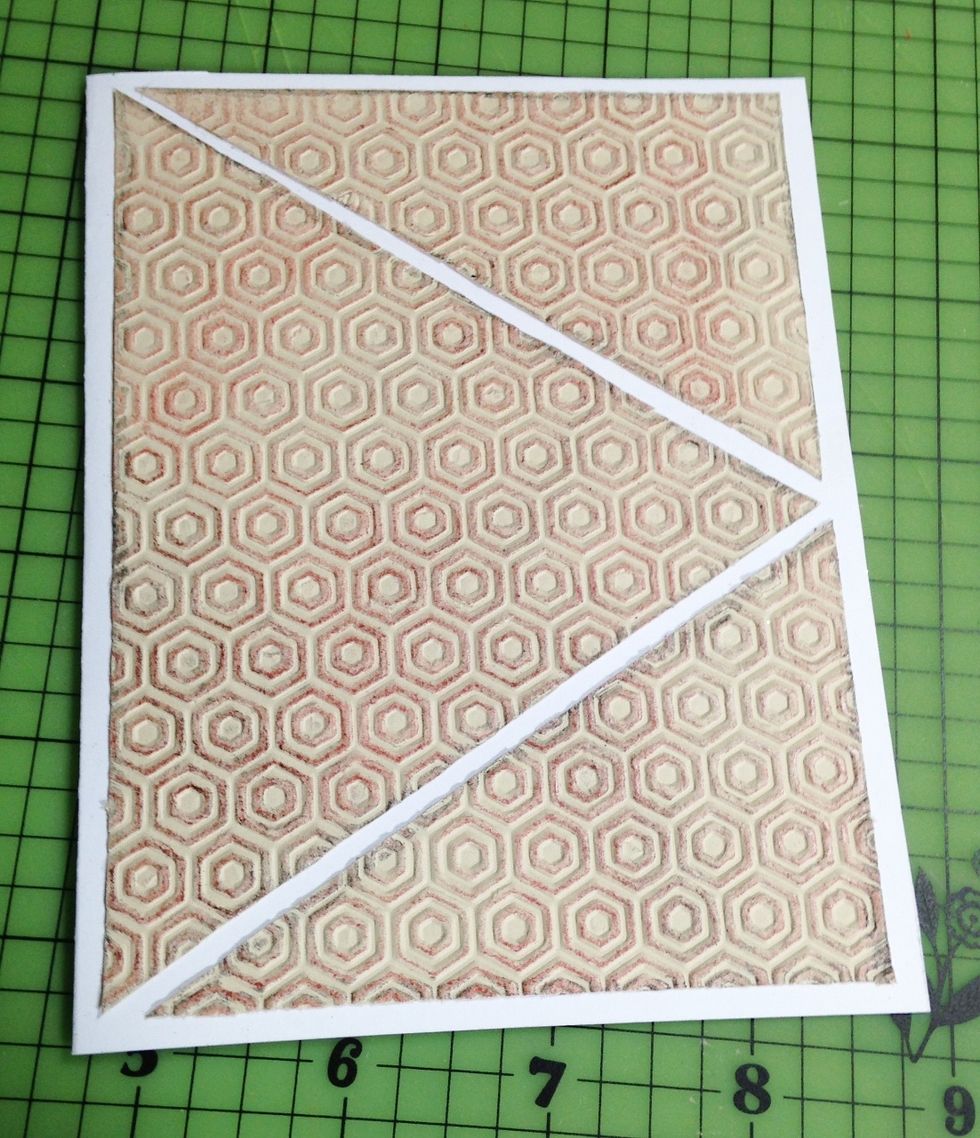
cut out pieces, distress edges with black crayon and adhere to front of 4 1/4" X 5 1/2" white cardstock card...

scribble over a 4 X 6 piece of white cardstock using orange and red crayon...
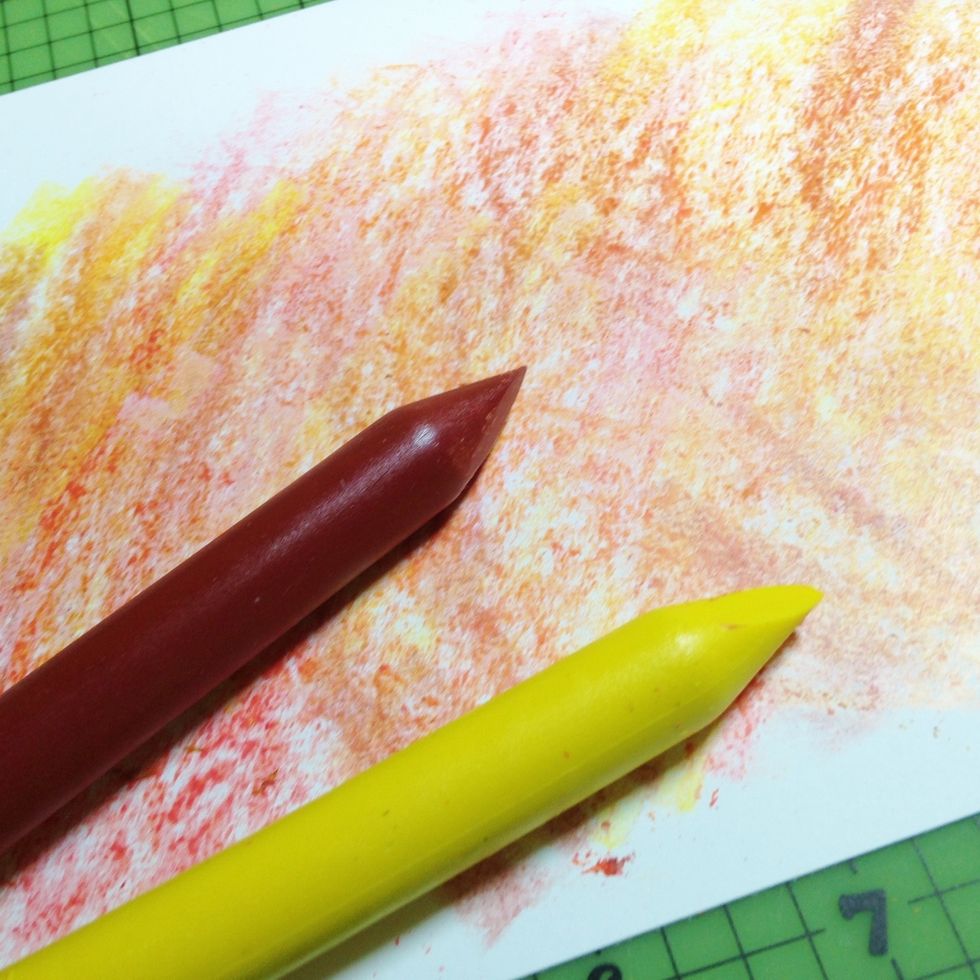
add more scribbles with brown and yellow crayons...
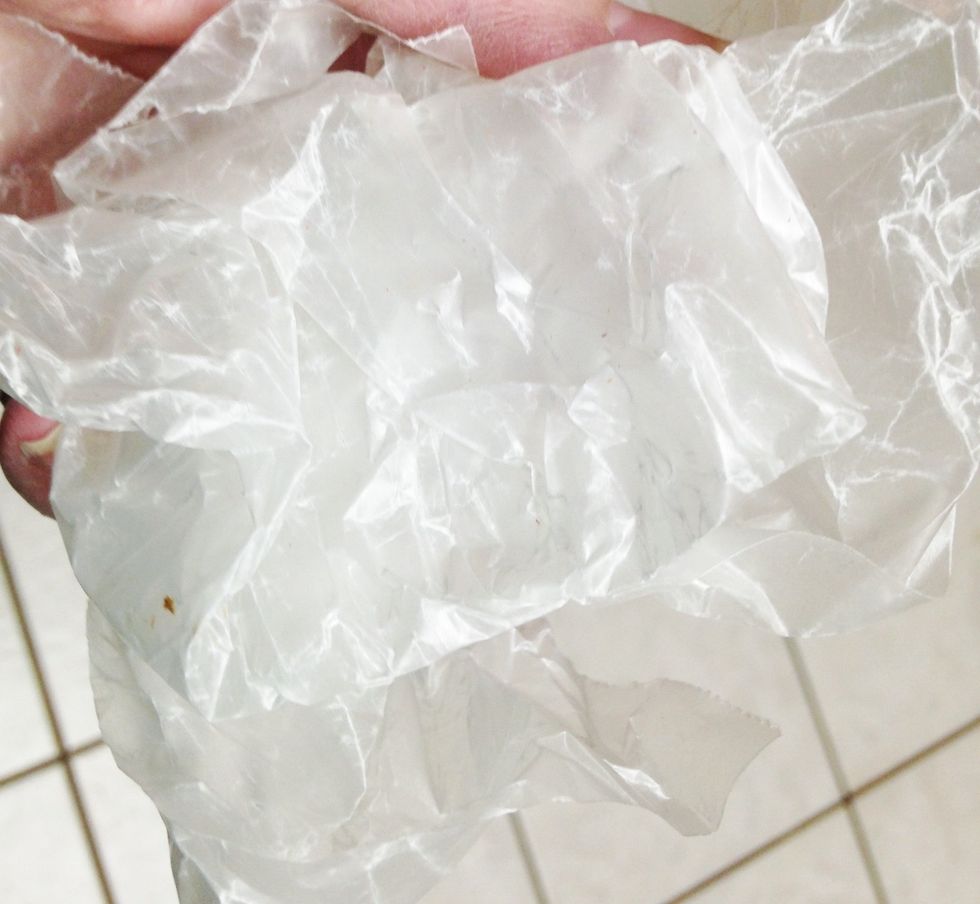
crumple a piece of waxed paper...

place waxed paper over "scribbled" cardstock and iron - add a cover sheet when using a "good" iron or use a "craft" iron...
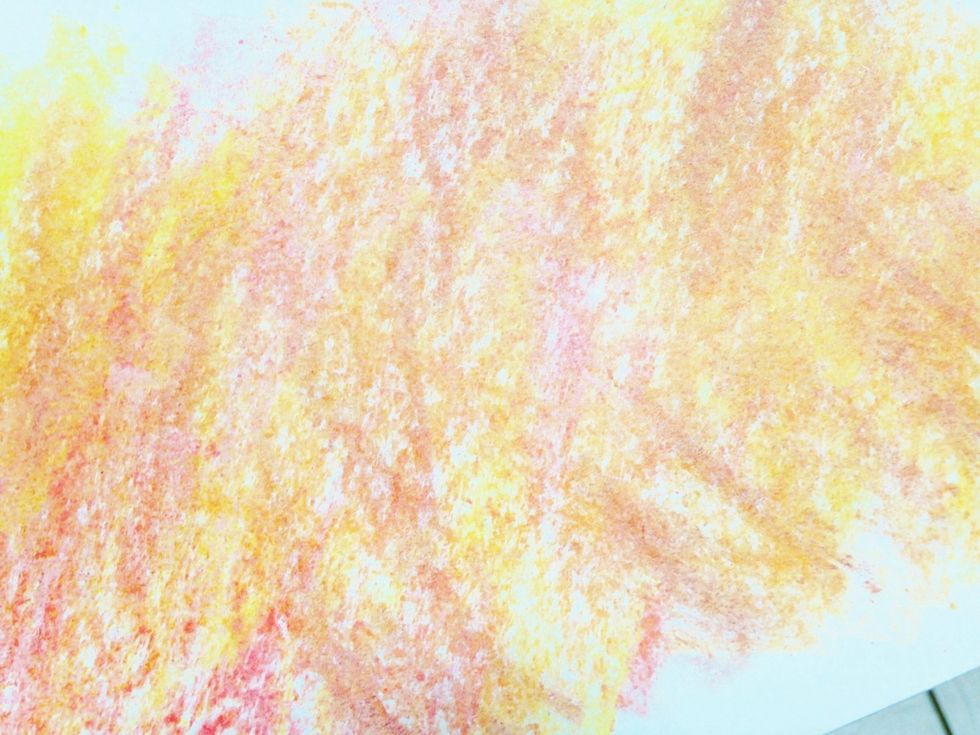
ironing melts crayon to gently blend, waxed paper creases add some texture to the design...
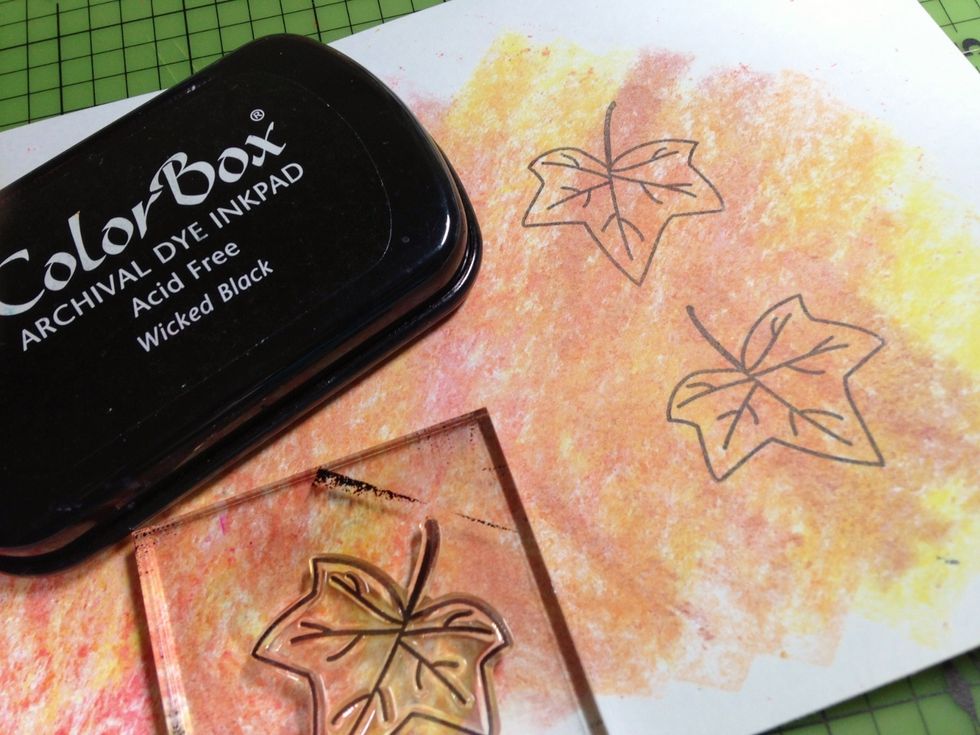
use Wicked Black Dye Ink to stamp leaves on scribbled paper...
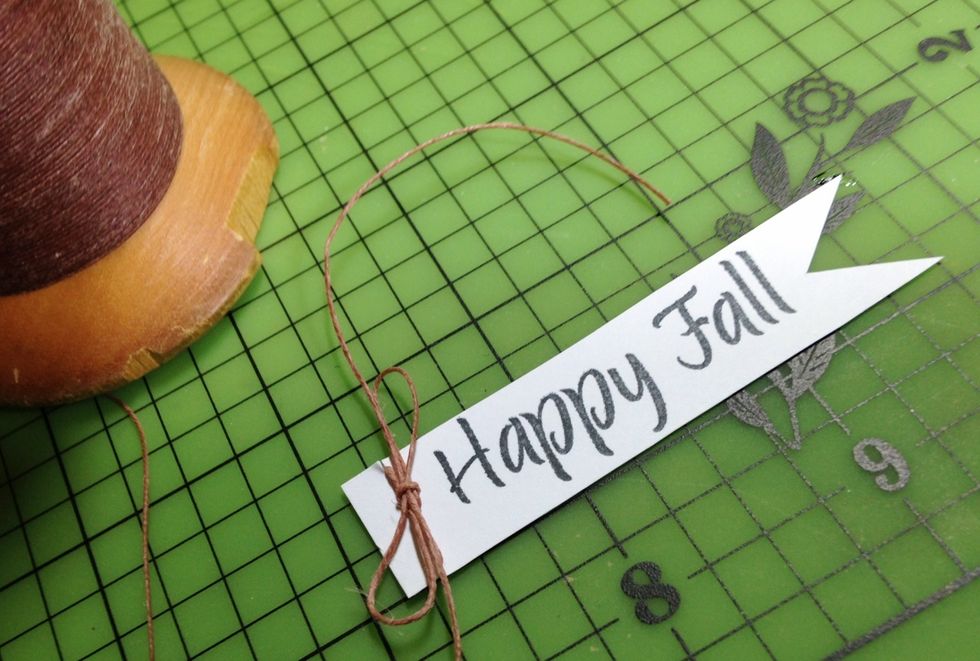
stamp sentiment on white cardstock using Wicked Black Dye Ink and tie at left edge with twine, dovetail right side...
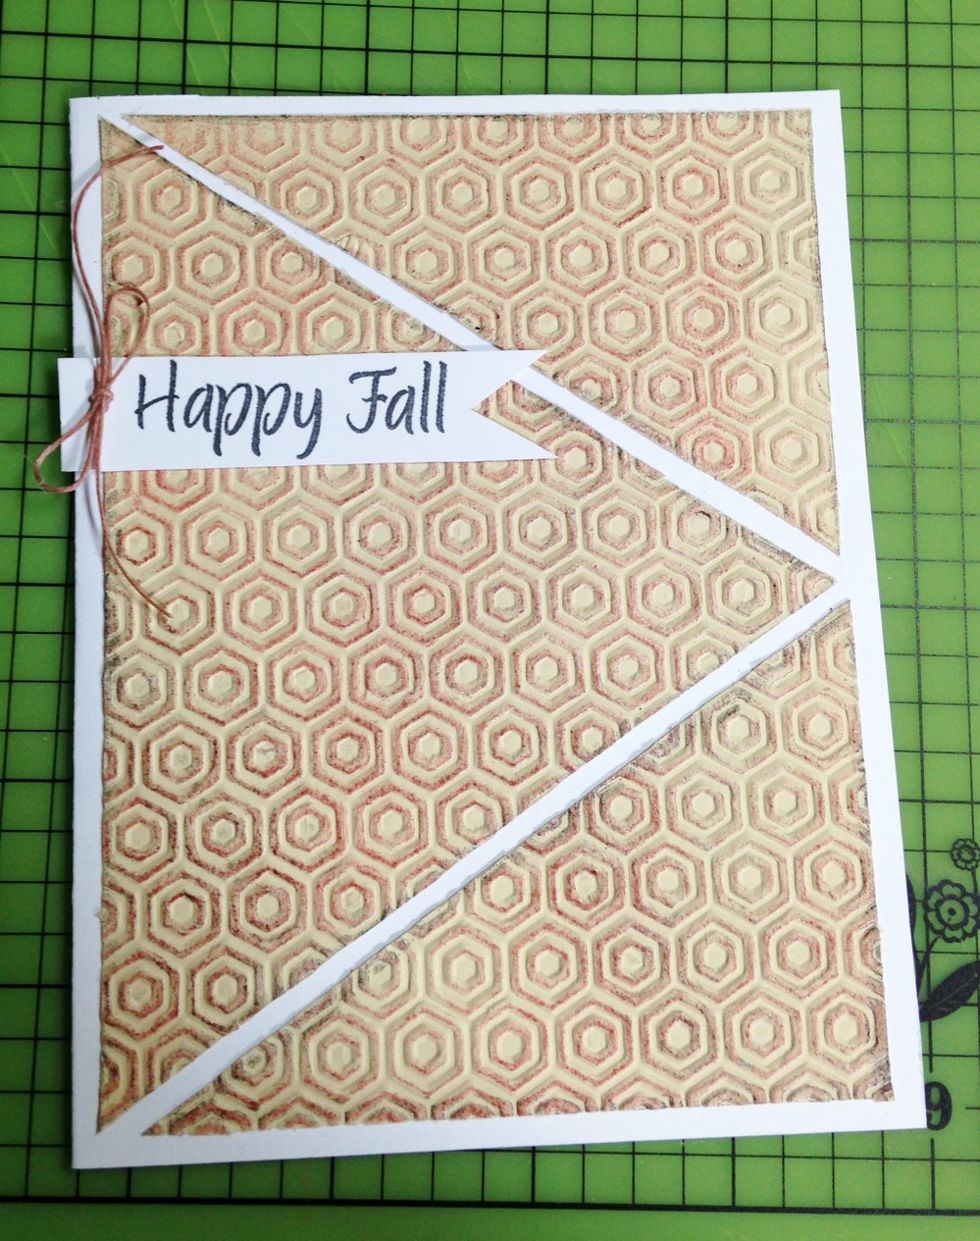
adhere sentiment at upper left of card front...
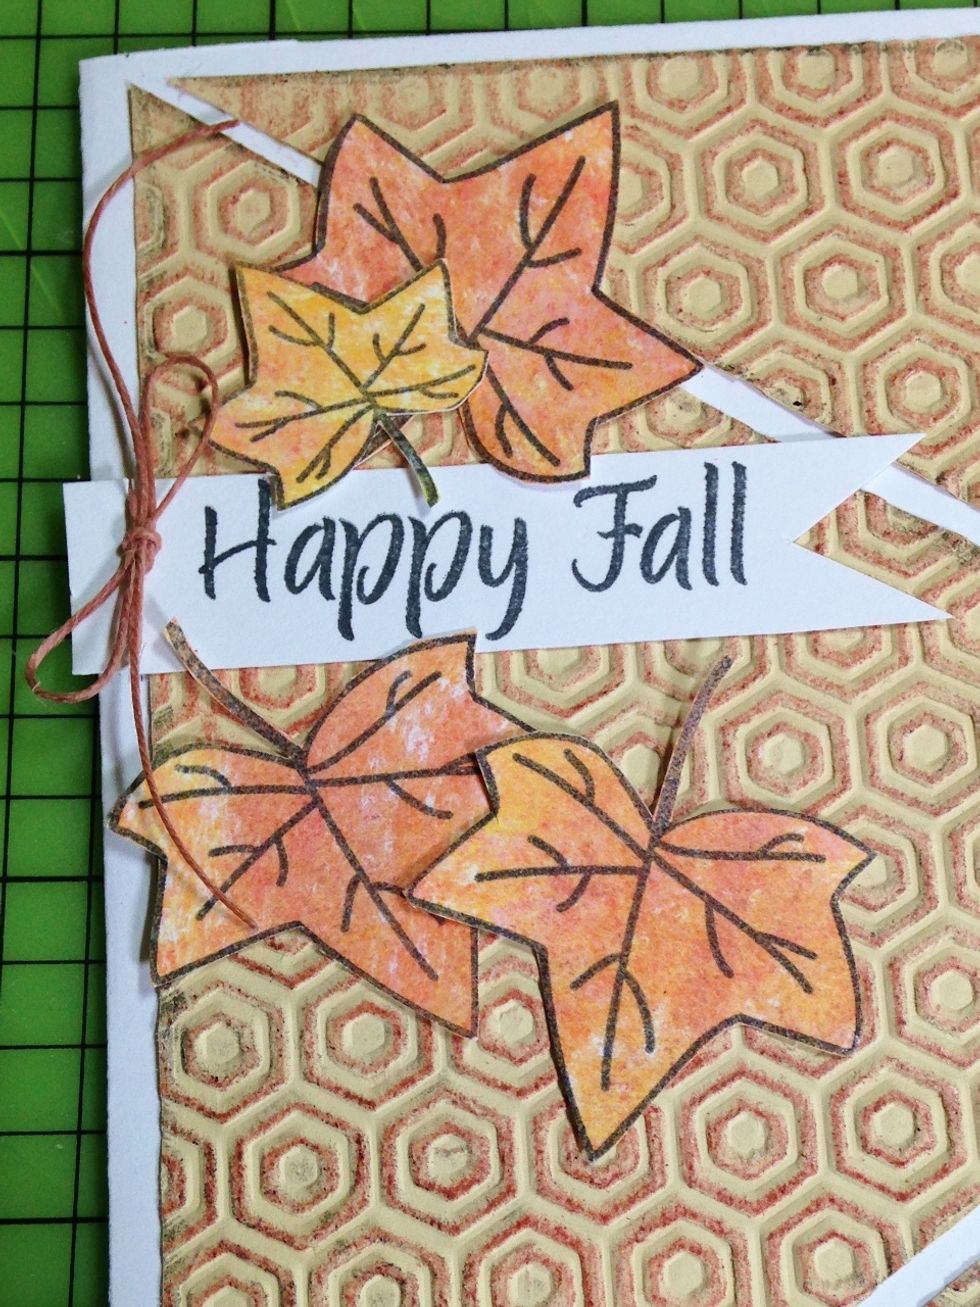
cut out leaves and begin to arrange on card...
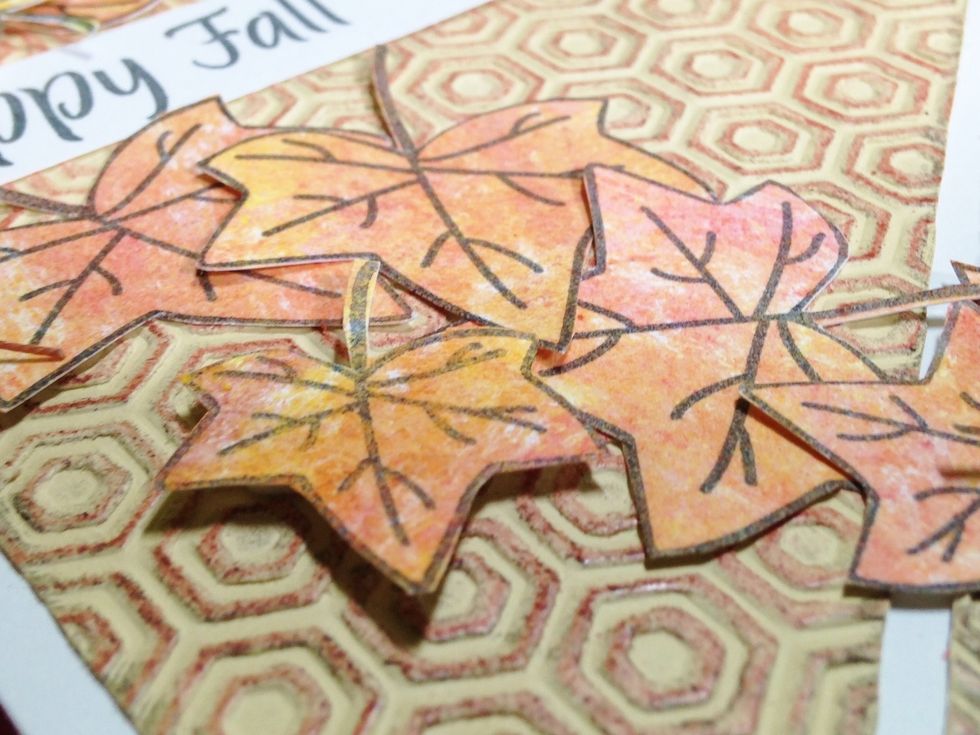
once you are happy with placement, begin to adhere leaves, using 3D dots to adhere some to add dimension...
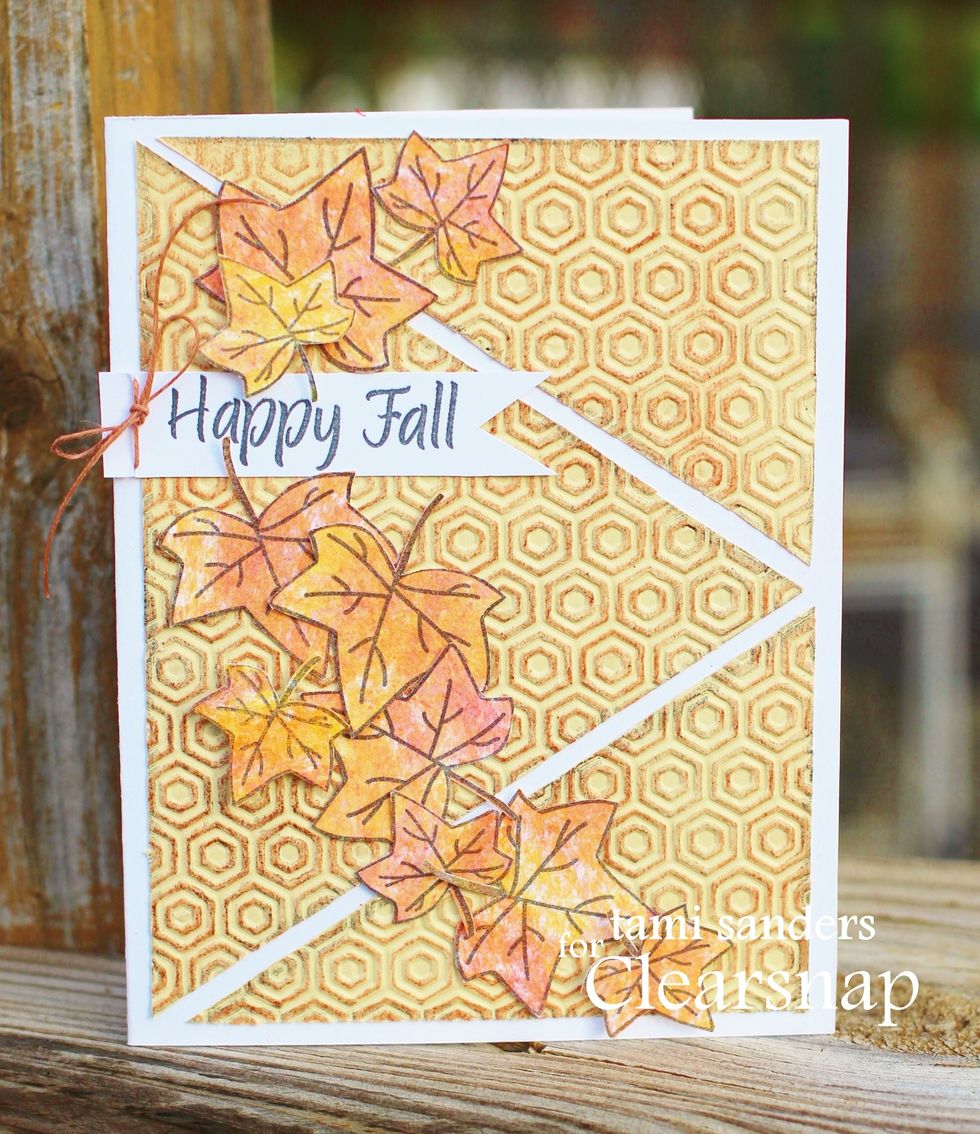
finished card... please visit the Clearsnap blog for more great projects & monthly card sketches... http://blog.clearsnap.com --- thank you, tami sanders * paper crafter... http://tamisanders.com